Home>Dining>Tableware>How To Remove Stains From Dining Table

Tableware
How To Remove Stains From Dining Table
Modified: August 30, 2024
Learn how to easily remove stains from your dining table using simple household items. Keep your tableware looking clean and pristine with these effective stain removal tips.
(Many of the links in this article redirect to a specific reviewed product. Your purchase of these products through affiliate links helps to generate commission for Storables.com, at no extra cost. Learn more)
Introduction
Welcome to our guide on how to remove stains from a dining table. When you invest in a beautiful dining table, you want it to remain in pristine condition for years to come. Unfortunately, accidents happen, and spills and stains can become an inevitable part of everyday life.
Whether it’s water rings from a sweaty glass, food and beverage stains from a messy dinner party, ink marks from a creative project, or even heat or burn marks from a hot dish, our comprehensive guide will equip you with effective methods to remove different types of stains from your dining table.
Before we delve into the specific stain removal methods, let’s first discuss the importance of preparing your dining table before attempting any stain removal techniques. It is crucial to approach stain removal with care to avoid causing further damage to your table’s surface. Proper preparation will ensure a successful stain removal process without compromising the table’s quality.
Now, let’s move on to the exciting part – the different types of stains you may encounter on your dining table and the corresponding stain removal methods. From natural remedies to specialized cleaning products, we have you covered with easy-to-follow instructions and tips.
Key Takeaways:
- Keep your dining table pristine by using natural stain removal methods like vinegar, baking soda, and lemon juice. Quick action and regular maintenance are key to preventing and removing stains effectively.
- Protect your dining table from scratches and damage by using coasters, regular dusting, and avoiding direct sunlight. When dealing with stubborn stains, seek professional assistance to ensure the best possible outcome.
Read more: How To Remove Water Stains From Glassware
Types of Stains
Before diving into the stain removal process, it’s essential to understand the different types of stains that can mar the surface of your dining table. From water rings to ink stains, each type requires a unique approach for effective removal.
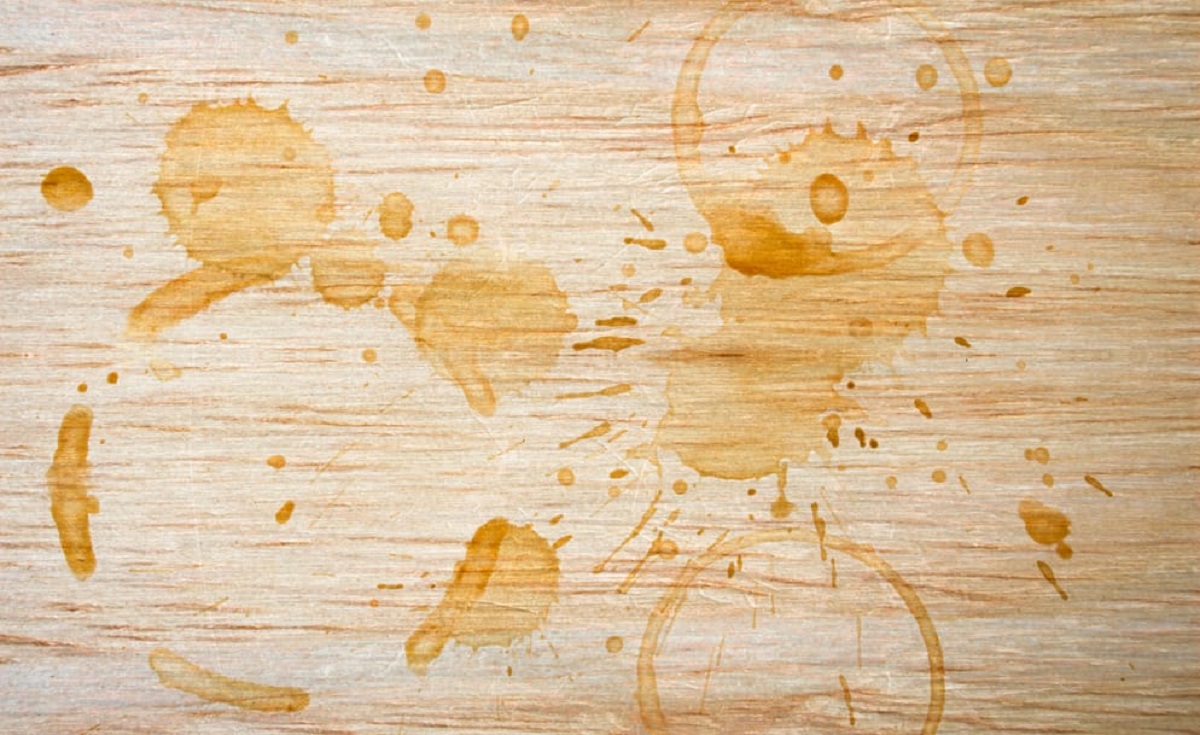
1. Water Stains: These are caused by hot or cold beverages, condensation from glasses, or wet objects left on the table’s surface. They can leave unsightly rings or marks on the wood.
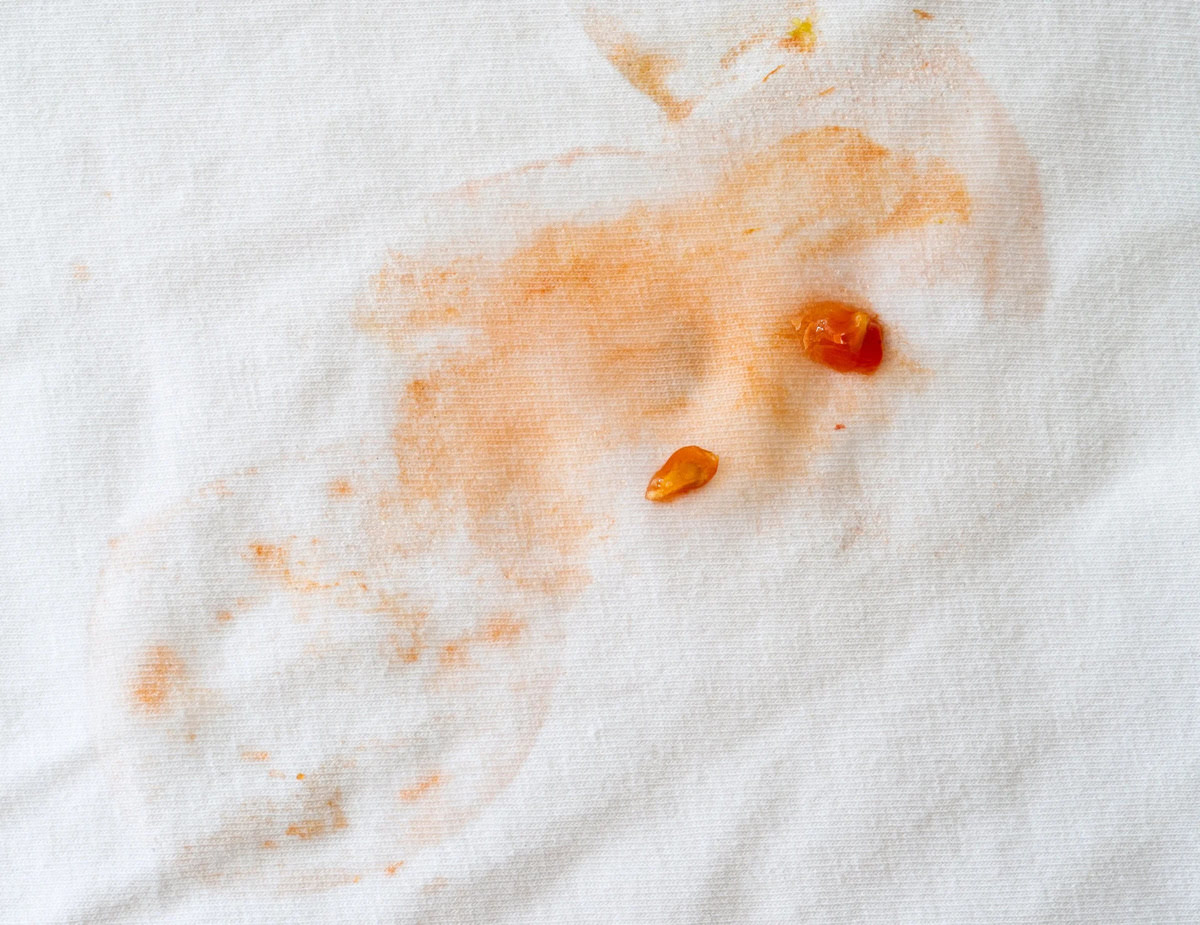
2. Food and Beverage Stains: These stains can range from food spills to wine or coffee stains. They can be difficult to remove, particularly if they have been left unattended for an extended period.
3. Ink Stains: Ink stains can occur when you accidentally spill ink or use a ballpoint pen on your dining table. They can be quite stubborn and require immediate attention to prevent further damage.
4. Paint or Nail Polish Stains: Occasional mishaps during craft projects or home improvement can result in paint or nail polish stains on the dining table. These stains can be challenging to remove if not addressed promptly.
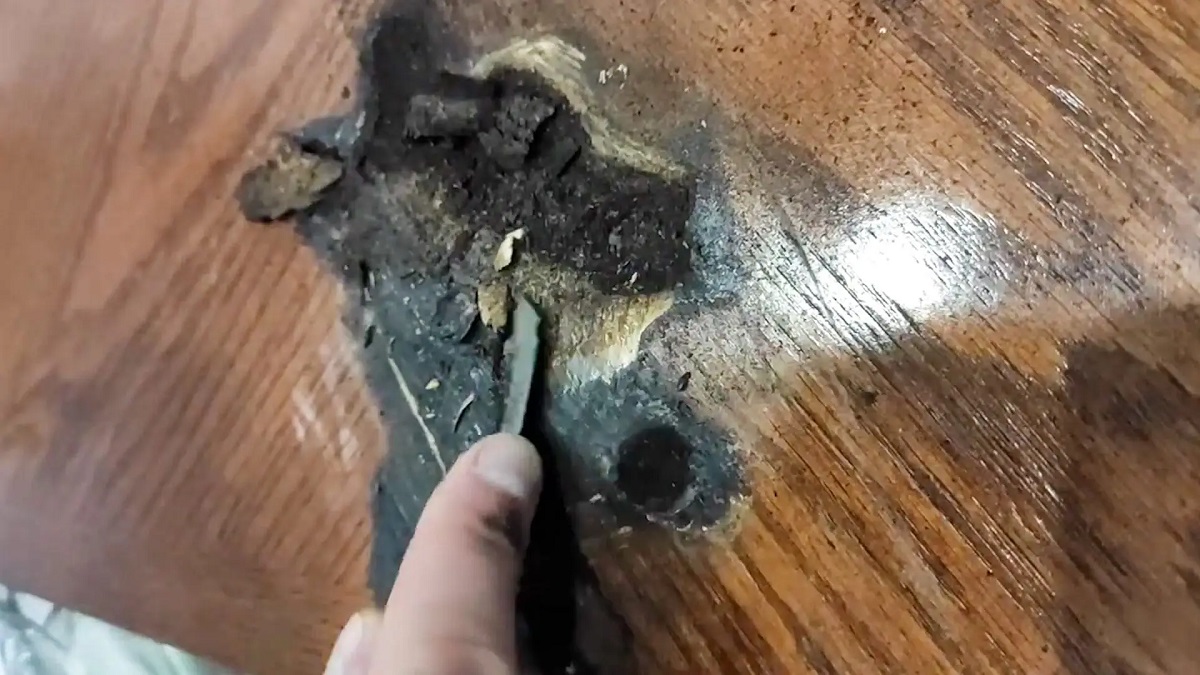
5. Heat or Burn Marks: Placing hot dishes or pans directly on the table’s surface can cause burn or heat marks. These can be particularly stubborn to remove and may require more in-depth treatment to restore the table’s appearance.
6. Scratches: Over time, your dining table may accumulate scratches from various objects and daily usage. While a scratch may not be a traditional stain, it can still mar the table’s surface and require attention.
By identifying the type of stain you are dealing with, you can choose the most appropriate stain removal method to effectively and safely restore your dining table’s beauty. Now, let’s move on to the preparation steps before tackling these stains head-on!
Preparing the Dining Table
Before you begin the stain removal process, it’s important to properly prepare your dining table to ensure the best possible outcome. Follow these steps to ensure a successful stain removal process:
1. Clear the Table: Start by removing any items, such as dishes, utensils, or decorative items, from the table’s surface. This will provide you with a clean and unobstructed area to work on.
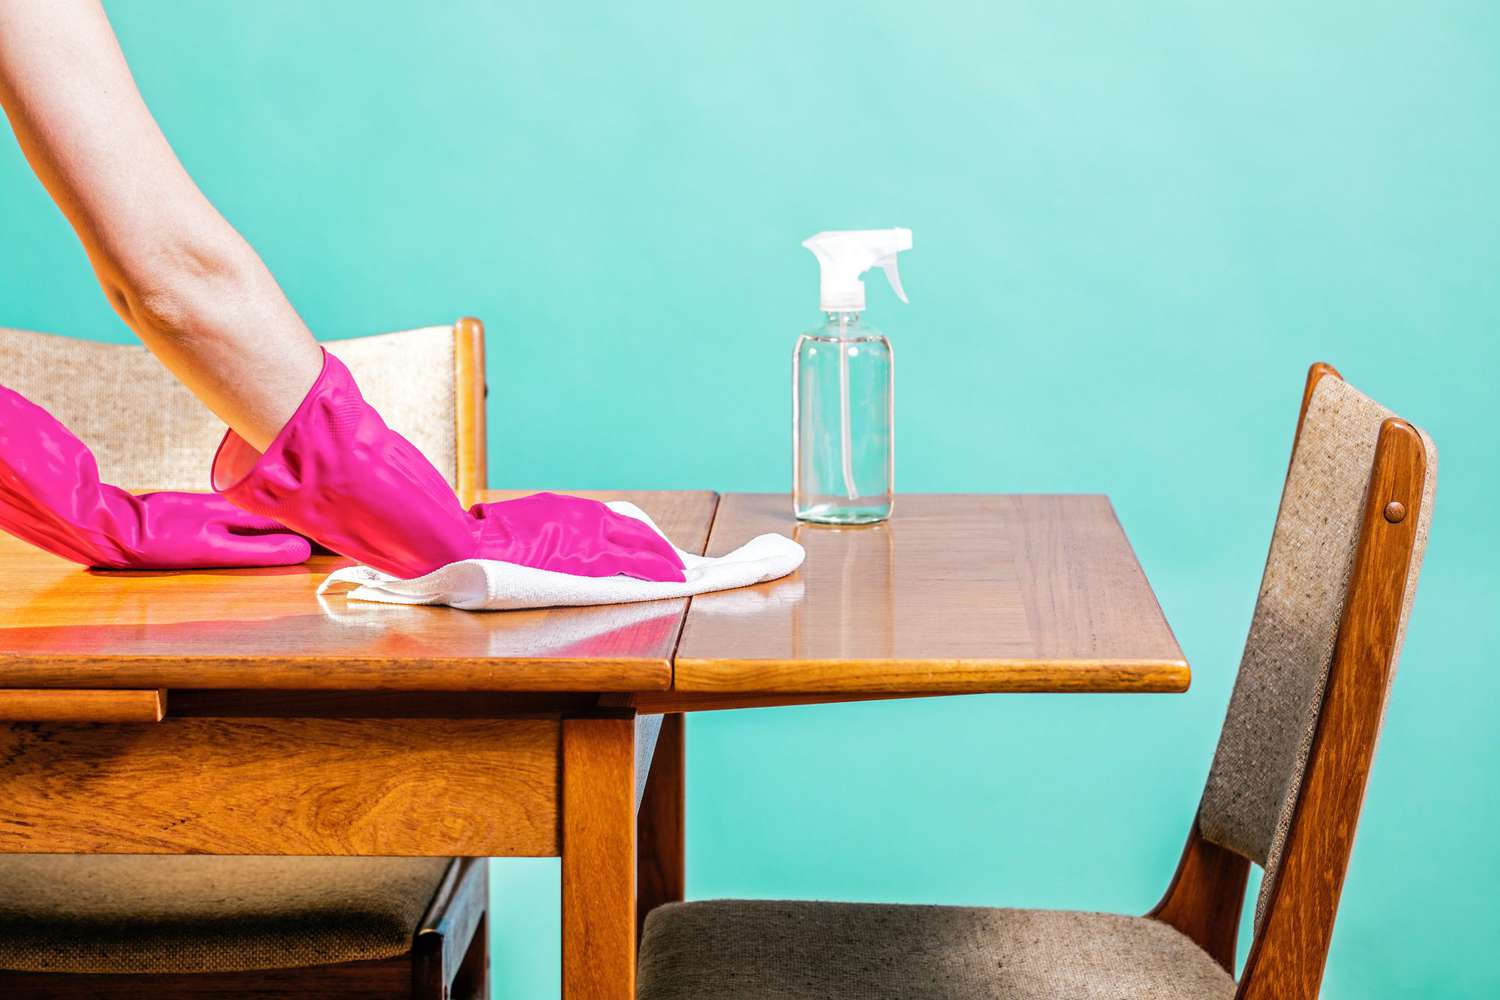
2. Dust and Clean: Use a soft, lint-free cloth or a microfiber cloth to gently dust off the table. This will help remove any loose particles or debris that could interfere with the stain removal process.
3. Test an Inconspicuous Area: Before applying any stain removal method, it’s advisable to test it on a small, inconspicuous area of the table. This will help you determine if the chosen method is safe for your table’s finish and will not cause any damage.
4. Protect Surrounding Surfaces: If you’re using any liquid or cleaning solutions during the stain removal process, make sure to protect the surrounding surfaces, such as the floor or nearby furniture, with a drop cloth or old towels. This will prevent any accidental spills or damage.
5. Gather the Necessary Supplies: Depending on the type of stain you’re dealing with, gather the appropriate stain removal supplies. This may include vinegar, baking soda, mild dish soap, hydrogen peroxide, specialized wood cleaners, or even a gentle abrasive like toothpaste or baking soda paste.
By taking the time to prepare your dining table, you create an optimal environment for stain removal and minimize the risk of causing any further damage. With that in mind, let’s explore the various natural stain removal methods you can use to tackle common dining table stains!
Natural Stain Removal Methods
If you prefer to use natural and eco-friendly methods to remove stains from your dining table, there are several effective options available. These natural stain removal methods are safe to use on most types of table surfaces, but it’s always a good idea to test them on a small, inconspicuous area first. Here are a few natural stain removal methods you can try:
1. Vinegar and Water: Create a mixture of equal parts white vinegar and water. Dampen a clean cloth or sponge with the mixture and gently dab it onto the stain. Let it sit for a few minutes, then wipe it off with a clean, damp cloth. Vinegar is a natural disinfectant and can help remove various stains.
2. Baking Soda Paste: Make a paste by mixing baking soda with a small amount of water. Apply the paste to the stain and gently rub it in a circular motion using a soft cloth. Let it sit for a few minutes, then wipe it off with a clean, damp cloth. Baking soda is a mild abrasive that can help lift stains without damaging the table’s surface.
3. Lemon Juice: Lemon juice is a natural bleaching agent and can help remove stubborn stains. Squeeze fresh lemon juice onto a clean cloth and gently rub it onto the stain. Allow it to sit for a few minutes before wiping it off with a damp cloth.
4. Salt: Salt can effectively absorb fresh stains, such as red wine spills. Sprinkle a generous amount of salt over the stain and let it sit for a few minutes. Gently blot the salt with a clean cloth, then wipe the area with a damp cloth. Repeat as needed until the stain is removed.
5. Toothpaste: Non-gel toothpaste can work wonders on lighter stains and scratches. Apply a small amount of toothpaste directly to the stain and gently rub it in a circular motion with a soft cloth. Wipe it off with a clean, damp cloth and repeat the process if necessary.
These natural stain removal methods are generally safe to use on most dining table surfaces, but it’s important to check the manufacturer’s recommendations if your table has a specific finish or coating. If natural remedies don’t fully remove the stain, don’t worry. We’ll explore specialized stain removal methods for different types of stains in the following sections.
Removing Water Stains
Water stains are a common occurrence on dining tables, typically caused by glasses or cups that leave behind unsightly rings or marks. Luckily, there are several effective methods for removing water stains and restoring the pristine condition of your table. Here’s how you can do it:
1. Mix equal parts white vinegar and olive oil in a small bowl.
2. Dampen a clean cloth with the vinegar and olive oil mixture.
3. Gently rub the cloth onto the water stain in a circular motion, applying light pressure.
4. Continue rubbing for a few minutes, allowing the mixture to penetrate the stain.
5. Afterward, wipe off the excess mixture with a clean, dry cloth.
If the water stain persists, you can try an alternative method using a hairdryer:
1. Set the hairdryer to a low or medium heat setting.
2. Hold the hairdryer away from the water stain, directing warm air onto the affected area.
3. Move the hairdryer in a circular motion over the stain, heating the surface for a few minutes.
4. Keep the hairdryer at a safe distance to prevent any damage to the table’s surface.
5. Once the stain starts to fade, wipe the area with a clean, dry cloth to remove any residual moisture.
Remember to always test these methods on a small, inconspicuous area of the table first to ensure they don’t cause any damage. If the water stain is particularly stubborn or the table has a sensitive finish, it may be best to consult a professional to avoid further damage.
Now that you’ve learned how to remove water stains, let’s move on to tackling food and beverage stains on your dining table!
Removing Food and Beverage Stains
Food and beverage stains are common culprits when it comes to staining dining tables. Whether it’s a spilled glass of red wine, a dropped dollop of sauce, or a smeared chocolate mark, these stains can be stubborn and unsightly. However, with the right stain removal techniques, you can effectively remove them. Here’s how:
1. Blot the Stain: If the stain is still fresh, start by blotting the excess liquid or residue with a clean cloth or paper towel. Avoid rubbing the stain, as it can push it deeper into the table’s surface.
2. Create a Cleaning Solution: For non-greasy stains, mix a few drops of mild dish soap with warm water. For greasy stains, add a small amount of dish soap to warm water, mixing until it forms a soapy solution.
3. Dampen a Cloth: Dip a clean cloth into the cleaning solution, wring out any excess liquid, and gently dab the stained area. Avoid saturating the table’s surface with liquid as it can cause further damage.
4. Blot and Repeat: Blot the stained area with a clean cloth to absorb the cleaning solution and stain. Repeat this process, using a fresh portion of the cloth and a new batch of the cleaning solution if necessary, until the stain is lifted.
5. Rinse with Clean Water: Once the stain is removed, rinse the area with clean water to remove any traces of the cleaning solution. Dampen a new cloth with water, gently wipe the area, and dry it thoroughly.
If the stain persists, especially with tougher stains like red wine or coffee, you can try the following alternative methods:
1. Make a Paste: Mix baking soda with a small amount of water to create a paste. Apply the paste directly to the stain and let it sit for a few minutes. Gently scrub the stain with a soft cloth or sponge, adding more water if needed. Rinse with clean water and dry.
2. Use a Stain Remover: If natural methods don’t work, you can opt for a specialized stain remover designed for wood surfaces. Follow the manufacturer’s instructions carefully, applying the product to the stain, letting it sit for the recommended time, and then wiping it off.
Remember, it’s crucial to act quickly when dealing with food and beverage stains to prevent them from setting in. However, if the stain persists or if your dining table has a sensitive finish, it’s always wise to seek professional advice to prevent any potential damage.
Now, let’s move on to tackling stubborn ink stains that may find their way onto your dining table.
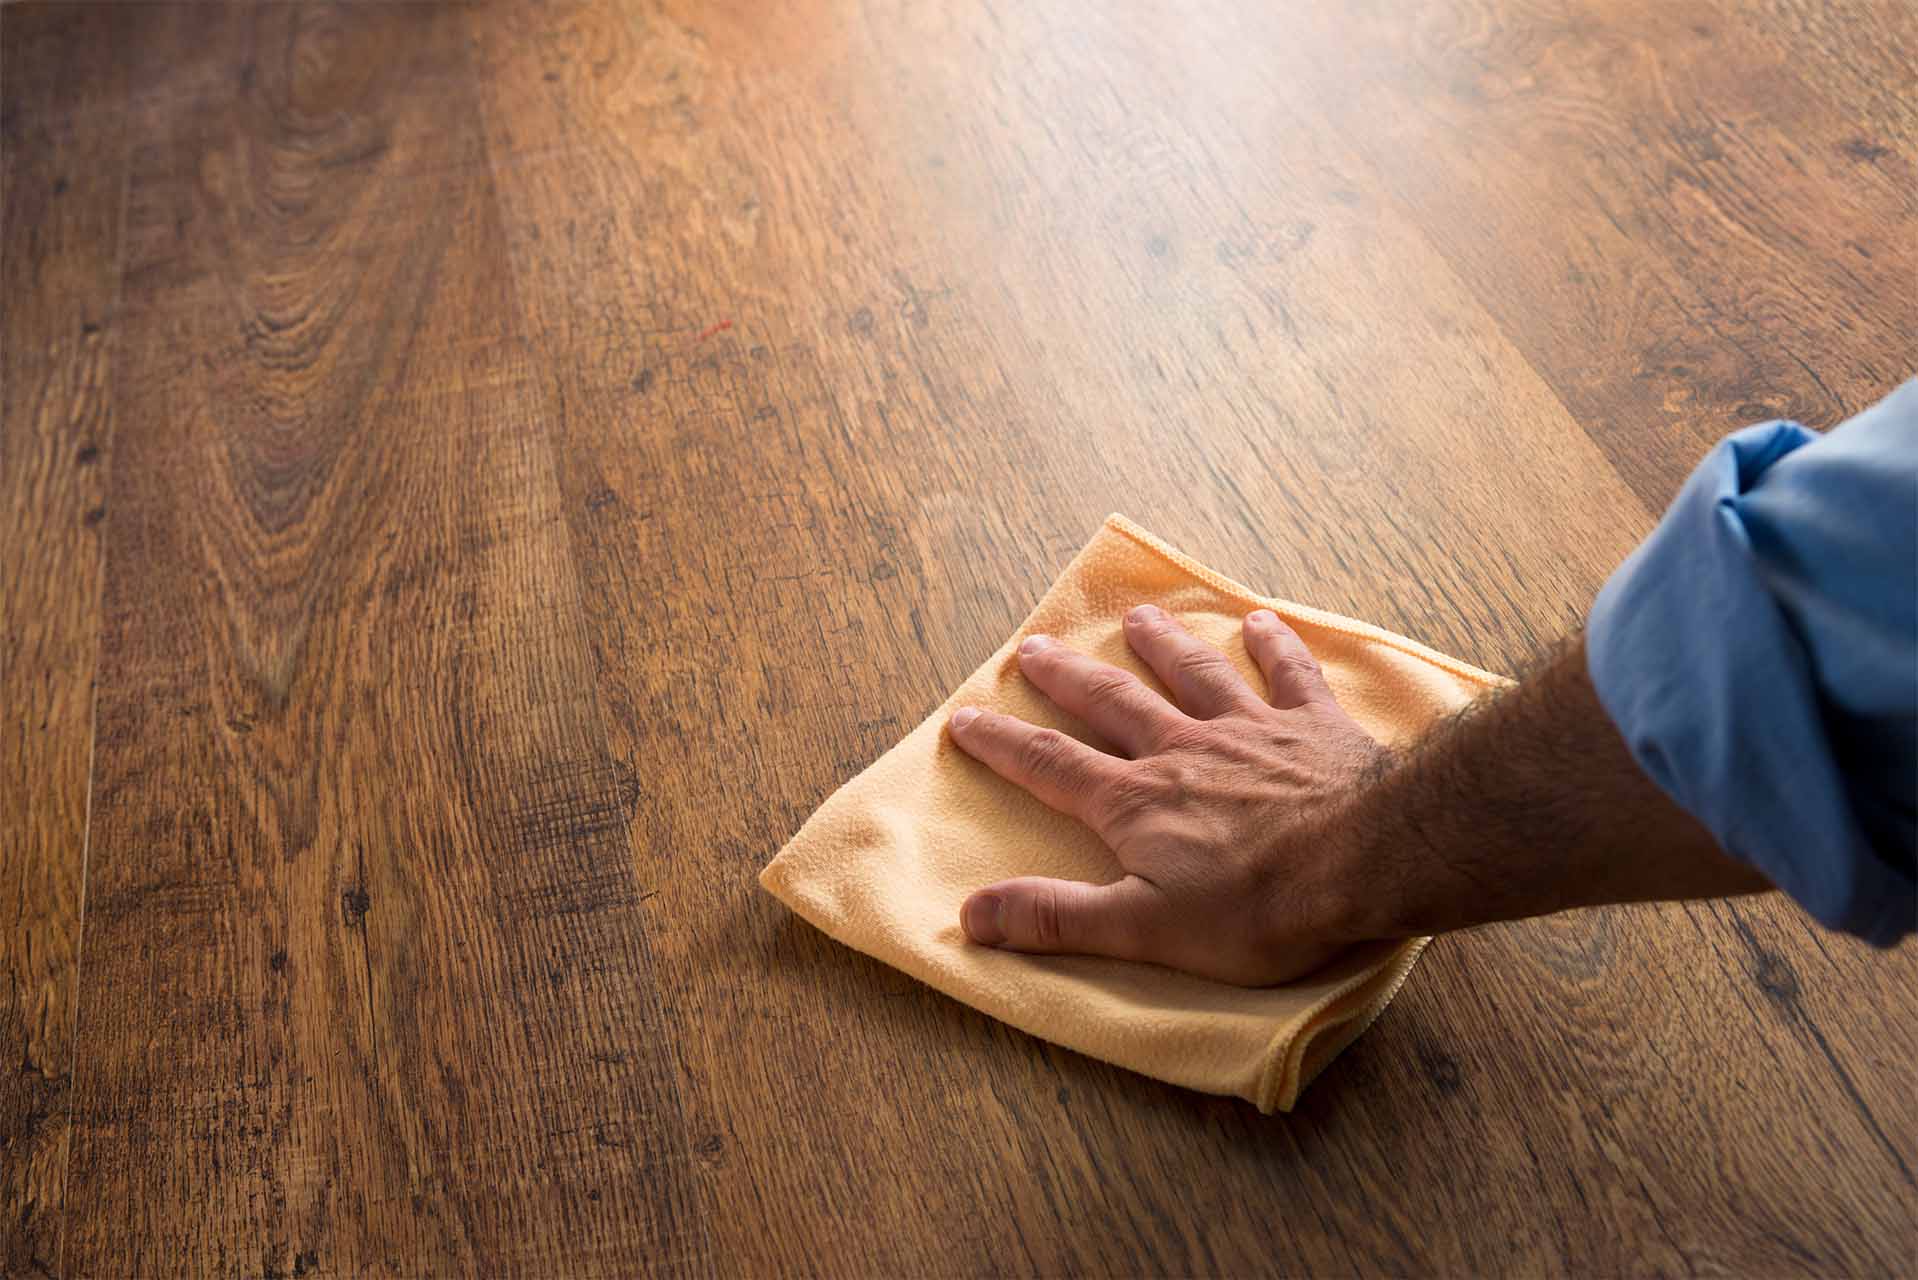
To remove stains from a dining table, mix equal parts of baking soda and water to form a paste. Gently rub the paste onto the stain, let it sit for a few minutes, then wipe it off with a damp cloth. Repeat if necessary.
Removing Ink Stains
Ink stains can be particularly challenging to remove, especially if they have already dried on your dining table. However, with the right approach, you can effectively tackle ink stains and restore the beauty of your table. Here are some methods to try:
1. Blot the Stain: If the ink stain is still wet, start by blotting it gently with a clean cloth or paper towel to absorb as much ink as possible. Avoid rubbing the stain, as it can spread it further.
2. Alcohol or Nail Polish Remover: For fresh ink stains, dampen a clean cloth with rubbing alcohol or non-acetone nail polish remover. Gently dab the stain, working from the outside towards the center to prevent spreading. Continue dabbing until the ink transfers onto the cloth. Rinse with water and dry thoroughly.
3. Hairspray: Another method to remove ink stains is by using hairspray. Spray a small amount of hairspray directly onto the stain and let it sit for a few minutes. Then, gently blot the stain with a clean cloth. Repeat the process until the ink stain is removed.
4. Vinegar and Lemon Juice: For older or set-in ink stains, you can create a mixture of equal parts white vinegar and lemon juice. Apply the mixture to the stain using a clean cloth and gently rub in a circular motion. Rinse with water and dry thoroughly.
Note: Before applying any of these methods, it’s essential to test them on a small, inconspicuous area of the table to ensure they don’t cause any damage or discoloration.
If the ink stain persists, it’s best to consult a professional or a specialized stain removal service to avoid further damage to the table’s surface. Ink stains can be tricky, and professional expertise may be required for complete removal without compromising the integrity of your dining table.
Next, let’s explore how to remove paint or nail polish stains from your dining table.
Removing Paint or Nail Polish Stains
Accidental spills of paint or nail polish on your dining table can be quite distressing, as they can leave stubborn stains. However, with the right approach and quick action, you can effectively remove paint or nail polish stains and restore your table’s appearance. Here are some methods to try:
1. Scrape Off Excess: If the paint or nail polish is still wet, use a plastic scraper or a credit card to gently scrape off any excess without pressing it further into the surface. Be careful not to scratch the table.
2. Acetone or Nail Polish Remover: For small paint or nail polish stains, you can try using acetone or non-acetone nail polish remover. Dampen a clean cloth with the solution and gently blot the stain, starting from the edges and working towards the center. Be cautious not to rub vigorously, as it may spread the stain. Rinse the area with water and dry thoroughly.
3. Isopropyl Alcohol: If acetone or nail polish remover is not available, isopropyl alcohol can be an effective alternative. Moisten a clean cloth with isopropyl alcohol and gently dab the stained area, being careful not to scrub vigorously. Rinse with water and dry thoroughly.
4. Soap and Water: For water-based paint stains, you can try using warm soapy water. Mix a few drops of mild dish soap with warm water and dampen a clean cloth with the soapy solution. Gently blot the stain, being cautious not to saturate the table’s surface. Rinse with water and dry thoroughly.
5. Specialized Paint or Nail Polish Remover: If the stain persists, there are specialized paint or nail polish removers available that are formulated for specific surfaces. Follow the product’s instructions carefully, applying it to the stain and gently wiping it away. Rinse with water and dry thoroughly.
Remember, it’s important to act quickly when dealing with paint or nail polish stains to prevent them from drying and becoming more difficult to remove. If the stain is large or deeply embedded, it’s advisable to seek professional assistance to ensure the best possible outcome and to avoid causing any unintentional damage to your dining table.
Now, let’s explore how to remove heat or burn marks from your table’s surface.
Removing Heat or Burn Marks
Heat or burn marks on your dining table can be unsightly and can make your table look damaged or worn. However, with the right approach, you can minimize or even completely remove these marks. Here are some methods you can try:
1. Mild Abrasives: For light heat or burn marks, you can use mild abrasives like white toothpaste or baking soda. Apply a small amount of the abrasive to a damp cloth and gently rub the affected area in a circular motion. Rinse the area with clean water and dry thoroughly.
2. Steel Wool: If the heat or burn marks are more stubborn, you can try using fine-grade steel wool. Rub the affected area gently with the steel wool, following the grain of the wood, until the marks begin to fade. Be cautious not to scrub too vigorously, as it may cause further damage. Afterward, clean the area with a damp cloth, then dry thoroughly.
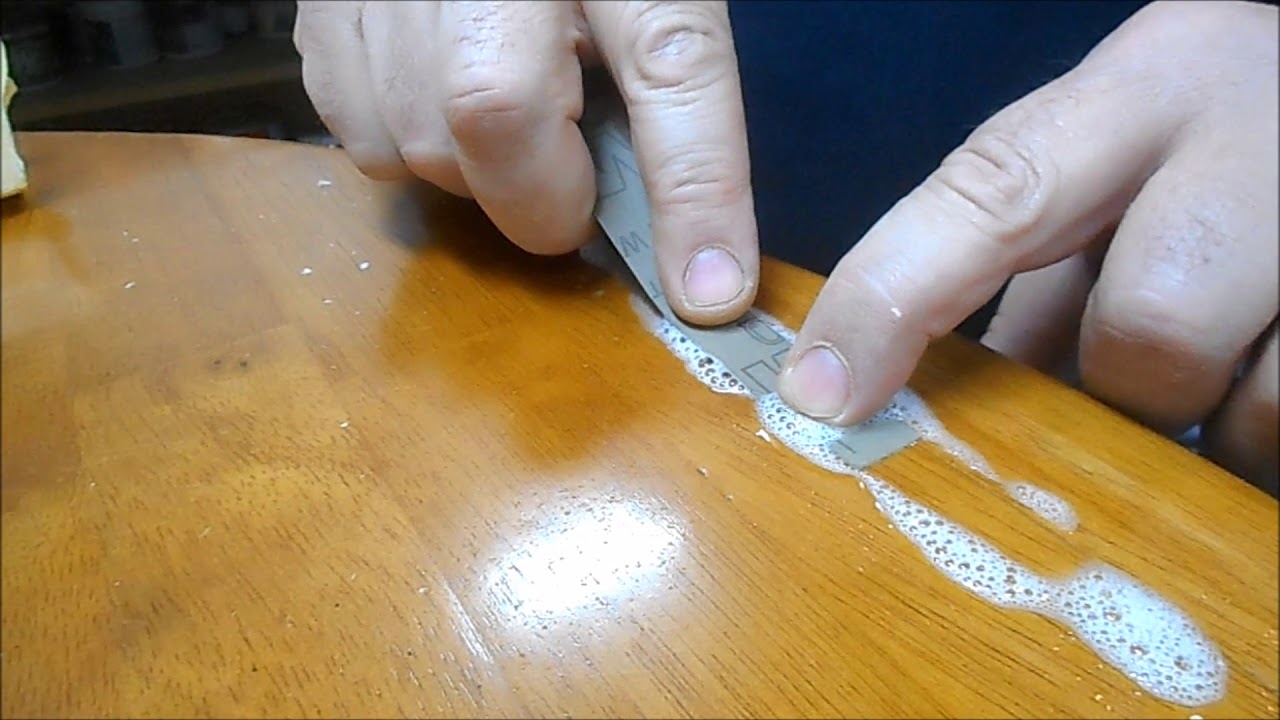
3. Sandpaper: In more severe cases, you may need to resort to using sandpaper. Start with a fine-grit sandpaper (around 180-220 grit) and sand the affected area lightly. Follow the natural grain of the wood and be careful not to sand too aggressively. Once the marks are reduced or removed, switch to a finer grit sandpaper (around 320-400 grit) to smooth out the surface. After sanding, wipe away any dust with a clean, damp cloth and dry thoroughly.
4. Iron and Brown Paper: If the heat or burn mark is superficial and hasn’t penetrated deeply into the wood, you can try the iron and brown paper method. Place a piece of brown paper over the affected area and set the iron to a low or medium heat setting. Gently run the iron over the paper, allowing the heat to transfer to the table’s surface. Keep the iron moving to prevent scorching. Check periodically to see if the mark is fading and remove the paper once it does. Clean the area with a damp cloth and dry thoroughly.
Remember, if the heat or burn marks are severe or if you’re unsure about using these methods, it’s best to consult a professional or seek expert advice to ensure that you don’t inadvertently cause further damage to your dining table.
Now, let’s move on to dealing with scratches on your table’s surface.
Read more: How To Remove Stains From A Lace Tablecloth
Removing Scratches
Scratches on your dining table’s surface can be quite bothersome, but with the right techniques, you can minimize their visibility or even remove them completely. Here are some methods to try:
1. Mineral Oil or Furniture Polish: For light scratches, you can try using mineral oil or furniture polish to lessen their appearance. Apply a small amount of mineral oil or furniture polish to a soft, lint-free cloth and gently rub it into the scratched area, following the direction of the wood grain. Wipe off any excess oil or polish and buff the area with a fresh cloth to restore shine.
2. Walnut Meat: Believe it or not, the meat inside a walnut can help reduce the appearance of shallow scratches. Rub the scratched area with the meat of a raw walnut, following the direction of the grain. The natural oils in the walnut can help fill in minor scratches and make them less noticeable. Wipe off any residue with a clean cloth.
3. Paste Wax or Polish: For deeper scratches, you can use paste wax or specialized wood polish designed for scratch repair. Apply a small amount of the wax or polish to the scratched area and gently rub it into the wood using a soft cloth. Follow the manufacturer’s instructions regarding application and drying time. Buff the area with a clean cloth to restore shine.
4. Touch-Up Markers or Pens: If the scratches are more visible and affect the color of the wood, you can use touch-up markers or pens specifically made for wood repair. Select a marker or pen that matches the color of your table’s finish and cautiously apply it to the scratched area. Allow it to dry completely and assess the result. You may need to repeat the process or blend the color with a cloth to achieve a seamless finish.
5. Professional Restoration: In cases where the scratches are deep or extensive, or if you’re unsure about attempting DIY methods, it’s best to seek professional furniture restoration services. A professional can assess the damage and employ various techniques, such as sanding, staining, or refinishing, to restore the table’s appearance.
Remember, prevention is key to minimizing scratches. Using protective padding, tablecloths, or placemats can help prevent scratches from occurring in the first place. Regular dusting and maintenance also contribute to preserving your table’s surface.
Now that you’ve learned how to remove scratches, let’s move on to some final tips and maintenance practices to keep your dining table looking its best.
Final Tips and Maintenance
Now that you’ve successfully removed stains from your dining table, it’s important to implement some maintenance practices to keep it looking beautiful for years to come. Here are some final tips to consider:
1. Use Coasters and Placemats: To prevent future stains and damage, always use coasters for drinks and placemats or tablecloths for meals. These protective barriers can help minimize the risk of water rings, food stains, and scratches.
2. Clean Spills Immediately: Accidents happen, but it’s crucial to clean up spills as soon as they occur. Prompt action can prevent stains from setting in and becoming more difficult to remove.
3. Regular Dusting: Dust your dining table regularly with a soft, lint-free cloth or a microfiber cloth to remove any surface dust or debris. This simple step can help maintain its appearance and prevent scratches.
4. Avoid Direct Sunlight: Prolonged exposure to direct sunlight can cause fading and damage to your table’s finish. Position your dining table away from windows or use curtains or blinds to block out harsh sunlight when necessary.
5. Apply Protective Coatings: If your dining table has a wood finish, applying a protective coating, like wax or varnish, can help shield it from stains and scratches. Consult the manufacturer’s recommendations or seek professional advice for the appropriate coating for your table.
6. Regular Maintenance: Periodically, give your dining table a deep clean using a mild wood cleaner or a mixture of vinegar and water. Follow the instructions provided by the cleaner or make your own cleaning solution by mixing equal parts vinegar and water. Gently wipe down the table’s surface and dry thoroughly to maintain its shine and cleanliness.
7. Professional Refinishing: Over time, even with regular maintenance, your dining table may require professional refinishing to restore its original beauty. Consider consulting a professional furniture refinisher to assess and refresh the table’s finish when necessary.
By implementing these tips and maintenance practices, you can extend the life and appearance of your dining table, ensuring its beauty for years to come. Remember to always follow the manufacturer’s recommendations for cleaning and care, and if in doubt, consult a professional.
Congratulations on successfully removing stains and maintaining your dining table’s impeccable appearance!
Feel free to reference this comprehensive guide whenever you encounter stains or require guidance in the future. Enjoy your clean and beautiful dining table!
Conclusion
In conclusion, maintaining a stain-free and flawless dining table is possible with the right knowledge and techniques. We have explored various types of stains, including water rings, food and beverage stains, ink stains, paint or nail polish stains, heat or burn marks, and scratches. Armed with this information, you now have the tools to tackle these common foes and restore your table’s beauty.
From natural stain removal methods using household ingredients like vinegar, lemon juice, and baking soda, to specialized solutions like alcohol, hair spray, and furniture polish, we have covered a range of techniques to address different types of stains. It’s essential to properly prepare your dining table before attempting any stain removal process, ensuring that you don’t cause further damage.
We have also discussed the importance of quick action when dealing with spills and stains, as well as the significance of regular maintenance to prevent future damage. By implementing simple practices like using coasters and placemats, regular dusting, and avoiding direct sunlight, you can greatly extend the life and appearance of your dining table.
However, it’s important to note that each dining table is unique, and results may vary depending on the specific finish and materials used. It’s always advisable to test any stain removal method on a small, inconspicuous area before proceeding with the entire table.
If you encounter challenges or come across stubborn stains that are difficult to remove, don’t hesitate to seek professional assistance. Furniture restoration experts have the tools, expertise, and experience to handle more complex stains and restore your dining table to its former glory.
With the information provided in this comprehensive guide, you can confidently tackle stains, remove scratches, and maintain your dining table’s pristine condition. Remember to always follow proper care and maintenance practices, and don’t be deterred if the stain removal process requires persistence and experimentation.
Your dining table is a central piece in your home where memories are created and shared. By keeping it clean and free from stains, you can continue to enjoy beautiful meals and gatherings with your loved ones for years to come.
Frequently Asked Questions about How To Remove Stains From Dining Table
Was this page helpful?
At Storables.com, we guarantee accurate and reliable information. Our content, validated by Expert Board Contributors, is crafted following stringent Editorial Policies. We're committed to providing you with well-researched, expert-backed insights for all your informational needs.


0 thoughts on “How To Remove Stains From Dining Table”