Home>Dining>Tableware>How To Remove Legs From A Dining Table
Tableware
How To Remove Legs From A Dining Table
Modified: December 7, 2023
Learn how to easily remove the legs from your dining table with our step-by-step guide. Transform your tableware without any hassle.
(Many of the links in this article redirect to a specific reviewed product. Your purchase of these products through affiliate links helps to generate commission for Storables.com, at no extra cost. Learn more)
Introduction
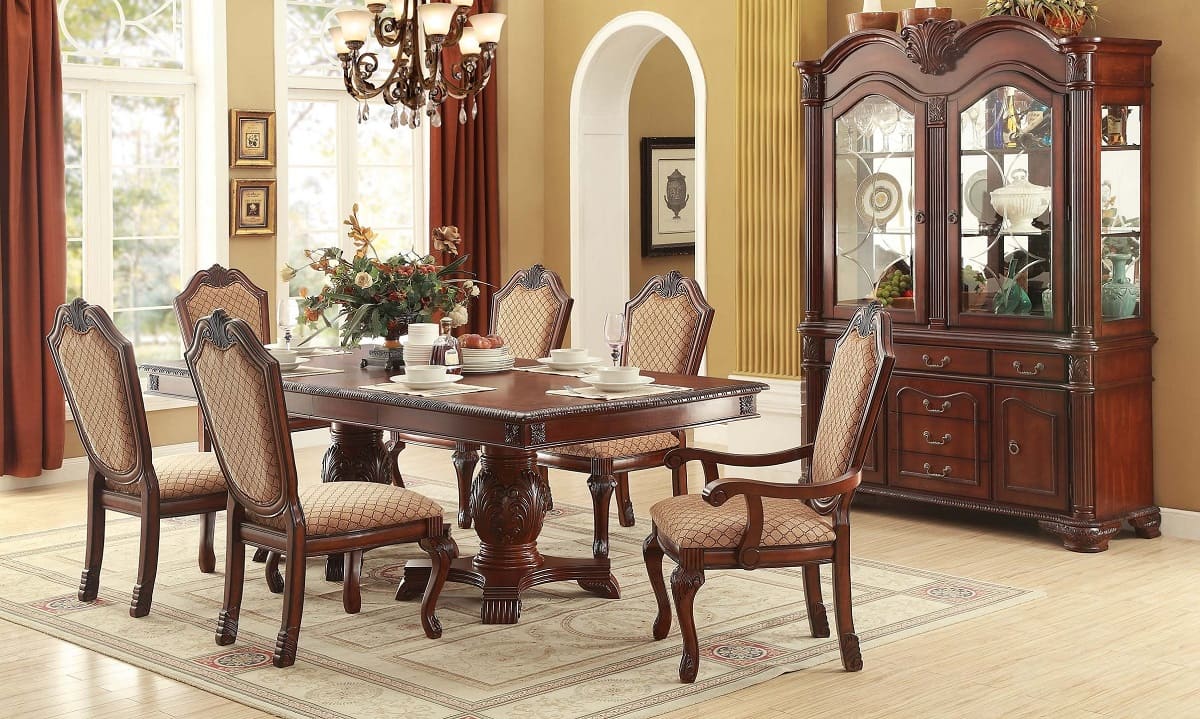
Are you looking to give your dining room a fresh new look? Maybe you’re planning a renovation or simply want to change up the style of your table. Whatever your reason may be, removing the legs from a dining table can be a necessary step in achieving your desired outcome.
Removing table legs might seem like a daunting task, but with the right tools and approach, it can be a relatively simple and straightforward process. In this guide, we will walk you through the steps necessary to successfully remove the legs from your dining table.
Whether you want to replace the legs, refinish the tabletop, or repurpose the table altogether, this article will provide you with the guidance you need. So, gather your tools and let’s dive into this fun and rewarding project!
Key Takeaways:
- Transform your dining table with ease by following simple steps to remove the legs, allowing for customization, refinishing, and personalization to create a unique and stylish centerpiece for your dining room.
- With the right tools and careful execution, removing the legs from a dining table can be a rewarding and satisfying project, providing the opportunity to update the look and style of your table while ensuring stability and functionality.
Read more: How Tall Are Dining Table Legs
Tools and Materials Needed
Before you start the process of removing the legs from your dining table, it’s important to gather the necessary tools and materials. Here’s a list of what you’ll need:
- Screwdriver: A screwdriver will come in handy for removing any screws or fasteners holding the legs in place.
- Wrench: Depending on the type of attachment, you may need a wrench to loosen and disconnect the legs.
- Protective Gear: It’s always a good idea to wear safety gloves and goggles to protect yourself from any potential hazards.
- Drop Cloth: To protect your floor or work surface from scratches or stains, lay down a drop cloth or old sheet.
- Cleaner and Cloth: You may need a cleaner and cloth to remove any dirt or grime from the bottom of the tabletop.
- Finishing Materials: If you plan on refinishing the bottom of the tabletop, gather the necessary materials such as sandpaper, stain, paint, or varnish.
- Measuring Tape: A measuring tape will be helpful for taking precise measurements if you need to adjust or replace the legs.
- Replacement Legs (Optional): If you plan on replacing the legs, make sure you have the new legs ready and ensure they are compatible with your table.
Having these tools and materials on hand will make the process smoother and ensure you have everything you need to remove the legs from your dining table.
Step 1: Preparation
Before you begin the process of removing the legs from your dining table, it’s essential to prepare the workspace and take necessary precautions. Here’s what you need to do:
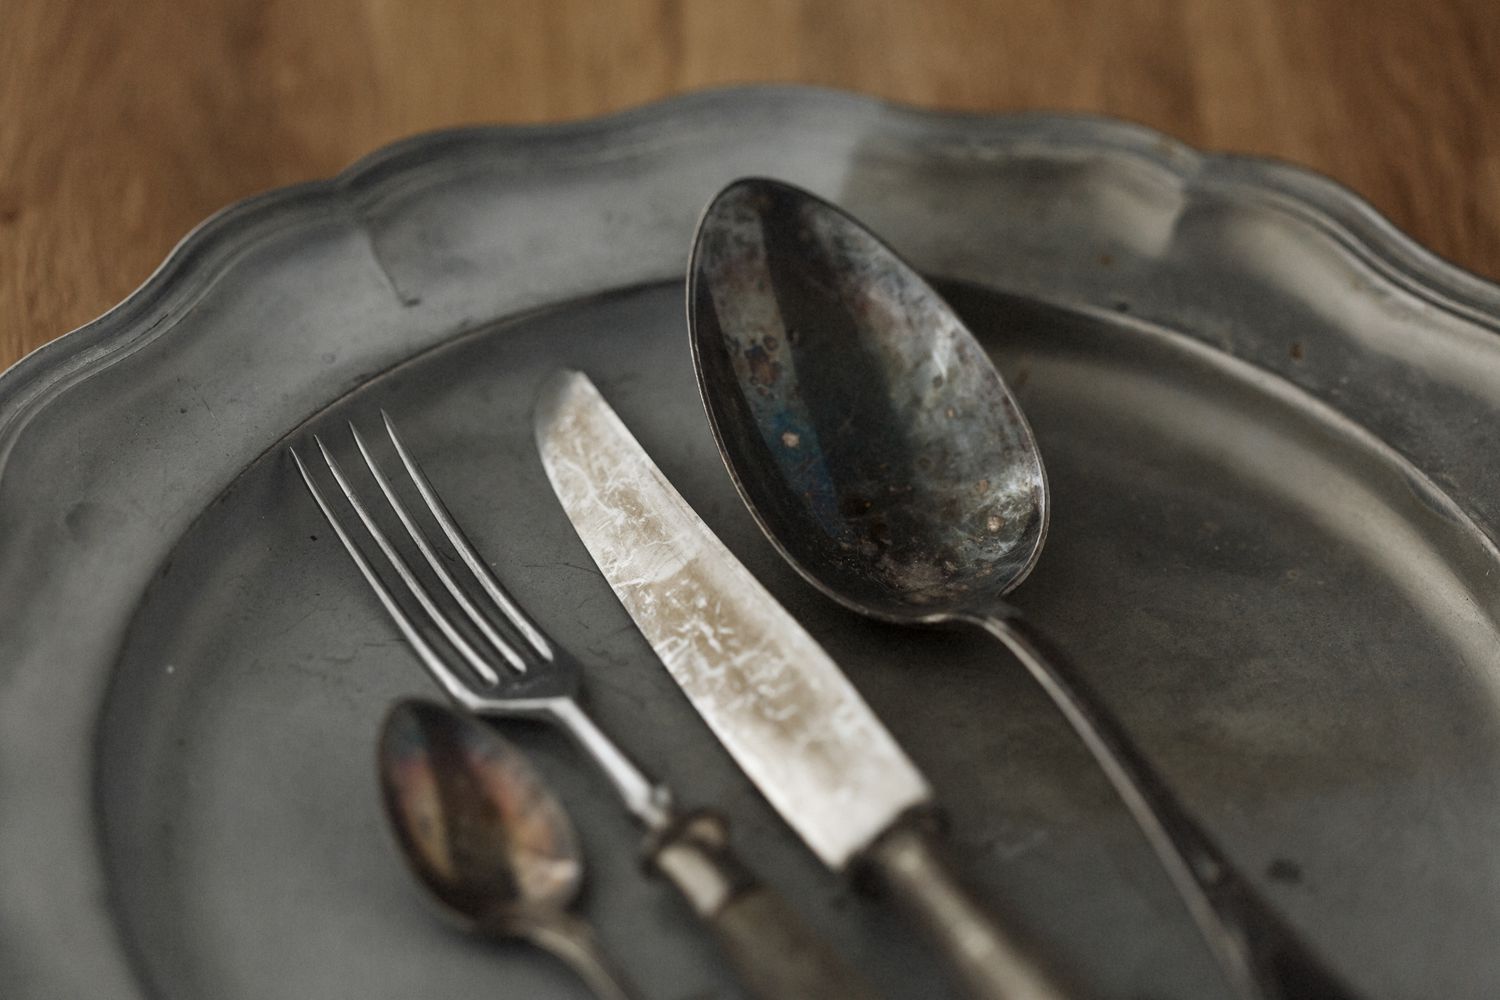
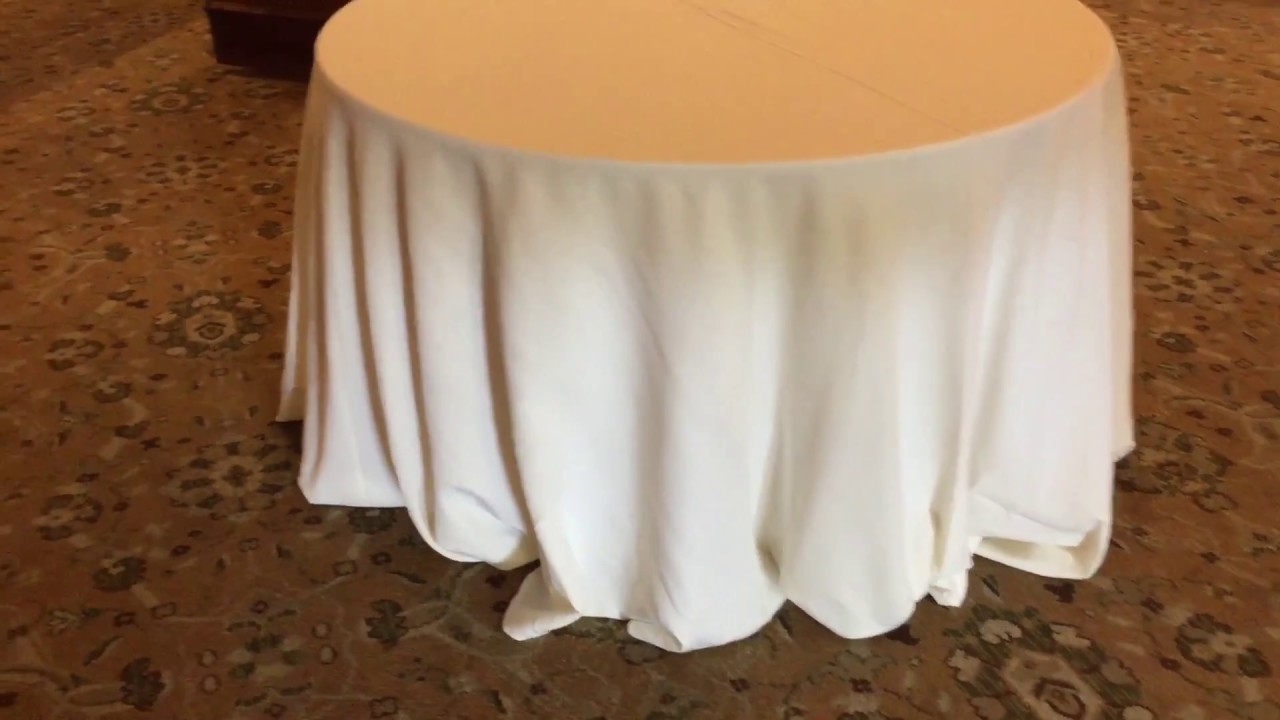
- Clean the Table: Start by clearing the table of any objects, including dishes, centerpieces, or tablecloths. This will provide you with a clear workspace and protect items from damage during the process.
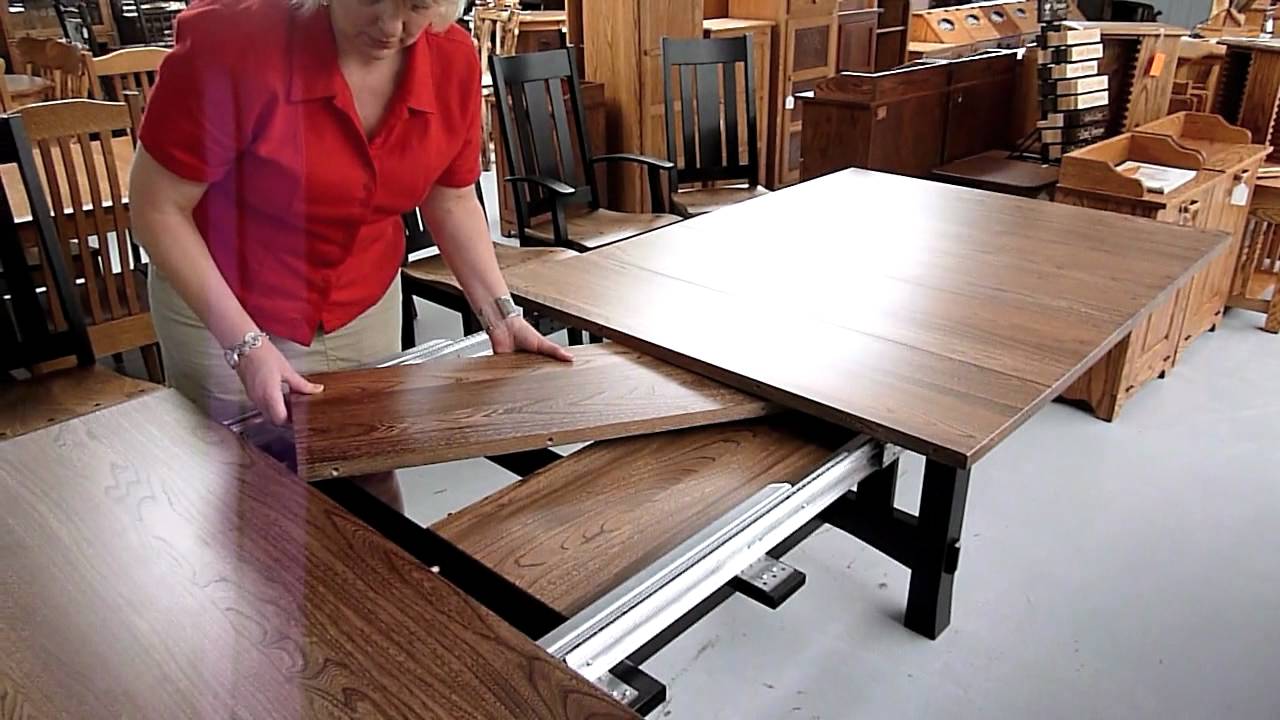
- Secure the Tabletop: If the table has an extension leaf or a removable tabletop, make sure it is securely fastened or remove it if needed. This will prevent any accidental detachment during the leg removal process.
- Protect the Floor: Lay down a drop cloth or an old sheet beneath the table to protect the floor from scratches or any debris that may fall during the process.
- Put on Protective Gear: Wear safety gloves and goggles to protect your hands and eyes from any potential hazards, especially when handling tools or removing screws.
By preparing your workspace and taking necessary precautions, you’ll create a safe and organized environment for removing the legs from your dining table.
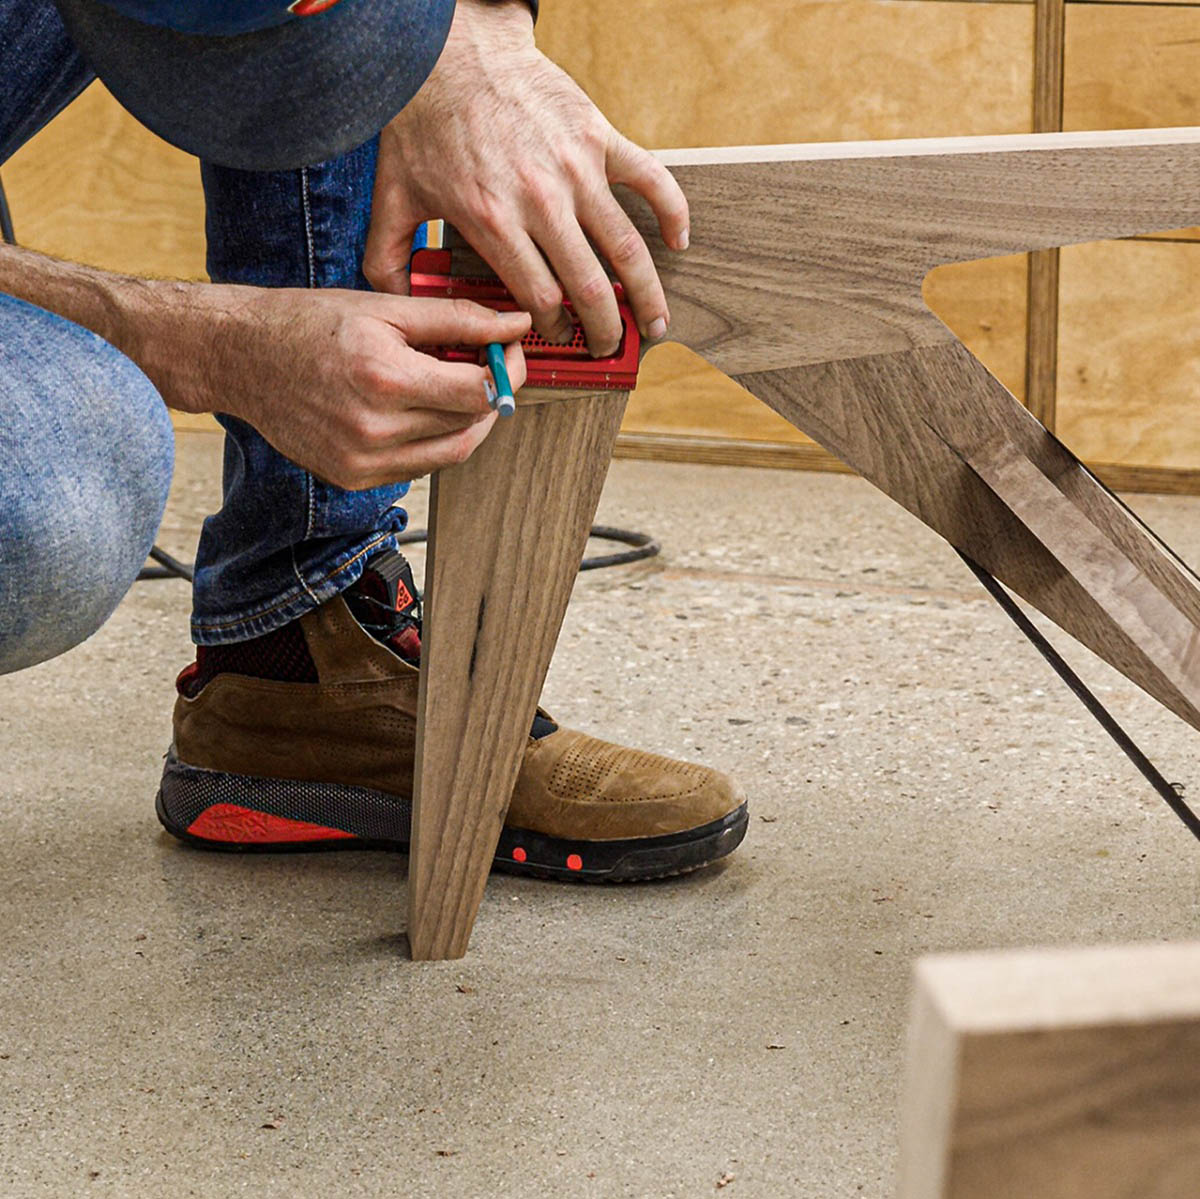
Step 2: Inspect and Assess
Before you start removing the legs from your dining table, take some time to inspect and assess the construction and attachment of the legs. This step will help you determine the best approach for removing them. Here’s what you need to do:
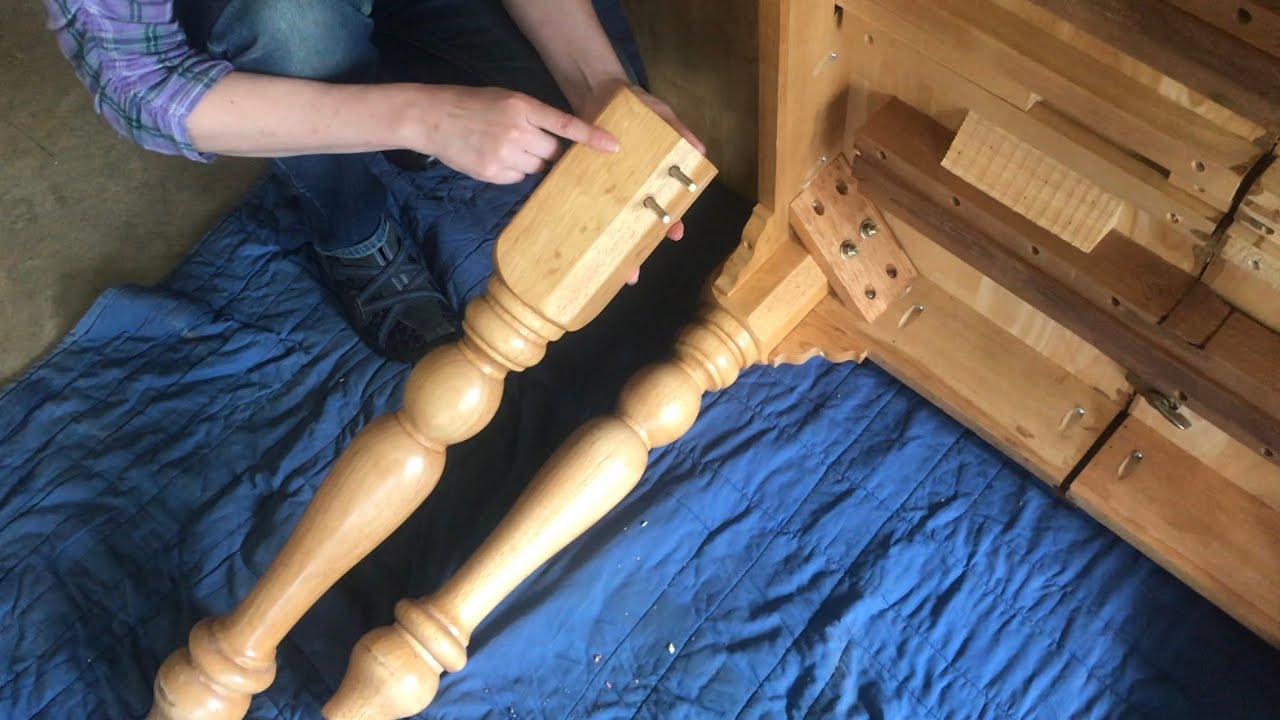
- Examine the Attachment: Carefully examine how the legs are attached to the tabletop. Some common attachment methods include bolts, screws, or brackets. Take note of any visible fasteners or hardware holding the legs in place.
- Check for Glue or Adhesive: In some cases, the legs may be glued or adhered to the tabletop. Look for any signs of glue or adhesive around the leg joints. This will determine whether you need to apply additional techniques, such as using a heat gun to soften the adhesive.
- Assess Stability: Analyze the stability of the table to identify any wobbling or unevenness. This can be an indicator of loose or damaged legs. It’s important to address any stability issues during the leg removal process.
- Measure and Note Leg Dimensions: Measure the length and width of the table legs, as well as the height of the table, if necessary. This information will be useful if you plan on replacing the legs or making adjustments later on.
By inspecting and assessing the legs, attachment, and overall stability of the table, you’ll have a better understanding of how to proceed with the leg removal process. This knowledge will shape your approach and ensure a successful outcome.
Step 3: Remove Tabletop
Now that you’ve inspected and assessed the legs, it’s time to remove the tabletop. Removing the tabletop will make it easier to access and detach the legs. Follow these steps:
- Clear the Tabletop: Remove any items, such as decorations or dishes, from the tabletop. Place them in a safe location to avoid damage.
- Flip the Table: Carefully flip the table over onto its top so that the legs are facing upwards. This will allow you to work on the bottom side of the tabletop more easily.
- Support the Tabletop: Place wooden blocks or other support structures underneath the edges of the tabletop to provide stability and prevent it from rocking or shifting during the leg removal process.
- Remove Screws or Fasteners: Use a screwdriver or wrench to remove any screws or fasteners attaching the tabletop to the legs. Take note of the location and number of screws, as you’ll need to reattach the tabletop later.
- Separate the Tabletop: Carefully detach the tabletop from the legs, ensuring that all connections are released. Lift off the tabletop and set it aside in a safe place.
With the tabletop removed, you now have better access to the legs and can proceed with the leg removal process more effectively. Take care when handling the tabletop to avoid any damage or injuries.
Read more: How To Remove Stains From Dining Table
Step 4: Disconnect Leg Attachments
With the tabletop removed, it’s time to disconnect the leg attachments. Depending on the construction of your dining table, the leg attachments may vary. Here’s what you need to do:
- Inspect the Leg Attachments: Take a close look at how the legs are attached to the frame or brackets. Look for screws, bolts, or other fasteners that hold the legs in place.
- Unscrew or Unbolt: Use a screwdriver or wrench to loosen and remove any screws or bolts that secure the legs. Turn the tool counterclockwise to loosen the fasteners until they are completely detached from the frame. Set the screws or bolts aside in a safe place for reassembly later on.
- Disconnect Brackets or Mounting Plates: If the legs are attached using brackets or mounting plates, use a screwdriver or wrench to remove them. Again, turn counterclockwise to loosen and detach the brackets from the legs and tabletop.
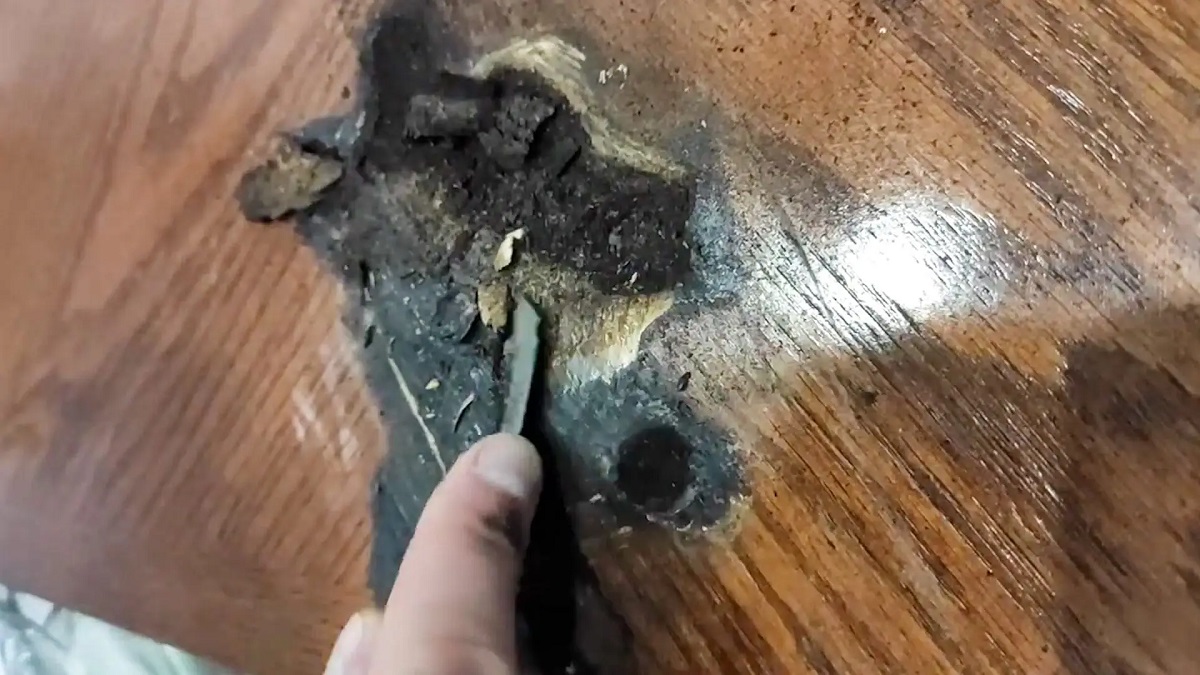
- Check for Glued Attachments: If you notice any signs of glue or adhesive holding the legs, use a heat gun to soften the glue. Apply gentle heat to the joints while being cautious not to damage the wood. This will make it easier to detach the legs from the tabletop.
By disconnecting the leg attachments, you are halfway through the leg removal process. Take your time, ensure all fasteners are properly removed, and be cautious when dealing with glue or adhesive.
Before attempting to remove the legs from a dining table, ensure that the table is stable and secure. Use a screwdriver or wrench to loosen and remove the bolts or screws attaching the legs to the table. Keep track of the hardware to reassemble later.
Step 5: Remove Legs
Now that the leg attachments are disconnected, it’s time to remove the legs from the dining table. Follow these steps:
- Stabilize the Table: Ensure that the table is stable and won’t tip over as you remove the legs. If needed, have someone assist you in holding the table steady.
- Grasp the Leg: Firmly grasp the leg that you want to remove with both hands. Apply gentle pressure to test if it is already loose. If not, proceed to the next step.
- Rock the Leg: Gently rock the leg back and forth to loosen it from the tabletop. Apply gradual pressure while being careful not to damage the table or surrounding areas.
- Twist and Pull: Once the leg has started to loosen, twist it counterclockwise while pulling it upward to detach it from the table. If needed, you can also use a rubber mallet to lightly tap the leg to help loosen it.
- Repeat for Remaining Legs: Follow the same process to remove the remaining legs from the tabletop. Take your time and proceed with caution to ensure the legs come off smoothly.
Removing the legs requires patience and careful handling. Take breaks if needed and double-check that all legs are completely detached before proceeding to the next step.
Step 6: Repeat for Remaining Legs
Once you have successfully removed one leg from your dining table, it’s time to repeat the process for the remaining legs. Follow these steps:
- Survey the Remaining Legs: Take a moment to inspect the remaining legs and assess how they are attached to the tabletop. Note any variations in attachment methods between legs.
- Follow the Same Procedure: Repeat the steps outlined in Step 5 for each remaining leg. Grasp the leg firmly, rock it back and forth to loosen it, and then twist and pull it upward to detach it from the table. Use a rubber mallet if necessary to gently tap the leg to help loosen it.
- Take Note of Differences: As you remove each leg, pay attention to any variations in resistance or attachment methods. Some legs may come off more easily than others, and certain legs may require additional care or effort.
- Ensure Proper Stability: After removing each leg, check the stability of the table to ensure it remains balanced and level. If necessary, adjust the table or use support structures to prevent it from tipping over during the process.
By systematically repeating the leg removal process for each leg, you will ensure that all legs are detached properly and safely. Take your time and remain diligent throughout the process.
Step 7: Clean and Refinish Bottom of Tabletop
Now that the legs have been removed, it’s a good opportunity to clean and potentially refinish the bottom of the tabletop. Follow these steps to restore its appearance:
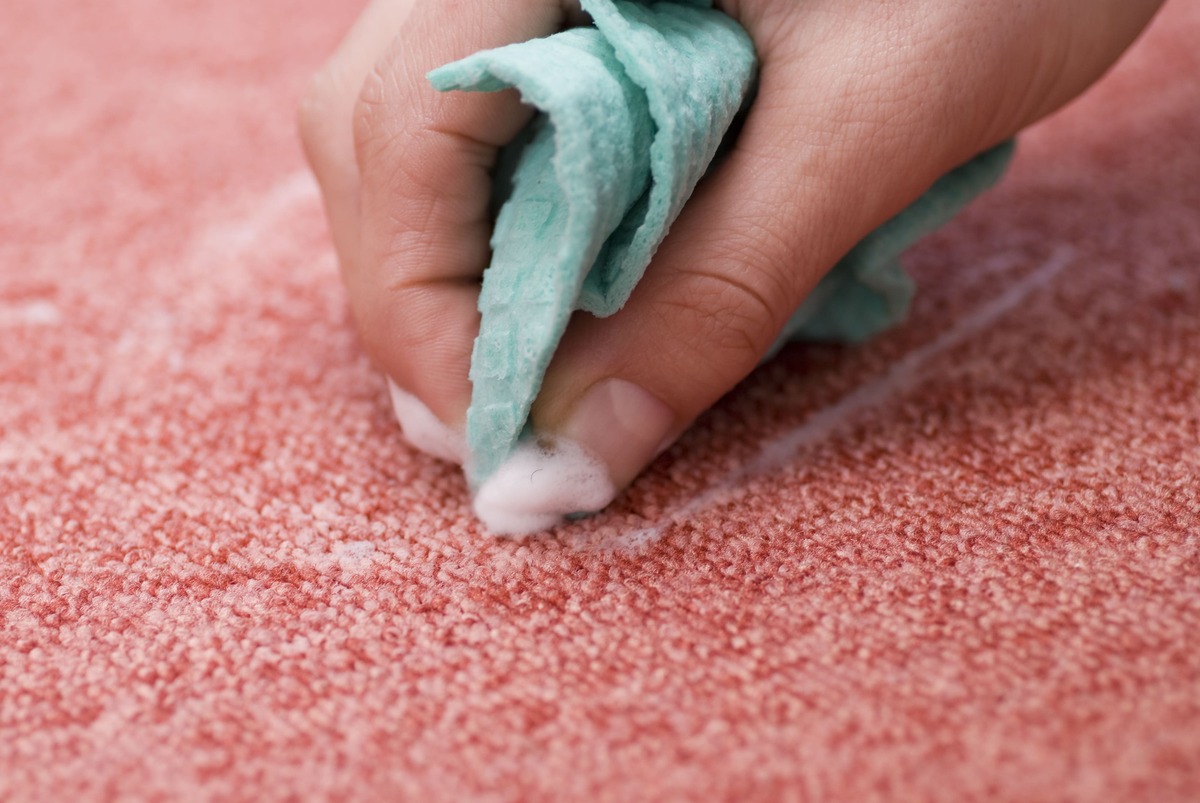
- Remove Dust and Debris: Use a soft cloth or brush to gently remove any dust, dirt, or loose particles from the surface of the tabletop. This will create a clean canvas for refinishing.
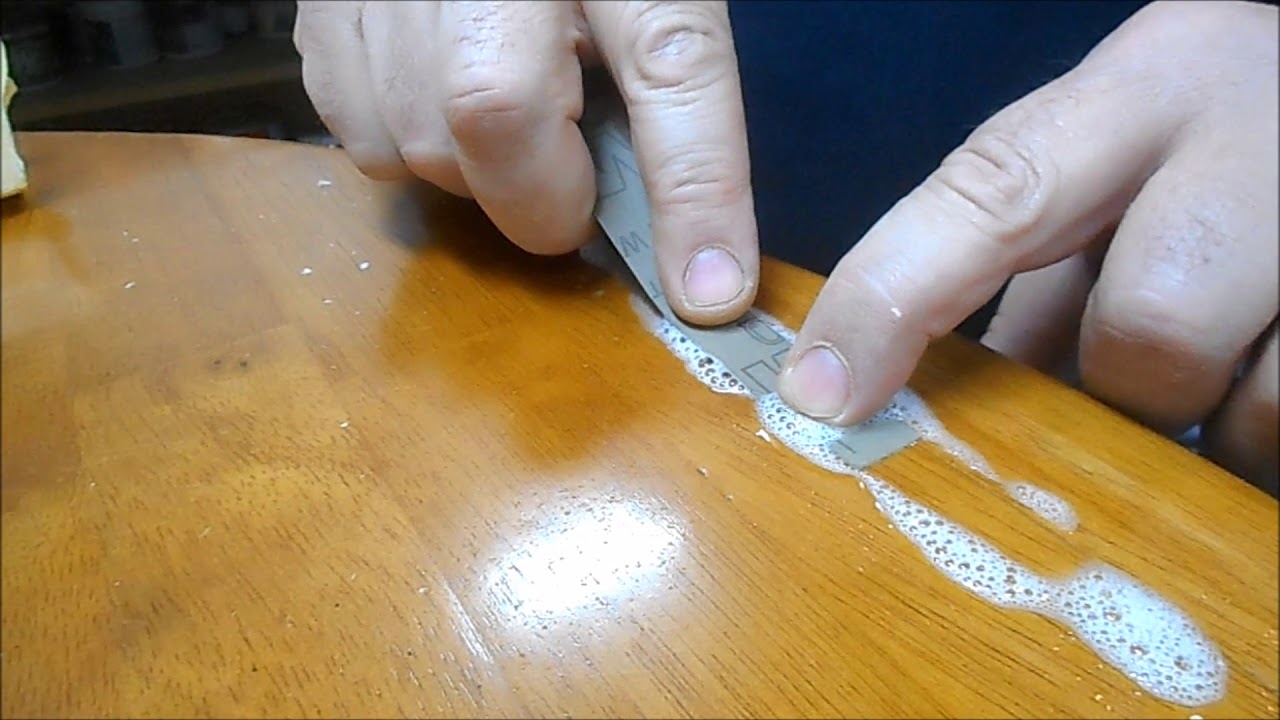
- Wipe with a Cleaner: Dampen a cloth with a mild cleaner specifically designed for wood surfaces. Gently wipe down the bottom of the tabletop to remove any stubborn grime or residue. Make sure to follow the manufacturer’s instructions for the cleaner.
- Sand the Surface: If the tabletop has any scratches, stains, or blemishes, you may want to consider sanding it down. Use fine-grit sandpaper to smooth out the surface, working in the direction of the wood grain. This will help prepare the surface for refinishing.
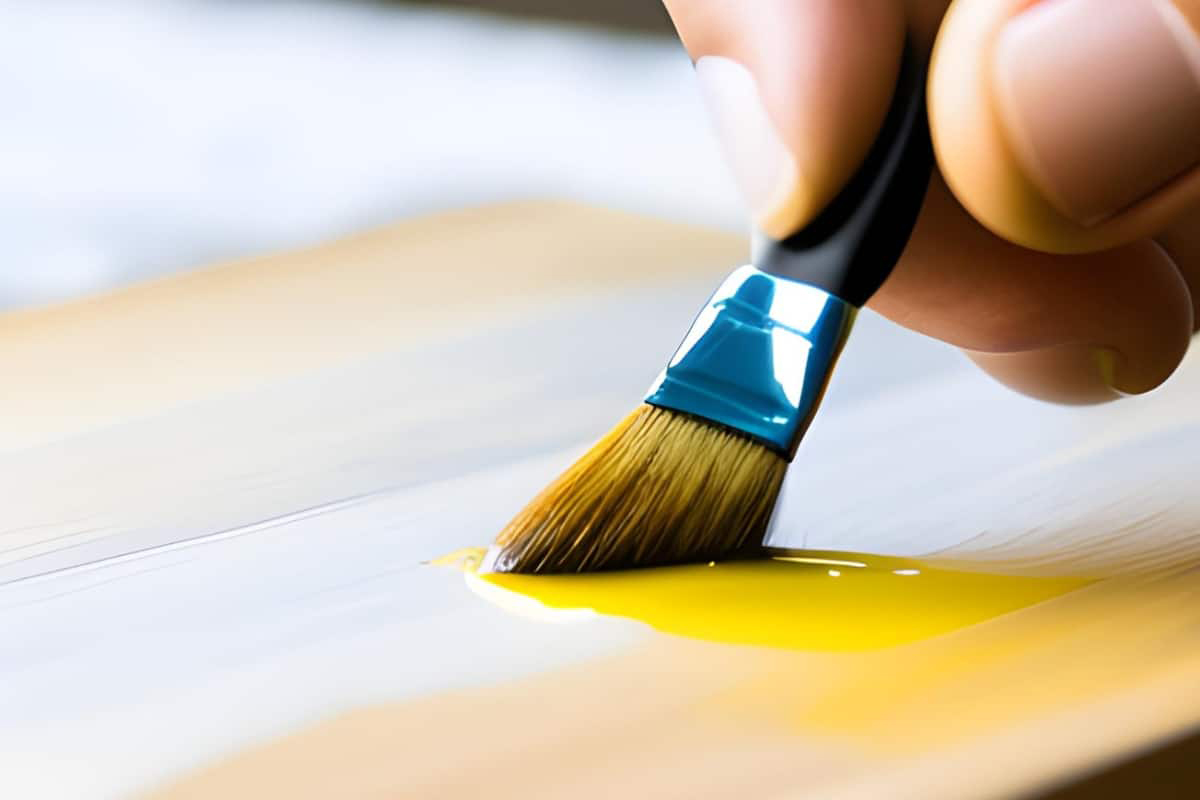
- Apply a Finish: Depending on your preference, you can choose to leave the bottom of the tabletop as is or apply a new finish. You can use paint, stain, or varnish to enhance the appearance and protect the wood. Apply the finish following the manufacturer’s instructions, ensuring even coverage.
- Allow for Drying Time: After applying the finish, allow it to dry completely before reattaching the legs and flipping the table back into its original position. This will ensure that the finish has cured properly and is ready for use.
By cleaning and potentially refinishing the bottom of the tabletop, you will not only improve its appearance but also protect the wood and increase its longevity.
Read more: How Far In Should Dining Table Legs Be
Step 8: Reattach Tabletop
After cleaning and refinishing the bottom of the tabletop, it’s time to reattach it to the legs. Follow these steps to securely reattach the tabletop:
- Locate Screw Holes: Position the tabletop over the leg attachment points and align it properly. Check to see if the screw holes on the tabletop align with the holes on the legs or brackets.
- Insert Screws or Bolts: Start by inserting the screws or bolts into the predrilled holes on both the tabletop and the legs or brackets. Be cautious not to overtighten them, as this could damage the wood.
- Tighten the Fasteners: Once all screws or bolts are inserted, use a screwdriver or wrench to tighten them securely. Turn clockwise to tighten the fasteners until they are snug but not overly tight.
- Confirm Stability: Once the tabletop is reattached, check the stability of the table. Push and shake it lightly to ensure it feels secure and doesn’t wobble. Make any necessary adjustments to the fasteners if needed.
- Double-Check Alignment: Take a step back and visually inspect the alignment of the tabletop with the legs or brackets. Ensure that the table appears evenly balanced and there are no obvious gaps or misalignments.
- Test Stability: Place some weight on the tabletop to ensure that it remains stable and doesn’t shift or move. Gently lean on different edges or corners to confirm its solidity.
By reattaching the tabletop securely, you will ensure the stability and functionality of your dining table. Take your time to align the table properly and tighten the fasteners securely, but without overdoing it.
Step 9: Finishing Touches and Recommendations
With the tabletop successfully reattached and the legs back in place, you’re almost done with your dining table transformation. Here are some finishing touches and recommendations to complete the process:
- Inspect for Any Loose Parts: Take a moment to carefully inspect the table and ensure all components are securely fastened. Check for any loose screws or bolts and tighten them if necessary.
- Clean and Polish: Give the entire table a final cleaning and polish to restore its shine. Use a wood cleaner or polish suitable for your table’s finish, and gently buff it to a beautiful luster.
- Consider Table Leg Pads: If your dining table will be placed on a hard floor surface, it’s advisable to add table leg pads to prevent scratches or damage. Felt pads or rubber caps can be easily attached to the bottom of each leg.
- Personalize and Decorate: Now that your table has a fresh look, personalize it with your favorite table linens, centerpiece, or other decorative elements. Make it a reflection of your personal style and taste.
- Maintenance and Care: Regularly clean and maintain your dining table to preserve its beauty and longevity. Wipe up spills promptly, use coasters or placemats to protect the surface, and follow any specific care instructions for your table’s material and finish.
By paying attention to these finishing touches and following proper maintenance, you can enjoy your updated dining table for years to come. Sit back, admire your handiwork, and relish in the satisfaction of a transformed piece of furniture.
Conclusion
Removing the legs from a dining table can be a rewarding and satisfying project that allows you to transform the look and style of your table. With the right tools, preparation, and careful execution, you can accomplish this task with ease. Whether you plan to replace the legs, refinish the tabletop, or repurpose the table altogether, following the steps outlined in this guide will ensure a successful outcome.
Starting with the preparation stage, where you gather the necessary tools and materials, to inspecting and assessing the leg attachments, and finally removing the legs one by one, each step plays a crucial role in the overall process. Remember to take your time, be mindful of safety precautions, and pay attention to details along the way.
Once the legs are removed, take advantage of the opportunity to clean and possibly refinish the bottom of the tabletop. This will not only enhance its appearance but also protect the wood and increase its longevity. Reattaching the tabletop securely and conducting a final inspection will ensure stability and functionality.
In the end, don’t forget the finishing touches and recommendations. Personalize your table with decorative elements, consider using table leg pads to protect your floors, and establish a maintenance routine to keep your dining table looking pristine for years to come.
So, whether you’re looking to update your dining room’s aesthetic or embark on a DIY adventure, removing the legs from a dining table is a rewarding project that allows for creativity and customization. Follow the steps provided in this guide, and enjoy the process of transforming your dining table into a centerpiece that reflects your personal style and enhances your dining experience.
Frequently Asked Questions about How To Remove Legs From A Dining Table
Was this page helpful?
At Storables.com, we guarantee accurate and reliable information. Our content, validated by Expert Board Contributors, is crafted following stringent Editorial Policies. We're committed to providing you with well-researched, expert-backed insights for all your informational needs.


0 thoughts on “How To Remove Legs From A Dining Table”