Home>diy>Building & Construction>How To Clean Construction Timberland Boots

Building & Construction
How To Clean Construction Timberland Boots
Modified: December 7, 2023
Learn how to properly clean Timberland boots used in building construction to keep them in top condition and increase their lifespan. Discover effective techniques and products for removing dirt, grime, and stains without damaging the boots.
(Many of the links in this article redirect to a specific reviewed product. Your purchase of these products through affiliate links helps to generate commission for Storables.com, at no extra cost. Learn more)
Introduction
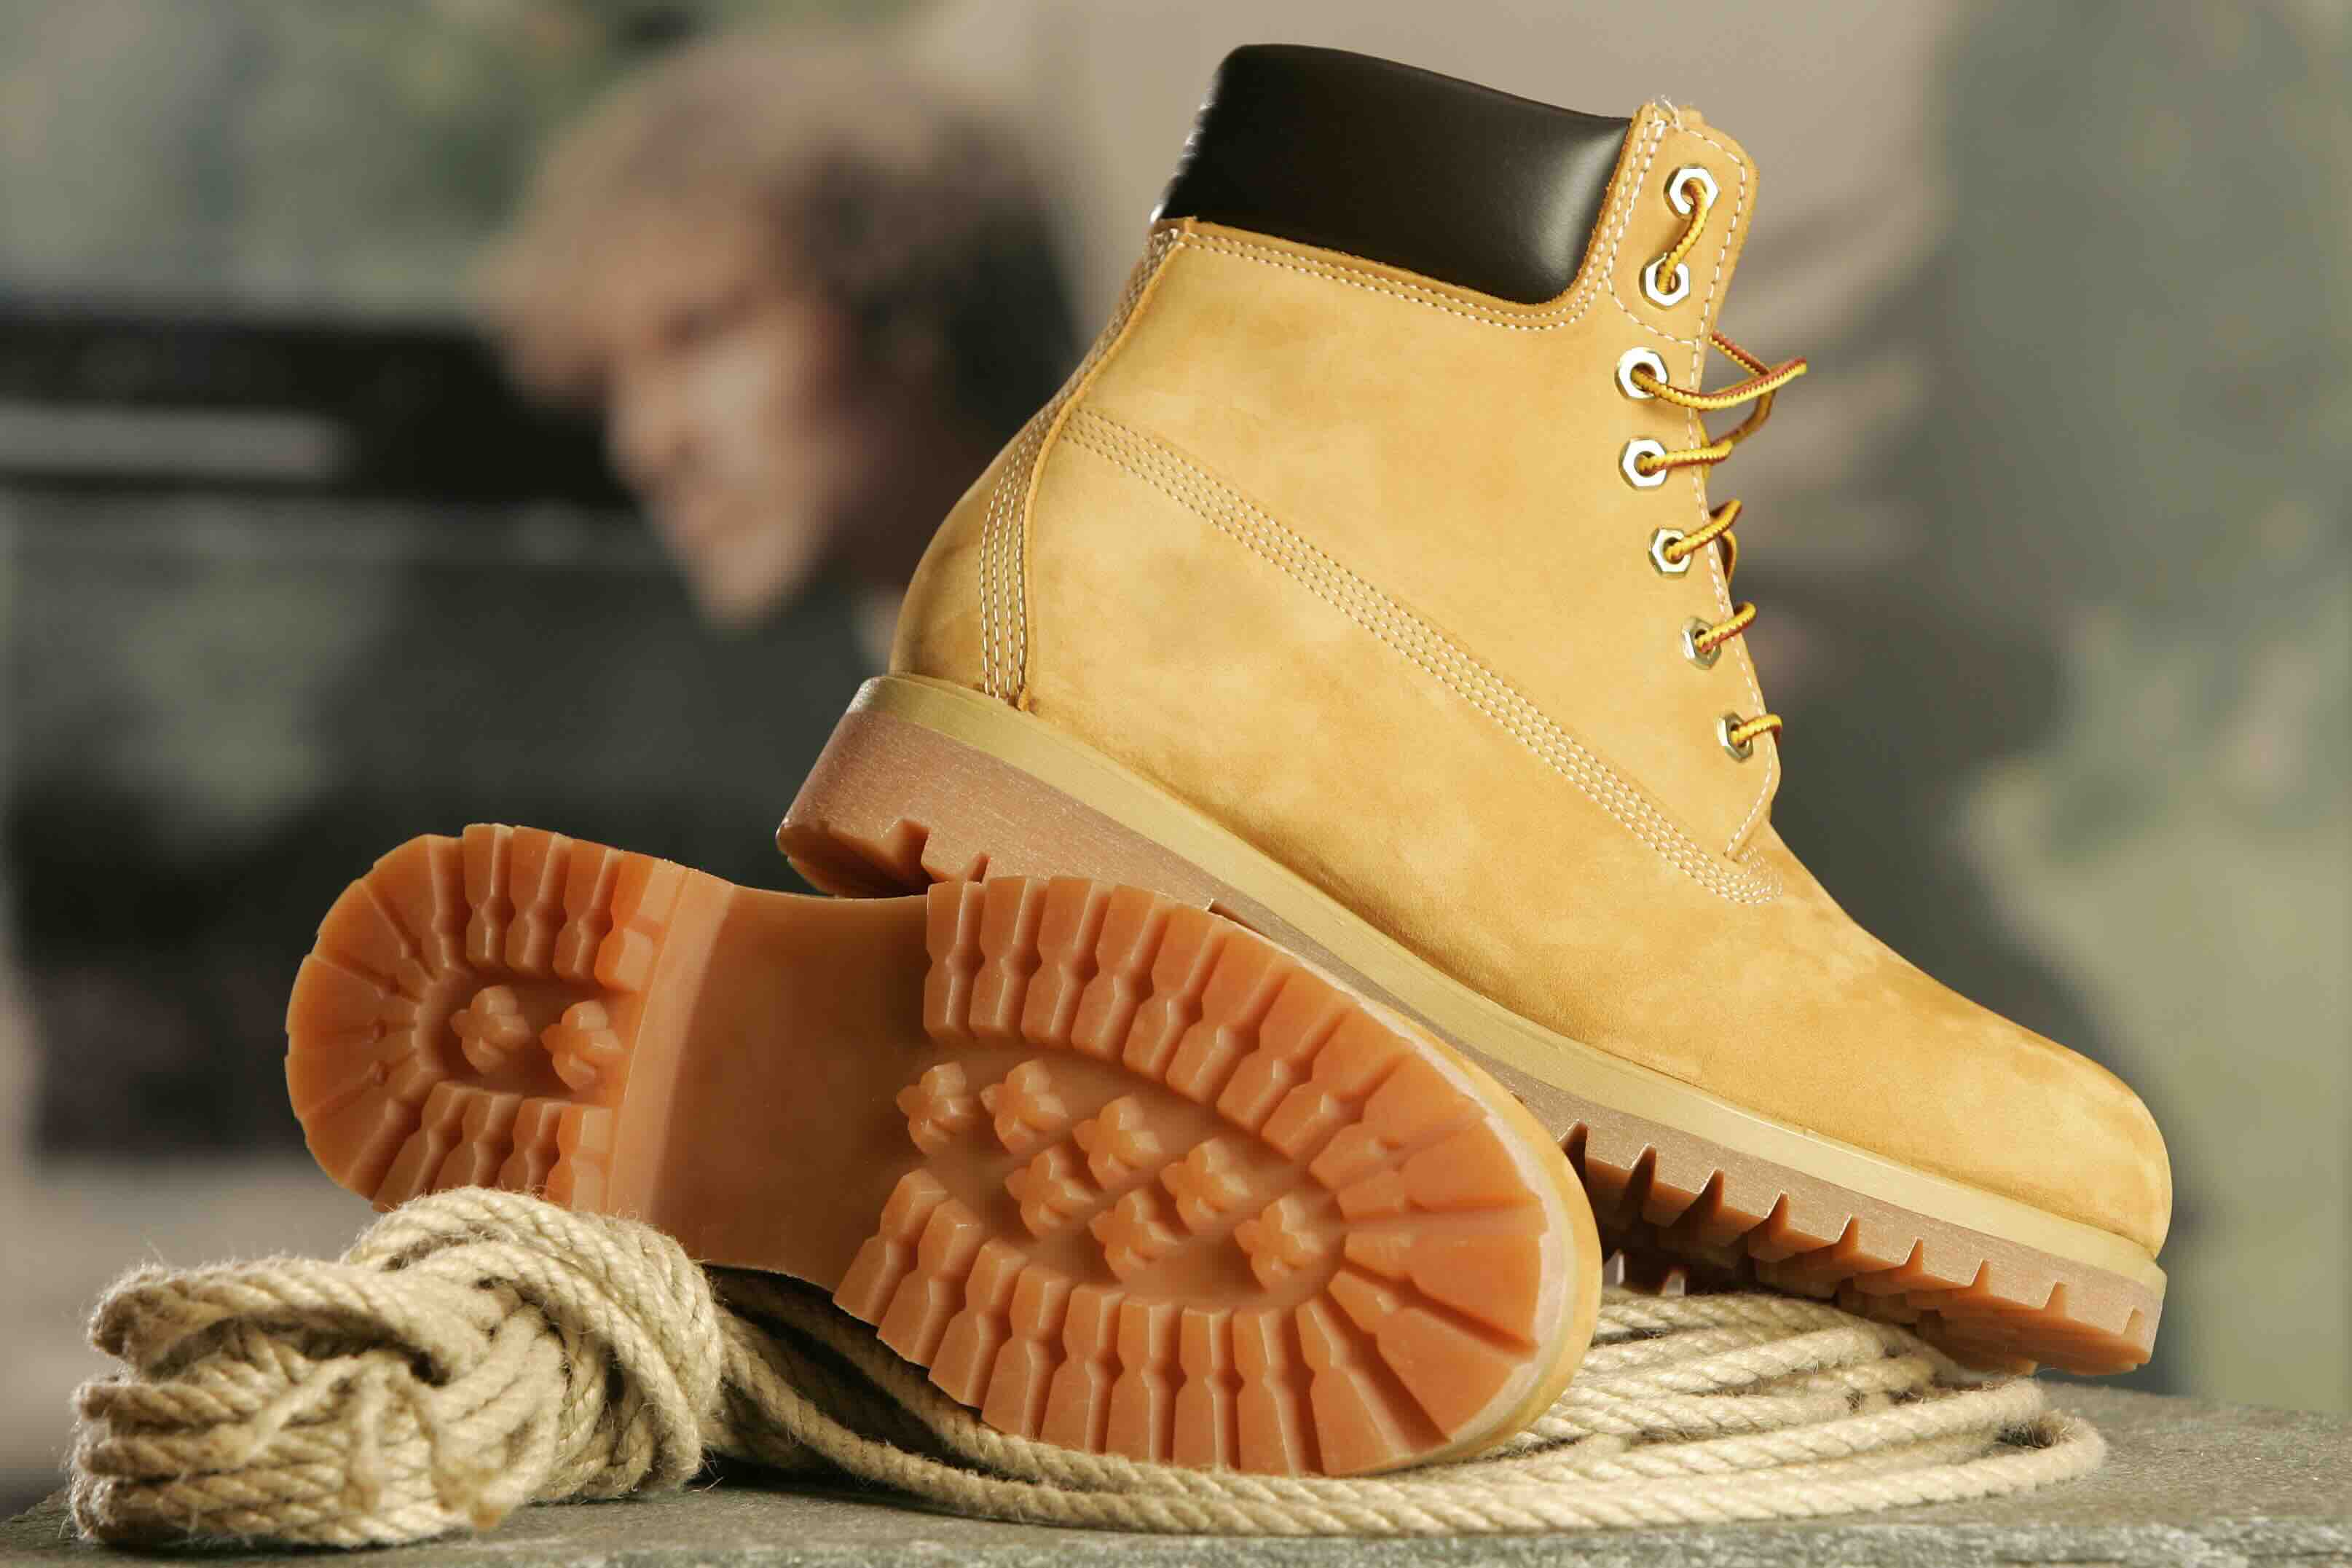
Construction timberland boots are known for their durability and ruggedness, making them a popular choice among professionals in the building and construction industry. These boots are designed to provide maximum protection and comfort in harsh work environments.
However, over time, construction boots can accumulate dirt, debris, and stains that not only affect their appearance but also compromise their performance. As a result, it is essential to regularly clean and maintain your construction timberland boots to ensure they last longer and continue to provide the necessary safety and support.
In this article, we will walk you through a step-by-step guide on how to clean your construction timberland boots effectively. We will cover all the necessary materials needed and provide tips and tricks to help you achieve the best results. By following these instructions, you can restore the appearance and functionality of your boots and increase their lifespan.
So, let’s gather the materials needed and get started on cleaning your construction timberland boots!
Key Takeaways:
- Regularly cleaning and maintaining construction timberland boots is essential to ensure longevity, performance, and comfort in harsh work environments. Follow the step-by-step guide to effectively clean and protect your boots for extended durability.
- By gathering the necessary materials, removing excess dirt, preparing a suitable cleaning solution, and applying a waterproofing treatment, you can restore the cleanliness and functionality of your construction timberland boots, ensuring reliable performance and cost savings in the long run.
Read more: What Is Welt Construction In Boots
Materials Needed
Before you begin, gather the following materials to ensure a successful cleaning process for your construction timberland boots:
1. Clean, warm water: You will need water to create a cleaning solution and rinse off the boots.
2. Mild soap or leather cleaner: Use a mild soap or specialized leather cleaner to clean the leather uppers of your boots. Avoid harsh chemicals that can damage the leather.
3. Soft brush: Choose a soft-bristle brush to remove dirt and debris from the boots without causing any abrasions.
4. Sponge or cloth: A sponge or cloth will be used to apply the cleaning solution and gently scrub the boots. Make sure it is clean and damp, but not soaking wet.
5. Rubber gloves: To protect your hands during the cleaning process, wear rubber gloves.
6. Microfiber cloth: After washing the boots, use a microfiber cloth to dry them. This material is gentle and absorbent, preventing any scratching or damage to the leather.
7. Leather conditioner: Once the boots are dry, apply a leather conditioner to keep the leather soft and supple.
8. Waterproofing spray: To protect your boots from water and stains, invest in a quality waterproofing spray suitable for leather footwear.
By gathering these materials beforehand, you can ensure a smooth and efficient cleaning process for your construction timberland boots. Now, let’s move on to the step-by-step instructions on how to clean your boots effectively.
Step 1: Removing Excess Dirt and Debris
Before you begin the cleaning process, it’s essential to remove any loose dirt and debris from your construction timberland boots. Here’s how to do it:
1. Tap the boots together: Hold one boot in your hand and gently tap the sole against the other boot. This will help dislodge any loose dirt and debris.
2. Brush off the dirt: Use a soft-bristle brush to gently scrub the boots’ leather uppers and remove any remaining dirt or debris. Pay extra attention to the seams and hard-to-reach areas.
3. Shake out the debris: Turn your boots upside down and give them a good shake to remove any loose dirt or debris that may have accumulated inside.
4. Use a damp cloth or sponge: Dampen a cloth or sponge with clean, warm water and gently wipe down the exterior of the boots to remove any remaining surface dirt. Be careful not to saturate the leather or get the boots too wet.
By following these steps, you will effectively remove excess dirt and debris from your construction timberland boots, preparing them for the next stage of the cleaning process. Now, let’s move on to step 2: preparing the cleaning solution.
Step 2: Preparing the Cleaning Solution
Now that you’ve removed the excess dirt and debris from your construction timberland boots, it’s time to prepare a cleaning solution. Here’s how you can do it:
1. Fill a basin with warm water: Fill a basin or sink with clean, warm water. The water should be warm but not hot, as hot water can damage the leather.
2. Add mild soap or leather cleaner: Add a small amount of mild soap or specialized leather cleaner to the warm water. Avoid using harsh detergents or chemicals that can damage the leather.
3. Mix the solution: Gently agitate the water to create a soapy mixture. Make sure the soap is well-dissolved in the water.
4. Test the solution: Before applying the cleaning solution to your boots, test it on a small, inconspicuous area to ensure it doesn’t discolor or damage the leather. If there are no adverse effects, you can proceed with cleaning the entire boot.
By preparing a suitable cleaning solution, you can ensure that your construction timberland boots are effectively cleaned without causing any harm to the leather. Now, let’s move on to step 3: cleaning the leather uppers of the boots.
Step 3: Cleaning the Leather Uppers
Now that you have prepared the cleaning solution, it’s time to clean the leather uppers of your construction timberland boots. Here’s how you can do it:
1. Dip a sponge or cloth in the cleaning solution: Take a clean sponge or cloth and dip it into the soapy water. Make sure it is damp but not soaking wet.
2. Gently scrub the leather uppers: Starting from the top of the boot, gently scrub the leather uppers with the damp sponge or cloth. Use circular motions and pay extra attention to any stains or heavily soiled areas. Avoid excessive scrubbing, as it can damage the leather.
3. Wipe off the dirt and soap residue: As you scrub, periodically rinse the sponge or cloth in clean water to remove dirt and soap residue. Wring out any excess water before continuing to clean the boots.
4. Repeat the process if necessary: If your boots are heavily soiled, you may need to repeat the cleaning process until the leather uppers are clean. Ensure that you rinse the sponge or cloth thoroughly each time before scrubbing the boots again.
5. Dry the leather uppers: Once you are satisfied with the cleanliness of the leather uppers, use a clean, dry microfiber cloth to gently pat them dry. Avoid using excessive heat or direct sunlight to dry the boots, as it can damage the leather.
By following these steps, you can effectively clean the leather uppers of your construction timberland boots, restoring their appearance and removing dirt and stains. Now, let’s move on to step 4: cleaning the rubber soles of the boots.
Use a soft brush to remove dirt and debris from the boots. Mix mild soap with water and use a cloth to gently scrub the boots. Let them air dry, then apply a waterproofing treatment.
Read more: What Are The Best Boots For Construction
Step 4: Cleaning the Rubber Soles
In addition to cleaning the leather uppers, it’s crucial to pay attention to the rubber soles of your construction timberland boots. Follow these steps to clean and maintain the rubber soles effectively:
1. Rinse off loose dirt and debris: Start by rinsing the rubber soles under running water to remove any loose dirt, mud, or debris. Use your fingers or a soft brush to dislodge any stubborn particles.
2. Create a cleaning solution: Mix warm water with a small amount of mild soap or a specialized rubber sole cleaner in a separate container. Make sure the solution is well-mixed and sudsy.
3. Scrub the soles: Dip a soft-bristle brush into the cleaning solution and gently scrub the rubber soles. Pay particular attention to any areas with built-up dirt or stains. Use back-and-forth motions to effectively clean the soles.
4. Rinse off the cleaning solution: Once you have thoroughly scrubbed the rubber soles, rinse them under clean water to remove any soap residue. Ensure that all the cleaning solution is rinsed off, as it can make the soles slippery if left behind.
5. Pat dry the soles: Use a clean, dry cloth or towel to pat the rubber soles dry. Make sure to remove any excess moisture before moving on to the next step.
By properly cleaning the rubber soles of your construction timberland boots, you can maintain their traction and prevent the accumulation of dirt and debris. Now that the soles are clean, let’s proceed to step 5: drying and conditioning the boots.
Step 5: Drying and Conditioning the Boots
After cleaning the leather uppers and rubber soles of your construction timberland boots, it’s essential to properly dry and condition them to maintain their quality and prolong their lifespan. Follow these steps to ensure effective drying and conditioning:
1. Remove excess moisture: Gently pat the entire boot, including the leather uppers and rubber soles, with a clean, dry microfiber cloth to remove any remaining moisture. Take your time to ensure all areas are adequately dried.
2. Air drying: Place your boots in a well-ventilated area away from direct sunlight or heat sources. Allow them to air dry naturally. Avoid using a hairdryer or placing the boots near a heater, as excessive heat can damage the leather.
3. Leather conditioning: Once the boots are completely dry, apply a suitable leather conditioner to the leather uppers. Using a clean cloth or sponge, apply the conditioner in circular motions, covering the entire surface of the leather. Follow the instructions provided by the conditioner manufacturer for the best results.
4. Allow the conditioner to absorb: Leave the boots undisturbed for a few hours to allow the leather conditioner to be absorbed. This will help keep the leather soft, supple, and protected.
5. Buff the leather: After the leather conditioner has been absorbed, gently buff the leather uppers with a clean, dry cloth. This will help bring out the shine and further protect the boots.
By properly drying and conditioning your construction timberland boots, you can preserve their quality and ensure they remain comfortable and durable. Now, let’s move on to the final step: waterproofing the boots.
Step 6: Waterproofing the Boots
To provide additional protection against water and stains, it is essential to waterproof your construction timberland boots. Follow these steps to effectively waterproof your boots:
1. Choose a suitable waterproofing spray: Select a high-quality waterproofing spray specifically designed for leather footwear. Read the instructions on the spray bottle and make sure it is suitable for your boots.
2. Clean the boots: Before applying the waterproofing spray, ensure that your boots are clean and dry. This will help the spray adhere to the surface properly.
3. Shake the spray can: Shake the waterproofing spray can thoroughly to mix the formula inside. This ensures an even application.
4. Apply the spray: Hold the spray can approximately 6-8 inches away from the boots and evenly spray a thin layer of the waterproofing spray onto the leather uppers. Be sure to cover the entire surface, including the seams.
5. Allow drying time: After applying the waterproofing spray, allow the boots to dry completely. This usually takes about 24 hours, but check the instructions on the spray can for specific drying times.
6. Test water resistance: Once the boots are dry, conduct a simple water resistance test. Sprinkle a few drops of water onto the leather uppers. If the water is repelled and forms droplets that bead up on the surface, it indicates that the waterproofing treatment was successful.
It’s important to note that waterproofing is not a permanent solution. Over time and with wear, the effectiveness of the waterproofing spray may diminish. Therefore, it is recommended to periodically reapply the waterproofing treatment to ensure continued protection.
By following these steps, you can effectively waterproof your construction timberland boots, providing them with an extra layer of protection against water and stains. Now, you can enjoy your clean and well-maintained boots in various work environments.
Conclusion
Taking care of your construction timberland boots is crucial to ensure their longevity and performance in the demanding work environments of the building and construction industry. Regular cleaning and maintenance not only keep them looking great but also enhance their durability and comfort.
By following the step-by-step guide outlined in this article, you can effectively clean your construction timberland boots. Remember to gather the necessary materials, remove excess dirt and debris, prepare a suitable cleaning solution, clean the leather uppers and rubber soles, dry and condition the boots, and apply a waterproofing treatment for added protection.
Properly caring for your boots helps maintain their appearance and functionality. It allows them to withstand the wear and tear of the job site while keeping your feet comfortable and protected. Additionally, by incorporating regular maintenance into your routine, you can extend the lifespan of your boots, saving you money in the long run.
As you embark on your cleaning journey, remember to use gentle cleaning techniques and avoid abrasive materials or harsh chemicals that can damage the leather. Be patient, take your time, and follow the instructions provided to achieve the best results.
Investing time and effort in the care of your construction timberland boots will pay off in the long run, ensuring that they remain reliable and continue to serve you well throughout your construction endeavors.
So, grab your cleaning materials and restore the cleanliness and functionality of your construction timberland boots today. Your feet will thank you for it!
Frequently Asked Questions about How To Clean Construction Timberland Boots
Was this page helpful?
At Storables.com, we guarantee accurate and reliable information. Our content, validated by Expert Board Contributors, is crafted following stringent Editorial Policies. We're committed to providing you with well-researched, expert-backed insights for all your informational needs.







0 thoughts on “How To Clean Construction Timberland Boots”