Home>diy>Building & Construction>How To Clean Tiles After Construction
Building & Construction
How To Clean Tiles After Construction
Modified: October 20, 2024
Discover the best techniques for cleaning tiles after building construction. Keep your floors spotless and maintain their shine with our easy-to-follow tips.
(Many of the links in this article redirect to a specific reviewed product. Your purchase of these products through affiliate links helps to generate commission for Storables.com, at no extra cost. Learn more)
Introduction
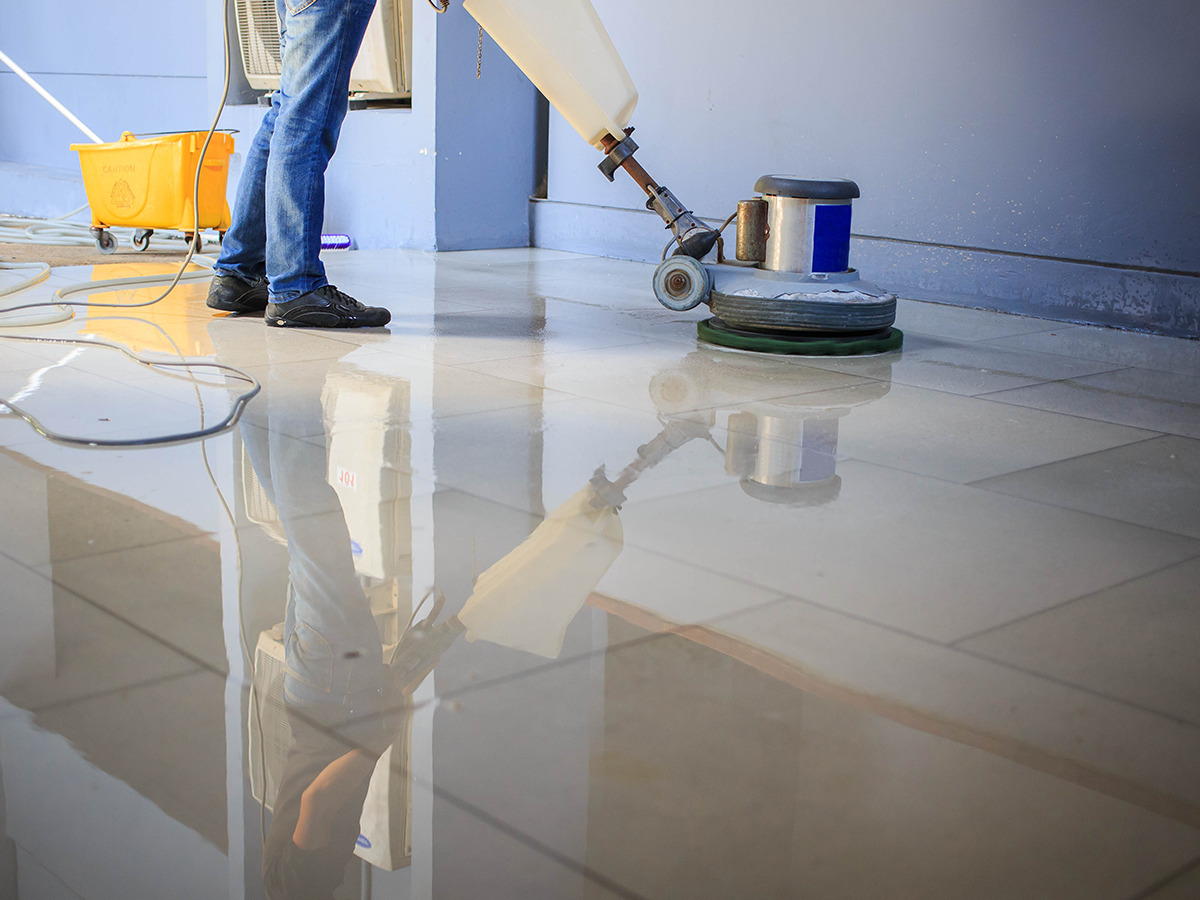
After the completion of a construction project, one of the most important tasks is to clean the tiles thoroughly. Tiles add beauty and functionality to any space, but they can quickly accumulate dust, debris, and grime during the construction process. Cleaning the tiles properly after construction not only enhances their appearance but also ensures their longevity and durability.
In this article, we will discuss step-by-step how to clean tiles after construction. Whether you have ceramic, porcelain, or natural stone tiles, following these guidelines will help you achieve a clean and sparkling finish. So, let’s dive in and learn the proper techniques to make your tiles shine.
Key Takeaways:
- Properly cleaning tiles after construction is crucial for their longevity and appearance. From preparing the area to sealing the tiles, following the right techniques and precautions ensures a sparkling finish.
- Regular maintenance, protective measures, and using non-abrasive tools are essential for effective tile cleaning. Diligence and consistency in cleaning tiles after construction are key to maintaining their pristine condition.
Read more: How To Clean Tiles After A Renovation
Preparing for Cleaning
Before you start the cleaning process, it is essential to prepare the area to ensure effective and efficient tile cleaning. Here are some steps to follow:
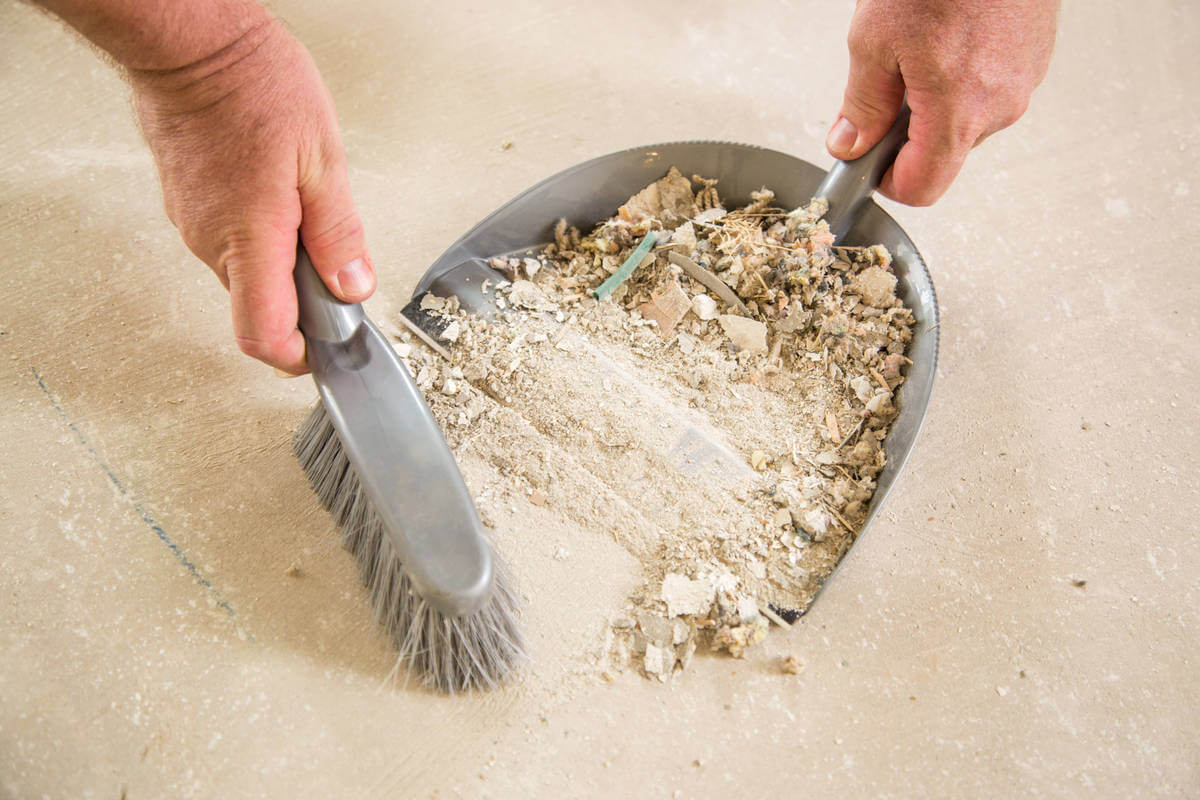
- Remove any large debris: Begin by removing any large debris, such as chunks of drywall, nails, or wood scraps, from the tile surface. Use a broom or a vacuum cleaner with a soft brush attachment to carefully sweep the area.
- Protect nearby surfaces: If there are adjacent surfaces or fixtures that you want to protect from cleaning solutions, cover them with plastic sheeting or towels. This will prevent any accidental damage during the cleaning process.
- Gather cleaning supplies: Assemble all the necessary cleaning supplies, such as mild detergent or tile cleaner, a bucket, soft-bristle brushes, microfiber cloths, and a mop. Ensure you have enough ventilation in the cleaning area by opening windows or using fans if necessary.
- Test cleaning products: Before using any cleaning solution on your tiles, it is advisable to test it in an inconspicuous area to check for any adverse reactions. Some tiles may be sensitive to certain chemicals, so it’s better to be safe than sorry.
- Read manufacturer’s instructions: Different types of tiles have specific cleaning recommendations from the manufacturers. Take the time to read and follow these guidelines to avoid any potential damage to the tiles.
By preparing the area and gathering the necessary supplies, you set yourself up for a successful tile cleaning process. Now, let’s move on to the next step, which is removing dust and debris from the tiles.
Removing Dust and Debris
Once your tiles are prepared and ready for cleaning, the first step is to remove any dust and debris that may have accumulated during the construction process. Here’s how you can effectively accomplish this:
- Dry sweeping: Start by dry sweeping the tile surface using a broom or a vacuum cleaner with a soft brush attachment. This step helps to remove loose dust and dirt particles that may be sitting on the tiles. Ensure that you reach all corners and hard-to-reach areas.
- Microfiber mop: After dry sweeping, use a microfiber mop to further clean the tile surface. Microfiber mops are highly effective in trapping and removing fine dust particles without scratching the tiles. Move the mop in gentle, overlapping motions to cover the entire area.
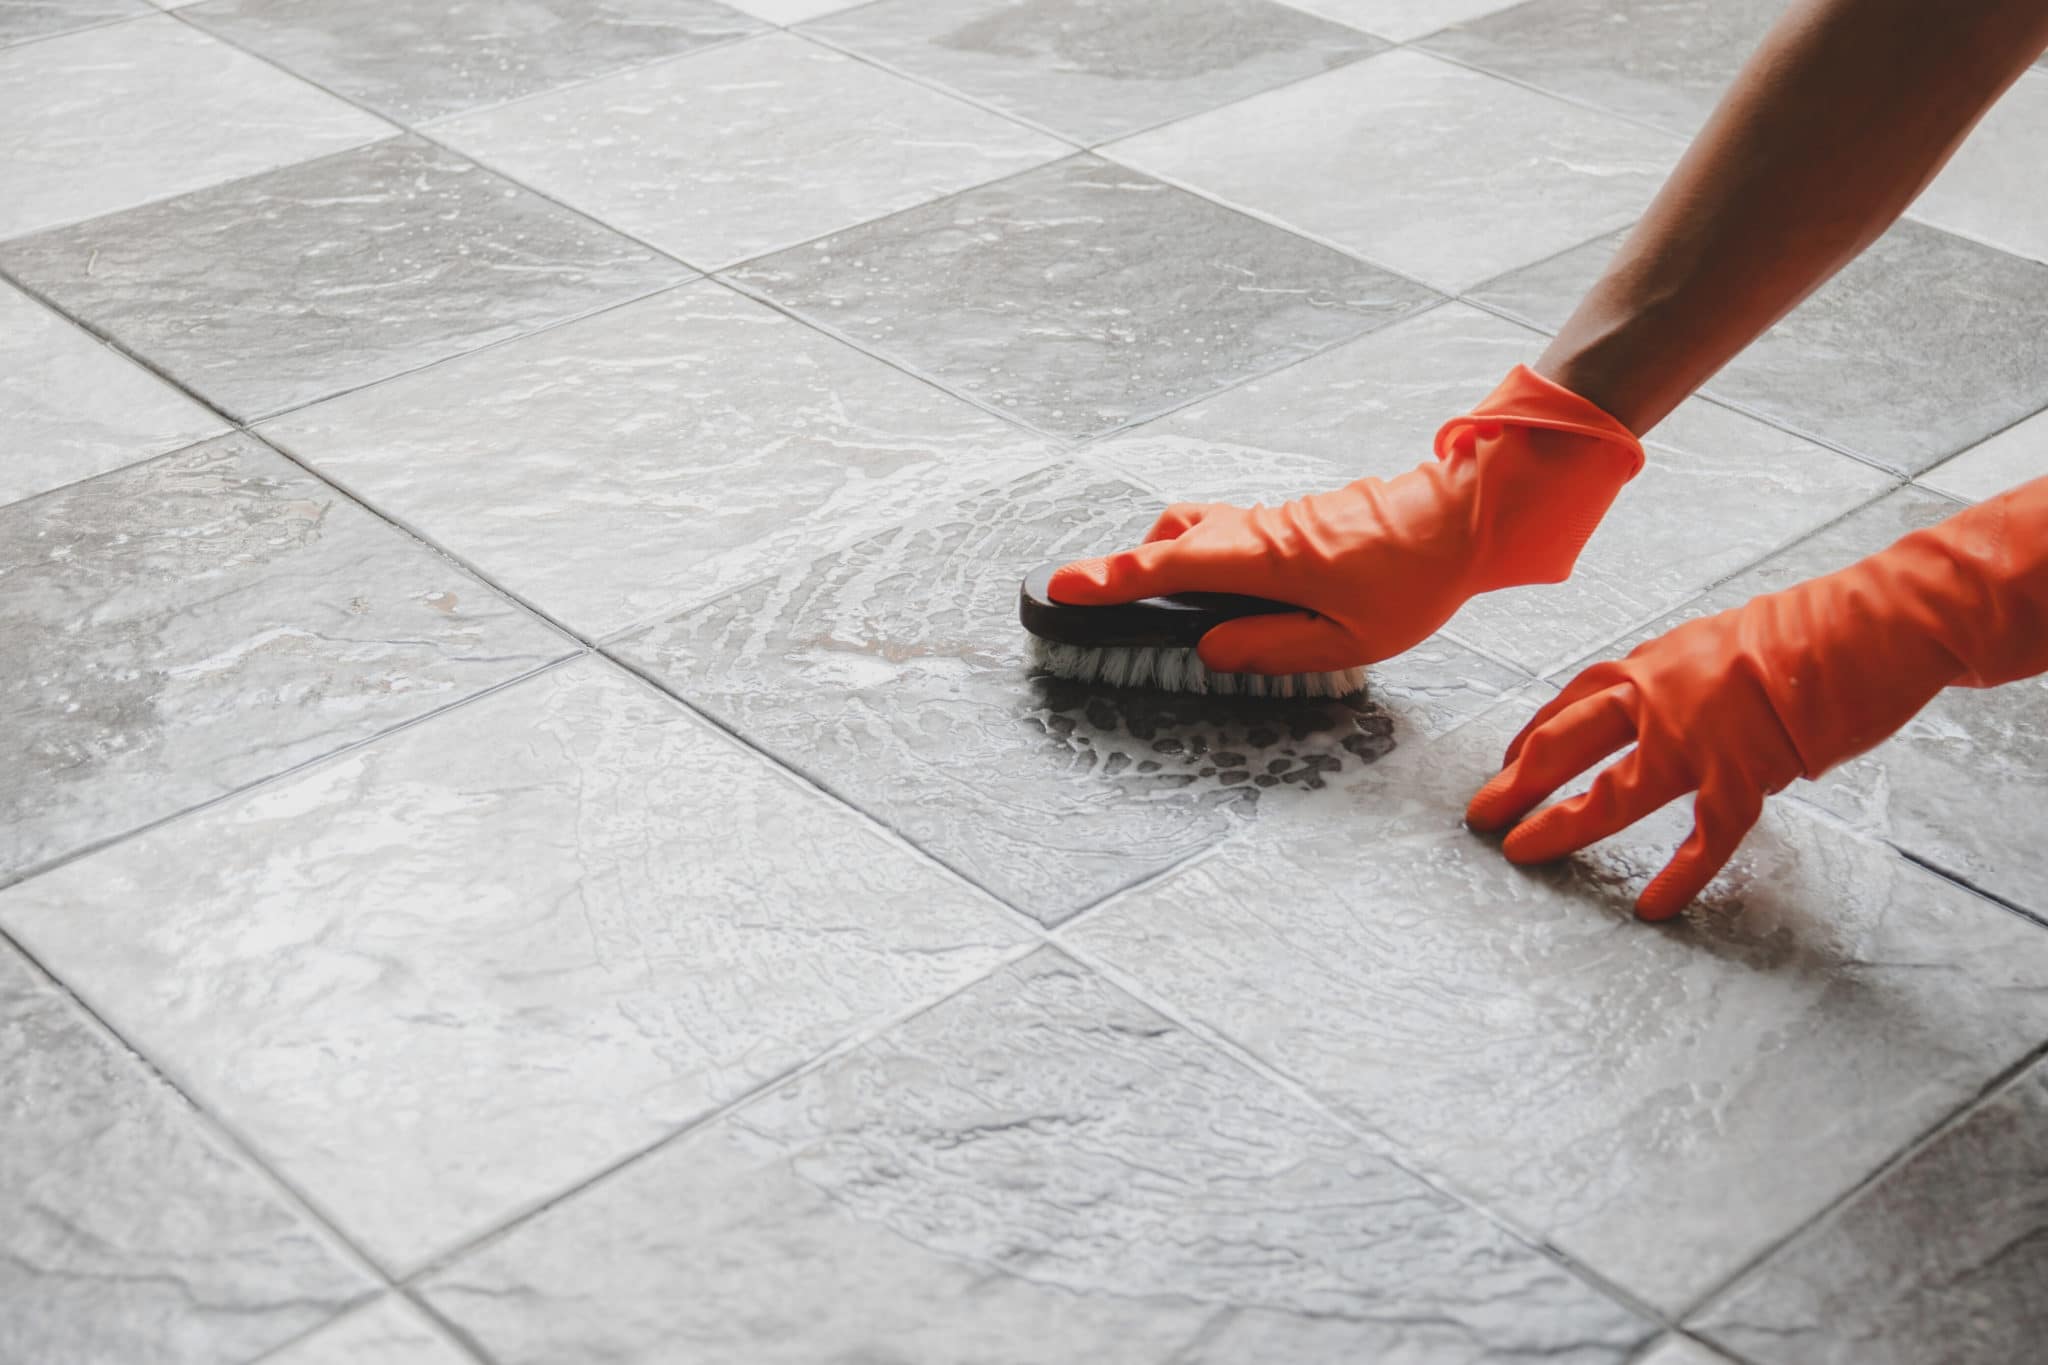
- Damp mopping: For stubborn dirt or grime, you may need to perform a damp mopping. Prepare a bucket of warm water and add a mild detergent or tile cleaner as recommended by the manufacturer. Dip a mop into the solution, wring it out well, and then mop the tiles in a back-and-forth motion. Remember to regularly rinse and squeeze the mop to avoid spreading dirt around.
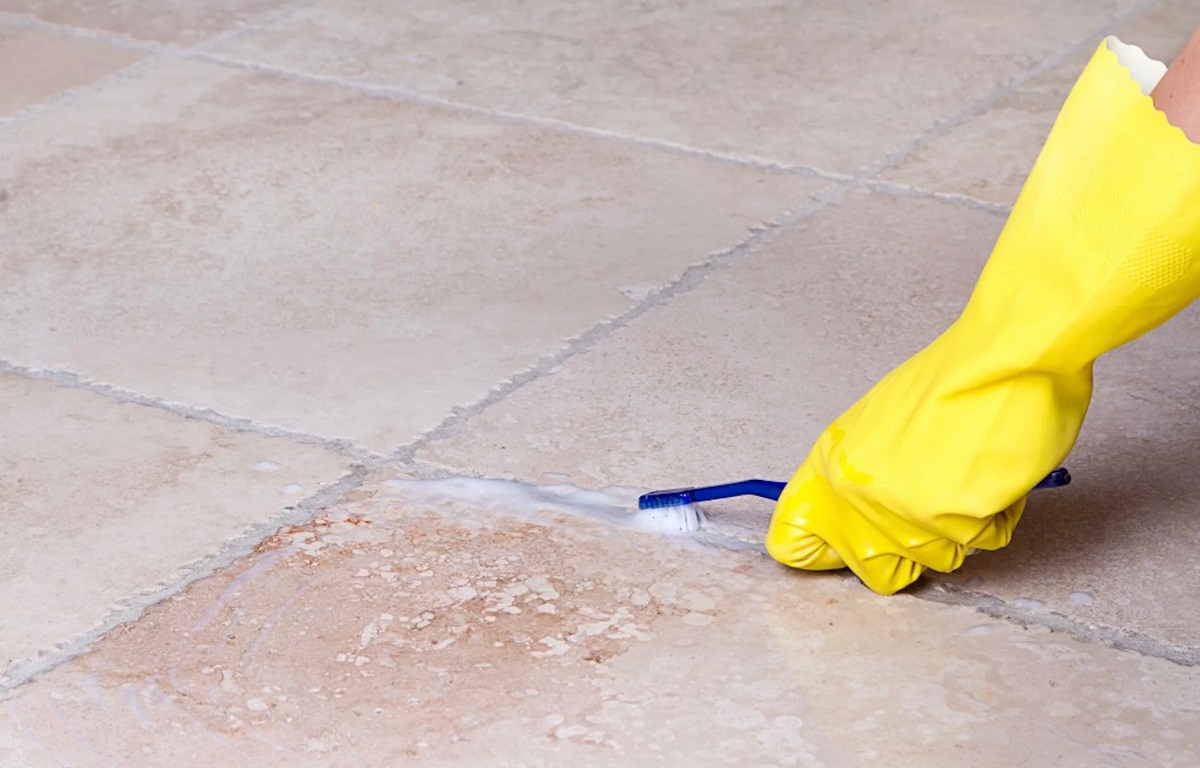
- Focus on grout lines: Pay special attention to the grout lines between the tiles. These areas can accumulate a significant amount of dust and debris. Use a soft-bristle toothbrush or a grout brush with a mixture of warm water and mild detergent to scrub the grout lines gently. Rinse the brush frequently to remove dirt and continue until the grout lines are clean.
By effectively removing dust and debris from your tiles, you create a clean foundation for the next steps in the cleaning process. Next, we will discuss how to clean grout lines to ensure a thorough tile cleaning.
Cleaning Grout Lines
Grout lines can become a magnet for dirt, grime, and stains, and cleaning them properly is crucial to maintain the overall cleanliness and appearance of your tiles. Here’s a step-by-step guide on how to clean grout lines effectively:
- Pre-treat with a grout cleaner: Before getting into the scrubbing process, it’s helpful to pre-treat the grout lines with a grout cleaner. There are various grout cleaning solutions available in the market, or you can create a DIY cleaner using a mixture of baking soda and water. Apply the cleaner to the grout lines and let it sit for a few minutes to loosen any embedded dirt or stains.
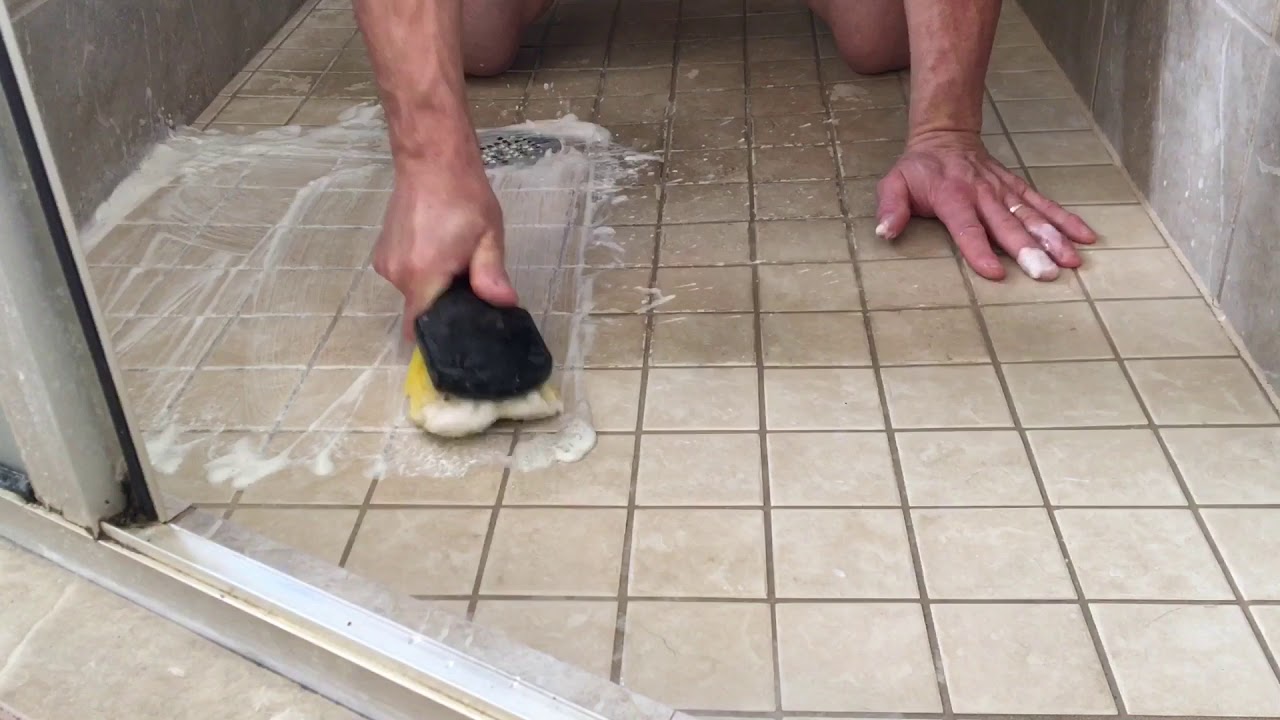
- Scrub with a grout brush: Using a grout brush or an old toothbrush, start scrubbing the grout lines in a back-and-forth motion. Apply some pressure, but be careful not to scrub too hard and damage the grout. Focus on small sections at a time and continue until you’ve covered all the grout lines.
- Rinse with warm water: After scrubbing, rinse the grout lines thoroughly with warm water using a sponge or mop. This will remove any remaining cleaner or loosened dirt. Make sure to change the water frequently to avoid spreading dirt back onto the tiles.
- Remove stubborn stains: If you encounter stubborn stains on the grout lines, such as mold or mildew, you may need to use a stronger cleaning solution. A mixture of equal parts vinegar and water can be effective in tackling these stubborn stains. Apply the solution to the affected areas and let it sit for a few minutes before scrubbing.
- Seal the grout: Once the grout lines are clean and dry, consider applying a grout sealer to protect them from future stains and dirt buildup. Grout sealers create a protective barrier that makes cleaning easier and prevents discoloration. Follow the manufacturer’s instructions to properly apply the sealer and allow it to dry completely.
By following these steps, you can ensure that your grout lines are thoroughly cleaned and restored to their original condition. Next, we will discuss how to remove stubborn stains from your tiles, if any.
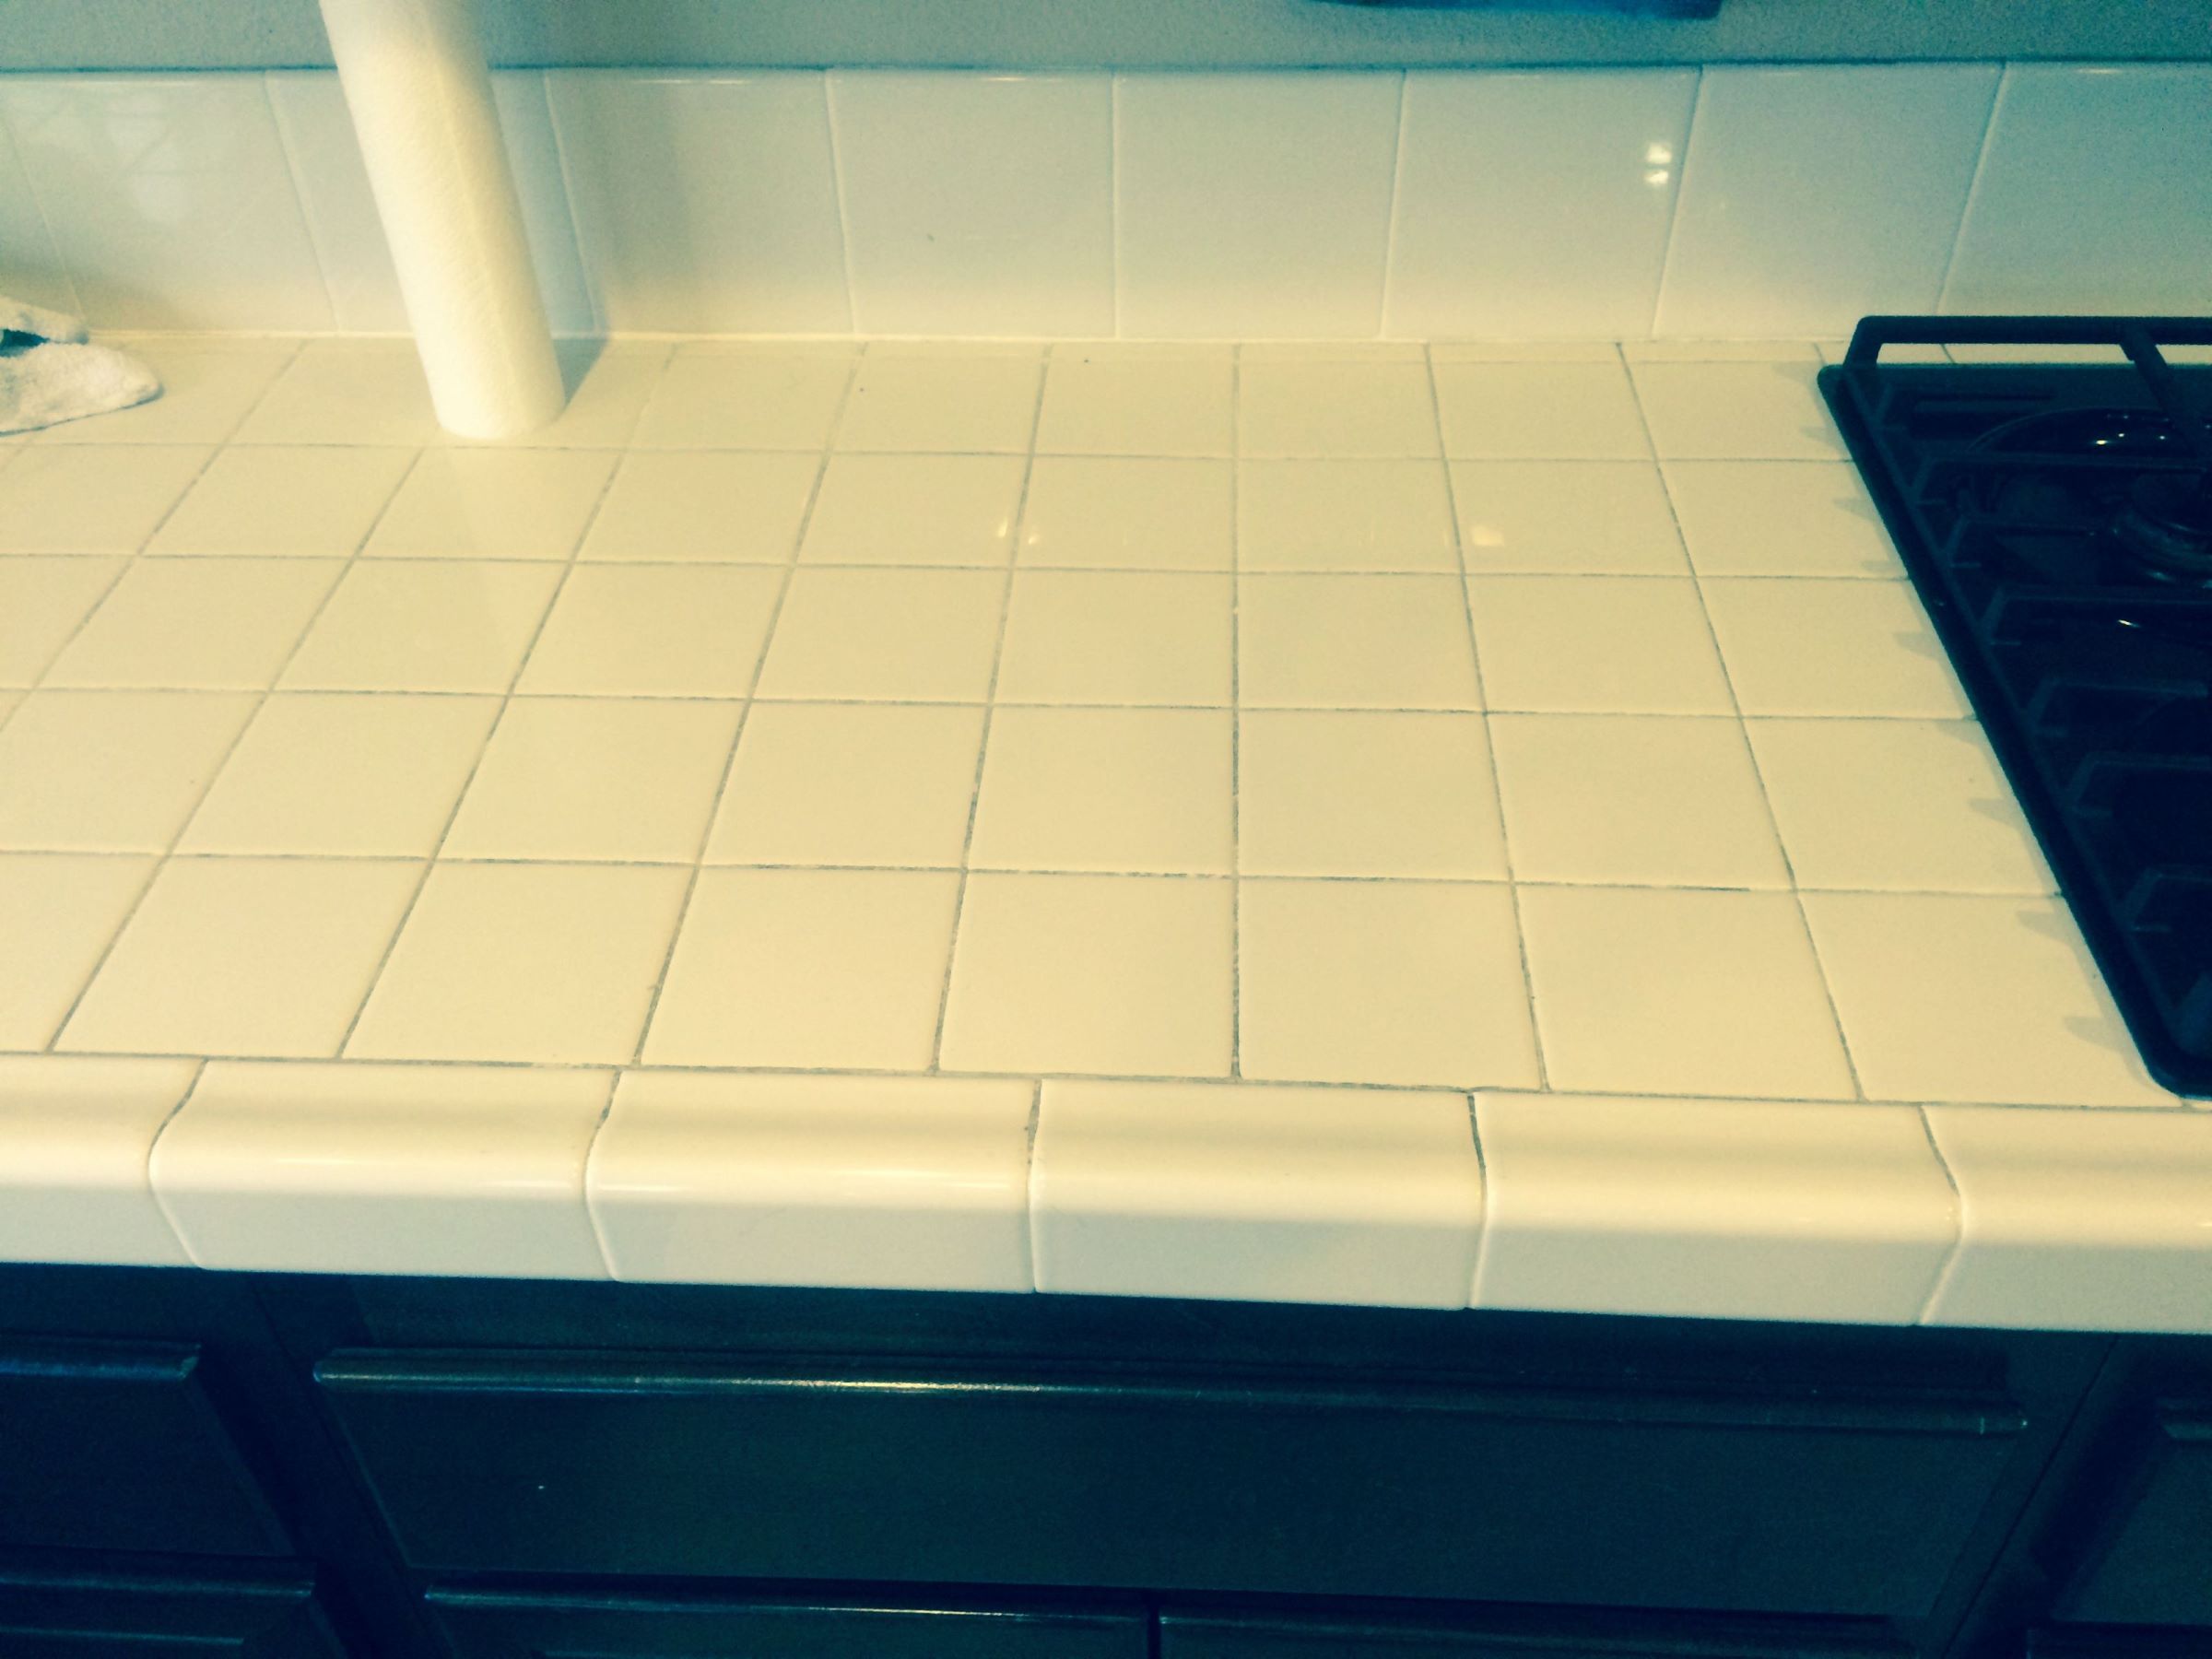
After construction, clean tiles by first removing any grout or mortar residue with a damp sponge. Then, use a mild detergent and water solution to scrub the tiles, followed by a thorough rinse and dry.
Removing Stubborn Stains
Despite your efforts in cleaning, there may still be stubborn stains on your tiles that require some extra attention. Here are some techniques to help you effectively remove stubborn stains:
- Baking soda paste: Create a paste by mixing baking soda with water until it forms a thick consistency. Apply the paste to the stain and let it sit for about 15 minutes. Scrub the area gently with a soft brush or sponge and rinse with warm water. Baking soda is a natural abrasive that can help lift and remove stains.
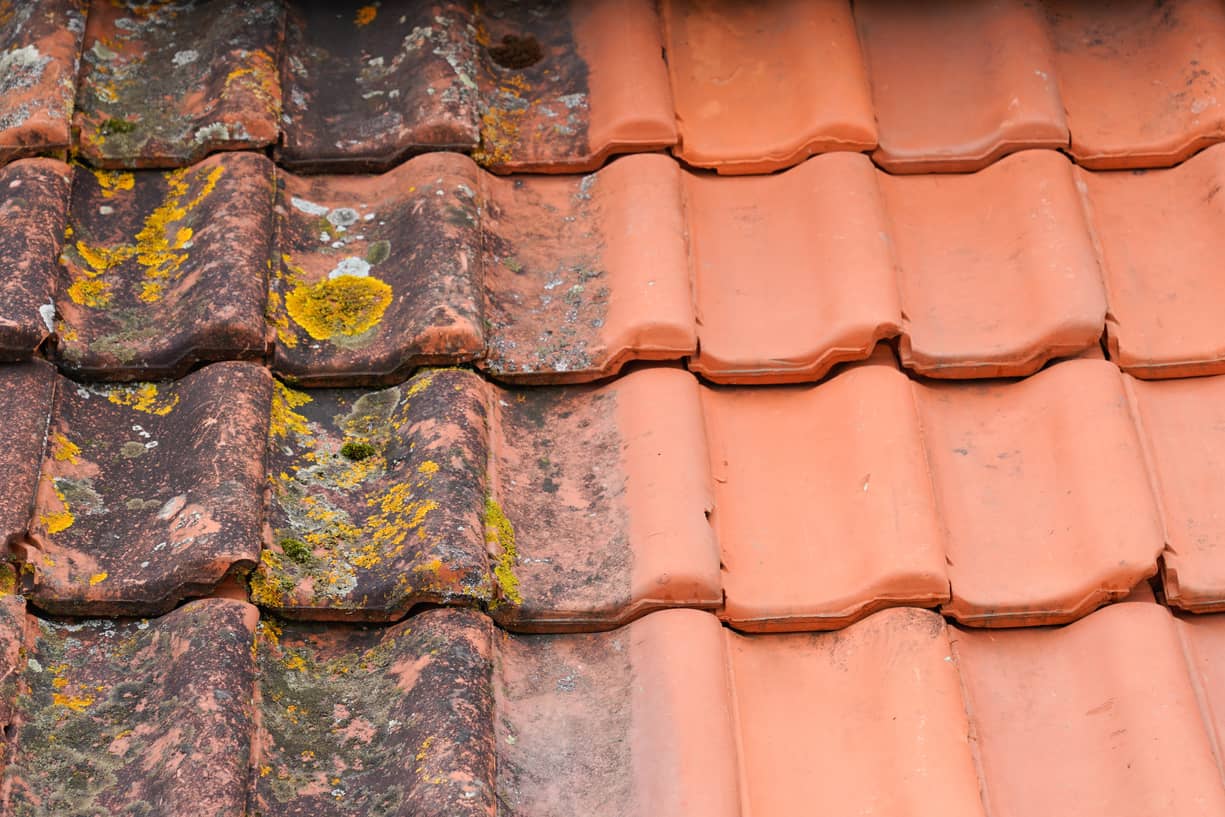
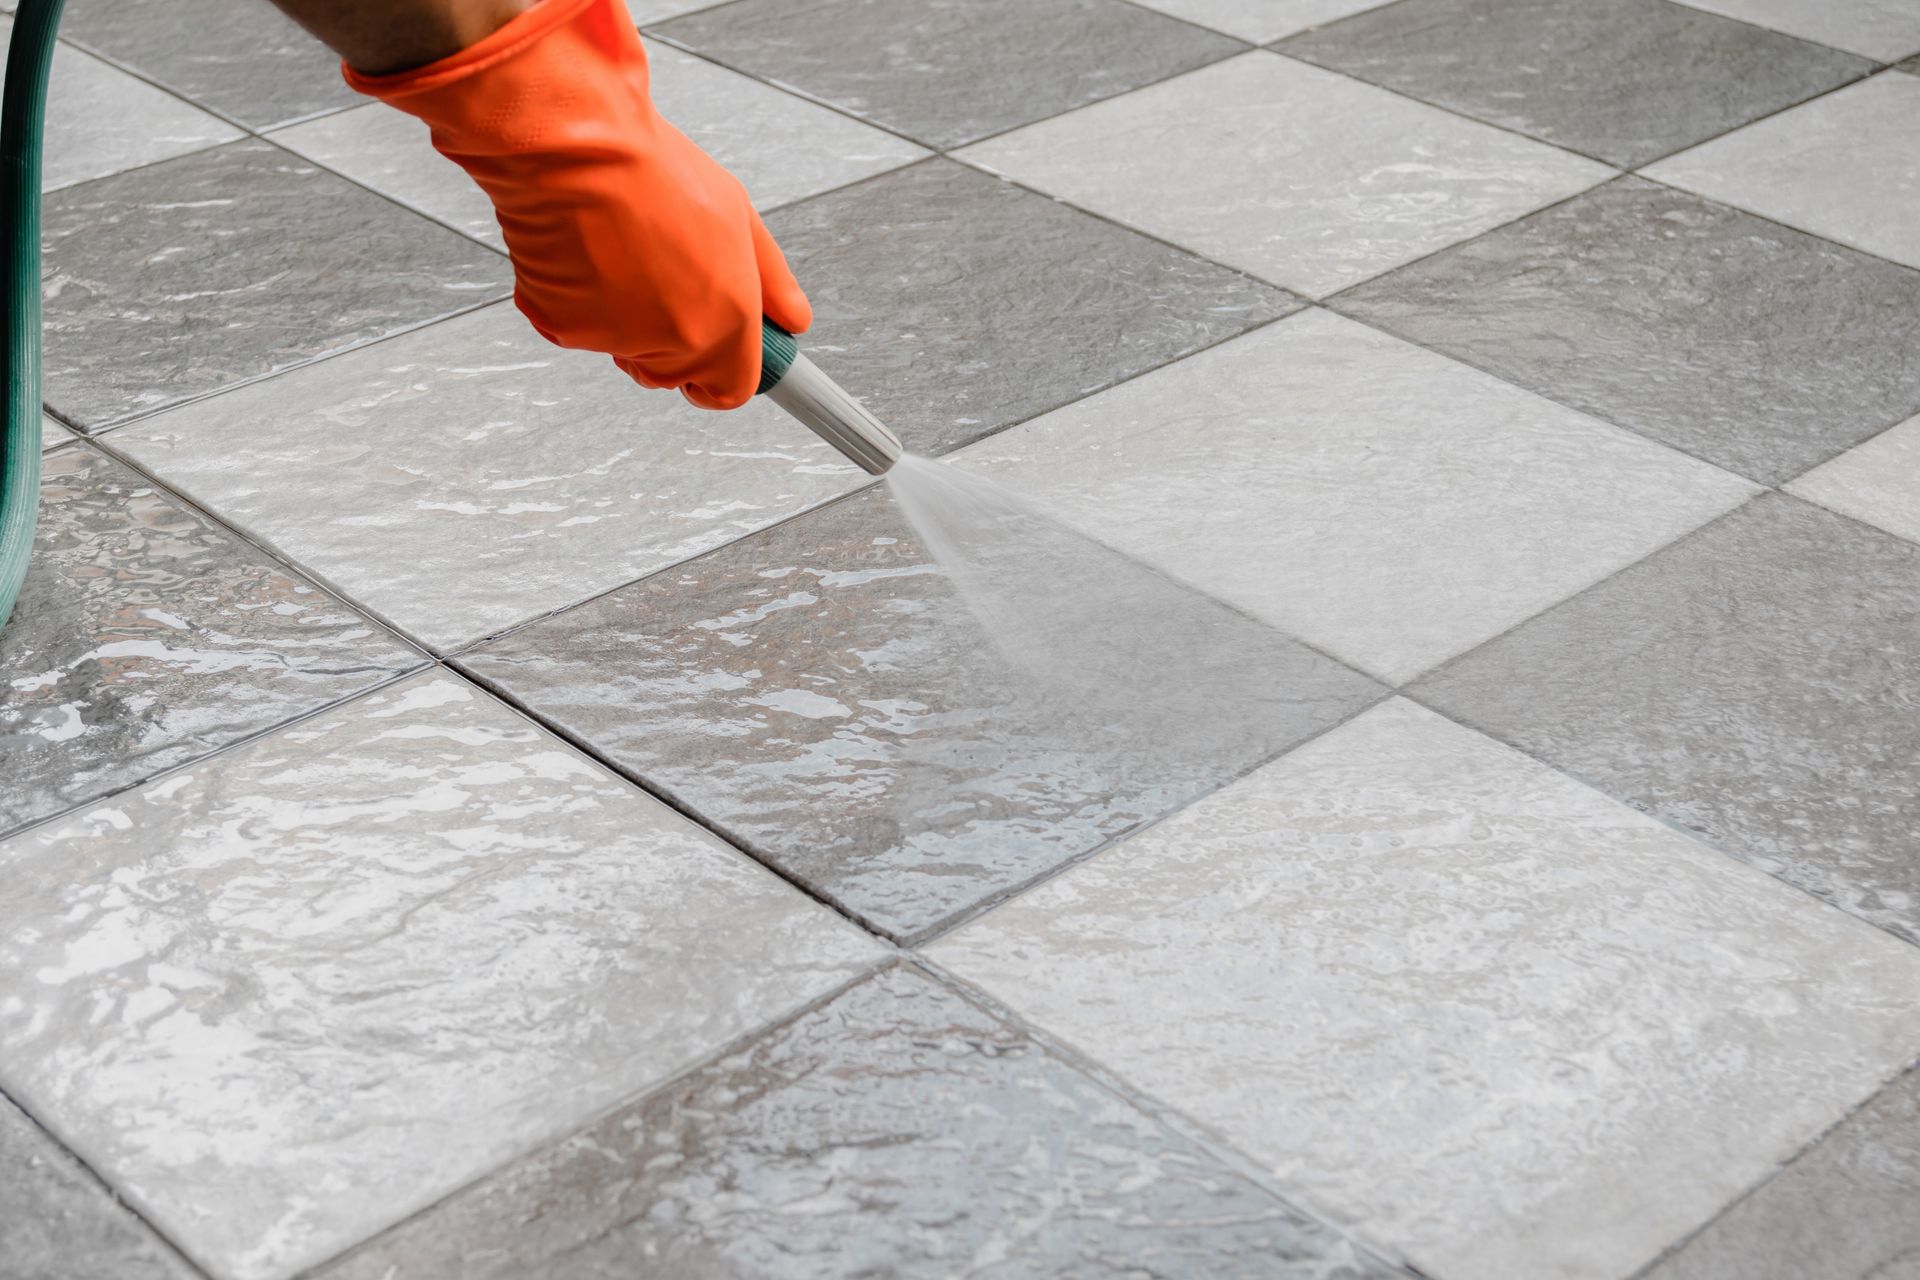
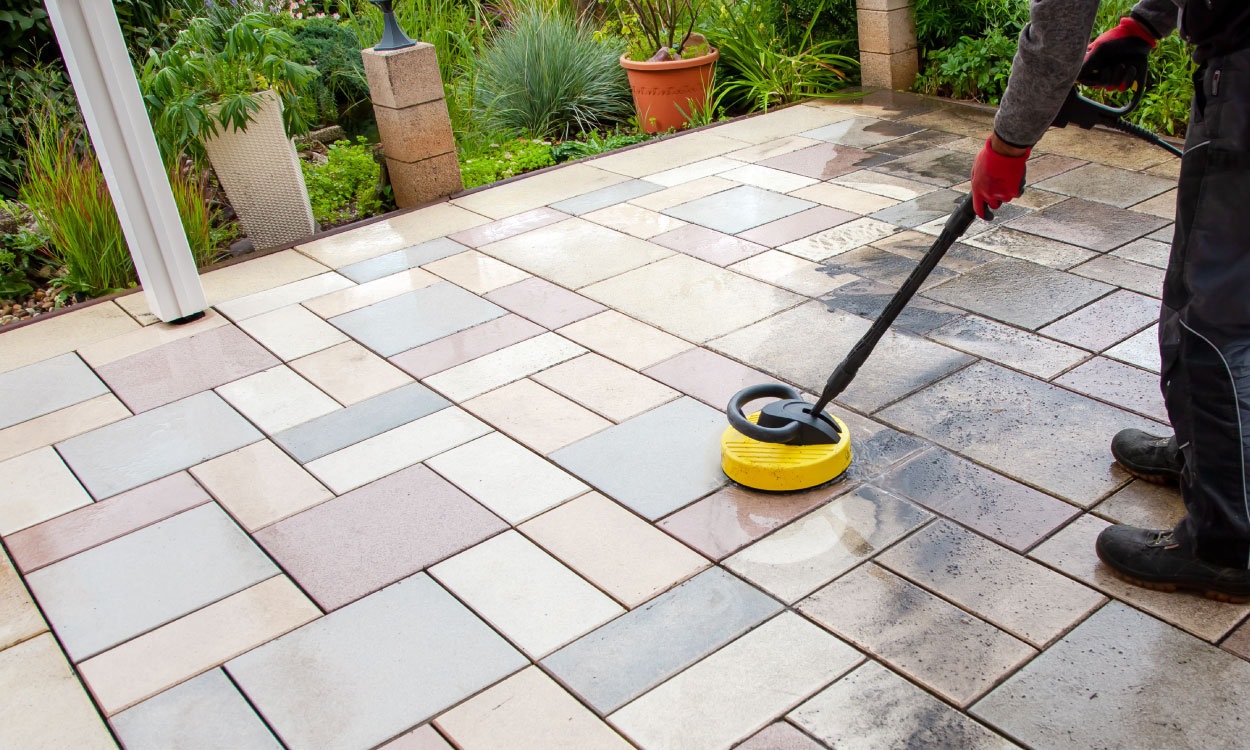
- Pressure washing: If you have access to a pressure washer, it can be a powerful tool to remove stubborn stains from outdoor tiles. Adjust the pressure to a suitable level and spray the affected areas, focusing on the stains. Start from a distance and gradually move closer if needed. Be cautious not to use excessive pressure that could damage the tiles.
- Vinegar and water solution: Mix equal parts of white vinegar and water in a spray bottle. Spray the solution onto the stain and let it sit for a few minutes. Scrub the area with a soft brush or sponge, then rinse with warm water. Vinegar is a natural cleanser that can help dissolve stubborn stains.
- Hydrogen peroxide: Hydrogen peroxide can be effective in removing tough stains, especially those caused by mold or mildew. Apply hydrogen peroxide directly to the stain and let it sit for 10-15 minutes. Scrub the area gently with a soft brush or sponge, then rinse thoroughly with warm water.
- Commercial stain removers: If the above methods don’t yield satisfactory results, you can try using a specialized tile and grout stain remover. Follow the instructions on the product carefully and test it in a small, inconspicuous area before applying it to the stain.
Remember to always use protective gloves and ensure proper ventilation when using cleaning agents. Additionally, it’s important to address stains as soon as possible to prevent them from setting in or becoming more difficult to remove.
With these techniques, you can tackle stubborn stains on your tiles and restore their pristine appearance. Next, we will discuss the importance of sealing your tiles to provide long-lasting protection.
Read more: How To Clean Floors After Construction
Sealing the Tiles
Sealing the tiles is an important step in the cleaning process, especially for porous materials like natural stone and unglazed tiles. Sealing helps protect the tiles from stains, moisture penetration, and daily wear and tear. Here’s how to properly seal your tiles:
- Clean the tiles: Before sealing, ensure that the tiles are clean and free from any dirt, dust, or stains. Follow the previous cleaning steps mentioned in this article to achieve a clean surface.
- Choose the right sealer: Select a sealer that is specifically formulated for the type of tile you have. There are different types of sealers available, such as penetrating sealers and topical sealers. Read the manufacturer’s instructions and choose the appropriate sealer for your tiles.
- Test in a small area: Before applying the sealer to the entire tile surface, test it on a small, inconspicuous area to ensure compatibility and desired results. This will help you avoid any potential issues or undesirable reactions on your tiles.
- Apply the sealer: Follow the instructions on the sealer product for application. Use a clean cloth or a brush to evenly apply the sealer to the tiles and grout lines. Work in small sections to ensure thorough coverage. Avoid applying excess sealer, as it can create a hazy or sticky residue.
- Allow drying and curing time: After applying the sealer, allow it to dry and cure as per the manufacturer’s instructions. This may take a few hours or even a few days. During this time, avoid any foot traffic or contact with water or cleaning agents that may interfere with the sealer’s effectiveness.
- Maintain regular resealing: Over time, the protective seal on your tiles will wear off. It is recommended to reseal your tiles periodically, usually every 1-3 years, depending on the type of tiles and foot traffic in the area. Regular resealing will ensure continued protection and longevity of your tiles.
By properly sealing your tiles, you provide an extra layer of defense against stains and damage, ensuring their durability and longevity. Next, let’s discuss some additional tips and precautions to keep in mind during the tile cleaning process.
Additional Tips and Precautions
When it comes to cleaning tiles after construction, there are some additional tips and precautions that can help make the process more effective and safe. Here are a few key points to keep in mind:
- Protective gear: Wear gloves and protective eyewear when handling cleaning agents or performing scrubbing tasks. This will help protect your skin and eyes from any potential irritation or chemical exposure.
- Use non-abrasive tools: Opt for soft-bristle brushes, microfiber cloths, or sponges when cleaning your tiles. Avoid using abrasive materials, such as steel wool or harsh scrub brushes, which can scratch and damage the tiles’ surface.
- Regular maintenance: Incorporate regular tile maintenance into your cleaning routine. Sweep or vacuum the tiles regularly to prevent the accumulation of dirt and dust. Promptly clean up spills or stains to avoid them setting in or becoming more stubborn to remove.
- Avoid harsh chemicals: While it may be tempting to use strong chemical cleaners, especially on tough stains, it’s important to avoid harsh chemicals that can cause damage to your tiles or the environment. Stick to mild cleaners or natural solutions whenever possible.
- Protective measures during construction: To minimize tile cleaning after construction, take preventive measures during the construction phase. Cover the tiles with drop cloths or protective sheets to prevent them from getting dirty or damaged. Communicate with contractors to ensure they are aware of the importance of tile protection.
- Regularly check and maintain grout lines: Inspect your grout lines periodically for any signs of damage or mold growth. Promptly address any issues by regrouting or applying a grout sealer to prevent further damage or staining.
By following these additional tips and taking necessary precautions, you can ensure a successful tile cleaning process while maintaining the longevity and beauty of your tiles. Now, let’s conclude our discussion on cleaning tiles after construction.
Conclusion
Cleaning tiles after construction is a crucial step in maintaining their beauty, durability, and longevity. By following the proper techniques and using the right cleaning products, you can achieve a clean and sparkling tile surface. Here are the key points to remember:
- Prepare the area by removing debris and protecting adjacent surfaces.
- Gather the necessary cleaning supplies and test cleaning products before use.
- Start by removing dust and debris through dry sweeping and microfiber mopping.
- Focus on cleaning grout lines using grout cleaners and gentle scrubbing.
- Address stubborn stains with baking soda paste, vinegar solutions, or specialized cleaners.
- Consider sealing the tiles to protect them from stains and damage.
- Adhere to additional tips and precautions, such as wearing protective gear and avoiding harsh chemicals.
- Regularly maintain the tiles and grout lines to prevent further build-up or damage.
By following these guidelines and incorporating regular tile maintenance, you can ensure that your tiles remain in pristine condition for years to come. Whether it’s ceramic, porcelain, or natural stone tiles, a thorough cleaning process will enhance their appearance and contribute to a clean and inviting living or working space.
Remember, the key to successful tile cleaning is diligence and consistency. Don’t wait too long to clean your tiles after construction, as dirt and stains can become more challenging to remove over time. With proper care and maintenance, your tiles will continue to impress and stand the test of time.
Frequently Asked Questions about How To Clean Tiles After Construction
Was this page helpful?
At Storables.com, we guarantee accurate and reliable information. Our content, validated by Expert Board Contributors, is crafted following stringent Editorial Policies. We're committed to providing you with well-researched, expert-backed insights for all your informational needs.


0 thoughts on “How To Clean Tiles After Construction”