Home>diy>Building & Construction>How To Clean Floors After Construction
Building & Construction
How To Clean Floors After Construction
Modified: August 25, 2024
Learn the best methods for cleaning floors after building construction to remove dust, debris, and residue. Keep your floors looking pristine with these helpful tips and techniques.
(Many of the links in this article redirect to a specific reviewed product. Your purchase of these products through affiliate links helps to generate commission for Storables.com, at no extra cost. Learn more)
Introduction
Congratulations on the completion of your construction project! Whether you’ve just built a new home or completed a renovation, it’s important to remember that the work doesn’t end once the construction is finished. One crucial step in the process is cleaning the floors after construction.
During the construction process, floors can accumulate a substantial amount of dust, debris, and other residues. This can make the floors look dirty and pose potential health risks if not properly cleaned. In this article, we will guide you through the steps to effectively clean your floors after construction, leaving them looking fresh and brand new.
Key Takeaways:
- Ensure thorough post-construction floor cleaning by gathering necessary supplies, removing debris, and using appropriate cleaning solutions. Proper drying and optional sealant application enhance floor longevity and appearance.
- Implement protective measures, regular maintenance, and professional cleaning services to maintain post-construction floor cleanliness and durability. Follow safety guidelines and consider optional sealant or wax application for added protection.
Read more: How To Clean Tiles After Construction
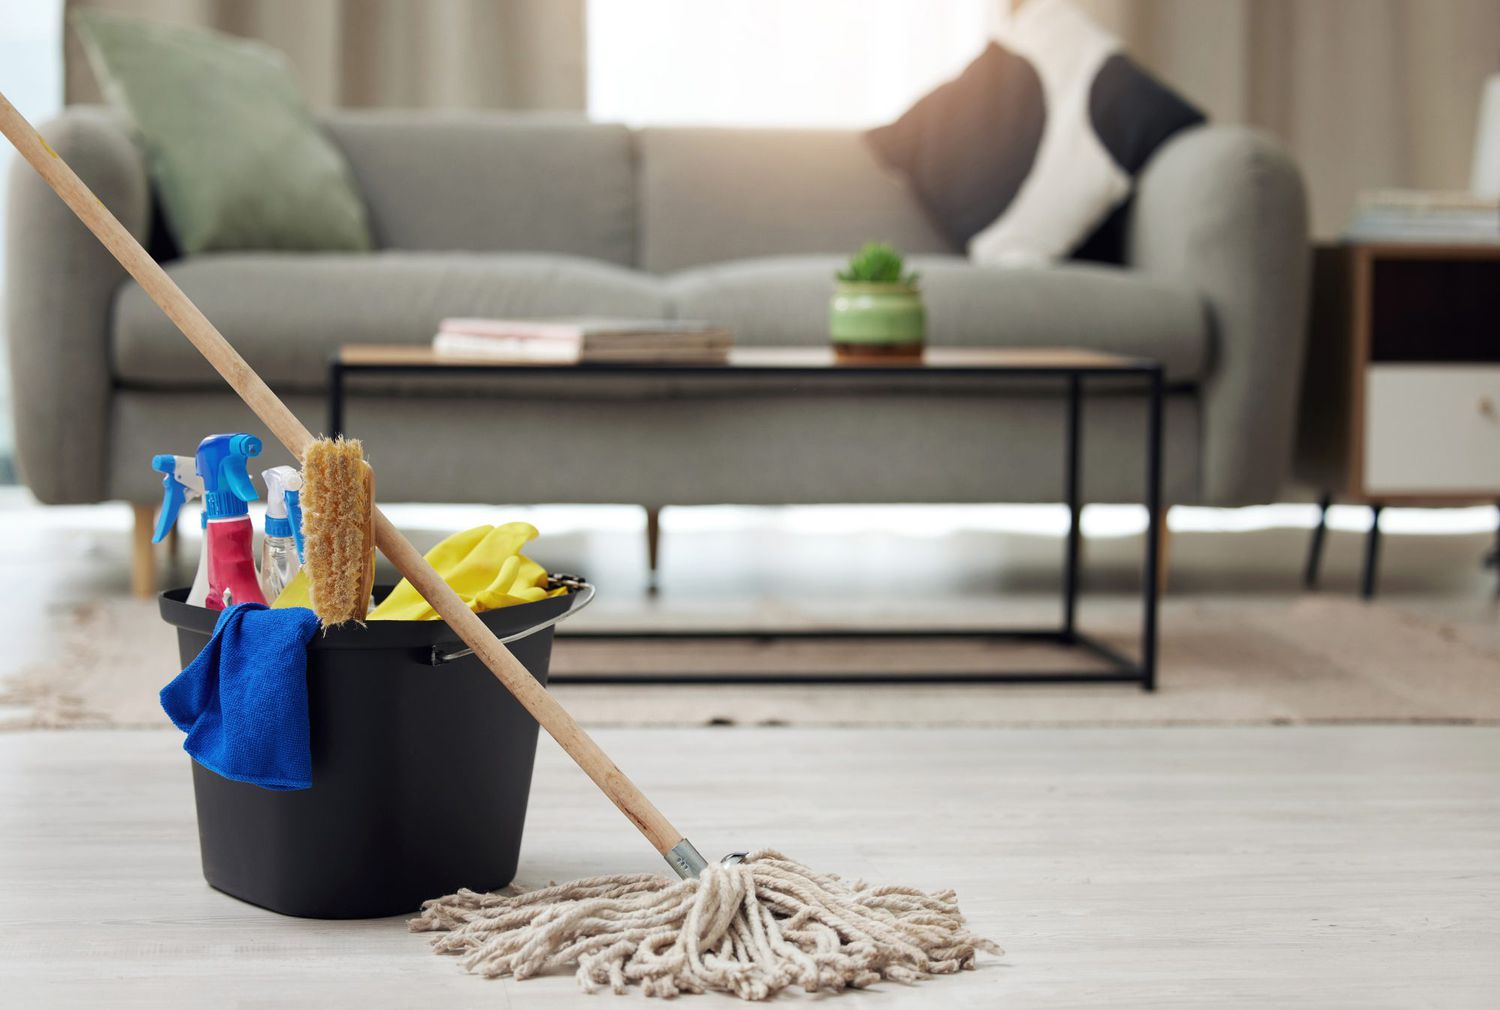
Gathering the necessary supplies
Before you begin cleaning your floors after construction, it’s important to gather all the necessary supplies. Here’s a list of items you’ll need:
- Brooms or vacuum cleaners: These tools will help you remove large debris and dirt from the floor surface.
- Mop or microfiber cloth: You’ll need these to clean and wipe the floor effectively.
- Bucket: Use a bucket to mix your cleaning solution and hold the water for rinsing the floors.
- Mild detergent: Choose a gentle, non-abrasive detergent that is safe for your specific type of flooring.
- Scrub brush: This will come in handy for removing stubborn stains and grime from the floor.
- Clean water: You’ll need plenty of clean water for rinsing the floor after cleaning.
- Towels or absorbent cloths: These will be used to dry the floor thoroughly.
- Protective gear: Depending on the nature of the residue on your floor, it may be wise to wear gloves, safety goggles, or a mask to protect yourself.
Gather these supplies before you start cleaning to ensure a smooth and efficient process.
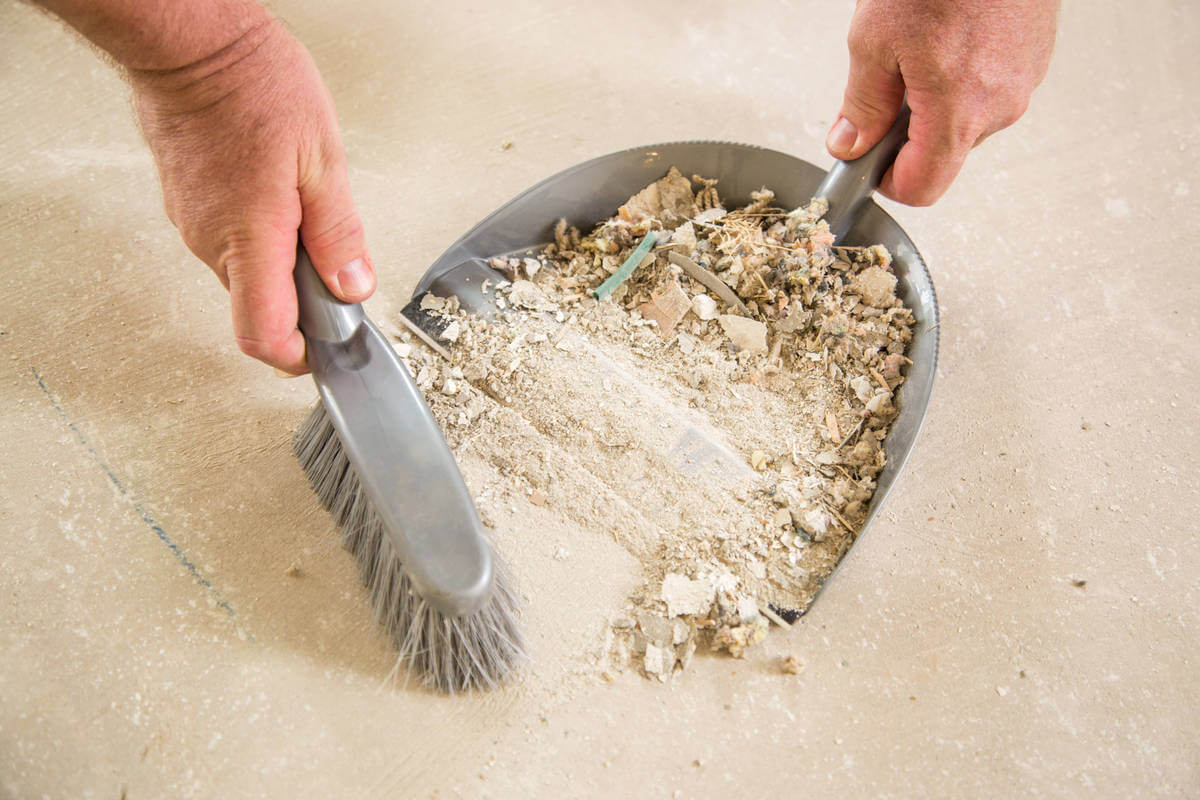
Removing large debris and dirt
Before you start the actual cleaning process, it’s important to remove any large debris and dirt from the floor surface. This will make the subsequent cleaning steps more effective. Here’s how you can remove large debris and dirt:
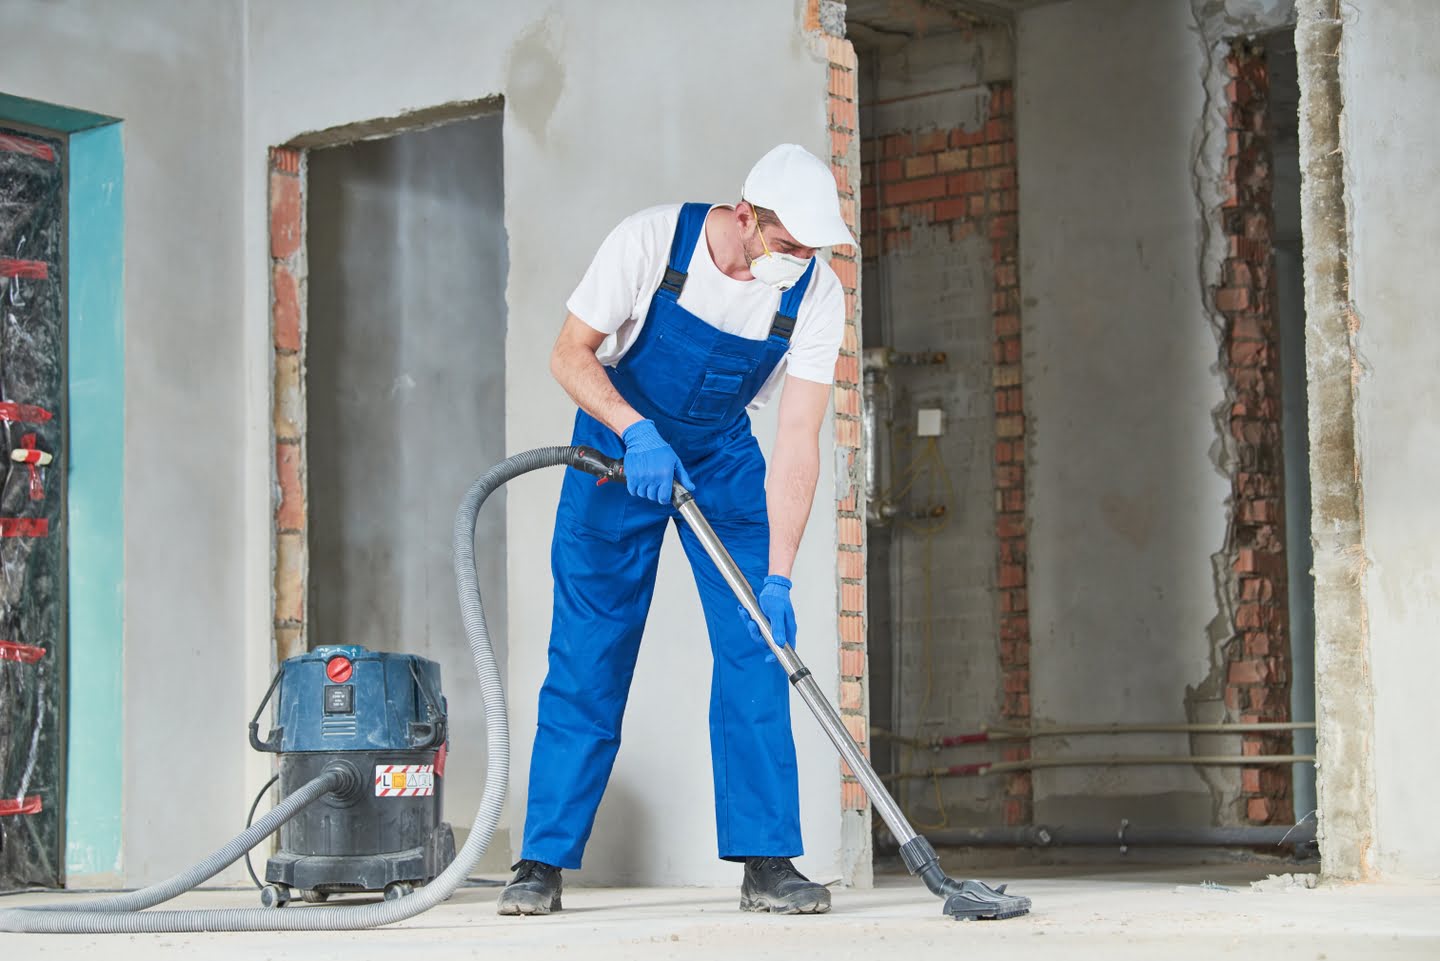
- Begin by using a broom or a vacuum cleaner with a floor attachment to sweep or vacuum the entire floor area. Pay close attention to corners, edges, and hard-to-reach areas where dust and debris tend to accumulate.
- If there are any loose items, such as nails or screws, pick them up by hand or use a magnetic sweeper to collect metallic objects.
- For larger debris that cannot be easily swept or vacuumed, use a dustpan and a hand brush to gather and dispose of them properly.
- Be thorough in your cleaning, ensuring that all visible debris and dirt are removed. This will prevent scratching or damaging the floor during subsequent cleaning steps.
Once you have finished removing large debris and dirt from the floor, you can move on to the next step in the cleaning process.
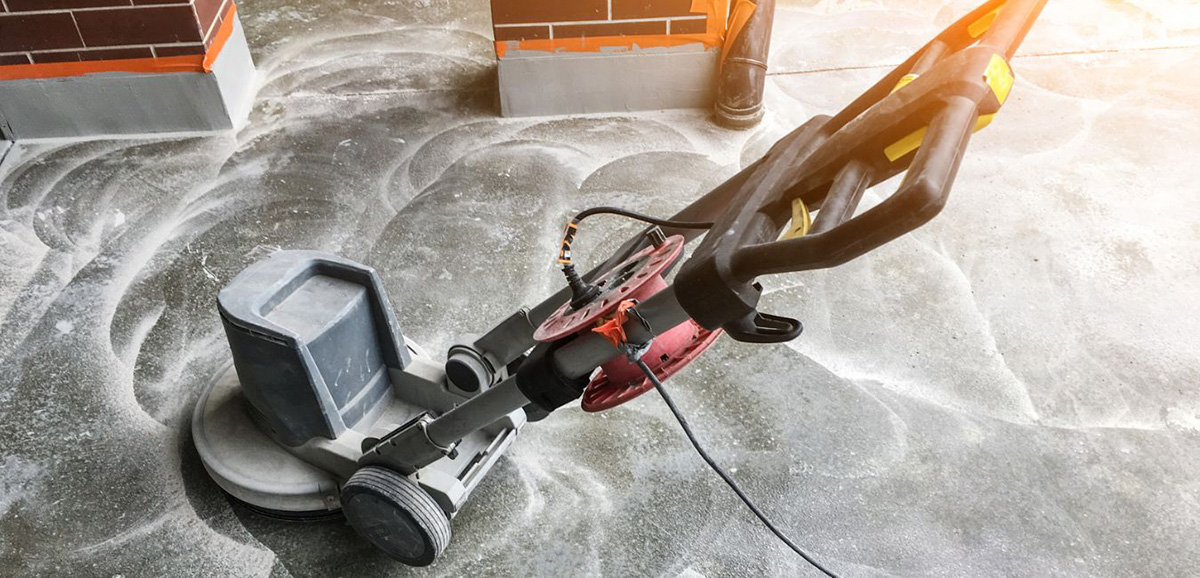
Sweeping and vacuuming the floor
After removing large debris and dirt, the next step is to thoroughly sweep and vacuum the floor. This step will help remove smaller dust particles and finer dirt that may be embedded in the surface of the floor. Here’s how you can effectively sweep and vacuum the floor:
- Start by using a broom or a vacuum cleaner with a floor attachment to sweep or vacuum the entire floor area. Work systematically, starting from one corner and moving towards the exit.
- Pay close attention to hard-to-reach areas, such as corners, edges, and under furniture. Use a smaller brush or crevice attachment to ensure thorough cleaning in these areas.
- If using a broom, use sweeping motions to dislodge and collect dust and dirt from the floor. Gather the debris into a dustpan and dispose of it properly.
- If using a vacuum cleaner, ensure that the brush or attachment is suitable for your type of flooring. Move the vacuum cleaner in smooth, overlapping strokes to cover the entire floor surface.
- For areas with stubborn dirt or dust, you may need to go over them multiple times or use the vacuum cleaner’s attachments to agitate and loosen the debris.
By thoroughly sweeping and vacuuming your floor, you will effectively eliminate the majority of loose dust and dirt, preparing the surface for further cleaning.
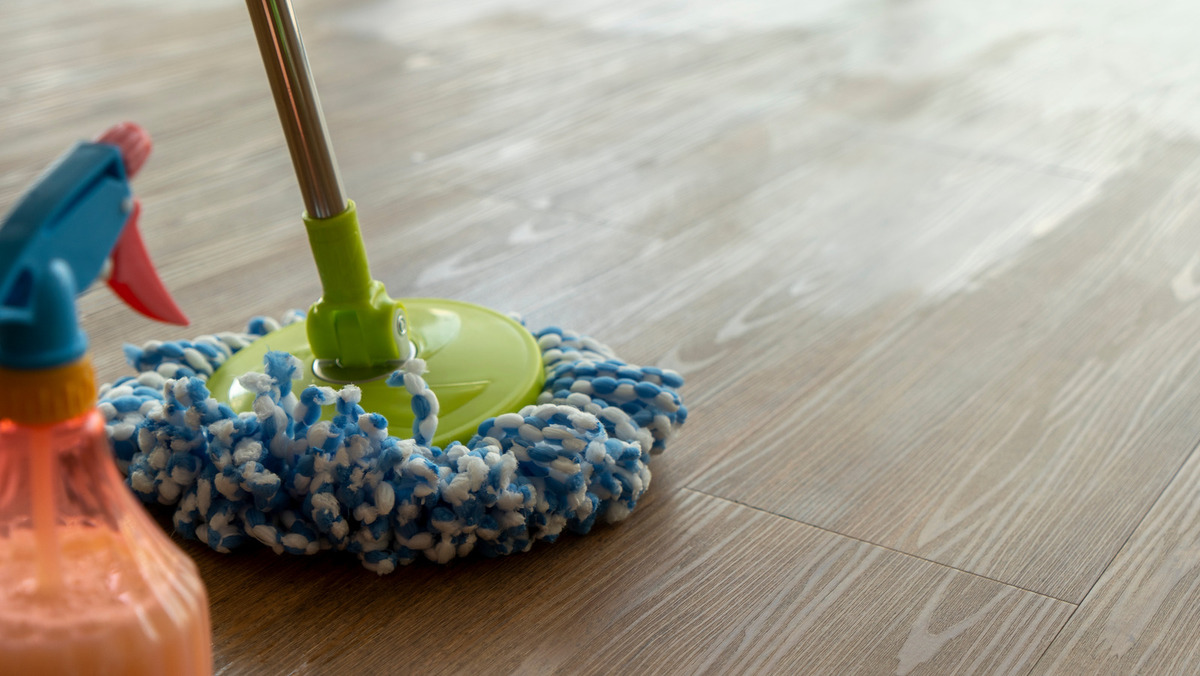
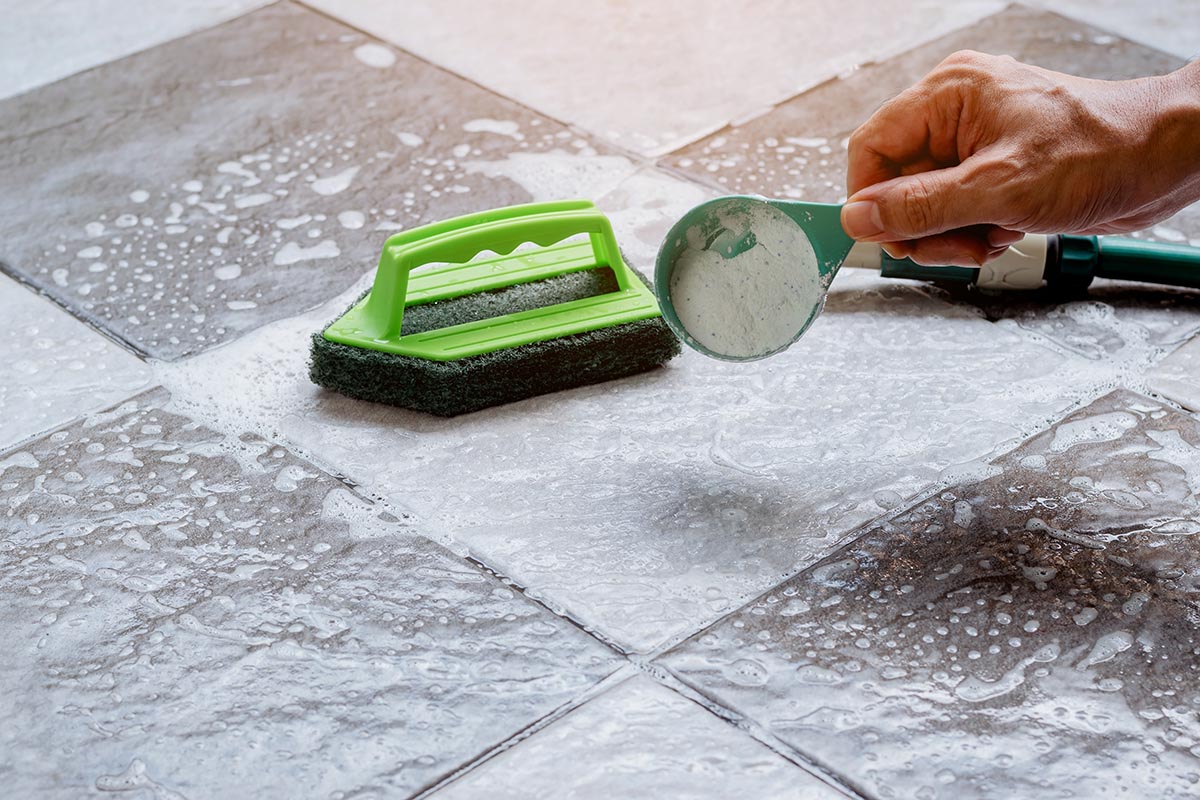
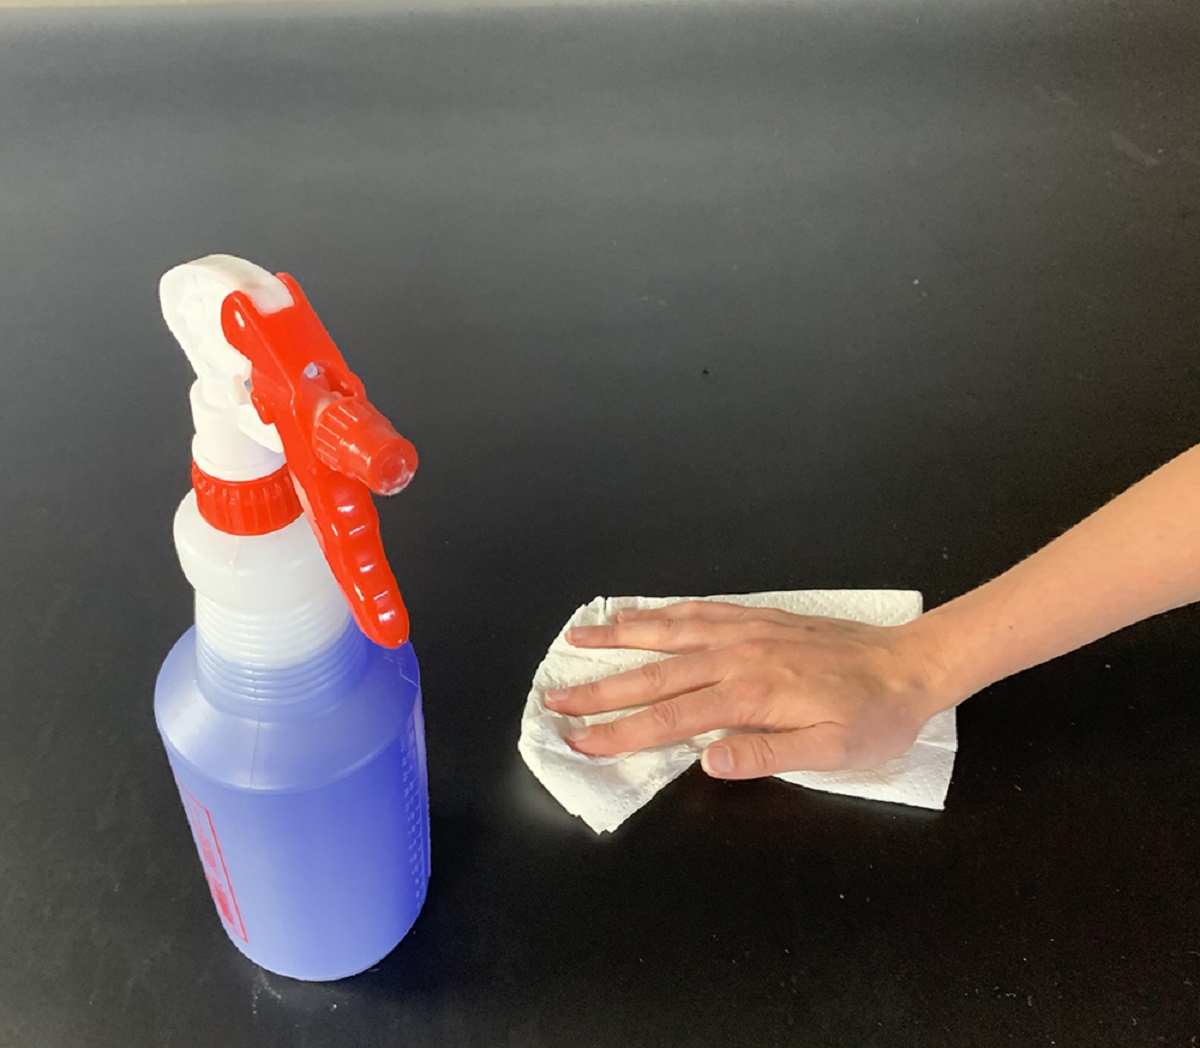
Cleaning with a mild detergent solution
Once you have swept and vacuumed the floor to remove loose dust and dirt, it’s time to proceed with cleaning using a mild detergent solution. This will help remove any remaining residue and stains from the floor surface. Follow these steps to clean your floor effectively:
- Fill a bucket with warm water and add a small amount of a mild detergent suitable for your type of flooring. Be sure to read the manufacturer’s instructions for the correct dilution ratio.
- Use a mop or a microfiber cloth dampened with the detergent solution to clean the floor. Make sure the mop or cloth is not dripping wet to prevent excessive moisture on the floor.
- Start from one corner of the room and work your way towards the exit, moving in overlapping strokes. This will ensure even coverage and thorough cleaning.
- Pay special attention to areas with stubborn stains or spills. Gently scrub the affected areas with a scrub brush or a soft cloth to remove the stains.
- Regularly rinse the mop or cloth in the bucket of detergent solution to avoid spreading dirt and grime around.
- Continue cleaning the entire floor surface, periodically changing the detergent solution if it becomes too dirty.
It’s important to note that different types of flooring may have specific cleaning requirements. Make sure to consult the manufacturer’s guidelines or seek professional advice to ensure you’re using the appropriate detergent solution for your specific floor material.
By cleaning the floor with a mild detergent solution, you will effectively remove dirt, residue, and most stains, leaving your floor looking clean and refreshed.
Read more: How To Clean House After Construction Dust
Scrubbing stubborn stains
While cleaning the floor with a mild detergent solution can remove most stains, there may be stubborn stains that require extra attention and effort. Here’s how you can effectively scrub stubborn stains from your floor:
- Identify the stubborn stains on your floor. These can include paint splatters, adhesive residue, or deep-set stains from construction materials.
- Create a mixture of warm water and a specific cleaning agent recommended for removing the particular type of stain you’re dealing with. Follow the manufacturer’s instructions for the correct dilution and application.
- Dip a scrub brush or a soft cloth into the cleaning solution and gently scrub the stained area. Apply moderate pressure and use circular motions to loosen the stain from the floor surface.
- For more stubborn stains, you may need to let the cleaning solution sit on the stain for several minutes to penetrate the residue. This will help break it down and make it easier to remove.
- Rinse the area with clean water and use a clean cloth or sponge to remove any residual cleaning solution. Make sure to thoroughly rinse the floor to avoid any leftover residue.
- Repeat the process if necessary until the stubborn stains are completely removed.
It’s important to note that some stains may require specialized cleaning products or techniques. If you’re unsure or if the stain is particularly stubborn, it’s recommended to seek professional advice to avoid damaging your floor.
By scrubbing stubborn stains with the appropriate cleaning solution and technique, you’ll be able to effectively eliminate unsightly marks and blemishes from your floor.
Use a vacuum or broom to remove large debris, then mop with a mixture of warm water and a mild detergent. Rinse with clean water and allow to dry completely.
Rinsing the floor with clean water
After cleaning the floor and scrubbing any stubborn stains, it’s important to thoroughly rinse the floor with clean water. This step will help remove any remaining detergent residue or cleaning solution, leaving your floor fresh and clean. Follow these steps to effectively rinse your floor:
- Fill a bucket with clean water. Make sure the water is at a comfortable temperature and free from any cleaning agents or additives.
- Dampen a clean mop or a microfiber cloth with the clean water from the bucket. Wring out any excess water to avoid excessive moisture on the floor.
- Starting from one corner of the room, gently mop or wipe the floor with the damp mop or cloth. Move in overlapping strokes to ensure even coverage.
- Periodically rinse and wring out the mop or cloth in the bucket to prevent spreading dirt or residue onto the floor.
- Continue rinsing the entire floor surface, refreshing the water in the bucket as needed.
- Pay extra attention to areas that were treated with cleaning solutions or where stubborn stains were scrubbed. Make sure these areas are thoroughly rinsed to remove any residual cleaning agents.
As you rinse the floor, you may notice the water becoming dirty or cloudy. This is a sign that the rinsing process is effectively removing any remaining dirt or residue from the floor.
By thoroughly rinsing the floor with clean water, you will ensure that all traces of cleaning agents or residue are removed, leaving your floor in its optimal condition.
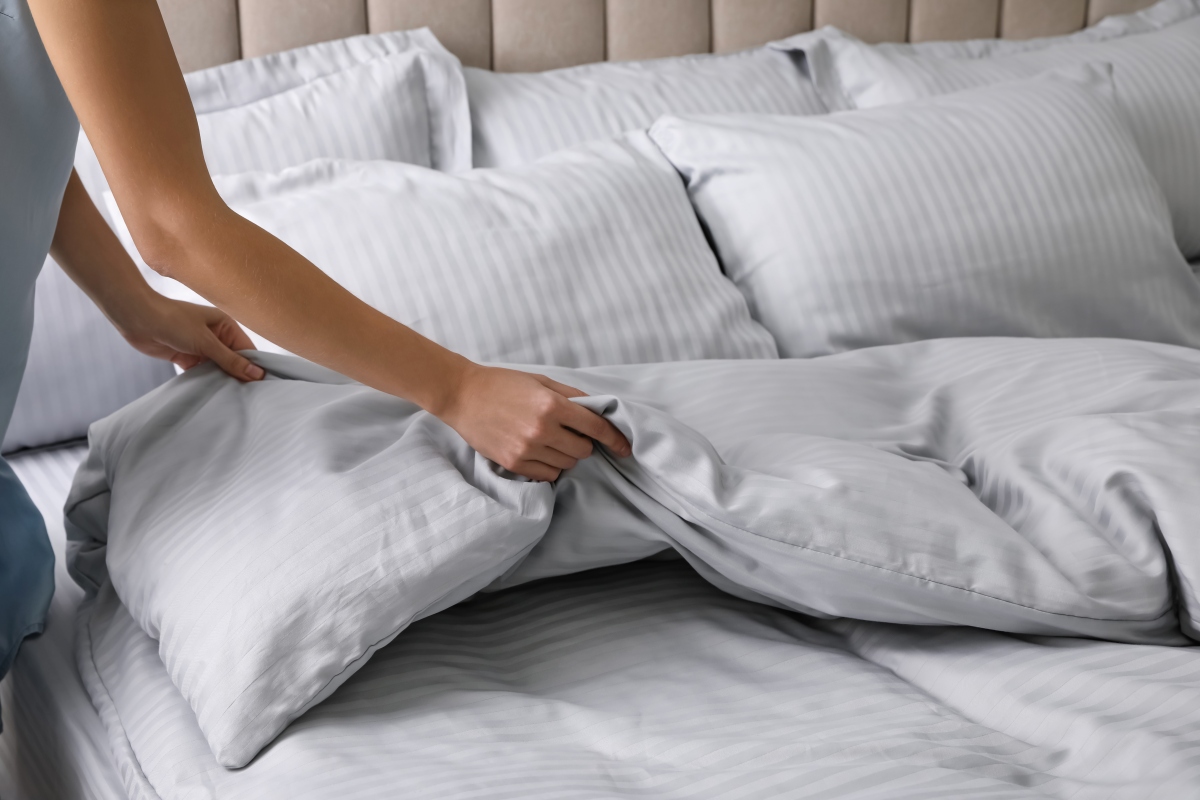
Drying the floor thoroughly
After rinsing the floor, it’s crucial to dry it thoroughly to prevent slips, water damage, and the potential for mold or mildew growth. Here are the steps to ensure your floor is properly dried:
- Using a clean and absorbent towel or mop, carefully remove any excess water from the floor surface. Start from one corner of the room and work your way towards the exit, drying small sections at a time.
- If your floor is made of hardwood or laminate, avoid leaving excess moisture on the surface. Use a dry towel or cloth to gently buff and dry the floor, ensuring there are no damp spots.
- For tile, vinyl, or linoleum flooring, you can use a dry mop or a microfiber cloth to absorb any remaining moisture. Ensure that the floor is completely dry and no water is left behind.
- Open windows or doors in the room, if possible, to allow air circulation and aid in the drying process. This will help speed up evaporation and reduce the risk of moisture-related issues.
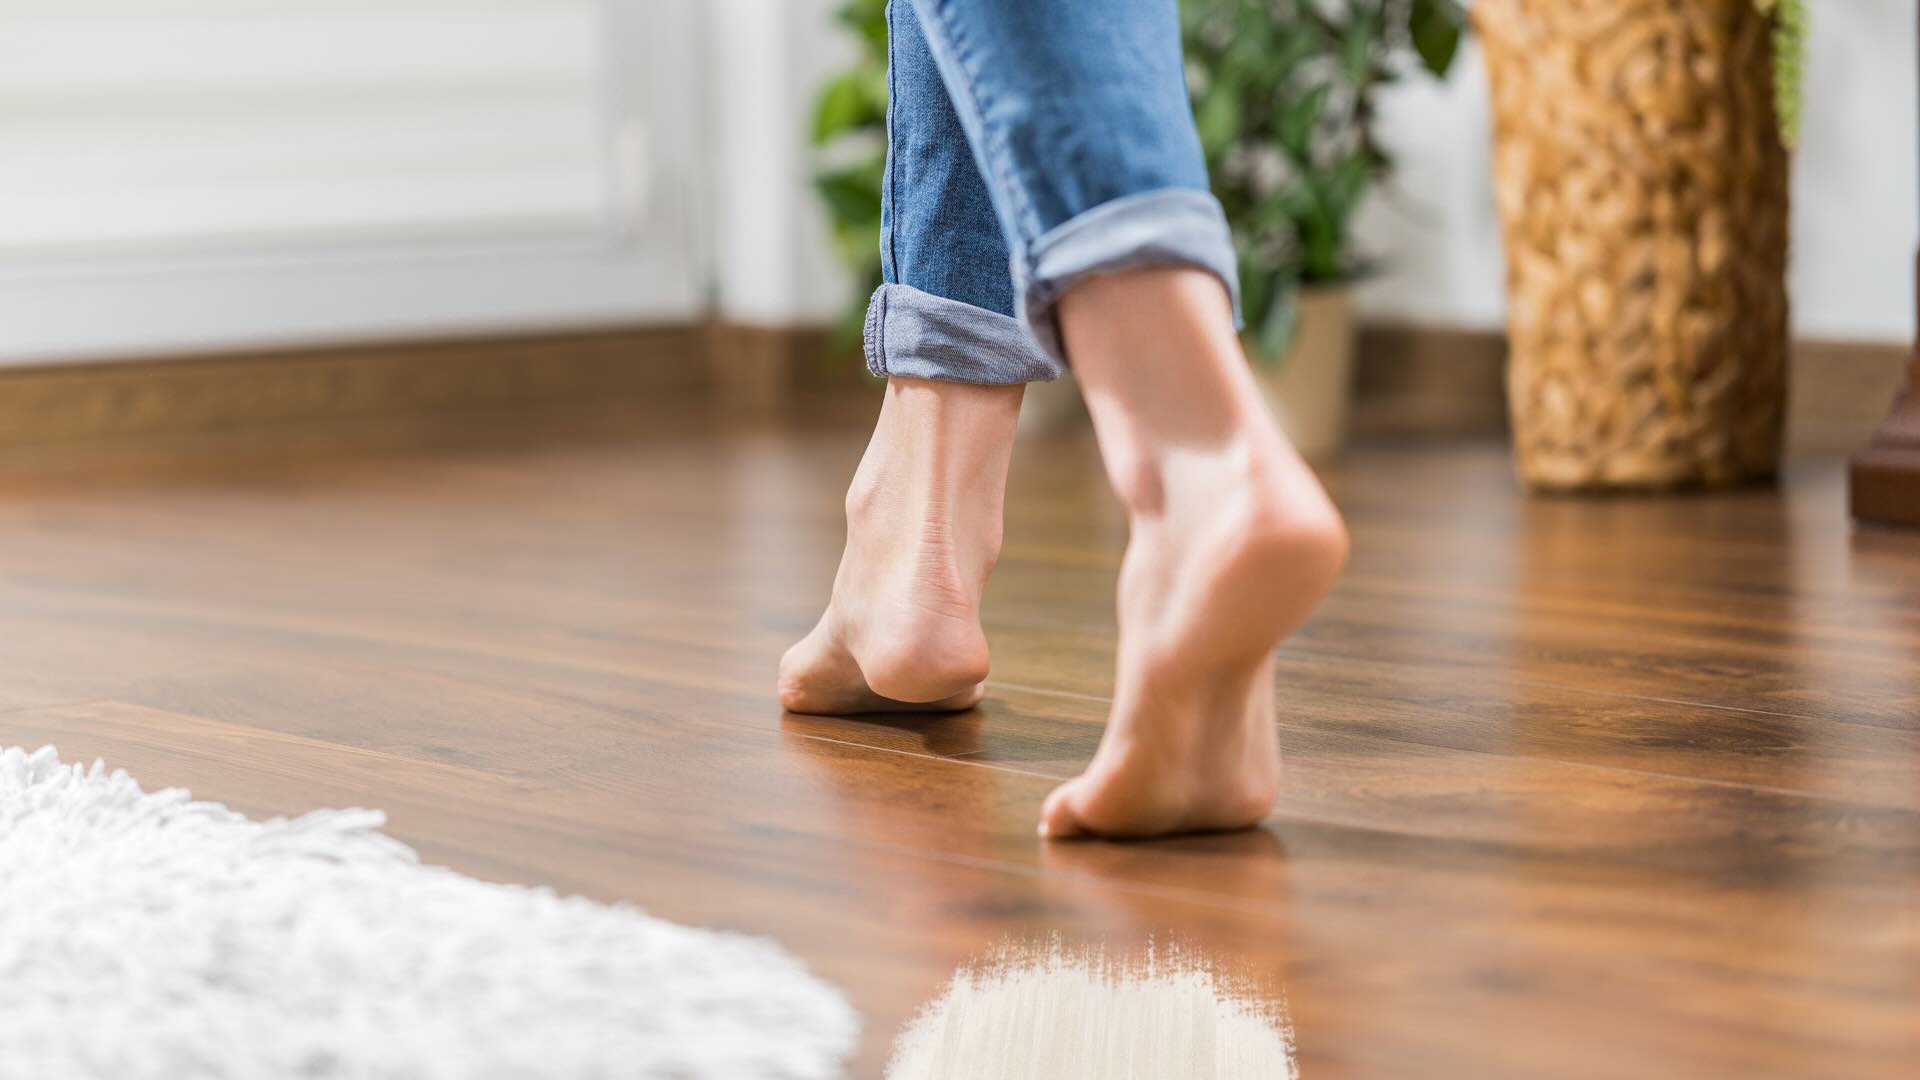
- Avoid walking on the floor until it is completely dry to prevent footprints or accidental slips. Use caution and place warning signs if necessary.
- If needed, you can also utilize fans or dehumidifiers to expedite the drying process. These devices can help remove excess moisture from the air and promote faster drying.
Remember, thorough drying is crucial to maintaining the integrity and appearance of your floor. Take the time to ensure it is completely dry before allowing regular foot traffic.
By following these steps, you’ll leave your floor dry and ready for use, free from any moisture-related risks.
Applying sealant or wax (optional)
After cleaning and drying your floor, you may consider applying a sealant or wax to provide an added layer of protection and enhance the appearance of the surface. This step is optional and dependent on the type of flooring you have. Here’s what you need to know:
Sealant:
- If you have natural stone, concrete, or porous tile flooring, applying a sealant can help to protect the floor from stains, moisture, and wear.
- Choose a sealant specifically designed for your type of flooring. Follow the manufacturer’s instructions for application, as it may involve brushing, rolling, or spraying the sealant onto the floor.
- Apply the sealant evenly, working in small sections. Use a clean applicator or sponge and follow any recommended drying or curing times before allowing foot traffic.
- Keep in mind that sealant application may require multiple coats, depending on the product and the porosity of the floor. Allow ample drying time between coats.
Wax:
- Applying wax is suitable for certain types of hard flooring, such as hardwood, vinyl, or laminate. It provides an added layer of shine and protection.
- Prior to waxing, ensure the floor is clean and dry. Use a wax specifically formulated for your type of flooring.
- Follow the directions on the wax product for application. Typically, you will spread a thin layer of the wax using a mop or applicator, working in small sections.
- After applying the wax, allow it to dry and cure according to the manufacturer’s instructions. This step may involve buffing the floor to achieve a desired level of shine.
It’s worth noting that sealants and wax may require periodic reapplication to maintain their effectiveness. Refer to the product instructions for specific guidance on maintenance.
Remember, the application of sealant or wax is optional and dependent on the type of flooring you have. Consider consulting a flooring professional to determine if this step is suitable for your specific floor material.
Additional tips for post-construction floor cleaning
When it comes to post-construction floor cleaning, here are some additional tips and considerations to ensure a thorough and successful process:
- Protective measures: During the construction process, consider covering the floors with protective sheets or materials to minimize the accumulation of dust and debris. This can make the post-construction cleaning process easier and more efficient.
- Test cleaning solutions: Before applying any cleaning solution to your entire floor, it’s advisable to test it on a small, inconspicuous area to ensure compatibility and prevent any potential damage or discoloration.
- Regular maintenance: Regularly maintaining your floors through proper cleaning and maintenance routines will help extend their lifespan and keep them looking their best. Follow the manufacturer’s guidelines for cleaning and care.
- Prevention and maintenance: Place floor mats or rugs at entrances to trap dirt and debris from shoes and prevent it from being tracked onto your newly cleaned floor. Regularly clean and shake out or vacuum these mats to remove accumulated debris.
- Proper ventilation: During and after the construction process, ensure proper ventilation in the area to remove excess dust and fumes. Open windows or use fans to improve air circulation and help minimize dust settling on the floor.
- Professional cleaning: If you’re dealing with extensive post-construction mess or have specialized flooring materials, it’s advisable to seek professional cleaning services. They have the expertise and equipment to handle the cleaning process more efficiently.
- Regular inspections: After cleaning your floors, conduct regular inspections to identify any signs of damage, such as scratches or cracks. Address these issues promptly to prevent further damage and maintain the quality of your flooring.
- Follow safety guidelines: When cleaning floors, ensure you follow proper safety precautions. This includes wearing appropriate protective gear, using caution on wet surfaces, and keeping children and pets away from the cleaning area until the floor is completely dry and safe to walk on.
By implementing these additional tips, you’ll not only have a clean and pristine floor after construction but also ensure its long-term beauty and durability.
Conclusion
Cleaning floors after construction is a necessary step to restore the beauty and cleanliness of your space. By following the proper cleaning techniques and utilizing the right supplies, you can effectively remove dust, debris, and stains that may have accumulated during the construction process. Remember to gather all the necessary supplies, including brooms, vacuums, mild detergents, scrub brushes, and clean water.
Start by removing large debris and dirt from the floor, sweeping or vacuuming the surface thoroughly. Then, proceed to clean the floor with a mild detergent solution, taking care to scrub any stubborn stains. Next, rinse the floor with clean water to remove any residue, ensuring a fresh and pristine surface. Finally, dry the floor thoroughly to prevent slips, water damage, and the growth of mold or mildew.
For added protection and enhanced appearance, you may choose to apply a sealant or wax to your floor, but this step is optional and dependent on the type of flooring you have. Make sure to carefully follow the manufacturer’s instructions when applying these products.
Remember to consider additional tips for post-construction floor cleaning, such as using protective measures, conducting regular maintenance, and seeking professional cleaning services when necessary. By implementing these tips, you’ll ensure the longevity and beauty of your floors.
So, take the time to properly clean and care for your floors after construction. The effort invested will result in a clean, inviting, and safe space that you can enjoy for years to come.
Frequently Asked Questions about How To Clean Floors After Construction
Was this page helpful?
At Storables.com, we guarantee accurate and reliable information. Our content, validated by Expert Board Contributors, is crafted following stringent Editorial Policies. We're committed to providing you with well-researched, expert-backed insights for all your informational needs.

0 thoughts on “How To Clean Floors After Construction”