Home>diy>Building & Construction>How To Remove Construction Adhesive
Building & Construction
How To Remove Construction Adhesive
Modified: August 16, 2024
Learn how to efficiently remove construction adhesive from various surfaces in your building construction projects. Step-by-step instructions and expert tips to make the process easier and more effective.
(Many of the links in this article redirect to a specific reviewed product. Your purchase of these products through affiliate links helps to generate commission for Storables.com, at no extra cost. Learn more)
Introduction
Welcome to the comprehensive guide on how to remove construction adhesive. Whether you are involved in a DIY project or working on a professional construction site, there may be instances where you need to remove adhesive residue left behind from construction materials such as wood, concrete, metal, or plastic.
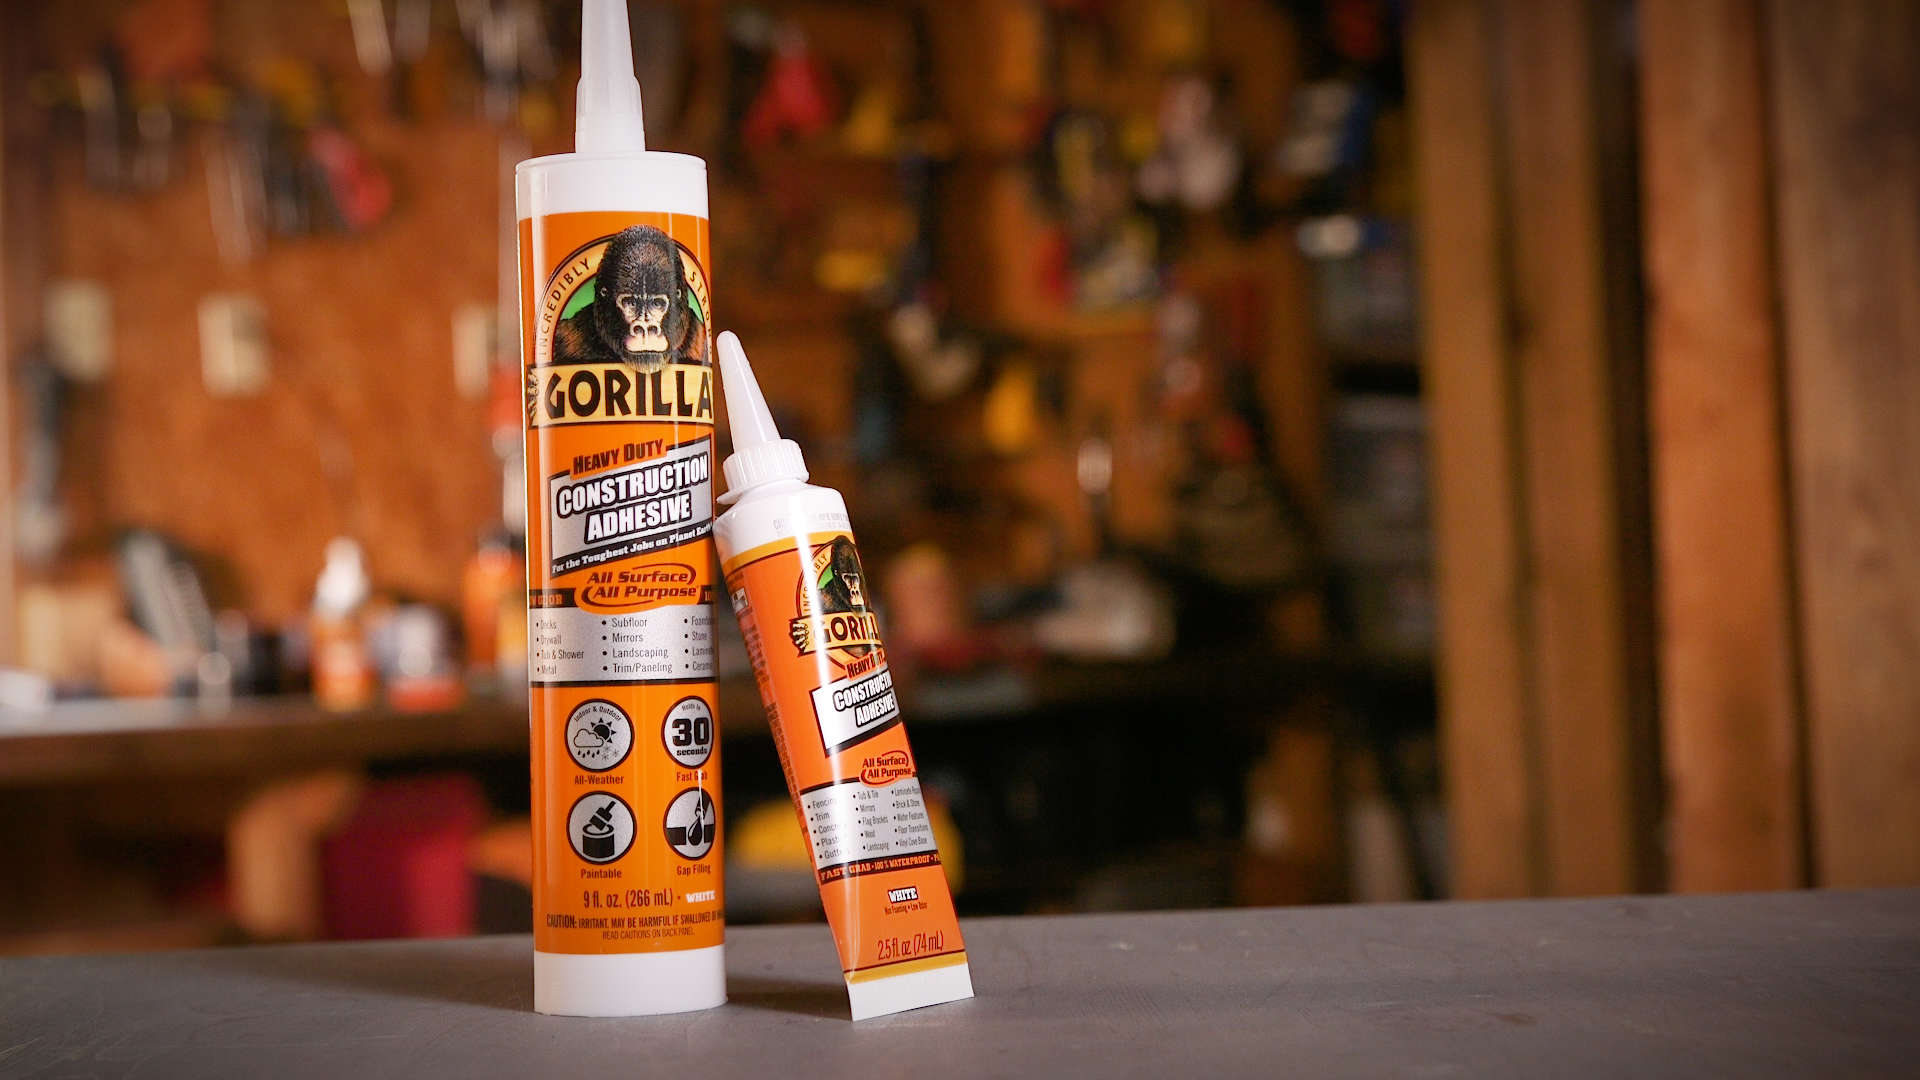
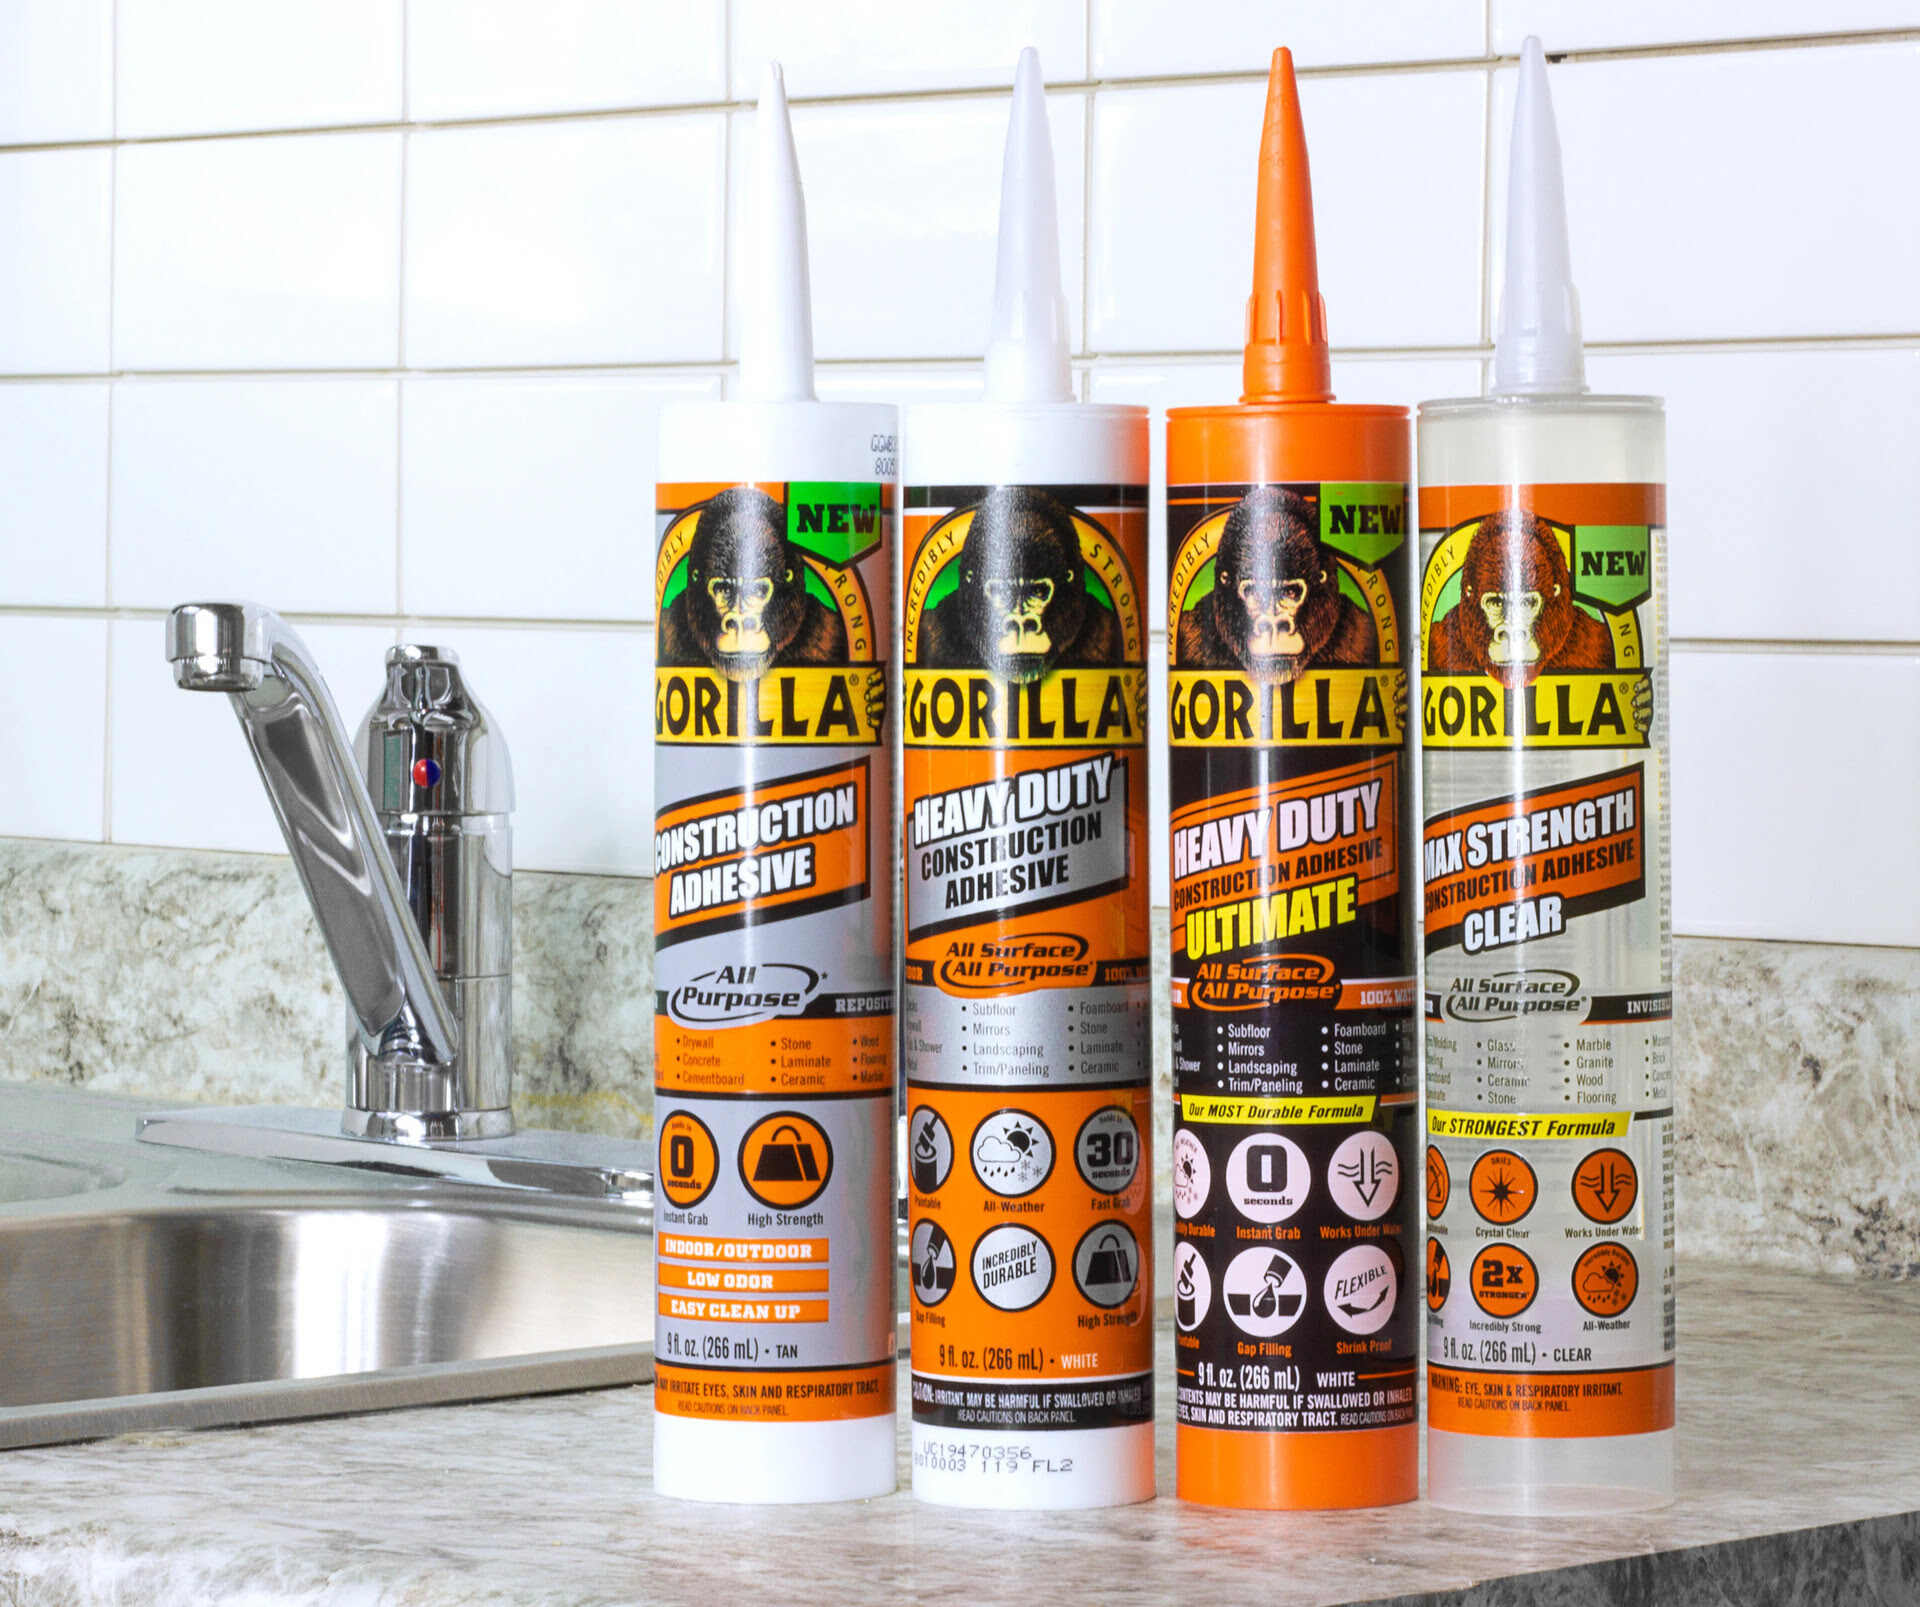
Construction adhesive is a strong bonding agent that is commonly used in various construction projects to secure materials together. However, removing this adhesive can be a daunting task if you are unsure of the proper technique and tools to use.
In this guide, we will walk you through the step-by-step process of removing construction adhesive effectively and safely. We will also provide you with essential safety precautions to ensure that you protect yourself and the surfaces you are working on.
Whether you are looking to remove construction adhesive from walls, floors, or any other surface, this guide will equip you with the knowledge and techniques to get the job done right.
Before we dive into the steps, it’s important to note that different types of construction adhesives might require slightly different approaches for removal. Therefore, it’s essential to identify the specific type of adhesive you are dealing with before proceeding.
Now, let’s get started with the necessary safety precautions you should take before removing construction adhesive.
Key Takeaways:
- Safely and effectively remove construction adhesive by following step-by-step instructions, prioritizing safety, and using the right tools and techniques for various surfaces.
- Prepare the area, soften the adhesive, scrape it off, remove any residue, and clean the surface to achieve a pristine, adhesive-free result for your next construction project.
Read more: How To Remove Adhesive From Glass
Safety Precautions
Before you begin the process of removing construction adhesive, it is vital to prioritize safety. Adhesives often contain harsh chemicals and removing them can involve using sharp tools and solvents, which can be potentially hazardous if handled improperly. Follow these safety precautions to ensure your well-being throughout the adhesive removal process:
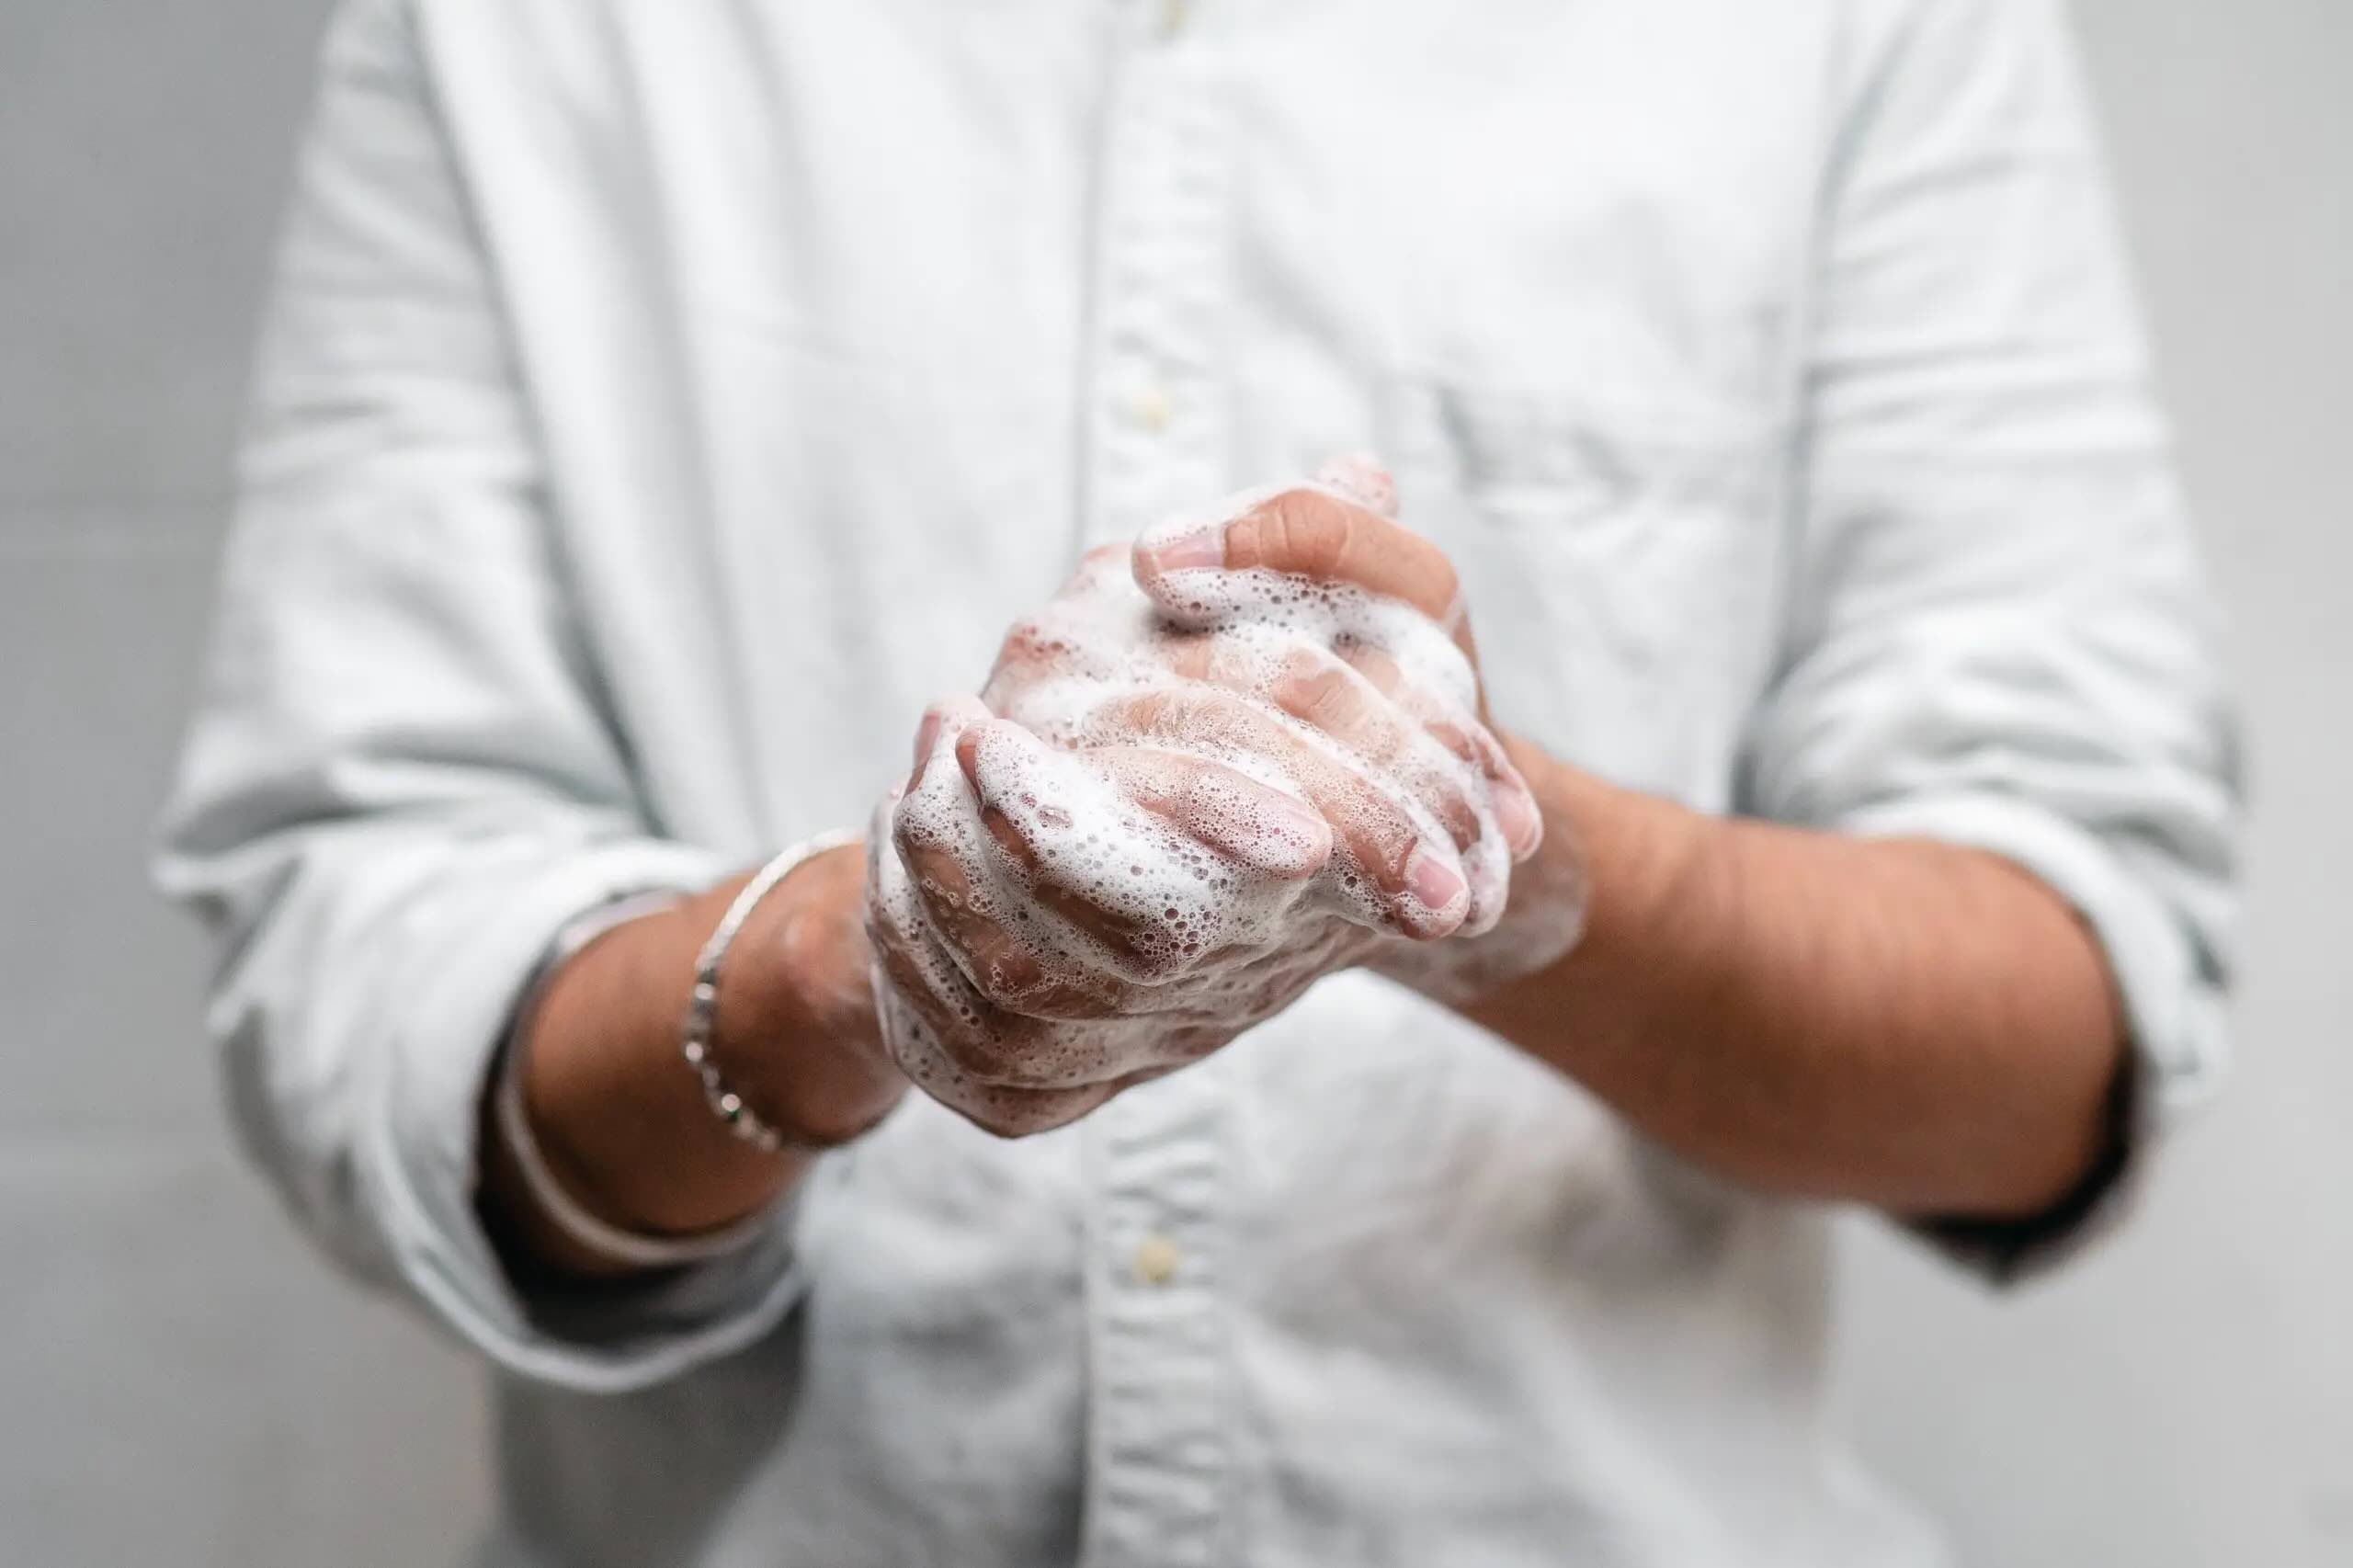
- Protective Gear: Wear appropriate safety gear, such as safety goggles, gloves, and a respirator mask, to shield yourself from potential chemical splashes, airborne particles, and fumes.
- Ventilation: Make sure the area you are working in is well-ventilated to avoid inhaling any toxic fumes. Open windows or doors or use fans to improve airflow.
- Read Product Labels: Familiarize yourself with the specific adhesive product you are using and carefully read the instructions and warnings provided by the manufacturer. Follow their guidelines for proper handling and disposal.
- Test in a Small Area: Before applying any adhesive removal methods or solvents, it is advisable to test them on a small, inconspicuous area first. This will help you determine if the method you plan to use is appropriate for the surface without causing damage.
- Work in a Well-Lit Area: Ensure that you have adequate lighting to see clearly and avoid any accidents or injuries while working with sharp tools.
- Keep Children and Pets Away: Make sure to keep children and pets away from the worksite to prevent any accidental exposure to chemicals or injuries.
- Dispose of Hazardous Waste: Properly dispose of any adhesive residues, solvents, or tools that may have come into contact with the adhesive according to local regulations. Do not pour solvents down drains or dispose of them in regular trash bins.
By following these safety precautions, you can minimize the risk of accidents or injuries and safely remove construction adhesive from various surfaces.
Step 1: Gathering Materials
Before you begin the process of removing construction adhesive, it is important to gather the necessary materials and tools. Having these items on hand will ensure a smooth and efficient removal process. Here are the essential materials you will need:
- Protective gear: Safety goggles, gloves, and a respirator mask to protect yourself from chemical splashes and fumes.
- Putty knife or scraper: A sturdy putty knife or scraper with a wide blade will help you remove the adhesive from the surface.
- Heat gun or hairdryer: A heat gun or a hairdryer can be used to soften the adhesive, making it easier to scrape off.
- Adhesive remover: Depending on the type of adhesive you are removing, you may need an adhesive remover. Choose a product that is appropriate for the specific type of adhesive and surface you are working on.
- Clean cloth or sponge: A clean cloth or sponge will be necessary to wipe away the adhesive residue and clean the surface once the adhesive is removed.
- Soap and water: Prepare a solution of mild soap and water for cleaning the surface after the adhesive removal process.
- Plastic sheeting or drop cloths: To protect the surrounding area from adhesive debris and spills, use plastic sheeting or drop cloths to cover any furniture, flooring, or fixtures.
- Scraper or brush: A small scraper or stiff-bristle brush can be helpful for removing adhesive residue from hard-to-reach areas or textured surfaces.
- Plastic bags or containers: Prepare plastic bags or containers to collect and dispose of the removed adhesive safely.
By having these materials readily available, you will be well-prepared to tackle the task of removing construction adhesive efficiently and effectively. Proceed to the next step once you have gathered all the necessary supplies.
Step 2: Preparing the Area
Before you proceed with removing the construction adhesive, it is important to prepare the area to minimize any potential damage or mess. Proper preparation will also make the adhesive removal process easier and more efficient. Follow these steps to prepare the area:
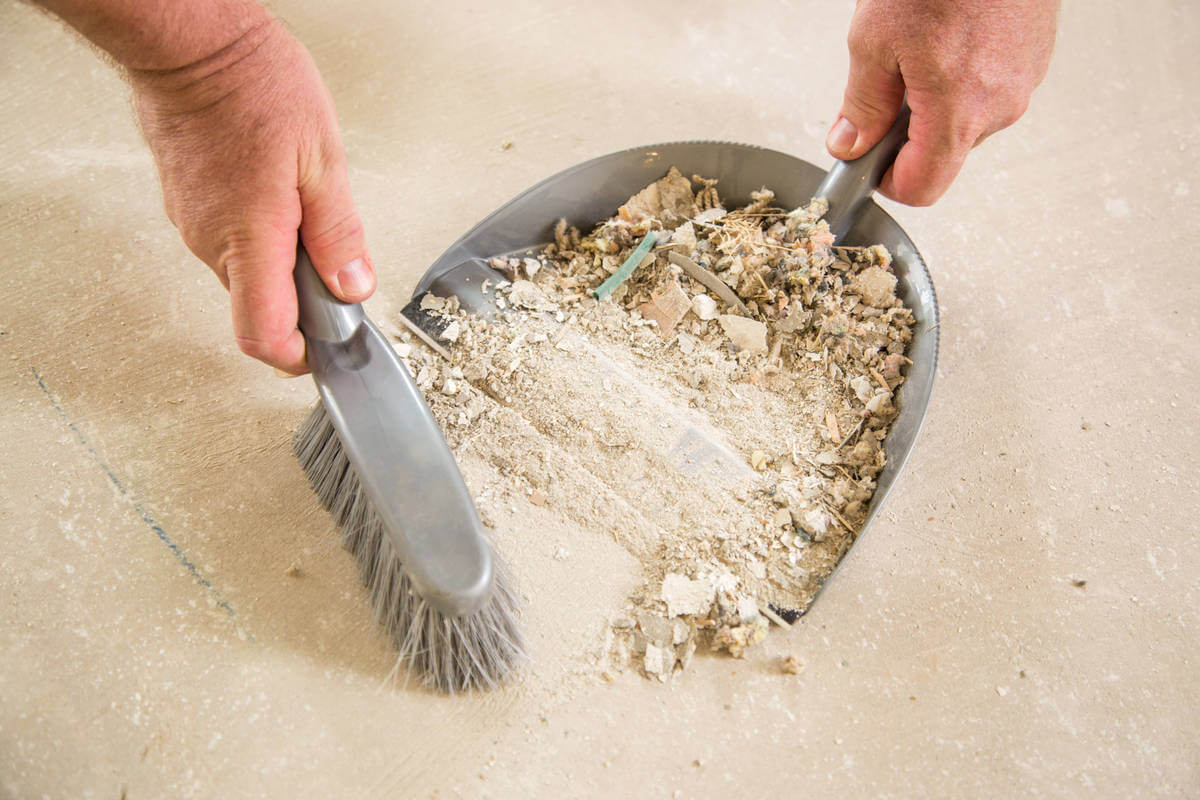
- Clean the surface: Start by cleaning the surface surrounding the adhesive to remove any dust, dirt, or debris. Use a mild soap and water solution and a clean cloth or sponge to wipe down the area. Ensuring a clean surface will prevent any unwanted particles from becoming trapped under the adhesive during removal.
- Protect nearby surfaces: Cover any nearby surfaces, such as walls, floors, or furniture, with plastic sheeting or drop cloths. This will protect them from accidental damage or splatters during the adhesive removal process.
- Apply heat (if applicable): If you are planning to use a heat gun or hairdryer to soften the adhesive, ensure that the area is well-ventilated. Position the heat source at a safe distance from the adhesive and test it in a small area to prevent excessive heat or damage to the surface.
- Organize your tools: Make sure all your tools and materials are easily accessible. Arrange them in a designated area to prevent any unnecessary delays or confusion during the adhesive removal process.
- Read product instructions: If you are using an adhesive remover or solvent, carefully read the product instructions before starting. Follow the manufacturer’s guidelines on application and safety precautions.
By properly preparing the area before removing the construction adhesive, you will create an environment that is conducive to efficient and safe adhesive removal. Once you have completed the preparation steps, you are ready to move on to the next step of the process.
Step 3: Softening the Construction Adhesive
Now that you have prepared the area, it’s time to soften the construction adhesive before removing it. Softening the adhesive will make it easier to scrape off without damaging the surface. Follow these steps to soften the construction adhesive:
- Apply heat: If your adhesive is heat-sensitive, such as some types of construction adhesives, you can use a heat gun or a hairdryer on a low heat setting to soften the adhesive. Hold the heat source a few inches away from the adhesive and move it back and forth to evenly distribute the heat. Be cautious not to overheat the area or hold the heat source too close to prevent damage to the surface.
- Wait for the adhesive to soften: Allow the heat to penetrate the adhesive for a few minutes, as this will help soften it. The adhesive should begin to loosen and become more pliable.
- Test the adhesive: Before proceeding with the removal process, test a small area of the adhesive with a putty knife or scraper. If the adhesive is still hard and difficult to remove, continue applying heat for a bit longer until it reaches the desired consistency.
It’s important to note that not all construction adhesives can be softened with heat. Some adhesives may require the use of a specific adhesive remover or solvent. In such cases, be sure to follow the manufacturer’s instructions for softening the adhesive.
By softening the construction adhesive, you will make the removal process more manageable and prevent unnecessary damage to the surface. Once the adhesive has softened, you can proceed to the next step of scraping off the adhesive.
Use a heat gun or hair dryer to soften the construction adhesive, then carefully scrape it off with a putty knife. Be sure to follow all safety precautions when using heat tools.
Read more: How To Remove A Carpet Adhesive
Step 4: Scrape off the Adhesive
Now that you have softened the construction adhesive, it’s time to begin the process of scraping off the adhesive from the surface. Follow these steps to effectively remove the adhesive:
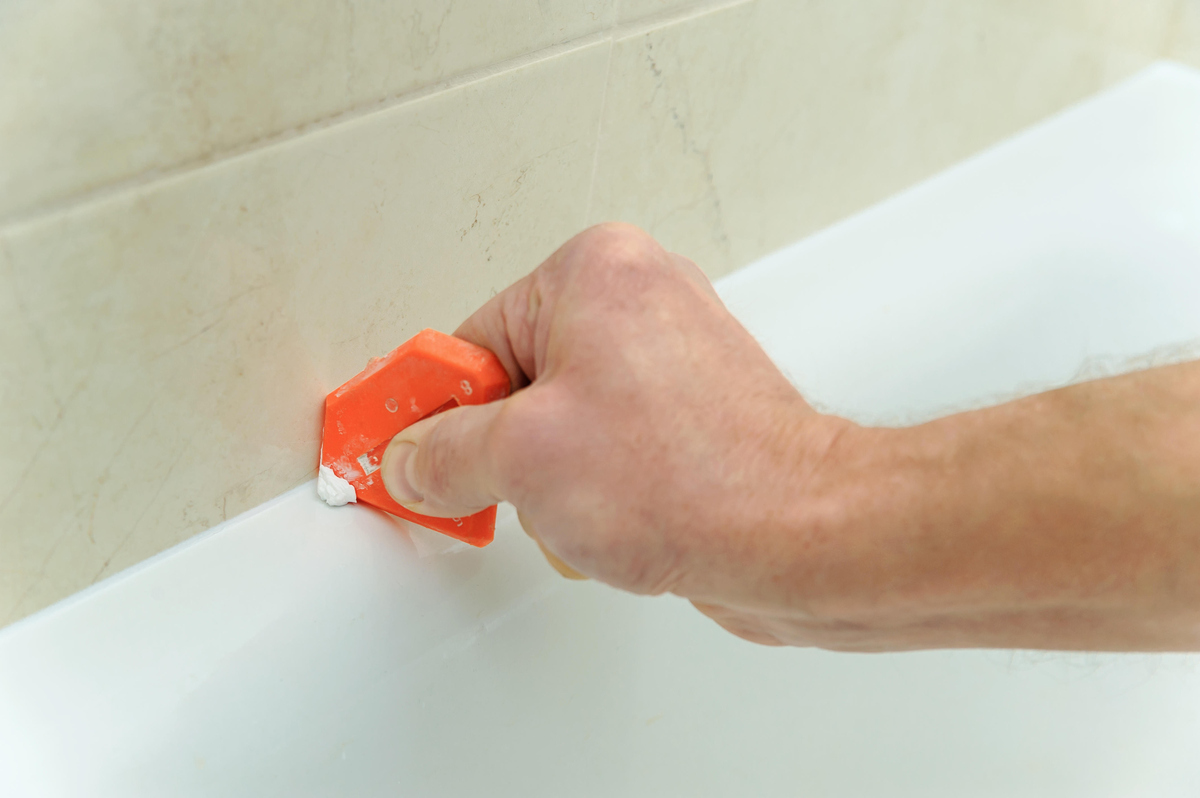
- Use a putty knife or scraper: Start by using a putty knife or scraper with a wide blade to gently scrape off the softened adhesive. Hold the tool at a slight angle and apply steady pressure to lift the adhesive from the surface. Work in small sections, gradually moving along the area where the adhesive is present.
- Be patient and gentle: Take your time and avoid using excessive force while scraping off the adhesive. Being patient and gentle will help prevent any damage to the underlying surface. If the adhesive is not coming off easily, you can apply more heat to further soften it.
- Dispose of the removed adhesive: As you scrape off the adhesive, collect the removed adhesive and place it in a plastic bag or container for safe disposal. Avoid letting the adhesive debris spread or accumulate in the working area.
- Continue scraping and reapplying heat if needed: Depending on the amount and thickness of the adhesive, you may need to repeat the process of scraping and reapplying heat until all the adhesive has been removed. Work systematically and ensure that you cover the entire area where the adhesive is present.
It’s important to note that different surfaces may require different scraping tools or techniques. For instance, textured surfaces might benefit from using a small scraper or stiff-bristle brush to remove adhesive residue from hard-to-reach areas.
By following these steps and being patient, you will be able to effectively scrape off the construction adhesive from the surface. Once you have removed the majority of the adhesive, proceed to the next step to tackle any remaining residue.
Step 5: Removing Residue
After scraping off the construction adhesive, you may still find some residue lingering on the surface. This step will guide you on how to effectively remove any remaining adhesive residue. Follow these steps to ensure a clean and adhesive-free surface:
- Inspect the surface: Take a close look at the surface to identify any areas where adhesive residue is still present. This residue may appear as thin layers, small patches, or spots.
- Apply adhesive remover or solvent: If necessary, apply an adhesive remover or solvent specifically designed for the type of construction adhesive you are dealing with. Follow the manufacturer’s instructions for application and let the remover sit on the residue for the recommended amount of time.
- Gently scrub the residue: For stubborn residue, use a soft cloth or sponge to gently scrub the area in a circular motion. Apply light pressure to avoid damaging the surface. If needed, reapply the adhesive remover or solvent and continue scrubbing until the residue is removed.
- Wipe off the residue: Once the residue has loosened, use a clean cloth or sponge dampened with water to wipe away the adhesive residue. Rinse the cloth or sponge frequently to remove the residue and prevent it from spreading or smearing.
- Dry the surface: After all the residue has been removed, use a clean and dry cloth to thoroughly dry the surface. This will prevent any moisture from being trapped and potentially causing damage or further adhesive residue accumulation.
It’s important to note that different adhesive removers or solvents may be suitable for different surfaces. Always test the product on a small, inconspicuous area to ensure it does not cause any damage or discoloration before applying it to larger surface areas.
By taking the time to remove any remaining adhesive residue, you will achieve a clean and smooth surface, ready for further construction, repairs, or finishing touches.
Step 6: Cleaning the Surface
Once you have removed the construction adhesive and any lingering residue, it’s important to give the surface a thorough cleaning to ensure it is free of any debris or remnants. Follow these steps to clean the surface effectively:
- Prepare a cleaning solution: Create a mild cleaning solution by mixing a small amount of mild soap or dish detergent with water. The solution should be gentle enough to avoid damaging the surface.
- Soak a cloth or sponge: Dip a clean cloth or sponge into the cleaning solution, making sure it is well-saturated but not dripping.
- Wipe down the surface: Use the cloth or sponge to wipe down the entire surface, removing any remaining debris, dust, or cleaning residue. Pay attention to any areas that may have been missed during the adhesive removal process.
- Rinse with clean water: Once you have wiped down the surface, rinse the cloth or sponge with clean water and go over the surface again to remove any soap residue. This will ensure a clean and streak-free finish.
- Dry the surface: Use a dry cloth to thoroughly dry the surface. This will prevent any moisture from lingering, which can lead to potential damage or the accumulation of dirt and debris.
It’s important to note that the cleaning method and solution used may vary depending on the type of surface you are working with. Certain materials may require specialized cleaning products or techniques to ensure their integrity is maintained.
By following these cleaning steps, you will be left with a clean and refreshed surface ready for any further construction, repairs, or finishing touches.
Conclusion
Congratulations! You have successfully learned how to remove construction adhesive from various surfaces. By following the step-by-step process outlined in this guide, you can effectively and safely remove adhesive residue, leaving your surfaces clean and ready for the next phase of your project.
Remember to always prioritize safety by wearing protective gear and following the manufacturer’s instructions for any adhesive removers or solvents used. Take the time to prepare the area properly and gather all the necessary materials to ensure a smooth removal process.
Softening the adhesive with heat, scraping off the adhesive, and removing any remaining residue are key steps in achieving a clean surface. By being patient, gentle, and thorough, you can achieve excellent results without causing damage to the surface.
Lastly, don’t forget to clean the surface once the adhesive has been removed. Wipe down the area with a mild soap solution, rinse with clean water, and dry the surface to ensure a pristine finish that is free of any debris or residue.
Remember, different types of construction adhesives may require slightly different approaches, so always refer to the manufacturer’s instructions and test any products on a small, inconspicuous area before applying them to larger surface areas.
Now armed with the knowledge and techniques to remove construction adhesive effectively, you can confidently tackle your next project with ease. Whether it’s a DIY endeavor or a professional construction site, you have the skills to achieve a clean and adhesive-free surface.
Good luck with your future projects, and may your surfaces be smooth, pristine, and ready for whatever comes next!
Frequently Asked Questions about How To Remove Construction Adhesive
Was this page helpful?
At Storables.com, we guarantee accurate and reliable information. Our content, validated by Expert Board Contributors, is crafted following stringent Editorial Policies. We're committed to providing you with well-researched, expert-backed insights for all your informational needs.

0 thoughts on “How To Remove Construction Adhesive”