Home>diy>Building & Construction>How To Remove Dust After Construction
Building & Construction
How To Remove Dust After Construction
Modified: October 20, 2024
Learn effective ways to remove dust after building construction. Discover cleaning techniques and products for a dust-free environment.
(Many of the links in this article redirect to a specific reviewed product. Your purchase of these products through affiliate links helps to generate commission for Storables.com, at no extra cost. Learn more)
Introduction
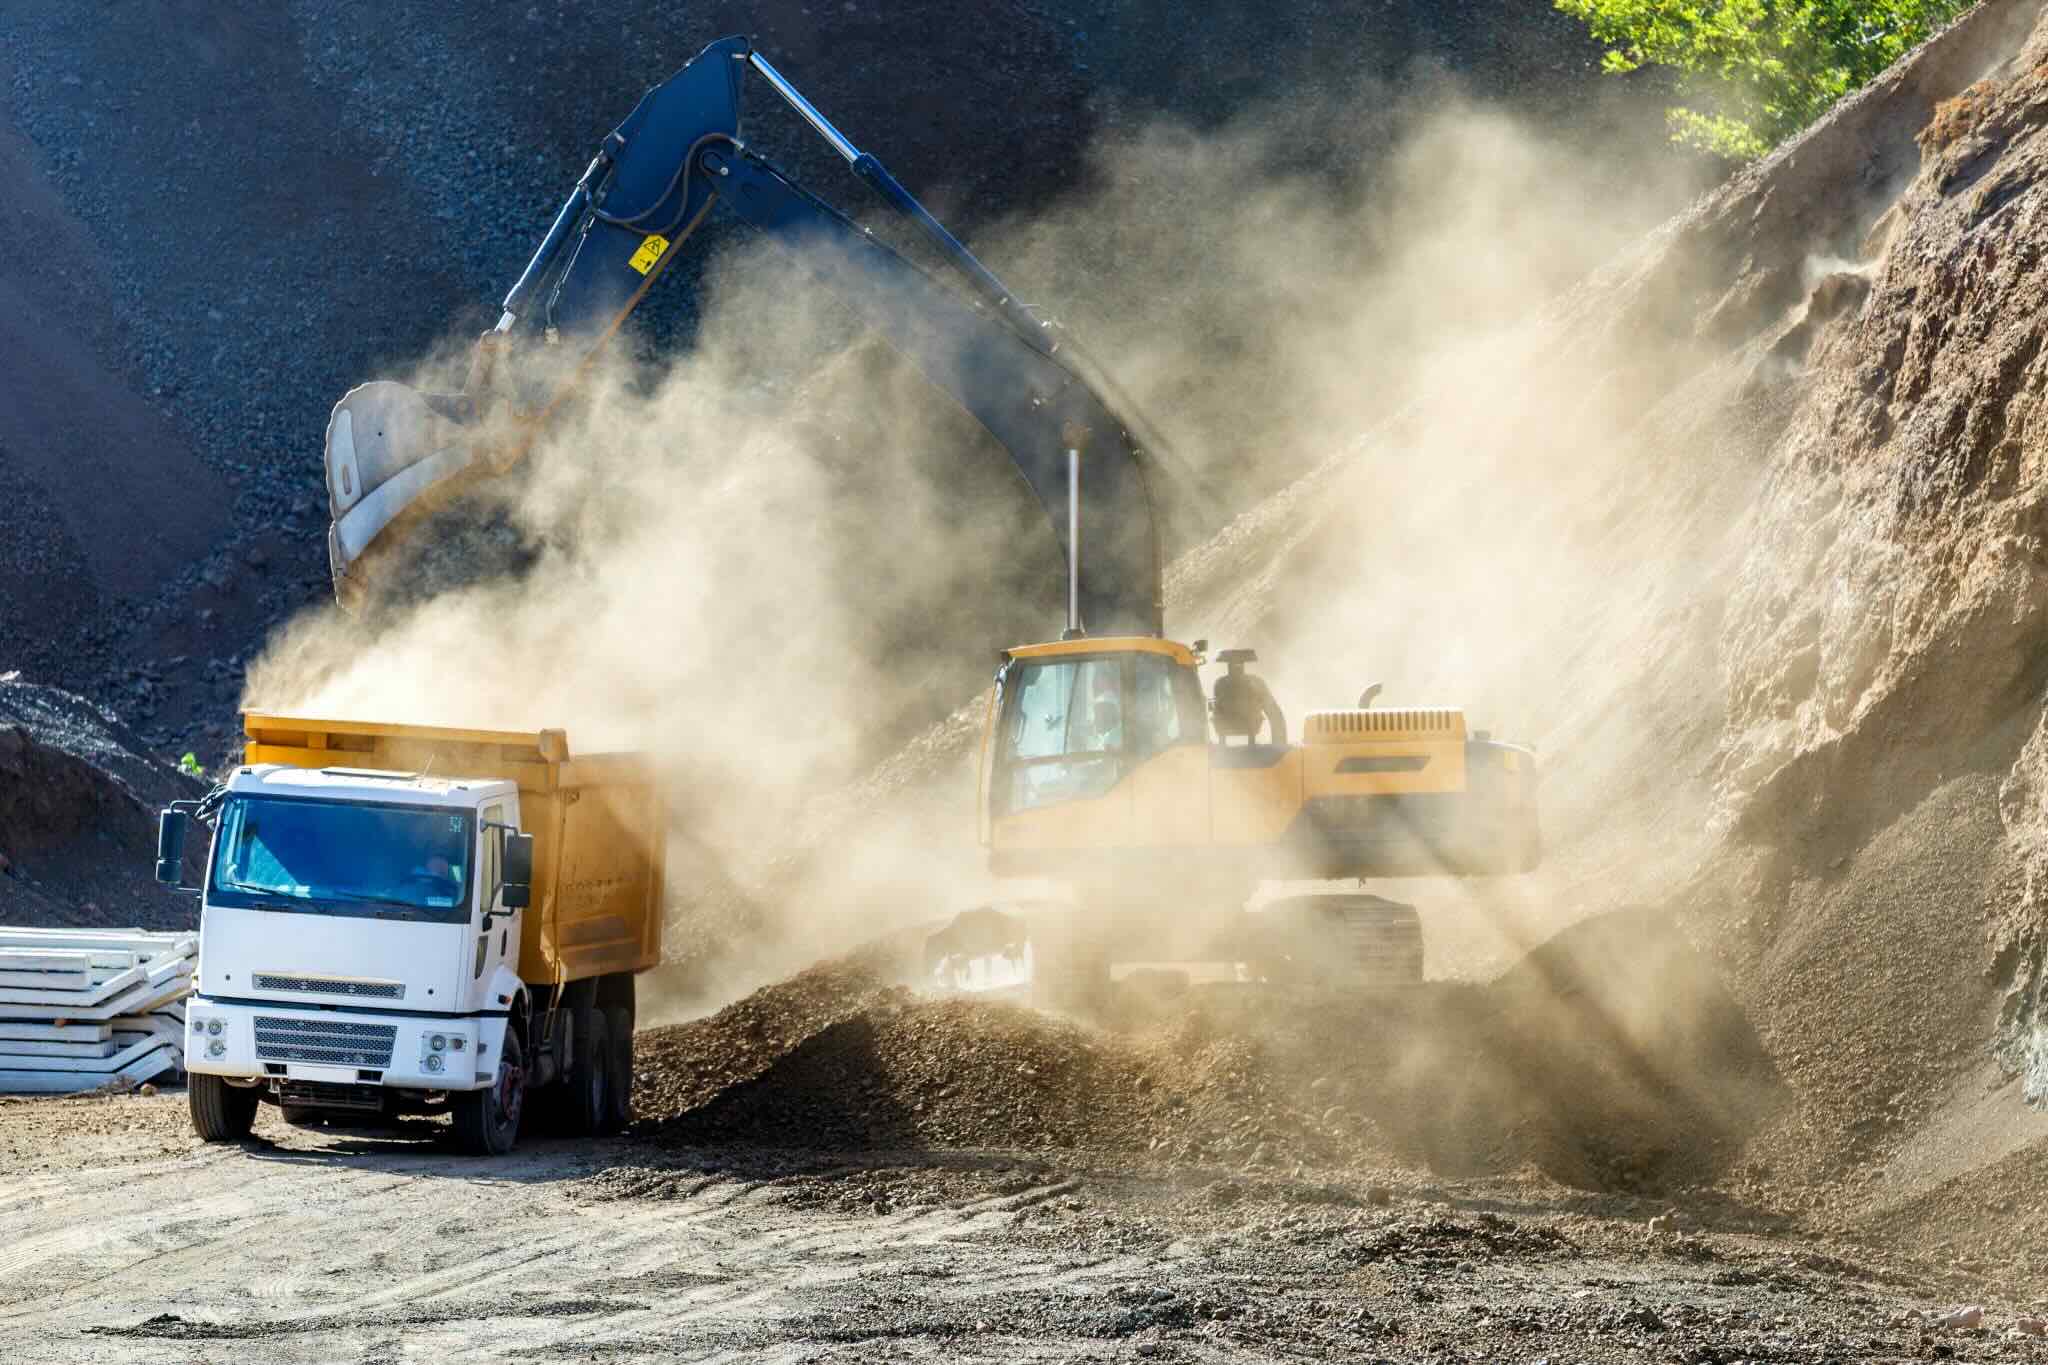
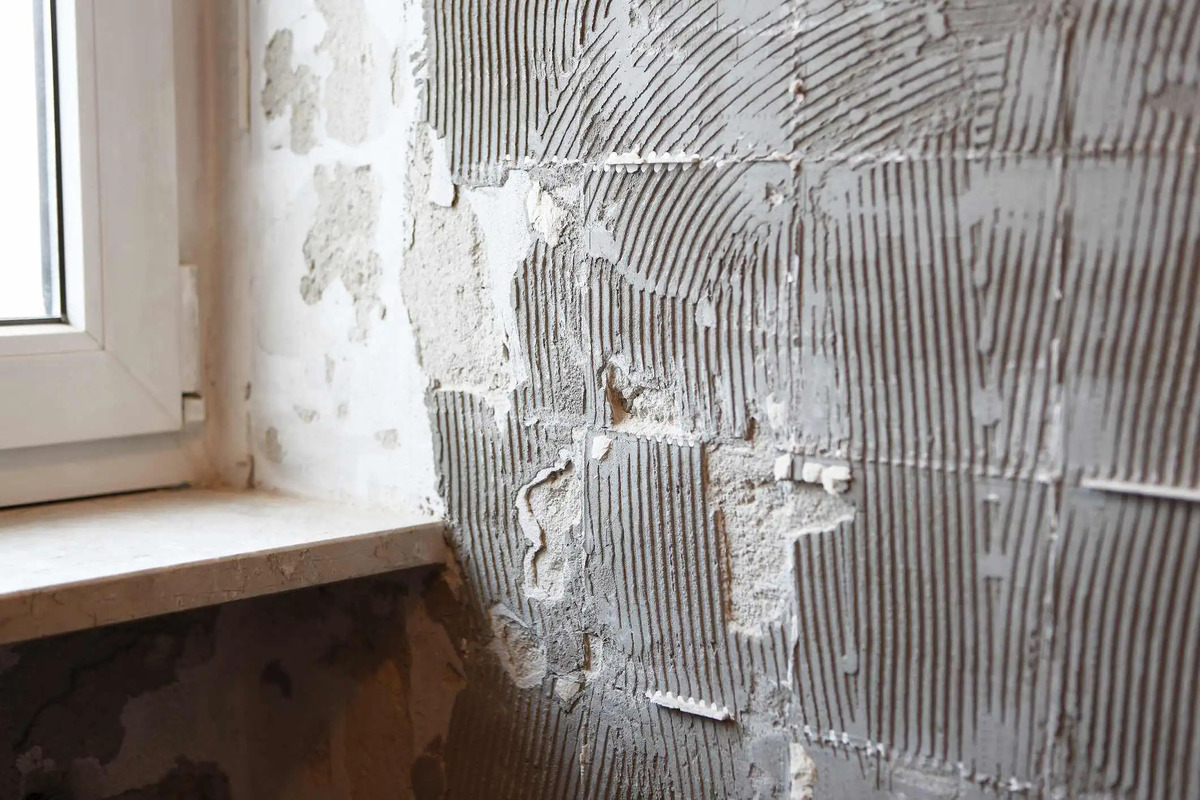
After a construction project is completed, it’s not uncommon for dust and debris to settle throughout the space. Whether you’ve just finished building a new house or completed a renovation, the task of removing dust can seem overwhelming. However, with the right techniques and tools, you can quickly and effectively eliminate dust, leaving your space clean and fresh.
Removing dust after construction is not only important for aesthetic reasons, but it also helps to improve indoor air quality. Construction dust can contain various particles such as allergens, pollutants, and irritants that can pose health risks if left unaddressed. By taking the time to thoroughly clean the space, you can create a healthier environment for yourself and others.
To efficiently remove dust, it’s important to take a systematic approach. This article will guide you through the process of preparing for dust removal, removing dust from surfaces, cleaning hard-to-reach areas, cleaning dusty floors, and eliminating lingering dust.
By following these steps and implementing the tips provided, you can easily tackle the post-construction dust and enjoy the clean and dust-free space you’ve worked so hard to create.
Key Takeaways:
- Protect your space and health by preparing for dust removal after construction. Cover furniture, close vents, and wear protective gear to ensure efficient and safe cleaning.
- Thoroughly clean surfaces, hard-to-reach areas, and floors to eliminate construction dust. Use HEPA filters, microfiber cloths, and appropriate cleaning techniques for a fresh, dust-free space.
Read more: How To Clean House After Construction Dust
Preparing for Dust Removal
Before you begin the process of removing dust after construction, it’s important to take some necessary precautions to protect your furniture, electronics, and yourself.
Covering furniture and electronics: Dust can settle on surfaces quickly, so it’s crucial to cover your furniture and electronics to prevent them from getting dirty. Use plastic covers or sheets to shield larger items such as sofas, tables, and televisions. For smaller objects like lamps and decor, place them in boxes or cover them with dust sheets.
Closing off vents and ducts: Dust particles tend to travel through the air, so closing off vents and ducts is essential to prevent dust from circulating throughout your space. Use plastic bags or tape to cover the vents, ensuring a tight seal. It’s also a good idea to change your HVAC filter to prevent any dust from entering the system.
Wearing protective gear: Dust can be harmful to your health, especially when inhaled or coming into contact with your skin. It’s highly recommended to wear appropriate protective gear such as goggles, gloves, and a dust mask or respirator. These will help prevent dust particles from causing irritation or potential respiratory issues.
By taking these preparatory steps, you can minimize the impact of dust and ensure that the cleaning process is more efficient. Remember, prevention is key in maintaining a clean and healthy environment.
Removing Dust from Surfaces
Once you’ve prepared the space, it’s time to tackle the dust that has settled on surfaces. Here are some effective methods for removing dust from various surfaces:
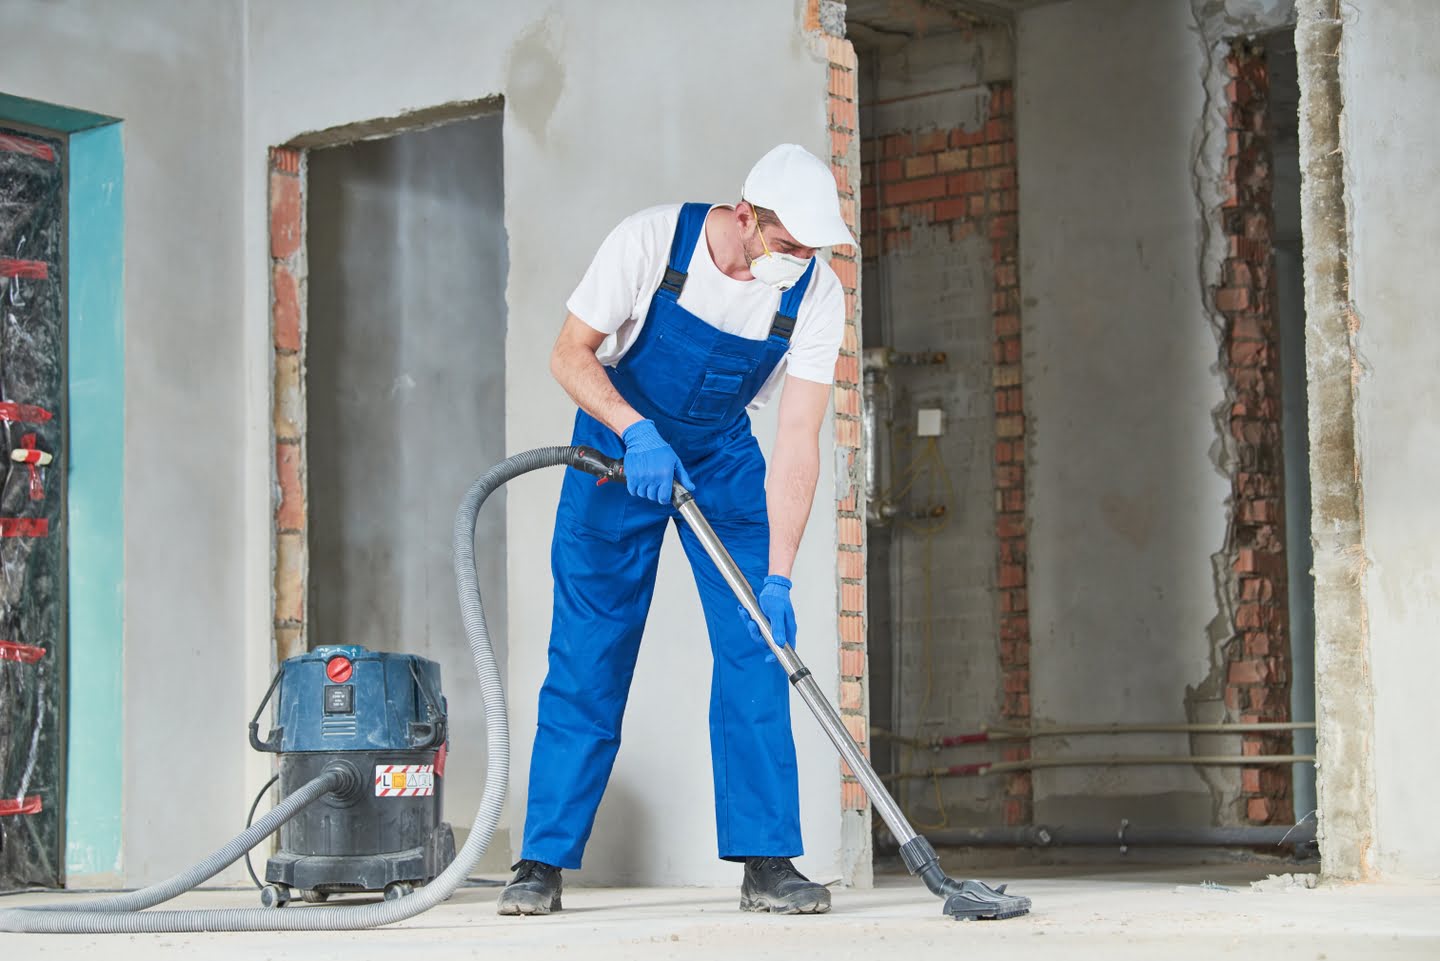
Using a vacuum cleaner with a HEPA filter: A vacuum cleaner with a High-Efficiency Particulate Air (HEPA) filter is highly recommended for removing dust from floors, carpets, and upholstery. HEPA filters are designed to capture small particles, including dust mites and allergens, ensuring a thorough clean. Vacuum all surfaces systematically, starting from the top and working your way down.
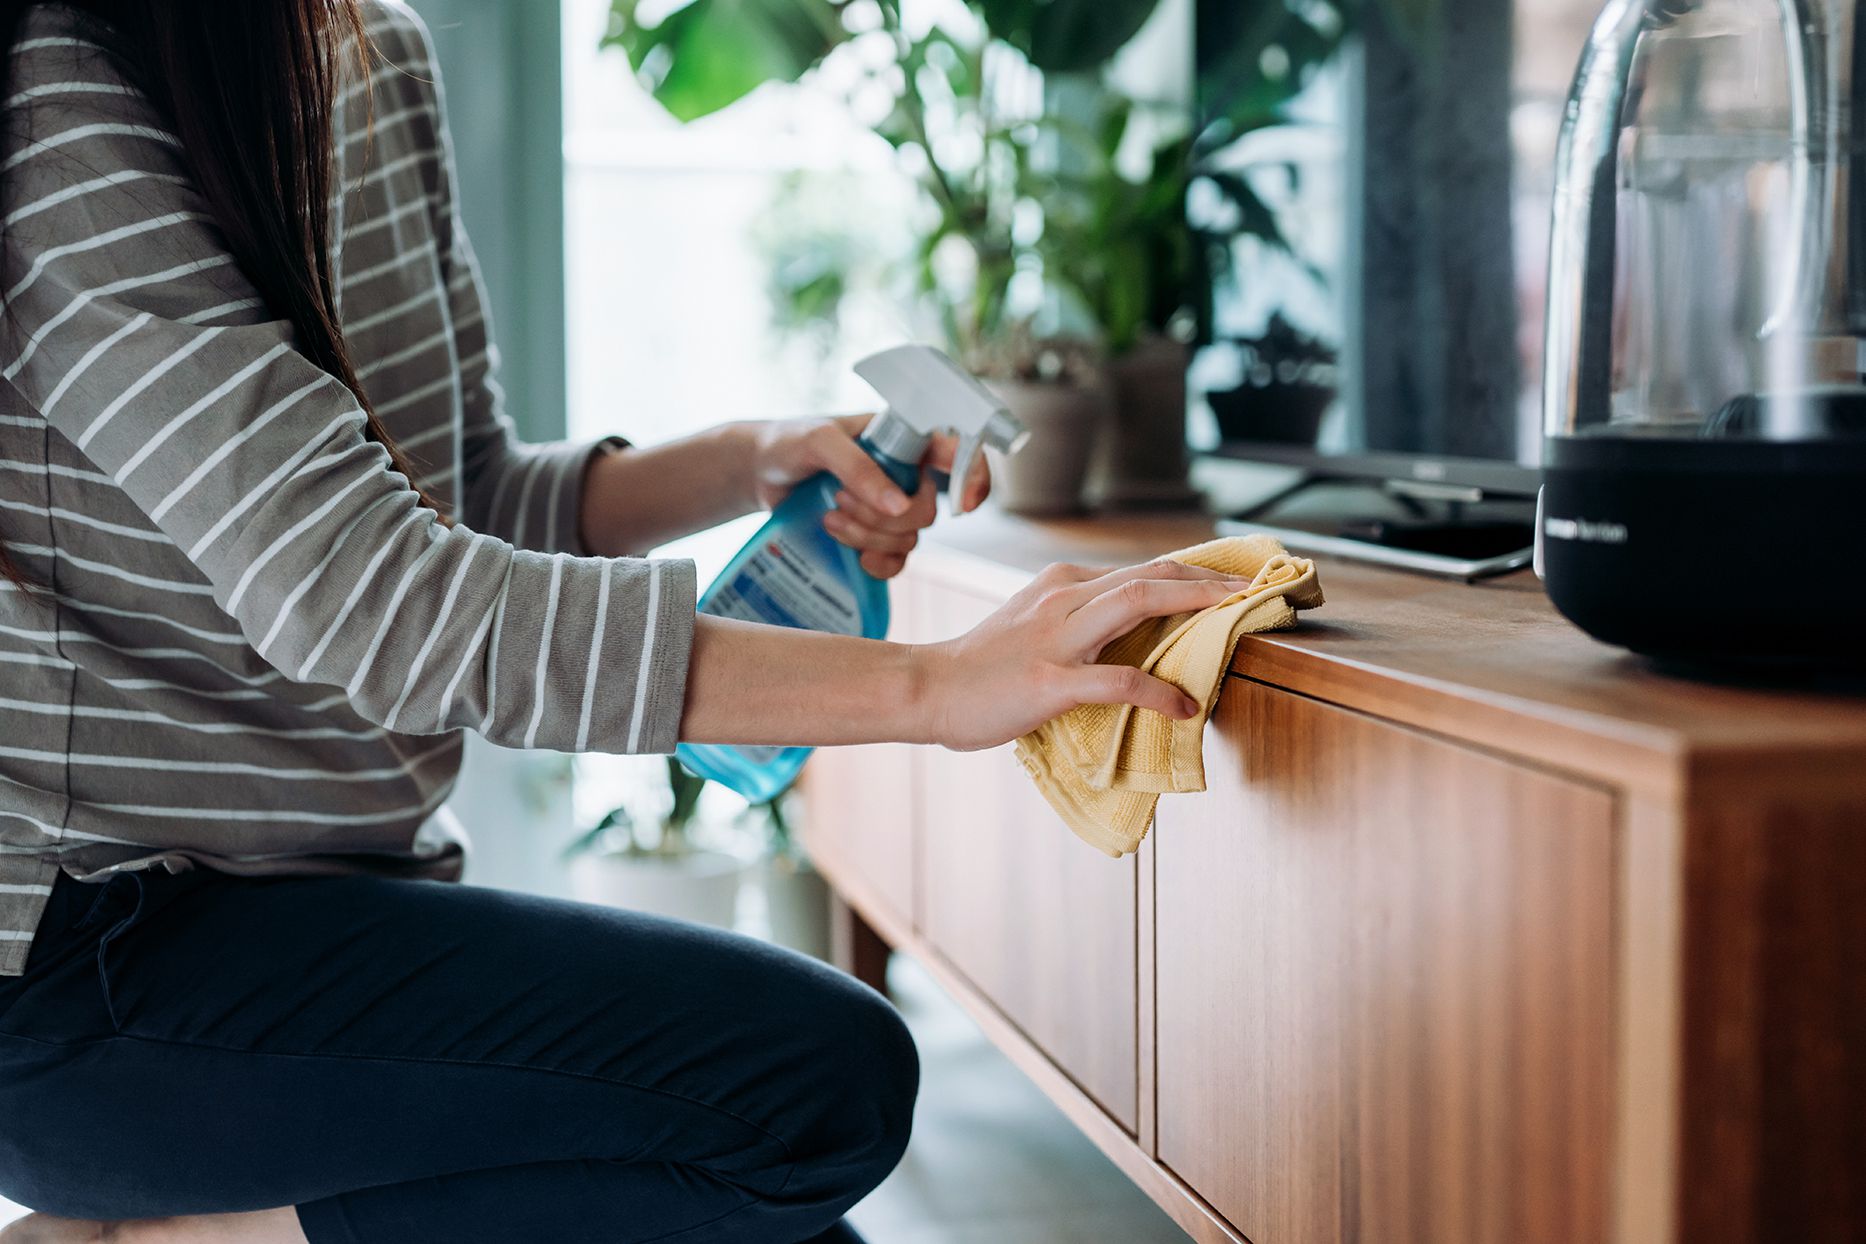
Dusting with a microfiber cloth: Microfiber cloths are excellent for dusting surfaces as they attract and trap dust particles more effectively than traditional dusters. Use a dry microfiber cloth to gently wipe down furniture, shelves, and other surfaces. Pay attention to areas where dust tends to accumulate, such as baseboards and window sills.
Wiping down surfaces with a damp cloth: For surfaces that are more prone to dirt and grime, such as countertops and cabinets, use a slightly damp cloth to wipe them down. The moisture helps to capture and remove dust particles more effectively. Be sure to use a cleaning solution that is suitable for the specific surface you are cleaning to avoid any damage.
In addition to these methods, it’s important to regularly shake out and wash any dust-filled textiles such as curtains, cushion covers, and bedding. This will help eliminate dust and freshen up the space even further.
Remember, the key to effective dust removal is to be thorough and systematic. Take your time to ensure that all surfaces are properly cleaned, and don’t forget to clean hard-to-reach areas as well.
Cleaning Hard-to-Reach Areas
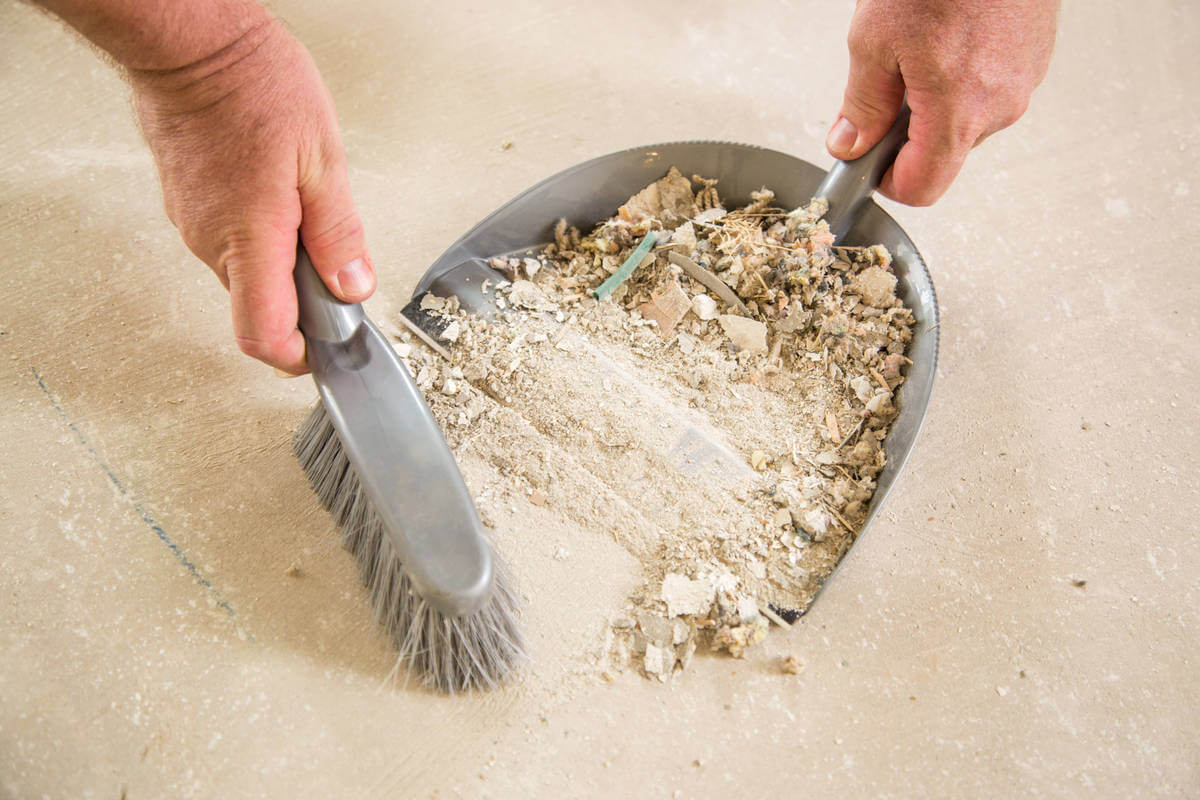
When removing dust after construction, it’s important to pay attention to those often neglected, hard-to-reach areas where dust tends to accumulate. Here are some tips for cleaning these areas effectively:
Cleaning ceiling fans and light fixtures: Ceiling fans and light fixtures can collect a significant amount of dust over time. Use a long-handled duster or a microfiber cloth to gently clean the blades of the fan and the surface of light fixtures. If necessary, you can also remove the fan blades and light covers to wash them with mild soapy water and allow them to air dry before reassembling.
Vacuuming corners and crevices: Dust has a way of finding its way into corners, crevices, and tight spaces. Use a crevice tool attachment on your vacuum cleaner to effectively remove dust from these areas. Pay special attention to areas around baseboards, window frames, and door frames. If needed, use a small brush or toothbrush to dislodge stubborn dust before vacuuming.
Using compressed air for tight spaces: For areas that are difficult to access with a vacuum cleaner or duster, such as between keyboard keys or inside electronic devices, compressed air can be a handy tool. Use a can of compressed air to blow away dust from these tight spaces. Be sure to follow the manufacturer’s instructions and hold the can upright when using it.
By taking the time to clean these hard-to-reach areas, you can ensure that every nook and cranny of your space is free from dust. This will contribute to a cleaner and healthier environment overall.
Use a vacuum with a HEPA filter to remove dust after construction. Start from the top and work your way down, including walls, ceilings, and floors. Use a microfiber cloth for any remaining dust.
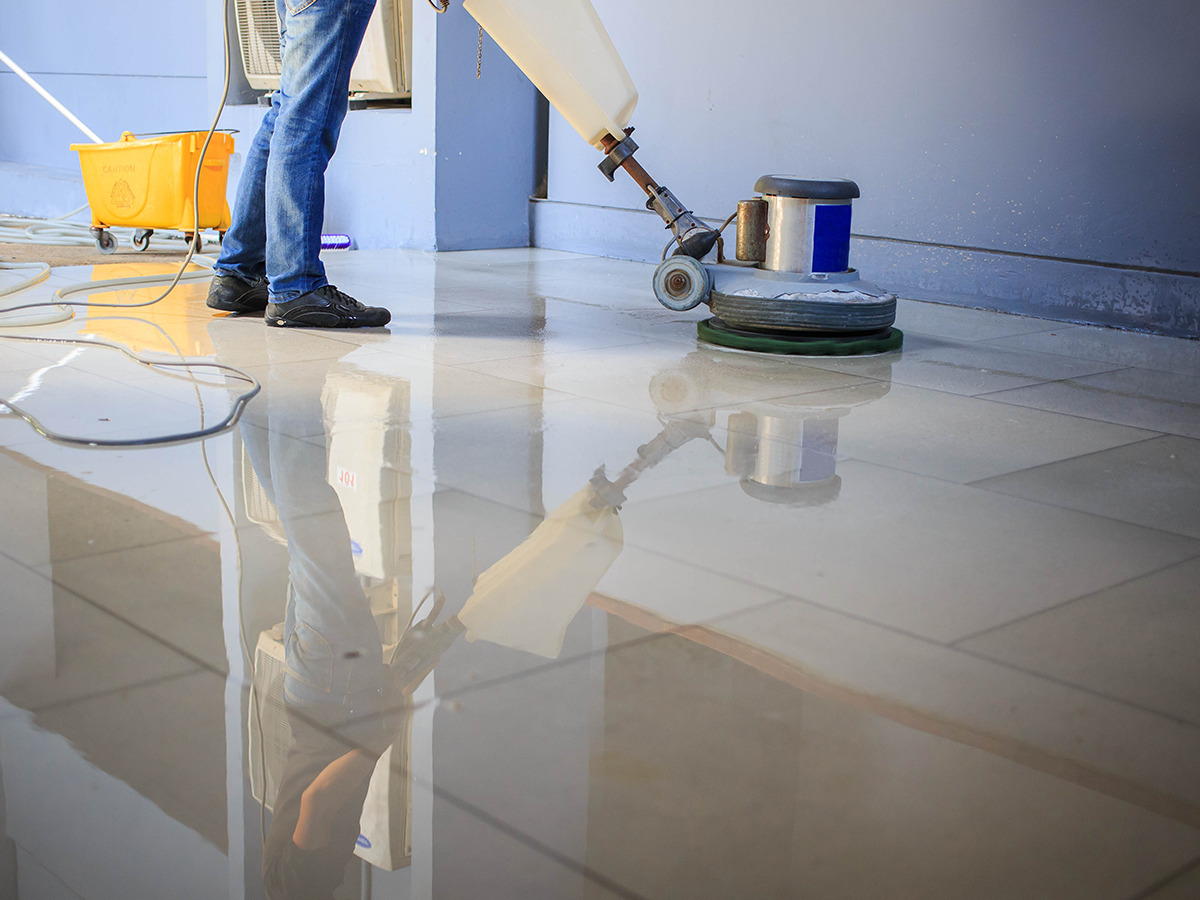
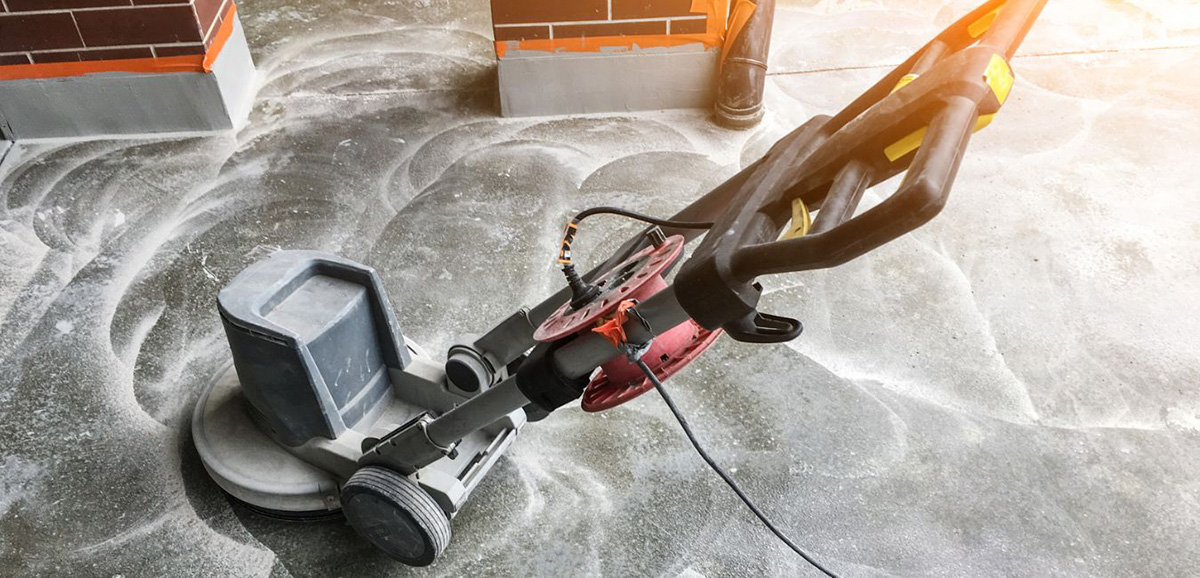
Cleaning Dusty Floors
When it comes to removing dust from floors, different types of flooring require different cleaning methods. Here are some effective techniques for cleaning different types of dusty floors:
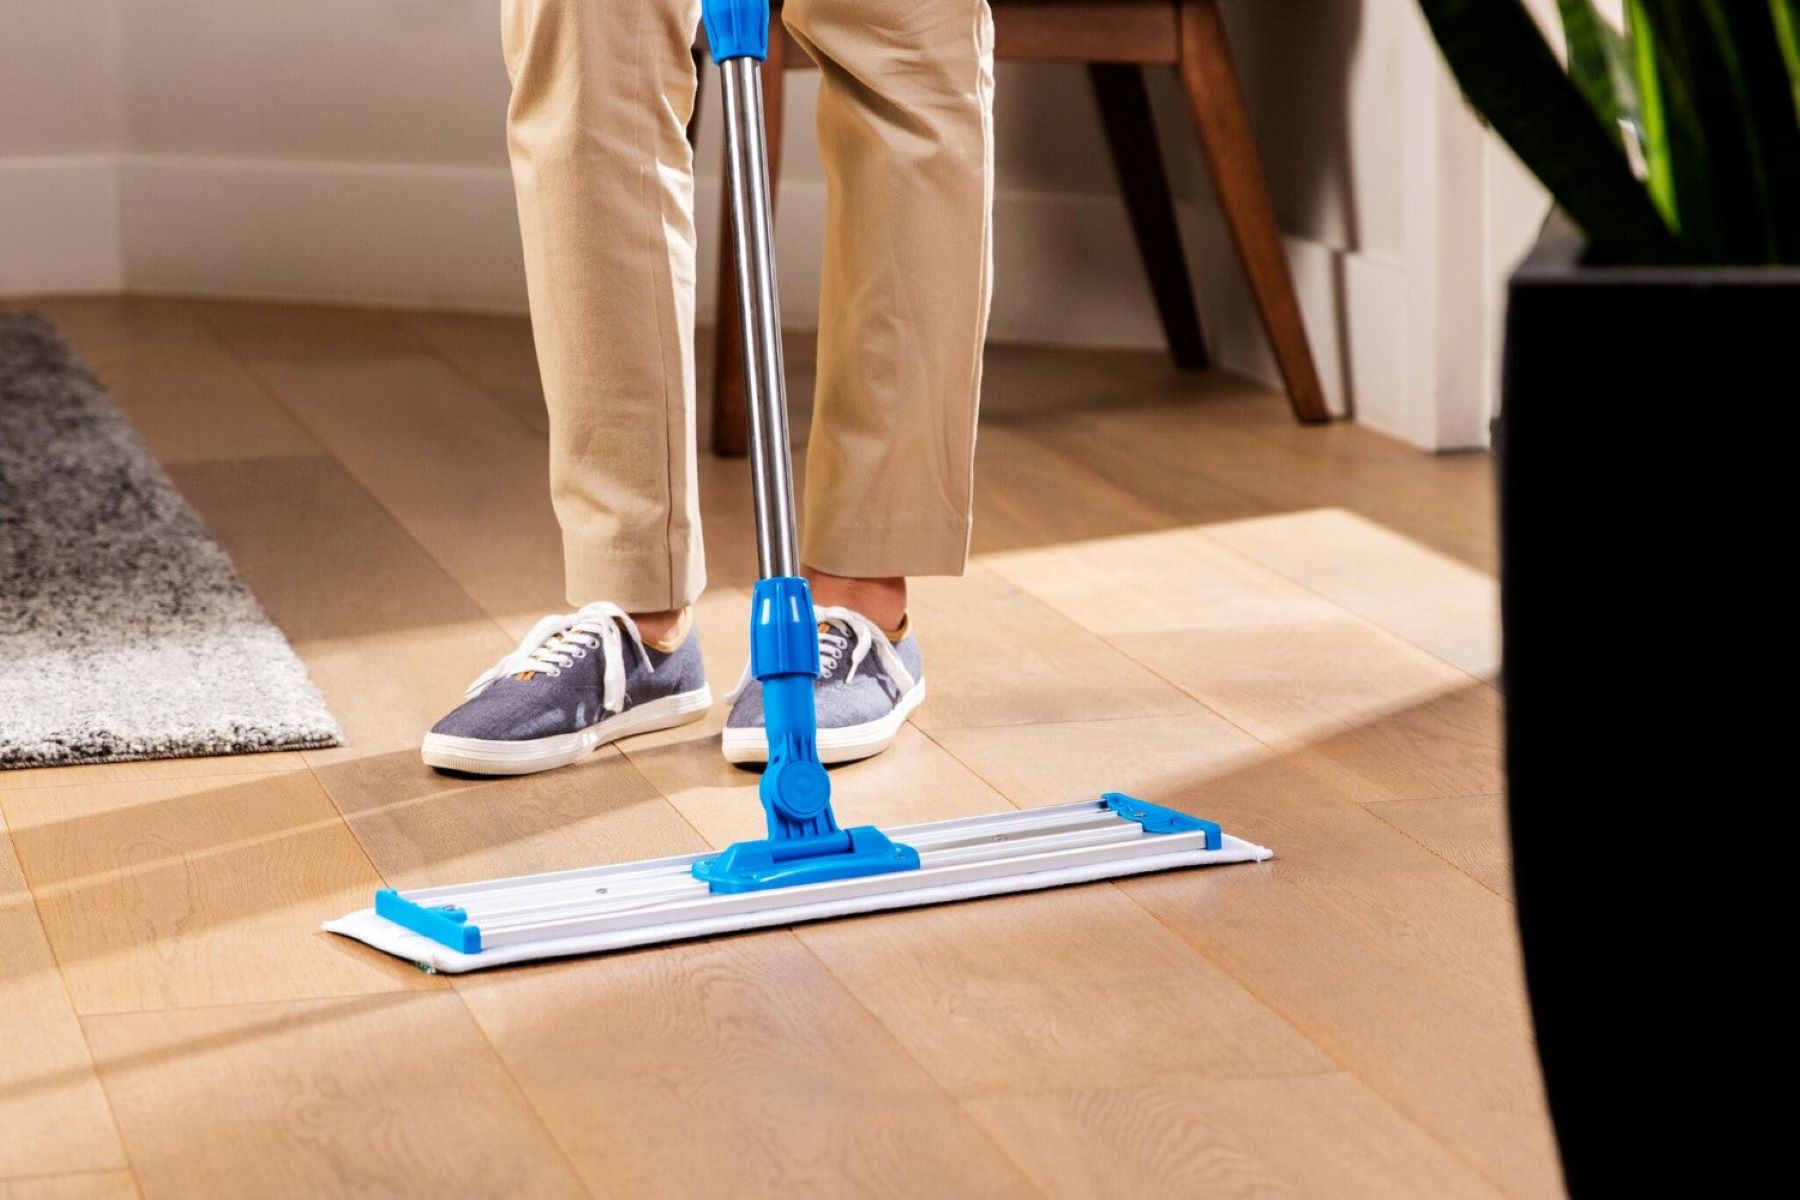
Sweeping or dry mopping: For hard floors such as tile, hardwood, or laminate, start by sweeping or dry mopping the surface to remove loose dust and debris. Use a broom with soft bristles or a microfiber dust mop to effectively capture dust particles. Make sure to reach corners and edges where dust tends to accumulate.
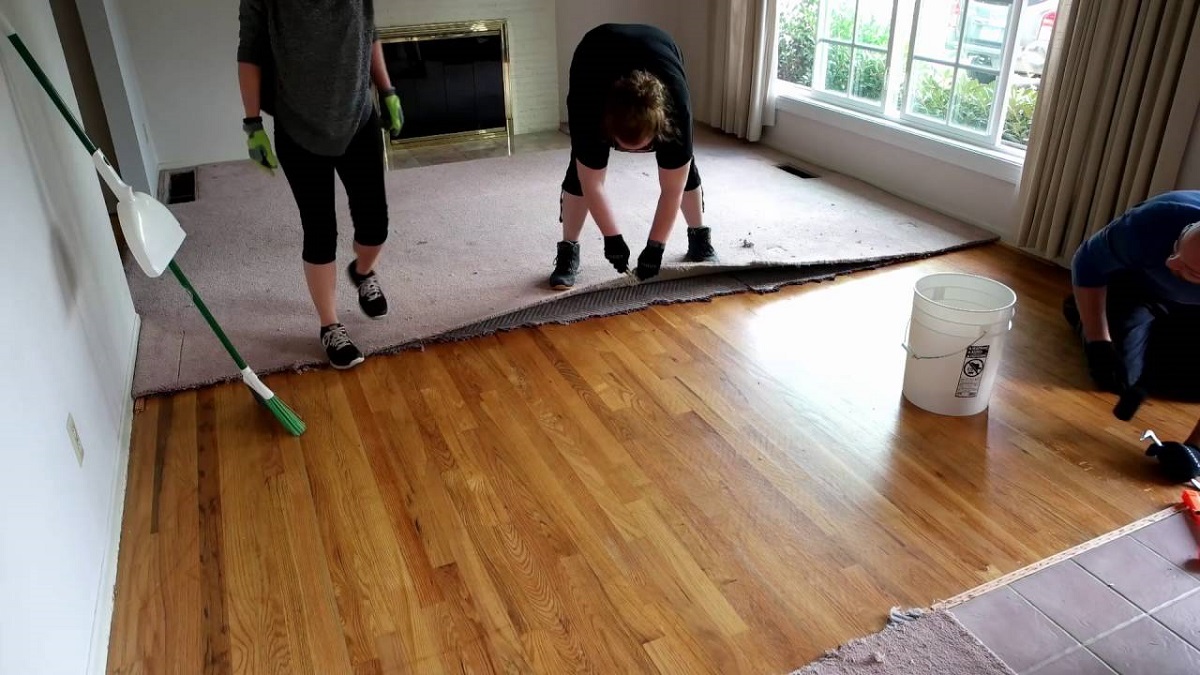
Vacuuming carpets and rugs: Carpets and rugs can trap a significant amount of dust, making it important to use a vacuum cleaner to thoroughly clean them. Use a vacuum with a rotating brush or beater bar to agitate and loosen the dust from the fibers. Pay extra attention to high-traffic areas and areas near entries where dust is more likely to accumulate.
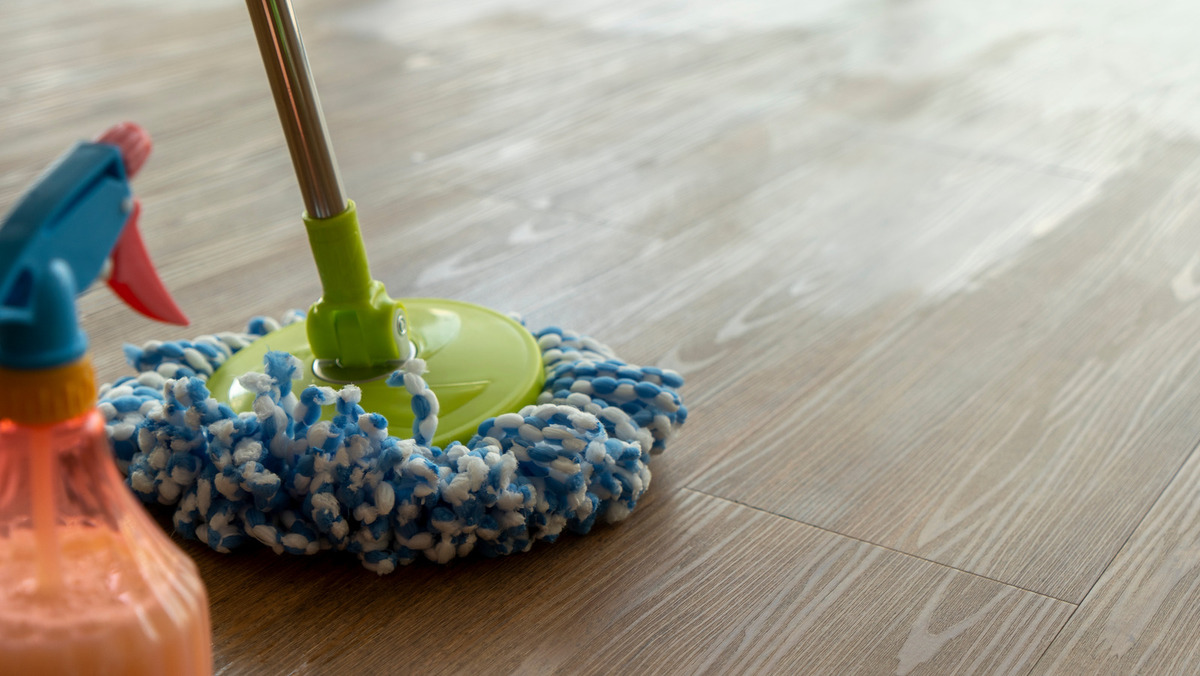
Mopping hard floors: After sweeping or dry mopping hard floors, it’s important to mop them to remove any remaining dust and achieve a deeper clean. Use a mild cleaning solution appropriate for your type of flooring. Fill a bucket with the solution, dampen a mop or microfiber cloth, and wring it out well before mopping the floor. Be sure to follow the manufacturer’s recommendations for your specific flooring type.
It’s important to note that excessive moisture on some types of flooring, such as hardwood or laminate, can cause damage. Take care not to oversaturate the floors while mopping.
By regularly sweeping, vacuuming, and mopping your floors, you can effectively remove dust and maintain a cleaner living environment. Additionally, consider using entrance mats at the entryways to minimize the amount of dust and dirt that enters your space.
Read more: How To Reduce Construction Dust
Eliminating Lingering Dust
Even after thorough cleaning, it’s possible for some dust particles to linger in the air or settle back onto surfaces. To ensure a truly dust-free environment, consider the following steps:
Air purifiers and filters: Investing in an air purifier with a HEPA filter can greatly improve indoor air quality by capturing and trapping airborne dust particles. Place the air purifier in a central location, preferably in the room where the construction or renovation took place. Additionally, regularly clean or replace the filters in your HVAC system to prevent dust circulation.
Ventilating the space: Proper ventilation can help remove stagnant air and bring in fresh air from outside. Open windows and doors to encourage air circulation during the cleaning process. Use fans or natural ventilation to create a flow of fresh air, helping to disperse any remaining dust particles.
Repeating the cleaning process if necessary: If you still notice dust settling on surfaces or in the air after your initial cleaning, don’t hesitate to repeat the cleaning process. Dust can be persistent, especially in larger and more complex spaces. Take the time to revisit areas that may require extra attention and re-clean as needed.
By incorporating air purifiers, ensuring proper ventilation, and being proactive in your cleaning efforts, you can effectively eliminate lingering dust and maintain a cleaner and healthier living space.
Conclusion
Removing dust after construction or renovation is a necessary task to create a clean and healthy living environment. By following the right techniques and using the appropriate tools, you can effectively eliminate dust and enjoy the fruits of your building project.
Preparation is key when it comes to dust removal. Take the time to cover furniture and electronics, close off vents and ducts, and wear protective gear to ensure your belongings and health are protected. Once you’re ready, start by removing dust from surfaces using a vacuum cleaner with a HEPA filter, dusting with a microfiber cloth, and wiping down surfaces with a damp cloth.
Don’t forget about the hard-to-reach areas where dust tends to accumulate. Clean ceiling fans, light fixtures, corners, crevices, and other tight spaces using appropriate tools and techniques. When it comes to cleaning dusty floors, remember to sweep or dry mop hard floors, vacuum carpets and rugs, and mop hard floors using suitable cleaning solutions.
To ensure a truly dust-free environment, consider using air purifiers and filters to improve indoor air quality, ventilating the space to bring in fresh air, and repeating the cleaning process if necessary. These steps will help you eliminate lingering dust and create a cleaner and healthier living space.
Remember, removing dust after construction is an ongoing process. Regular cleaning and maintenance are essential to keep your space clean and dust-free. By incorporating these practices into your routine and staying proactive, you can maintain a clean and healthy environment long after the construction project is completed.
So roll up your sleeves, gather your cleaning supplies, and get ready to banish the dust. Your efforts will be rewarded with a fresh and inviting space that you can truly enjoy.
Frequently Asked Questions about How To Remove Dust After Construction
Was this page helpful?
At Storables.com, we guarantee accurate and reliable information. Our content, validated by Expert Board Contributors, is crafted following stringent Editorial Policies. We're committed to providing you with well-researched, expert-backed insights for all your informational needs.


0 thoughts on “How To Remove Dust After Construction”