Home>Furniture & Design>Bathroom Accessories>How To Remove Adhesive From A Shower Caddy
Bathroom Accessories
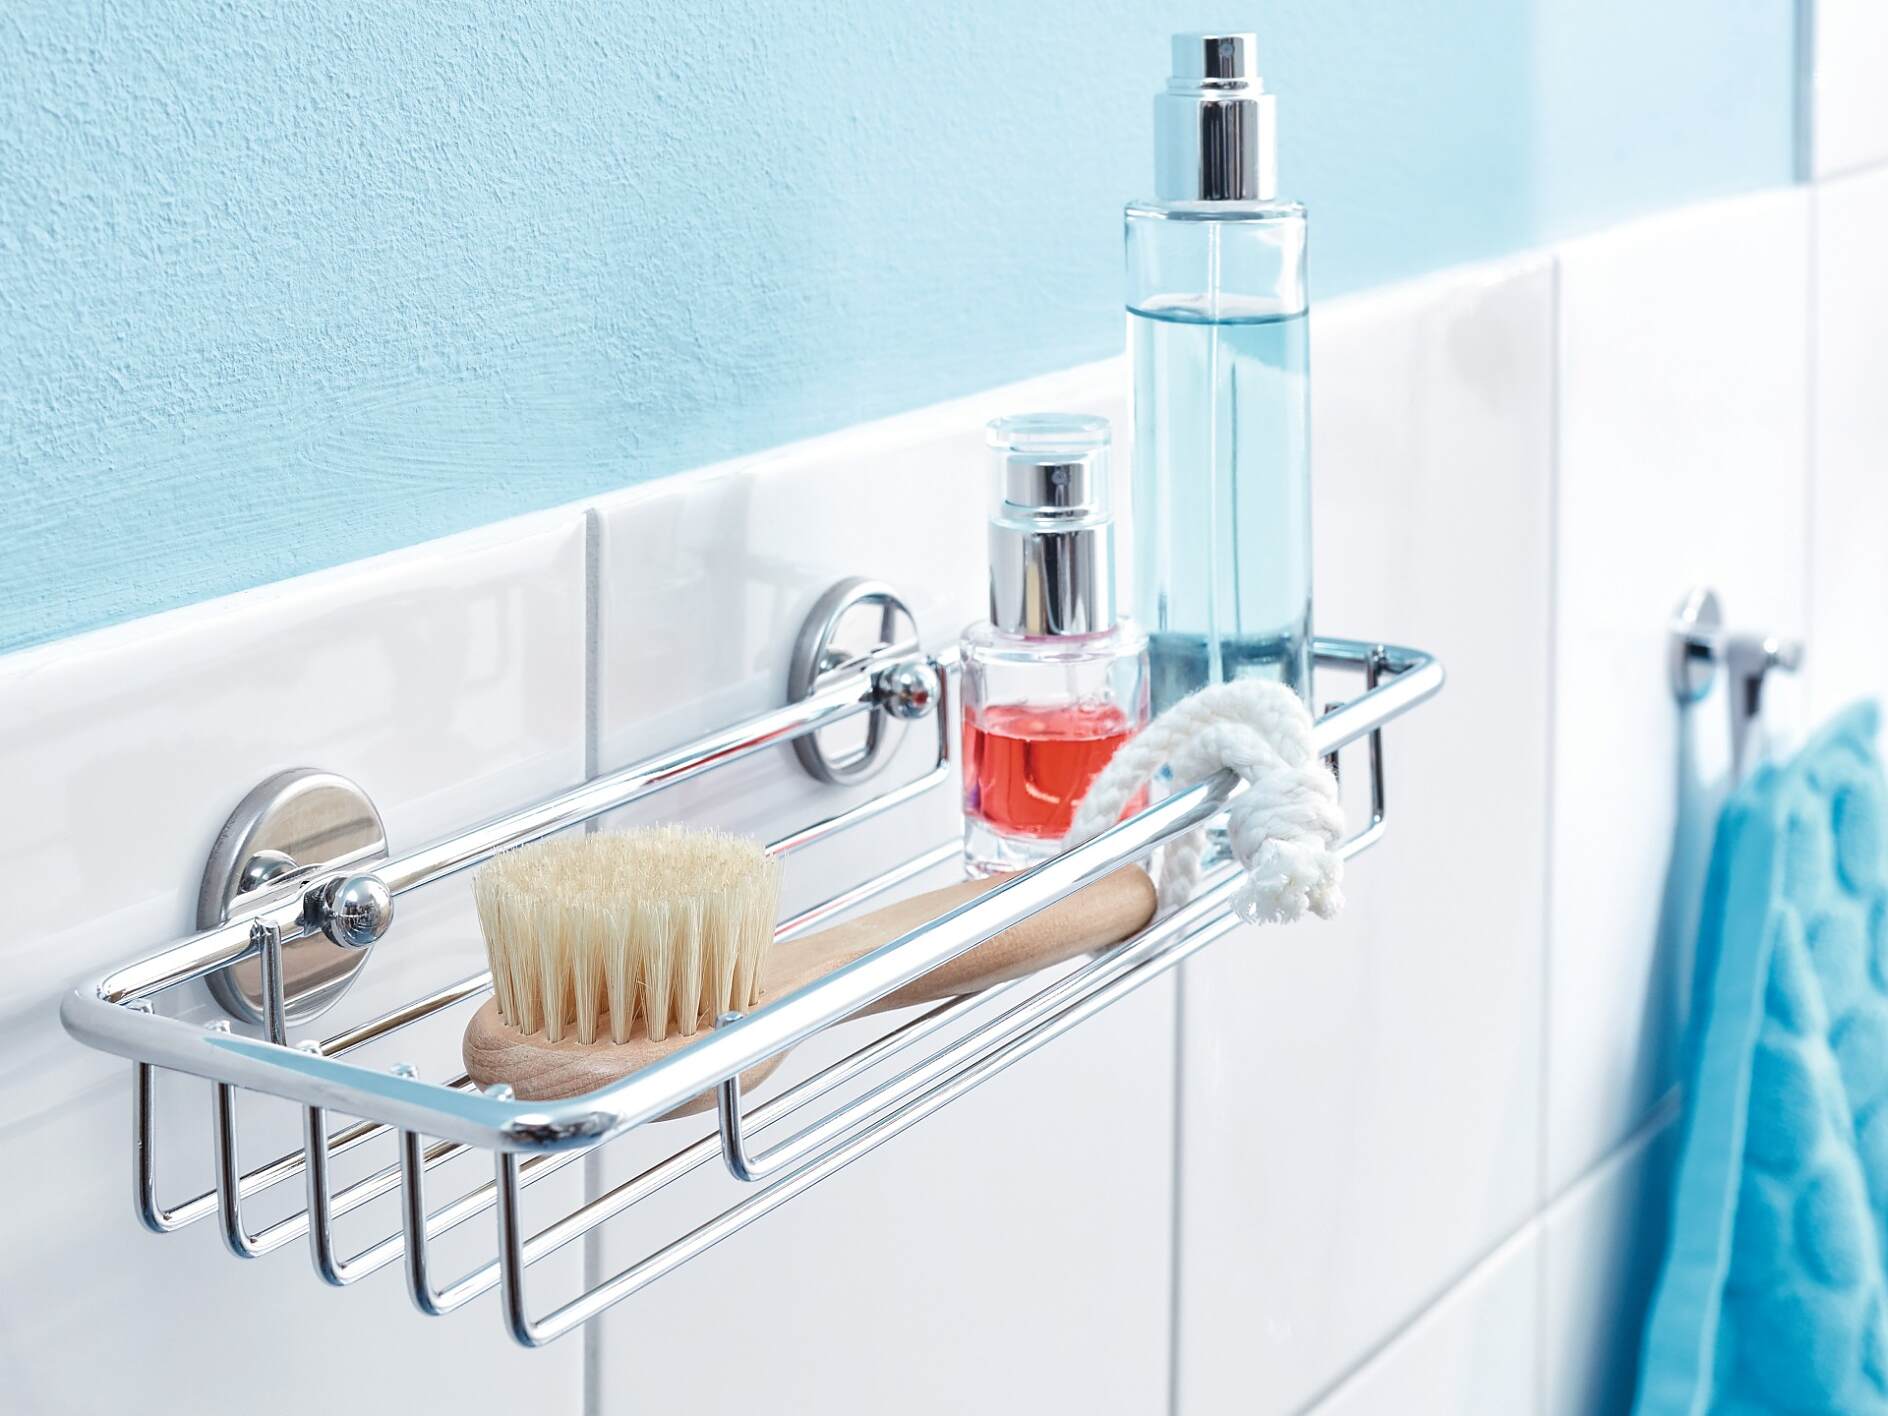
How To Remove Adhesive From A Shower Caddy
Modified: October 18, 2024
Learn how to effectively remove adhesive from your shower caddy and keep your bathroom accessories looking clean and tidy. Say goodbye to stubborn residue with these simple tips.
(Many of the links in this article redirect to a specific reviewed product. Your purchase of these products through affiliate links helps to generate commission for Storables.com, at no extra cost. Learn more)
Introduction
Removing adhesive from a shower caddy can be a daunting task, but with the right knowledge and tools, it can be a manageable and satisfying endeavor. Over time, the accumulation of adhesive on a shower caddy can not only detract from its aesthetic appeal but also compromise its functionality. Whether the adhesive is a remnant from a previous attachment or a result of accidental spills, it can be unsightly and challenging to remove. However, by understanding the nature of the adhesive and employing the appropriate techniques, you can restore your shower caddy to its pristine condition.
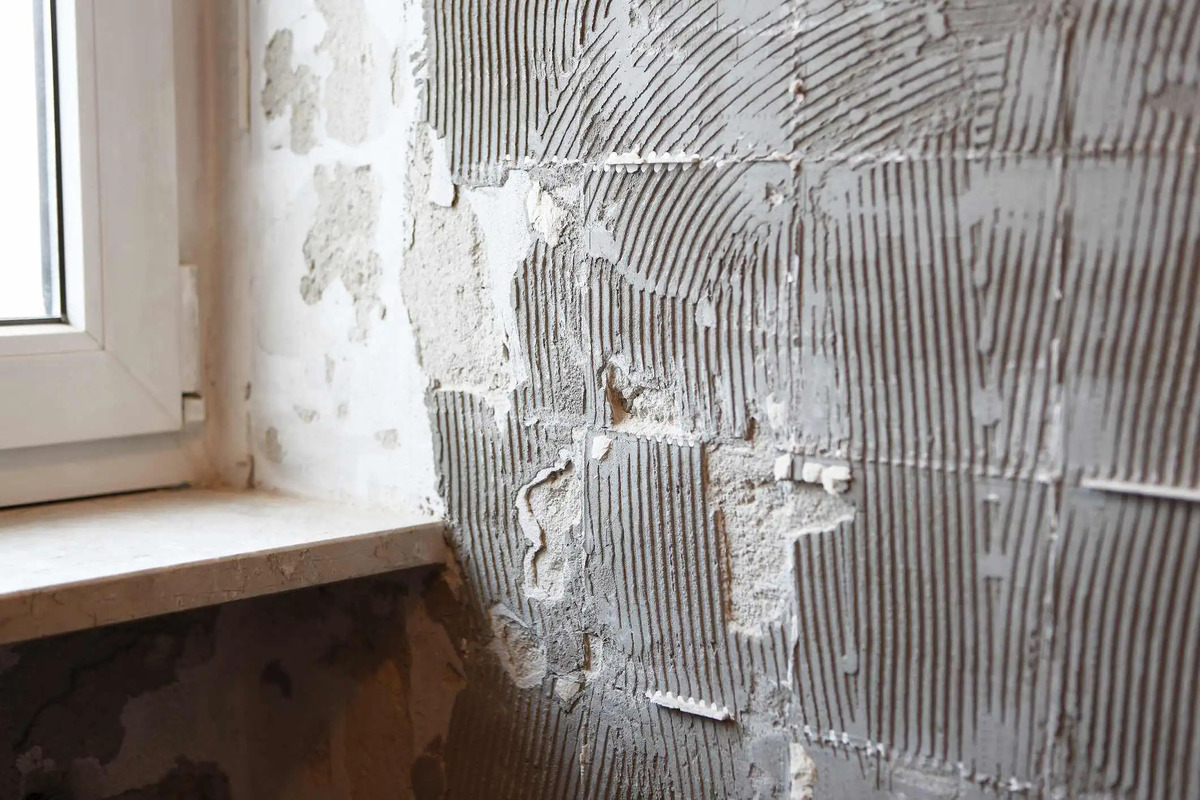
Adhesive substances come in various forms, including glue, tape residue, or silicone caulk, and they are commonly used to affix shower caddies to bathroom surfaces. While these adhesives serve the purpose of securing the caddy in place, they can also leave behind stubborn residues that are resistant to conventional cleaning methods. Understanding the composition and behavior of the adhesive is crucial in determining the most effective approach to removal.
In the following sections, we will delve into the intricacies of different types of adhesives commonly found on shower caddies and explore the tools and materials needed for their removal. Additionally, a comprehensive step-by-step guide will be provided to walk you through the process of safely and effectively eliminating adhesive residues. Furthermore, we will discuss valuable tips for preventing future adhesive buildup, ensuring that your shower caddy remains pristine and free from unsightly residues.
By the end of this guide, you will be equipped with the knowledge and techniques necessary to tackle adhesive removal from your shower caddy with confidence and ease. Let's embark on this journey to restore the luster and functionality of your shower caddy by bidding farewell to stubborn adhesives.
Key Takeaways:
- Say goodbye to stubborn adhesive residues on your shower caddy! With the right tools and techniques, you can restore its pristine condition and maintain a visually appealing and hygienic bathroom space.
- Prevent future adhesive buildup by choosing adhesive-free mounting options, implementing regular cleaning and maintenance routines, and selecting removable adhesives. Keep your shower caddy clean, functional, and free from unsightly residue buildup.
Read more: How To Remove Adhesive From Glass
Understanding the adhesive
Adhesives used in shower caddies can vary widely in composition and properties. Understanding the nature of the adhesive is crucial in determining the most effective removal method. Common types of adhesives found on shower caddies include glue, tape residue, and silicone caulk. Each type presents unique challenges when it comes to removal.
Glue is a versatile adhesive that can be water-based, solvent-based, or epoxy. Water-based glue, such as white glue or wood glue, is relatively easy to remove with water and mild soap. However, solvent-based glue, like super glue or construction adhesive, forms strong bonds and leaves stubborn residues. Epoxy glue, known for its exceptional strength and durability, can create resilient residues that are resistant to conventional cleaning methods.
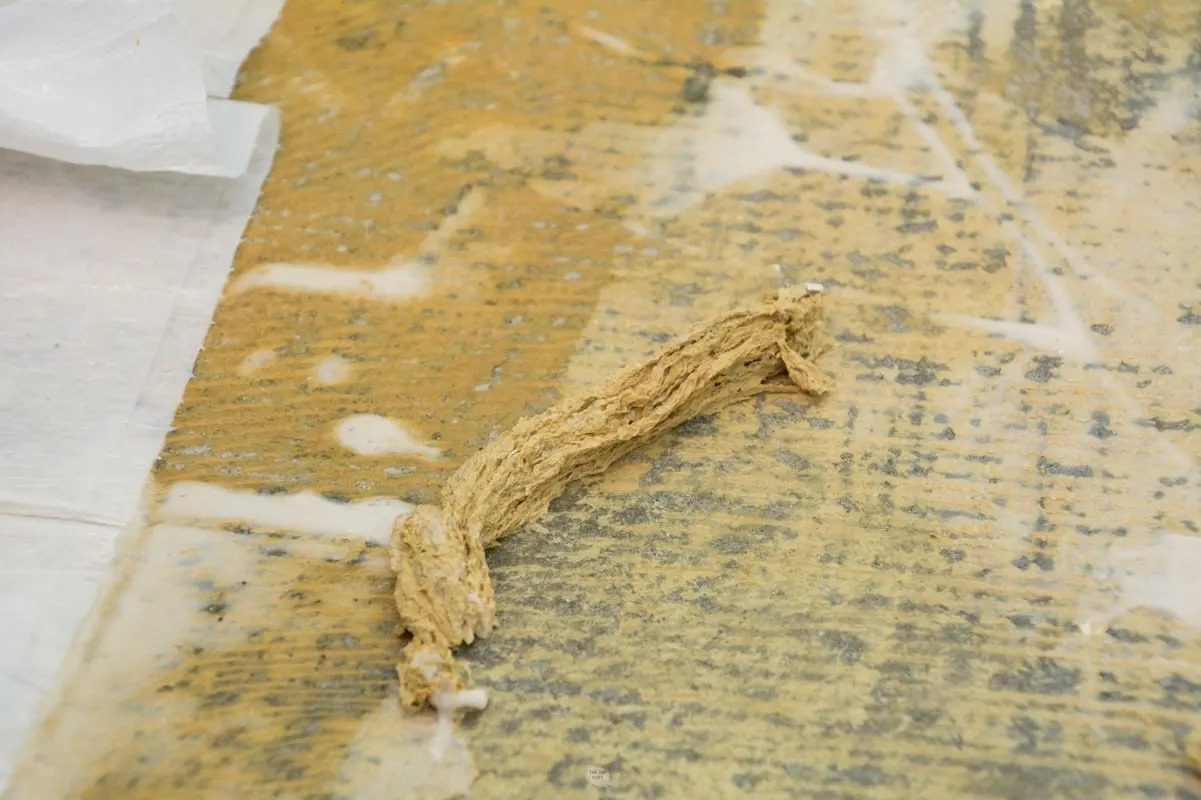
Tape residue, often left behind when removing adhesive tapes or stickers, can be particularly stubborn. It can harden over time, making it challenging to remove without damaging the surface of the shower caddy. Additionally, silicone caulk, commonly used for sealing and waterproofing, can leave behind resilient residues that require specialized techniques for effective removal.
Understanding the properties of these adhesives is essential for selecting the appropriate removal method and avoiding damage to the shower caddy. For instance, using harsh chemicals on certain adhesives can degrade the material of the caddy or cause discoloration. Therefore, a tailored approach is necessary to ensure the safe and effective removal of adhesive residues.
By gaining insight into the characteristics of the adhesive present on your shower caddy, you can make informed decisions regarding the tools, materials, and techniques required for successful removal. In the subsequent sections, we will explore the specific tools and materials needed for adhesive removal and provide a comprehensive step-by-step guide to help you restore your shower caddy to its pristine condition.
Tools and materials needed
When it comes to removing adhesive from a shower caddy, having the right tools and materials at your disposal is essential for a successful and efficient process. The following items are indispensable for effectively tackling adhesive residues on your shower caddy:
1. Isopropyl alcohol or adhesive remover:
Isopropyl alcohol, commonly known as rubbing alcohol, is a versatile solvent that can effectively dissolve and loosen many types of adhesive residues. Alternatively, specialized adhesive removers formulated for specific adhesive types can provide targeted and effective removal without damaging the surface of the shower caddy.
2. Plastic scraper or putty knife:
A plastic scraper or putty knife is invaluable for gently lifting and scraping off adhesive residues without causing scratches or damage to the surface of the shower caddy. Opting for a plastic tool helps minimize the risk of surface abrasions, ensuring a safe and thorough removal process.
Read more: How To Remove Adhesive From A Bathtub
3. Microfiber cloth or soft sponge:
A microfiber cloth or soft sponge is essential for applying the adhesive remover or isopropyl alcohol to the affected areas. These gentle yet effective cleaning tools help to lift and absorb the dissolved adhesive residues without leaving behind lint or scratches.
4. Warm, soapy water:
Utilizing warm, soapy water in conjunction with the adhesive remover or isopropyl alcohol can aid in thoroughly cleansing the surface of the shower caddy after the adhesive residues have been lifted. This step ensures that any remaining traces of adhesive and cleaning agents are completely removed, leaving the caddy spotless.
5. Protective gloves:
Wearing protective gloves is crucial to safeguard your skin from prolonged exposure to adhesive removers or isopropyl alcohol. Additionally, gloves provide a barrier against potential skin irritation and ensure a safer handling process during adhesive removal.
6. Ventilation:
Proper ventilation is essential when working with adhesive removers or isopropyl alcohol to prevent inhalation of fumes. Ensuring adequate airflow in the bathroom area where the adhesive removal is taking place helps maintain a safe and comfortable environment.
By assembling these essential tools and materials, you can confidently embark on the journey of removing adhesive from your shower caddy. With the right equipment at your disposal, you are well-prepared to tackle adhesive residues effectively and restore the pristine condition of your shower caddy without compromising its integrity.
Read more: How To Prevent Shower Caddy From Falling
Step-by-step guide to removing adhesive
-
Assess the adhesive type: Begin by identifying the type of adhesive present on the shower caddy. This initial assessment will guide the selection of the most suitable removal method and ensure that the process is tailored to the specific characteristics of the adhesive.
-
Prepare the work area: Clear the surrounding area and ensure proper ventilation. Lay down a protective covering to safeguard the bathroom surfaces from any potential spills or splatters during the adhesive removal process.
-
Put on protective gloves: Prior to handling any adhesive removers or isopropyl alcohol, don protective gloves to shield your skin from direct contact with the cleaning agents and to minimize the risk of skin irritation.
-
Apply the adhesive remover or isopropyl alcohol: Using a microfiber cloth or soft sponge, apply a small amount of the adhesive remover or isopropyl alcohol directly onto the adhesive residues. Allow the solvent to penetrate and loosen the adhesive for a few minutes, depending on the type and stubbornness of the residue.
-
Gently lift the adhesive: Once the adhesive has been adequately softened by the solvent, use a plastic scraper or putty knife to gently lift and scrape off the adhesive residues. Exercise caution to avoid scratching or damaging the surface of the shower caddy, and apply gentle pressure to gradually remove the softened adhesive.
-
Repeat as needed: For particularly stubborn or extensive adhesive residues, repeat the application of the adhesive remover or isopropyl alcohol as necessary. Patience and persistence are key in ensuring thorough removal without causing damage to the shower caddy.
-
Cleanse the surface: After successfully lifting the adhesive residues, cleanse the surface of the shower caddy with warm, soapy water and a microfiber cloth to remove any remaining traces of adhesive and cleaning agents. Thoroughly rinse and dry the caddy to reveal a spotless and adhesive-free surface.
-
Inspect for any remaining residue: Carefully inspect the shower caddy to ensure that all adhesive residues have been effectively removed. If any traces persist, repeat the targeted removal process or consider using a specialized cleaning agent tailored to the specific type of adhesive.
By following this comprehensive step-by-step guide, you can confidently and effectively remove adhesive residues from your shower caddy, restoring its pristine condition and ensuring a clean and visually appealing bathroom space.
Tips for preventing future adhesive buildup
Preventing future adhesive buildup on your shower caddy is essential for maintaining its cleanliness and prolonging its aesthetic appeal. By implementing proactive measures, you can minimize the likelihood of adhesive residues accumulating and ensure that your shower caddy remains free from unsightly buildup. Here are valuable tips to prevent future adhesive accumulation:
-
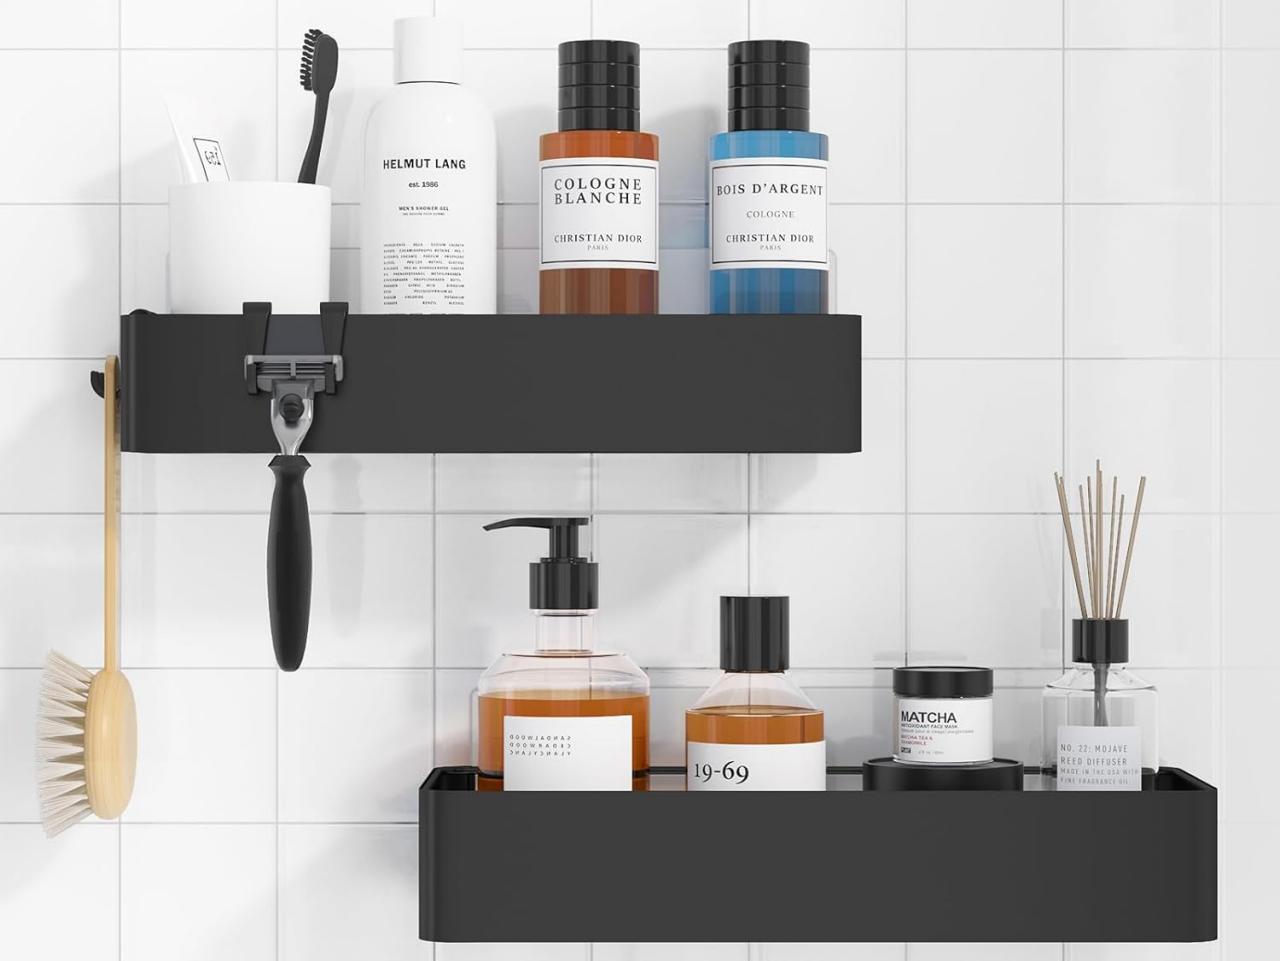
Use adhesive-free mounting options: Consider utilizing adhesive-free mounting options, such as tension pole caddies or suction cup caddies, which eliminate the need for adhesives altogether. These innovative mounting solutions provide secure attachment without leaving behind stubborn residues, offering a convenient and adhesive-free alternative for organizing your shower essentials.
-
Regular cleaning and maintenance: Incorporate regular cleaning and maintenance routines for your shower caddy to prevent the accumulation of adhesive residues. By routinely wiping down the caddy with a mild soap solution and inspecting for any signs of adhesive buildup, you can address potential issues early on and maintain a pristine and adhesive-free surface.
-
Proper surface preparation: When attaching a new shower caddy, ensure that the mounting surface is clean, dry, and free from any existing adhesive residues. Properly preparing the surface before installation minimizes the likelihood of future adhesive buildup and promotes a secure and residue-free attachment.
-
Choose removable adhesives: If opting for adhesive-mounted shower caddies, select removable adhesives designed for easy and clean removal. Removable adhesives offer the convenience of attachment while allowing for residue-free removal when repositioning or replacing the caddy, reducing the risk of stubborn adhesive buildup.
-
Regular inspection and reattachment: Periodically inspect the adhesion of the shower caddy and reattach as needed to prevent adhesive residues from accumulating due to loose or insecure mounting. By promptly addressing any signs of detachment, you can mitigate the risk of adhesive buildup and maintain a secure and residue-free installation.
-
Proper ventilation and drying: Ensure proper ventilation and thorough drying of the shower caddy and mounting surface during and after installation. Adequate airflow and drying time promote optimal adhesion and reduce the likelihood of moisture-related adhesive residues, contributing to a cleaner and more resilient attachment.
By incorporating these proactive tips into your shower caddy maintenance and installation practices, you can effectively prevent future adhesive buildup and preserve the cleanliness and integrity of your shower caddy. These preventative measures not only contribute to a visually appealing bathroom space but also ensure the long-term functionality and durability of your shower caddy.
Conclusion
In conclusion, the process of removing adhesive from a shower caddy is a task that demands attention to detail, patience, and the right tools and techniques. By understanding the nature of the adhesive, identifying the appropriate removal method, and employing the essential tools and materials, you can effectively restore your shower caddy to its pristine condition. Whether dealing with stubborn glue residues, tape residue, or silicone caulk, the step-by-step guide provided offers a comprehensive approach to safely and efficiently eliminate adhesive buildup.
Furthermore, the proactive tips for preventing future adhesive accumulation serve as valuable measures to maintain the cleanliness and integrity of your shower caddy. By embracing adhesive-free mounting options, implementing regular cleaning and maintenance routines, and choosing removable adhesives, you can minimize the risk of unsightly residue buildup and ensure a visually appealing and functional shower organization solution.
Ultimately, the successful removal of adhesive residues from your shower caddy not only enhances its aesthetic appeal but also contributes to a hygienic and organized bathroom space. The restoration of a clean and adhesive-free surface promotes a sense of satisfaction and pride in maintaining your bathroom essentials. By following the insights and recommendations provided in this guide, you are equipped with the knowledge and strategies to tackle adhesive removal with confidence and achieve a pristine and visually appealing shower caddy.
As you embark on the journey of adhesive removal and proactive maintenance, remember that attention to detail and a proactive approach are key to preserving the cleanliness and functionality of your shower caddy. With the right tools, techniques, and preventative measures in place, you can ensure that your shower caddy remains a reliable and visually pleasing addition to your bathroom, free from the burden of stubborn adhesive residues.
Now that you've got your shower caddy free from adhesive, why stop there? Dive into our guide on cleaning tips, where you'll learn to scrub every nook and cranny of your refrigerator. Feeling handy? Our DIY home improvement section offers exciting projects to enhance your living space. For those looking to declutter, don't miss our bathroom organization strategies, perfect for maximizing efficiency in small spaces. Each article is packed with practical advice to help you make the most of your home!
Frequently Asked Questions about How To Remove Adhesive From A Shower Caddy
Was this page helpful?
At Storables.com, we guarantee accurate and reliable information. Our content, validated by Expert Board Contributors, is crafted following stringent Editorial Policies. We're committed to providing you with well-researched, expert-backed insights for all your informational needs.


0 thoughts on “How To Remove Adhesive From A Shower Caddy”