Home>diy>Home Improvement>How To Do A Lawn Renovation
Home Improvement
How To Do A Lawn Renovation
Modified: October 19, 2024
Learn how to give your lawn a complete renovation with our comprehensive guide. Transform your outdoor space with these home-improvement tips and tricks.
(Many of the links in this article redirect to a specific reviewed product. Your purchase of these products through affiliate links helps to generate commission for Storables.com, at no extra cost. Learn more)
Introduction
Having a beautiful and healthy lawn is a goal for many homeowners. A lush, green lawn not only adds value to your property but also provides a welcoming outdoor space for you and your family to enjoy. However, over time, even the best-maintained lawns can become worn out or infested with weeds and pests. That’s when a lawn renovation comes into play.
A lawn renovation is a comprehensive process that involves rejuvenating your lawn from the ground up. It typically includes steps such as assessing the current state of your lawn, clearing and preparing the area, dealing with weeds and pests, soil testing and analysis, soil amendments and fertilization, seeding or sodding the lawn, watering and irrigation, lawn mowing and maintenance, and ongoing monitoring and troubleshooting.
While it may seem like a daunting task, a lawn renovation can be a rewarding experience, as it gives you the opportunity to transform your lawn into the lush and inviting space you’ve always dreamed of. In this article, we will guide you through each step of the process, providing expert tips and advice to help you achieve the lawn of your dreams.
Key Takeaways:
- A successful lawn renovation involves thorough assessment, proper preparation, and proactive care. Addressing soil quality, weeds, and pests, and implementing effective watering and maintenance practices are essential for achieving a lush and resilient lawn.
- Whether seeding or sodding, establishing new grass and maintaining optimal soil conditions are key to a successful lawn renovation. Consistent monitoring, troubleshooting, and ongoing care are crucial for long-term lawn health and vitality.
Read more: In What Order To Do Home Renovations
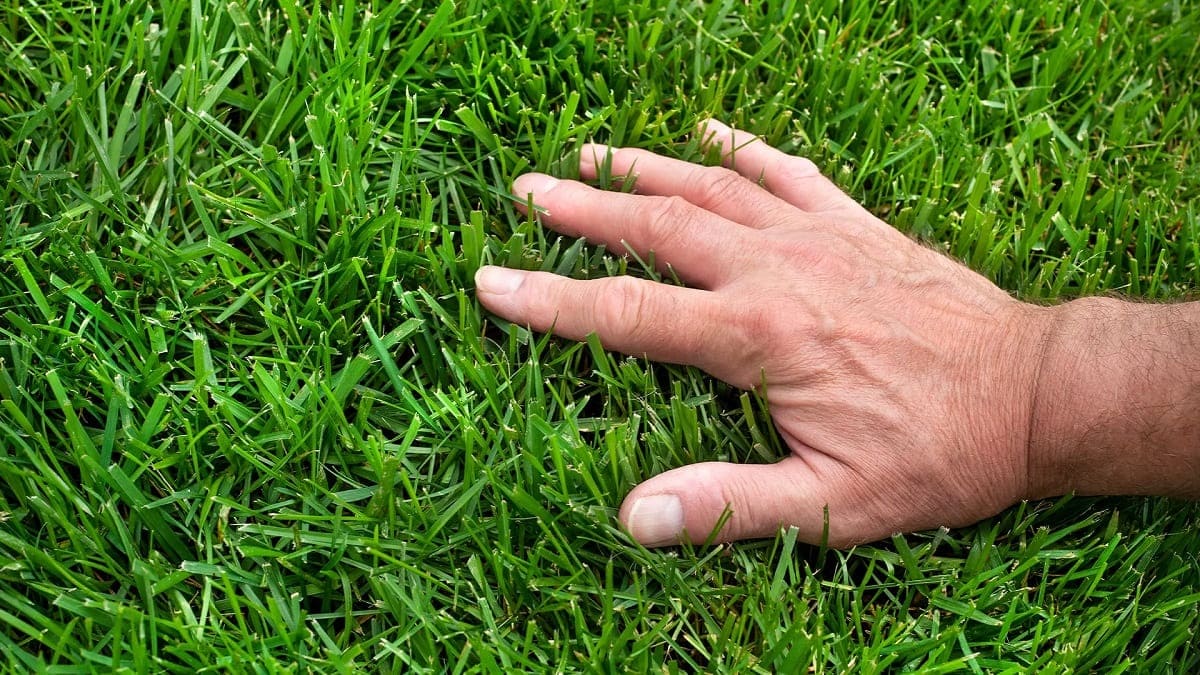
Step 1: Assessing the Current State of Your Lawn
Before embarking on a lawn renovation project, it’s crucial to assess the current state of your lawn. This will help you identify the specific issues and challenges you need to address to achieve a healthy and beautiful lawn.
Start by taking a walk around your yard and carefully examine the overall condition of the grass. Look for bare patches, thinning areas, and any signs of pests or diseases. Take note of any specific problem areas that require attention.
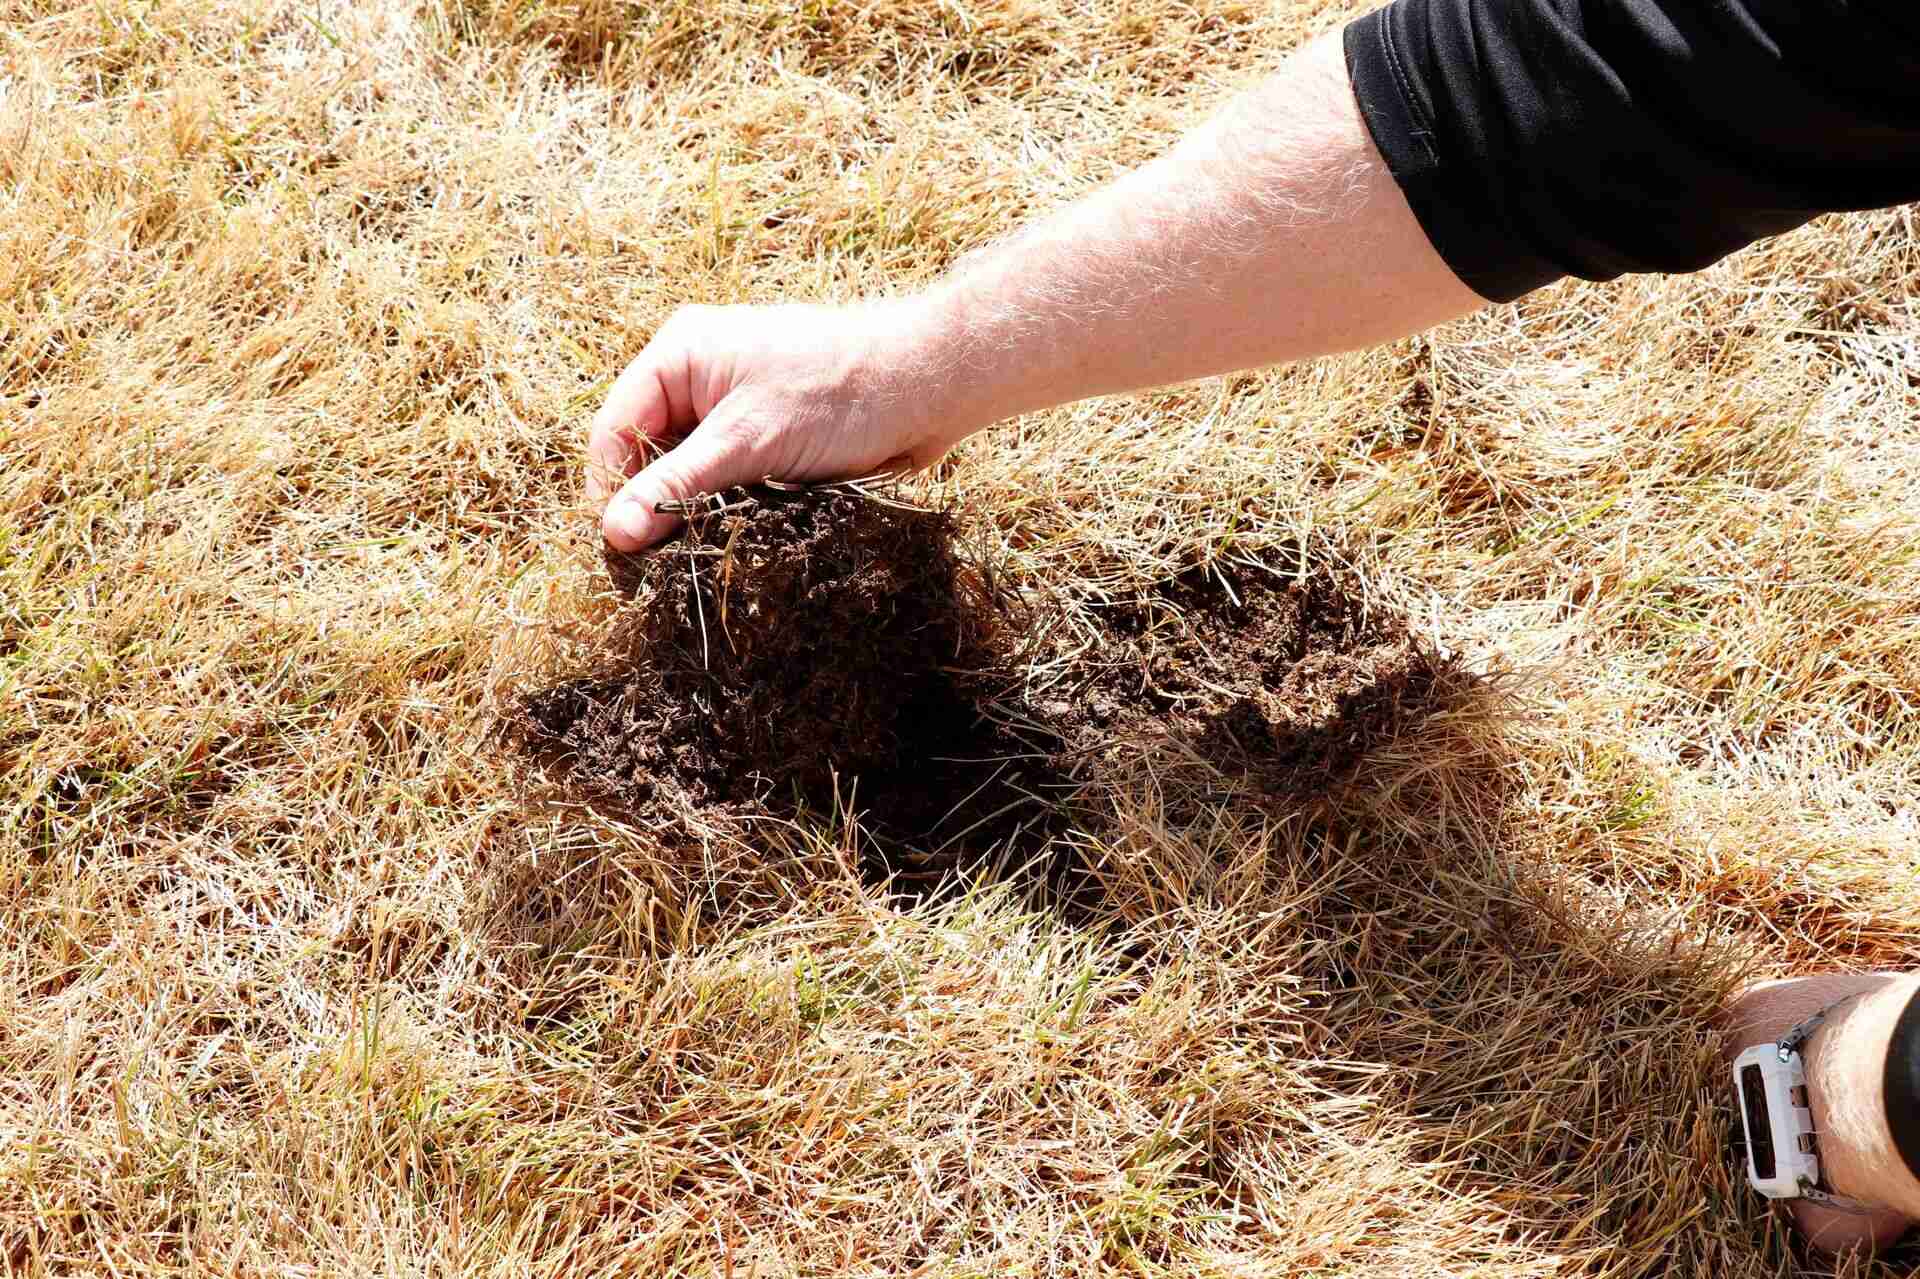
Next, evaluate the soil quality. A healthy lawn requires good soil structure, adequate drainage, and the right balance of nutrients. Dig a small hole and assess the soil’s texture and composition. Is it sandy, clayey, or loamy? Is it compacted or loose? The answers to these questions will provide valuable insights into the overall health of your soil.
Another aspect to consider is the amount of sunlight your lawn receives. Observe the patterns of sunlight and shade throughout the day. Some grass species thrive in full sun, while others prefer partial shade. Understanding the sunlight conditions will help you choose the right grass variety for your lawn renovation.
Lastly, consider the overall usage of your lawn. Do you have heavy foot traffic areas? Are there any specific activities, such as children playing or pets running around, that could impact the health and durability of the grass? Identifying these high-traffic zones will help you plan for any additional measures needed to ensure long-lasting results.
By thoroughly assessing the current state of your lawn, you’ll have a clear understanding of its strengths and weaknesses. This knowledge will guide you in making informed decisions regarding the steps and treatments needed in the subsequent phases of your lawn renovation project.
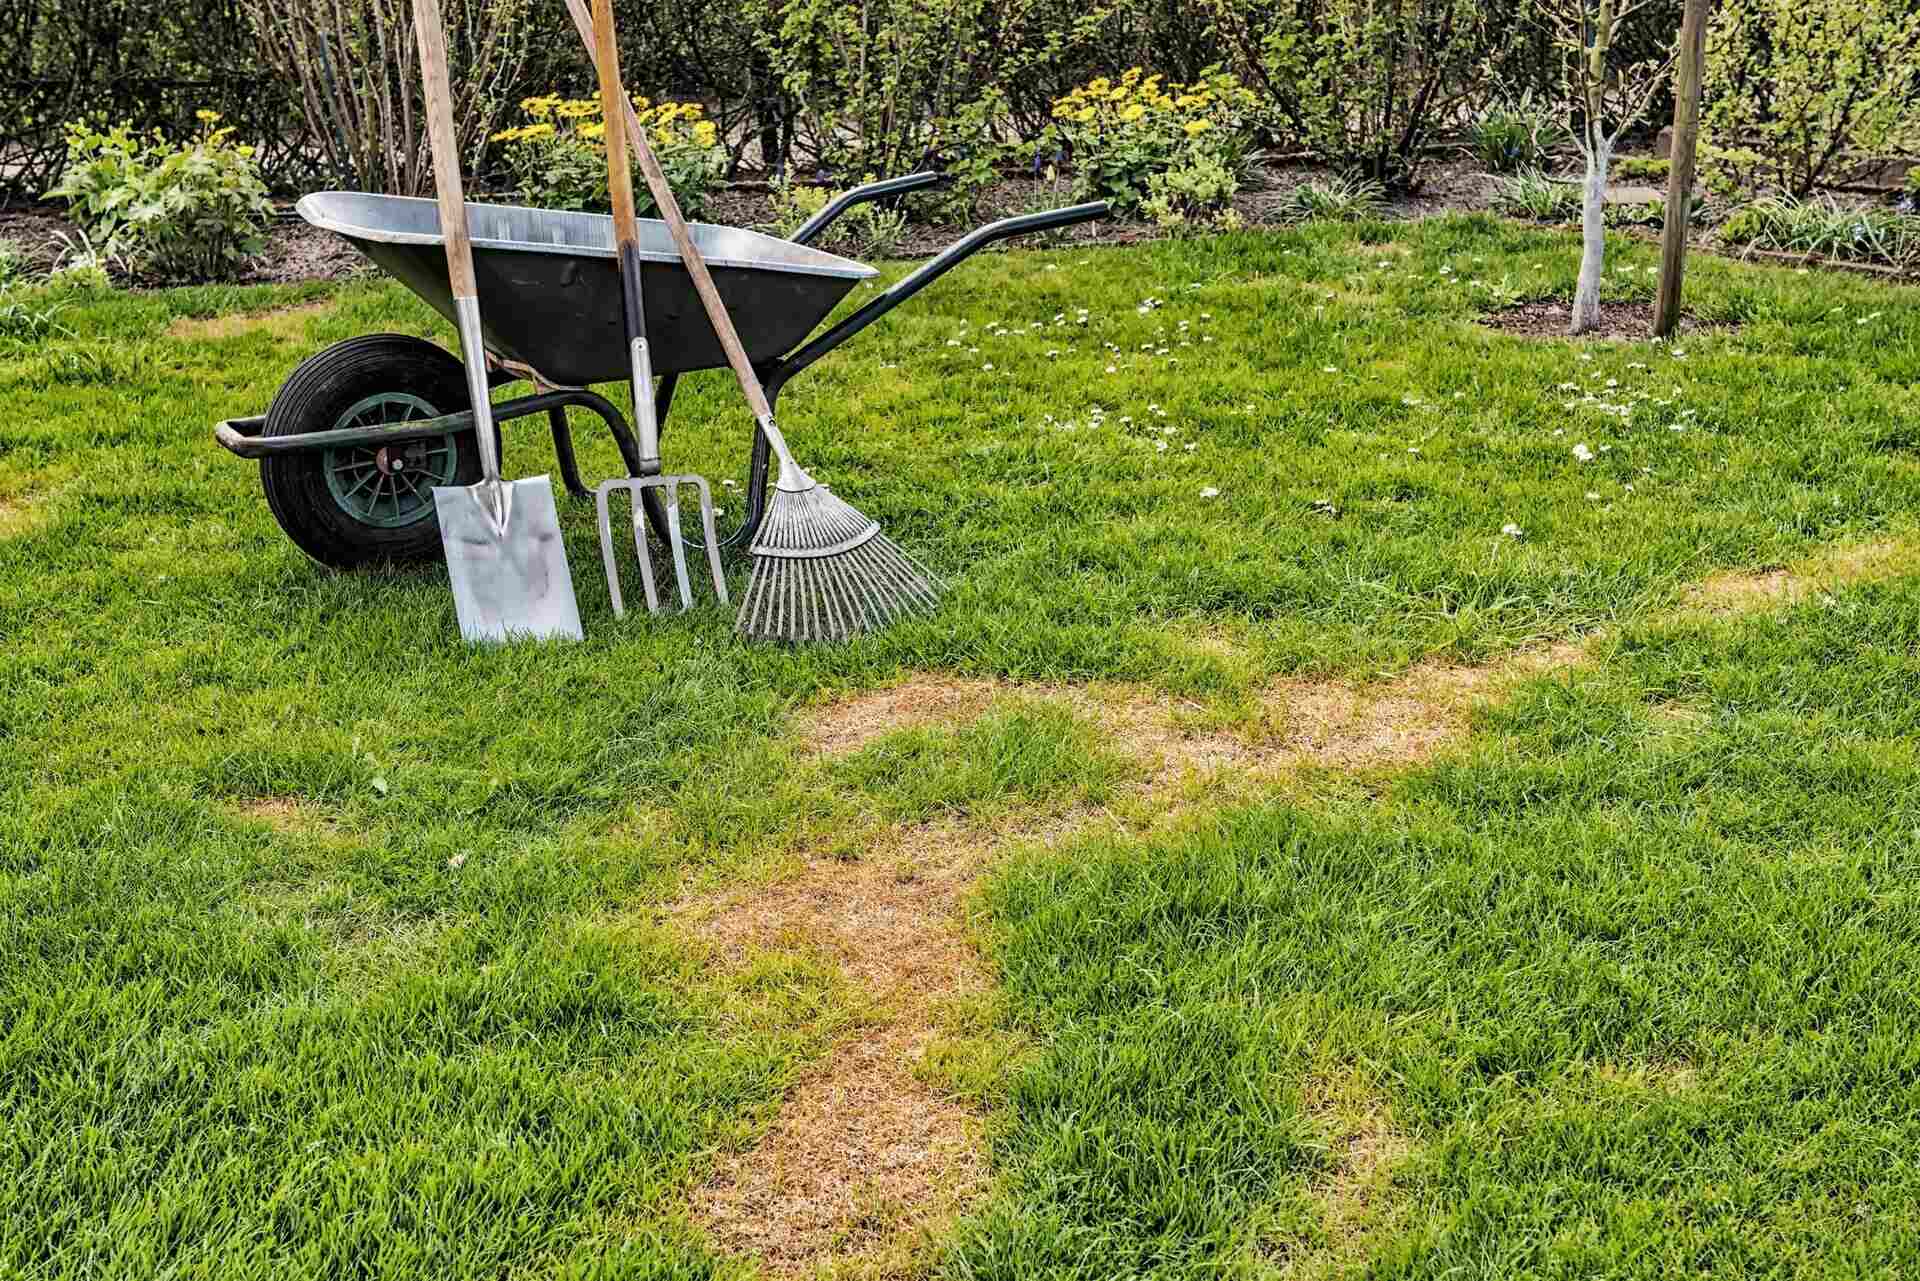
Step 2: Clearing and Preparing the Area
Once you have assessed the current state of your lawn, the next step in the renovation process is to clear and prepare the area for the upcoming improvements. This step plays a crucial role in creating a clean slate and ensuring optimal conditions for new grass growth.
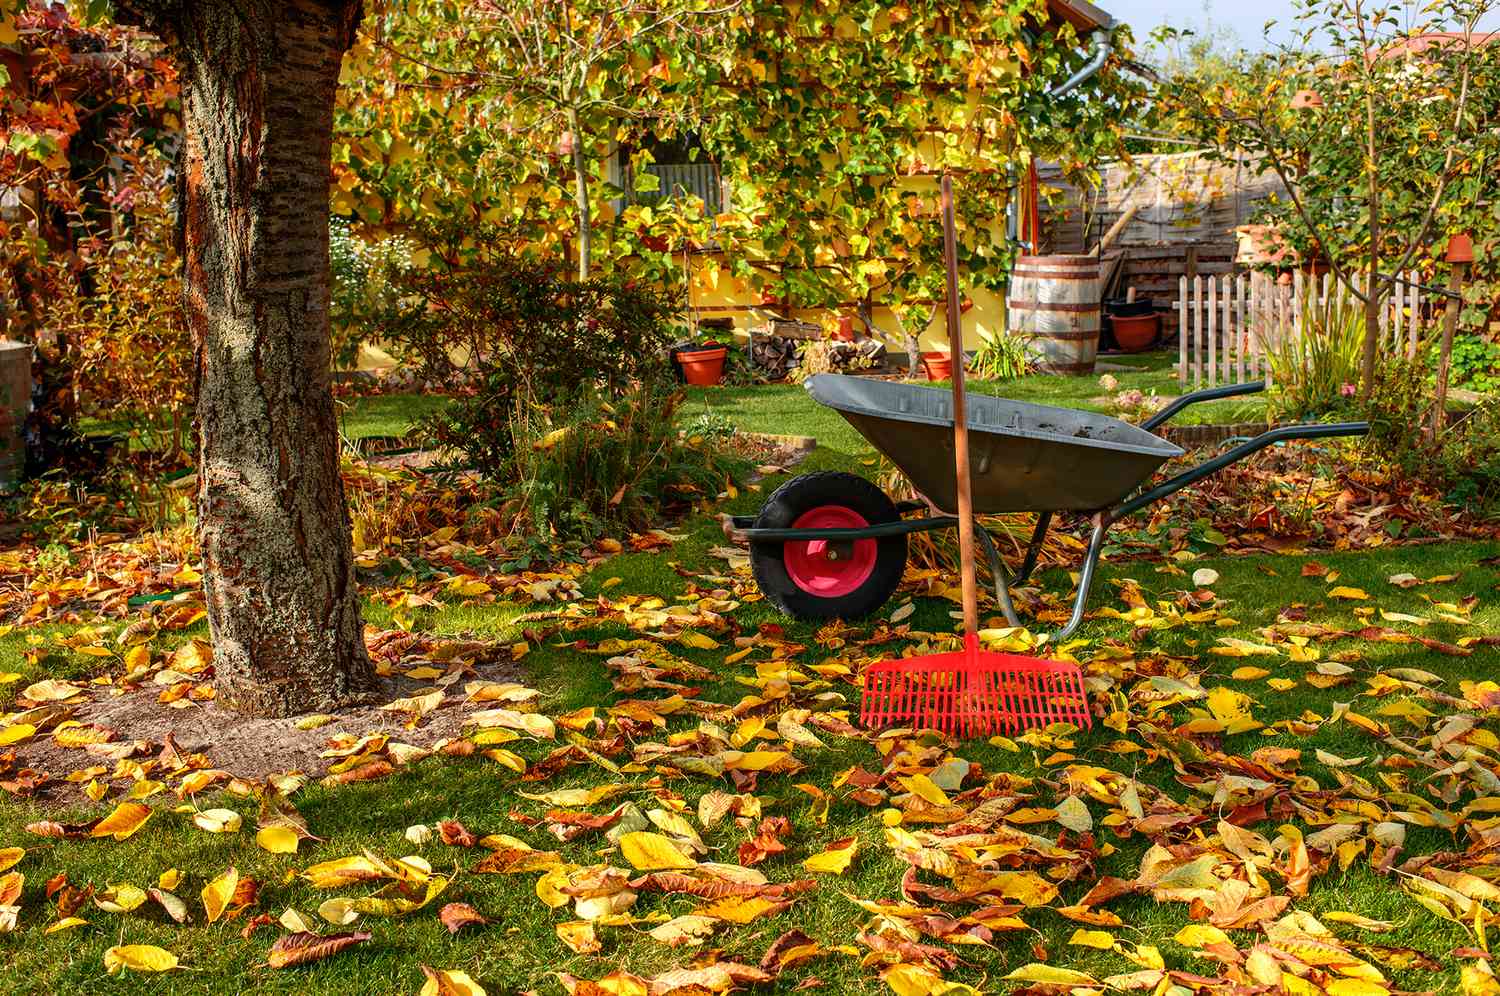
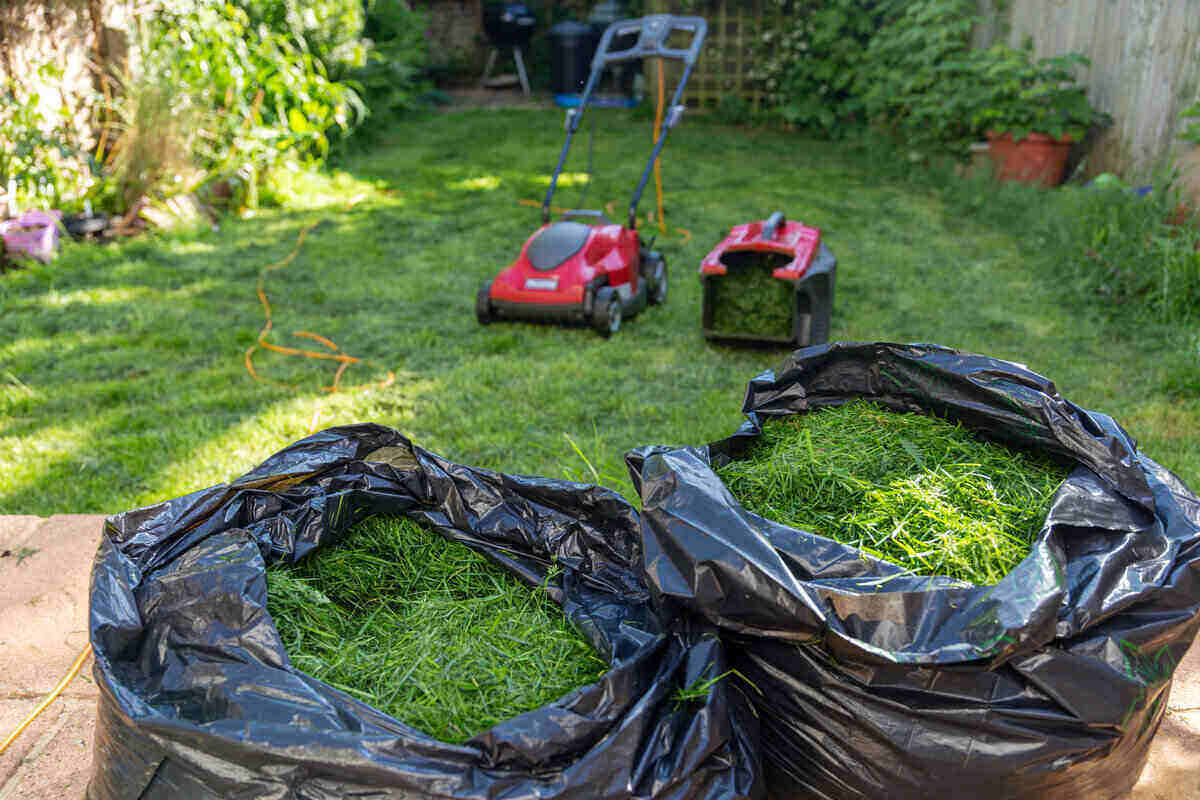
Start by removing any debris, such as sticks, rocks, and leaves, from the lawn. This can be done using a rake or a leaf blower. Clearing the area of debris will prevent any obstructions during the renovation process and allow for a smooth transition to the next steps.
If there are any existing weeds, it’s important to address them before moving forward. Use a weed killer or an organic herbicide to eliminate weeds from the lawn. Be sure to follow the instructions on the product label and take necessary precautions to protect yourself, other plants, and the environment.
Next, consider the need for edging. Edging creates clear boundaries between your lawn and other areas like flower beds, walkways, or driveways. It enhances the visual appeal of your lawn and makes maintenance easier. Use an edging tool or a straight-edge spade to establish clean edges along the borders.
Once the area is cleared and edged, it’s time to prepare the soil for the upcoming lawn renovation. Start by loosening the soil with a garden fork or a tiller. This will improve the soil’s structure, allowing for better root penetration and water absorption. Remove any large clumps and rocks that may hinder the growth of new grass.
If you notice any low areas or uneven terrain, consider leveling the ground. This can be done by adding or removing soil as needed. Use a rake or a leveling tool to ensure a smooth and even surface. This will not only provide a better aesthetic appearance but also promote uniform grass growth.
In some cases, you may need to amend the soil with organic matter or compost. This will help improve the soil’s fertility, drainage, and overall health. Spread a layer of compost over the soil and use a rake to mix it in thoroughly. Aim for a depth of around 2-4 inches of organic matter.
By clearing and preparing the area properly, you are creating the ideal foundation for a successful lawn renovation. Taking the time to complete this crucial step will ensure that your new grass has optimal conditions for growth, leading to a healthier and more resilient lawn in the long run.
Step 3: Dealing with Weeds and Pests
Weeds and pests can quickly wreak havoc on your lawn, competing with the grass for nutrients, water, and sunlight. Therefore, it’s important to address these issues before proceeding with your lawn renovation to ensure the best possible outcomes.
Start by identifying the types of weeds and pests present in your lawn. Common lawn weeds include dandelions, crabgrass, clover, and chickweed. Understanding the specific weed species will help you choose the most effective control methods.
For broadleaf weeds, such as dandelions or clover, consider using a selective herbicide. Selective herbicides target specific weed species while leaving the desirable grass unharmed. Follow the instructions on the product label carefully, applying the herbicide when the weeds are actively growing and the weather conditions are favorable.
If you’re dealing with invasive grassy weeds, like crabgrass or Bermuda grass, a non-selective herbicide may be necessary. Non-selective herbicides kill both weeds and desirable plants, so be cautious when applying them. Use a shield or a targeted application method to avoid spray drift and damage to surrounding vegetation.
In addition to weeds, pests can also pose a threat to your lawn. Common lawn pests include grubs, chinch bugs, and armyworms, which can cause extensive damage to the grass. To determine if pests are present, inspect the lawn for signs of damage, such as brown patches or wilting grass.
If you suspect a pest infestation, consider using an appropriate insecticide to control the problem. Follow the instructions on the product label carefully and apply the insecticide during the recommended time for optimal effectiveness. It’s essential to target the specific pests affecting your lawn, as different insects require different control methods.
In some cases, cultural practices can also help manage weeds and pests. Regularly mowing your lawn at the appropriate height can prevent weed seed development and discourage pests from establishing themselves. Proper irrigation practices, such as deep watering and avoiding overwatering, can also contribute to a healthier lawn and reduce pest problems.
By addressing weeds and pests before starting your lawn renovation, you are setting the stage for healthy grass growth. Effective weed and pest control will prevent competition, promote the development of a robust lawn, and reduce the need for ongoing maintenance and treatments.
Step 4: Soil Testing and Analysis
Understanding the composition and nutrient levels of your soil is crucial for a successful lawn renovation. Conducting a soil test will provide valuable information about the pH balance, nutrient deficiencies, and other factors that can impact the health and growth of your grass.
To start the soil testing process, collect soil samples from different areas of your lawn. Use a soil probe or a garden trowel to obtain samples at a depth of 4 to 6 inches. Make sure to collect samples from both healthy and problem areas to get a comprehensive analysis.
Once you have collected the samples, transfer them into clean containers and mix them thoroughly. Remove any stones, roots, or debris from the soil. Aim for a composite sample that represents the overall condition of your lawn.
Next, send the soil sample to a reputable soil testing lab or take it to your local agricultural extension office. They will perform a series of tests to analyze the soil’s characteristics. The most common tests include pH level, nutrient levels (such as nitrogen, phosphorus, and potassium), and organic matter content.
When you receive the soil test results, take the time to understand them and interpret the findings. The lab or extension office will provide recommendations based on the specific needs of your soil. These recommendations may include adding specific nutrients, adjusting the pH, or other amendments to improve the soil quality.
Based on the soil test results, you may need to apply lime to raise the pH or sulfur to lower it. Additionally, you may be advised to apply specific fertilizers or organic amendments to correct nutrient deficiencies. Following these recommendations will help create an optimal growing environment for your new grass.
Remember, soil testing should be done periodically to monitor and adjust the soil conditions as needed. As your lawn evolves and changes over time, the soil requirements may also change. Regular soil testing will ensure that you are providing the necessary nutrients and conditions for a healthy and thriving lawn.
By conducting a soil test and analyzing the results, you are taking a proactive approach to nourishing your lawn. Understanding the soil’s characteristics and making appropriate amendments will give your grass the best chance to flourish and establish strong roots.
Read more: Lawn Care: How To Do It Yourself
Step 5: Soil Amendments and Fertilization
After analyzing the soil test results, it’s time to address any nutrient deficiencies or imbalances in the soil. Soil amendments and fertilization play a vital role in providing the necessary nutrients for healthy grass growth during your lawn renovation.
Based on the recommendations from the soil test, you may need to apply various amendments to improve the soil’s structure, drainage, and nutrient content. Common soil amendments include organic matter, such as compost, well-rotted manure, or peat moss. These amendments help improve soil fertility, moisture retention, and microbial activity.
Spread a layer of compost or other organic matter over the soil surface. Use a rake or a tiller to incorporate it into the top few inches of soil. Aim for a depth of 2 to 4 inches of organic matter. This will not only enhance the soil’s nutrient content but also promote beneficial soil organisms that contribute to overall soil health.
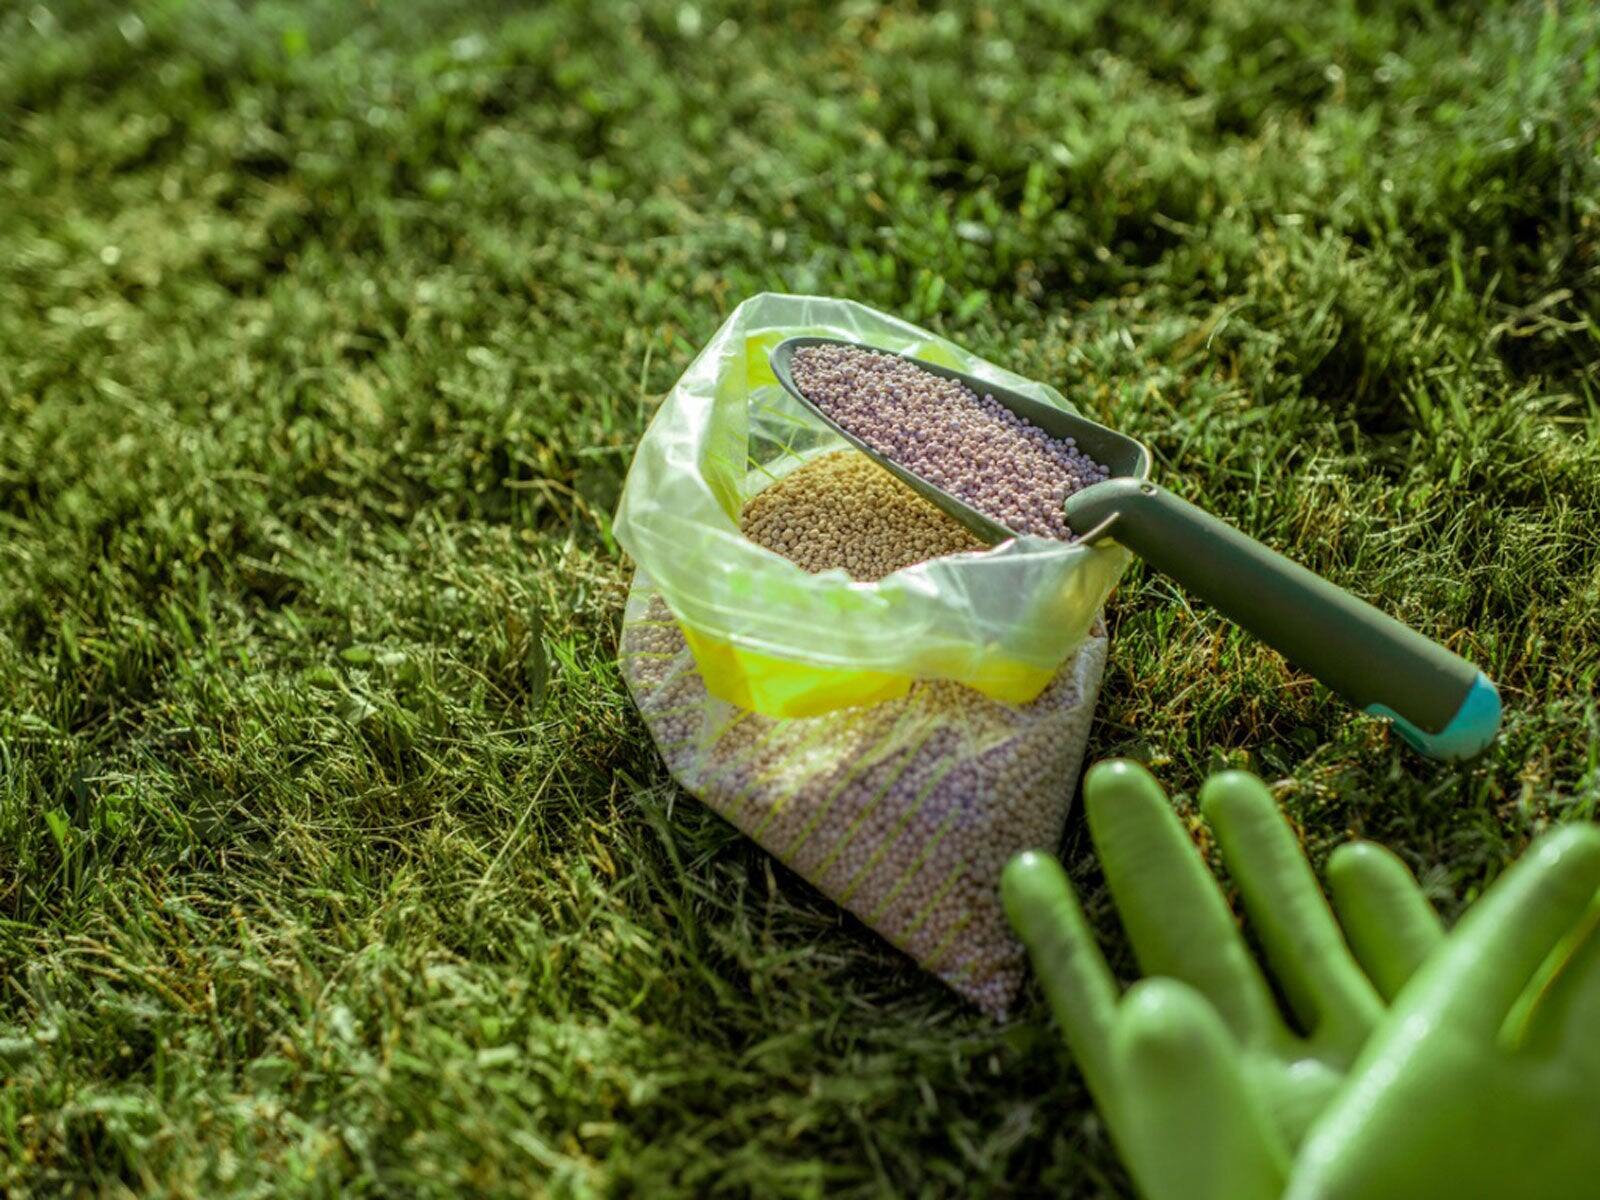
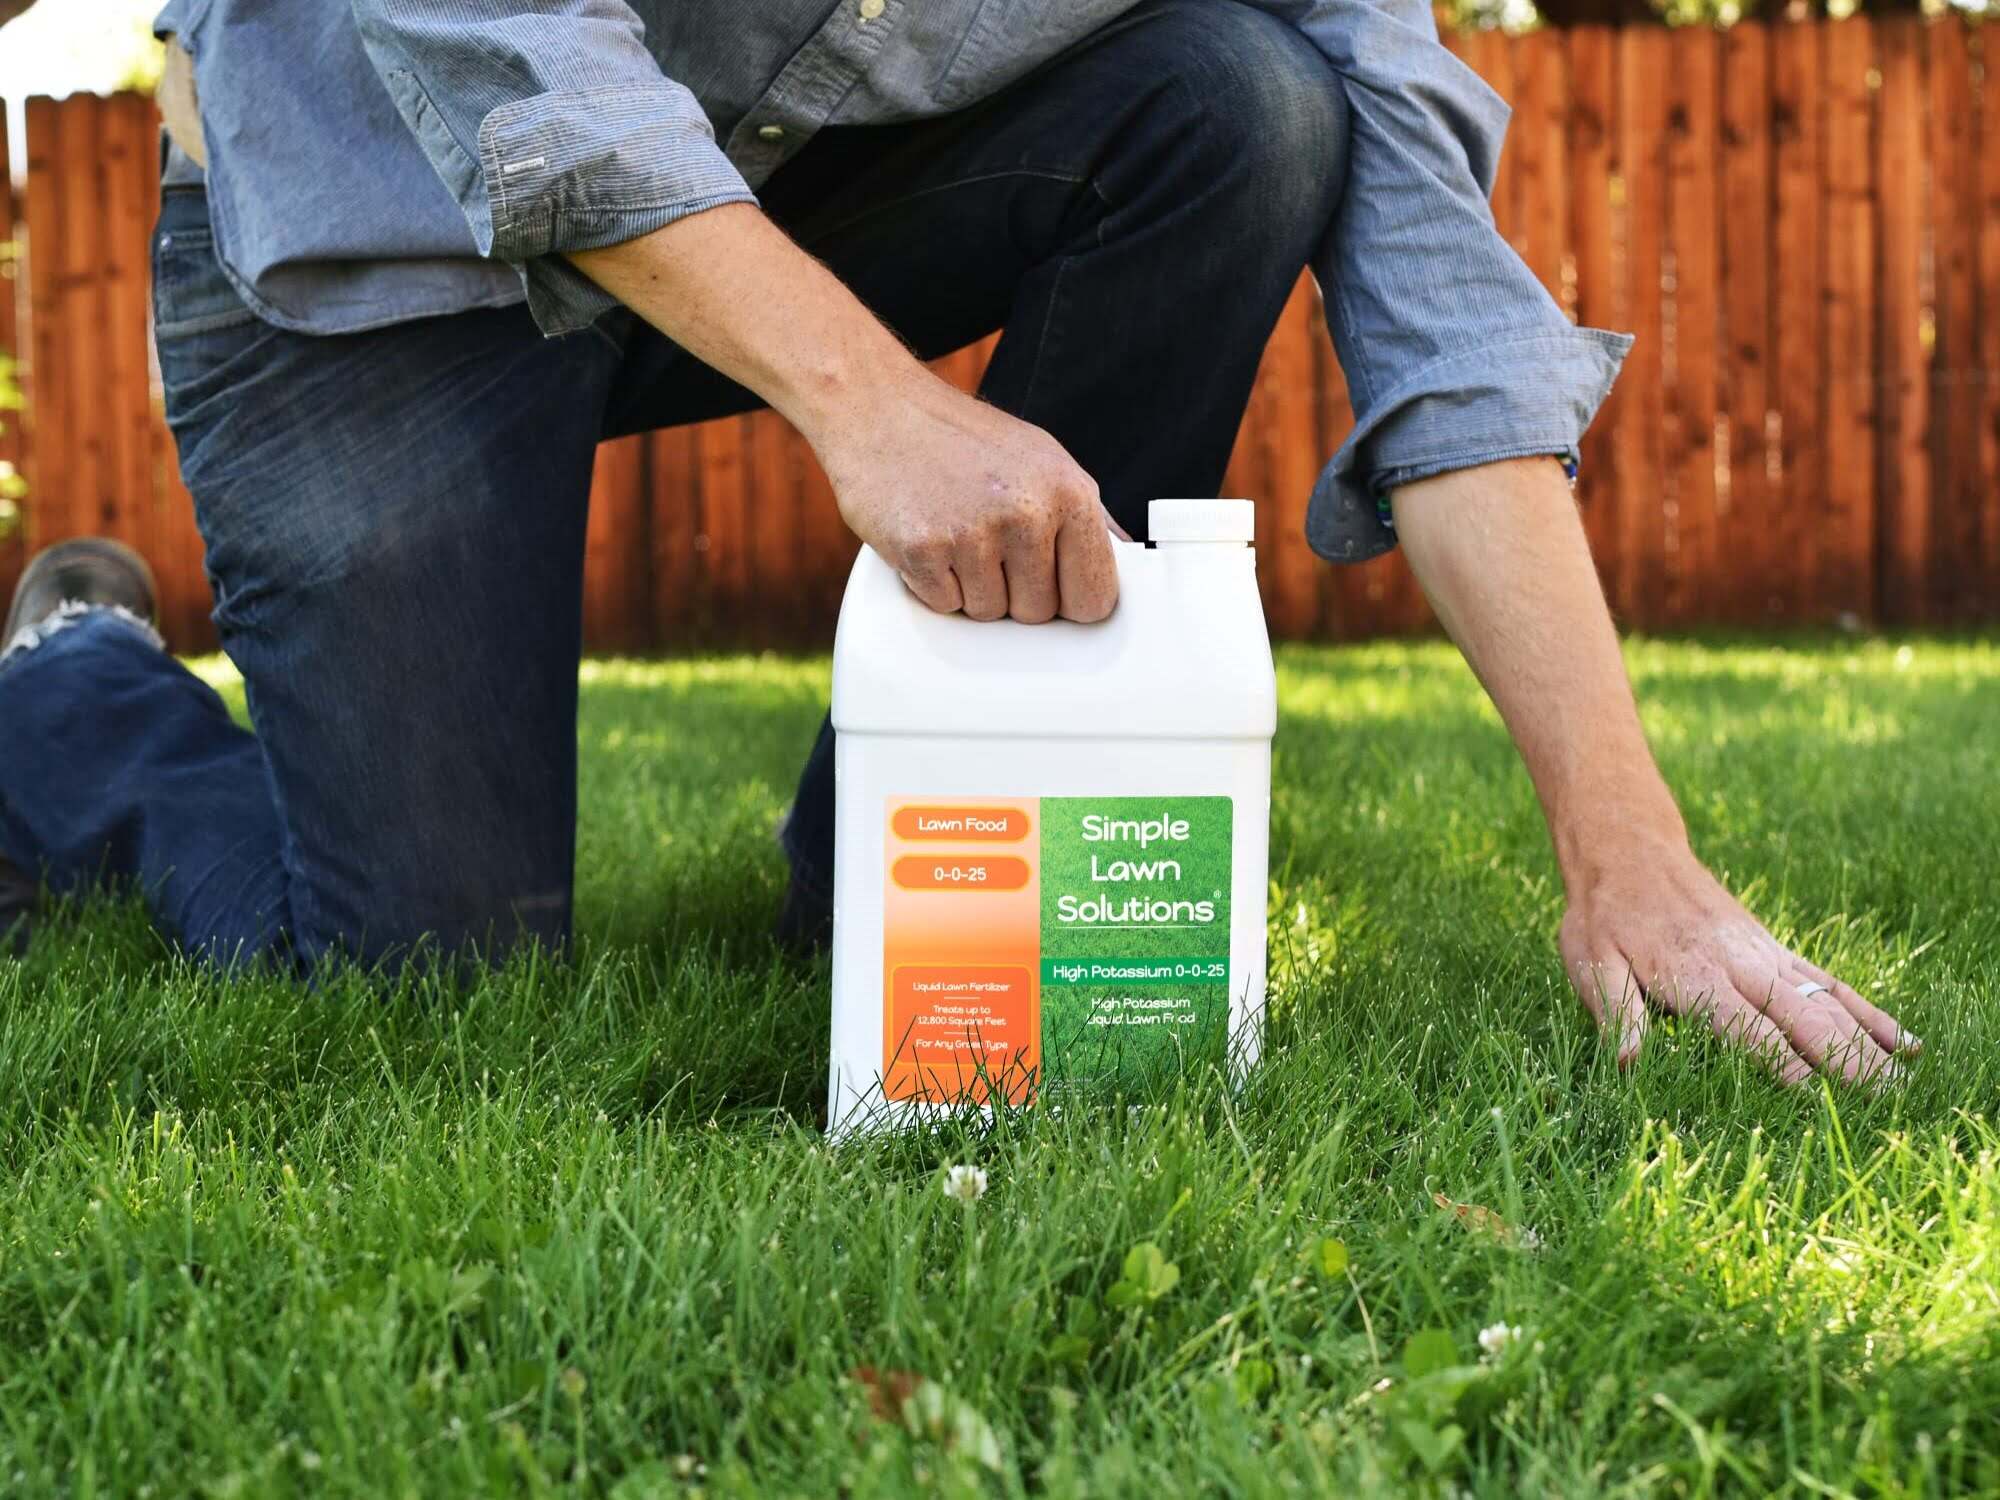
In addition to organic matter, you may also need to add specific nutrients to correct any deficiencies identified in the soil test. Apply a balanced fertilizer that contains nitrogen (N), phosphorus (P), and potassium (K). The fertilizer should be formulated for use on lawns and follow the recommended application rates provided by the manufacturer.
When applying the fertilizer, it’s important to follow proper techniques to prevent uneven distribution and potential burning of the grass. Use a broadcast spreader or a handheld spreader to ensure even coverage. Water the lawn lightly after application to help the nutrients penetrate the soil and minimize any potential nutrient runoff.
Keep in mind that fertilization should be done at the right time and frequency. Follow a seasonal fertilization schedule that aligns with the specific needs of your grass species. Typically, it’s recommended to fertilize in the spring and fall when the grass is actively growing.
Regular fertilization not only provides the necessary nutrients for healthy grass growth but also promotes vibrant green color, density, and overall resilience. However, it’s important not to over-fertilize, as excessive nutrients can lead to environmental pollution and excessive growth that is more susceptible to disease and pests. Always follow the recommended application rates and guidelines.
By adding soil amendments and fertilizing properly, you are addressing the specific needs of your soil and providing a solid foundation for your lawn to thrive. Healthy and nutrient-rich soil will support strong root development and vigorous growth, resulting in a beautiful and resilient lawn.
Tip: Before starting a lawn renovation, test the soil to determine its pH and nutrient levels. This will help you choose the right amendments for a healthy, thriving lawn.
Step 6: Seeding or Sodding the Lawn
Once you have prepared the soil and addressed any nutrient deficiencies, it’s time to establish new grass in your lawn renovation. There are two main methods for this: seeding and sodding. The choice between the two will depend on factors such as budget, time constraints, and personal preference.
If you have the time and patience, seeding is an economical and effective way to establish a new lawn. Start by selecting the appropriate grass seed variety based on your climate, sunlight conditions, and intended use of the lawn. Common grass types for lawns include Kentucky bluegrass, perennial ryegrass, and tall fescue.
Before seeding, make sure to break up any large soil clumps and create a smooth and level surface. Spread the grass seed evenly over the prepared soil using a broadcast spreader or by hand. Aim for the recommended seeding rate specified on the seed package.
After seeding, use a rake or a lawn roller to lightly press the seeds into the soil, ensuring good seed-to-soil contact. This will help germination and establishment. To protect the seeds from birds, apply a thin layer of straw or mulch over the seeded area.
Water the seeded area lightly and frequently to keep the soil consistently moist until the grass seeds germinate. This may require watering several times a day, especially during hot and dry weather conditions. Gradually reduce the frequency of watering as the grass begins to establish, but increase the amount of water applied during each irrigation session.
Sodding, on the other hand, provides an instant and established lawn. Sod consists of pre-grown grass that is cut into rolls or squares and installed directly onto the soil. While it is more expensive than seeding, sodding offers immediate results.
Prepare the soil by removing any debris and loosening it with a garden fork or a tiller. Level the surface and ensure it is firm but not compacted. Lay the sod rolls or squares tightly together, avoiding gaps or overlaps. Stagger the joints in a brick-like pattern for better stability.
Water the sod immediately after installation, ensuring that the soil beneath is thoroughly moistened. Continue to water the newly laid sod daily, or as recommended based on your climate. Over time, the sod will establish its roots into the soil, and you can gradually reduce the frequency of watering.
Regardless of whether you choose seeding or sodding, it’s important to follow proper care practices such as regular watering, adequate irrigation, and proper mowing techniques. This will help the new grass establish strong root systems and promote healthy growth.
By seeding or sodding your lawn during the renovation process, you are creating a lush and thriving grass cover. Whether you opt for the cost-effective approach of seeding or the instant gratification of sodding, your efforts will result in a beautiful and rejuvenated lawn.
Step 7: Watering and Irrigation
Proper watering and irrigation are essential for the long-term health and vitality of your newly renovated lawn. Adequate and consistent moisture is crucial for the establishment of the grass and the development of strong root systems.
When it comes to watering, the goal is to provide deep and infrequent irrigation. This encourages the grass roots to grow deeper into the soil in search of water, making them more resilient and less dependent on frequent watering.
After seeding or sodding, the first few weeks are critical for establishing the grass. During this period, water the lawn daily or as needed to keep the soil consistently moist. The top half-inch of soil should remain damp, but avoid overwatering, as excessive moisture can lead to disease and shallow root growth. Use a sprinkler, soaker hose, or irrigation system to evenly distribute water over the entire lawn area.
Once the grass begins to establish and shows signs of growth, you can gradually reduce the frequency of watering and increase the duration of each irrigation session. Water deeply, allowing the water to penetrate the soil to a depth of 4 to 6 inches. This encourages the grass roots to grow downwards, promoting a strong and healthy lawn.
It’s important to water early in the morning or late in the evening when temperatures are cooler and evaporation is minimal. This allows the grass to absorb the moisture effectively without losing it to evaporation.
Pay attention to environmental factors like rainfall and temperature. Adjust your irrigation schedule accordingly, reducing watering during periods of rainfall or cooler weather, and increasing it during hot and dry spells.
Monitor the moisture level of the soil regularly. One way to check this is by inserting a screwdriver or a soil moisture meter into the ground. If it easily penetrates the soil to the desired depth, the lawn is adequately hydrated. If it’s difficult to insert or the soil feels dry, it’s time to water.
Remember, it’s better to water less frequently but deeply rather than frequently with shallow watering. This promotes a robust root system and conserves water in the long run.
In addition to proper watering, make sure to observe any local water restrictions or guidelines in your area. Conserve water and be mindful of the environmental impact of excessive water usage.
By implementing a proper watering and irrigation routine, you are providing the necessary moisture for your renovated lawn to flourish. Consistent watering will support the establishment of healthy grass with deep roots, ensuring a vibrant and resilient lawn for years to come.
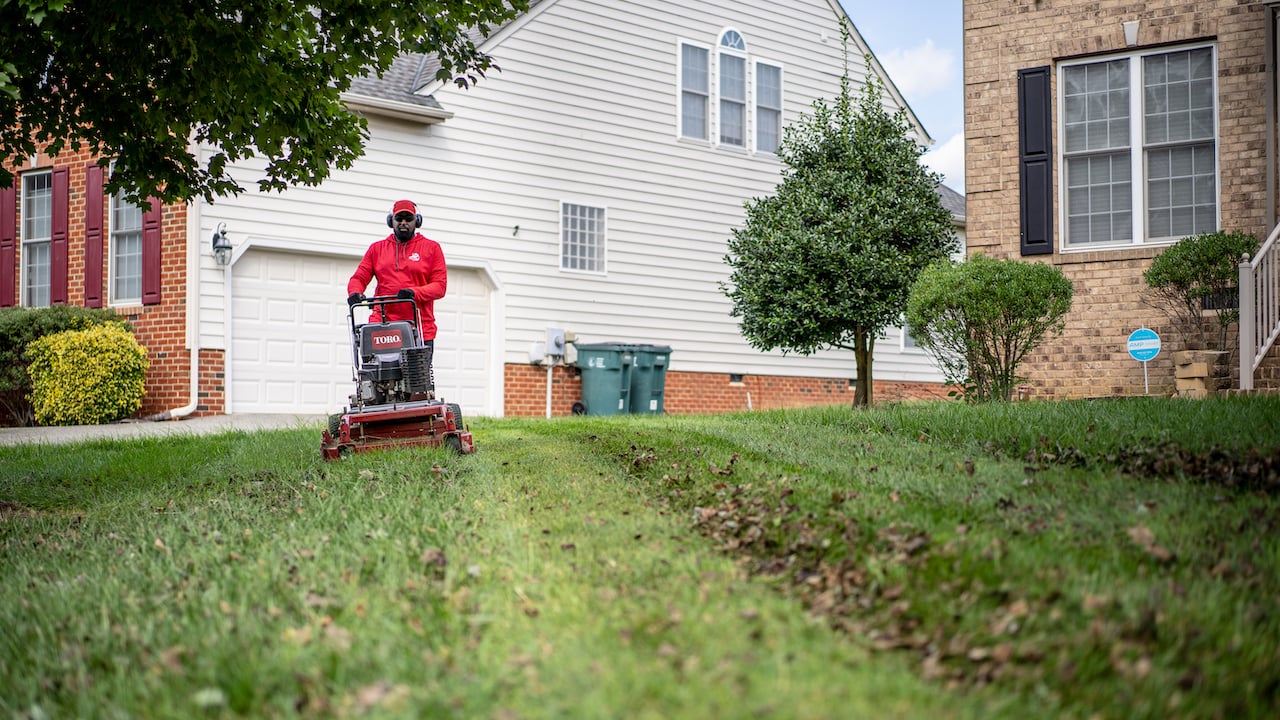
Step 8: Lawn Mowing and Maintenance
Lawn mowing and maintenance play a crucial role in keeping your renovated lawn looking its best. Proper mowing techniques and regular upkeep will promote healthy growth, enhance the appearance of your lawn, and minimize the risk of weed infestation and disease.
Start by setting your lawn mower to the appropriate height. The ideal mowing height will depend on the grass species you have in your lawn. Generally, it’s recommended to maintain a mowing height of around 2.5 to 3.5 inches for most cool-season grasses, while warm-season grasses may require slightly higher or lower heights. Mowing at the correct height ensures a strong root system and helps shade the soil to prevent weed growth.
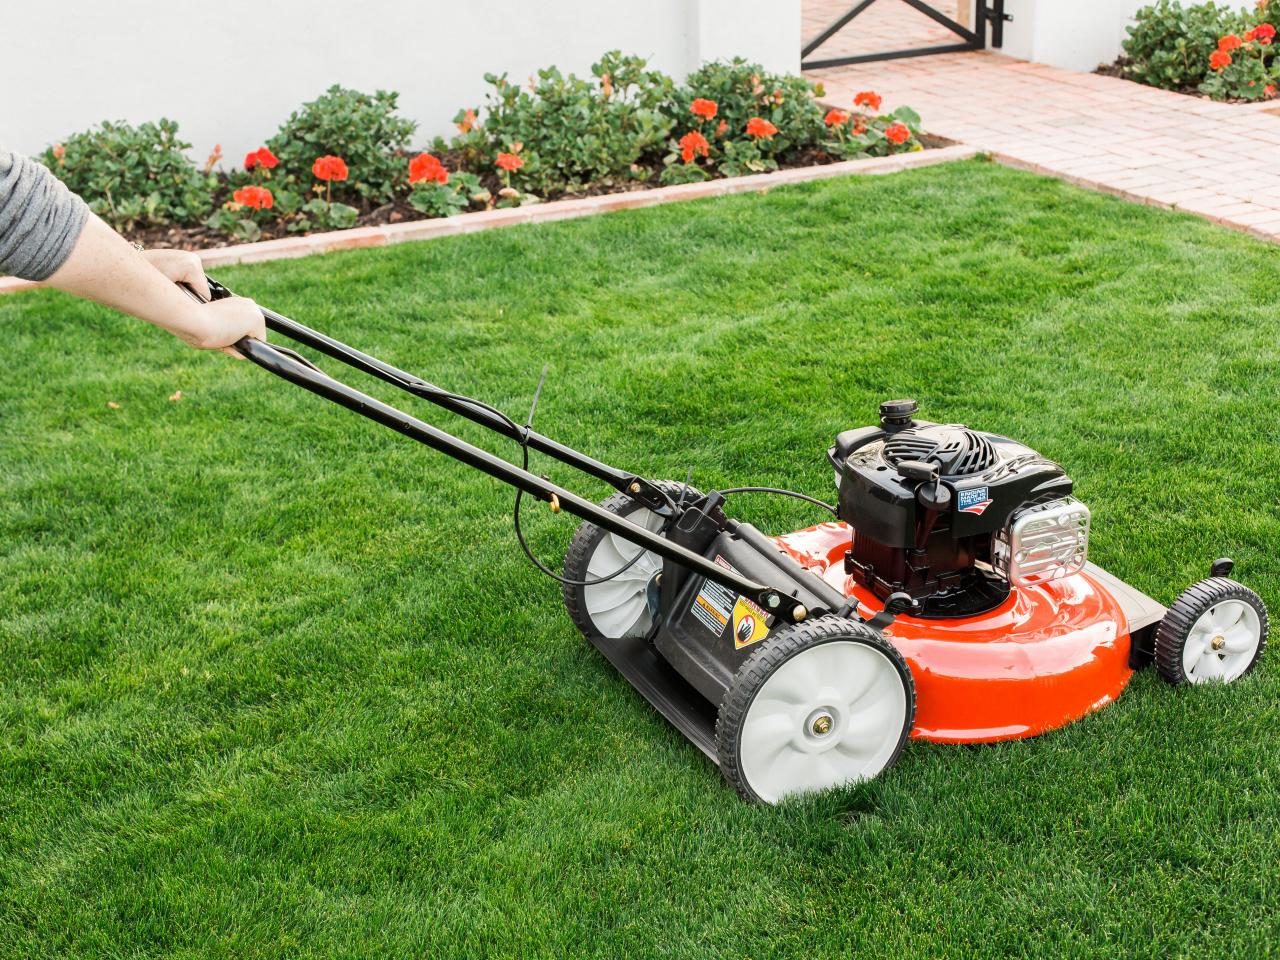
Always use a sharp mower blade to make clean cuts. Dull blades can tear the grass, resulting in a ragged and uneven appearance. Sharpen the blade regularly or replace it when necessary to ensure a clean and precise cut.
Follow the “one-third rule” when mowing your lawn. This means you should never remove more than one-third of the grass blade’s height in a single mowing session. Cutting too much at once can stress the grass and impede its ability to recover. Frequent mowing, especially during periods of active growth, may be necessary to maintain the desired height.
Alternate your mowing direction with each session. This helps prevent the grass from leaning or developing patterns. Changing the direction also helps ensure a more even cut and encourages upright growth.
Leave the grass clippings on the lawn whenever possible. They act as a natural mulch, returning valuable nutrients to the soil as they decompose. However, if excessive clippings are left behind, they can smother the grass and create a thatch layer. If necessary, use a mulching mower or rake up the clippings to avoid excessive buildup.
In addition to regular mowing, other lawn maintenance tasks are necessary for optimal health. These may include regular watering, proper fertilization, and occasional overseeding or aerating to improve the soil structure and promote dense and healthy grass growth.
Keep an eye out for any signs of weeds, pests, or diseases. Address them promptly before they have a chance to spread and damage the lawn. Use appropriate control methods such as targeted herbicides, insecticides, or fungicides, but always follow the instructions and safety precautions provided by the manufacturer.
Lastly, be mindful of foot traffic on your lawn. Limit heavy use during periods of stress or growth, as it can damage the grass and lead to compaction. Consider creating designated paths or walkways to redirect foot traffic and protect vulnerable areas of your lawn.
By practicing proper lawn mowing techniques and implementing regular maintenance tasks, you are ensuring the health and beauty of your renovated lawn. With consistent care, your lawn will thrive and provide you with a lush and inviting outdoor space to enjoy.
Read more: What Mown Lawns Do
Step 9: Monitoring and Troubleshooting
Once you’ve completed the initial stages of your lawn renovation, it’s important to monitor and troubleshoot any issues that may arise. Regular monitoring allows you to catch potential problems early on and take proactive measures to keep your lawn healthy and thriving.
Keep a close eye on the overall health of your grass. Look for any signs of stress, such as discoloration, thinning areas, or wilting. Monitor the growth and density of the grass to ensure it’s developing according to expectations. Identifying and addressing issues early can prevent them from spreading and causing further damage.
Continue to monitor soil moisture levels regularly. Use a soil moisture meter or perform the screwdriver test to assess if the lawn needs watering. Adjust your irrigation schedule based on rainfall, temperature, and the specific needs of your grass species.
Keep an eye out for weeds, pests, and diseases. Early detection is key to preventing an infestation or outbreak. Regularly inspect your lawn for any signs of weeds, such as unfamiliar plants or patches of different grasses. Look for pests or insect activity and monitor for any diseases, such as discoloration, spots, or unusual patterns of grass growth. If you notice any issues, promptly address them with appropriate control methods or seek advice from a lawn care professional.
Regularly assess the need for additional nutrients or soil amendments. As your grass grows and matures, its nutrient requirements may change. Periodically conduct soil tests to evaluate the pH level and nutrient content of the soil. Based on the test results, adjust your fertilization routine and apply any necessary amendments to keep the soil balanced and supportive of healthy grass growth.
Stay vigilant against any issues that may affect your lawn, such as excessive thatch buildup or compaction. Thatch is a layer of dead grass and organic matter that accumulates between the grass blades and the soil surface. It can hinder the movement of water, air, and nutrients and create an inviting environment for pests and disease. If thatch buildup becomes excessive, consider dethatching or aerating the lawn to improve its overall health.
Be mindful of seasonal changes and adjust your maintenance routine accordingly. Different seasons bring different challenges for your lawn. Adjust your mowing height, watering frequency, and fertilization schedule based on the specific needs of your grass during each season. Consider overseeding or reseeding during the fall season to fill in any bare areas and ensure a dense lawn.
Regular monitoring and troubleshooting are essential for maintaining a healthy and vibrant lawn. By staying proactive and addressing any issues promptly, you can ensure the long-term success of your lawn renovation project and enjoy a beautiful and thriving outdoor space.
Conclusion
Congratulations on completing your lawn renovation journey! By following the steps outlined in this guide, you have taken significant strides towards achieving a healthy and beautiful lawn. Remember, a well-maintained lawn not only enhances the aesthetic appeal of your home but also provides a welcoming outdoor space for relaxation and enjoyment.
Throughout the renovation process, you have assessed the current state of your lawn, cleared and prepared the area, dealt with weeds and pests, performed soil testing and analysis, amended the soil, and established new grass through seeding or sodding. You have implemented proper watering and irrigation techniques, mowed and maintained the lawn with care, and monitored and troubleshooted any issues that arose.
As you continue to enjoy your renovated lawn, it’s crucial to maintain regular care and uphold good lawn management practices. This includes proper watering, regular fertilization, mowing at the appropriate height, and monitoring for weeds, pests, and diseases. Adjust your maintenance routine based on seasonal changes and perform regular soil tests to ensure your lawn’s continued health and vitality.
Remember that a healthy lawn is an ongoing commitment. Regular maintenance and care will help you sustain the beauty and health of your new lawn for years to come. Stay proactive in addressing any issues that arise, and don’t hesitate to seek professional advice if needed. With dedication and attention to detail, your lawn will be the envy of the neighborhood.
Enjoy the rewards of your hard work and savor the satisfaction of witnessing your transformed lawn thrive. So go ahead, kick off your shoes, and relish in the joy of a lush and inviting outdoor space that you can proudly call your own.
Frequently Asked Questions about How To Do A Lawn Renovation
Was this page helpful?
At Storables.com, we guarantee accurate and reliable information. Our content, validated by Expert Board Contributors, is crafted following stringent Editorial Policies. We're committed to providing you with well-researched, expert-backed insights for all your informational needs.


0 thoughts on “How To Do A Lawn Renovation”