Articles
How Do You Change A Showerhead?
Modified: August 27, 2024
Learn how to change a showerhead with these step-by-step articles. Upgrade your bathroom with ease and improve your shower experience.
(Many of the links in this article redirect to a specific reviewed product. Your purchase of these products through affiliate links helps to generate commission for Storables.com, at no extra cost. Learn more)
Introduction
Changing a showerhead may seem like a daunting task, but with the right tools and a little know-how, it’s actually a straightforward process that you can easily tackle yourself. Whether you’re looking to replace a worn-out showerhead or upgrade to a newer model with more features, this article will guide you through the step-by-step process of changing a showerhead.
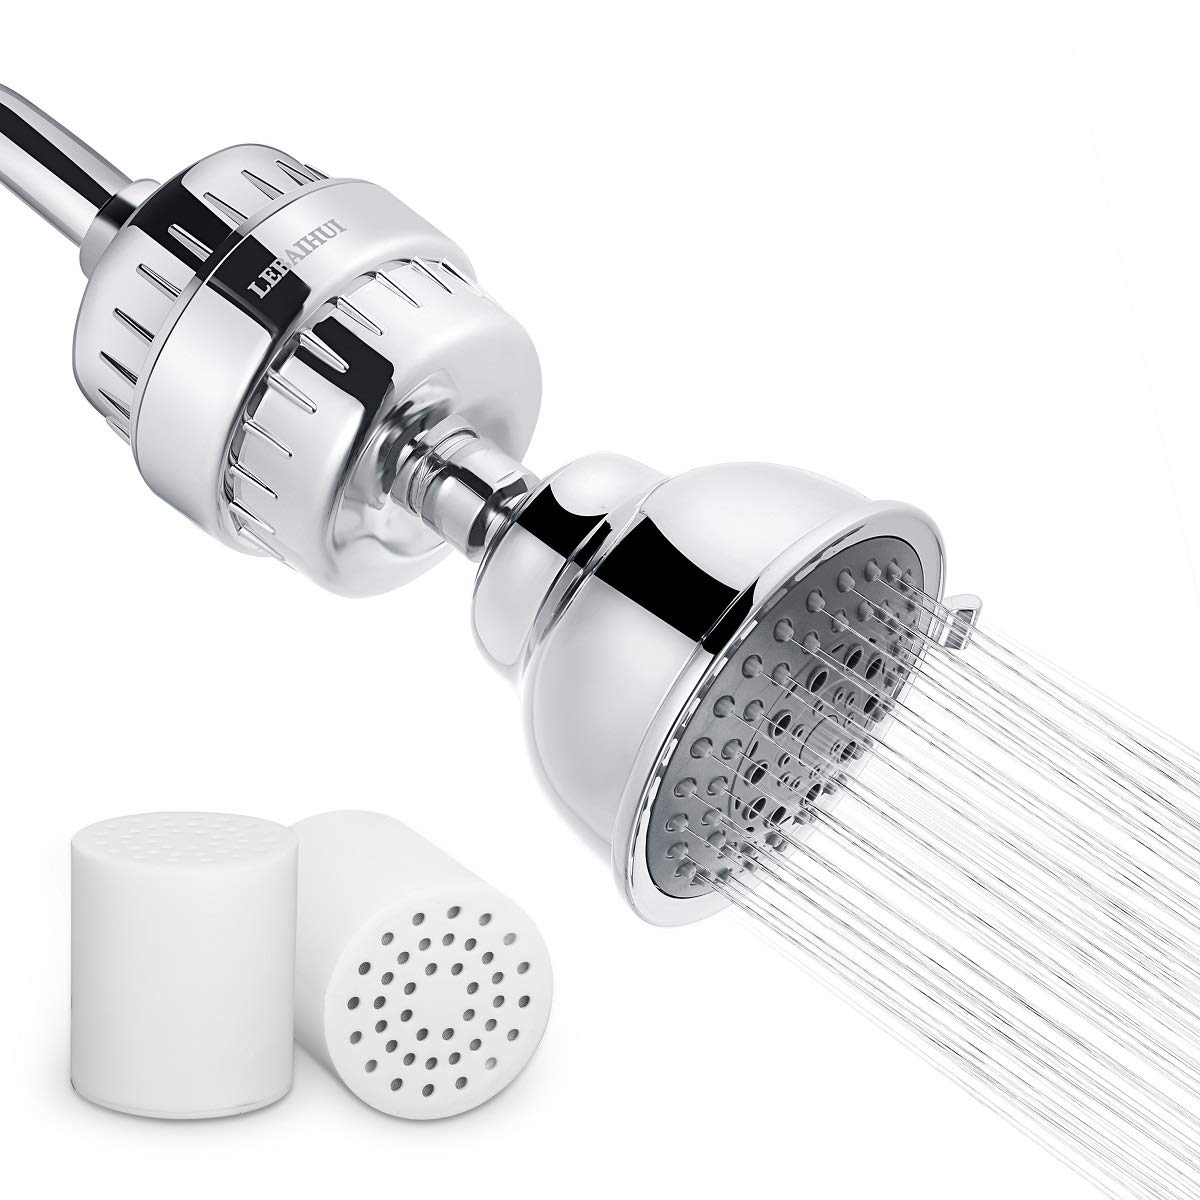
Not only can changing a showerhead improve the functionality of your shower, but it can also enhance your overall bathing experience. From adjustable spray patterns to water-saving options, there are a variety of showerheads available on the market today to suit your needs and preferences. By following the steps outlined in this article, you’ll be able to successfully change your showerhead and enjoy a refreshing and invigorating shower every time.
Before we get started, it’s important to gather the necessary tools and materials for the task. Having these items on hand will make the process smoother and more efficient. Here’s a list of what you’ll need:
Key Takeaways:
- Easily upgrade your shower experience by changing your showerhead with simple tools and steps. Enjoy a refreshing and invigorating shower every time with a new, customized showerhead.
- Take control of your shower with adjustable spray patterns and water-saving options. Change your showerhead to improve functionality and enhance your bathing experience.
Read more: How Do You Install A Showerhead
Tools and Materials Needed
Before you begin the process of changing your showerhead, it’s essential to gather all the necessary tools and materials. Here’s a list of what you’ll need:
- Adjustable wrench or pliers
- Teflon tape
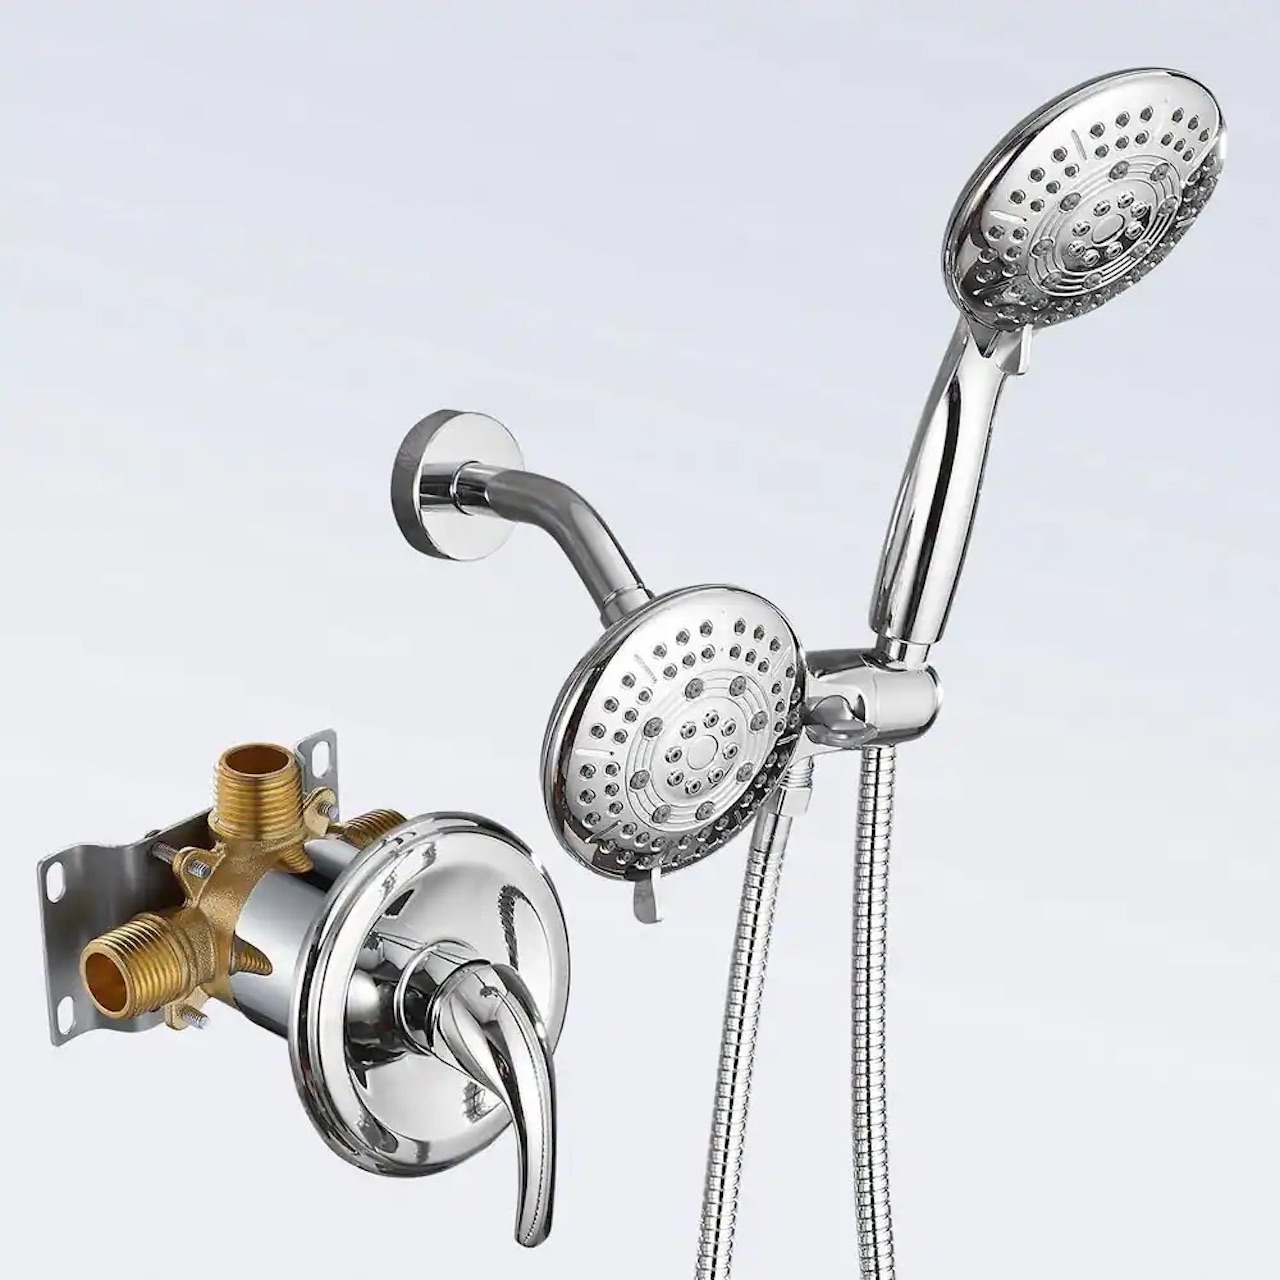
- New showerhead
- Old towel or rag
The adjustable wrench or pliers will help you to loosen and tighten the connections, while the Teflon tape is used to create a watertight seal when attaching the New showerhead. It’s important to have a new showerhead on hand that suits your preferences and shower setup. Lastly, having an old towel or rag nearby will come in handy for cleaning up any water spills during the process.
Now that you have all the necessary tools and materials, let’s move on to the step-by-step process of changing your showerhead.
Step 1: Turn Off the Water Supply
Before you start the process of changing your showerhead, it’s important to turn off the water supply to avoid any leaks or water damage. Here’s how you can do it:
- Locate the water shut-off valve: The water shut-off valve is typically located near your shower area, either in the bathroom or in a utility room.
- Turn off the water supply: Using your hand or a wrench, turn the valve clockwise to shut off the water supply. This will ensure that no water flows through the showerhead during the replacement process.
- Run the faucets: After turning off the water supply, it’s a good idea to run the faucets in the shower to release any remaining water in the pipes. This step will prevent any unexpected water leakage when you remove the old showerhead.
By turning off the water supply and releasing any remaining water in the pipes, you’ll minimize the risk of water spraying everywhere when you disconnect the old showerhead. This step is an essential precautionary measure to avoid any unnecessary mess or water damage.
Once you’ve successfully turned off the water supply and released the remaining water, you’re ready to move on to the next step: removing the old showerhead.
Step 2: Remove the Old Showerhead
Now that you’ve turned off the water supply, it’s time to remove the old showerhead. Follow these steps to successfully complete this task:
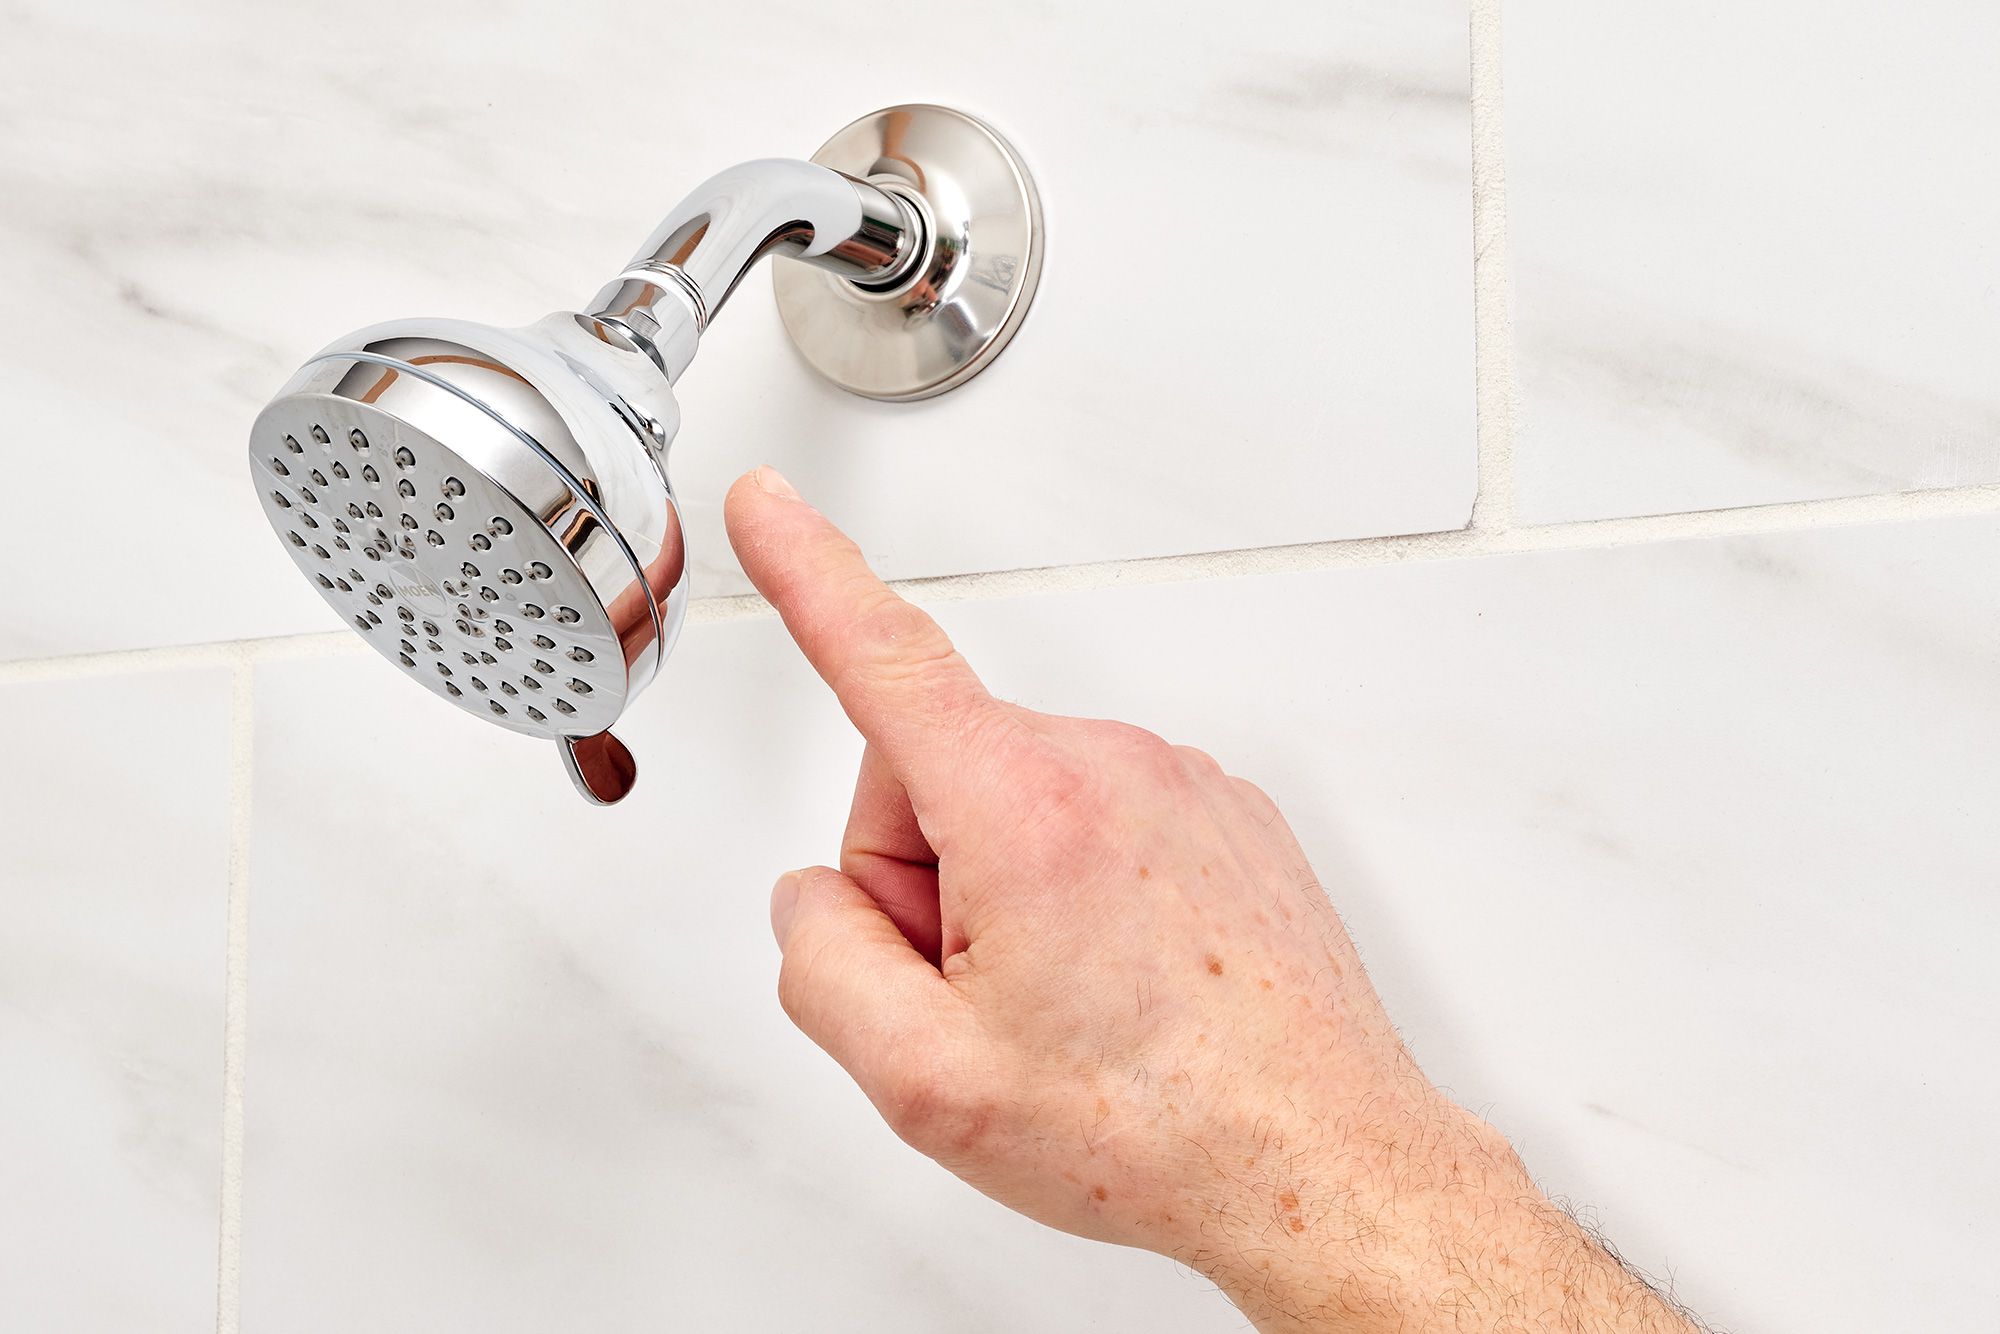
- Inspect the showerhead: Take a close look at the existing showerhead to familiarize yourself with its design and attachment mechanism. Some showerheads may have a simple twist-off design, while others may require the use of tools.
- Grip the showerhead: Use your hand or an adjustable wrench to grip the base of the showerhead firmly. Be careful not to damage the shower arm, which is the pipe connected to the wall. If necessary, use a cloth or rag to protect the shower arm from scratches.
- Loosen the showerhead: Apply gentle, steady pressure in the counterclockwise direction to loosen the showerhead. If the showerhead is resistant, you may need to use pliers or an adjustable wrench for added leverage. Be cautious not to apply excessive force, as it may cause damage to the shower arm or plumbing.
- Remove the showerhead: Once the showerhead is loose, continue unscrewing it until it is completely detached from the shower arm. Set aside the old showerhead for disposal or future use, depending on its condition.
With the old showerhead removed, you’ve completed an important step in the process. Make sure to inspect the shower arm for any debris or buildup. Wipe it clean using a cloth or rag before moving on to the next step.
Now that you’ve successfully removed the old showerhead and prepared the shower arm, it’s time to clean the area and get ready for the installation of the new showerhead.
Step 3: Clean the Shower Arm
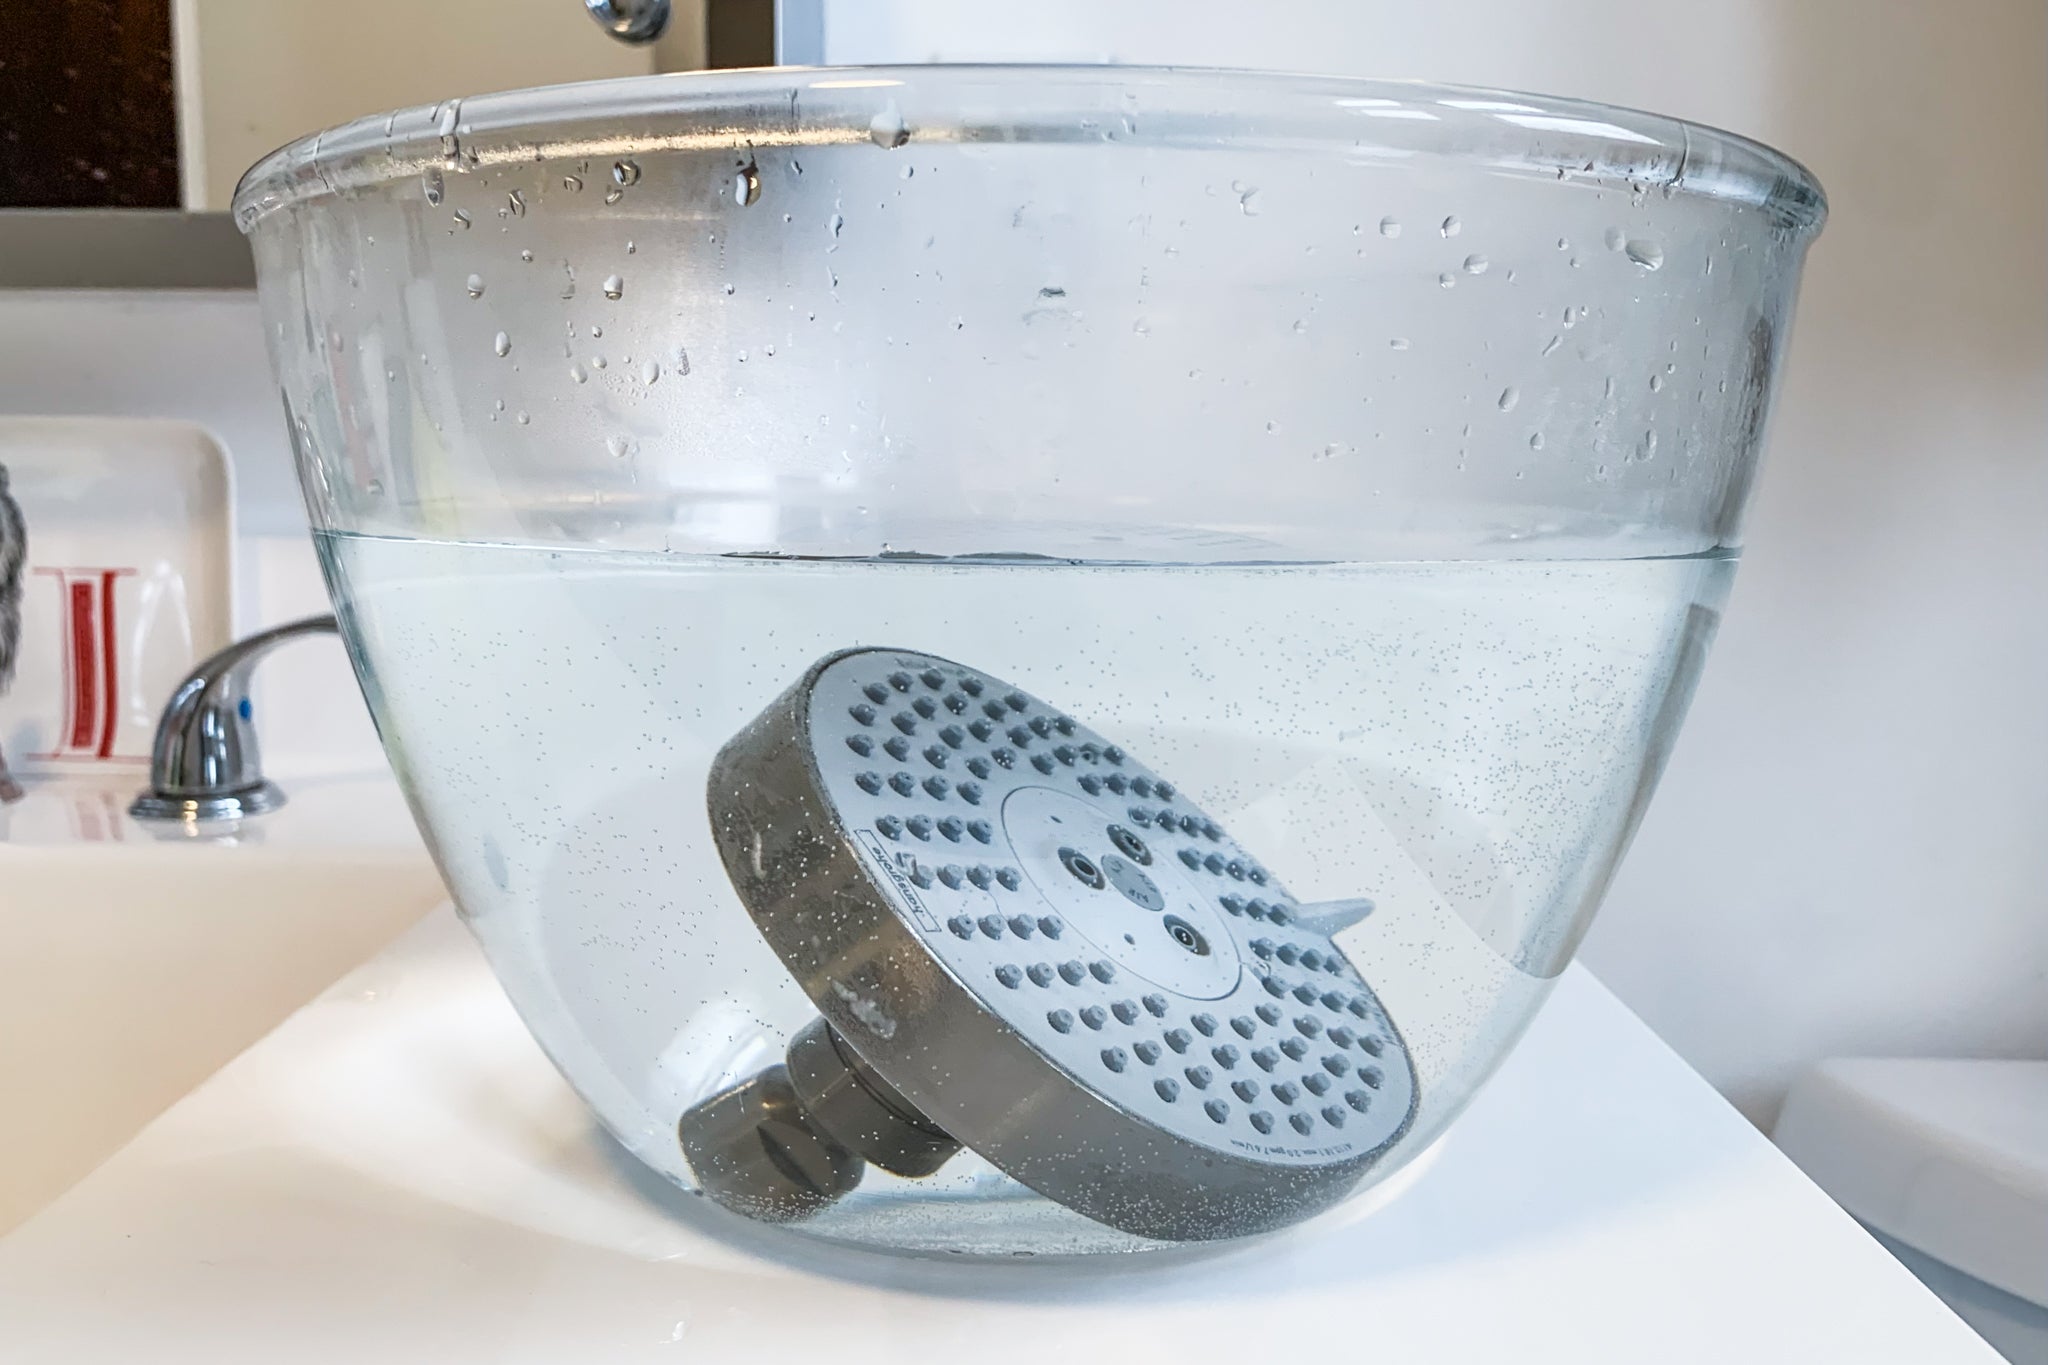
After removing the old showerhead, it’s important to clean the shower arm before installing the new one. Over time, mineral deposits, dirt, and debris can accumulate on the shower arm, which can affect the performance and longevity of the new showerhead. Follow these steps to ensure a clean and smooth installation:
- Inspect the shower arm: Take a close look at the shower arm to check for any visible debris, mineral deposits, or buildup. Pay attention to the threads at the end of the shower arm, as they need to be clean for a proper seal with the new showerhead.
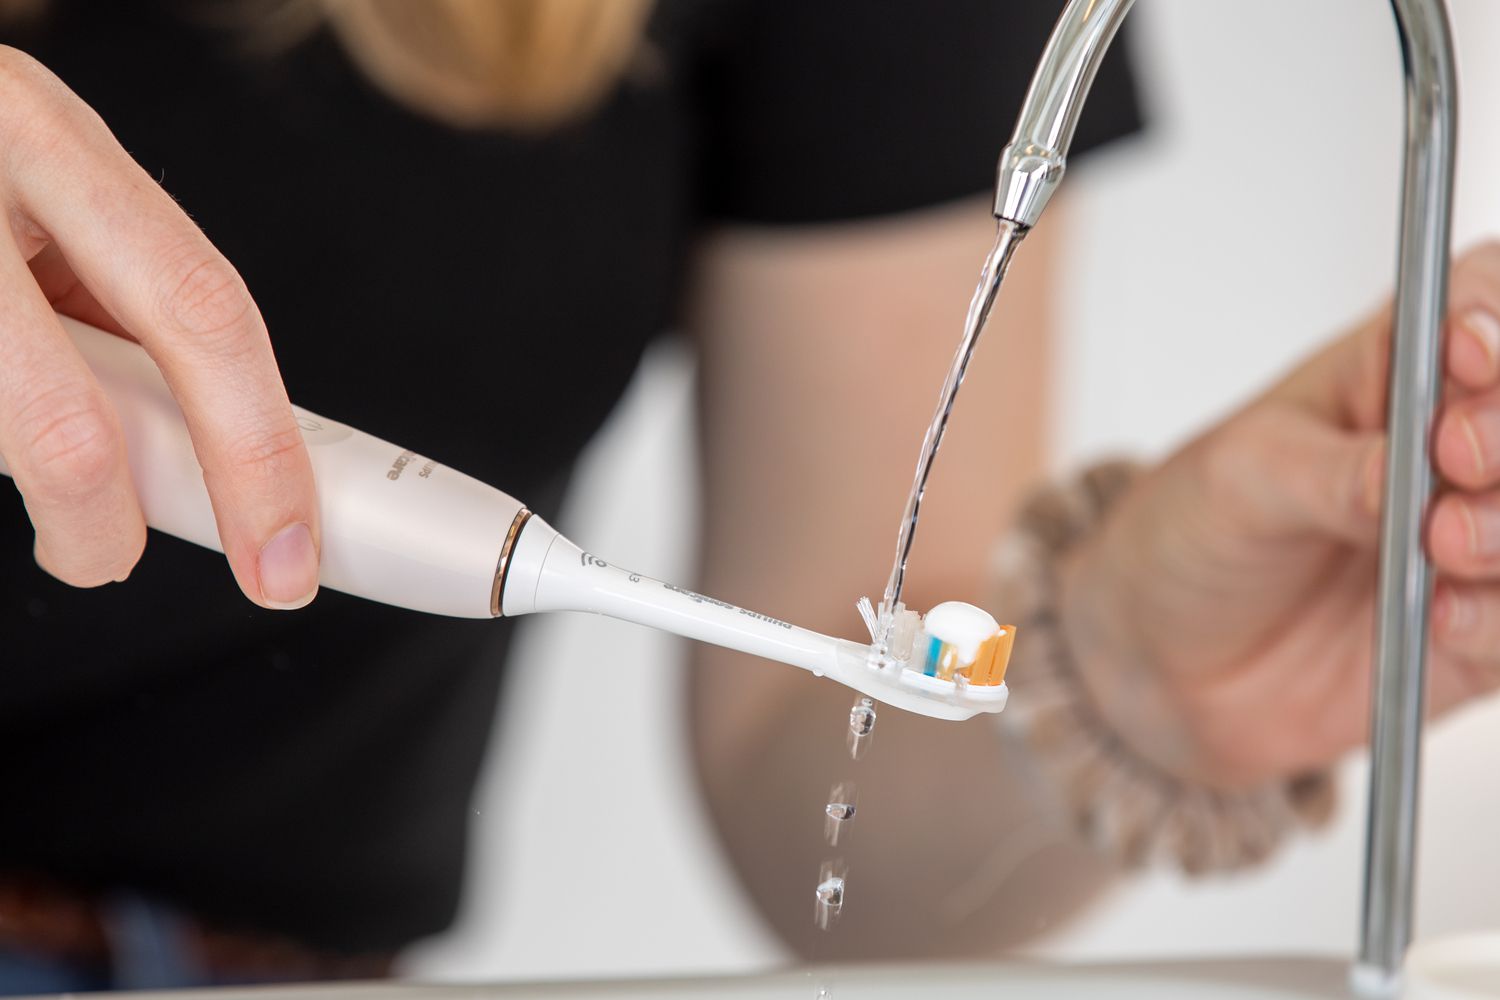
- Remove any residue: If you notice any residue, mineral deposits, or debris on the shower arm, use a soft cloth or a toothbrush dipped in vinegar or a mild cleaning solution to gently scrub the affected areas. Be sure to remove any stubborn spots or buildup that may hinder the installation of the new showerhead.
- Rinse and dry the shower arm: Once you’ve cleaned the shower arm, rinse it thoroughly with warm water to remove any cleaning solution or residue. Use a dry cloth or towel to dry the shower arm completely. It’s important to ensure that the shower arm is dry before proceeding to the next step to prevent any potential issues with the installation.
By taking the time to clean the shower arm, you’re ensuring that the new showerhead will have a clean surface to attach to, creating a secure and watertight seal. This step will help optimize the performance and longevity of your new showerhead.
Now that the shower arm is clean and ready, it’s time to move on to the next step: applying Teflon tape.
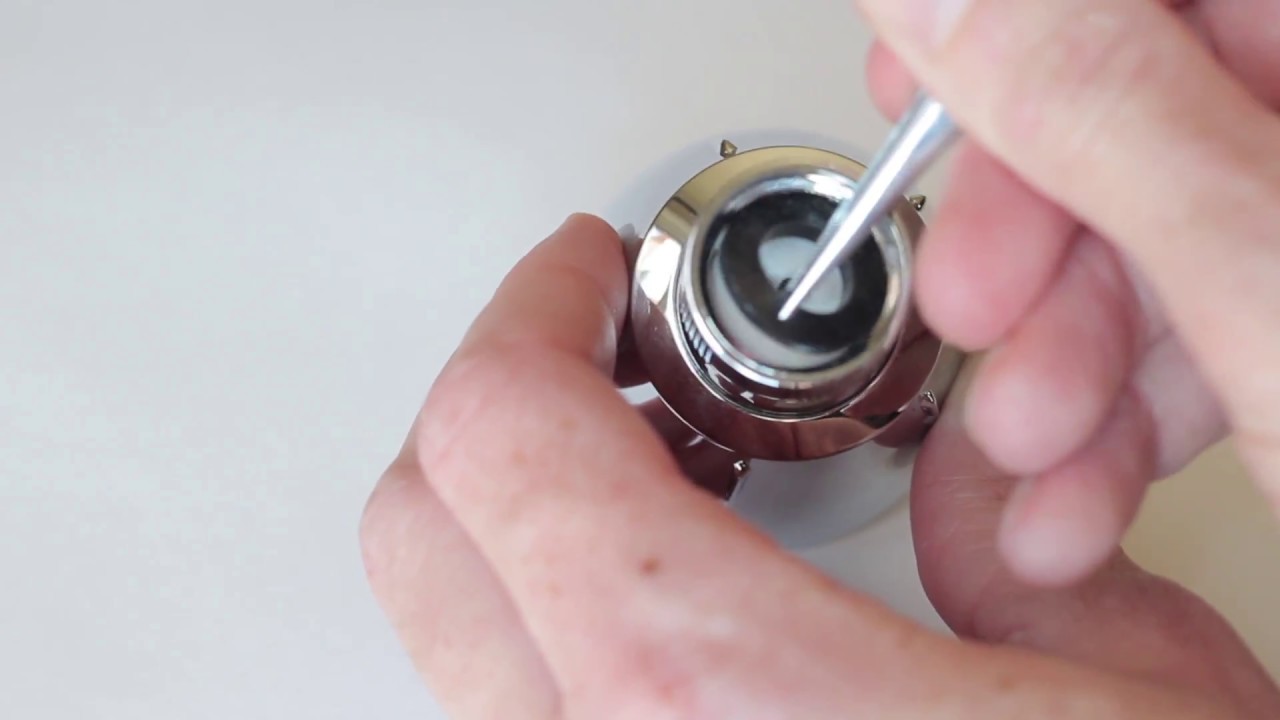
When changing a showerhead, use a wrench to loosen the old one, then remove it by twisting it counterclockwise. Clean the threads on the shower arm before installing the new showerhead to ensure a tight seal. Use thread seal tape to prevent leaks.
Read more: How To Change Showerhead Arm
Step 4: Apply Teflon Tape
Applying Teflon tape is an important step when installing a new showerhead. Teflon tape, also known as plumber’s tape, helps create a tight and leak-free seal between the shower arm and the new showerhead. Follow these steps to properly apply Teflon tape:
- Prepare the Teflon tape: Start by cutting a length of Teflon tape, about 6-8 inches long, from the roll. It’s important to use a high-quality Teflon tape to ensure a secure seal.
- Begin wrapping the tape: Hold the end of the Teflon tape against the threads on the shower arm and start wrapping it in a clockwise direction. Ensure that the tape overlaps with each rotation, covering the entire length of the threads. It’s important to wrap the tape tightly but not too tightly as it may cause the tape to tear or affect the seal.
- Continue wrapping: Continue wrapping the Teflon tape until you reach the end of the shower arm threads. Make sure to press the tape firmly against the threads to secure it in place.
- Trim the excess tape: Once you’ve wrapped the entire length of the shower arm threads, use a pair of scissors to trim any excess Teflon tape. This will ensure a neat and tidy finish.
Applying Teflon tape provides a layer of protection against leaks and helps create a tight seal between the shower arm and the new showerhead. It also makes it easier to install and remove the showerhead in the future.
With the Teflon tape applied, you’re now ready to move on to the next step: attaching the new showerhead.
Step 5: Attach the New Showerhead
Now that you’ve prepared the shower arm with Teflon tape, it’s time to attach the new showerhead. Follow these steps to properly install the new showerhead:
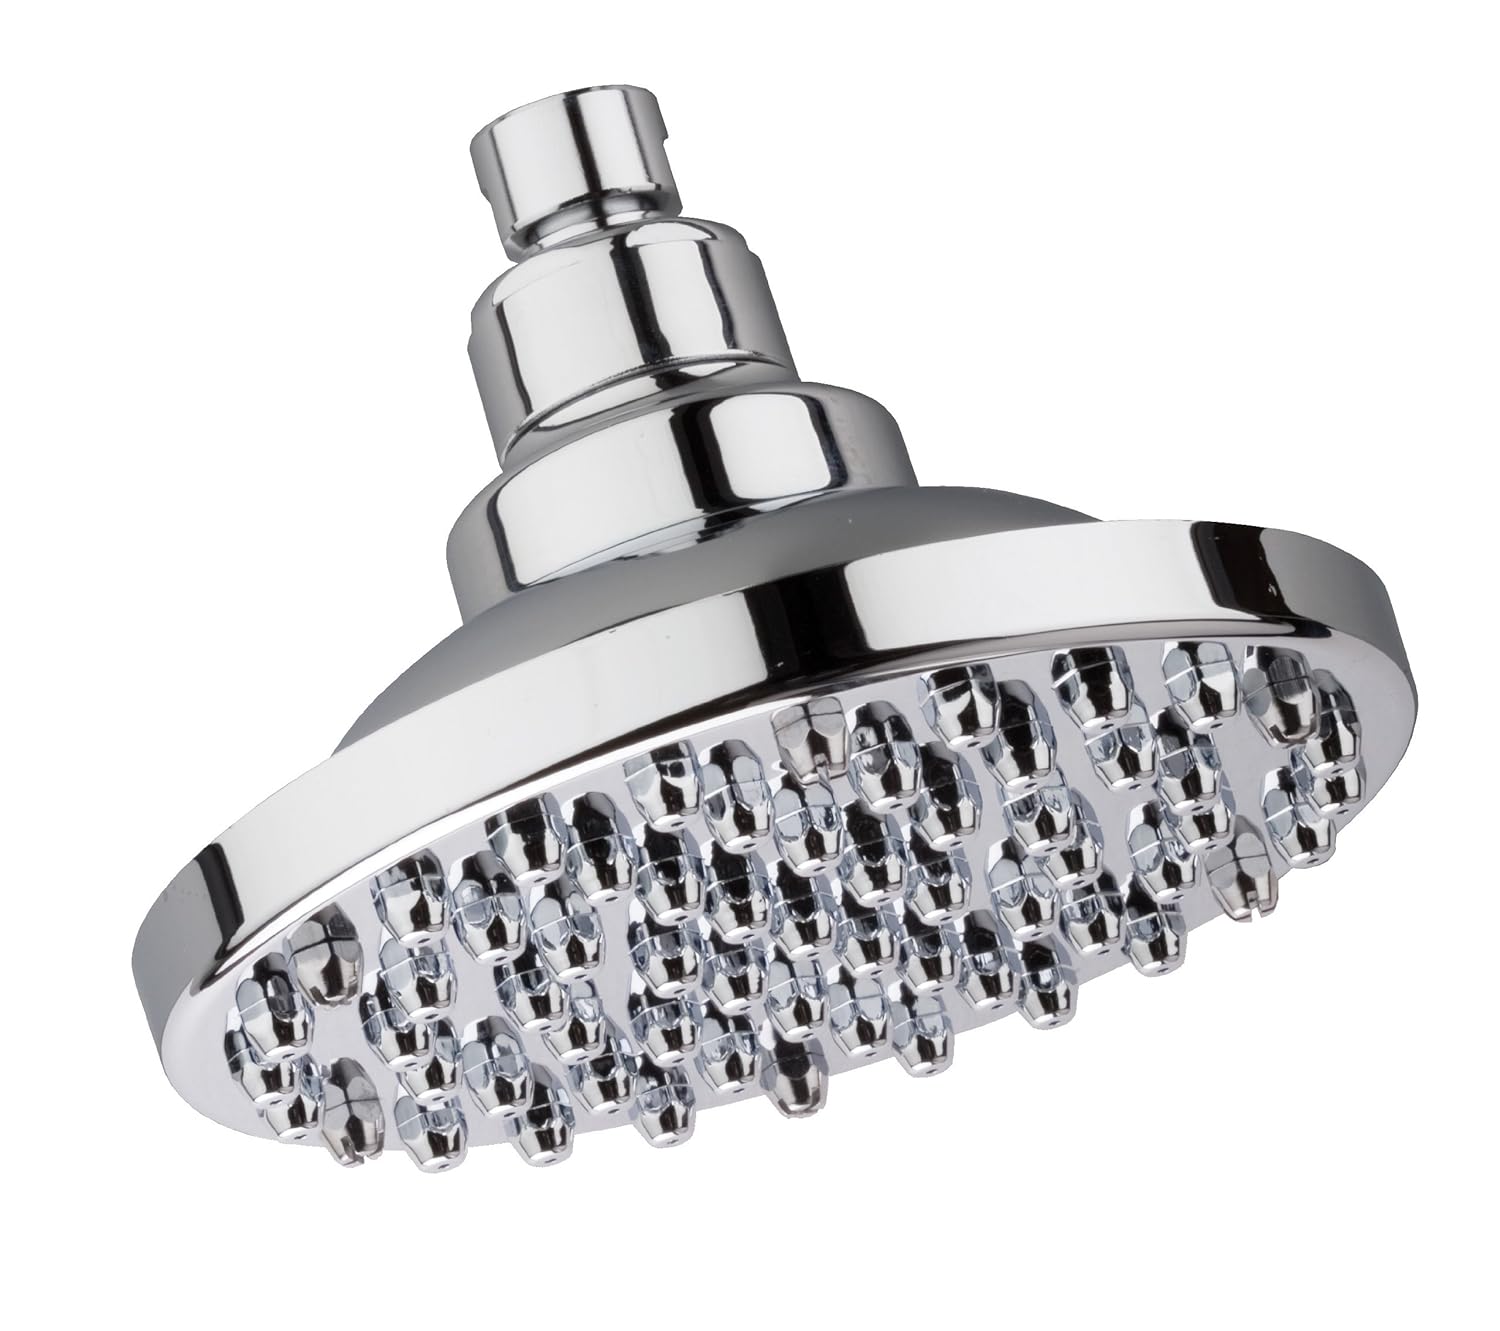
- Inspect the new showerhead: Take a moment to familiarize yourself with the new showerhead and its components. Check if there are any additional washers or gaskets that need to be installed.
- Position the new showerhead: Hold the new showerhead in your hand and align it with the threaded end of the shower arm. Make sure the showerhead is positioned correctly and facing the desired direction.
- Hand-tighten the showerhead: Begin screwing the new showerhead onto the shower arm threads by hand. Rotate it in a clockwise direction until it feels snug and secure. It’s important to avoid overtightening the showerhead as it may cause damage to the shower arm or the new showerhead.
- Use an adjustable wrench if necessary: If the showerhead requires additional tightening, you can use an adjustable wrench or pliers to give it a gentle turn. Be careful not to apply too much pressure to avoid damaging the showerhead or the shower arm.
As you attach the new showerhead, you may feel some resistance due to the Teflon tape. This is normal and indicates that you have created a secure and watertight seal. However, if you encounter any leakage or looseness, you may need to disassemble and repeat the Teflon tape application before reattaching the showerhead.
Once the new showerhead is securely attached, you’re almost done! The next step is to test for any leaks.
Step 6: Test for Leaks
After attaching the new showerhead, it’s important to test for any leaks to ensure a proper installation. Follow these steps to check for leaks:
- Turn on the water supply: Slowly turn on the water supply by turning the water shut-off valve counterclockwise. This will allow water to flow into the showerhead.
- Observe for leaks: Carefully watch the connections between the showerhead and the shower arm. Look for any signs of water leakage, such as dripping or spraying water. Pay close attention to the area where the showerhead meets the shower arm, as well as any other connections.
- Check for tightness: If you notice any leaks, try tightening the connections by hand or with an adjustable wrench. Be careful not to overtighten, as this can cause damage.
- Make necessary adjustments: If the leaks persist after tightening, you may need to disassemble the showerhead, reapply Teflon tape, and reattach it. Repeat the process until there are no signs of leakage.
It’s important to check for leaks right after installing the new showerhead to catch any potential issues early on. Water leaks can lead to wasted water, increased water bills, and even water damage if left untreated.
Once you have confirmed that there are no leaks and the showerhead is securely attached, you can proceed to the final step: adjusting the showerhead position.
Step 7: Adjust the Showerhead Position
Now that you’ve successfully installed the new showerhead and ensured that there are no leaks, it’s time to adjust the position of the showerhead to your liking. Follow these steps to achieve the optimal showering experience:
- Turn on the shower: Before making any adjustments, turn on the shower to test the water flow and spray pattern. This will help you determine if any immediate changes need to be made.
- Rotate the showerhead: If you find that the water flow is not hitting your body adequately, you can adjust the position of the showerhead by rotating it. Turn it left or right to direct the water where you desire.
- Adjust the angle: Additionally, you can adjust the angle of the showerhead by tilting it up or down. This allows you to control the direction of the water and customize the shower experience to your preference.
- Experiment with different settings: If your new showerhead has adjustable spray patterns or pressure settings, take the time to explore these options. Try out different settings to find the one that suits your preferences and provides a comfortable and enjoyable shower.
Everyone has different shower preferences, so take your time to make the necessary adjustments to find the ideal position and settings for your new showerhead. Remember that you can always readjust the position as needed in the future.
With the showerhead position adjusted to your liking, you have successfully completed the process of changing your showerhead. Enjoy your newly installed showerhead and the refreshed showering experience it provides!
Conclusion
Changing a showerhead may seem like a daunting task, but with the right tools and knowledge, it’s a DIY project that anyone can accomplish. By following the step-by-step guide outlined in this article, you can successfully replace your old showerhead with a new one and enjoy a refreshed showering experience.
Remember to gather all the necessary tools and materials before starting the process. This includes an adjustable wrench or pliers, Teflon tape, a new showerhead, and an old towel or rag for cleaning up any spills.
Start by turning off the water supply to avoid any leaks or water damage. Carefully remove the old showerhead, taking note of its attachment mechanism. Clean the shower arm thoroughly to ensure a clean surface for the new showerhead.
Next, apply Teflon tape to the shower arm to create a secure and watertight seal. This step is crucial for preventing leaks. Then, attach the new showerhead by aligning it with the shower arm and tightening it firmly by hand or with the help of an adjustable wrench.
Once the new showerhead is securely attached, test for any leaks by turning on the water supply and observing the connections. If leaks are detected, tighten the connections further or take the necessary steps to reapply Teflon tape and reattach the showerhead.
Finally, adjust the showerhead position to your liking by rotating it and tilting it to achieve the optimal water flow and spray pattern. Take advantage of any adjustable settings on your new showerhead to customize your shower experience.
By following these steps, you can successfully change your showerhead and enjoy a refreshing and invigorating shower every time. Remember, safety is paramount, so if you’re uncertain or uncomfortable with any step, it’s always best to consult a professional plumber for assistance.
Now that you have the knowledge and confidence to change a showerhead, go ahead and give your bathroom a mini upgrade. Say goodbye to a tired old showerhead and embrace a rejuvenating shower experience with your brand new one.
Frequently Asked Questions about How Do You Change A Showerhead?
Was this page helpful?
At Storables.com, we guarantee accurate and reliable information. Our content, validated by Expert Board Contributors, is crafted following stringent Editorial Policies. We're committed to providing you with well-researched, expert-backed insights for all your informational needs.


0 thoughts on “How Do You Change A Showerhead?”