Home>Furniture & Design>Bathroom Accessories>How Do You Make Toilet Bowl Cleaner
Bathroom Accessories
How Do You Make Toilet Bowl Cleaner
Modified: October 19, 2024
Discover the best way to make your own toilet bowl cleaner using simple bathroom accessories. Keep your bathroom sparkling clean with this easy DIY solution.
(Many of the links in this article redirect to a specific reviewed product. Your purchase of these products through affiliate links helps to generate commission for Storables.com, at no extra cost. Learn more)
Introduction
Creating your own toilet bowl cleaner can be a rewarding and cost-effective alternative to store-bought options. Not only does it allow you to customize the ingredients to suit your preferences, but it also provides a sense of satisfaction in knowing exactly what you are using to keep your bathroom clean and fresh. By understanding the key components and following a simple mixing and application process, you can create an effective and eco-friendly toilet bowl cleaner that promotes a sparkling and hygienic bathroom environment.
When it comes to making your own toilet bowl cleaner, the possibilities are endless. From utilizing common household items to harnessing the natural cleaning power of essential oils, the DIY approach offers a wealth of options to explore. Whether you are aiming to reduce your environmental footprint, minimize exposure to harsh chemicals, or simply enjoy the process of crafting your own cleaning solutions, making toilet bowl cleaner at home can be a fulfilling and empowering endeavor.
In the following sections, we will delve into the essential ingredients required for creating a homemade toilet bowl cleaner, the step-by-step process of mixing the cleaner, and the best practices for applying it effectively. Additionally, we will highlight important safety precautions to ensure that the cleaning process is not only efficient but also safe for both you and the environment. By the end of this guide, you will have the knowledge and confidence to embark on your DIY toilet bowl cleaning journey, equipped with the insights needed to achieve a pristine and inviting bathroom space.
Key Takeaways:
- Creating your own toilet bowl cleaner allows for a customizable, eco-friendly, and cost-effective cleaning solution. By understanding key ingredients and following simple steps, you can achieve a sparkling and hygienic bathroom environment.
- Mixing and applying homemade toilet bowl cleaner involves precise steps for effective cleaning. By following safety precautions, you can create a potent and safe cleaning solution, promoting a spotless and inviting bathroom space.
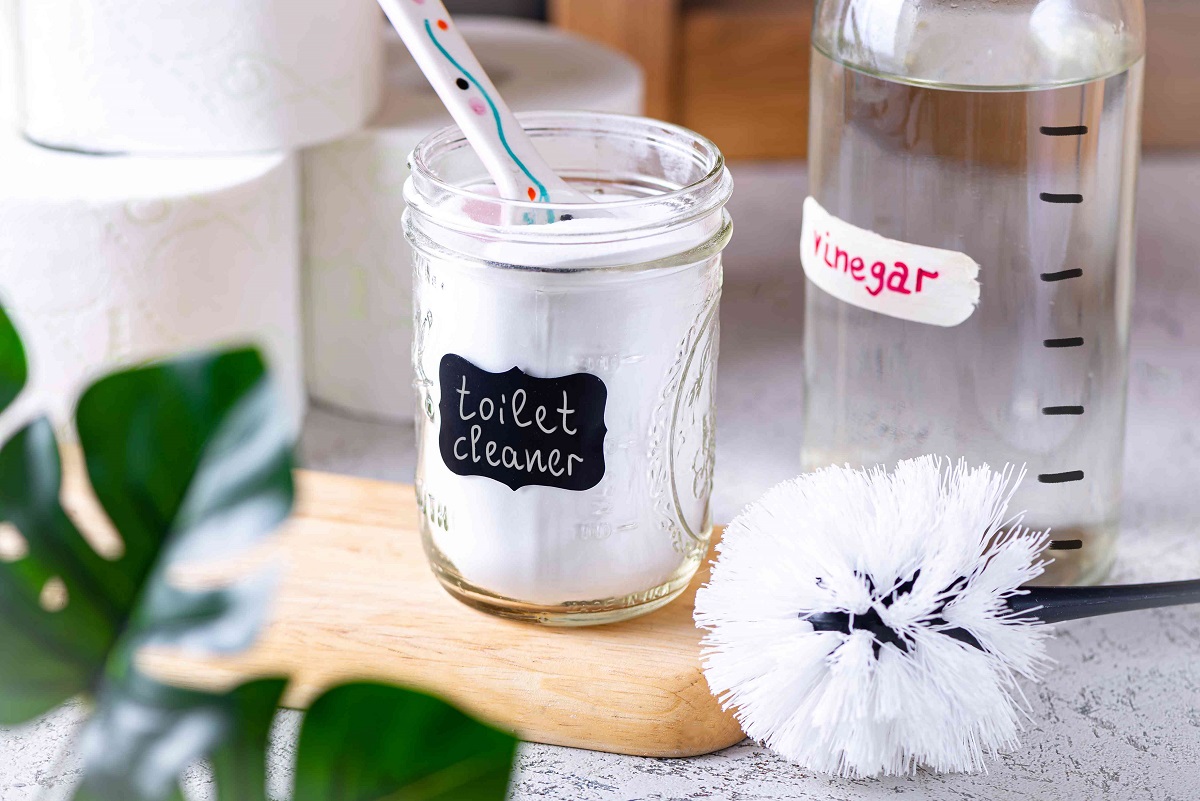
Understanding the Ingredients
When it comes to creating your own toilet bowl cleaner, understanding the key ingredients is essential for achieving an effective and safe cleaning solution. By harnessing the natural cleaning properties of specific components, you can craft a cleaner that not only targets stains and odors but also promotes a healthier and more sustainable approach to bathroom maintenance.
Baking Soda
Baking soda, also known as sodium bicarbonate, is a versatile and gentle abrasive that effectively tackles stains and grime in the toilet bowl. Its mild abrasive nature allows for thorough cleaning without scratching the porcelain surface. Additionally, baking soda helps to neutralize odors, making it an ideal component for combating unpleasant smells in the bathroom.
Citric Acid
Citric acid, derived from citrus fruits, serves as a powerful natural cleaner and descaler. Its acidic properties make it effective in breaking down mineral deposits and water stains in the toilet bowl, leaving behind a sparkling and limescale-free surface. Furthermore, citric acid contributes to the overall disinfection of the toilet, promoting a hygienic environment.
Essential Oils
Essential oils not only impart a pleasant fragrance to the homemade cleaner but also offer additional cleaning benefits. Certain essential oils, such as tea tree oil and lavender oil, possess antimicrobial properties, which can aid in disinfecting the toilet bowl. Moreover, the aromatic qualities of essential oils contribute to a refreshing and inviting bathroom atmosphere.
Castile Soap
Castile soap, made from natural vegetable oils, serves as a gentle yet effective cleaning agent. It helps to loosen dirt and grime while contributing to the overall cleansing power of the homemade toilet bowl cleaner. Additionally, castile soap is biodegradable, making it an eco-friendly choice for those seeking to minimize their environmental impact.
Water
Water serves as the solvent that facilitates the mixing of the ingredients and ensures the proper dispersion of the cleaning agents in the toilet bowl. It is important to use distilled or boiled water to prevent the introduction of impurities that may interfere with the cleaning process.
By understanding the roles of these key ingredients, you can tailor your homemade toilet bowl cleaner to meet your specific cleaning needs while embracing a natural and eco-conscious approach to bathroom maintenance. With the right combination of these components, you can create a potent and environmentally friendly cleaning solution that promotes a pristine and inviting bathroom environment.
Mixing the Cleaner
Creating your own toilet bowl cleaner involves a straightforward yet precise mixing process that combines the essential ingredients to form a potent cleaning solution. By following the step-by-step instructions outlined below, you can craft a homemade cleaner that effectively targets stains, odors, and mineral deposits in the toilet bowl.
Step 1: Gather the Ingredients
Before commencing the mixing process, gather all the necessary ingredients, including baking soda, citric acid, essential oils, castile soap, and distilled or boiled water. Having everything readily available will streamline the mixing procedure and ensure a seamless transition from one step to the next.
Read more: What Is In Toilet Bowl Cleaner
Step 2: Measuring the Ingredients
Begin by measuring the ingredients according to the desired cleaning solution's proportions. A typical recipe may include 1 cup of baking soda, 1/4 cup of citric acid, 1/4 cup of liquid castile soap, 15-20 drops of essential oils, and approximately 1/4 cup of water. These measurements can be adjusted based on personal preferences and the specific cleaning requirements of the toilet bowl.
Step 3: Combining the Dry Ingredients
In a mixing bowl, combine the baking soda and citric acid, ensuring an even distribution of the dry components. The combination of these two ingredients forms the foundation of the cleaning solution, with baking soda providing gentle abrasion and odor-neutralizing properties, while citric acid contributes to descaling and disinfection.
Step 4: Adding the Liquid Ingredients
Once the dry ingredients are thoroughly mixed, add the liquid castile soap to the bowl. The castile soap serves as a natural cleaning agent, aiding in the removal of dirt and grime while promoting a gentle yet effective cleansing action.
Step 5: Incorporating Essential Oils
Next, incorporate the chosen essential oils into the mixture. Essential oils not only contribute to the cleaner's fragrance but also provide additional antimicrobial benefits, enhancing the disinfecting properties of the solution.
Read more: What Acid Is In Toilet Bowl Cleaner
Step 6: Gradually Adding Water
While stirring the mixture, gradually add the distilled or boiled water to achieve the desired consistency. The water acts as a solvent, facilitating the dispersion of the ingredients and ensuring a homogeneous cleaning solution.
Step 7: Thorough Mixing
Thoroughly mix all the ingredients until a smooth and uniform paste is formed. Ensure that there are no lumps or clumps in the mixture, as a consistent texture will facilitate the application of the cleaner in the toilet bowl.
By following these simple yet crucial steps, you can effectively mix the essential ingredients to create a powerful and eco-friendly toilet bowl cleaner. This homemade solution not only offers a natural and customizable approach to bathroom cleaning but also promotes a healthier and more sustainable alternative to commercial cleaning products.
Applying the Cleaner
Once the homemade toilet bowl cleaner is meticulously mixed, the next step involves the precise application of the solution to effectively clean and refresh the toilet bowl. The application process is crucial in ensuring that the cleaner reaches all areas of the bowl, targeting stains, mineral deposits, and odors for a comprehensive cleaning outcome. By following the steps outlined below, you can efficiently apply the homemade cleaner, promoting a pristine and hygienic toilet bowl.
Step 1: Preparation
Before applying the cleaner, it is essential to prepare the toilet bowl by flushing to wet the surface. This initial step helps to create a conducive environment for the cleaner to adhere to the bowl's interior, enhancing its cleaning efficacy. Additionally, ensuring that the toilet bowl is wet aids in the even distribution of the cleaning solution, allowing it to reach all areas for thorough cleaning.
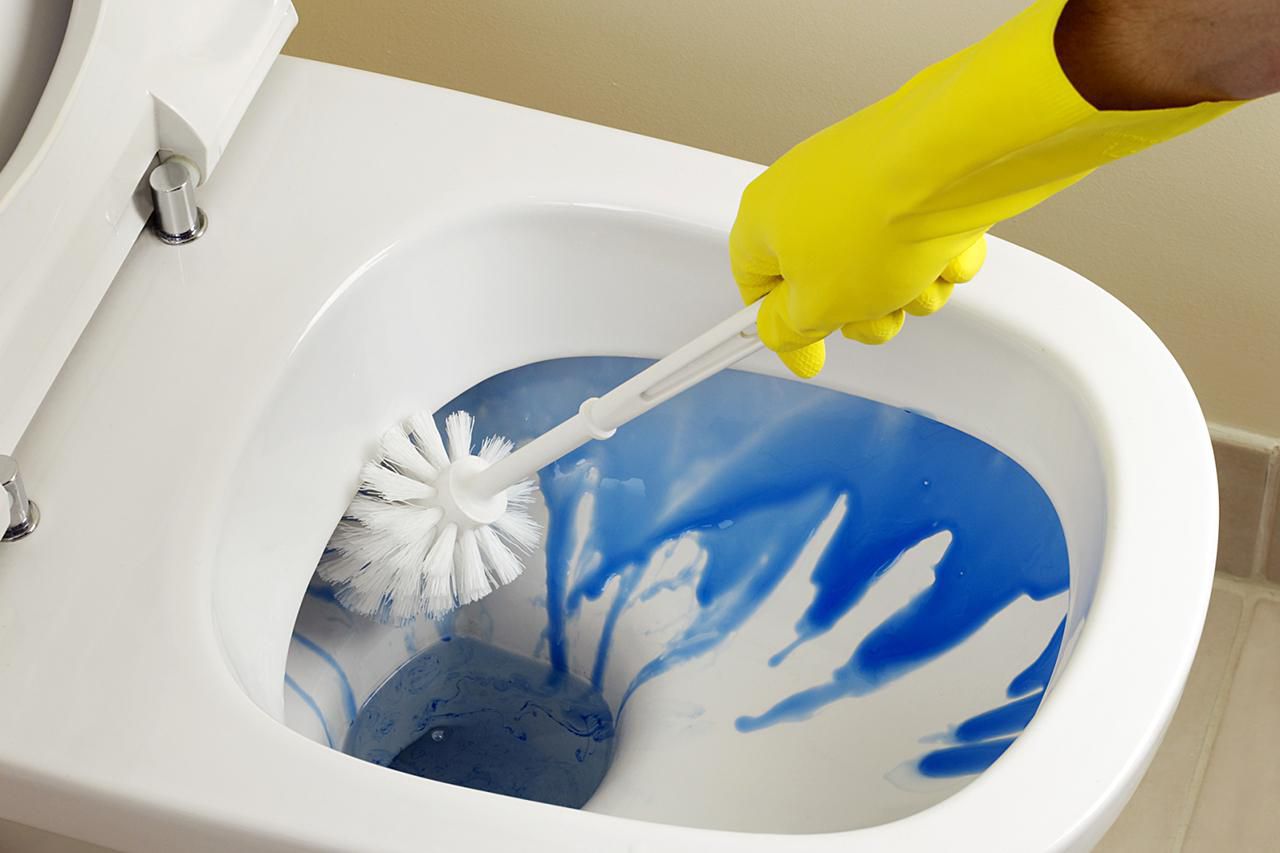
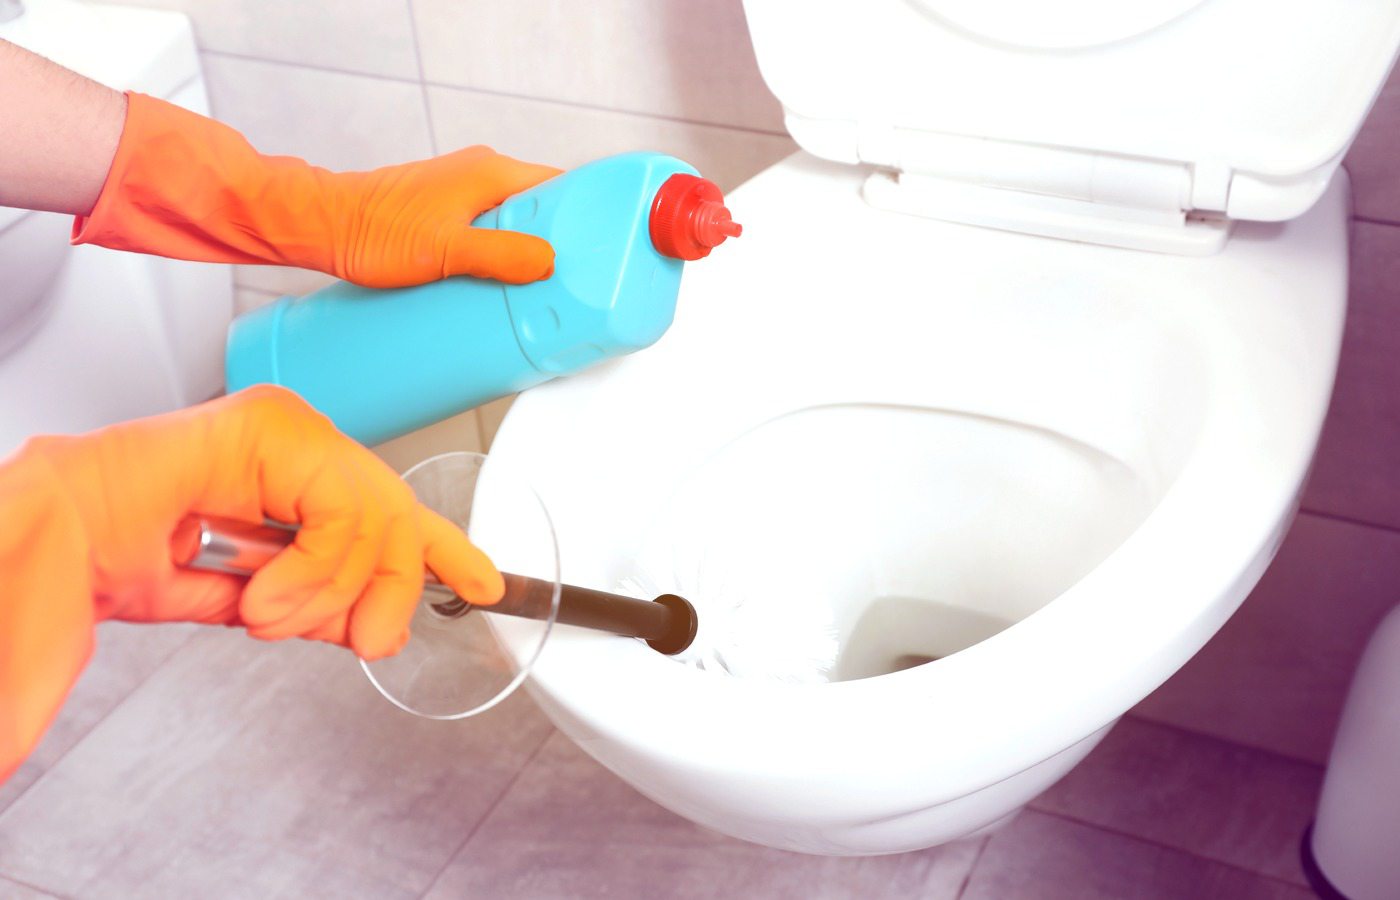
Step 2: Application
Using a toilet brush, apply the homemade cleaner generously to the interior of the toilet bowl. Ensure that the cleaner is distributed evenly, covering the entire surface, including hard-to-reach areas under the rim and around the waterline. The brush can be used to spread the cleaner and scrub the bowl, facilitating the removal of stubborn stains and mineral deposits.
Step 3: Scrubbing
Once the cleaner is applied, use the toilet brush to scrub the interior of the bowl thoroughly. Focus on areas with visible stains or discoloration, applying gentle pressure to effectively lift and remove any accumulated grime. The combination of the homemade cleaner and the scrubbing action helps to dislodge deposits and promote a sparkling, refreshed appearance.
Step 4: Allowing the Cleaner to Sit
After scrubbing, allow the cleaner to sit in the toilet bowl for a designated period, as specified in the cleaning solution's instructions. This dwell time allows the cleaning agents to work effectively, breaking down stains, disinfecting the surface, and neutralizing odors. It is essential to follow the recommended dwell time to maximize the cleaner's cleaning potential.
Step 5: Final Rinse and Inspection
Once the designated dwell time has elapsed, flush the toilet to rinse away the cleaner thoroughly. Use the toilet brush to inspect the bowl and ensure that all residues of the cleaner are removed, leaving behind a clean and refreshed surface. If necessary, additional rinsing and brushing can be performed to achieve the desired cleanliness.
By meticulously following these steps, you can effectively apply the homemade toilet bowl cleaner, promoting a spotless and hygienic toilet bowl. The application process, when executed with precision, ensures that the cleaning solution targets stains, mineral deposits, and odors, resulting in a fresh and inviting bathroom environment.
Read more: How To Open Lysol Toilet Bowl Cleaner
Safety Precautions
Ensuring safety during the creation and application of a homemade toilet bowl cleaner is paramount to protect both the individual preparing the solution and the overall bathroom environment. By adhering to essential safety precautions, you can mitigate potential risks and promote a secure and comfortable cleaning experience. Here are the key safety measures to consider when making and using a DIY toilet bowl cleaner:
Ventilation
When mixing and applying the cleaner, adequate ventilation is crucial to prevent the inhalation of concentrated fumes. Ensure that the bathroom area is well-ventilated by opening windows or using exhaust fans to facilitate air circulation. This precaution helps to minimize exposure to airborne particles and promotes a healthier environment during the cleaning process.
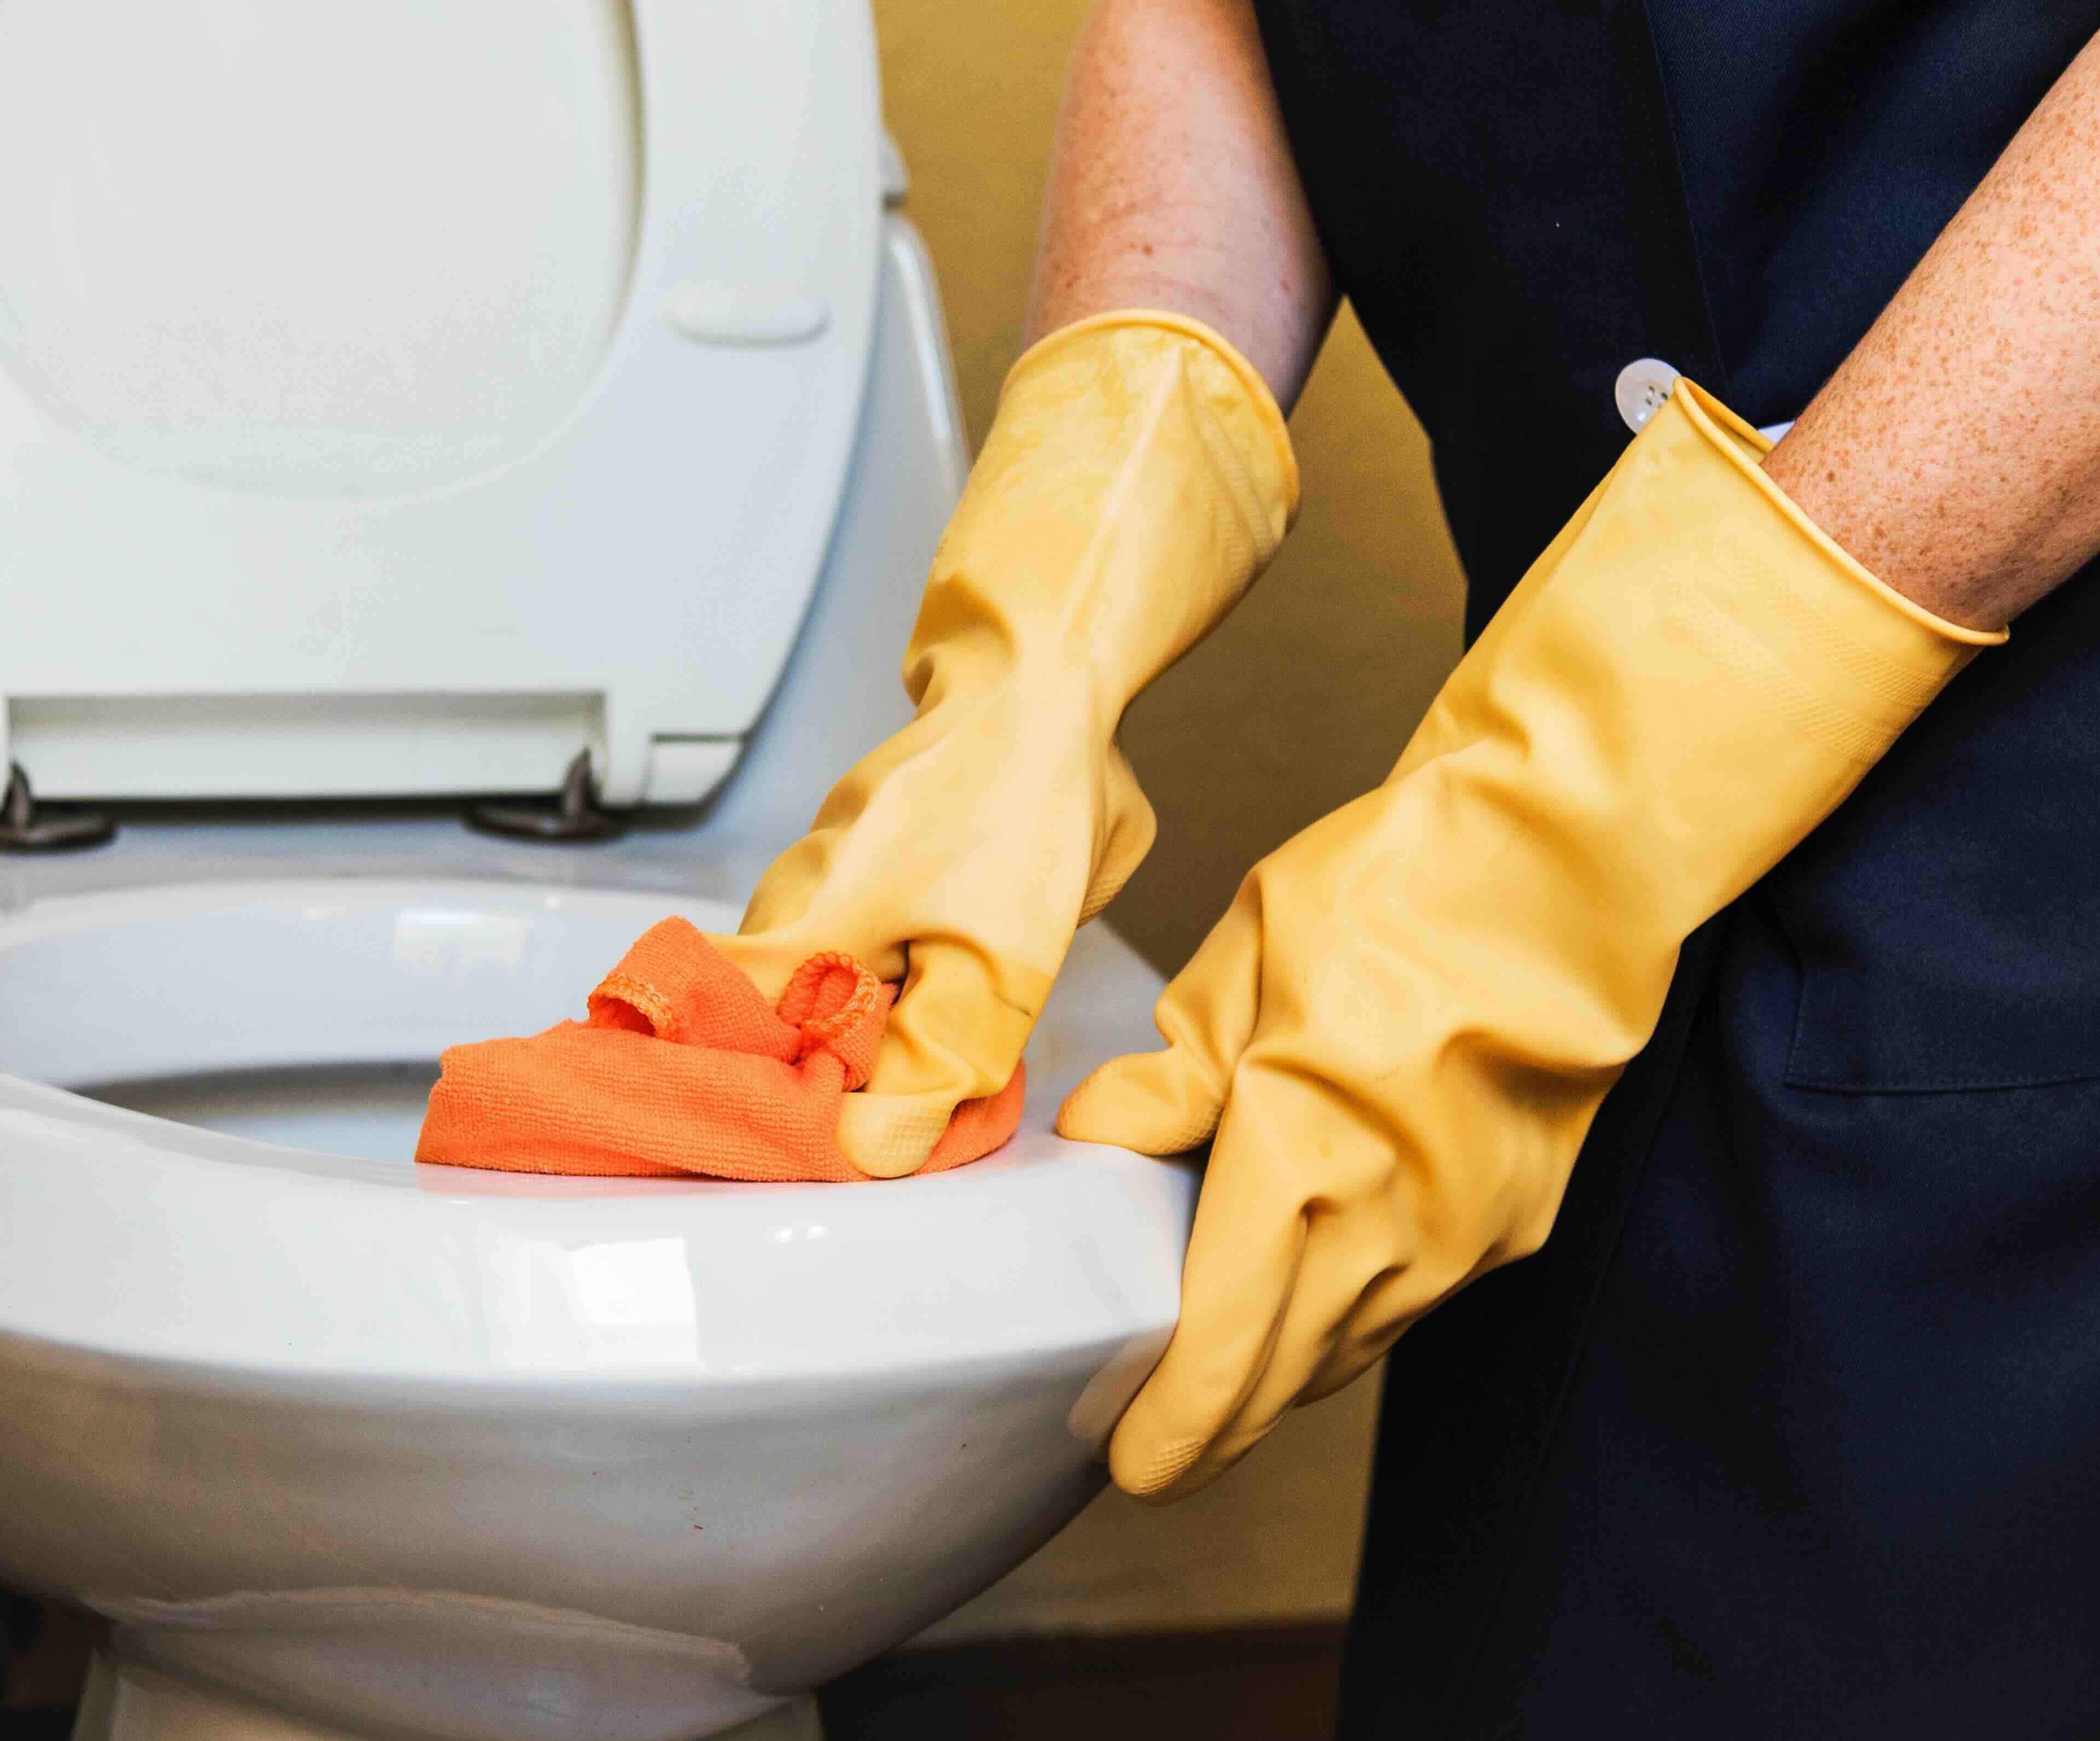
Protective Gear
Wearing protective gear, such as gloves and a mask, is advisable to shield the skin and respiratory system from direct contact with the cleaning solution. Rubber gloves provide a barrier against skin irritation and protect the hands from potential allergens or irritants present in the cleaner. Additionally, a mask or respirator helps to reduce inhalation of fine particles, particularly during the mixing and application stages.
Avoiding Contact with Eyes and Skin
It is essential to exercise caution to prevent the cleaner from coming into contact with the eyes and skin. In the event of accidental exposure, immediately rinse the affected area with water and seek medical attention if irritation persists. By handling the cleaner with care and attentiveness, you can minimize the risk of skin and eye irritation, ensuring a safe cleaning experience.
Read more: What Is The Best Toilet Bowl Cleaner
Storage and Labeling
After preparing the homemade cleaner, store it in a secure and designated area, away from the reach of children and pets. Properly label the container with the contents and usage instructions to prevent accidental ingestion or misuse. By storing the cleaner responsibly and clearly labeling it, you can enhance safety within the household environment.
Diligent Rinsing
Following the application of the cleaner, ensure thorough rinsing of the toilet bowl and surrounding areas to remove any residues. This step helps to prevent prolonged exposure to the cleaning solution and minimizes the likelihood of skin irritation upon contact. Diligent rinsing promotes a clean and safe bathroom environment after the cleaning process.
By observing these safety precautions, you can create and apply a homemade toilet bowl cleaner with confidence, knowing that the necessary measures have been taken to prioritize safety and well-being. These precautions not only safeguard the individual handling the cleaner but also contribute to a secure and comfortable bathroom cleaning experience.
Conclusion
In conclusion, the process of creating a homemade toilet bowl cleaner offers a myriad of benefits, ranging from customization and cost-effectiveness to environmental consciousness and the promotion of a healthier living space. By understanding the essential ingredients, meticulously mixing the cleaner, applying it with precision, and observing crucial safety precautions, individuals can embark on a journey towards a cleaner, fresher, and more sustainable bathroom environment.
The understanding of key ingredients such as baking soda, citric acid, essential oils, castile soap, and water empowers individuals to tailor their cleaning solution to meet specific preferences and cleaning needs. This knowledge allows for the formulation of a potent and eco-friendly cleaner that effectively targets stains, mineral deposits, and odors while promoting a safer and more sustainable approach to bathroom maintenance.
The meticulous mixing process, involving precise measurements and the gradual incorporation of ingredients, ensures the creation of a homogeneous and effective cleaning solution. By following the step-by-step instructions, individuals can craft a cleaner that harnesses the natural cleaning properties of the components, resulting in a powerful yet gentle toilet bowl cleaner.
The application of the homemade cleaner, when executed with care and attention, facilitates the thorough cleaning and refreshing of the toilet bowl. The precise application process, coupled with the recommended dwell time and diligent rinsing, promotes a spotless and hygienic outcome, contributing to a welcoming and inviting bathroom space.
Moreover, the adherence to essential safety precautions, including ventilation, protective gear, and responsible storage, prioritizes the well-being of individuals and the overall household environment. By incorporating these safety measures, individuals can confidently create and apply a homemade toilet bowl cleaner, knowing that safety and comfort have been prioritized throughout the cleaning process.
In essence, the journey of making a homemade toilet bowl cleaner transcends the act of cleaning itself. It embodies a conscious choice towards a more sustainable and mindful approach to household maintenance, reflecting a commitment to personal well-being and environmental stewardship. By embracing the process of creating and using a DIY toilet bowl cleaner, individuals can contribute to a cleaner, healthier, and more eco-friendly living environment, one toilet bowl at a time.
Frequently Asked Questions about How Do You Make Toilet Bowl Cleaner
Was this page helpful?
At Storables.com, we guarantee accurate and reliable information. Our content, validated by Expert Board Contributors, is crafted following stringent Editorial Policies. We're committed to providing you with well-researched, expert-backed insights for all your informational needs.


0 thoughts on “How Do You Make Toilet Bowl Cleaner”