Home>Furniture & Design>Bathroom Accessories>How To Install Lysol Toilet Bowl Cleaner
Bathroom Accessories
How To Install Lysol Toilet Bowl Cleaner
Modified: March 22, 2024
Learn how to properly install Lysol Toilet Bowl Cleaner for a sparkling clean bathroom. Find step-by-step instructions and tips for bathroom accessories.
(Many of the links in this article redirect to a specific reviewed product. Your purchase of these products through affiliate links helps to generate commission for Storables.com, at no extra cost. Learn more)
Introduction
Installing Lysol toilet bowl cleaner is a simple yet essential task for maintaining a clean and hygienic bathroom. A sparkling toilet bowl not only enhances the overall aesthetics of the bathroom but also contributes to a healthier living environment. With the right tools and techniques, you can effectively remove stubborn stains, mineral deposits, and bacteria, leaving your toilet bowl fresh and sanitized.
In this comprehensive guide, we will walk you through the step-by-step process of installing Lysol toilet bowl cleaner. Whether you are a seasoned homeowner or a novice in bathroom maintenance, this article will equip you with the knowledge and confidence to tackle this essential chore. By following these instructions, you can ensure that your toilet bowl remains pristine and free from unsightly blemishes.
Properly installing Lysol toilet bowl cleaner involves a series of straightforward yet crucial steps. From gathering the necessary materials to applying the cleaner and scrubbing the bowl, each stage plays a pivotal role in achieving a spotless and germ-free toilet. By understanding and implementing these steps, you can maintain a clean and inviting bathroom environment for yourself, your family, and guests.
So, let's delve into the details of how to effectively install Lysol toilet bowl cleaner and elevate the cleanliness and hygiene of your bathroom space. With a little effort and the right approach, you can transform your toilet bowl into a gleaming fixture that enhances the overall appeal of your bathroom while promoting a healthier and more pleasant living environment.
Key Takeaways:
- Keep your toilet bowl clean and germ-free by following these simple steps to install Lysol toilet bowl cleaner. It’s easy, effective, and essential for a sparkling and hygienic bathroom.
- Prioritize safety and use the right tools to ensure a smooth and efficient cleaning process. From gathering materials to scrubbing the bowl, each step plays a crucial role in achieving optimal cleanliness and hygiene.
Read more: How To Open Lysol Toilet Bowl Cleaner
Step 1: Gather the necessary materials
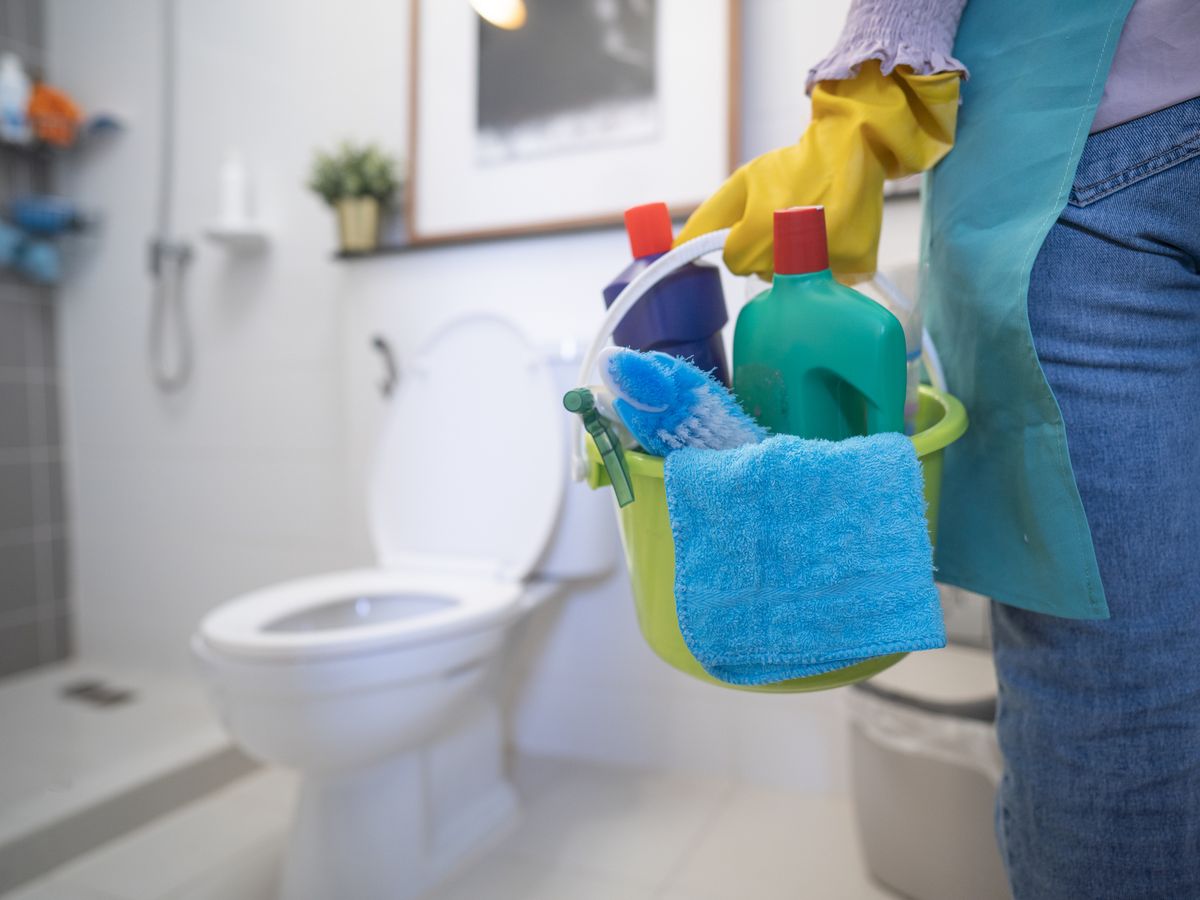
Before embarking on the task of installing Lysol toilet bowl cleaner, it is essential to gather all the necessary materials to ensure a smooth and efficient cleaning process. Having the right tools at your disposal will not only streamline the task but also contribute to achieving optimal results. Here's a comprehensive list of the materials you will need:
-
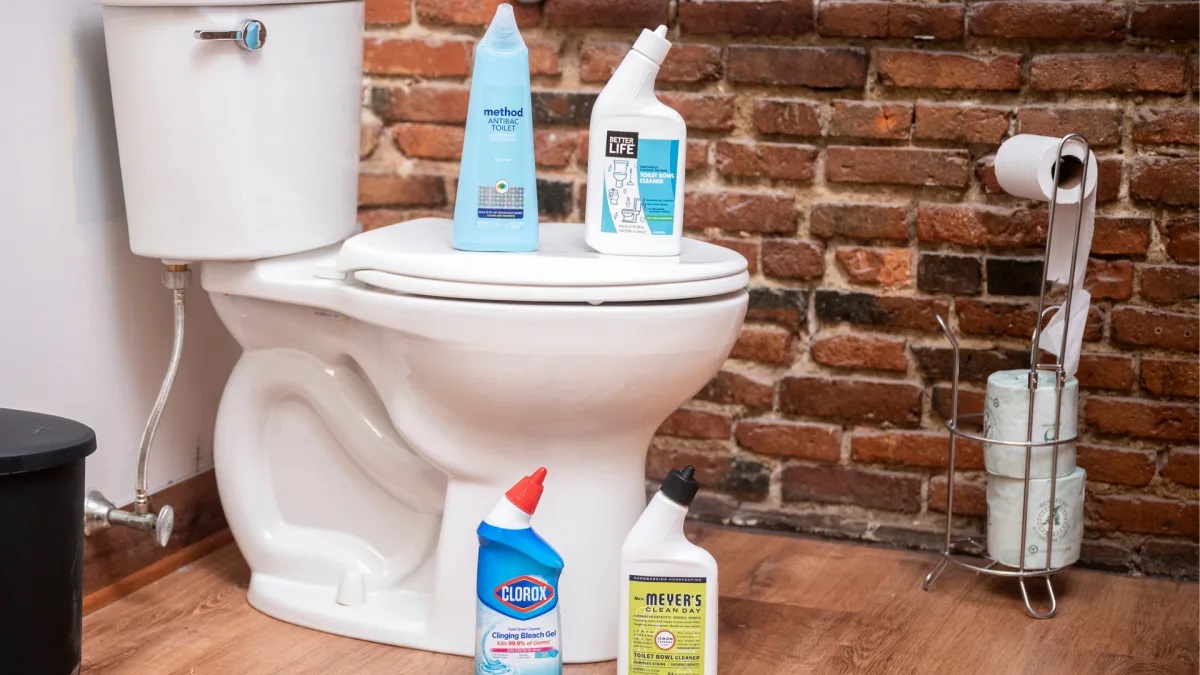
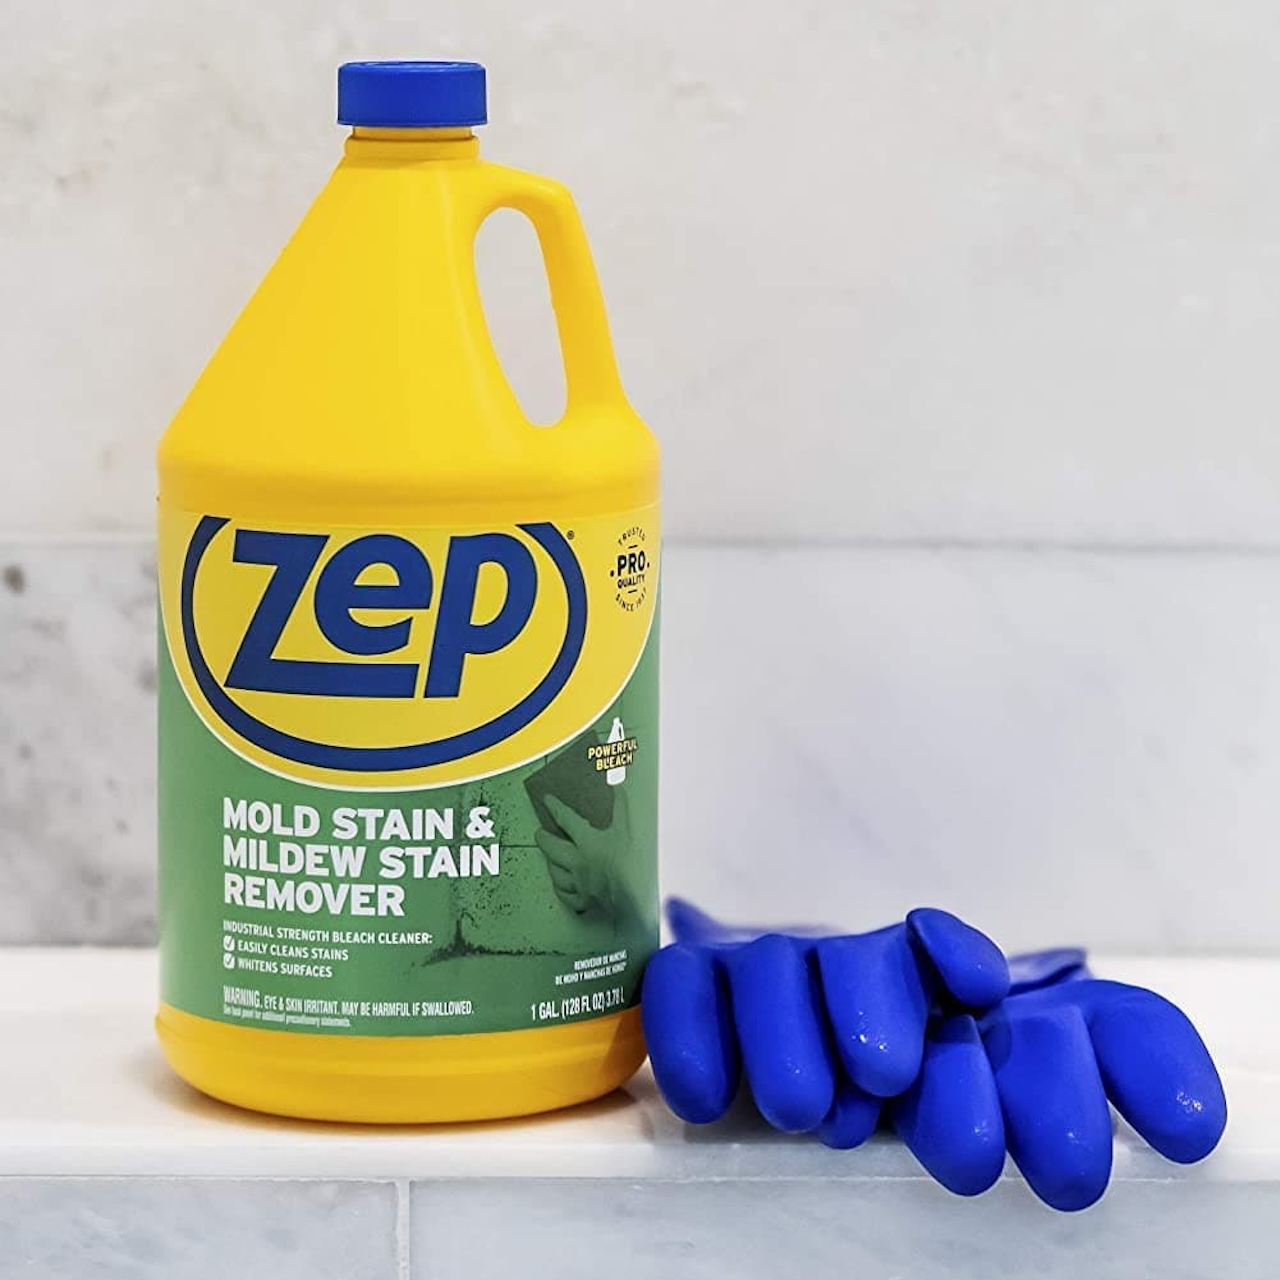
Lysol Toilet Bowl Cleaner: Select the Lysol toilet bowl cleaner variant that best suits your cleaning needs. Whether you opt for a traditional liquid cleaner or a convenient gel formula, ensure that it is specifically designed for effectively removing stains, mineral deposits, and bacteria from the toilet bowl.
-
Protective Gloves: It is crucial to prioritize safety when working with cleaning products. Wear a pair of protective gloves to shield your hands from direct contact with the cleaner and any potential bacteria or germs present in the toilet bowl.
-
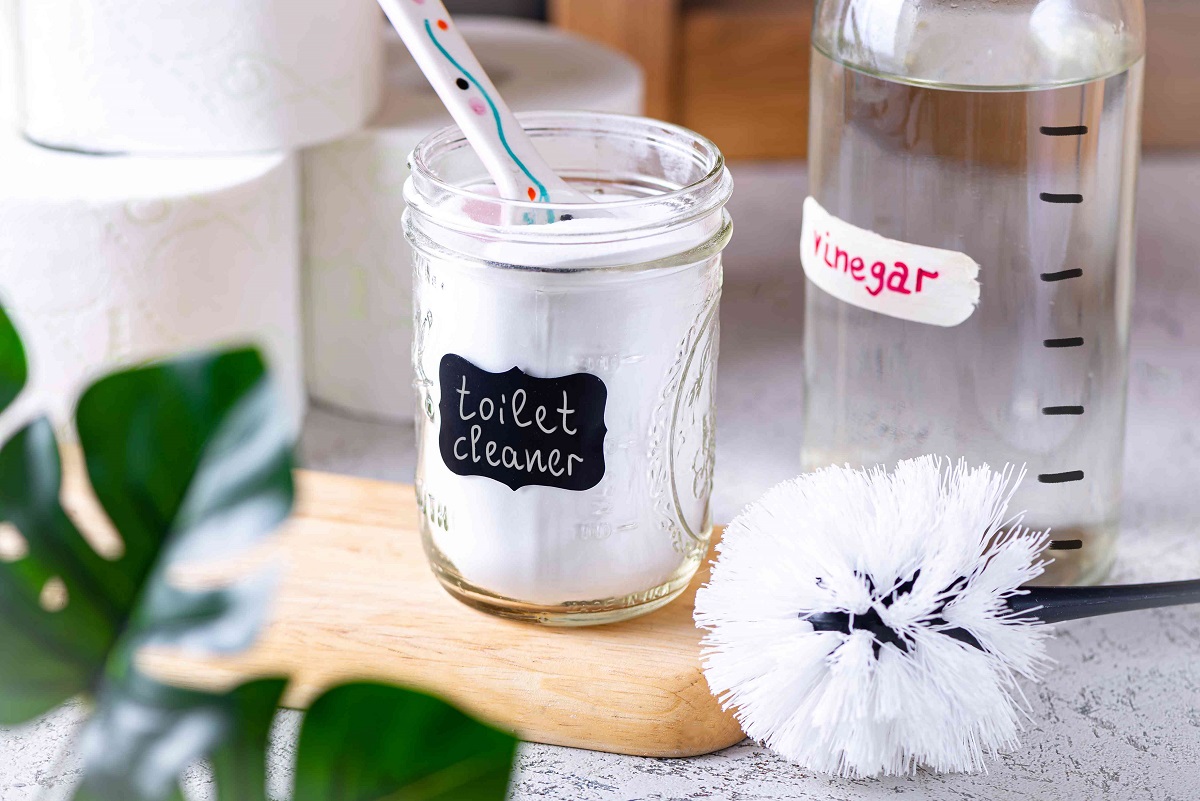
Toilet Brush: A high-quality toilet brush with sturdy bristles is indispensable for effectively scrubbing the toilet bowl and dislodging stubborn stains and residue. Ensure that the brush is in good condition and capable of reaching all areas of the bowl.
-
Toilet Bowl Cleaner Wand (Optional): For added convenience and ease of use, consider using a toilet bowl cleaner wand, which typically comes with disposable cleaning pads. This tool can simplify the scrubbing process and minimize direct contact with the toilet bowl.
-
Protective Eyewear (Optional): While not mandatory, wearing protective eyewear can provide an extra layer of safety, especially when applying the cleaner and scrubbing the toilet bowl. This precaution can prevent any potential splashes or aerosolized particles from coming into contact with your eyes.
-
Ventilation: Ensure that the bathroom is well-ventilated either by opening a window or turning on an exhaust fan. Proper ventilation will help dissipate any fumes or odors from the cleaning process and create a more comfortable environment for the task at hand.
By gathering these essential materials, you will be well-prepared to initiate the process of installing Lysol toilet bowl cleaner with confidence and efficiency. Each item plays a crucial role in ensuring that the cleaning process is not only effective but also safe and convenient. With these materials at your disposal, you are ready to proceed to the next step of preparing the toilet bowl for the application of the cleaner.
Step 2: Prepare the toilet bowl
Before applying the Lysol toilet bowl cleaner, it is crucial to prepare the toilet bowl to ensure optimal cleaning results. Proper preparation sets the stage for effective stain removal and sanitation, allowing the cleaner to work its magic on the surfaces of the bowl. Here's a detailed guide on how to prepare the toilet bowl for the application of the cleaner:
-
Flush the Toilet: Start by flushing the toilet to clear the bowl of any existing water. This initial step creates a clean and dry surface for the application of the Lysol cleaner. Ensure that the water level in the bowl is significantly reduced before proceeding to the next step.
-
Lift the Toilet Seat and Lid: Lift both the toilet seat and lid to access the entire inner rim and bowl surface. This step provides unobstructed access for thorough cleaning and ensures that no area is overlooked during the preparation and cleaning process.
-
Inspect for Stubborn Stains and Buildup: Take a moment to inspect the interior of the toilet bowl for any stubborn stains, mineral deposits, or residue. Identifying problem areas at this stage allows you to focus the cleaning efforts on specific spots that may require extra attention.
-
Address Hard-to-Reach Areas: Use a toilet brush or cleaning wand to reach under the rim and into the trap of the toilet bowl. These areas are often prone to accumulating buildup and require thorough cleaning to eliminate any lingering residue.
-
Remove Excess Water: If there is residual water present in the bowl after flushing, use a toilet brush or a disposable towel to absorb and remove the excess moisture. This step ensures that the Lysol cleaner can make direct contact with the surfaces of the bowl without dilution.
-
Ventilate the Bathroom: Open a window or turn on the exhaust fan to enhance ventilation in the bathroom. Proper airflow helps dissipate any lingering odors and creates a more comfortable environment for the subsequent cleaning steps.
By meticulously preparing the toilet bowl, you set the stage for a successful application of the Lysol toilet bowl cleaner. This proactive approach maximizes the effectiveness of the cleaning process and ensures that the cleaner can target and eliminate stains, germs, and buildup with precision. With the toilet bowl adequately prepared, you are now ready to proceed to the next step of applying the Lysol cleaner for a thorough and hygienic cleaning experience.
Step 3: Apply the Lysol toilet bowl cleaner
With the toilet bowl thoroughly prepared, it's time to apply the Lysol toilet bowl cleaner to initiate the cleaning process. The application of the cleaner is a critical step that sets the foundation for effectively targeting and eliminating stains, mineral deposits, and bacteria within the bowl. Here's a detailed guide on how to apply the Lysol toilet bowl cleaner for optimal results:
-
Shake the Cleaner (If Applicable): If you are using a liquid Lysol toilet bowl cleaner, give the bottle a gentle shake to ensure that the solution is well-mixed. This step helps distribute the active ingredients evenly, maximizing the cleaner's effectiveness upon application.
-
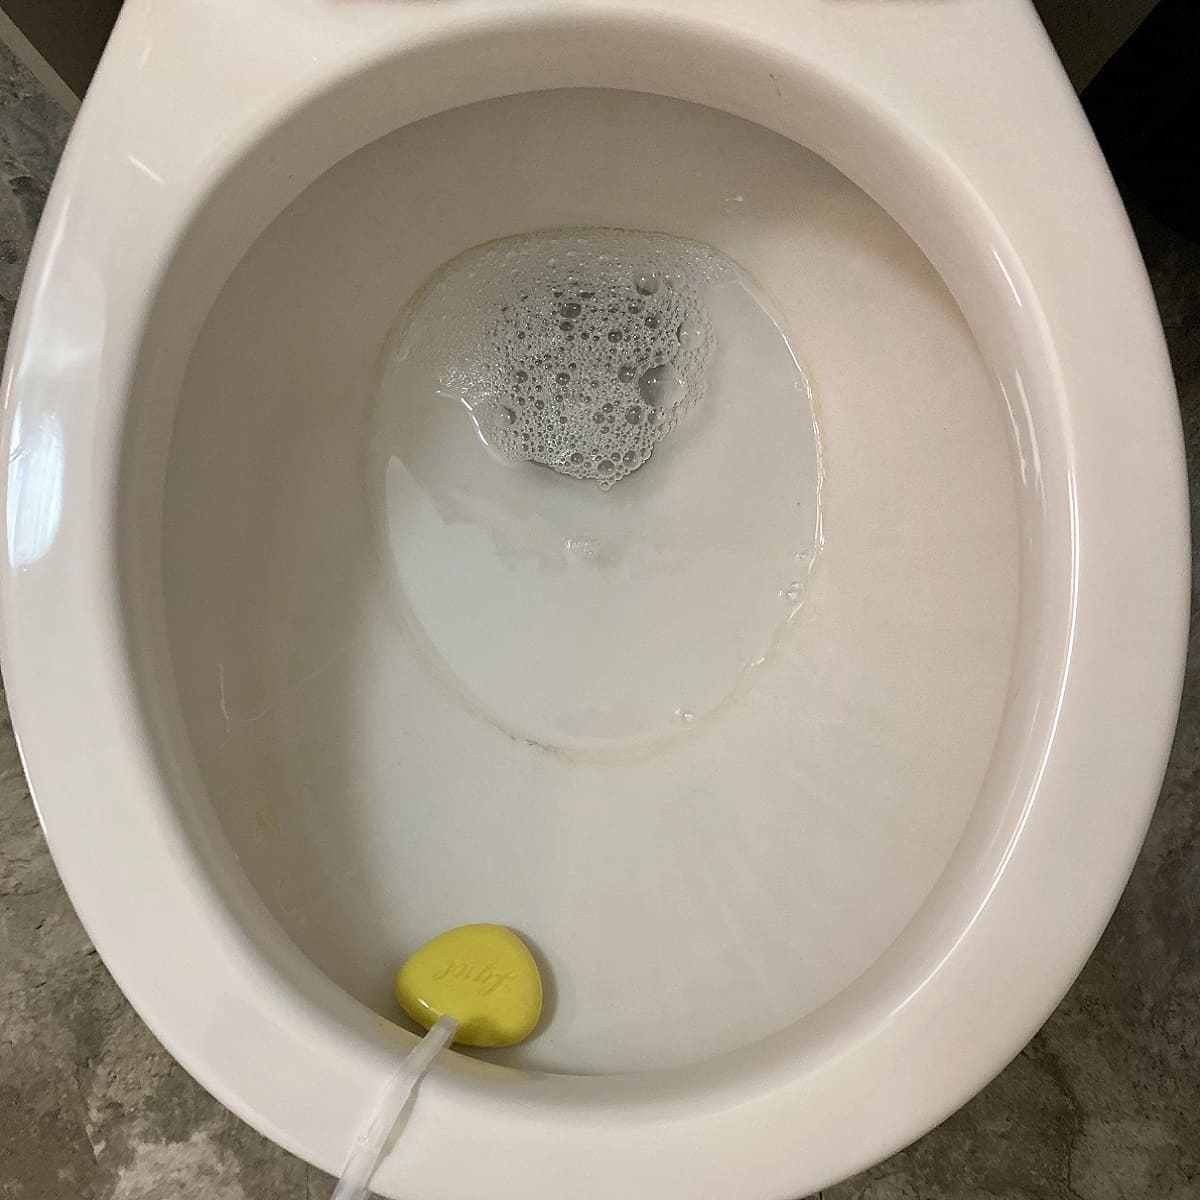
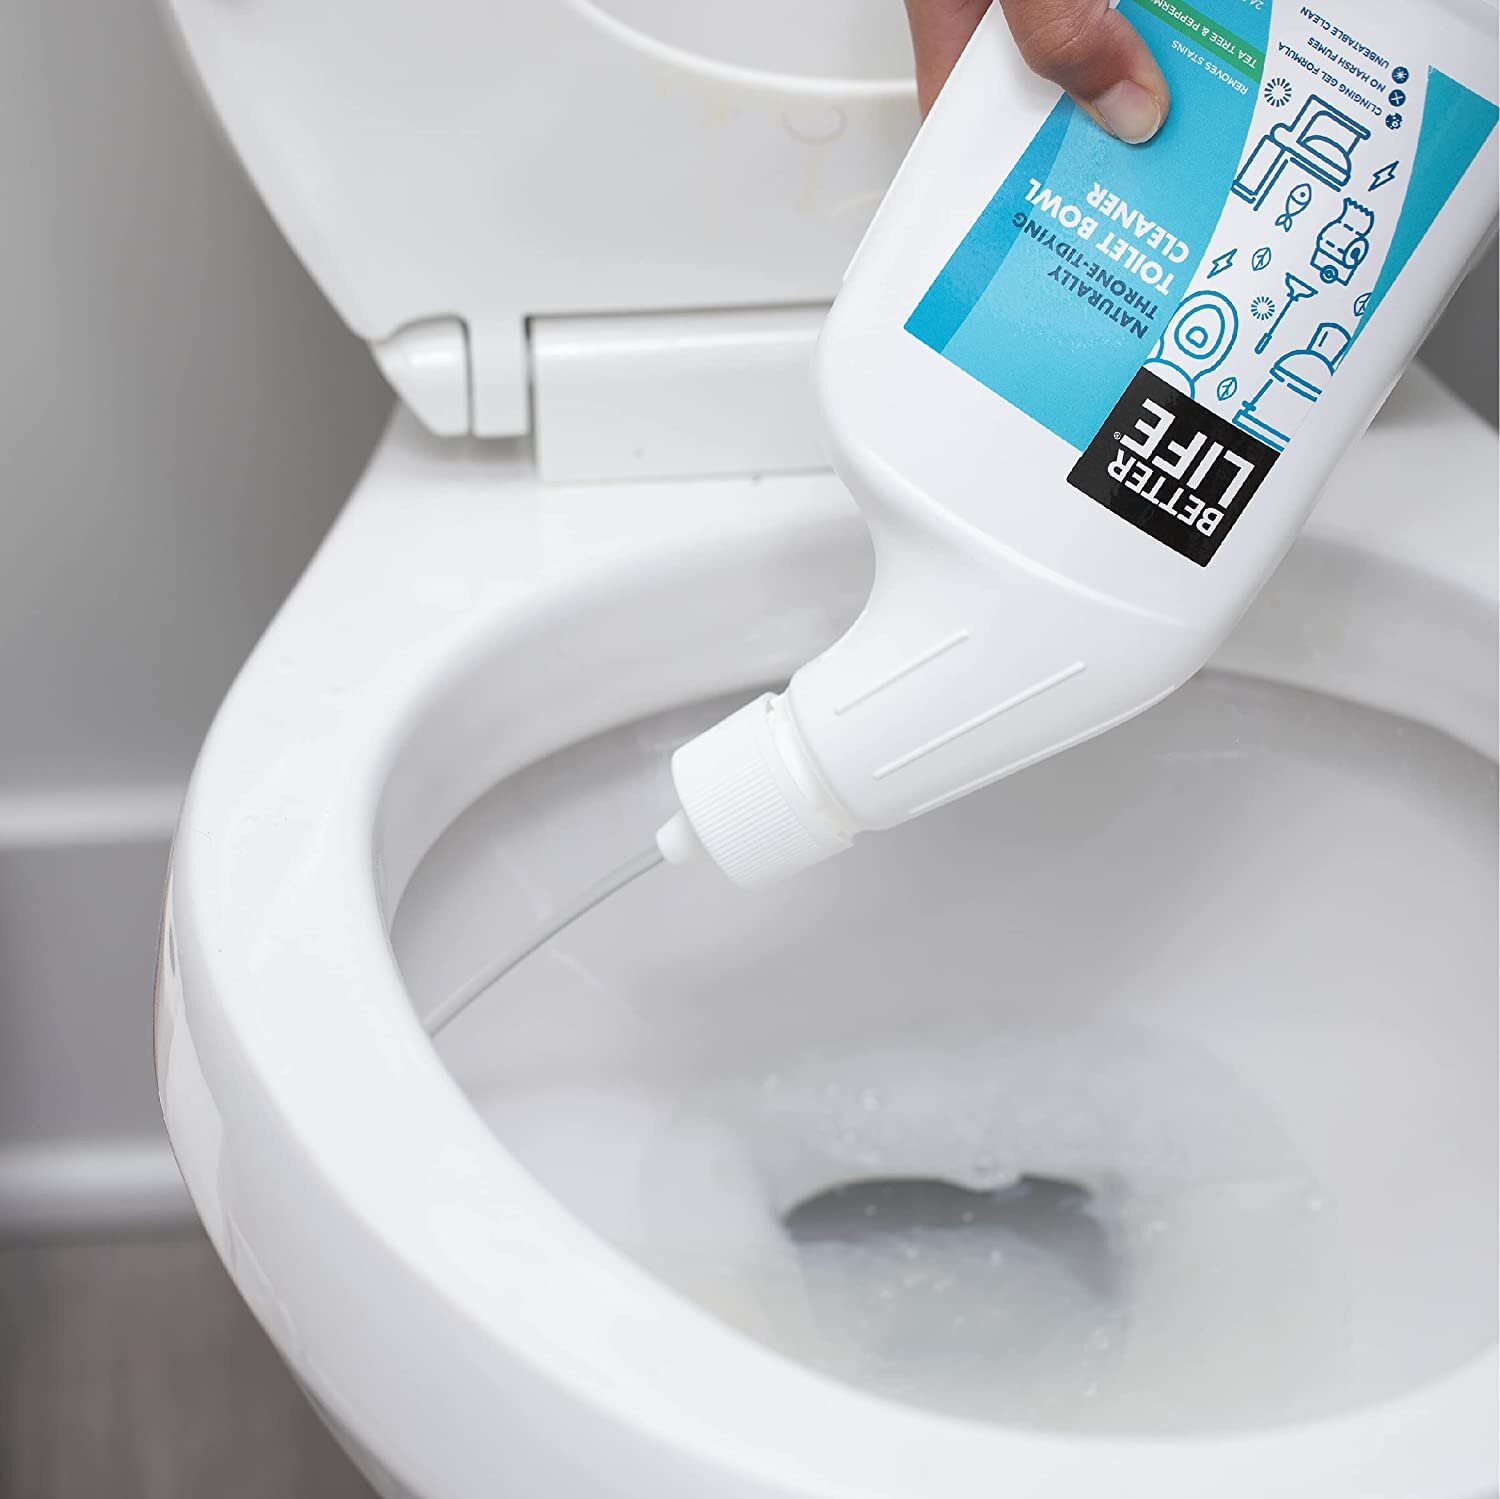
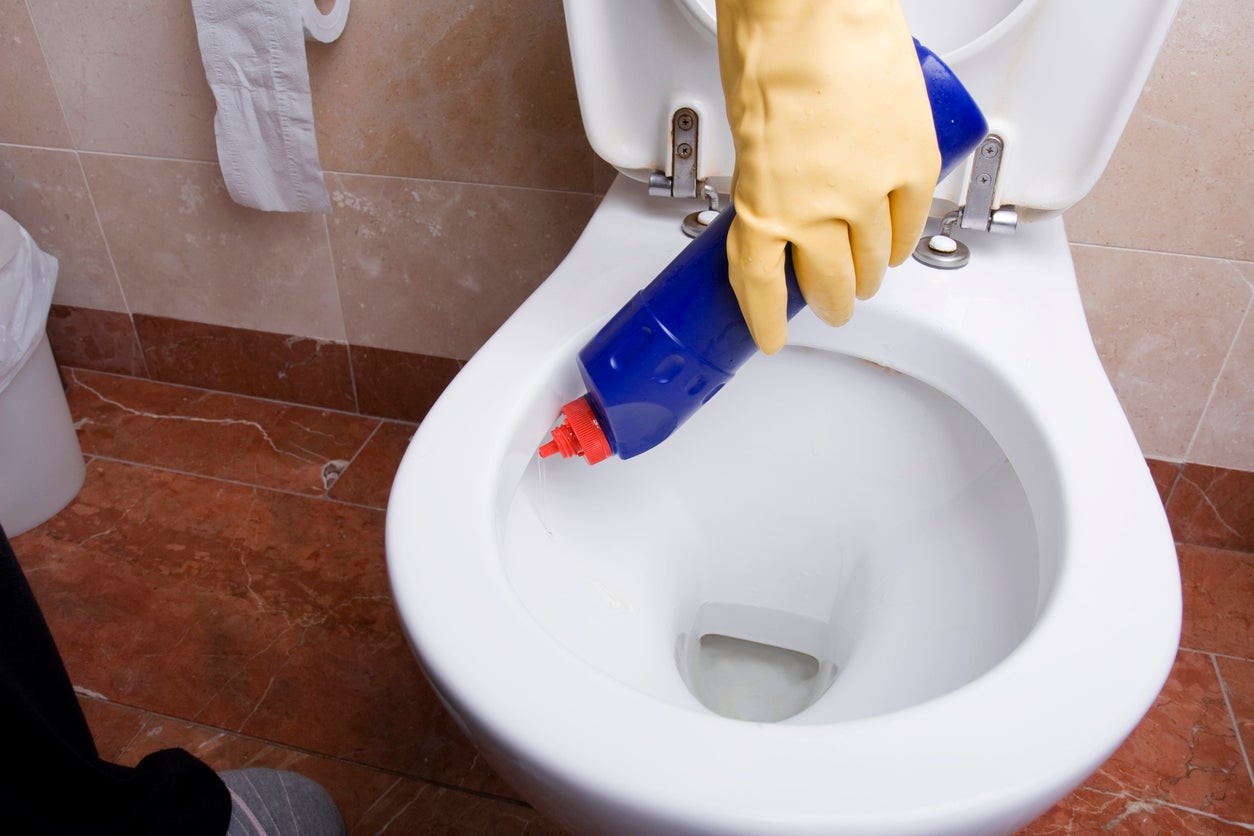
Squeeze the Cleaner Along the Bowl's Interior: Carefully squeeze the Lysol toilet bowl cleaner around the interior rim of the toilet bowl. Ensure that the cleaner makes direct contact with the surfaces, allowing it to effectively target stains and bacteria. For gel-based cleaners, apply the product evenly to cover the desired areas.
-
Target Stubborn Stains and Problem Areas: If there are specific areas of the bowl with stubborn stains or buildup, apply an extra amount of the cleaner to these spots. Directly targeting problem areas ensures that the cleaner can work more effectively on tough stains and mineral deposits.
-
Allow the Cleaner to Dwell: After applying the Lysol toilet bowl cleaner, allow it to dwell in the bowl for the recommended period specified on the product label. This dwell time is crucial for the active ingredients to penetrate and break down stains and germs, facilitating easier removal during the scrubbing process.
-
Close the Toilet Lid: To prevent accidental splashing and to ensure that the cleaner remains undisturbed during the dwell time, close the toilet lid. This simple precaution helps maintain a controlled environment for the cleaner to work its magic within the bowl.
By following these steps, you can effectively apply the Lysol toilet bowl cleaner to target stains, mineral deposits, and bacteria within the toilet bowl. The application process sets the stage for the subsequent scrubbing and cleaning steps, allowing the cleaner to work its magic and prepare the surfaces for thorough sanitation and stain removal. With the cleaner applied, you are now ready to proceed to the next step of scrubbing the toilet bowl to achieve a pristine and hygienic finish.
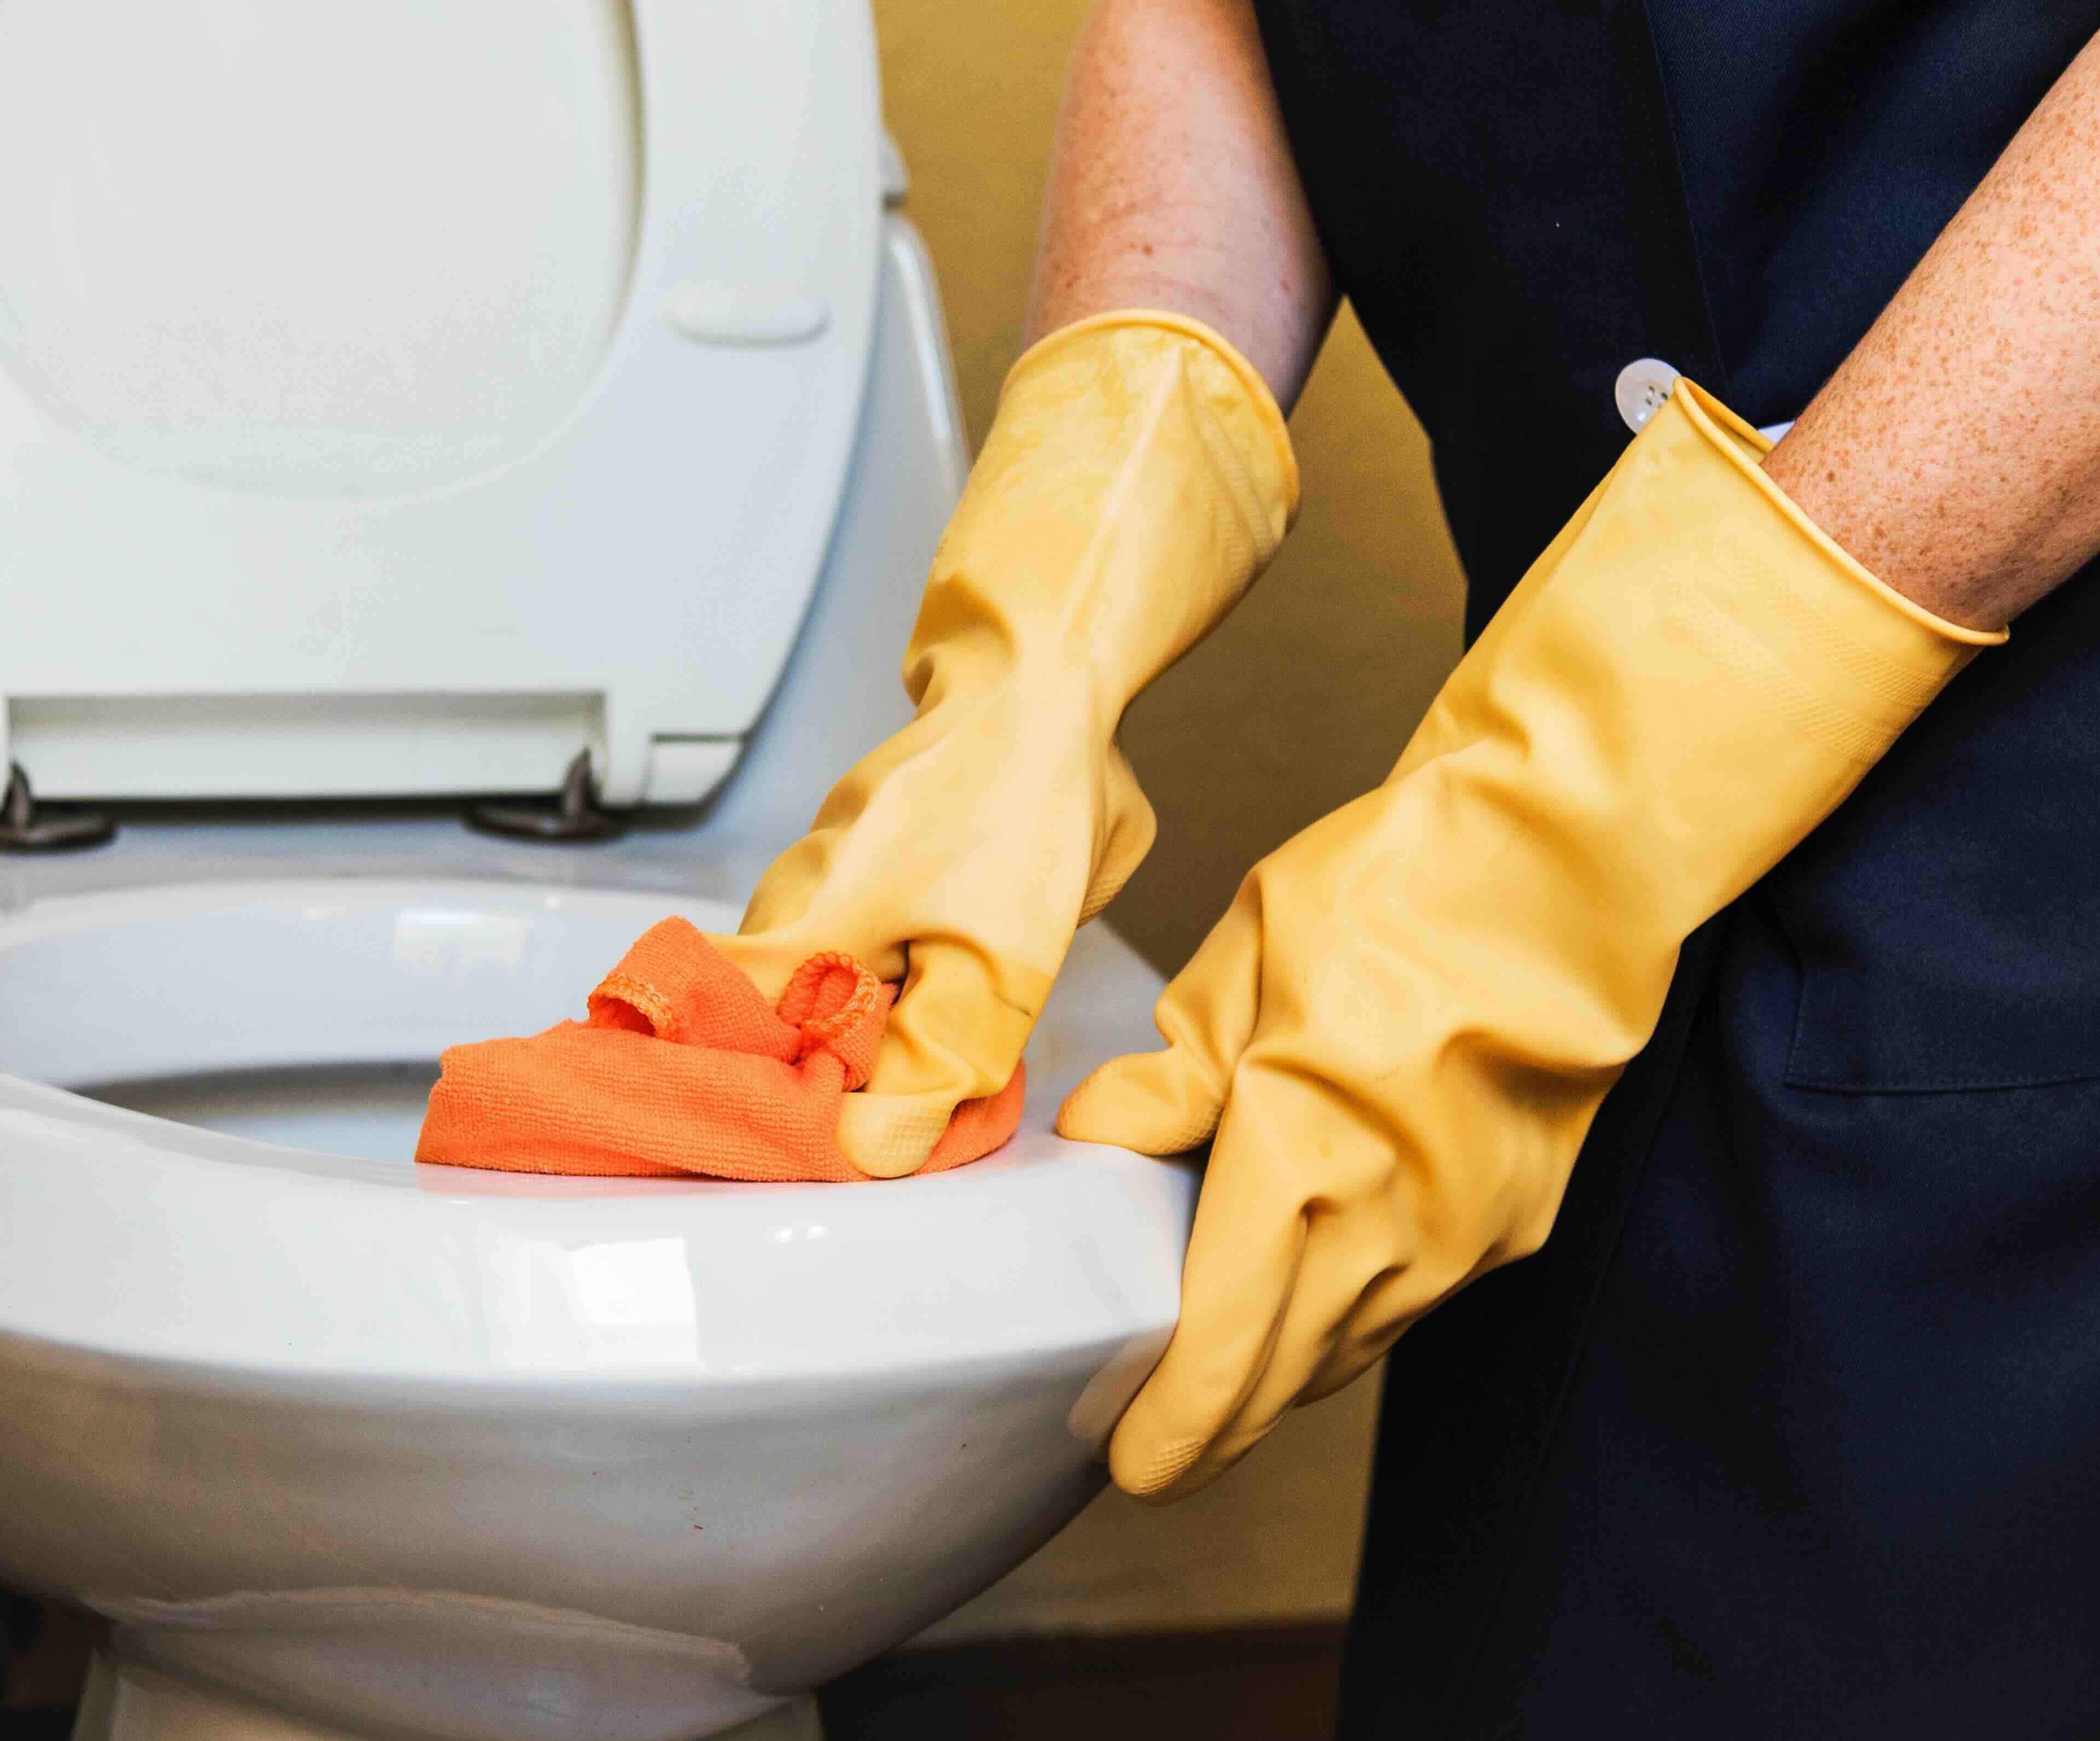
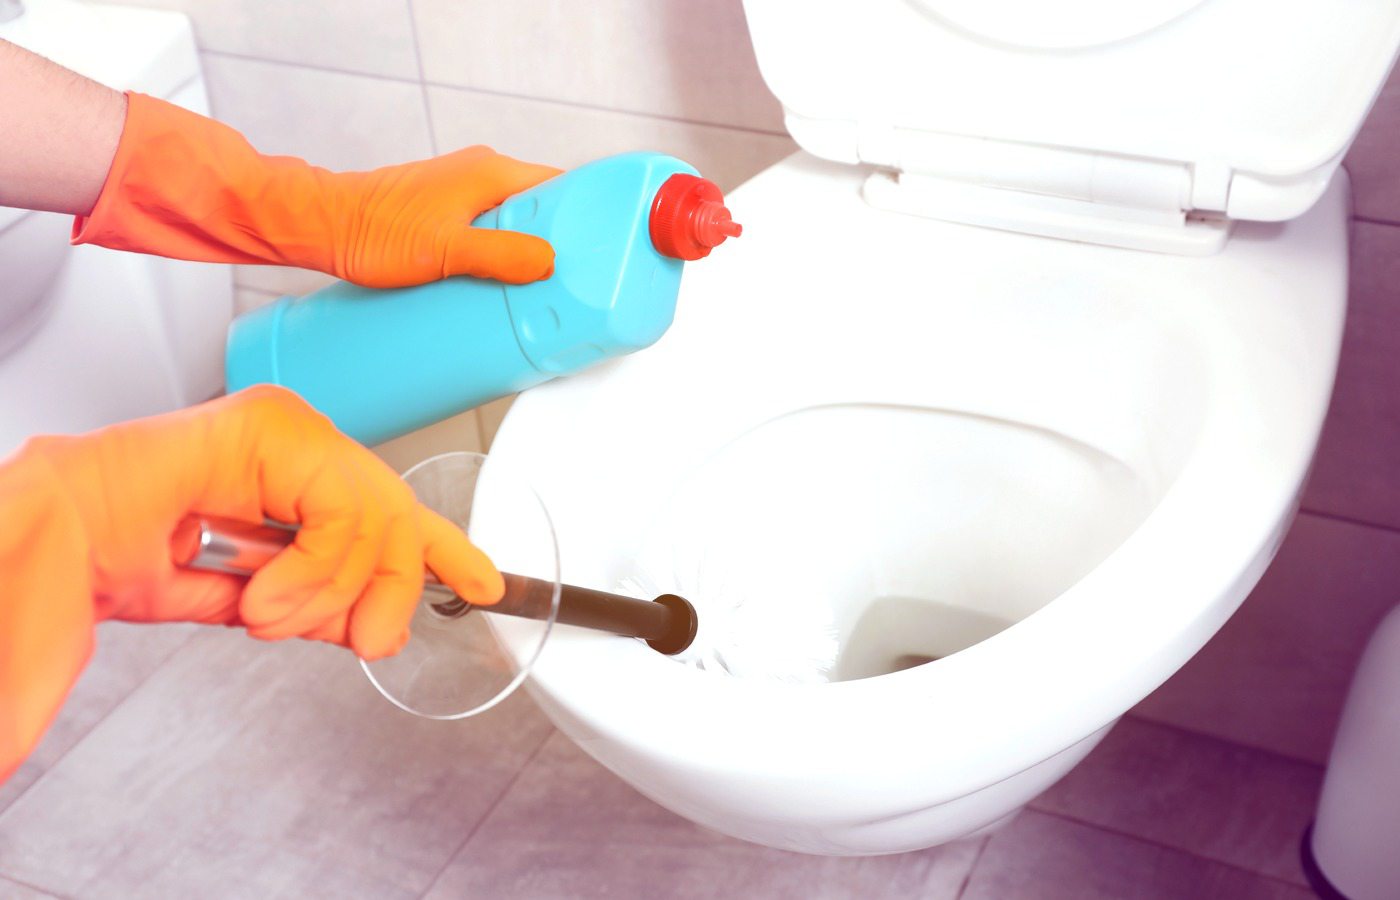
Before using Lysol Toilet Bowl Cleaner, make sure to wear gloves and ventilate the area. Apply the cleaner under the rim and around the bowl, then scrub with a toilet brush. Finally, flush the toilet to rinse.
Step 4: Scrub the toilet bowl
After allowing the Lysol toilet bowl cleaner to dwell for the recommended period, the next crucial step is to scrub the toilet bowl thoroughly. This step is essential for dislodging and removing stubborn stains, mineral deposits, and bacteria, ultimately restoring the bowl to a pristine and hygienic state. Here's a detailed guide on how to effectively scrub the toilet bowl for optimal cleanliness:
-
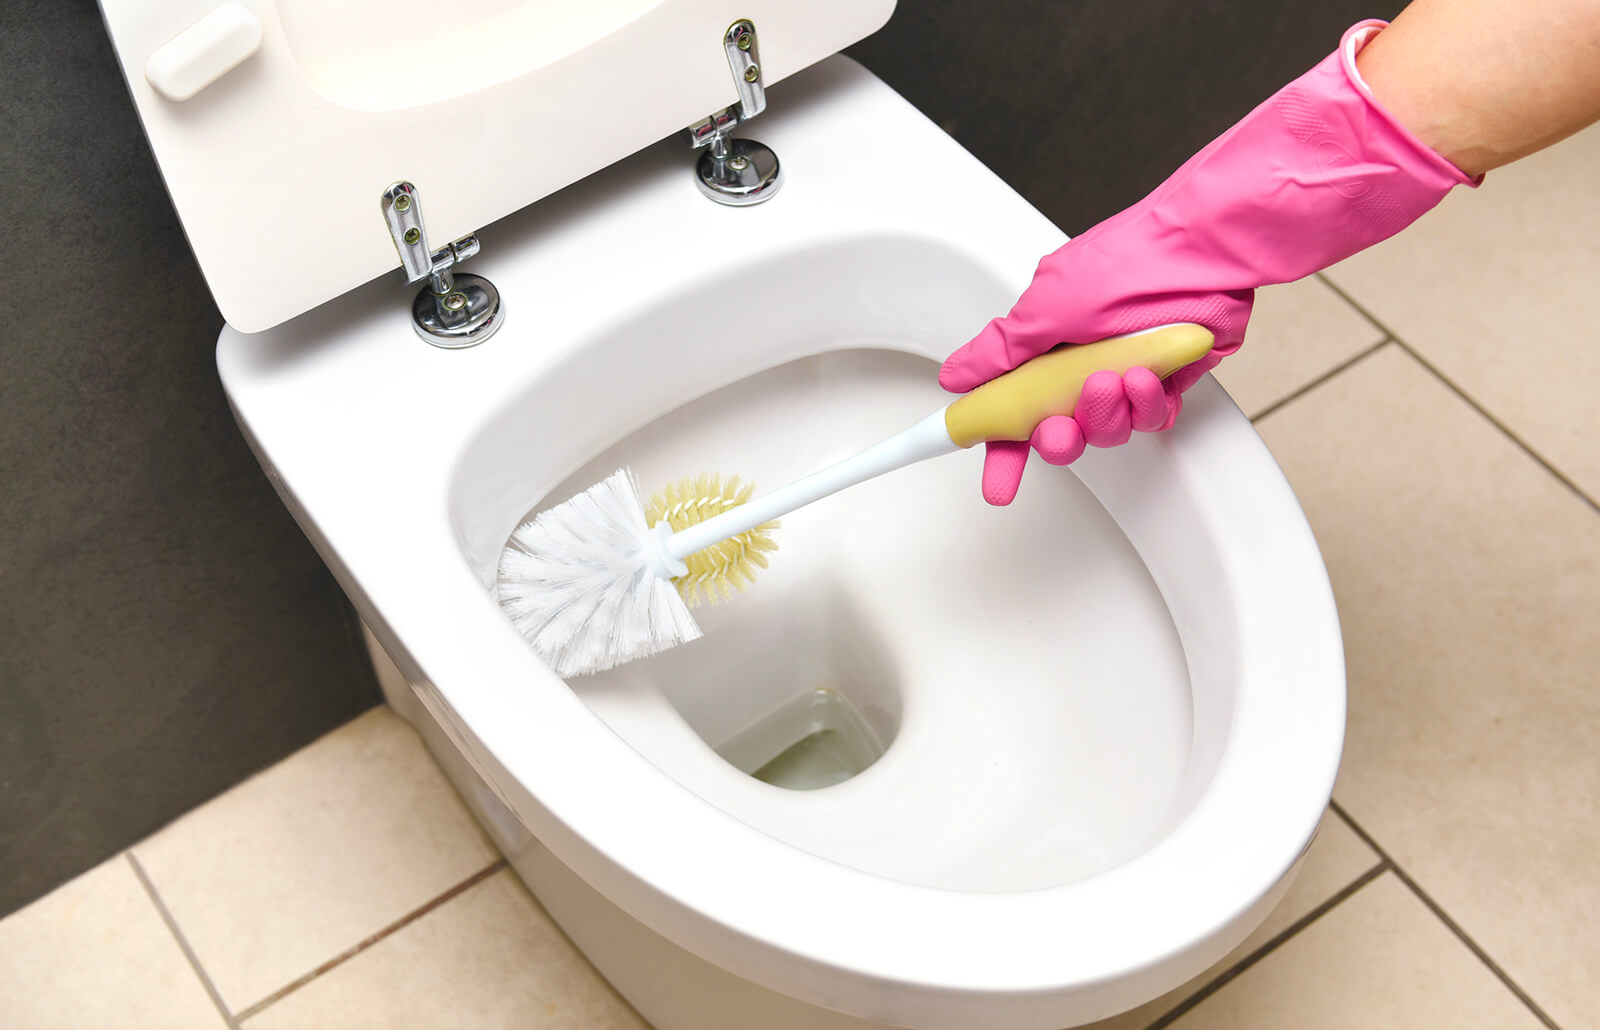
Select the Appropriate Tool: Choose a high-quality toilet brush with durable bristles that can effectively scrub the surfaces of the bowl. Ensure that the brush is capable of reaching all areas, including under the rim and within the trap, to address any lingering residue.
-
Start from the Top: Begin by scrubbing the interior rim of the toilet bowl, working your way down towards the waterline. Target any visible stains or buildup, applying moderate pressure to dislodge the debris and ensure thorough cleaning.
-
Focus on Problem Areas: Pay special attention to areas with stubborn stains or mineral deposits. Use the bristles of the toilet brush to agitate these spots, applying additional cleaner if necessary to facilitate the removal of tough buildup.
-
Scrub the Bowl's Interior: With a firm and consistent motion, scrub the entire interior surface of the toilet bowl, ensuring that no area is overlooked. Work methodically to cover the entire circumference of the bowl, addressing any residue or discoloration along the way.
-
Reach Under the Rim: Utilize the curved shape of the toilet brush to reach under the rim and target any hidden buildup or bacteria. This often-neglected area requires thorough scrubbing to ensure comprehensive sanitation.
-
Address the Trap: Insert the toilet brush into the trap of the toilet bowl, maneuvering it to dislodge any trapped debris or residue. This step is crucial for eliminating hidden buildup and maintaining optimal flushing performance.
-
Rinse the Brush: Periodically rinse the toilet brush in clean water to remove dislodged debris and cleaner residue, ensuring that the brush remains effective throughout the scrubbing process.
-
Inspect for Complete Cleaning: After thorough scrubbing, visually inspect the entire interior of the toilet bowl to ensure that all stains, residue, and buildup have been effectively removed. Address any remaining areas that require additional attention.
By meticulously scrubbing the toilet bowl, you can effectively remove stains, mineral deposits, and bacteria, restoring the bowl to a pristine and hygienic condition. This proactive approach sets the stage for the final steps of rinsing and flushing, ensuring that the bowl remains fresh and inviting for subsequent use. With the bowl thoroughly scrubbed, you are now ready to proceed to the next step of letting the cleaner sit before rinsing and flushing the toilet.
Step 5: Let the cleaner sit
Allowing the Lysol toilet bowl cleaner to sit undisturbed after the scrubbing process is a crucial step in the overall cleaning routine. This period of inactivity is essential for the cleaner's active ingredients to continue working on dislodged stains, mineral deposits, and bacteria, ultimately ensuring a thorough and hygienic result. Here's a detailed explanation of the significance of letting the cleaner sit and the recommended approach to this essential step.
After completing the scrubbing process, it's important to resist the urge to immediately rinse the toilet bowl. Instead, close the toilet lid and allow the Lysol cleaner to dwell for the specified duration as indicated on the product label. This dwell time is designed to maximize the cleaner's effectiveness in targeting and eliminating residual stains and germs that may still be present within the bowl.
During this period, the active ingredients in the Lysol cleaner continue to penetrate and break down any remaining deposits and bacteria, facilitating easier removal during the subsequent rinsing and flushing. This passive phase of the cleaning process is instrumental in achieving a comprehensive sanitation of the toilet bowl, ensuring that it remains fresh, hygienic, and free from unsightly blemishes.
While the cleaner sits, it's advisable to maintain proper ventilation in the bathroom to aid in dissipating any lingering odors and fumes from the cleaning process. This simple measure contributes to a more comfortable environment and minimizes any potential discomfort associated with the cleaning routine.
By allowing the Lysol toilet bowl cleaner to sit undisturbed, you are harnessing the full potential of its cleaning power, ensuring that every nook and cranny of the bowl receives the benefit of the active ingredients. This passive phase sets the stage for the final step of rinsing and flushing, ultimately culminating in a pristine and inviting toilet bowl that enhances the overall cleanliness and hygiene of your bathroom space.
With the cleaner given adequate time to work its magic, you are now ready to proceed to the final step of rinsing and flushing the toilet, completing the comprehensive process of installing Lysol toilet bowl cleaner and achieving a spotless and germ-free result.
Step 6: Rinse and flush
After allowing the Lysol toilet bowl cleaner to sit for the recommended duration, the final step involves thoroughly rinsing and flushing the toilet to complete the cleaning process. This critical step ensures that any residual cleaner, dislodged debris, and bacteria are effectively removed, leaving the toilet bowl fresh, sanitized, and ready for immediate use.
Here's a detailed guide on how to effectively rinse and flush the toilet bowl to achieve optimal cleanliness:
-
Open the Toilet Lid: Begin by opening the toilet lid to access the interior of the bowl. This step prepares the toilet for the rinsing and flushing process, allowing for unobstructed access to the entire bowl.
-
Use Clean Water: With a clean and sturdy toilet brush or a disposable towel, rinse the interior of the toilet bowl with clean water. This step helps remove any residual cleaner and dislodged debris, ensuring that the bowl is thoroughly cleansed.
-
Flush the Toilet: Once the interior of the bowl has been rinsed, flush the toilet to remove the diluted cleaner and any remaining residue. Ensure that the flushing action is strong and effective, allowing the water to thoroughly cleanse the bowl.
-
Inspect for Cleanliness: After flushing, visually inspect the interior of the toilet bowl to ensure that it appears clean, free from stains, and devoid of any residual debris. Address any remaining areas that may require additional rinsing or scrubbing.
-
Close the Toilet Lid: Once the bowl is thoroughly rinsed and flushed, close the toilet lid to complete the cleaning process. This simple action helps maintain a clean and hygienic environment in the bathroom.
By meticulously rinsing and flushing the toilet bowl, you can effectively remove any remaining traces of the Lysol cleaner and dislodged debris, ensuring that the bowl is left in a pristine and inviting state. This final step completes the comprehensive process of installing Lysol toilet bowl cleaner, culminating in a spotless and germ-free result.
With the toilet bowl thoroughly rinsed and flushed, you can now enjoy the satisfaction of a clean and hygienic bathroom space, knowing that your toilet bowl is free from unsightly blemishes and bacteria. By following these steps, you can maintain a fresh and inviting toilet bowl that contributes to a healthier and more pleasant living environment.
Conclusion
In conclusion, the process of installing Lysol toilet bowl cleaner is a fundamental aspect of maintaining a clean, hygienic, and inviting bathroom environment. By following the step-by-step guide outlined in this comprehensive article, you can effectively tackle the task of cleaning and sanitizing your toilet bowl, ensuring that it remains free from stubborn stains, mineral deposits, and harmful bacteria.
From gathering the necessary materials to preparing the toilet bowl, applying the Lysol cleaner, scrubbing the bowl, allowing the cleaner to sit, and finally rinsing and flushing, each step plays a crucial role in achieving optimal cleanliness and hygiene. By adhering to these detailed instructions, you can transform your toilet bowl into a gleaming fixture that enhances the overall appeal of your bathroom while promoting a healthier and more pleasant living environment.
The proactive approach of preparing the toilet bowl, applying the Lysol cleaner, and thoroughly scrubbing the surfaces ensures that stains and bacteria are effectively targeted and eliminated, leaving the bowl fresh and sanitized. The final steps of allowing the cleaner to sit and then rinsing and flushing the bowl complete the comprehensive cleaning process, culminating in a spotless and germ-free result.
By prioritizing safety and utilizing the right tools, including protective gloves, a high-quality toilet brush, and proper ventilation, you can approach the task with confidence and efficiency. Additionally, the optional use of a toilet bowl cleaner wand and protective eyewear can further enhance convenience and safety during the cleaning process.
Maintaining a clean and hygienic toilet bowl not only contributes to the overall aesthetics of the bathroom but also plays a significant role in promoting a healthier living environment for yourself, your family, and guests. The proactive approach outlined in this guide empowers you to take charge of this essential aspect of bathroom maintenance, ensuring that your toilet bowl remains a pristine and inviting fixture within your home.
Incorporating the installation of Lysol toilet bowl cleaner into your regular cleaning routine can significantly contribute to the overall cleanliness and hygiene of your bathroom space. By following these detailed instructions and infusing the process with care and attention to detail, you can enjoy the satisfaction of a sparkling and germ-free toilet bowl, enhancing the overall comfort and appeal of your home.
With the knowledge and confidence gained from this guide, you are well-equipped to tackle the task of installing Lysol toilet bowl cleaner, ensuring that your bathroom remains a clean, hygienic, and welcoming space for all who use it.
Frequently Asked Questions about How To Install Lysol Toilet Bowl Cleaner
Was this page helpful?
At Storables.com, we guarantee accurate and reliable information. Our content, validated by Expert Board Contributors, is crafted following stringent Editorial Policies. We're committed to providing you with well-researched, expert-backed insights for all your informational needs.

0 thoughts on “How To Install Lysol Toilet Bowl Cleaner”