Home>Furniture & Design>Bathroom Accessories>How To Clean Tile Grout With Toilet Bowl Cleaner
Bathroom Accessories
How To Clean Tile Grout With Toilet Bowl Cleaner
Modified: August 27, 2024
Learn how to effectively clean tile grout using toilet bowl cleaner. Keep your bathroom accessories looking fresh and new with this simple cleaning method.
(Many of the links in this article redirect to a specific reviewed product. Your purchase of these products through affiliate links helps to generate commission for Storables.com, at no extra cost. Learn more)
Introduction
Cleaning tile grout can be a daunting task, but with the right approach and tools, it can be surprisingly manageable. Over time, grout between tiles can accumulate dirt, grime, and even mold, detracting from the overall appearance of your bathroom. However, with the proper techniques and products, you can restore the grout to its original luster and keep your bathroom looking fresh and clean.
In this comprehensive guide, we will explore an effective method for cleaning tile grout using a surprising tool: toilet bowl cleaner. This unconventional approach has gained popularity for its ability to cut through tough grime and stains, making it a go-to solution for many homeowners. By understanding the nature of tile grout, selecting the right toilet bowl cleaner, and following a step-by-step process, you can achieve remarkable results and breathe new life into your bathroom surfaces.
Whether you're a seasoned cleaning enthusiast or a novice looking to tackle this common household chore, this guide will equip you with the knowledge and confidence to take on the task of cleaning tile grout with toilet bowl cleaner. So, roll up your sleeves and get ready to transform your bathroom with this simple yet powerful cleaning method.
Key Takeaways:
- Unconventional yet effective: Use toilet bowl cleaner with acidic, gel-like, bleach-containing, and odor-neutralizing properties to revitalize tile grout. Prepare, apply, scrub, rinse, and dry for remarkable results.
- Maintain and protect: Regularly clean and seal grout, test cleaning products, avoid abrasives, address stubborn stains, consider professional help, ventilate, adopt preventive measures, and inspect regularly for lasting grout cleanliness.
Read more: How To Clean Floor Tile Grout
Understanding Tile Grout
Grout is a crucial component of tiled surfaces, serving both functional and aesthetic purposes. It is a cement-based material that fills the gaps between tiles, providing stability and preventing moisture from seeping beneath the tiles. While grout is essential for maintaining the integrity of tiled surfaces, its porous nature makes it susceptible to absorbing dirt, grease, and moisture over time.
The composition of grout typically consists of cement, water, and sometimes sand, resulting in a porous and absorbent material. This porosity makes grout prone to staining and discoloration, especially in high-traffic areas such as bathroom floors and shower walls. Additionally, the presence of moisture in bathrooms creates an ideal environment for mold and mildew to develop within the grout, further compromising its appearance and cleanliness.
Understanding the nature of tile grout is essential when approaching the task of cleaning and maintaining it. Grout's porous composition means that traditional cleaning methods may not effectively penetrate its surface to remove embedded dirt and stains. This is where the use of toilet bowl cleaner comes into play, as its powerful formulation is designed to tackle tough stains and grime, making it a suitable option for cleaning tile grout.
By comprehending the characteristics of grout and recognizing its susceptibility to staining and discoloration, you can appreciate the importance of employing a targeted cleaning approach. With this understanding, you can confidently proceed to select the appropriate toilet bowl cleaner and implement the cleaning process to revitalize the appearance of your tile grout.
Understanding the intricacies of tile grout sets the stage for effectively addressing its cleaning and maintenance needs. Armed with this knowledge, you can proceed to the next steps in the cleaning process, equipped with a deeper understanding of the challenges and opportunities presented by grout in your bathroom.
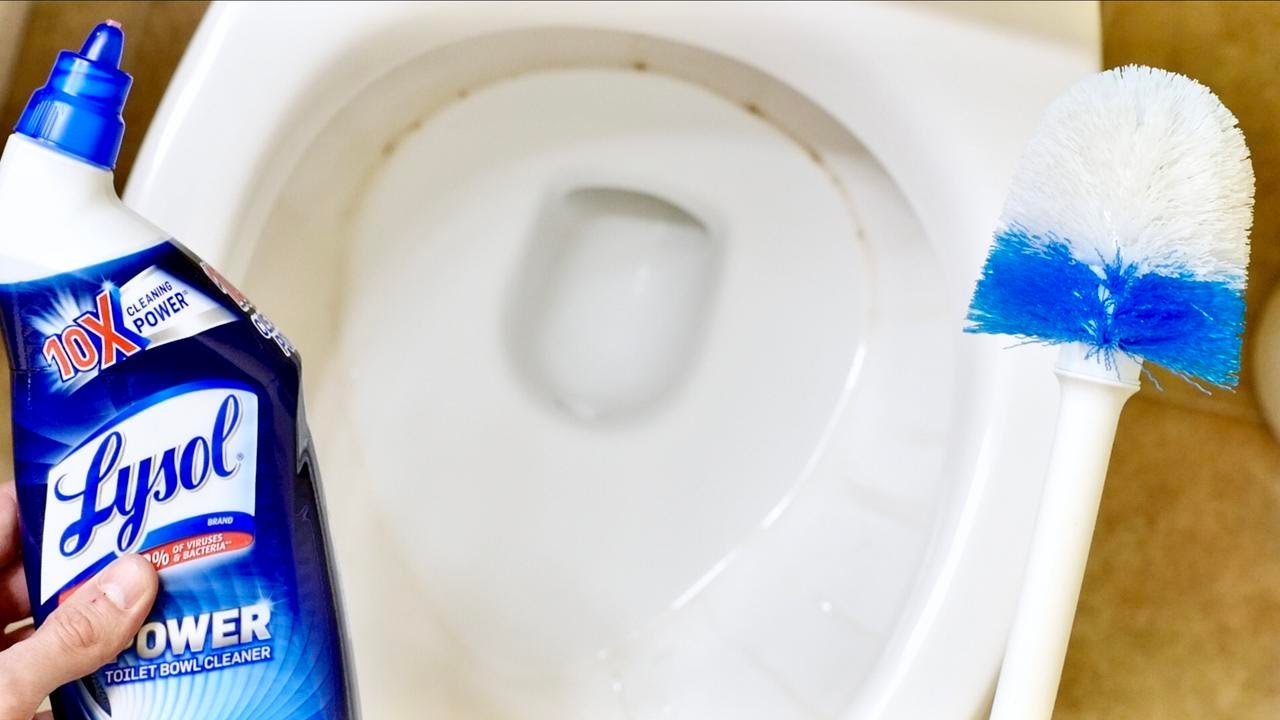
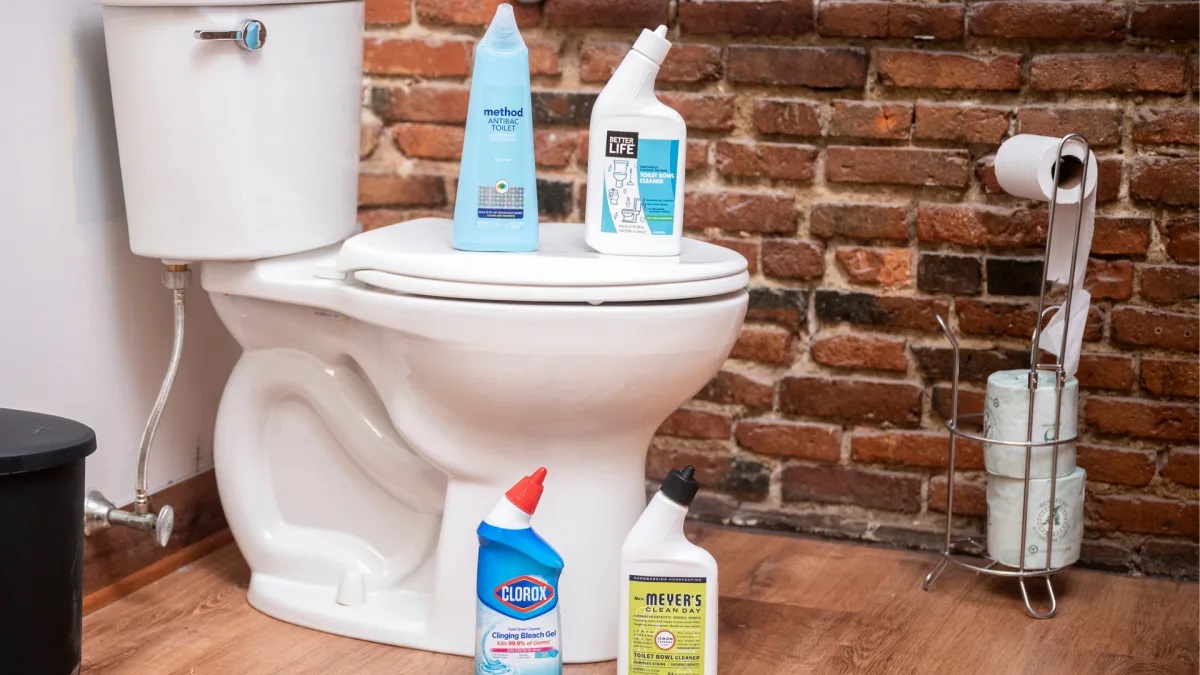
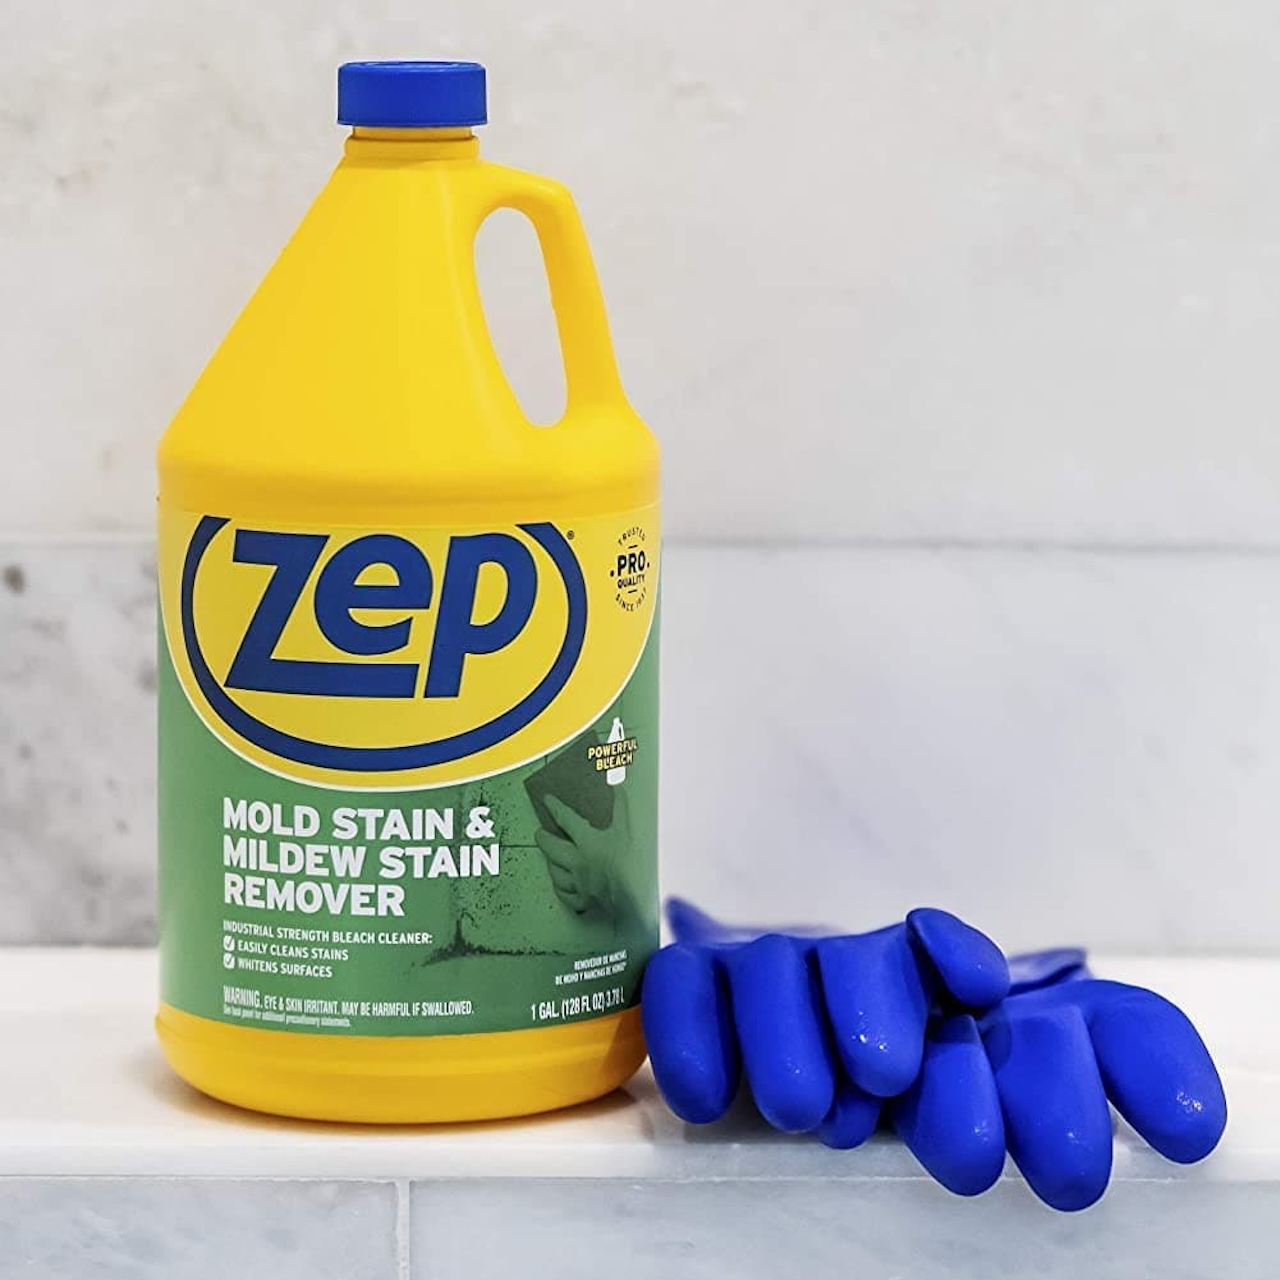
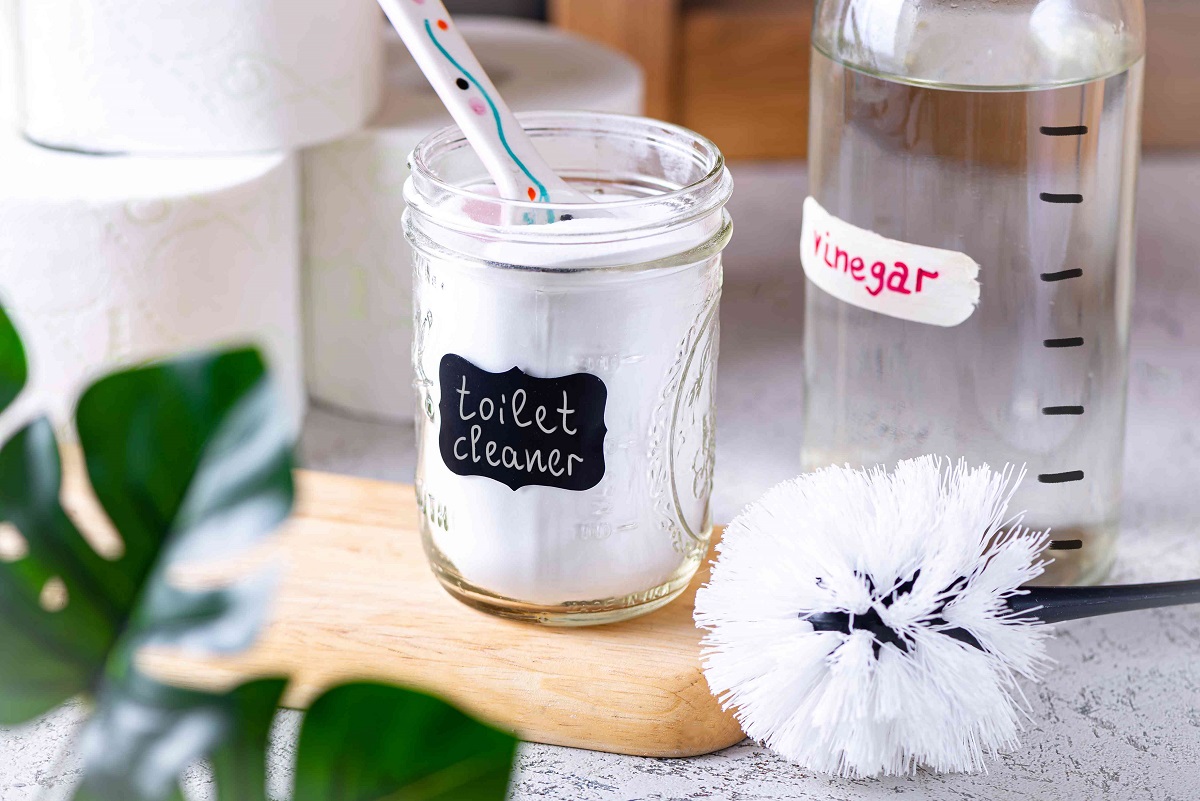
Choosing the Right Toilet Bowl Cleaner
When it comes to cleaning tile grout with toilet bowl cleaner, selecting the right product is paramount to achieving successful results. Not all toilet bowl cleaners are created equal, and certain formulations are better suited for tackling the tough stains and grime that commonly plague tile grout. Here are some key factors to consider when choosing the ideal toilet bowl cleaner for cleaning tile grout:
1. Acidic Formulation:
Opt for a toilet bowl cleaner that contains acidic compounds, such as hydrochloric acid or citric acid. These acids are effective at breaking down mineral deposits, soap scum, and stubborn stains that have accumulated on grout lines. The acidic nature of the cleaner enables it to penetrate the porous surface of the grout, dissolving and lifting embedded dirt and discoloration.
2. Gel or Thick Consistency:
Look for a toilet bowl cleaner that has a gel-like or thick consistency. This type of formulation adheres well to vertical surfaces, allowing it to cling to the grout lines without quickly running off. The thicker consistency ensures prolonged contact with the grout, maximizing the cleaner's effectiveness in loosening and removing dirt and stains.
Read more: What Is In Toilet Bowl Cleaner
3. Bleach Content:
Consider a toilet bowl cleaner that contains bleach as an active ingredient. Bleach is renowned for its powerful disinfecting and whitening properties, making it particularly effective at eradicating mold, mildew, and tough discoloration on grout. Additionally, the whitening effect of bleach can restore the original brightness of grout, enhancing the overall appearance of tiled surfaces.
4. Odor Control:
Opt for a toilet bowl cleaner with odor-neutralizing or fresh-scented properties. Since the cleaning process may involve working in enclosed bathroom spaces, a cleaner with pleasant or neutral odors can contribute to a more comfortable and enjoyable cleaning experience.
By considering these factors, you can make an informed decision when selecting a toilet bowl cleaner for cleaning tile grout. Keep in mind that it's essential to read and follow the manufacturer's instructions and safety guidelines when using any cleaning product. With the right toilet bowl cleaner in hand, you'll be well-equipped to proceed to the next steps of preparing the area and applying the cleaner to begin the grout cleaning process.
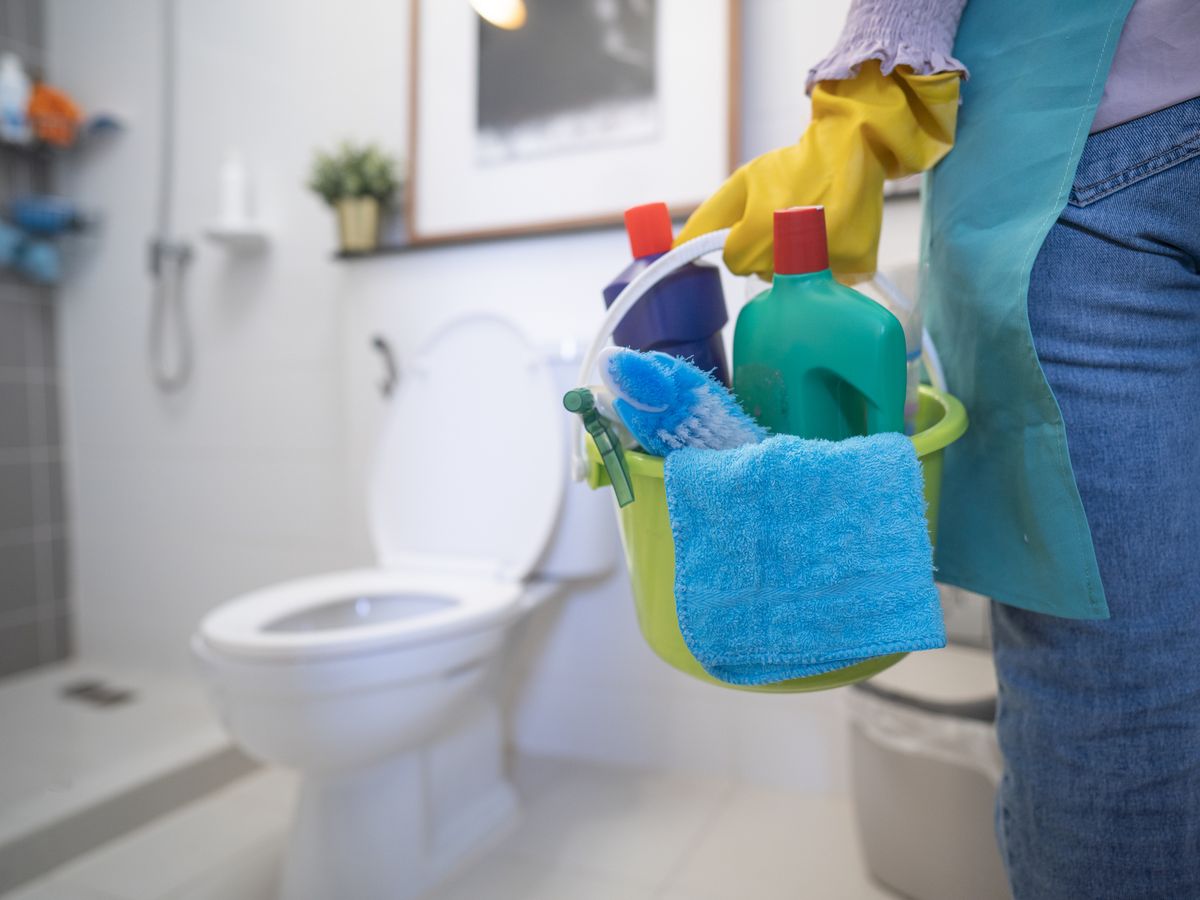
Preparing the Area
Before embarking on the task of cleaning tile grout with toilet bowl cleaner, it's essential to prepare the surrounding area to ensure a smooth and efficient cleaning process. Proper preparation not only facilitates the application of the cleaner but also contributes to a safer and more controlled cleaning environment. Here's a detailed guide on preparing the area for cleaning tile grout:
-
Ventilation: Begin by ensuring adequate ventilation in the bathroom. Open windows and doors to allow fresh air to circulate, and if possible, use a fan to improve air circulation. Proper ventilation helps dissipate fumes from the cleaning products and promotes a more comfortable environment for the cleaning process.
-
Protective Gear: Consider wearing protective gear, such as rubber gloves and safety goggles, to shield your skin and eyes from potential contact with the toilet bowl cleaner. While many toilet bowl cleaners are formulated for safe use, it's advisable to take precautions to minimize direct exposure to the cleaning solution.
-
Clearing the Area: Remove any items or obstacles from the vicinity of the tiled surfaces to be cleaned. Clearing the area ensures unobstructed access to the grout lines and prevents accidental contact with objects that could interfere with the cleaning process.
-
Pre-Cleaning: If the grout lines are heavily soiled or contain visible debris, consider pre-cleaning the area by gently brushing or vacuuming the grout to remove loose dirt and debris. This preliminary step can help improve the effectiveness of the toilet bowl cleaner by eliminating surface-level contaminants.
-
Protecting Adjacent Surfaces: Take measures to protect adjacent surfaces, such as countertops, fixtures, and non-tiled areas, from accidental contact with the toilet bowl cleaner. Use masking tape or protective barriers to shield these surfaces and prevent any unintended exposure to the cleaning solution.
-
Readying the Cleaner: Ensure that the selected toilet bowl cleaner is readily accessible and that you have followed the manufacturer's instructions for proper handling and usage. Having the cleaner prepared and within reach streamlines the cleaning process and minimizes interruptions.
By meticulously preparing the area before initiating the grout cleaning process, you set the stage for a focused and efficient cleaning endeavor. These preparatory measures contribute to a safer, more organized, and ultimately more successful cleaning experience, allowing you to proceed confidently to the next steps of applying the cleaner and revitalizing your tile grout.
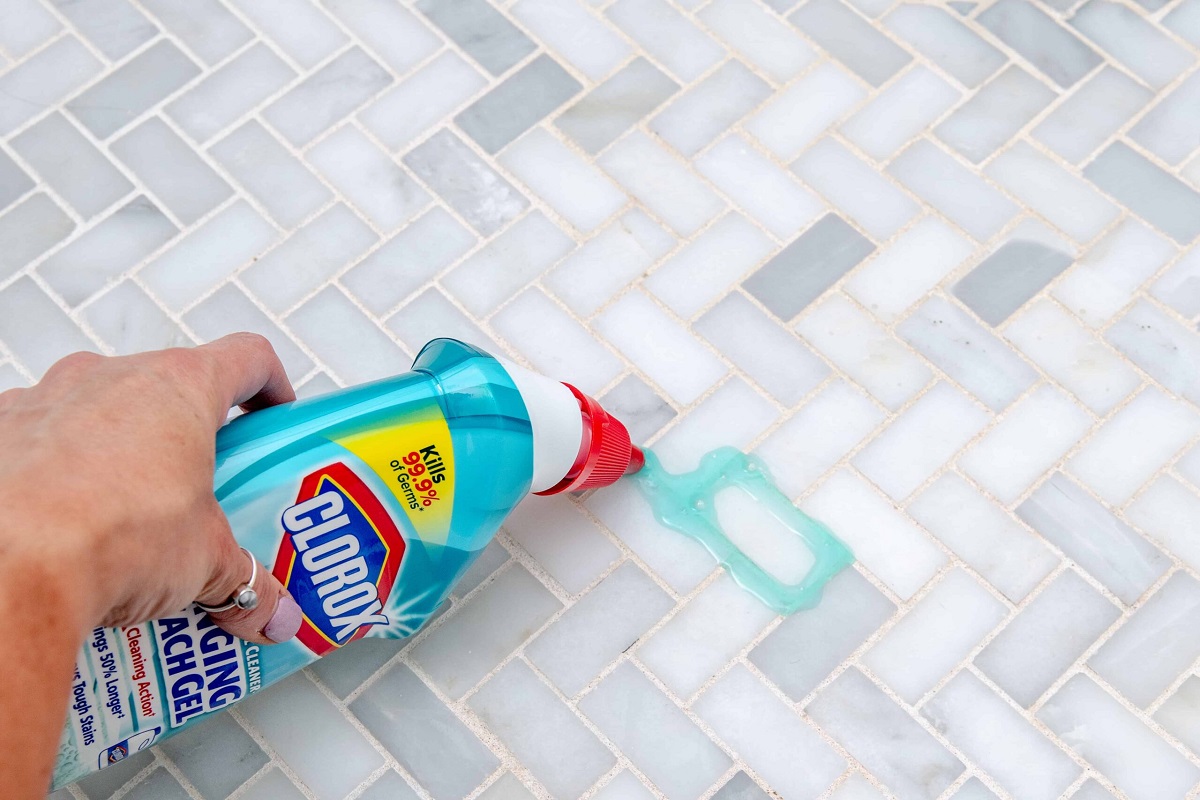
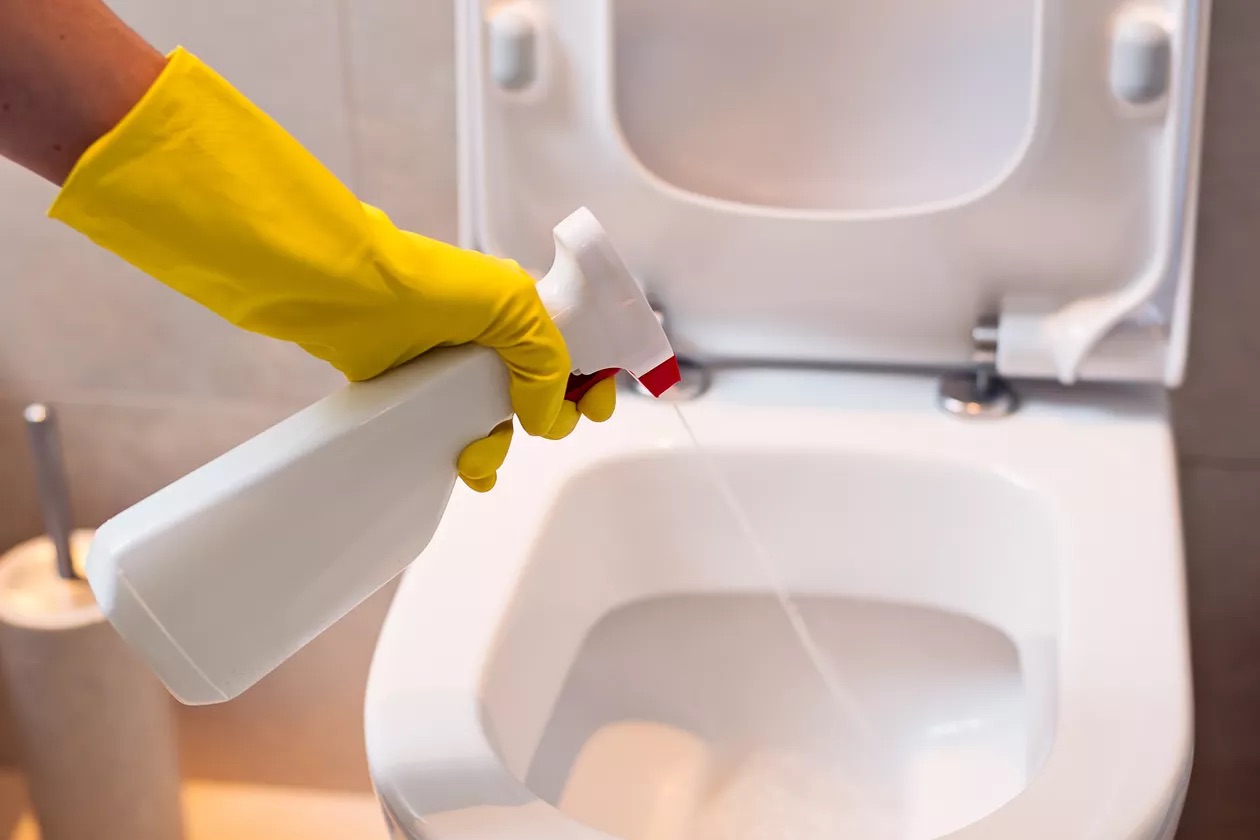
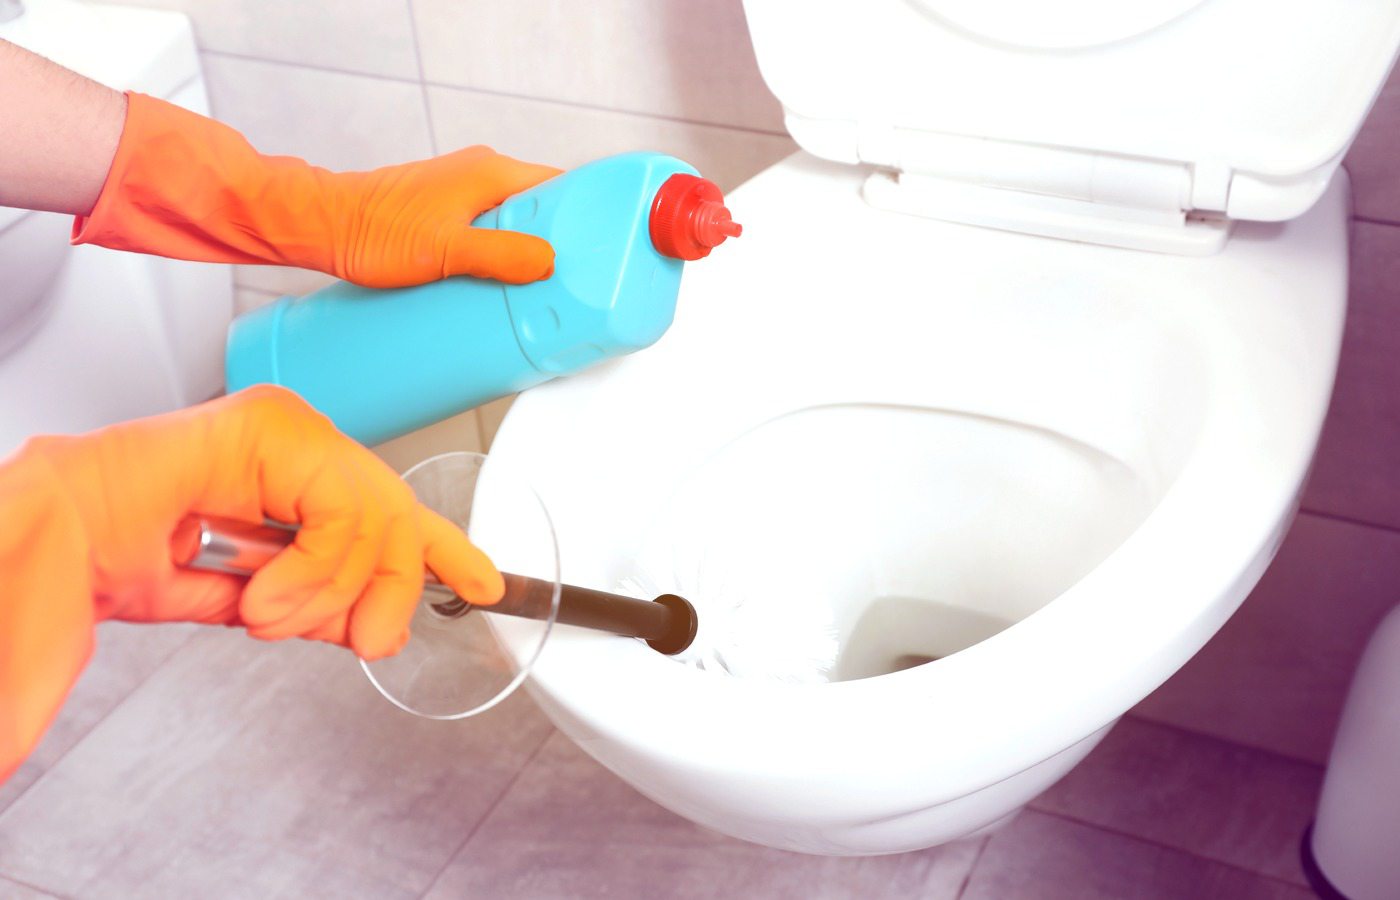
Applying the Cleaner
With the area properly prepared and the selected toilet bowl cleaner at the ready, it's time to apply the cleaner to the tile grout. This step marks the pivotal moment when the cleaning process transitions from preparation to action, as the potent cleaning properties of the toilet bowl cleaner are unleashed to tackle the stubborn grime and stains embedded within the grout lines.
To begin, carefully apply the toilet bowl cleaner directly onto the grout lines, ensuring thorough coverage of the stained and discolored areas. Depending on the formulation of the cleaner, it may be in the form of a gel, liquid, or foam. Regardless of the consistency, aim to distribute the cleaner evenly along the grout lines, allowing it to penetrate the porous surface and target the accumulated dirt and discoloration.
A small, dedicated brush, such as a toothbrush or grout brush, can be used to work the cleaner into the grout lines, ensuring that it reaches the deepest recesses and effectively loosens the embedded grime. The bristles of the brush aid in agitating the cleaner, facilitating its penetration into the porous grout and enhancing its cleaning action.
As you apply the cleaner and work it into the grout, pay particular attention to areas with pronounced staining or discoloration. These trouble spots may require additional application and gentle scrubbing to achieve optimal results. By focusing on targeted treatment of heavily soiled areas, you can maximize the effectiveness of the cleaner and address the specific cleaning needs of the grout.
It's important to adhere to the recommended dwell time specified by the cleaner's instructions. The dwell time refers to the duration the cleaner should remain in contact with the grout to achieve optimal cleaning results. During this period, the cleaner's active ingredients penetrate and break down the dirt and stains, preparing the grout for the next crucial step in the cleaning process.
As the cleaner works its magic on the grout, you may notice the gradual transformation of the stained areas, indicating the cleaner's effectiveness in lifting and dissolving the embedded grime. This visual feedback serves as a testament to the power of the toilet bowl cleaner in rejuvenating the appearance of the tile grout, setting the stage for the subsequent scrubbing and rinsing steps.
By meticulously applying the cleaner and allowing it to dwell on the grout, you harness the full potential of the cleaning solution, paving the way for the next phase of the cleaning process. With the grout primed and ready for further attention, the stage is set for the pivotal step of scrubbing the grout to achieve a thorough and revitalizing clean.
Read more: How To Clean Tile Grout In A Swimming Pool
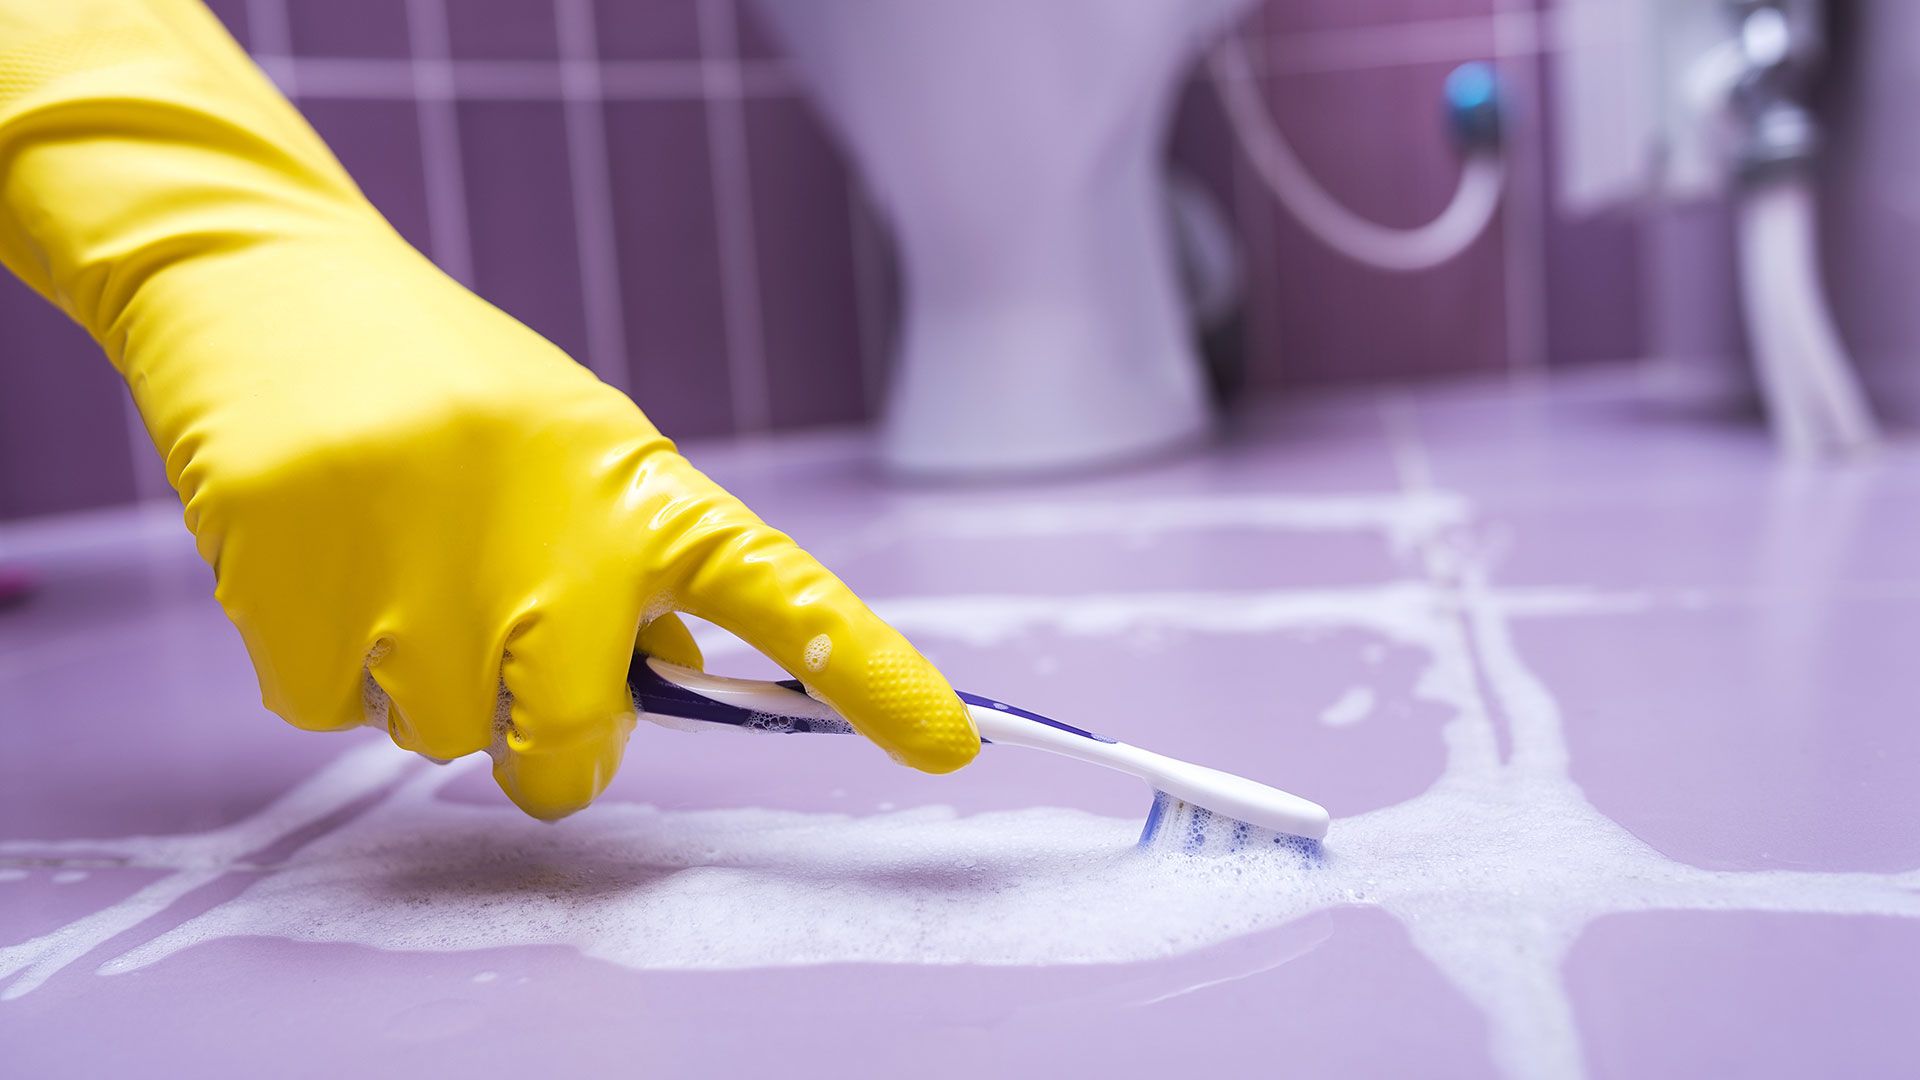
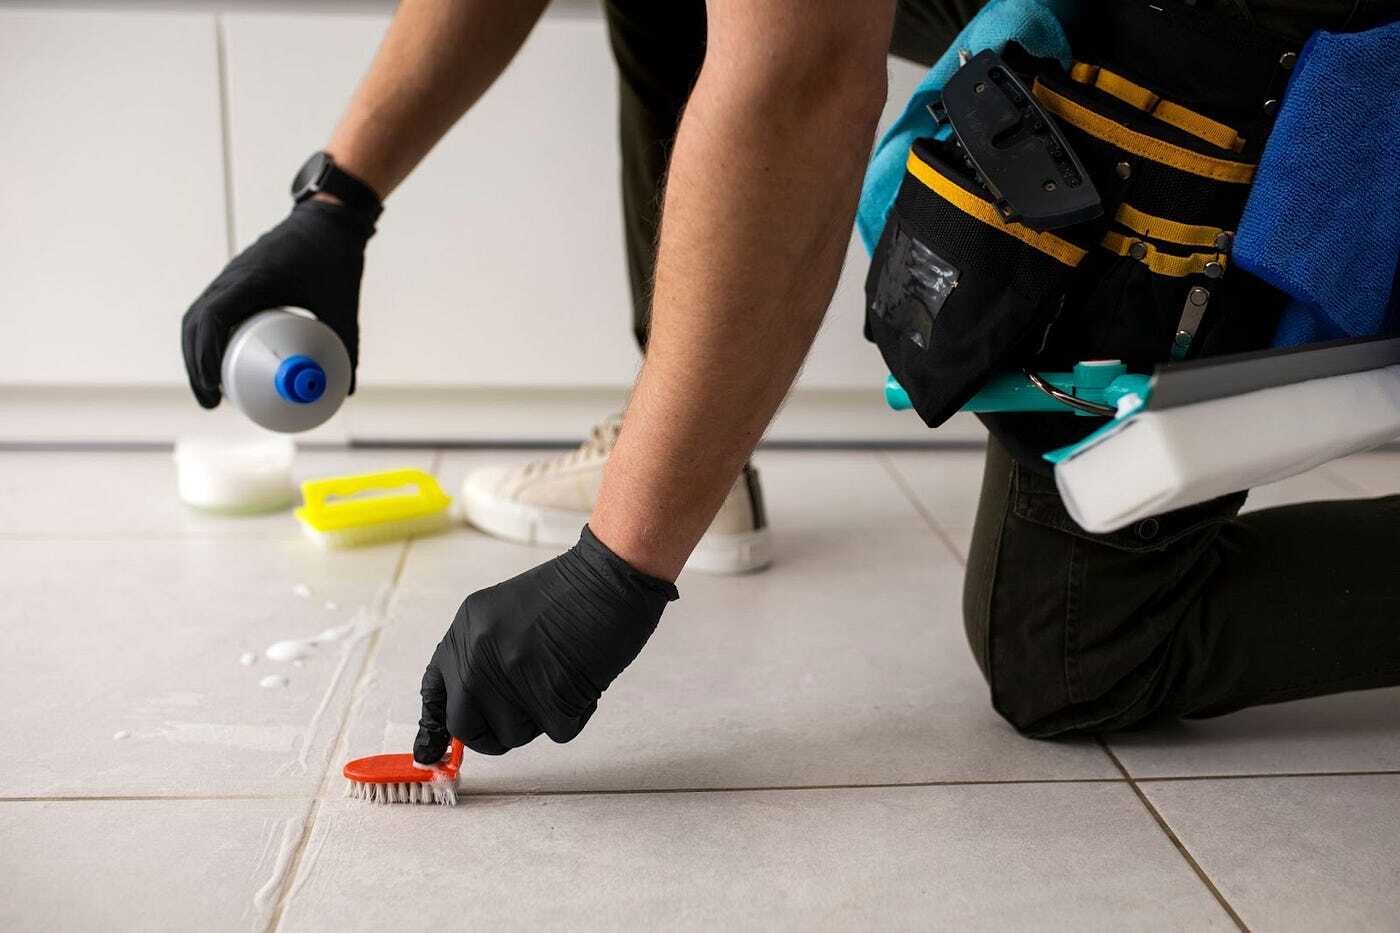
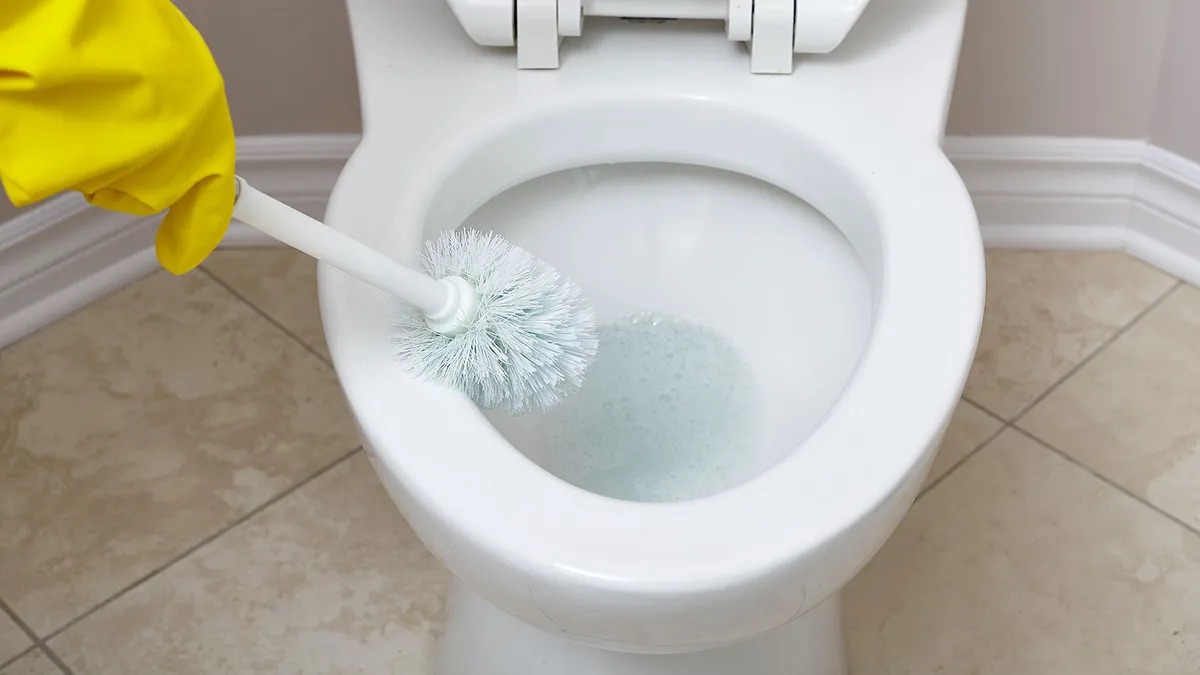
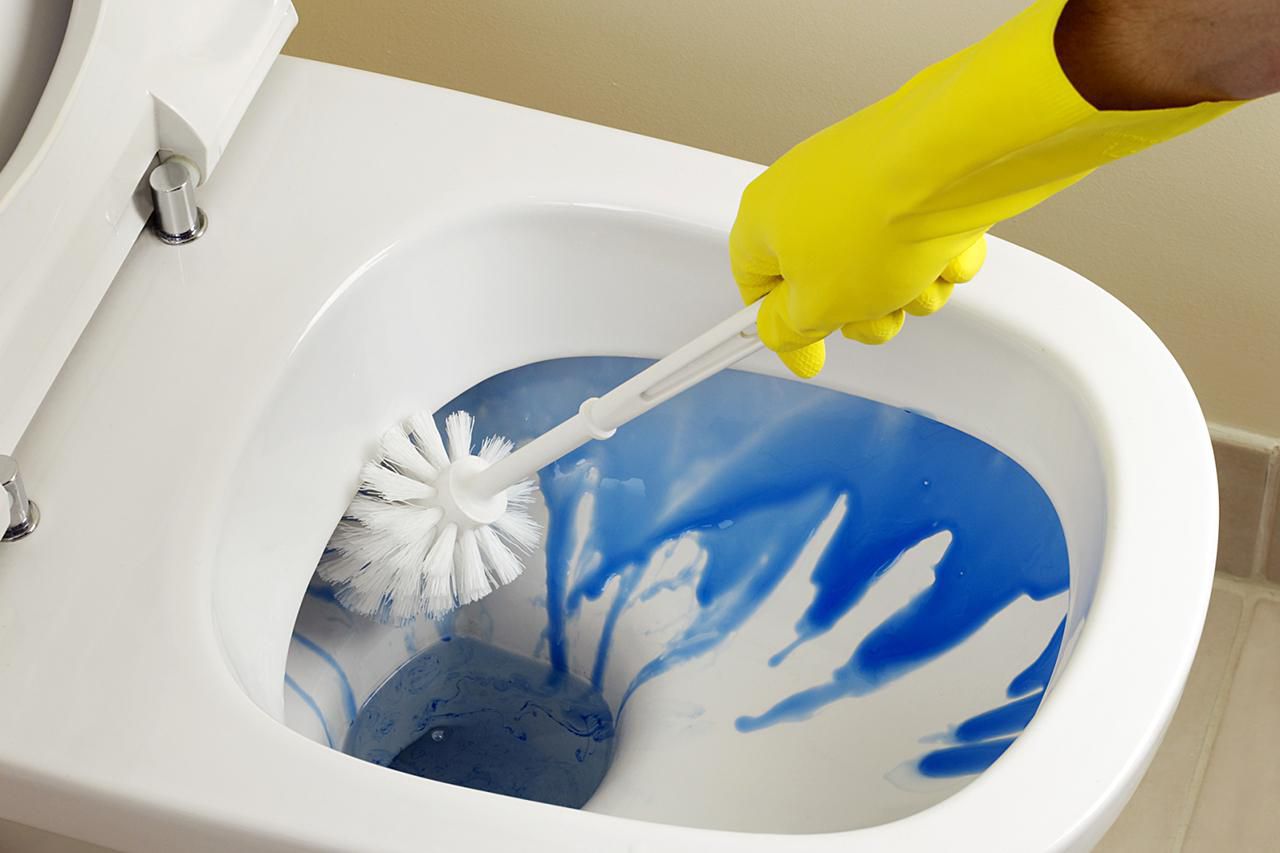
Scrubbing the Grout
After allowing the toilet bowl cleaner to dwell on the grout lines and work its magic, the next crucial step in the cleaning process involves scrubbing the grout to dislodge and remove the loosened dirt, stains, and grime. This hands-on phase is where the transformative power of the cleaning method truly comes to fruition, as diligent scrubbing yields visible results and restores the grout to its original brilliance.
To commence the scrubbing process, equip yourself with a small, firm-bristled brush specifically designed for grout cleaning. A toothbrush or grout brush is well-suited for this task, as its compact size and sturdy bristles enable precise and targeted scrubbing along the grout lines. Additionally, the brush's firm bristles effectively agitate the cleaner-treated grout, dislodging embedded dirt and stains with controlled precision.
With the brush in hand, focus on each section of the grout lines, working methodically to ensure comprehensive coverage and thorough cleaning. Employing a back-and-forth motion, gently scrub the grout, paying particular attention to areas with stubborn discoloration or deeply ingrained grime. The goal is to systematically address the entire expanse of grout, ensuring that no section is overlooked in the cleaning process.
As you scrub, you may notice the gradual transformation of the grout, with the loosened dirt and stains giving way to renewed cleanliness and brightness. The combined action of the toilet bowl cleaner and diligent scrubbing effectively lifts and dislodges the accumulated grime, unveiling the true potential of the grout beneath the surface residues.
It's essential to maintain a steady and patient approach during the scrubbing process, as thoroughness and attention to detail are key to achieving optimal results. By devoting focused effort to each grout line and persistently addressing areas of concern, you can maximize the effectiveness of the cleaning method and ensure a comprehensive revitalization of the grout.
Throughout the scrubbing phase, periodically rinse the brush to remove dislodged grime and prevent its redeposition onto the grout. This practice helps maintain the cleanliness of the brush and prevents cross-contamination, ensuring that the scrubbing action remains effective and consistent throughout the cleaning process.
As you progress through the scrubbing phase, take note of the evolving appearance of the grout, observing the remarkable difference achieved through the combined action of the cleaner and diligent scrubbing. The visual impact of this phase serves as a testament to the efficacy of the cleaning method, motivating and inspiring continued dedication to achieving a thorough and revitalizing clean.
By conscientiously scrubbing the grout and harnessing the transformative potential of the cleaning method, you pave the way for the subsequent rinsing and drying steps, bringing the cleaning process to its culmination. With the grout now rejuvenated and free from embedded grime, the final steps will ensure a polished and pristine finish, elevating the overall appearance of your tiled surfaces.
When using toilet bowl cleaner to clean tile grout, make sure to wear gloves and work in a well-ventilated area. Apply the cleaner to the grout, let it sit for a few minutes, then scrub with a brush and rinse thoroughly with water.
Rinsing and Drying
After the meticulous scrubbing of the grout lines, the pivotal step of rinsing and drying emerges as the final phase of the cleaning process. This critical stage not only serves to remove residual cleaner and dislodged grime but also contributes to the overall presentation and longevity of the revitalized grout. With a methodical approach to rinsing and drying, you can ensure that the cleaning process culminates in a polished and pristine finish, elevating the overall appearance of your tiled surfaces.
Commence the rinsing process by thoroughly wetting a clean microfiber cloth or sponge with warm water. Gently wipe the treated grout lines, systematically removing the residual toilet bowl cleaner and dislodged grime. The use of warm water aids in effectively rinsing away the cleaning solution, ensuring that no traces of the cleaner remain on the grout surface.
As you proceed with the rinsing, periodically rinse the cloth or sponge to prevent the accumulation of residual cleaner and grime. This practice maintains the effectiveness of the rinsing action, preventing potential recontamination of the grout lines and promoting a thorough removal of cleaning residues.
Following the initial rinsing, inspect the grout lines to ensure that all traces of the cleaner and dislodged grime have been effectively removed. Pay particular attention to areas that may require additional rinsing, especially those with persistent staining or denser accumulations of grime.
Once satisfied with the rinsing results, proceed to dry the cleaned grout lines using a clean, dry microfiber cloth or towel. Gently pat and wipe the grout, absorbing any residual moisture and ensuring a thorough drying process. Adequate drying is essential to prevent the reformation of mold and mildew and to showcase the revitalized appearance of the grout.
As you dry the grout, take note of the enhanced clarity and brightness that emerges as the moisture is removed, revealing the true cleanliness and vibrancy of the revitalized grout. This visual transformation serves as a testament to the effectiveness of the cleaning method and underscores the impact of meticulous rinsing and drying in achieving a polished and pristine finish.
By diligently executing the rinsing and drying process, you bring the cleaning journey to its culmination, unveiling the revitalized and rejuvenated grout in all its renewed splendor. With the grout now free from residual cleaner and grime, the meticulous rinsing and drying steps ensure a lasting and impactful transformation, elevating the overall aesthetic and cleanliness of your tiled surfaces.
Final Tips and Considerations
-
Regular Maintenance: Once the grout is revitalized, maintaining its cleanliness is key to preserving the results. Consider incorporating a regular cleaning schedule to prevent the accumulation of dirt and grime. Simple practices such as wiping down the tiled surfaces after each use can significantly contribute to the longevity of the revitalized grout.
-
Sealing the Grout: After cleaning, consider applying a grout sealer to enhance the grout's resistance to staining and moisture penetration. A quality grout sealer forms a protective barrier, safeguarding the grout against future discoloration and simplifying its maintenance.
-
Test in inconspicuous areas: Before applying the selected toilet bowl cleaner to the entire grout surface, perform a patch test in a discreet area to ensure compatibility and assess the cleaner's impact on the grout and surrounding materials.
-
Avoid abrasive tools: While scrubbing the grout, refrain from using abrasive tools or harsh cleaning implements that may damage or erode the grout. Opt for gentle, non-abrasive brushes to protect the integrity of the grout during the cleaning process.
-
Addressing stubborn stains: For persistent or stubborn stains, consider repeating the cleaning process or employing targeted spot treatments to address specific areas of concern. Patience and persistence can yield remarkable results in tackling challenging grout stains.
-
Professional assistance: In cases of extensive grout discoloration or mold infestation, seeking professional assistance from a reputable cleaning service or tile and grout restoration specialist may be advisable. Professional expertise can address severe grout issues and ensure comprehensive restoration.
-
Regular ventilation: Maintain adequate ventilation in the bathroom to minimize moisture accumulation, inhibit mold growth, and promote a fresher and more hygienic environment. Proper ventilation contributes to the long-term cleanliness and preservation of the revitalized grout.
-
Adopt preventive measures: Implement preventive measures such as using bath mats or rugs in high-traffic areas to minimize direct contact with the grout. These measures can reduce the accumulation of dirt and moisture, prolonging the cleanliness and appearance of the grout.
-
Routine inspection: Periodically inspect the grout for signs of discoloration, mold, or mildew, and promptly address any emerging issues. Timely intervention can prevent the escalation of grout-related problems and preserve the revitalized condition of the grout.
By incorporating these final tips and considerations into your grout cleaning and maintenance regimen, you can extend the longevity of the revitalized grout and uphold the pristine appearance of your tiled surfaces. These proactive measures contribute to a cleaner, more inviting bathroom environment, showcasing the enduring impact of the comprehensive grout cleaning process.
Frequently Asked Questions about How To Clean Tile Grout With Toilet Bowl Cleaner
Was this page helpful?
At Storables.com, we guarantee accurate and reliable information. Our content, validated by Expert Board Contributors, is crafted following stringent Editorial Policies. We're committed to providing you with well-researched, expert-backed insights for all your informational needs.

0 thoughts on “How To Clean Tile Grout With Toilet Bowl Cleaner”