Home>Furniture & Design>Bathroom Accessories>How To Apply Toilet Bowl Cleaner
Bathroom Accessories
How To Apply Toilet Bowl Cleaner
Published: February 14, 2024
Learn how to effectively apply toilet bowl cleaner and keep your bathroom accessories sparkling clean with our simple step-by-step guide. Say goodbye to stubborn stains and odors!
(Many of the links in this article redirect to a specific reviewed product. Your purchase of these products through affiliate links helps to generate commission for Storables.com, at no extra cost. Learn more)
Introduction
Cleaning the toilet may not be the most glamorous task, but it is an essential part of maintaining a clean and hygienic bathroom. One of the key steps in this process is applying toilet bowl cleaner effectively. A sparkling clean toilet not only enhances the overall appearance of the bathroom but also contributes to a healthier living environment.
In this comprehensive guide, we will walk you through the step-by-step process of applying toilet bowl cleaner to achieve a pristine and germ-free toilet bowl. Whether you are a seasoned cleaning enthusiast or a novice in the world of bathroom maintenance, mastering the art of applying toilet bowl cleaner will undoubtedly elevate your cleaning routine.
By following these simple yet effective steps, you can ensure that your toilet bowl remains free from stubborn stains, mineral deposits, and unpleasant odors. With the right techniques and a quality toilet bowl cleaner, you can transform your toilet into a spotless and inviting fixture within your bathroom.
So, roll up your sleeves and get ready to learn the best practices for applying toilet bowl cleaner. With a few easy steps, you can make this chore a breeze and enjoy the satisfaction of a sparkling clean toilet bowl. Let's dive into the details and discover the secrets to achieving a pristine toilet bowl that will leave your bathroom looking and smelling fresh.
Key Takeaways:
- Mastering the art of applying toilet bowl cleaner ensures a sparkling, germ-free toilet. Gather the right materials, prepare the bowl, apply the cleaner, scrub thoroughly, and rinse for a pristine result.
- Don’t give up on stubborn stains! Repeat the cleaning process if necessary to achieve a flawless, hygienic toilet bowl. Dedication to thorough cleaning creates a visually appealing and healthy bathroom environment.
Read more: What Is In Toilet Bowl Cleaner
Step 1: Gather the necessary materials
Before embarking on the task of cleaning your toilet bowl, it's essential to gather all the necessary materials to ensure a smooth and efficient cleaning process. Having the right tools and products at your disposal will not only make the job easier but also contribute to achieving a thorough and effective clean. Here's a comprehensive list of the materials you'll need:
-
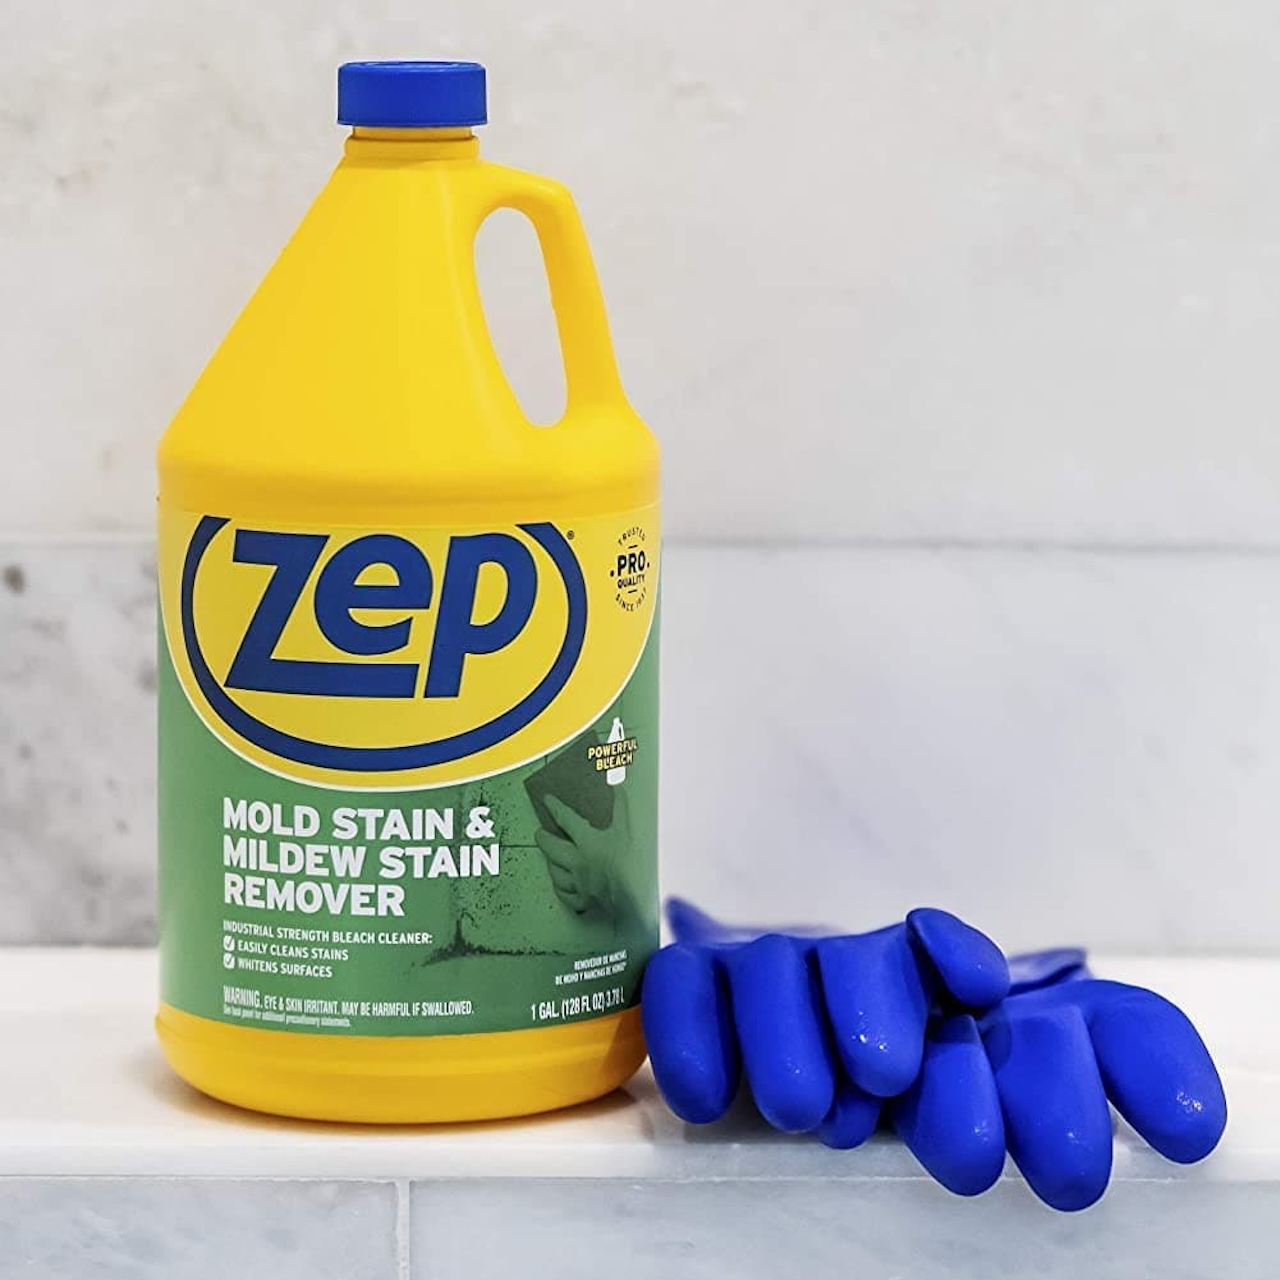
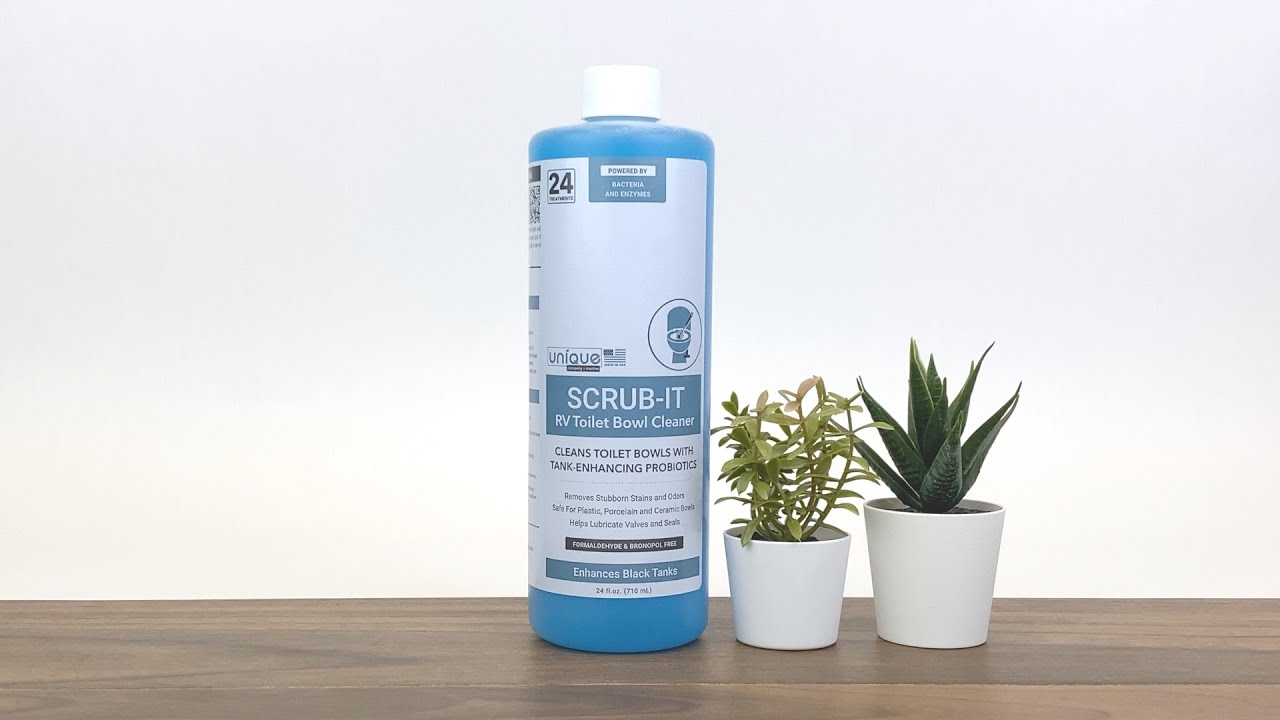
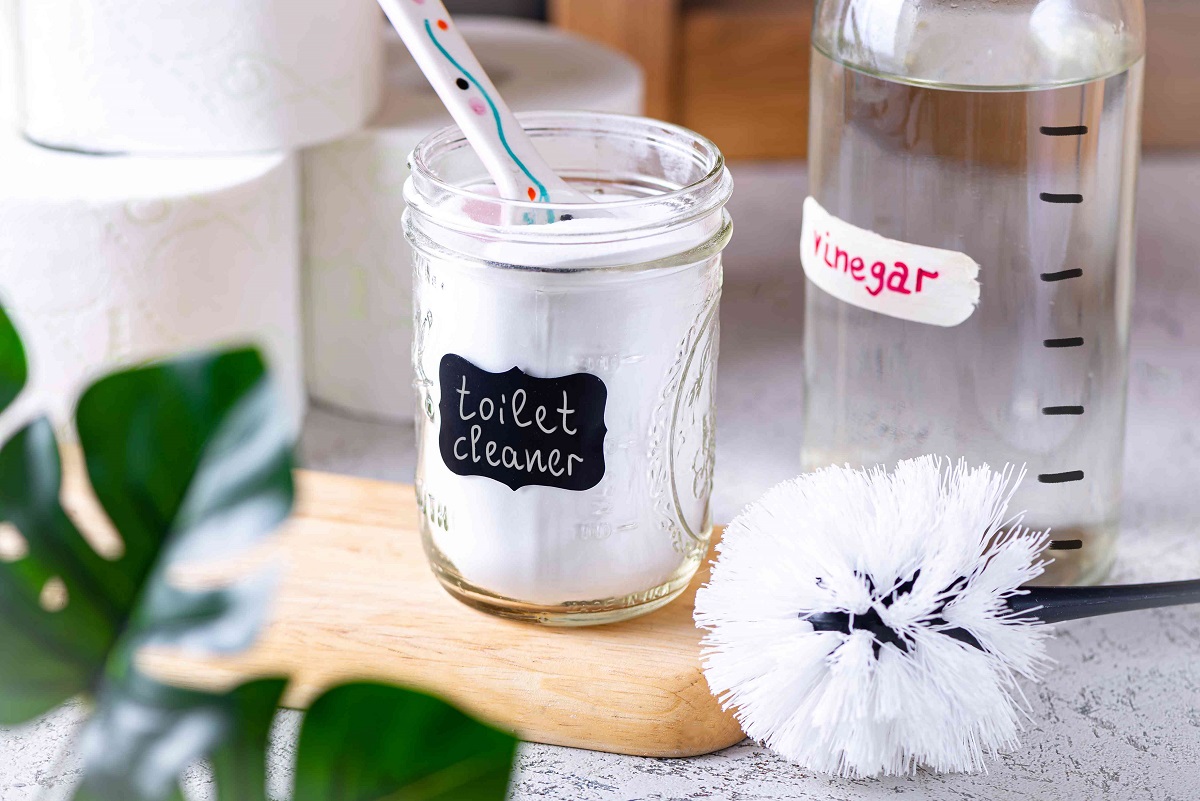
Toilet Bowl Cleaner: Select a high-quality toilet bowl cleaner that is specifically formulated to tackle tough stains, mineral deposits, and bacteria. Look for a cleaner that contains disinfecting properties to ensure a hygienic result.
-
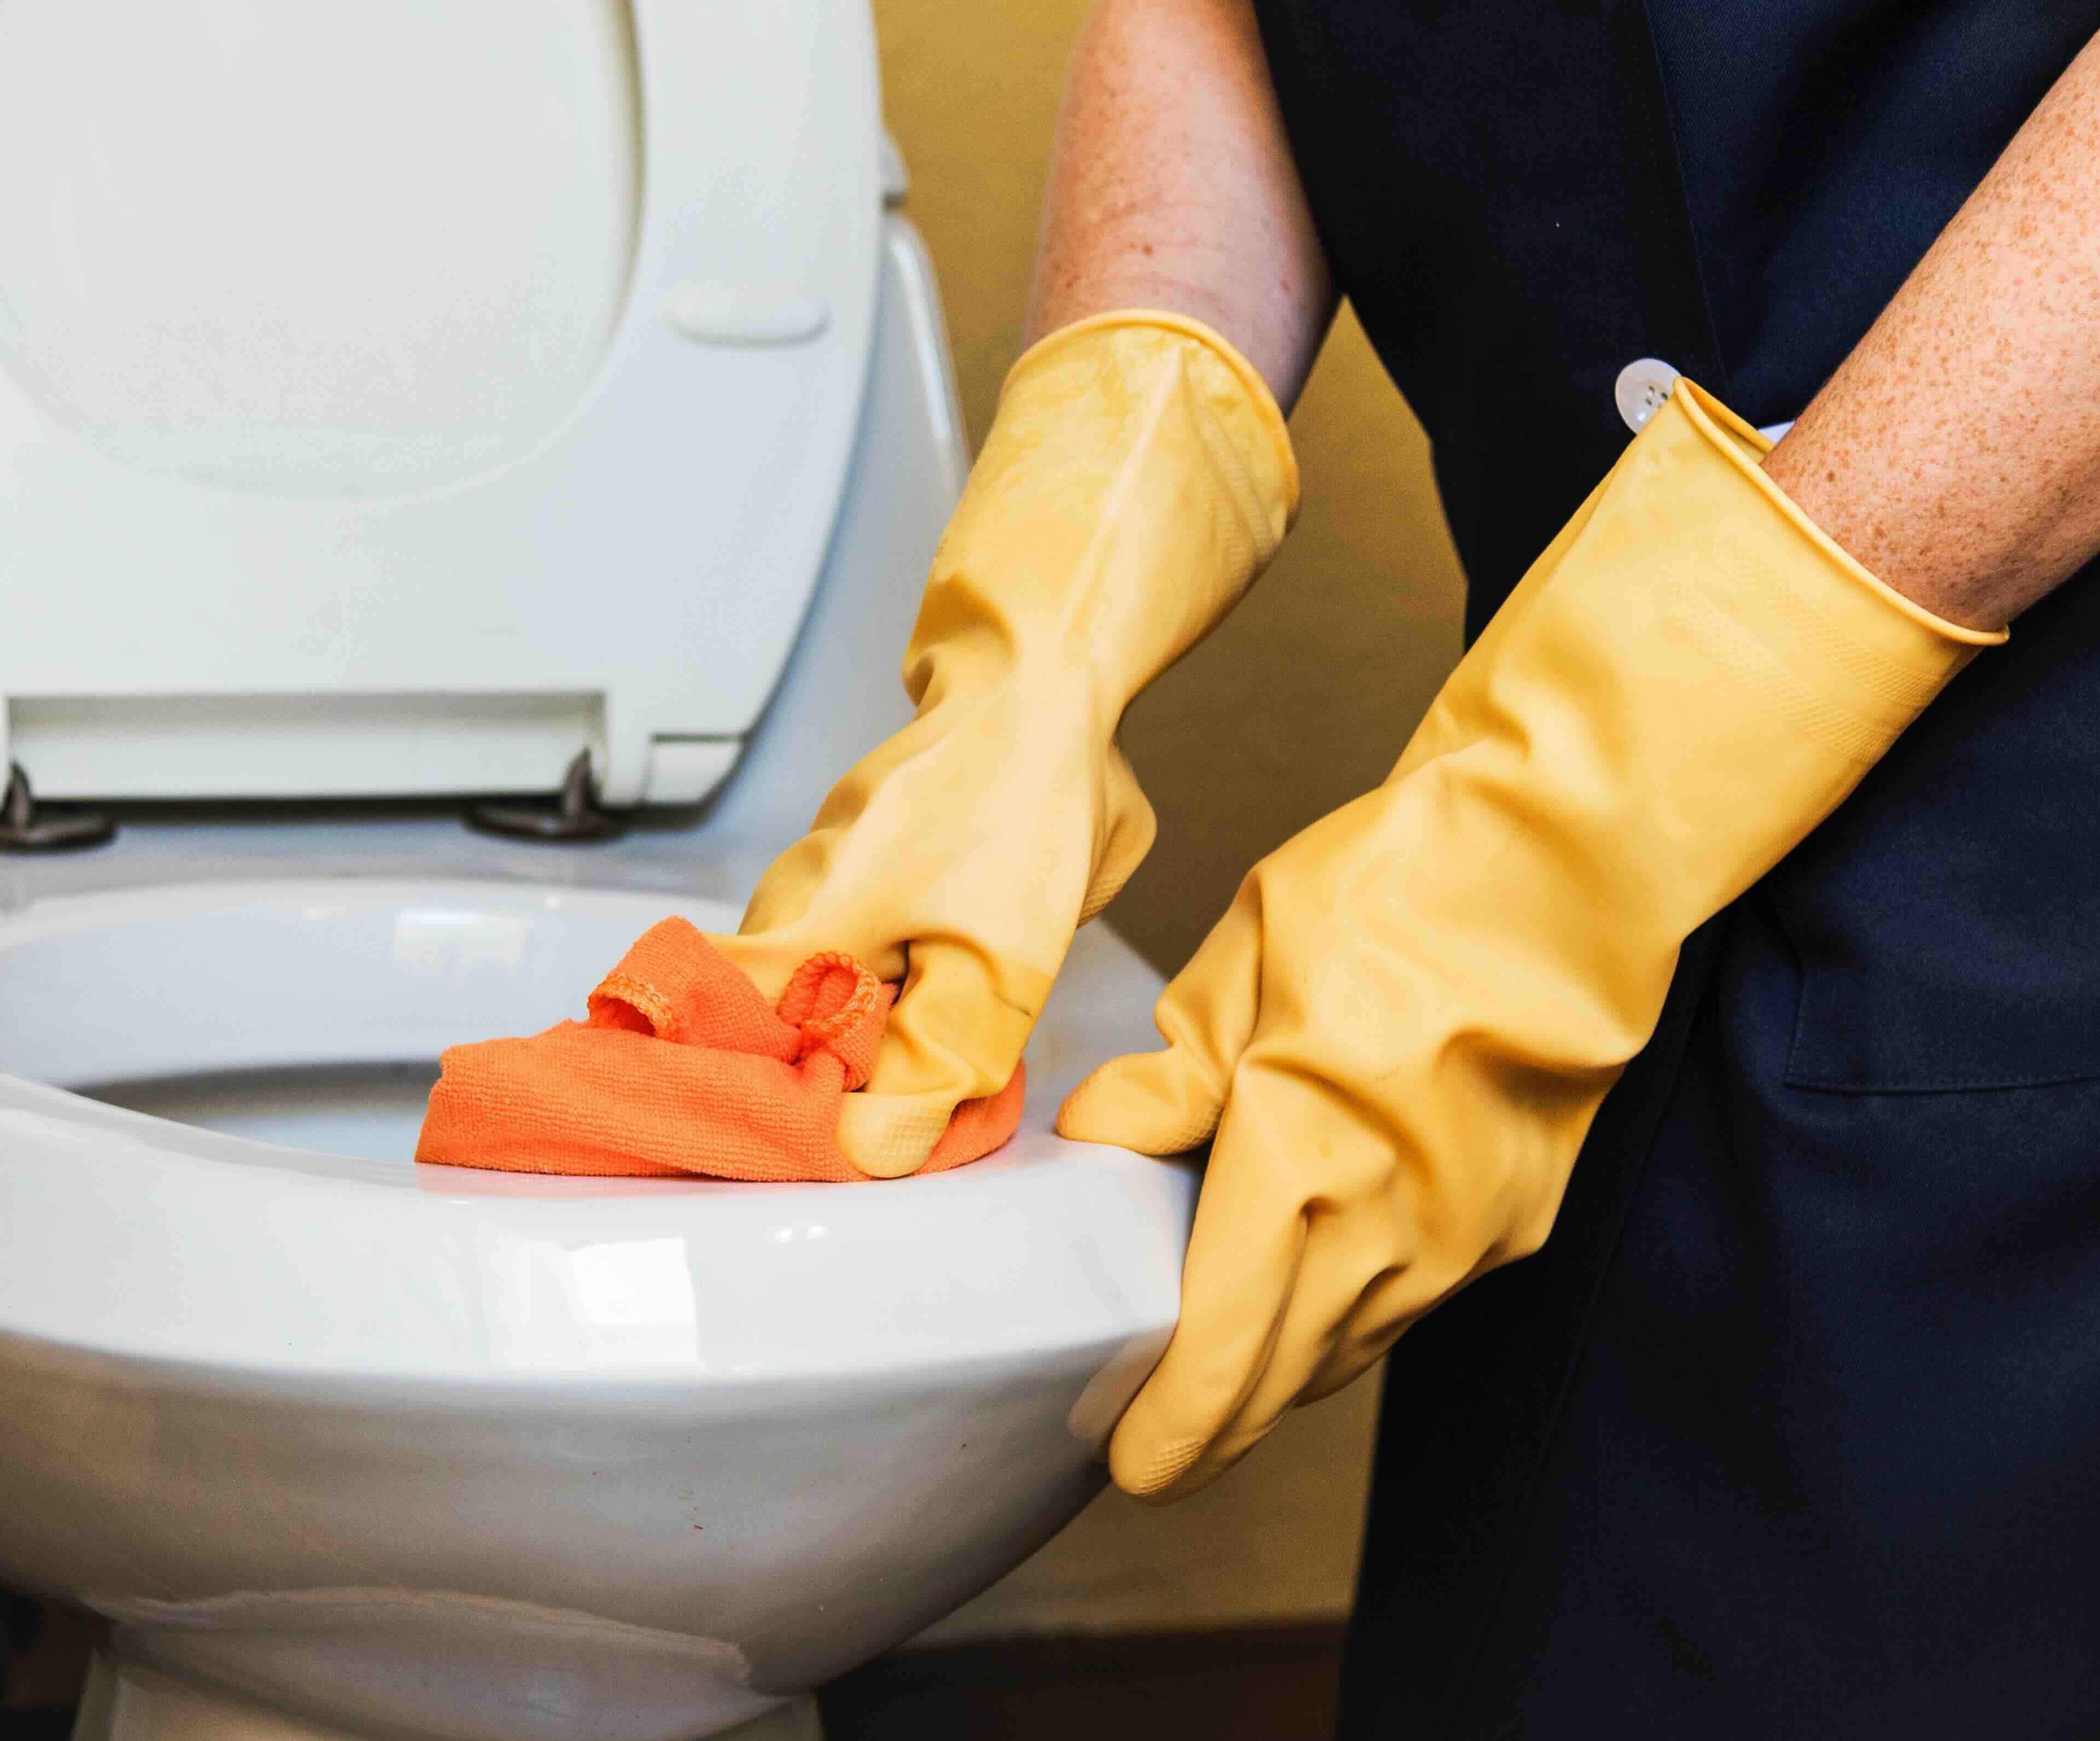
Protective Gloves: It's important to protect your hands from the cleaning chemicals, so be sure to have a pair of durable rubber gloves on hand. This will prevent skin irritation and exposure to potentially harmful substances.
-
Toilet Brush: A sturdy toilet brush with durable bristles is essential for scrubbing and agitating the cleaner inside the toilet bowl. Choose a brush with an ergonomic handle for comfortable use.
-
Safety Goggles (Optional): If you're using a particularly strong toilet bowl cleaner or if you're sensitive to fumes, consider wearing safety goggles to protect your eyes during the cleaning process.
-
Ventilation: Ensure that the bathroom is well-ventilated by opening windows or turning on an exhaust fan. Proper ventilation will help dissipate any fumes from the cleaning products and create a more comfortable environment for cleaning.
-
Cleaning Cloth or Sponge: Keep a cleaning cloth or sponge handy for wiping down the exterior of the toilet, as well as any spills or splashes that may occur during the cleaning process.
-
Bucket of Water: Having a bucket of water nearby can be useful for rinsing the toilet brush and cleaning cloth, as well as for flushing the toilet if needed.
By gathering these essential materials before you begin, you'll be well-prepared to tackle the task of applying toilet bowl cleaner with confidence and efficiency. With the right tools at your disposal, you can ensure that the cleaning process is not only effective but also safe and convenient. Now that you have all the necessary materials assembled, you're ready to move on to the next step in achieving a sparkling clean toilet bowl.
Step 2: Prepare the toilet bowl
Before applying the toilet bowl cleaner, it's crucial to prepare the toilet bowl to ensure optimal cleaning results. Proper preparation sets the stage for the effective application of the cleaner and facilitates the removal of stubborn stains and mineral deposits. Here's a detailed guide on how to prepare the toilet bowl for the cleaning process:
Inspect the Toilet Bowl
Begin by inspecting the interior of the toilet bowl for any visible stains, residue, or mineral buildup. Take note of areas that require special attention, such as hard water stains or discoloration near the waterline. This visual assessment will help you target specific problem areas during the cleaning process.
Flush the Toilet
Before applying the cleaner, flush the toilet to remove any existing water from the bowl. This step ensures that the cleaner can make direct contact with the surface of the bowl without dilution. Additionally, flushing the toilet helps eliminate any loose debris or particles, allowing for a more thorough cleaning process.
Read more: How To Use Automatic Toilet Bowl Cleaner
Pre-Soak Stubborn Stains (Optional)
For particularly stubborn stains or mineral deposits, consider pre-soaking the affected areas with a diluted cleaning solution. This can be achieved by pouring a small amount of the cleaner directly onto the stains and allowing it to sit for a few minutes. Pre-soaking helps loosen tough buildup, making it easier to remove during the scrubbing process.
Position the Toilet Brush
Place the toilet brush within easy reach, ensuring that it is readily available for use once the cleaner is applied. Positioning the brush nearby will streamline the cleaning process and prevent any delays in scrubbing the bowl.
Consider Safety Precautions
If you're using a strong or concentrated toilet bowl cleaner, take necessary safety precautions to protect yourself from exposure to fumes or splashes. This may include wearing protective gloves and, if applicable, safety goggles to shield your hands and eyes from the cleaning solution.
By meticulously preparing the toilet bowl before applying the cleaner, you can maximize the effectiveness of the cleaning process and achieve a thorough and hygienic result. With the toilet bowl primed and ready, you're now equipped to move on to the next step of applying the toilet bowl cleaner and restoring your toilet to a pristine condition.
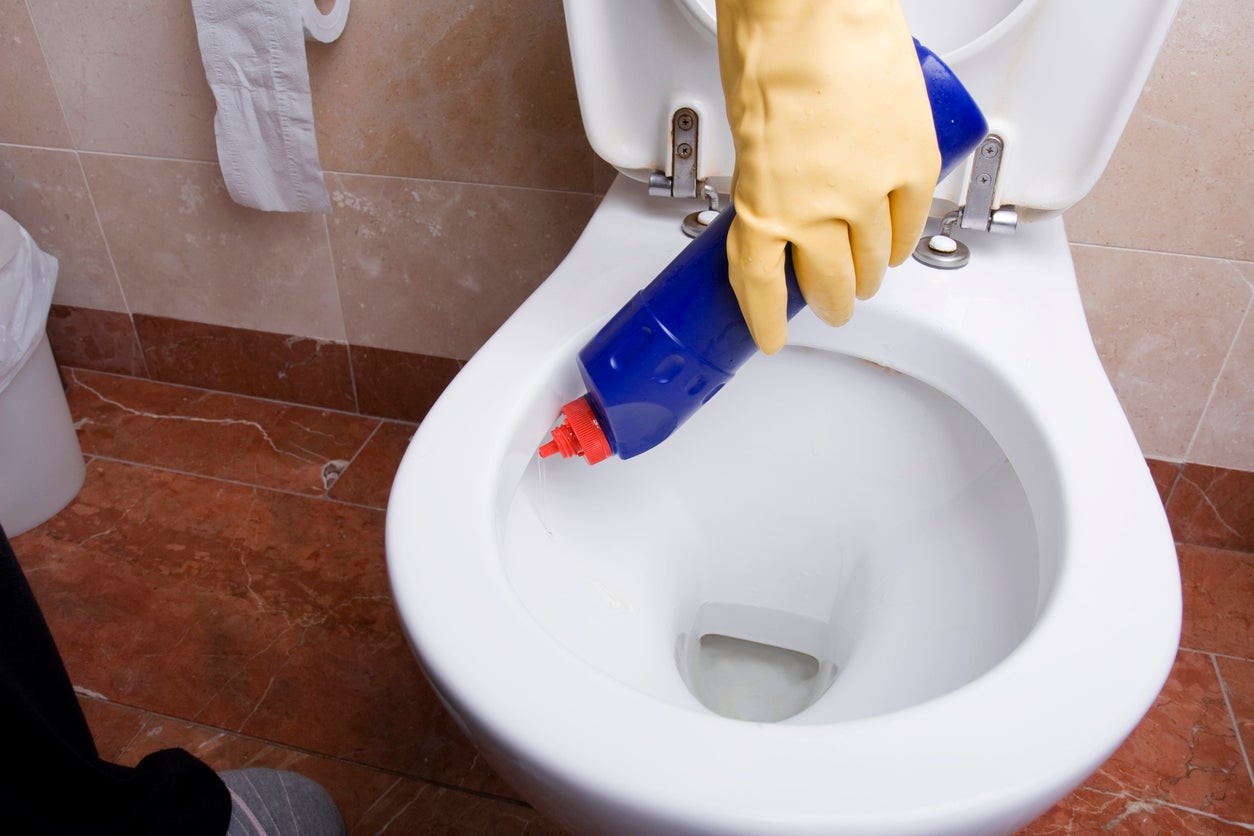
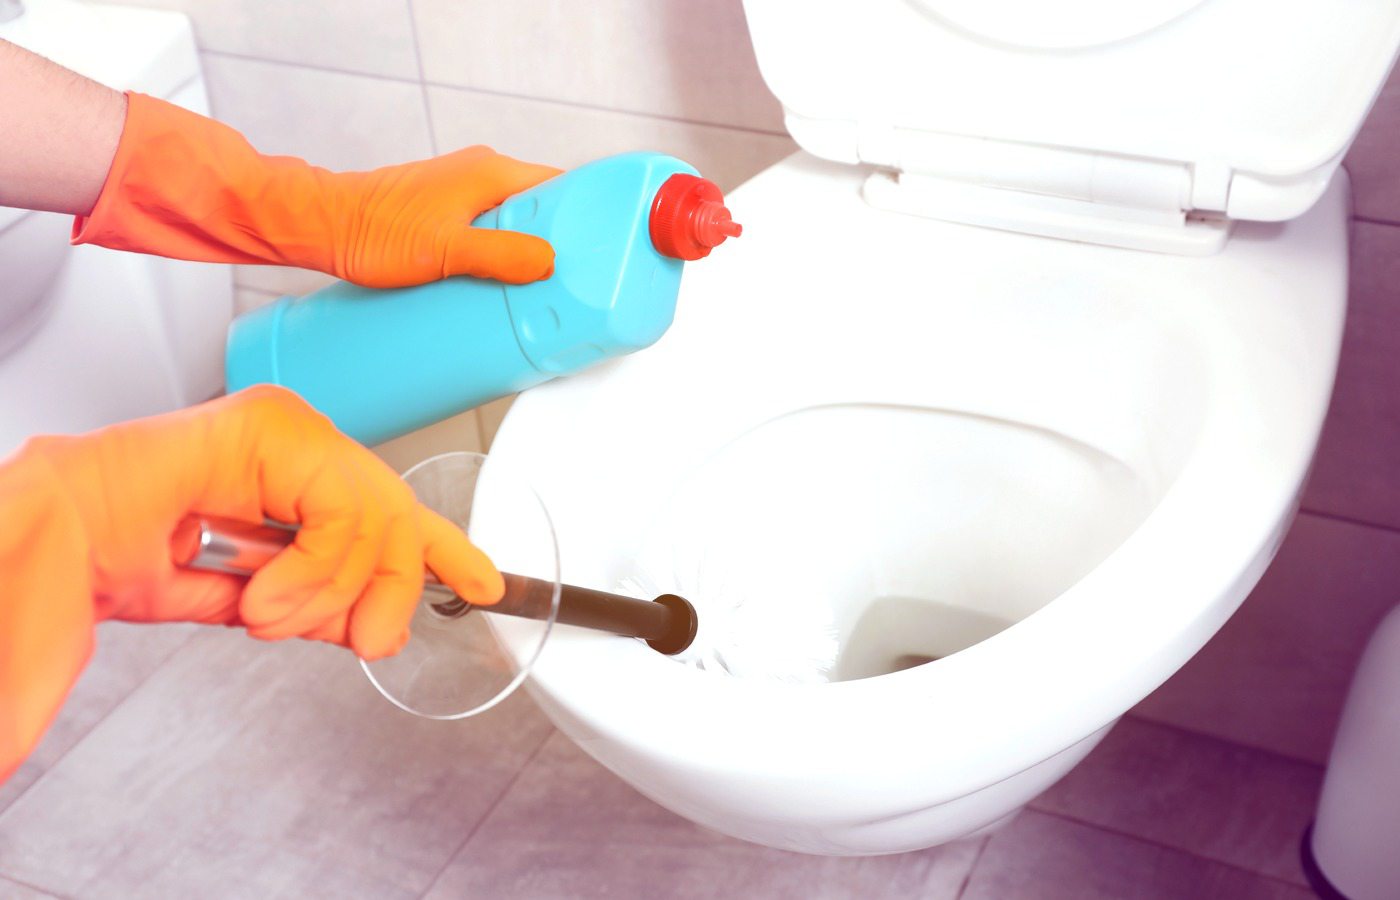
Step 3: Apply the toilet bowl cleaner
Applying the toilet bowl cleaner is a critical step in the cleaning process, as it sets the foundation for effectively removing stains, mineral deposits, and bacteria from the toilet bowl. To ensure thorough coverage and optimal results, follow these detailed instructions for applying the cleaner:
Read more: What Acid Is In Toilet Bowl Cleaner
Measure the Cleaner
Begin by carefully measuring the appropriate amount of toilet bowl cleaner as directed on the product label. Most cleaners require only a small amount to effectively treat the entire bowl. Using more than the recommended amount may lead to unnecessary waste and could potentially result in an overly concentrated cleaning solution.
Apply the Cleaner
With the measured amount of cleaner in hand, carefully pour it along the inside of the toilet bowl, ensuring complete coverage of the entire surface. Start at the rim of the bowl and allow the cleaner to flow down the sides, reaching the waterline and the lower areas of the bowl. This method ensures that the cleaner makes direct contact with all areas in need of cleaning.
Target Problem Areas
If there are specific stains or discolorations that require extra attention, focus on applying the cleaner directly to these areas. Use the nozzle or spout of the cleaner to target hard-to-reach spots, ensuring that the solution comes into direct contact with the problem areas.
Avoid Overuse
It's important to avoid overusing the cleaner, as excessive amounts may lead to unnecessary waste and could potentially result in an overly concentrated cleaning solution. Following the manufacturer's guidelines for the proper amount of cleaner will not only ensure effective cleaning but also contribute to responsible usage.
Read more: How To Open Lysol Toilet Bowl Cleaner
Let the Cleaner Set
After applying the cleaner, allow it to sit undisturbed in the toilet bowl for the recommended amount of time specified on the product label. This dwell time is crucial, as it allows the cleaner to penetrate and break down stubborn stains, mineral deposits, and bacteria, making them easier to remove during the scrubbing process.
By following these detailed steps for applying the toilet bowl cleaner, you can ensure thorough coverage and effective treatment of the entire bowl. With the cleaner properly applied, you're now ready to move on to the next step of scrubbing the toilet bowl to achieve a sparkling clean result.
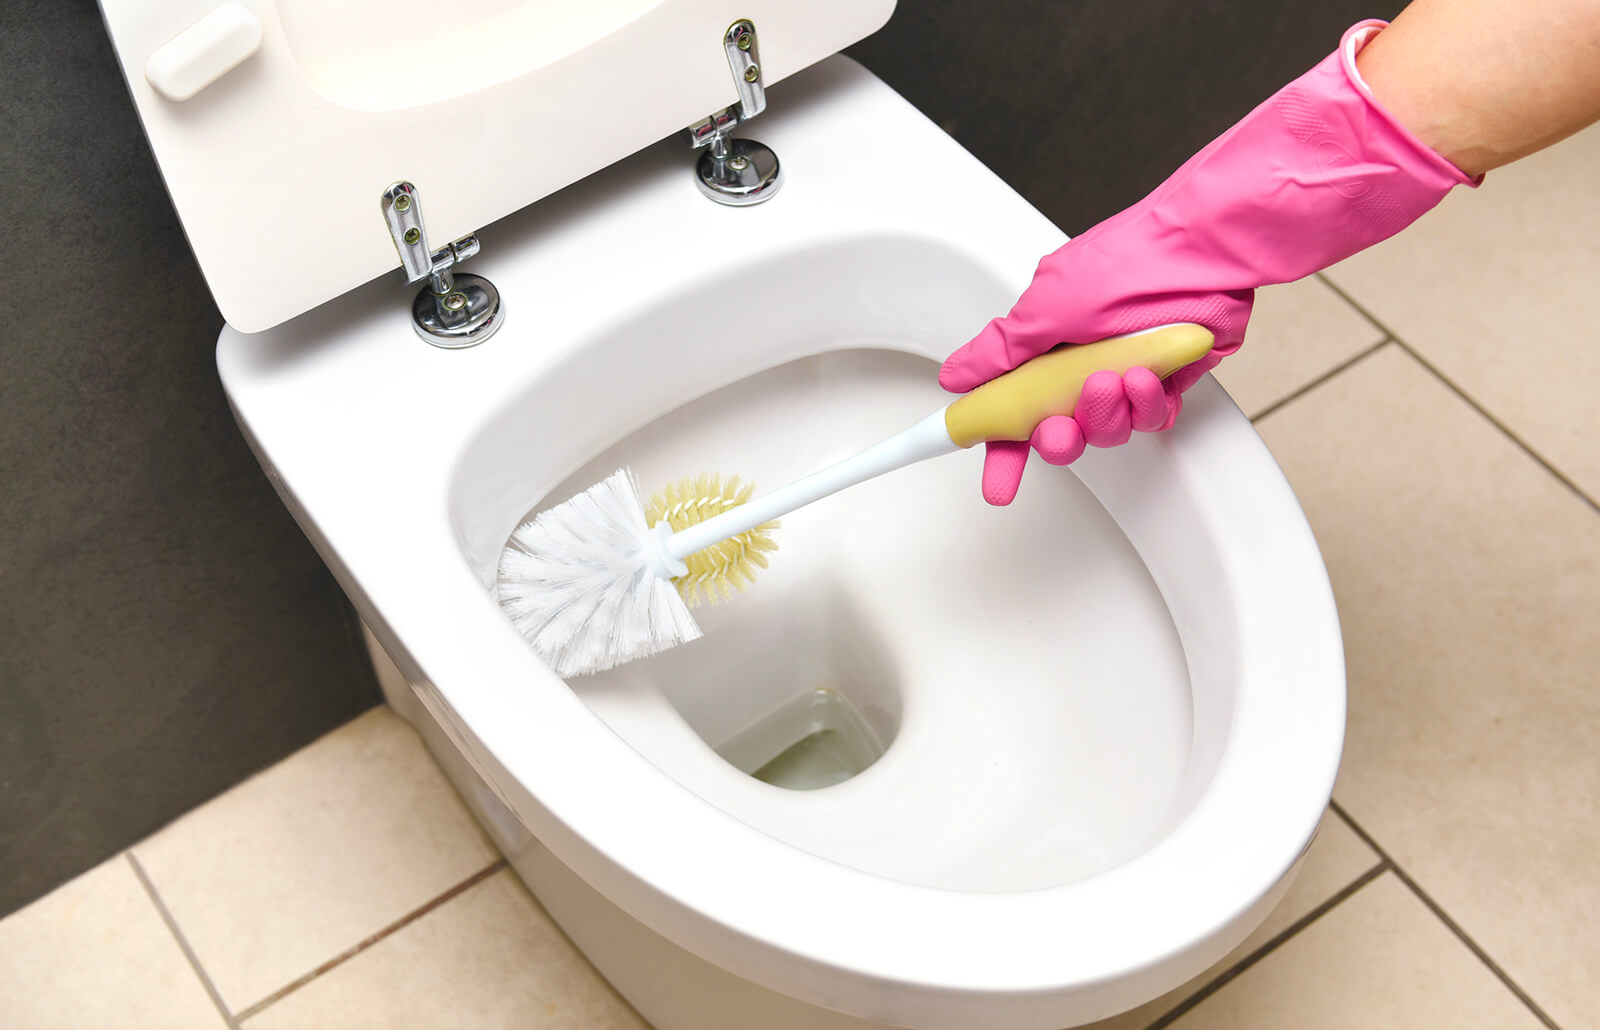
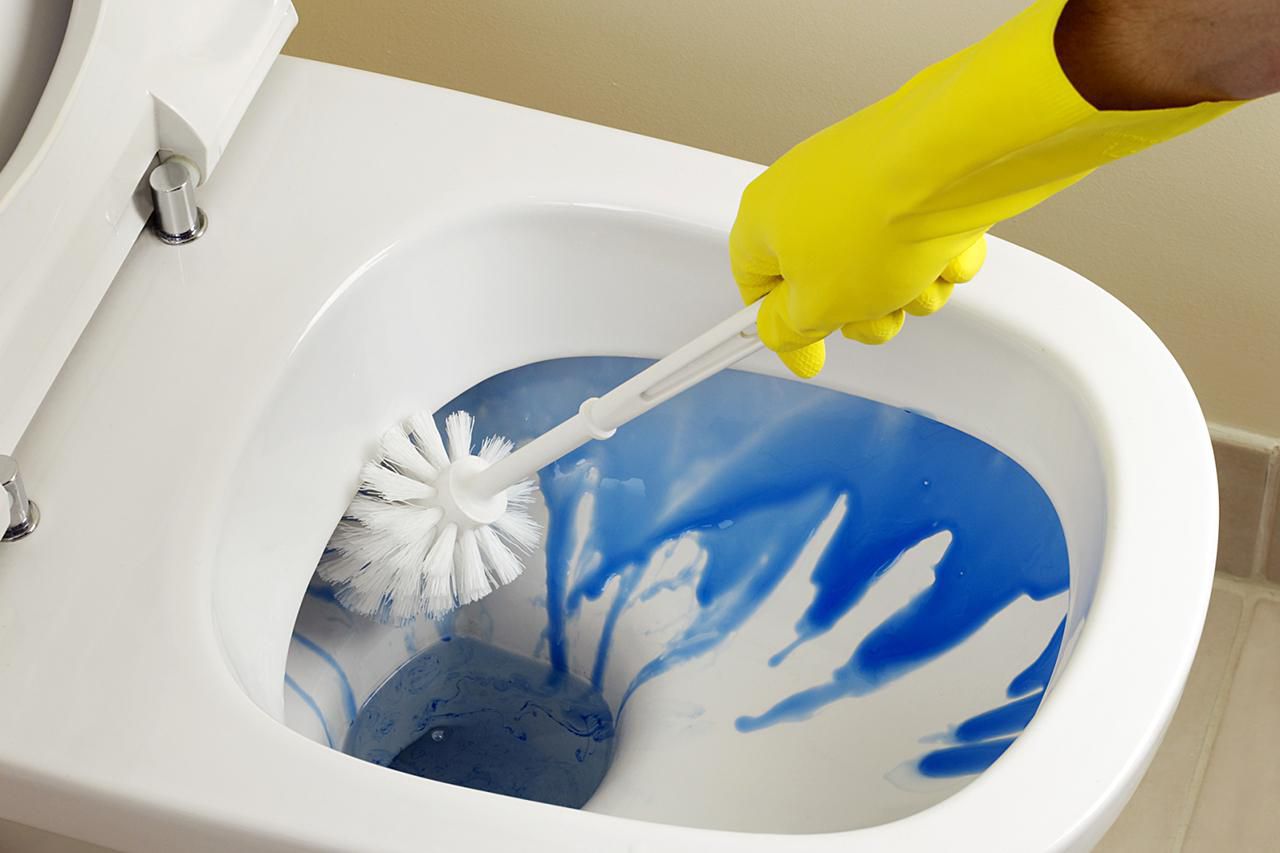
Step 4: Scrub the toilet bowl
Once the toilet bowl cleaner has had sufficient time to work its magic, it's time to roll up your sleeves and tackle the next crucial step: scrubbing the toilet bowl. This step is essential for dislodging stubborn stains, mineral deposits, and bacteria, and achieving a pristine and hygienic result. Here's a detailed guide on how to effectively scrub the toilet bowl:
-
Use the Toilet Brush: Equip yourself with a sturdy toilet brush featuring durable bristles designed to effectively scrub away grime and buildup. The brush should have an ergonomic handle for comfortable use and be dedicated solely for toilet cleaning to prevent cross-contamination.
-
Start from the Top: Begin by scrubbing the interior of the toilet bowl from the top, working your way down towards the waterline and the lower areas. Use a firm but gentle pressure to ensure thorough agitation of the cleaner and dislodging of any remaining stains or deposits.
-
Focus on Problem Areas: Pay special attention to any stubborn stains or discolorations, applying extra pressure and targeted scrubbing to effectively remove these blemishes. The bristles of the toilet brush should be able to reach into nooks and crannies, ensuring comprehensive cleaning.
-
Agitate the Waterline: Concentrate on scrubbing the area near the waterline, as this is a common location for mineral deposits and unsightly rings to form. Thoroughly agitate this area to ensure that any buildup is effectively loosened and removed.
-
Work in Circular Motions: Utilize circular scrubbing motions to cover the entire surface of the toilet bowl, ensuring that the cleaner is evenly distributed and that all areas receive thorough attention. This technique helps dislodge debris and ensures a consistent clean throughout the bowl.
-
Rinse the Brush: Periodically rinse the toilet brush in the clean water to remove any loosened debris and prevent recontamination of the cleaned areas. This step also helps maintain the effectiveness of the brush throughout the scrubbing process.
-
Inspect and Touch Up: After thorough scrubbing, inspect the interior of the toilet bowl to ensure that all stains, deposits, and residue have been effectively removed. If necessary, perform any additional touch-ups to address lingering blemishes.
By following these detailed steps for scrubbing the toilet bowl, you can ensure that the cleaner is thoroughly agitated and that any remaining stains or deposits are effectively removed. With the toilet bowl now scrubbed to perfection, you're ready to proceed to the next step of the cleaning process.
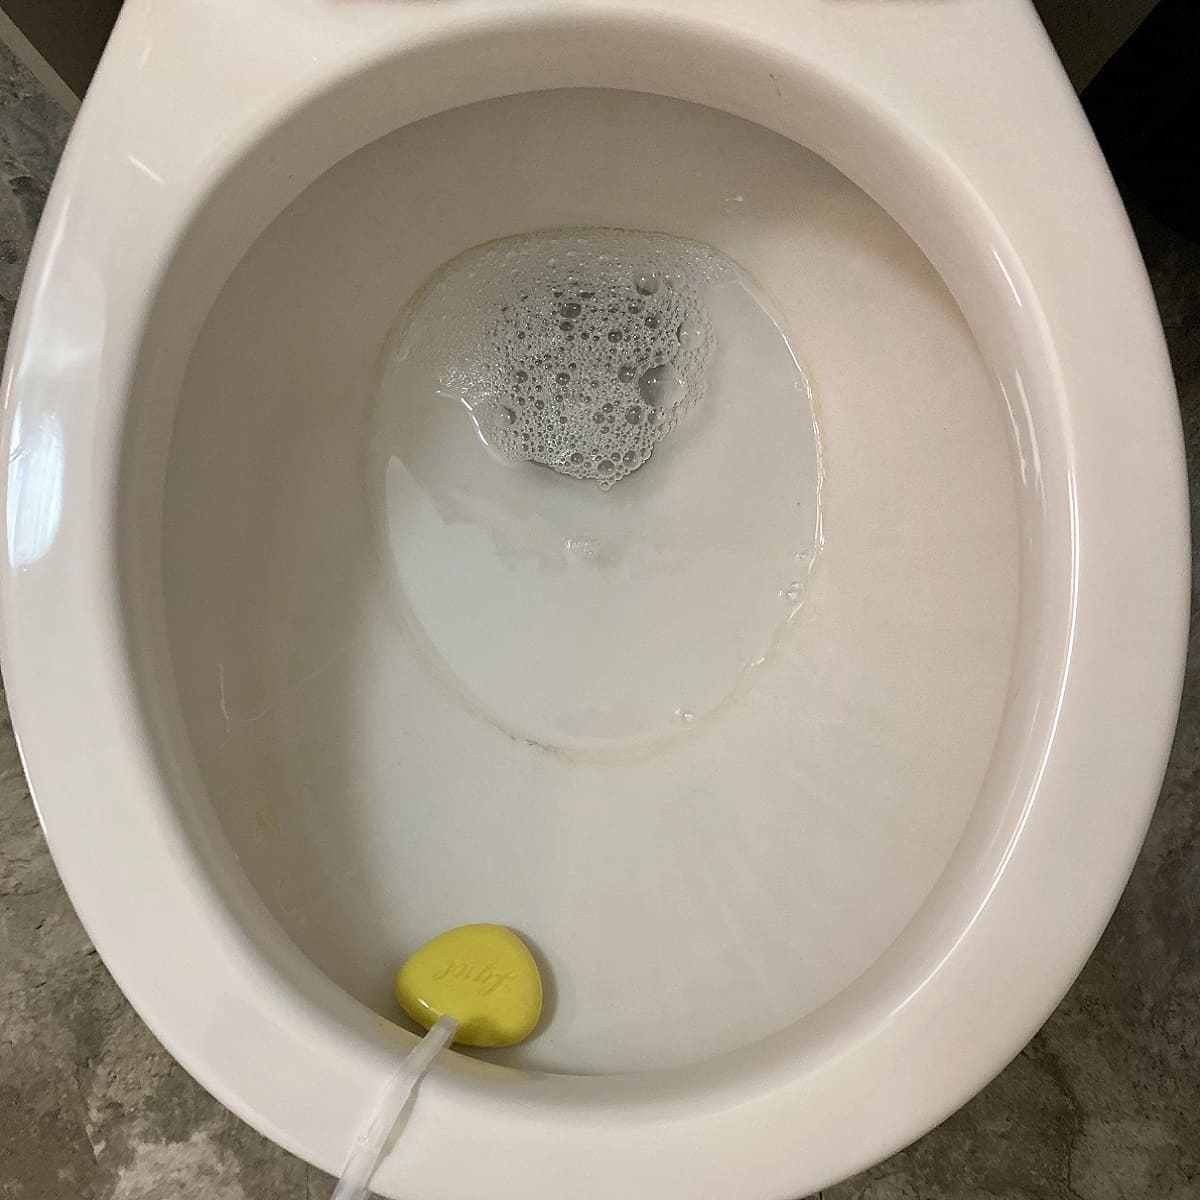
Step 5: Let the cleaner sit
Allowing the toilet bowl cleaner to sit undisturbed is a crucial step in the cleaning process, as it gives the cleaning solution the necessary time to effectively penetrate and break down stubborn stains, mineral deposits, and bacteria. This dwell time is essential for maximizing the cleaner's efficacy and ensuring a thorough and hygienic result.
As the cleaner sits in the toilet bowl, its active ingredients work to dissolve and dislodge tough stains and buildup, making them easier to remove during the subsequent scrubbing process. The recommended dwell time for the cleaner is typically specified on the product label, and it is important to adhere to these guidelines to achieve optimal cleaning results.
During this waiting period, it's important to avoid flushing the toilet or introducing any additional cleaning agents into the bowl. Allowing the cleaner to work undisturbed ensures that it can fully exert its cleaning power and tackle even the most stubborn of stains. Additionally, the dwell time provides an opportunity for the disinfecting properties of the cleaner to effectively neutralize bacteria and germs, contributing to a hygienic and sanitized toilet bowl.
While the cleaner sits, it's advisable to close the toilet lid to prevent any accidental splashing or exposure to fumes. This simple precaution helps maintain a safe and controlled environment during the cleaning process. Additionally, ensuring proper ventilation in the bathroom by opening windows or turning on an exhaust fan can help dissipate any fumes from the cleaner, creating a more comfortable environment.
By allowing the cleaner to sit for the specified duration, you are harnessing the full cleaning power of the product and setting the stage for a thorough and effective cleaning process. This step is instrumental in achieving a sparkling clean and hygienic toilet bowl, ensuring that your bathroom remains a fresh and inviting space for all who use it.
Step 6: Rinse and flush
After the toilet bowl cleaner has been given adequate time to work its magic, it's time to proceed with the crucial step of rinsing and flushing the toilet bowl. This step is essential for removing the loosened debris, residual cleaner, and ensuring that the bowl is left sparkling clean and odor-free. Here's a detailed guide on how to effectively rinse and flush the toilet bowl:
-
Rinse the Toilet Brush: Before proceeding with the rinsing and flushing process, it's important to rinse the toilet brush thoroughly to remove any residual cleaner and dislodged debris. This ensures that the brush remains clean and ready for future use.
-
Flush the Toilet: Begin by flushing the toilet to remove the cleaner and dislodged debris from the bowl. Flushing helps to thoroughly rinse the interior of the bowl and eliminate any remaining traces of the cleaning solution.
-
Inspect the Bowl: After flushing, take a moment to inspect the interior of the toilet bowl to ensure that it is free from residual cleaner and debris. Look for any lingering stains or discolorations that may require additional attention.
-
Repeat if Necessary: If there are still visible stains or mineral deposits present in the bowl, consider repeating the application of the toilet bowl cleaner and scrubbing process. Some stubborn stains may require multiple treatments for complete removal.
-
Final Flush: Once the bowl has been thoroughly inspected and any necessary touch-ups have been completed, perform a final flush to ensure that the bowl is left clean, fresh, and free from any remaining residue.
-
Close the Lid: After completing the rinsing and flushing process, close the toilet lid to maintain a tidy appearance and prevent any accidental splashing. This simple step adds a finishing touch to the cleaning process.
By following these detailed steps for rinsing and flushing the toilet bowl, you can ensure that the cleaner and loosened debris are effectively removed, leaving the bowl pristine and ready for use. With the toilet bowl now thoroughly rinsed and flushed, you have successfully completed the essential steps for achieving a sparkling clean and hygienic toilet bowl.
Read more: What Is The Best Toilet Bowl Cleaner
Step 7: Repeat if necessary
In some instances, stubborn stains or mineral deposits may prove resistant to the initial application of toilet bowl cleaner and scrubbing. When faced with persistent blemishes, it may be necessary to repeat the cleaning process to achieve the desired level of cleanliness. This step ensures that no trace of unsightly stains or lingering odors remains in the toilet bowl, resulting in a truly pristine and hygienic fixture.
If after the initial cleaning cycle, certain areas of the toilet bowl still exhibit stains or mineral deposits, it is advisable to reapply the toilet bowl cleaner and perform a targeted scrubbing of the affected areas. When repeating the cleaning process, it's essential to follow the manufacturer's guidelines for the safe and effective use of the cleaner, including the recommended dwell time and any specific instructions for stubborn stains.
Before reapplying the cleaner, it's beneficial to assess the nature of the remaining stains or deposits. Identifying the type of blemish can help determine the most suitable approach for targeted cleaning. For example, hard water stains may require a longer dwell time or a more concentrated application of the cleaner, while rust stains may necessitate the use of a specialized rust-removing toilet bowl cleaner.
When repeating the cleaning process, it's important to pay particular attention to problem areas and apply focused scrubbing to ensure thorough agitation of the cleaner. Utilizing a dedicated toilet brush with durable bristles and ergonomic design can facilitate effective scrubbing and help dislodge stubborn deposits.
After the second round of cleaning, it's essential to thoroughly rinse and flush the toilet bowl to remove any residual cleaner and dislodged debris. Carefully inspect the bowl to ensure that the repeated cleaning process has effectively addressed the remaining stains or deposits. If necessary, perform any additional touch-ups to achieve a flawless result.
By being diligent and proactive in repeating the cleaning process when necessary, you can ensure that even the most stubborn stains and mineral deposits are effectively eradicated, leaving your toilet bowl in immaculate condition. This commitment to thorough cleaning and attention to detail contributes to a consistently hygienic and visually appealing bathroom environment.
Conclusion
In conclusion, mastering the art of applying toilet bowl cleaner is a fundamental skill that contributes to maintaining a clean, hygienic, and inviting bathroom environment. By following the step-by-step process outlined in this comprehensive guide, you can achieve a sparkling clean toilet bowl that is free from stubborn stains, mineral deposits, and unpleasant odors. The meticulous preparation, application of the cleaner, thorough scrubbing, and final rinsing and flushing collectively contribute to a pristine and sanitized result.
It's important to emphasize the significance of using high-quality toilet bowl cleaner specifically formulated to tackle tough stains and bacteria. Selecting a cleaner with disinfecting properties ensures not only a visually clean toilet bowl but also a hygienic one, contributing to a healthier living space. Additionally, the use of protective gloves and, if necessary, safety goggles, underscores the importance of prioritizing safety during the cleaning process.
The repetition of the cleaning process, if necessary, demonstrates a commitment to achieving a flawless result, ensuring that even the most stubborn stains and mineral deposits are effectively eradicated. This dedication to thorough cleaning and attention to detail is essential for maintaining a consistently hygienic and visually appealing bathroom environment.
By incorporating these best practices into your cleaning routine, you can transform the often daunting task of cleaning the toilet into a manageable and even satisfying chore. A sparkling clean toilet bowl not only enhances the overall appearance of the bathroom but also contributes to a healthier and more pleasant living environment for you and your family.
In essence, the process of applying toilet bowl cleaner is not just about achieving a clean toilet bowl; it's about creating a space that promotes comfort, hygiene, and well-being. With the right techniques, quality cleaning products, and a commitment to thoroughness, you can elevate your bathroom maintenance routine and enjoy the satisfaction of a spotless and inviting toilet bowl.
Frequently Asked Questions about How To Apply Toilet Bowl Cleaner
Was this page helpful?
At Storables.com, we guarantee accurate and reliable information. Our content, validated by Expert Board Contributors, is crafted following stringent Editorial Policies. We're committed to providing you with well-researched, expert-backed insights for all your informational needs.
0 thoughts on “How To Apply Toilet Bowl Cleaner”