Home>Furniture & Design>Bathroom Accessories>How To Charge Oral-B Toothbrush

Bathroom Accessories
How To Charge Oral-B Toothbrush
Modified: October 18, 2024
Learn how to charge your Oral-B toothbrush and keep it ready for use. Find the best charging methods and accessories for your bathroom.
(Many of the links in this article redirect to a specific reviewed product. Your purchase of these products through affiliate links helps to generate commission for Storables.com, at no extra cost. Learn more)
Introduction
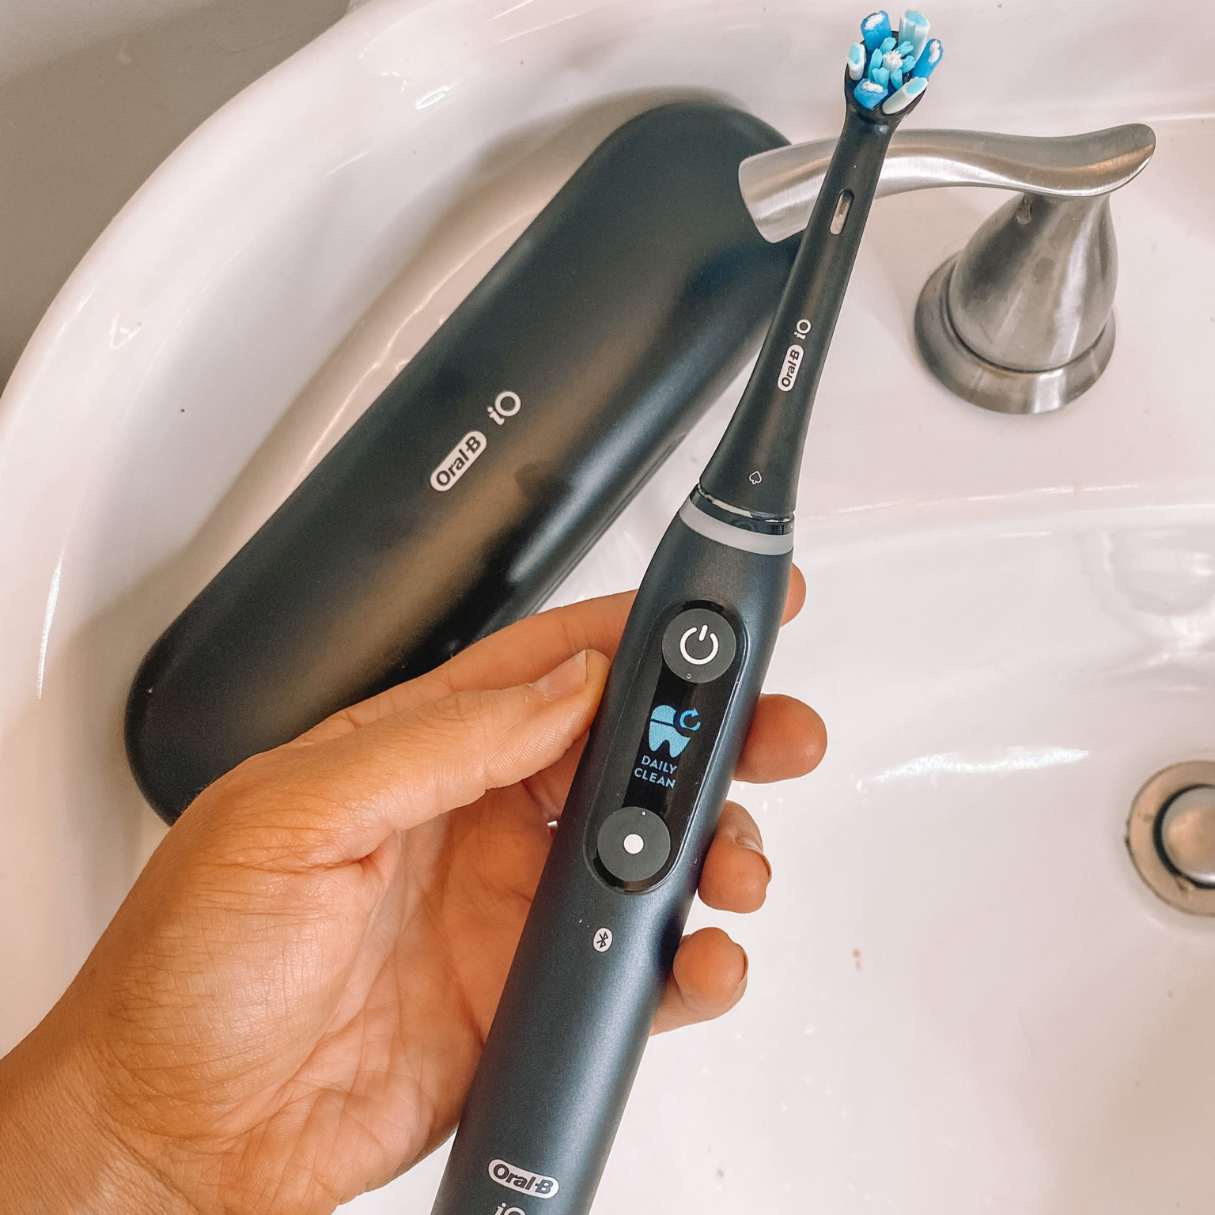
Charging your Oral-B toothbrush is an essential aspect of maintaining its functionality and ensuring that it is always ready for use. Whether you have a manual or electric Oral-B toothbrush, proper charging is crucial for optimal performance. In this comprehensive guide, we will walk you through the step-by-step process of charging your Oral-B toothbrush effectively. By following these simple yet crucial steps, you can ensure that your toothbrush remains fully charged and ready to provide you with a refreshing and effective oral care experience.
Properly charging your Oral-B toothbrush is not only about ensuring that it has sufficient power for use but also about prolonging its lifespan. By understanding the correct charging process and implementing it consistently, you can maximize the longevity of your toothbrush and maintain its efficiency over time. Additionally, a fully charged toothbrush ensures that you can enjoy the full benefits of its advanced features, such as pressure sensors, timers, and various brushing modes.
Whether you are new to using an Oral-B toothbrush or seeking a refresher on the best charging practices, this guide will equip you with the knowledge and confidence to keep your toothbrush powered up and ready to deliver exceptional oral care. From preparing the charging station to monitoring the charging indicator, each step is designed to help you navigate the charging process seamlessly and effectively. With the insights and instructions provided in this guide, you can take proactive steps to ensure that your Oral-B toothbrush remains a reliable and indispensable part of your daily oral hygiene routine.
Now, let's delve into the specific steps that will enable you to charge your Oral-B toothbrush with ease and precision. By following these steps, you can maintain the optimal performance of your toothbrush and experience the satisfaction of knowing that it is always charged and ready to elevate your oral care routine.
Key Takeaways:
- Keep your Oral-B toothbrush fully charged by preparing the charging station, placing the toothbrush securely, and allowing it to charge uninterrupted. Monitor the charging indicator for a hassle-free experience and enjoy consistent oral care benefits.
- When removing your fully charged Oral-B toothbrush from the charging station, handle it with care and store it in an organized manner. Maintain the cleanliness of the charging station for seamless future charging cycles.
Read more: Why Is My Oral-B Toothbrush Not Charging
Step 1: Prepare the charging station
Before initiating the charging process for your Oral-B toothbrush, it is essential to ensure that the charging station is ready to accommodate the toothbrush and facilitate efficient charging. Proper preparation of the charging station sets the stage for a seamless and effective charging experience, allowing you to maintain the optimal performance of your toothbrush. Here's a detailed overview of the steps involved in preparing the charging station:
-
Select a Suitable Location: Choose a convenient and accessible location for the charging station. Ideally, it should be near a power outlet in your bathroom or any other area where you typically store and use your toothbrush. Ensure that the chosen location provides ample space for the charging station and allows for easy placement and removal of the toothbrush.
-
Ensure Proper Ventilation: When setting up the charging station, it is important to consider ventilation to prevent overheating during the charging process. Select a location that allows for adequate airflow around the charging station, as this helps dissipate any heat generated during charging and contributes to the overall safety and longevity of the toothbrush.
-
Connect the Charging Base: If you have an electric Oral-B toothbrush, connect the charging base to the power outlet. Ensure that the power cord is securely plugged in and that the charging base is positioned on a stable surface to prevent any accidental displacement during the charging process.
-
Organize Additional Accessories: If your Oral-B toothbrush comes with additional accessories, such as brush head storage compartments or smartphone holders, ensure that these are organized and positioned appropriately near the charging station. This helps maintain a clutter-free and functional setup, allowing you to access all relevant components with ease.
-
Keep the Area Dry: Prior to placing the toothbrush on the charging station, ensure that the surrounding area is dry to prevent any potential water damage. Wipe the charging station and its immediate surroundings to remove any moisture or water droplets, thereby creating a suitable environment for the charging process.
By meticulously preparing the charging station in accordance with these steps, you can establish an optimal environment for charging your Oral-B toothbrush. This proactive approach not only ensures the effectiveness of the charging process but also contributes to the overall safety and longevity of your toothbrush, allowing you to derive maximum value from this essential oral care device.
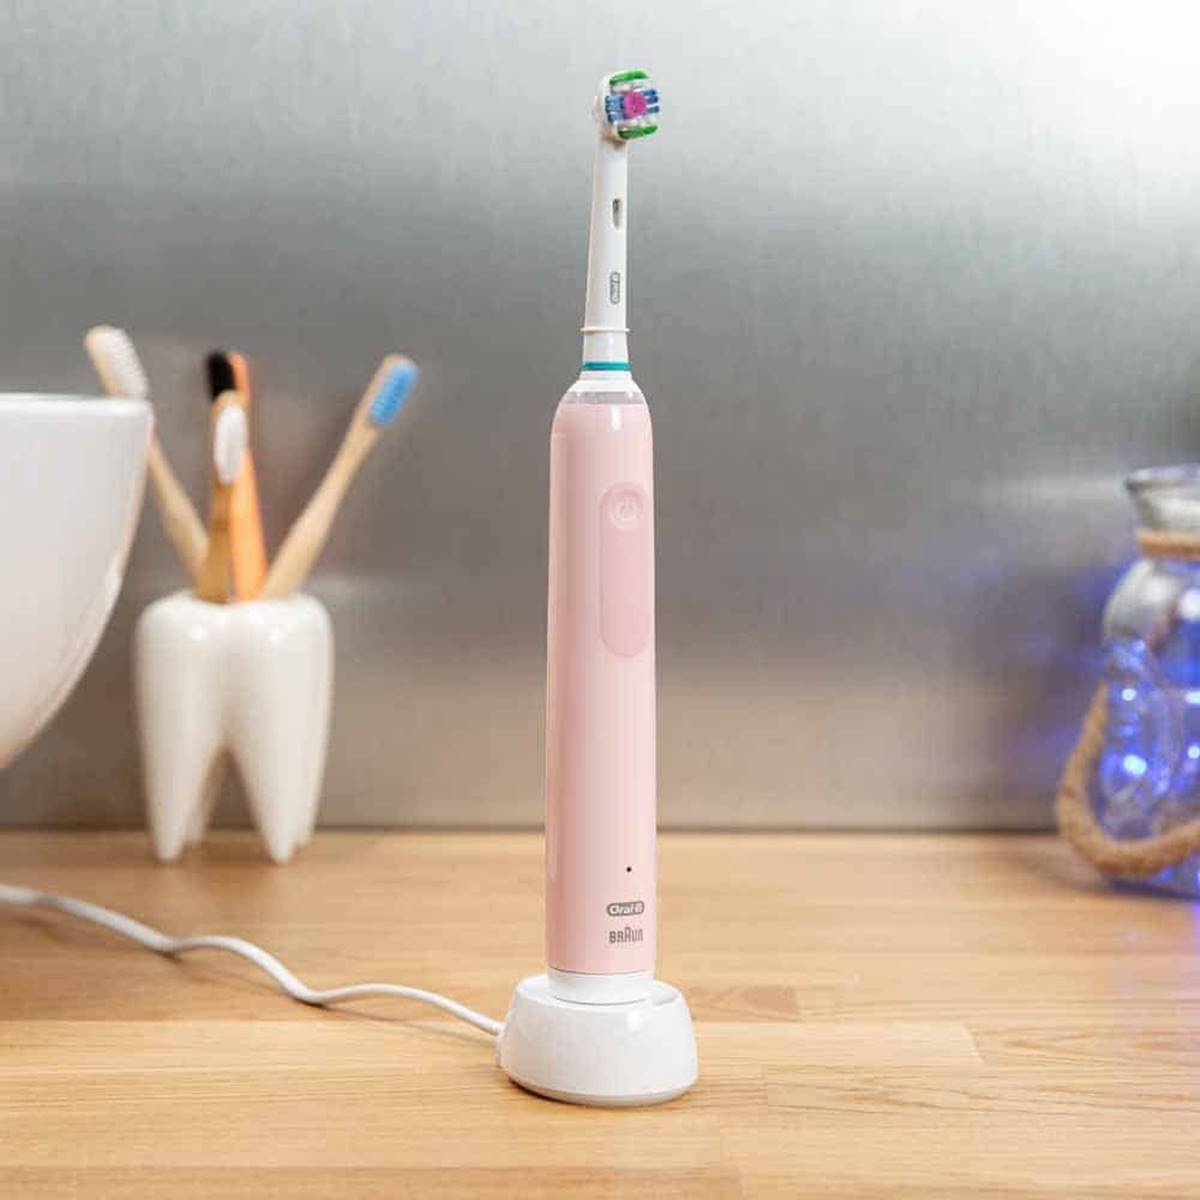
Step 2: Place the toothbrush on the charging station
Once the charging station is prepared, the next crucial step is to properly place the Oral-B toothbrush on the charging station. This step is pivotal in initiating the charging process and ensuring that the toothbrush receives the necessary power to maintain its functionality. Here's a detailed breakdown of the process involved in placing the toothbrush on the charging station:
-
Align the Toothbrush: Position the toothbrush in alignment with the charging base to ensure a secure and stable placement. For electric Oral-B toothbrushes, the bottom of the handle typically features a charging indicator or metal contact points that need to be aligned with the corresponding elements on the charging base. Proper alignment is essential for establishing a reliable connection and initiating the charging process effectively.
-
Firm Placement: Gently but firmly place the toothbrush on the charging station, ensuring that it sits securely and does not wobble or tip over. This stable placement is essential for maintaining the integrity of the charging connection and preventing any disruptions to the charging process. Whether it's a manual or electric toothbrush, ensuring that it is snugly positioned on the charging station is crucial for optimal charging performance.
-
Avoid Obstructions: Ensure that there are no obstructions or foreign objects on the charging station that could interfere with the proper placement of the toothbrush. Clear the area around the charging base to create an unobstructed space for placing the toothbrush, allowing for a seamless and uninterrupted charging experience.
-
Utilize Brush Head Storage: If your Oral-B toothbrush features a detachable brush head, consider removing it and storing it in the designated brush head storage compartment, if available. This not only ensures the safety and cleanliness of the brush head but also allows for a more streamlined and secure placement of the toothbrush on the charging station.
-
Verify the Connection: Once the toothbrush is placed on the charging station, take a moment to verify that the charging indicator on the handle (for electric toothbrushes) illuminates, indicating that the connection with the charging base has been established. This visual confirmation provides assurance that the toothbrush is properly positioned and ready to receive the necessary charge.
By meticulously following these steps, you can effectively place your Oral-B toothbrush on the charging station, setting the stage for a successful and efficient charging process. This proactive approach ensures that your toothbrush receives the power it needs to remain fully charged and ready to deliver exceptional oral care benefits.
Step 3: Allow the toothbrush to charge
Once the Oral-B toothbrush is securely placed on the charging station, the next crucial phase is to allow the toothbrush to charge effectively. This step is pivotal in ensuring that the toothbrush replenishes its power reserves, enabling it to deliver consistent and reliable performance during each use. Allowing the toothbrush to charge involves a period of uninterrupted power supply, during which the toothbrush harnesses the electrical energy to restore its battery or power source. Here's a detailed overview of the process involved in allowing the toothbrush to charge:
-
Maintain a Stable Connection: It is essential to maintain a stable and secure connection between the toothbrush and the charging station throughout the charging period. Any disruptions to the connection, such as accidental dislodgment or movement, can hinder the charging process and lead to incomplete charging. Therefore, it is crucial to ensure that the toothbrush remains undisturbed on the charging station, allowing for a consistent flow of power to facilitate effective charging.
-
Observe the Charging Indicator: For electric Oral-B toothbrushes, the presence of a charging indicator on the handle serves as a valuable visual cue during the charging process. This indicator typically illuminates to signify that the toothbrush is actively receiving a charge. As the toothbrush charges, the indicator may display different patterns or colors to indicate the progress of the charging cycle. By observing and interpreting the charging indicator, users can gain insights into the status of the charging process and ascertain when the toothbrush is fully charged and ready for use.
-
Exercise Patience: Allowing the toothbrush to charge requires patience and a willingness to allow the charging process to unfold without interruptions. Depending on the specific model and battery capacity, the charging duration may vary. It is important to exercise patience and refrain from prematurely removing the toothbrush from the charging station, as this can compromise the completeness of the charging cycle and result in suboptimal performance during use.
-
Optimize Charging Time: To maximize the effectiveness of the charging process, it is advisable to allow the toothbrush to charge for the recommended duration specified by the manufacturer. Adhering to the recommended charging time ensures that the toothbrush attains its full power capacity, thereby enhancing its longevity and performance. By optimizing the charging time, users can harness the full potential of their Oral-B toothbrush and experience consistent and reliable functionality.
By following these essential steps and allowing the toothbrush to charge effectively, users can ensure that their Oral-B toothbrush remains fully powered and ready to deliver exceptional oral care benefits. This proactive approach contributes to the longevity and performance of the toothbrush, enabling users to derive maximum value from this essential oral care device.
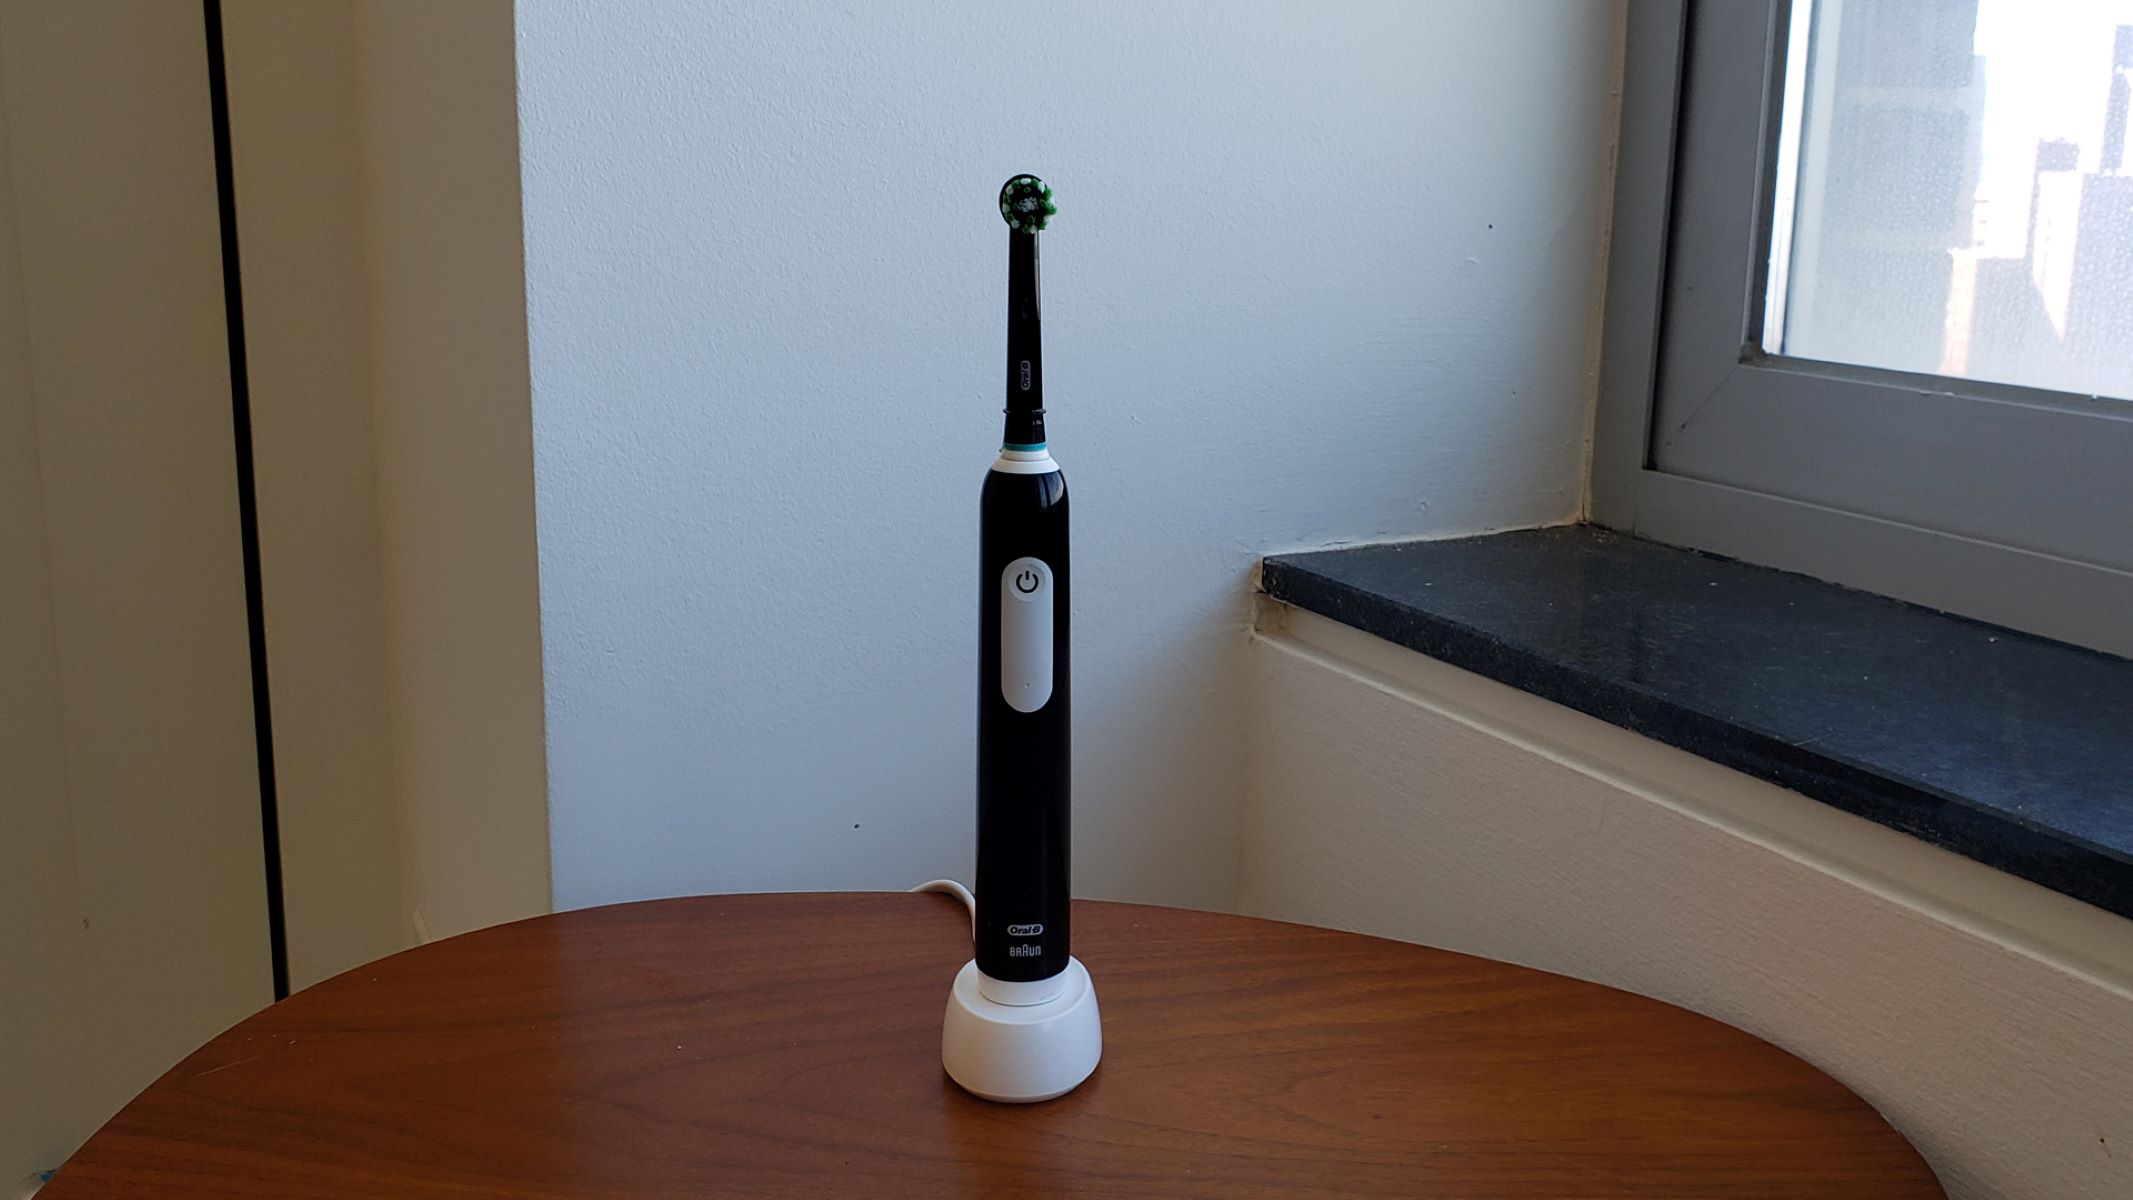
Step 4: Check the charging indicator
Once your Oral-B toothbrush is placed on the charging station and the charging process is underway, it's essential to monitor the charging indicator to gain valuable insights into the status of the charging cycle. The charging indicator, typically located on the handle of electric Oral-B toothbrushes, serves as a visual cue that provides important information about the progress of the charging process. Here's a detailed exploration of the significance of checking the charging indicator and the insights it offers:
Illumination and Patterns
Upon initiating the charging process, the charging indicator on the handle of your electric Oral-B toothbrush may illuminate to signify that the toothbrush is actively receiving a charge. The illumination of the charging indicator serves as an initial confirmation that the toothbrush is properly connected to the charging base and that the charging process has commenced. Additionally, some models may feature different illumination patterns or colors, each of which conveys specific information about the charging status. For example, a pulsating light may indicate that the toothbrush is in the process of charging, while a steady light may signify that the toothbrush is fully charged and ready for use.
Progress Monitoring
By regularly checking the charging indicator during the charging process, users can monitor the progress of the charging cycle and gain insights into the remaining duration until the toothbrush reaches full charge. The charging indicator serves as a dynamic visual cue, providing real-time feedback on the status of the charging process. This allows users to gauge the approximate time required for the toothbrush to attain full charge, enabling them to plan the usage of the toothbrush accordingly.
Full Charge Notification
As the charging process nears completion, the charging indicator may exhibit specific patterns or colors to signal that the toothbrush is fully charged and ready for use. This notification serves as a valuable prompt for users, indicating that the toothbrush has reached its optimal power capacity and is prepared to deliver exceptional oral care benefits. By recognizing the full charge notification through the charging indicator, users can confidently remove the toothbrush from the charging station, knowing that it is primed for effective and sustained usage.
User-Friendly Interface
The presence of a charging indicator on the handle of electric Oral-B toothbrushes enhances the user experience by providing a user-friendly interface for monitoring the charging status. This intuitive visual feature empowers users to stay informed about the charging process without the need for complex technical knowledge, thereby ensuring a seamless and accessible charging experience. The charging indicator serves as a practical and informative element that enriches the overall usability of the toothbrush, contributing to a more engaging and interactive user experience.
By actively checking the charging indicator and interpreting its illumination patterns, users can stay informed about the charging status of their Oral-B toothbrush, enabling them to make informed decisions regarding its usage and ensuring that it remains consistently charged and ready for optimal performance.
To charge your Oral-B toothbrush, simply place it on the charging base and plug the base into an electrical outlet. Let it charge for at least 16 hours before using it for the first time.
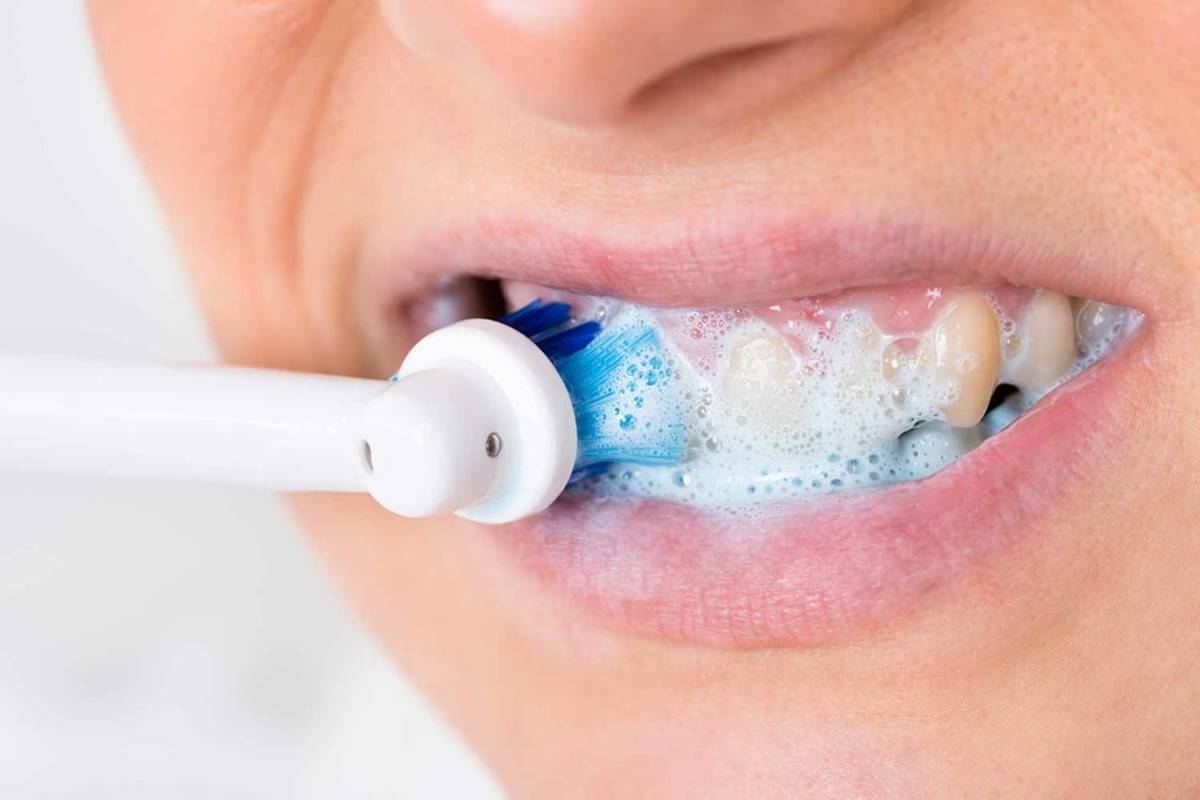
Read more: Oral-B Toothbrush: How To Use
Step 5: Remove the toothbrush from the charging station
After the charging process is complete, the final step involves removing the Oral-B toothbrush from the charging station in a careful and deliberate manner. This pivotal step ensures that the toothbrush is ready for immediate use while also maintaining the integrity of the charging station setup. Here's a detailed exploration of the process involved in removing the toothbrush from the charging station:
-
Verify Full Charge: Before removing the toothbrush from the charging station, it is essential to verify that the charging indicator, especially on electric toothbrushes, indicates a full charge. A steady or specific color illumination typically signifies that the toothbrush has reached its optimal power capacity, indicating that it is ready for use. This verification step ensures that the toothbrush is fully charged and prepared to deliver consistent and effective oral care benefits.
-
Gentle Disconnection: When removing the toothbrush from the charging station, exercise gentle and deliberate movements to disconnect it from the charging base. For electric toothbrushes, ensure that the metal contact points on the handle disengage smoothly from the corresponding elements on the charging base. This gentle disconnection minimizes the risk of damage to the toothbrush or the charging station, preserving their functionality and longevity.
-
Secure Handling: Handle the toothbrush with care and attention, ensuring that it is held securely and does not accidentally slip or fall. Maintaining a firm grip on the toothbrush during removal prevents any potential damage and contributes to a seamless transition from the charging station to the user's hand, ready for immediate use.
-
Organized Storage: If the toothbrush is not intended for immediate use, consider placing it in a designated storage area that is easily accessible and provides protection from potential damage. Whether it's a brush head storage compartment or a dedicated holder, organized storage ensures that the toothbrush remains in optimal condition until the next usage.
-
Maintain Charging Station: After removing the toothbrush, take a moment to ensure that the charging station remains clean and free from any debris or moisture. This proactive step contributes to the longevity and functionality of the charging station, creating a conducive environment for future charging cycles.
By meticulously following these steps, users can effectively remove the Oral-B toothbrush from the charging station, ensuring that it is fully charged and ready for immediate use. This proactive approach contributes to the seamless integration of the toothbrush into the user's oral care routine, allowing for consistent and reliable performance with each use.
Frequently Asked Questions about How To Charge Oral-B Toothbrush
Was this page helpful?
At Storables.com, we guarantee accurate and reliable information. Our content, validated by Expert Board Contributors, is crafted following stringent Editorial Policies. We're committed to providing you with well-researched, expert-backed insights for all your informational needs.


0 thoughts on “How To Charge Oral-B Toothbrush”