Articles
How To Store Your Toothbrush
Modified: August 16, 2024
Learn the best practices for storing your toothbrush with these informative articles. Keep your toothbrush clean and ready for use.
(Many of the links in this article redirect to a specific reviewed product. Your purchase of these products through affiliate links helps to generate commission for Storables.com, at no extra cost. Learn more)
Introduction
Welcome to the ultimate guide on how to properly store your toothbrush. While many of us give little thought to where we keep our toothbrushes, proper storage is actually crucial to maintain oral hygiene and prevent the growth of bacteria. By following these simple steps, you can ensure that your toothbrush remains clean and effective, maximizing its lifespan and protecting your oral health.
Did you know that your toothbrush can be a breeding ground for bacteria? Every time you brush your teeth, bacteria, saliva, and food particles can get trapped in the bristles. Without proper storage, these microorganisms can multiply and potentially lead to oral health issues. So, let’s dive into the steps you can take to keep your toothbrush clean and germ-free.
Key Takeaways:
- Proper toothbrush storage is crucial for oral hygiene. Choose the right holder, rinse and air dry your toothbrush, keep them separate, and replace regularly to maintain a clean and effective tool for a healthy smile.
- Maintaining a clean toothbrush is essential for oral health. Follow simple steps like choosing the right holder, rinsing, air drying, and regular replacement to ensure a germ-free and effective tool for a healthy mouth.
Read more: How Dirty Is Your Toothbrush?
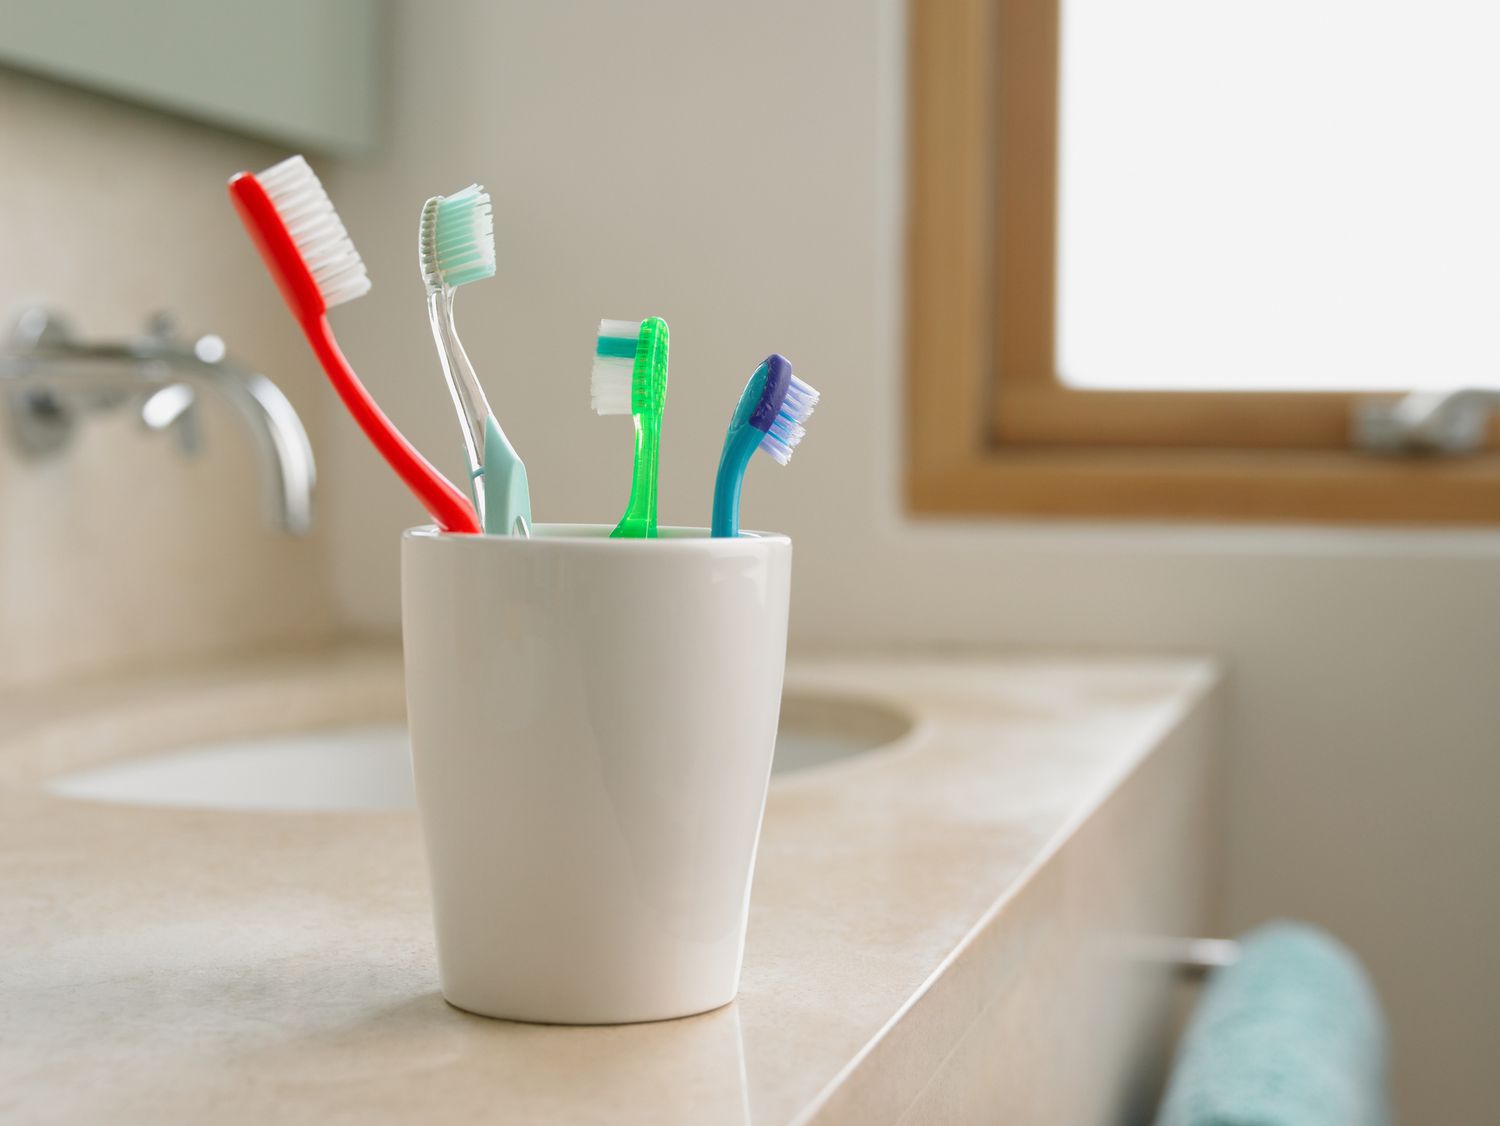
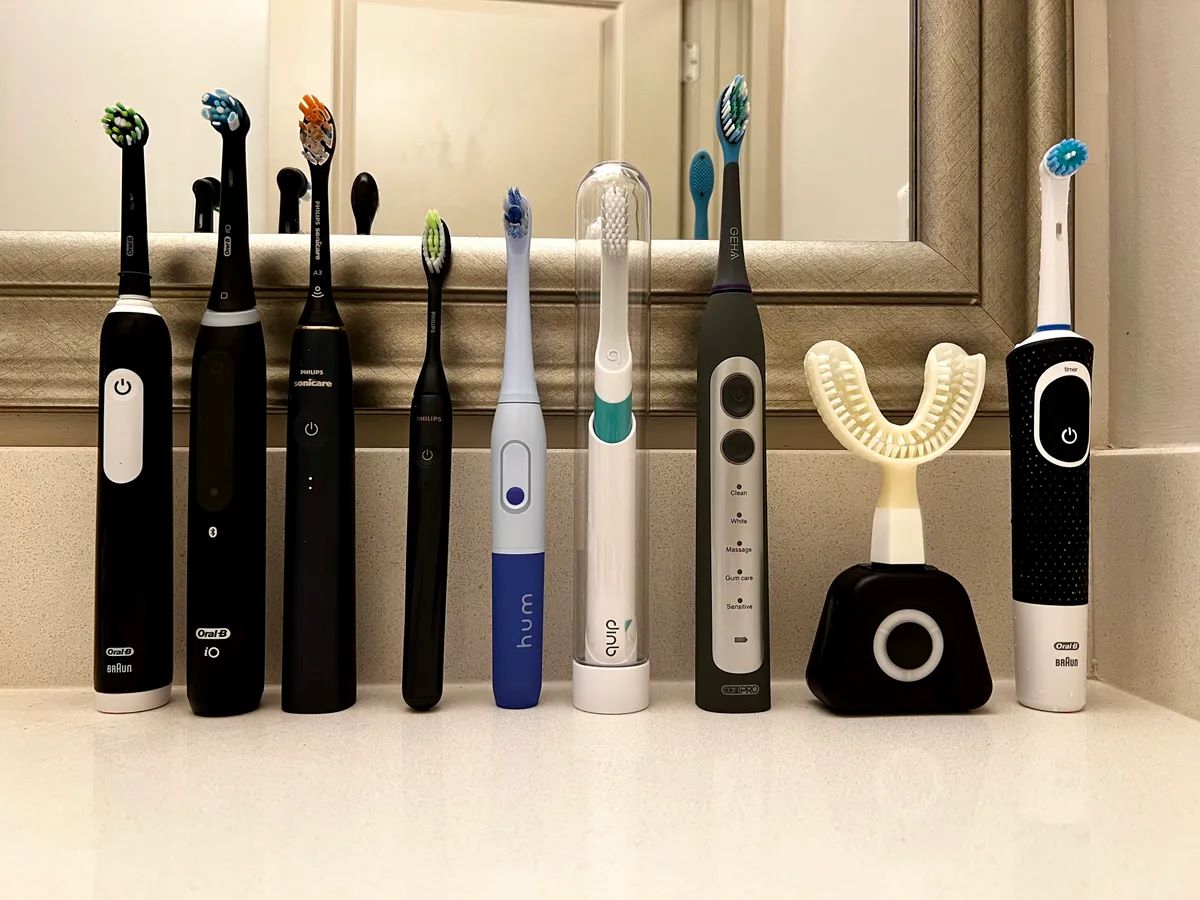
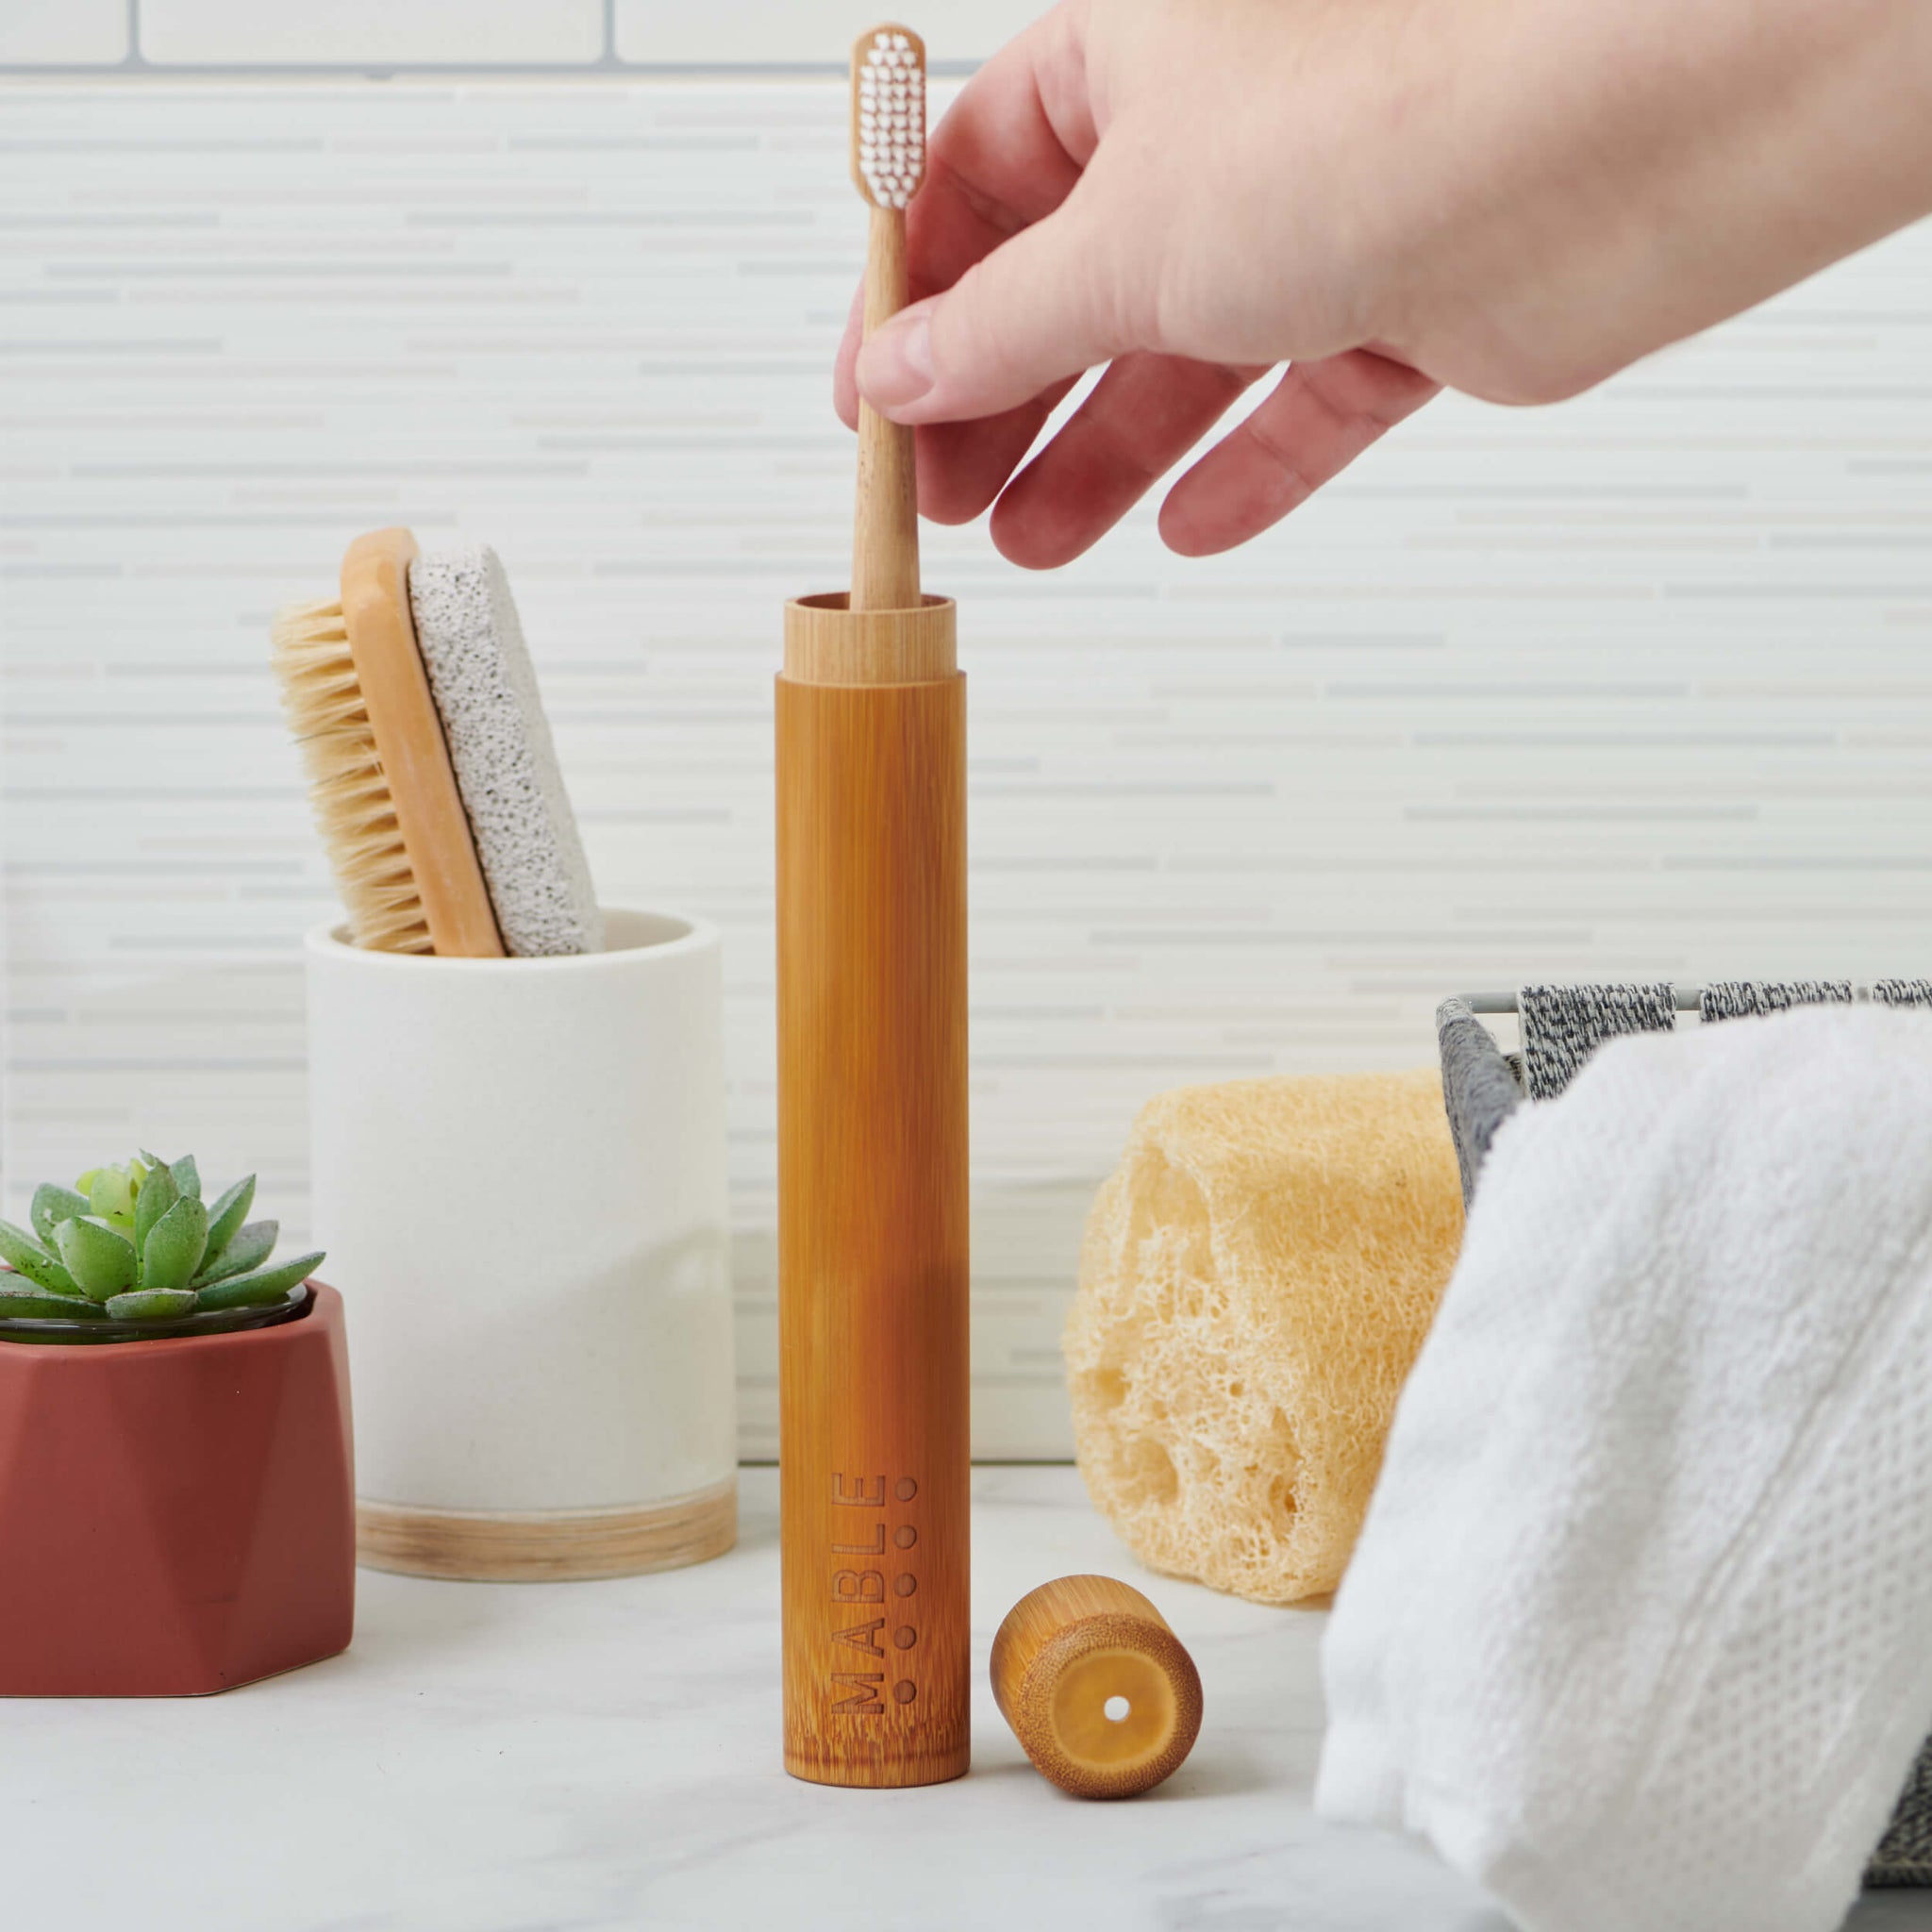
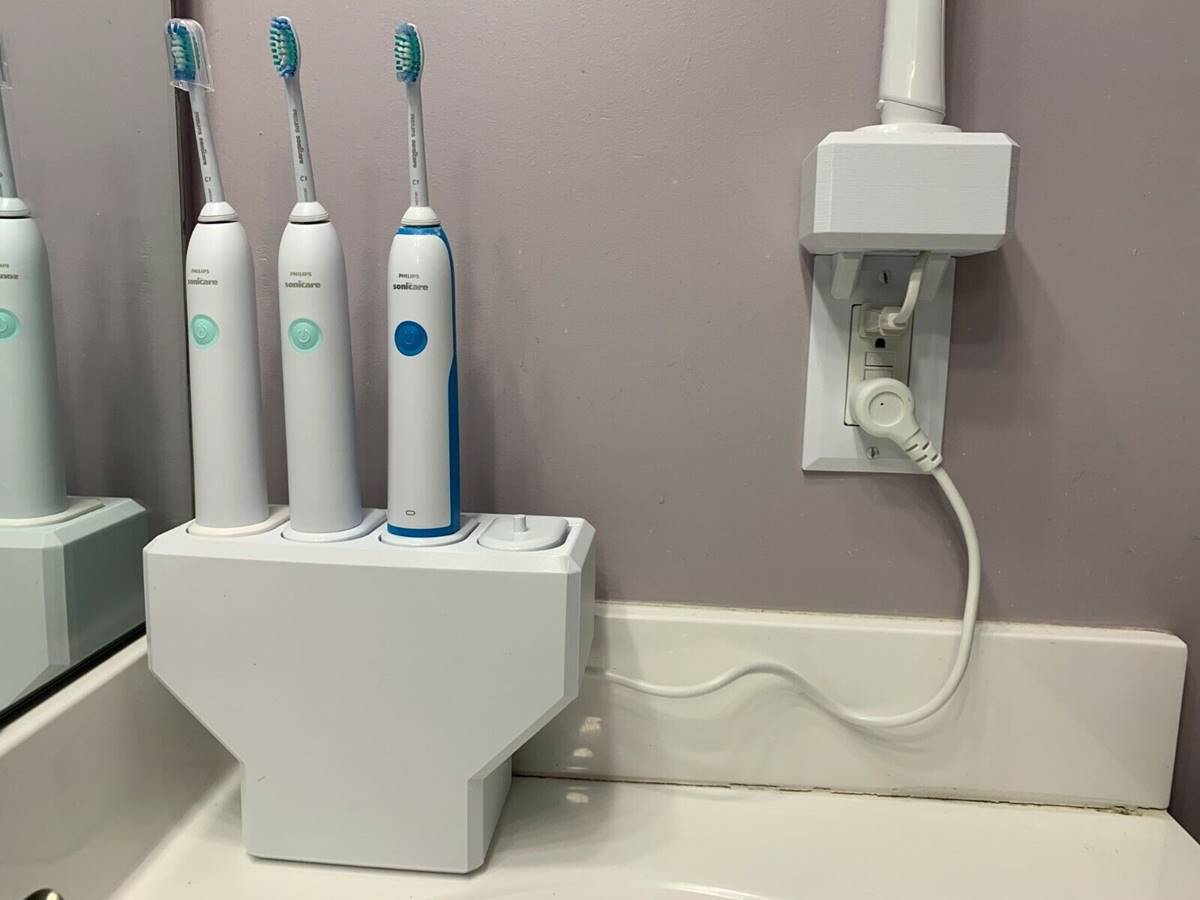
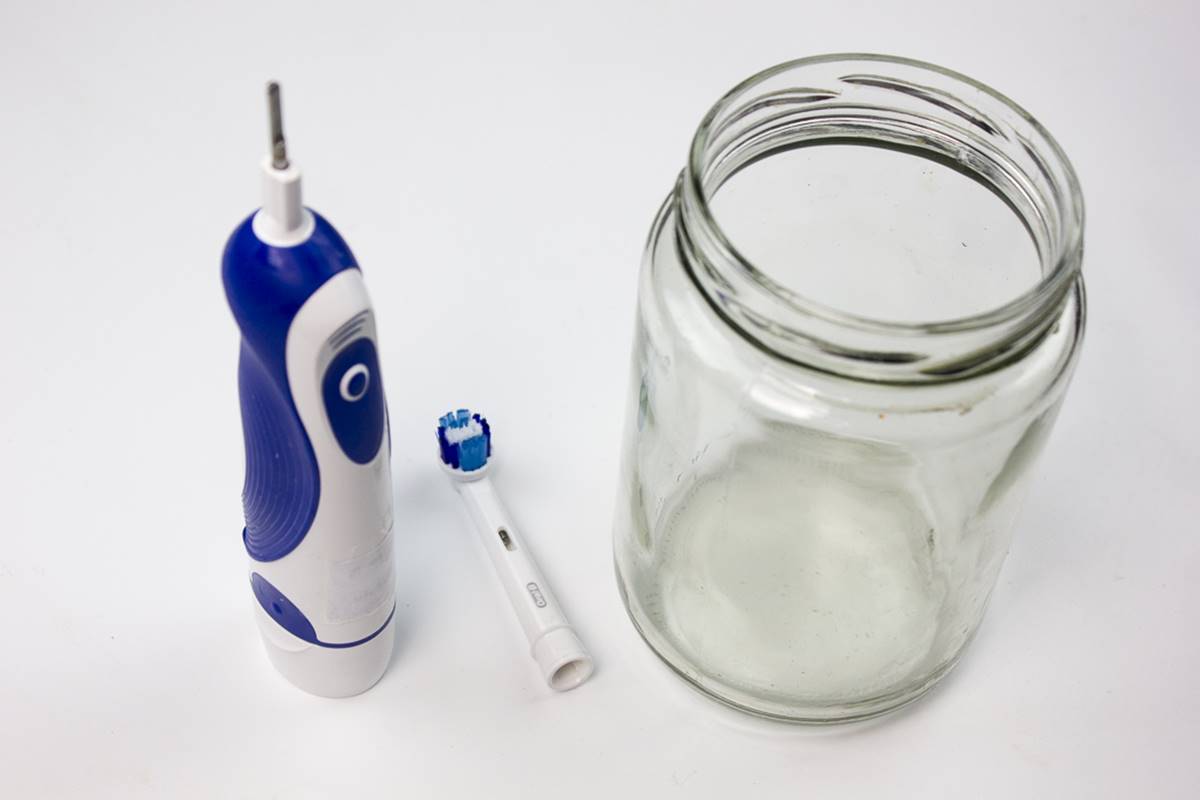
Step 1: Choose the Right Toothbrush Holder
When it comes to storing your toothbrush, selecting the right toothbrush holder is essential. The ideal toothbrush holder should have a few key features to ensure proper hygiene. Here are some factors to consider:
- Open Design: Opt for a toothbrush holder with an open design that allows for airflow. This helps to prevent moisture buildup, which can encourage the growth of bacteria.
- Drainage Holes: Look for a toothbrush holder with drainage holes or slots. These allow excess water to drain away, reducing the likelihood of bacteria buildup.
- Separate Compartments: If you share a bathroom with others, consider a toothbrush holder with separate compartments for each toothbrush. This helps to prevent cross-contamination and keeps everyone’s toothbrushes hygienically separated.
Additionally, consider the material of the toothbrush holder. Opt for non-porous materials, such as plastic or glass, which are easier to clean and less likely to harbor bacteria. Avoid toothbrush holders made of porous materials like wood, as they can absorb moisture and become a breeding ground for germs.
Once you have chosen the right toothbrush holder, it’s time to move on to the next step: rinsing your toothbrush after each use.
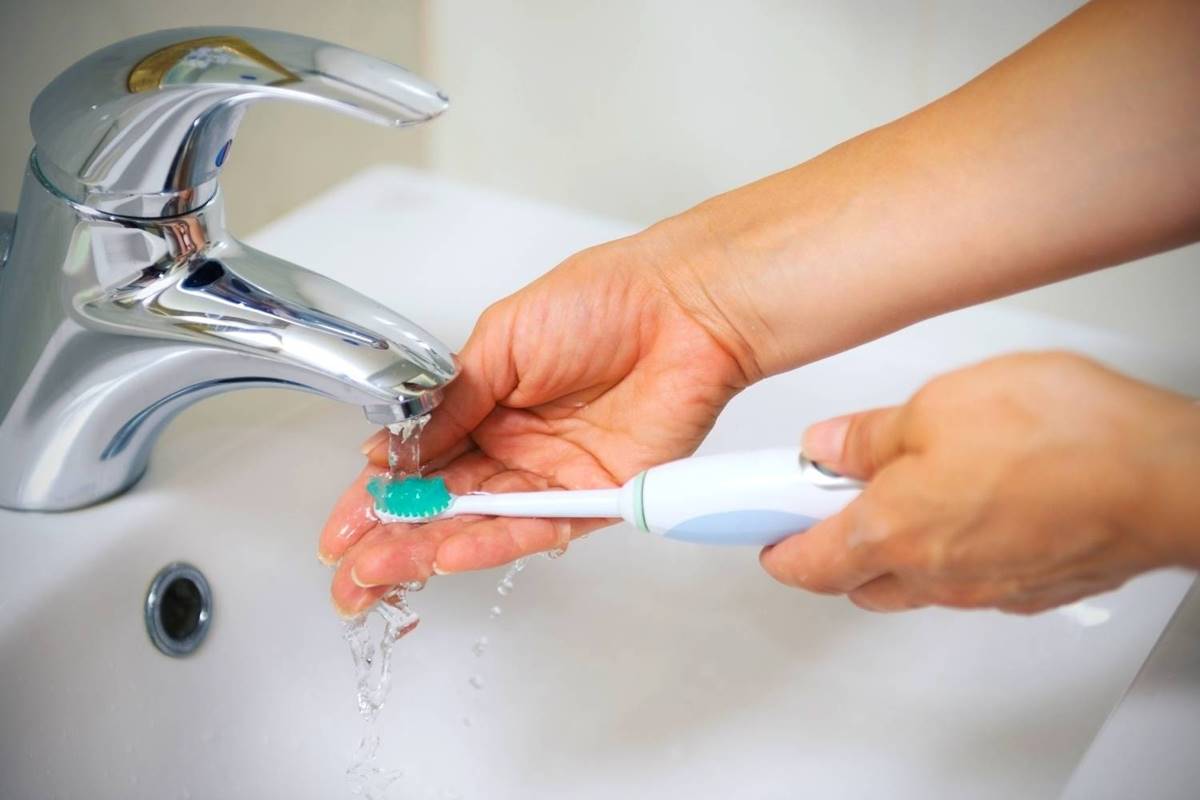
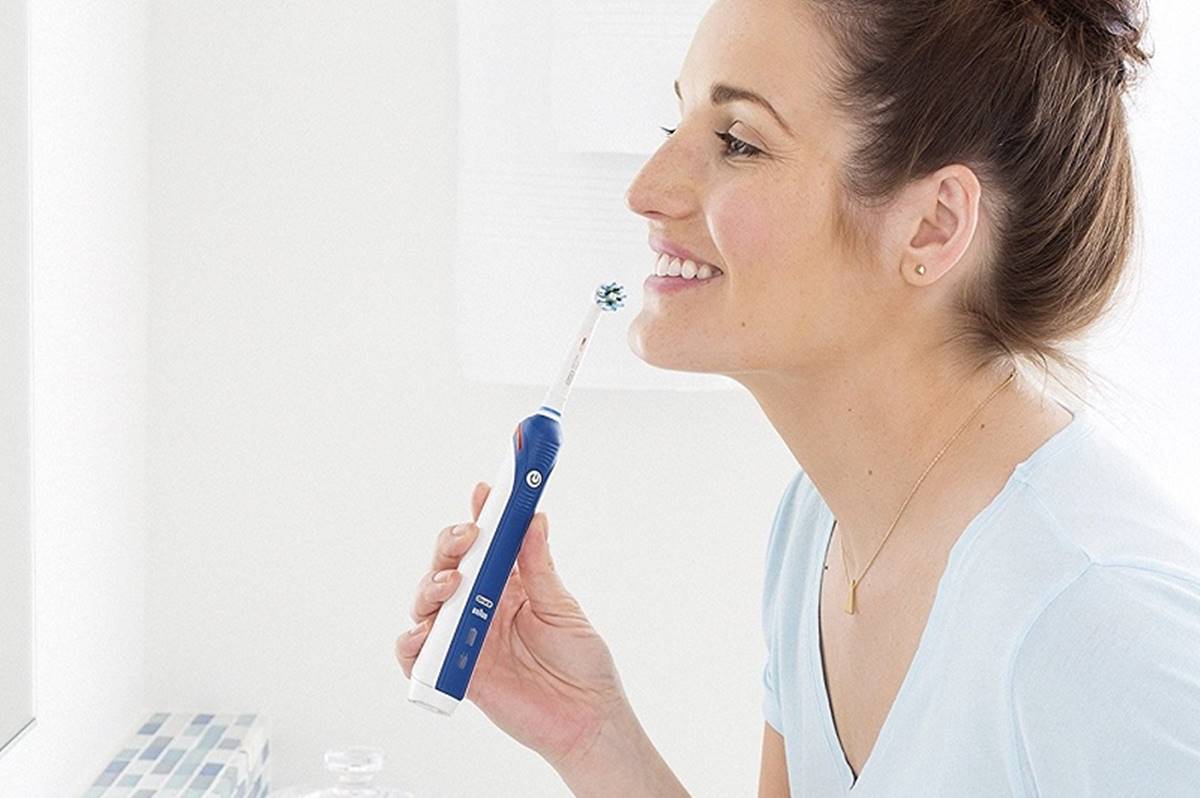
Step 2: Rinse Your Toothbrush After Each Use
After brushing your teeth, it’s important to thoroughly rinse your toothbrush to remove any remaining toothpaste, debris, and bacteria. Rinsing your toothbrush under running water helps to remove these particles and reduces the risk of bacterial growth.
Here are a few tips to ensure effective rinsing:
- Hold your toothbrush under running water: Directly aim the running water onto the bristles of your toothbrush. This will help to dislodge any trapped debris and rinse away any remaining toothpaste.
- Use your fingers to clean the bristles: While rinsing, gently massage the bristles with your fingers to ensure that all residue is removed.
- Pay attention to the handle: Don’t forget to rinse the handle of your toothbrush as well, as it can harbor bacteria too.
By taking the time to thoroughly rinse your toothbrush after each use, you can minimize the chances of bacteria accumulating and keep your toothbrush clean and ready for the next use. Now that your toothbrush is clean, it’s time to move on to the next step: storing your toothbrush upright.
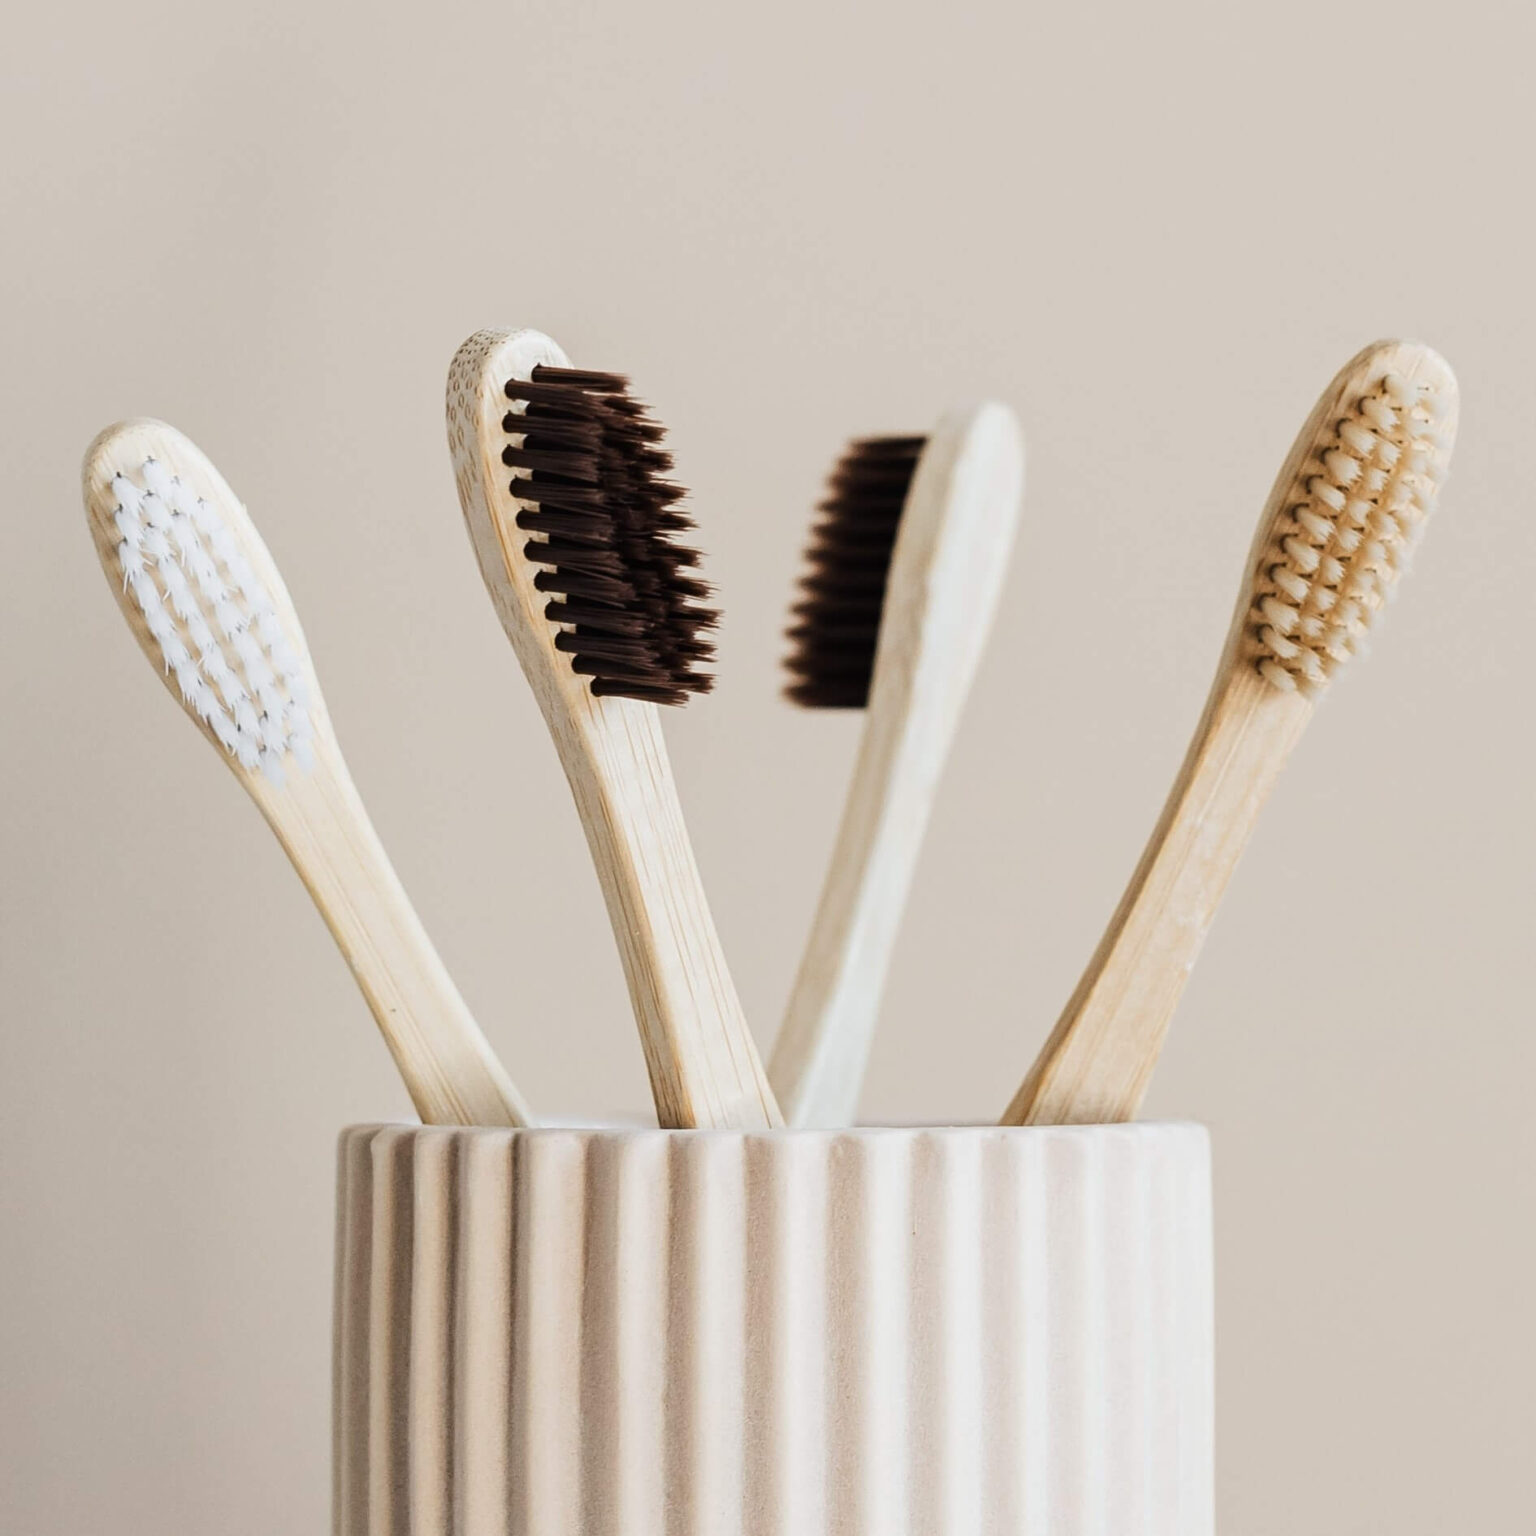
Step 3: Store Your Toothbrush Upright
Properly storing your toothbrush upright is essential for maintaining its hygiene. Storing it upright allows the bristles to air dry faster and prevents moisture buildup that can promote bacterial growth.
Here are a few key tips for storing your toothbrush upright:
- Choose a toothbrush holder with slots or compartments: Look for a toothbrush holder that has individual slots or compartments for each toothbrush. This helps to keep them separated and prevents the bristles from touching each other, reducing the risk of cross-contamination.
- Avoid covering the bristles: Avoid using a toothbrush cover or cap that covers the bristles completely. This can create a damp environment that encourages bacterial growth. Instead, opt for an open-ended toothbrush holder that allows for proper airflow.
- Place it away from the toilet: Store your toothbrush away from the toilet area to minimize exposure to airborne bacteria that can be released during flushing.
By storing your toothbrush upright in a clean and well-ventilated holder, you can ensure that it dries properly between uses, reducing the risk of bacterial contamination. Next, let’s discuss the importance of keeping toothbrushes separate.
Step 4: Keep Toothbrushes Separate
Keeping toothbrushes separate from each other is an important step in maintaining oral hygiene. When toothbrushes come into contact with each other, there is a risk of cross-contamination, as bacteria can transfer from one toothbrush to another. Here’s how you can keep toothbrushes separate:
- Individual toothbrush holders: Assign each family member their own toothbrush holder or compartment within a shared holder. This ensures that toothbrushes do not come into contact with one another.
- Color-coded toothbrushes: Consider using different colored toothbrushes for each family member. This makes it easy to identify and distinguish between toothbrushes, further reducing the chances of shared contact.
- Keep toothbrushes at a distance: If sharing a toothbrush holder with others, make sure to leave enough space between each toothbrush. This prevents accidental contact and allows for proper airflow.
By keeping toothbrushes separate, you minimize the risk of cross-contamination and the transfer of bacteria between brushes. This step is especially important if someone in the household is sick, as it helps to reduce the spread of germs. After ensuring that toothbrushes are kept separate, let’s move on to step 5: allowing your toothbrush to air dry.
Store your toothbrush upright and uncovered to allow it to air dry between uses. Avoid storing it in a closed container, as this can promote bacterial growth.
Read more: How To Brush Your Tongue With A Toothbrush
Step 5: Allow Your Toothbrush to Air Dry
Allowing your toothbrush to air dry is an important practice in maintaining its cleanliness. After use, moisture can accumulate on the bristles, providing a breeding ground for bacteria. By properly air drying your toothbrush, you can reduce the risk of bacterial growth. Here’s how:
- Shake off excess water: After rinsing your toothbrush, gently shake off any excess water from the bristles. This helps to remove any remaining moisture.
- Position the toothbrush upright: Place your toothbrush upright in a toothbrush holder or cup. This allows for proper air circulation and helps the bristles to dry more quickly.
- Avoid storing in closed containers: Do not store your toothbrush in closed containers or travel cases immediately after use. This can trap moisture and promote bacterial growth.
- Do not use a toothbrush cover: Using a toothbrush cover can prevent proper airflow and trap moisture. It is best to avoid using covers on your toothbrush.
By allowing your toothbrush to air dry completely between uses, you help to minimize the chances of bacterial growth and maintain its cleanliness. Now that you know how to air dry your toothbrush, let’s move on to step 6: cleaning your toothbrush holder regularly.
Step 6: Clean Your Toothbrush Holder Regularly
Regularly cleaning your toothbrush holder is an important step in maintaining good oral hygiene. Over time, bacteria can accumulate in the holder, which can then transfer to your toothbrush. Cleaning the holder ensures that it remains free from germs and keeps your toothbrush clean. Follow these steps to clean your toothbrush holder:
- Empty the toothbrush holder: Start by removing all toothbrushes from the holder and dispose of any excess water or debris.
- Wash with warm soapy water: Use warm soapy water and a soft brush or sponge to thoroughly clean the toothbrush holder. Pay attention to any crevices or grooves where bacteria may hide.
- Rinse thoroughly: Rinse the toothbrush holder with clean water to remove any soap residue.
- Dry completely: Allow the toothbrush holder to air dry completely before placing the toothbrushes back in.
- Repeat regularly: It is recommended to clean your toothbrush holder at least once a week to prevent the buildup of bacteria.
By keeping your toothbrush holder clean, you minimize the risk of bacteria contamination on your toothbrushes. This simple step goes a long way in maintaining good oral hygiene. With step 6 complete, let’s move on to the final step: replacing your toothbrush regularly.
Step 7: Replace Your Toothbrush Regularly
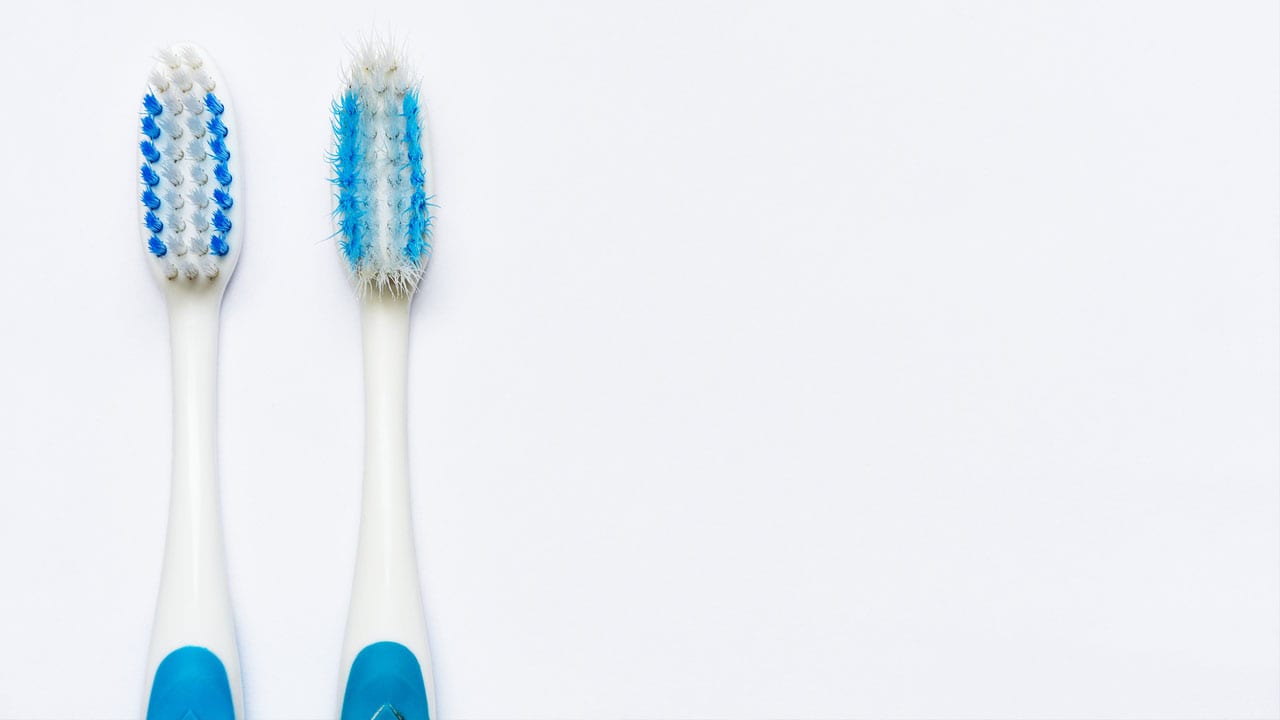
Replacing your toothbrush regularly is crucial for maintaining optimal oral hygiene. Over time, the bristles on a toothbrush can become frayed and worn, making it less effective in cleaning your teeth and removing plaque. Additionally, bacteria can accumulate on the bristles over time, even with proper cleaning and storage. Here’s why and when you should replace your toothbrush:
- General guideline: As a general rule, it is recommended to replace your toothbrush every three to four months. This ensures that you are using a toothbrush with optimal bristle effectiveness and reduces the risk of bacterial contamination.
- Monitor bristle condition: Pay attention to the condition of your toothbrush bristles. If they appear worn, splayed, or frayed, it’s time to replace your toothbrush, even if it hasn’t reached the three-month mark.
- After an illness: If you recently recovered from an illness, it is advisable to replace your toothbrush to prevent reinfection from any lingering germs.
- Sharing a toothbrush: If you’ve shared your toothbrush with someone who is sick, it’s essential to replace your toothbrush to prevent cross-contamination.
By replacing your toothbrush regularly, you ensure that you are using an effective tool for maintaining good oral health. Don’t forget to recycle your old toothbrushes responsibly after replacing them.
With step 7 completed, you are now equipped with all the necessary knowledge on how to properly store your toothbrush for optimal hygiene. By following these steps, you can maintain a clean and germ-free toothbrush, promoting better oral health overall. Remember to establish a routine and make these practices a part of your daily oral hygiene regimen. Happy brushing!
Conclusion
Properly storing your toothbrush is vital for maintaining good oral hygiene and preventing the growth of bacteria. By following the steps outlined in this guide, you can ensure that your toothbrush remains clean, hygienic, and effective in keeping your teeth and gums healthy. Let’s recap the essential steps:
- Choose the right toothbrush holder that allows for airflow and drainage.
- Rinse your toothbrush thoroughly after each use to remove debris and toothpaste.
- Store your toothbrush upright to allow for proper air drying and minimize bacterial growth.
- Keep toothbrushes separate to prevent cross-contamination and the transfer of bacteria.
- Allow your toothbrush to air dry completely before storing it away.
- Clean your toothbrush holder regularly to remove any accumulated bacteria.
- Replace your toothbrush every three to four months or sooner if the bristles are worn or after an illness.
By incorporating these practices into your daily oral care routine, you can maintain a clean and effective toothbrush, reducing the risk of oral health issues and ensuring fresh breath.
Remember, oral hygiene is essential for your overall well-being, so it’s worth taking the time to properly store and care for your toothbrush. Take the necessary steps to keep your toothbrush clean, replace it regularly, and promote a healthy smile.
Now that you have the knowledge, it’s time to put it into action. Follow these steps and enjoy the benefits of a well-maintained toothbrush for a cleaner and healthier mouth. Your smile will thank you!
Frequently Asked Questions about How To Store Your Toothbrush
Was this page helpful?
At Storables.com, we guarantee accurate and reliable information. Our content, validated by Expert Board Contributors, is crafted following stringent Editorial Policies. We're committed to providing you with well-researched, expert-backed insights for all your informational needs.


0 thoughts on “How To Store Your Toothbrush”