Home>Furniture & Design>Bathroom Accessories>How To Charge Philips Sonicare Toothbrush

Bathroom Accessories
How To Charge Philips Sonicare Toothbrush
Modified: August 16, 2024
Learn how to charge your Philips Sonicare toothbrush easily and efficiently. Get the best tips for maintaining your bathroom accessories.
(Many of the links in this article redirect to a specific reviewed product. Your purchase of these products through affiliate links helps to generate commission for Storables.com, at no extra cost. Learn more)
Introduction
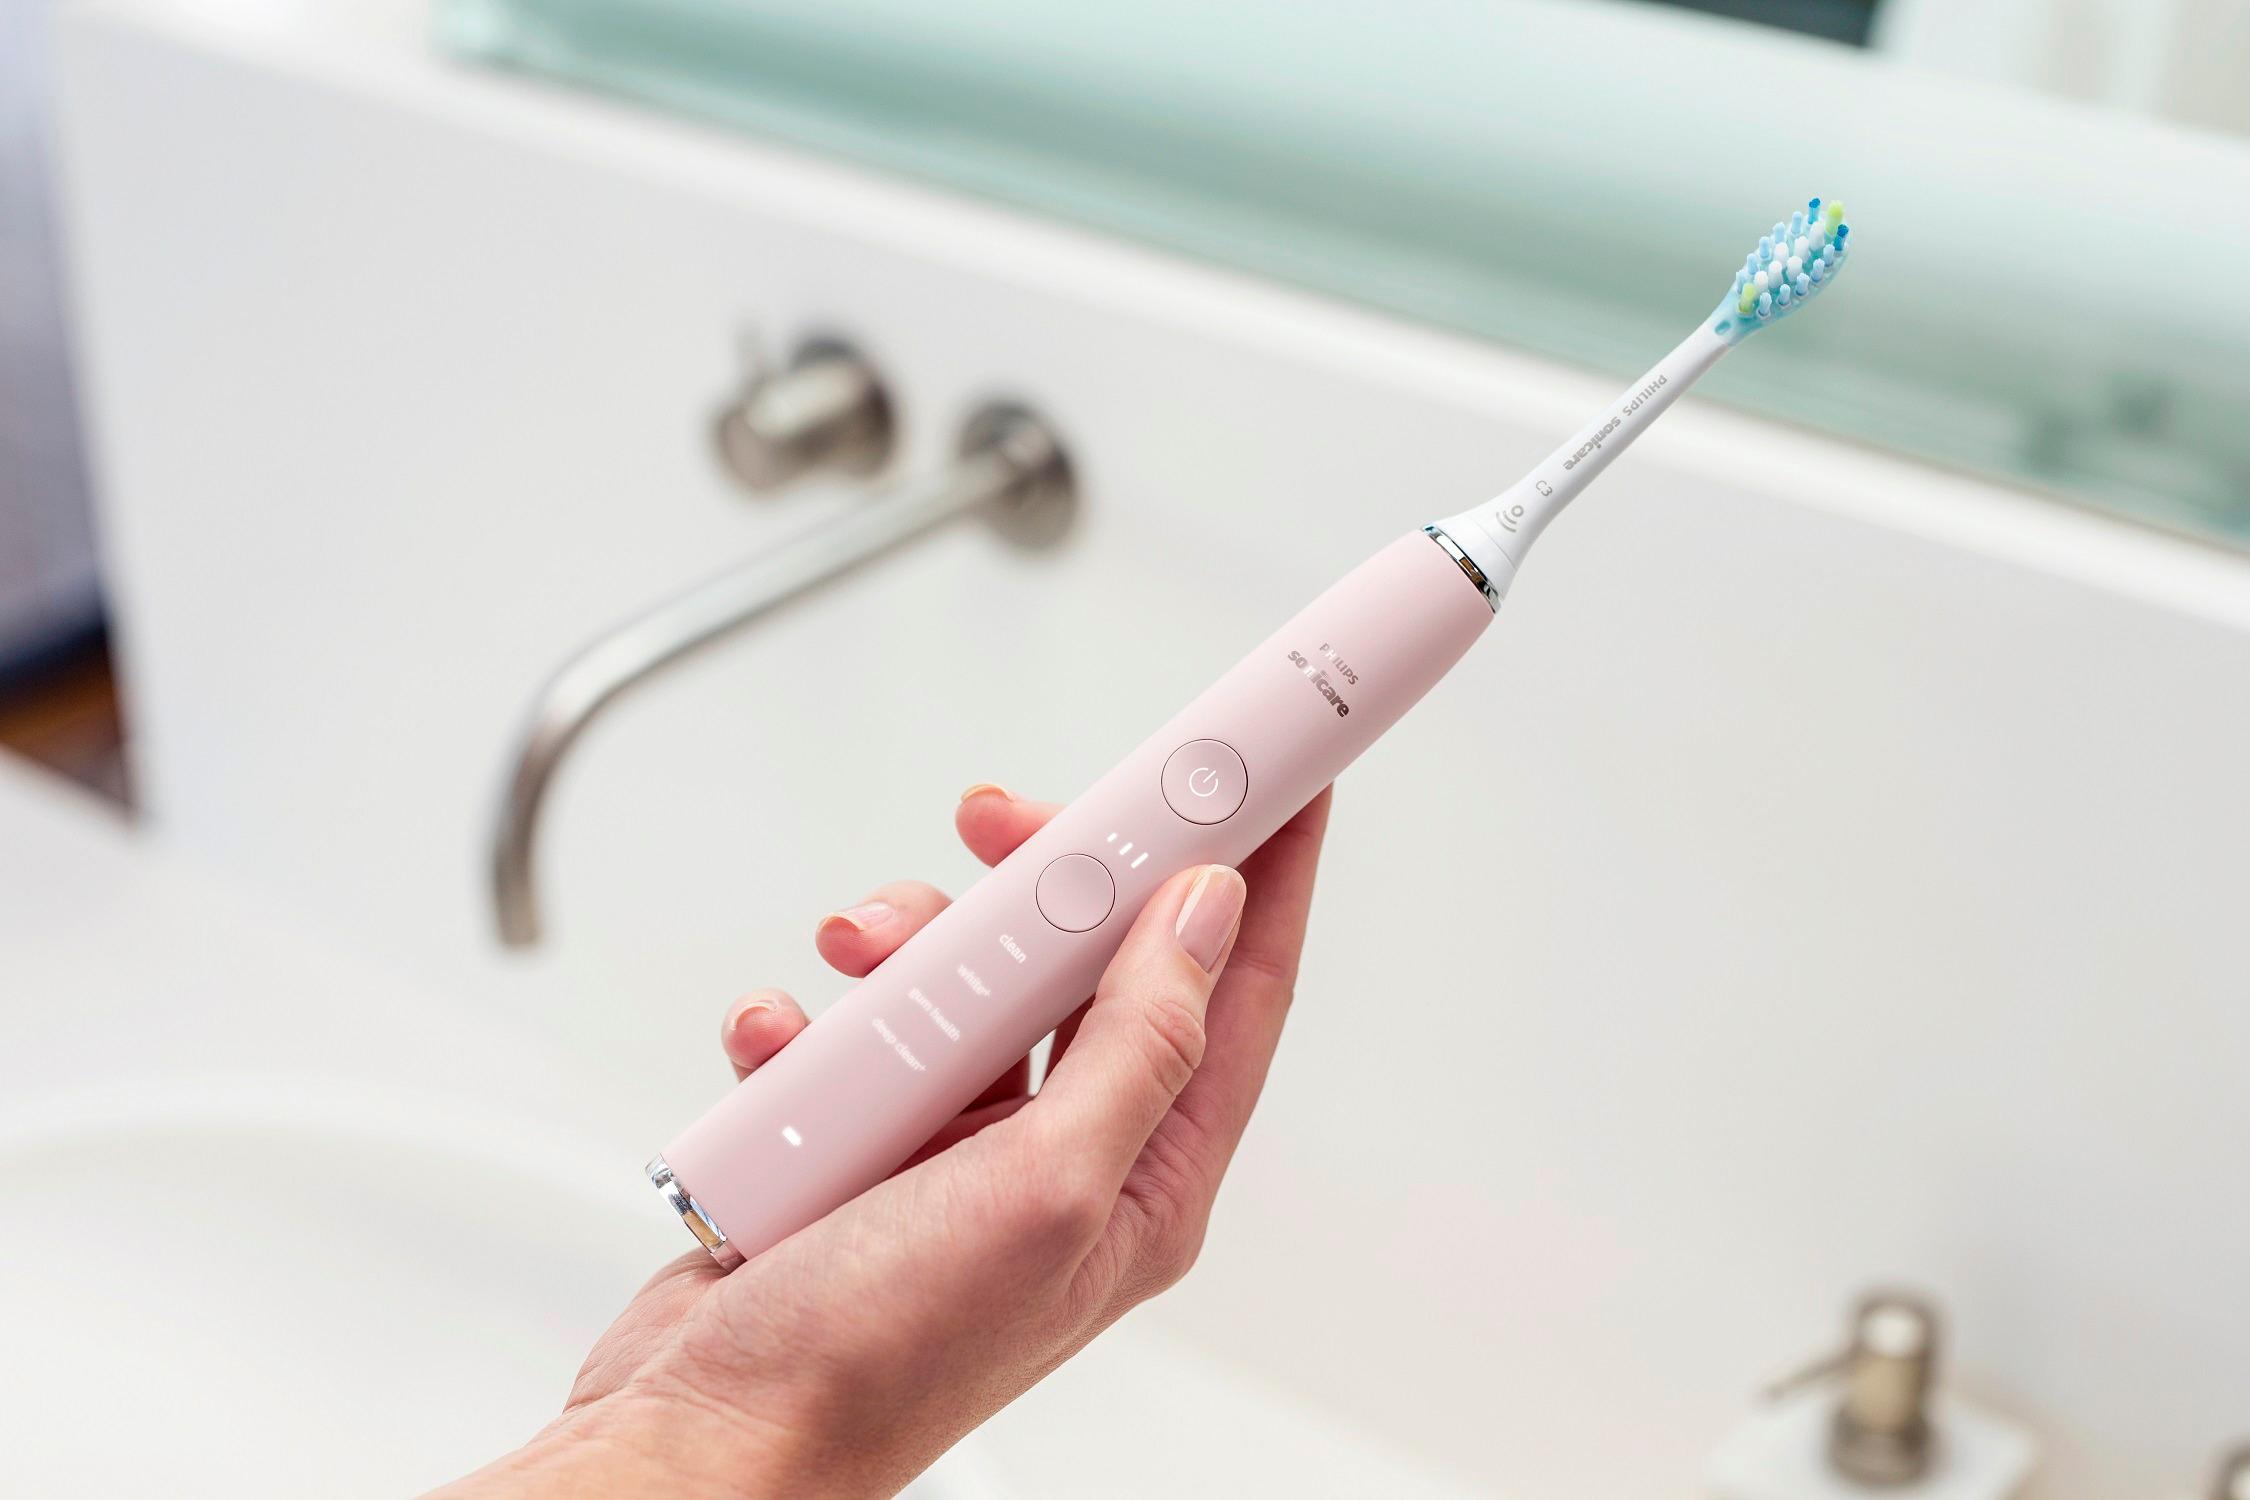
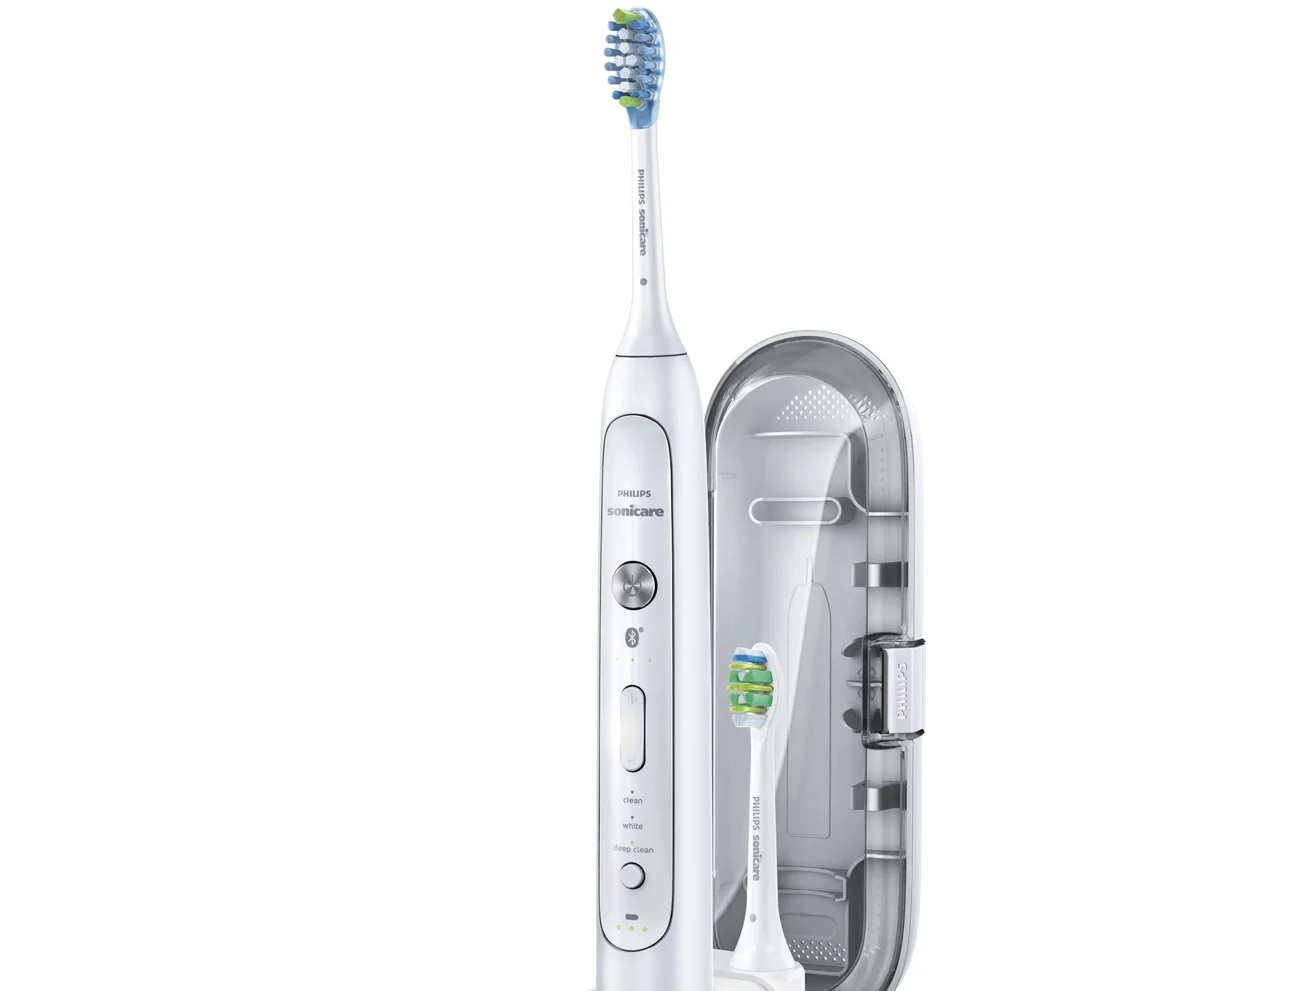
Charging your Philips Sonicare toothbrush is a simple yet essential task to ensure that it remains powered for effective oral care. Whether you have a Sonicare DiamondClean, ProtectiveClean, or Essence model, understanding the proper charging process is crucial for maintaining optimal performance. In this guide, we will walk you through the step-by-step process of charging your Philips Sonicare toothbrush, allowing you to keep your oral hygiene routine on track without any interruptions.
Ensuring that your toothbrush is adequately charged is vital for maintaining its effectiveness in removing plaque and promoting gum health. A fully charged Sonicare toothbrush can provide weeks of use, making it a convenient and reliable tool for your oral care routine. By following the simple steps outlined in this guide, you can effortlessly keep your Sonicare toothbrush charged and ready for use whenever you need it.
Now, let's delve into the specific steps required to charge your Philips Sonicare toothbrush effectively. Whether you are a new Sonicare user or seeking a refresher on the charging process, this guide will equip you with the knowledge to keep your toothbrush powered and ready to deliver a superior clean for your teeth and gums.
Key Takeaways:
- Keep your Philips Sonicare toothbrush charged by preparing the base, placing the toothbrush securely, and monitoring the charging indicator. This ensures a reliable and effective oral care routine without interruptions.
- When your Sonicare toothbrush is fully charged, remove it from the base and incorporate it into your oral care routine. Enjoy the benefits of superior plaque removal and gum health for consistent oral hygiene.
Read more: Philips Sonicare Toothbrush: How To Use
Step 1: Prepare the charging base
Before you begin charging your Philips Sonicare toothbrush, it's essential to ensure that the charging base is ready for the process. The charging base serves as the platform for re-energizing your toothbrush, and preparing it correctly can contribute to a seamless and efficient charging experience.
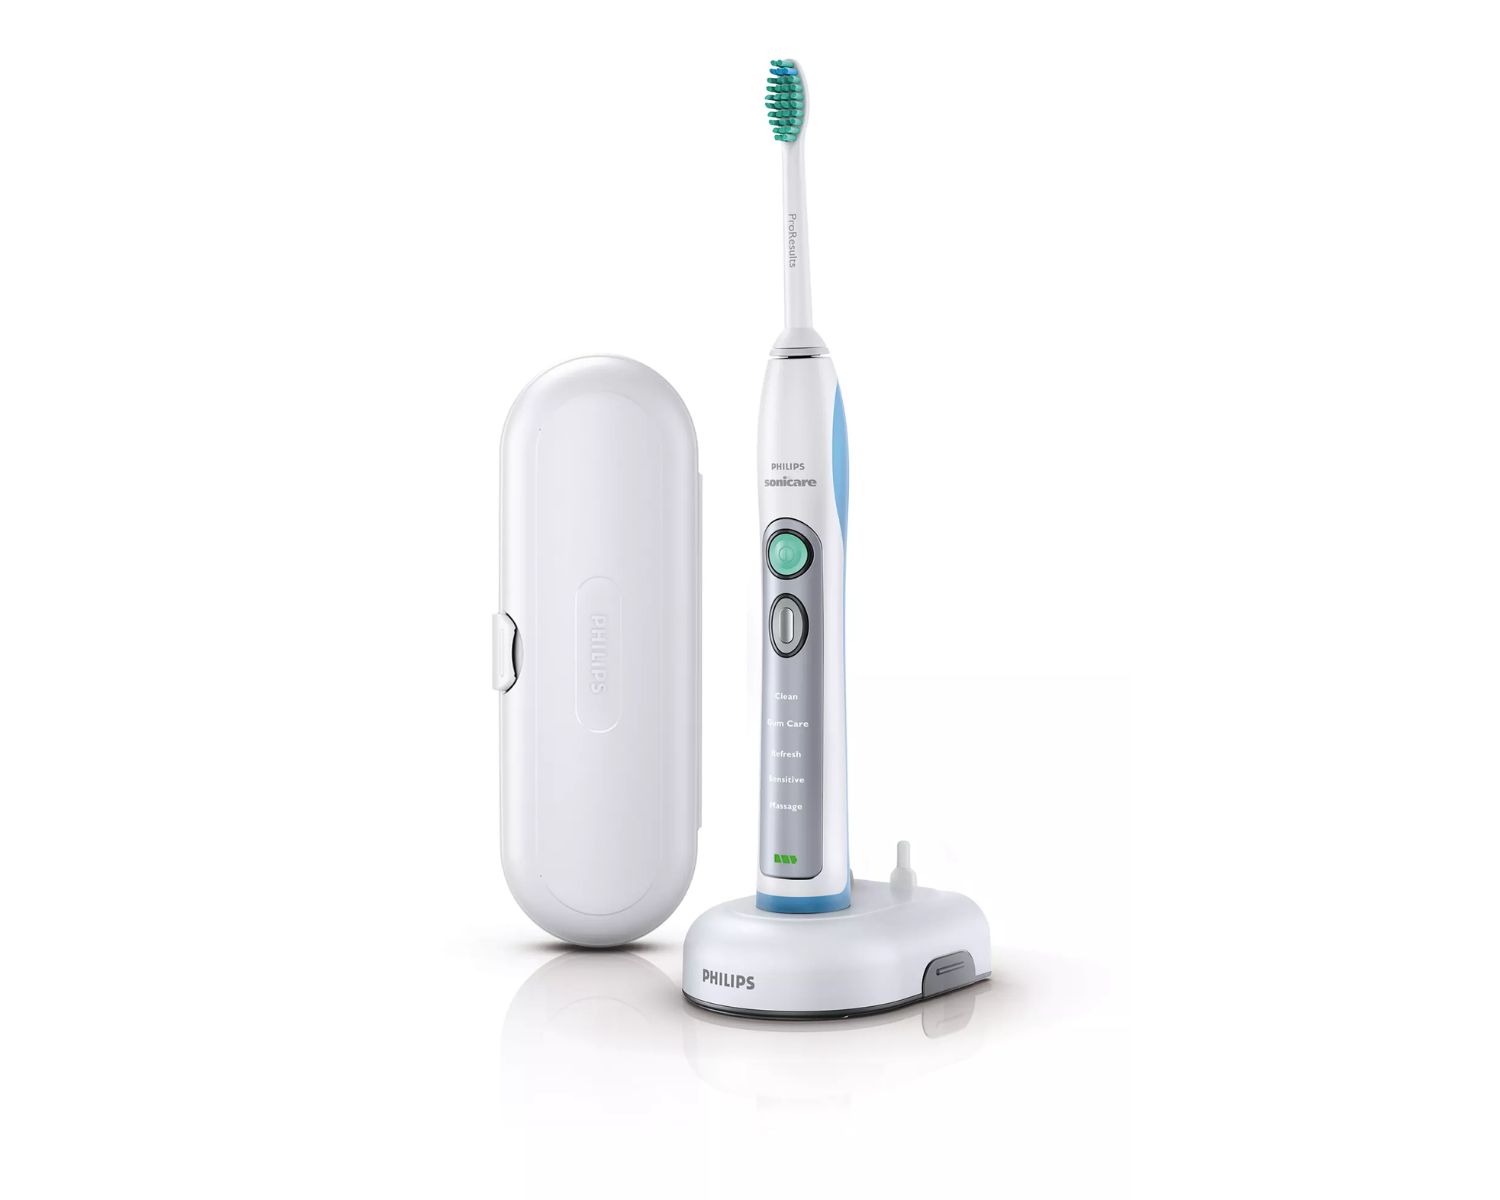
First, locate the charging base that came with your Philips Sonicare toothbrush. This base is specifically designed to accommodate your toothbrush and facilitate the charging process. It typically consists of a stand and a prong that connects to the toothbrush for power transfer.
Next, identify a suitable location for the charging base. Ideally, you should place it on a flat, stable surface near a power outlet. This ensures that the base remains secure and easily accessible during the charging process. Additionally, choosing a location with easy access to the power source can streamline the overall charging experience.
Inspect the charging base to ensure that it is clean and free from any debris or moisture. Wipe the surface of the base with a dry cloth to remove any dust or dirt that may have accumulated. This simple step helps maintain a clean and hygienic charging environment for your toothbrush.
If your Sonicare toothbrush has been unused for an extended period, it's advisable to clean the prong on the charging base as well as the metal contacts on the toothbrush handle. Use a slightly damp cloth to gently wipe these components, ensuring that they are free from any residue that could interfere with the charging process.
By taking the time to prepare the charging base, you set the stage for a successful and effective charging experience for your Philips Sonicare toothbrush. This proactive approach helps maintain the functionality of the charging base and ensures that your toothbrush receives the power it needs to deliver exceptional oral care results.
With the charging base prepared, you are now ready to proceed to the next step in the process of charging your Philips Sonicare toothbrush.
Step 2: Place the toothbrush on the charging base
Once the charging base is prepared, the next step in charging your Philips Sonicare toothbrush is to securely place the toothbrush on the charging base. This step is crucial for establishing a reliable connection between the toothbrush and the power source, ensuring that the charging process can commence effectively.
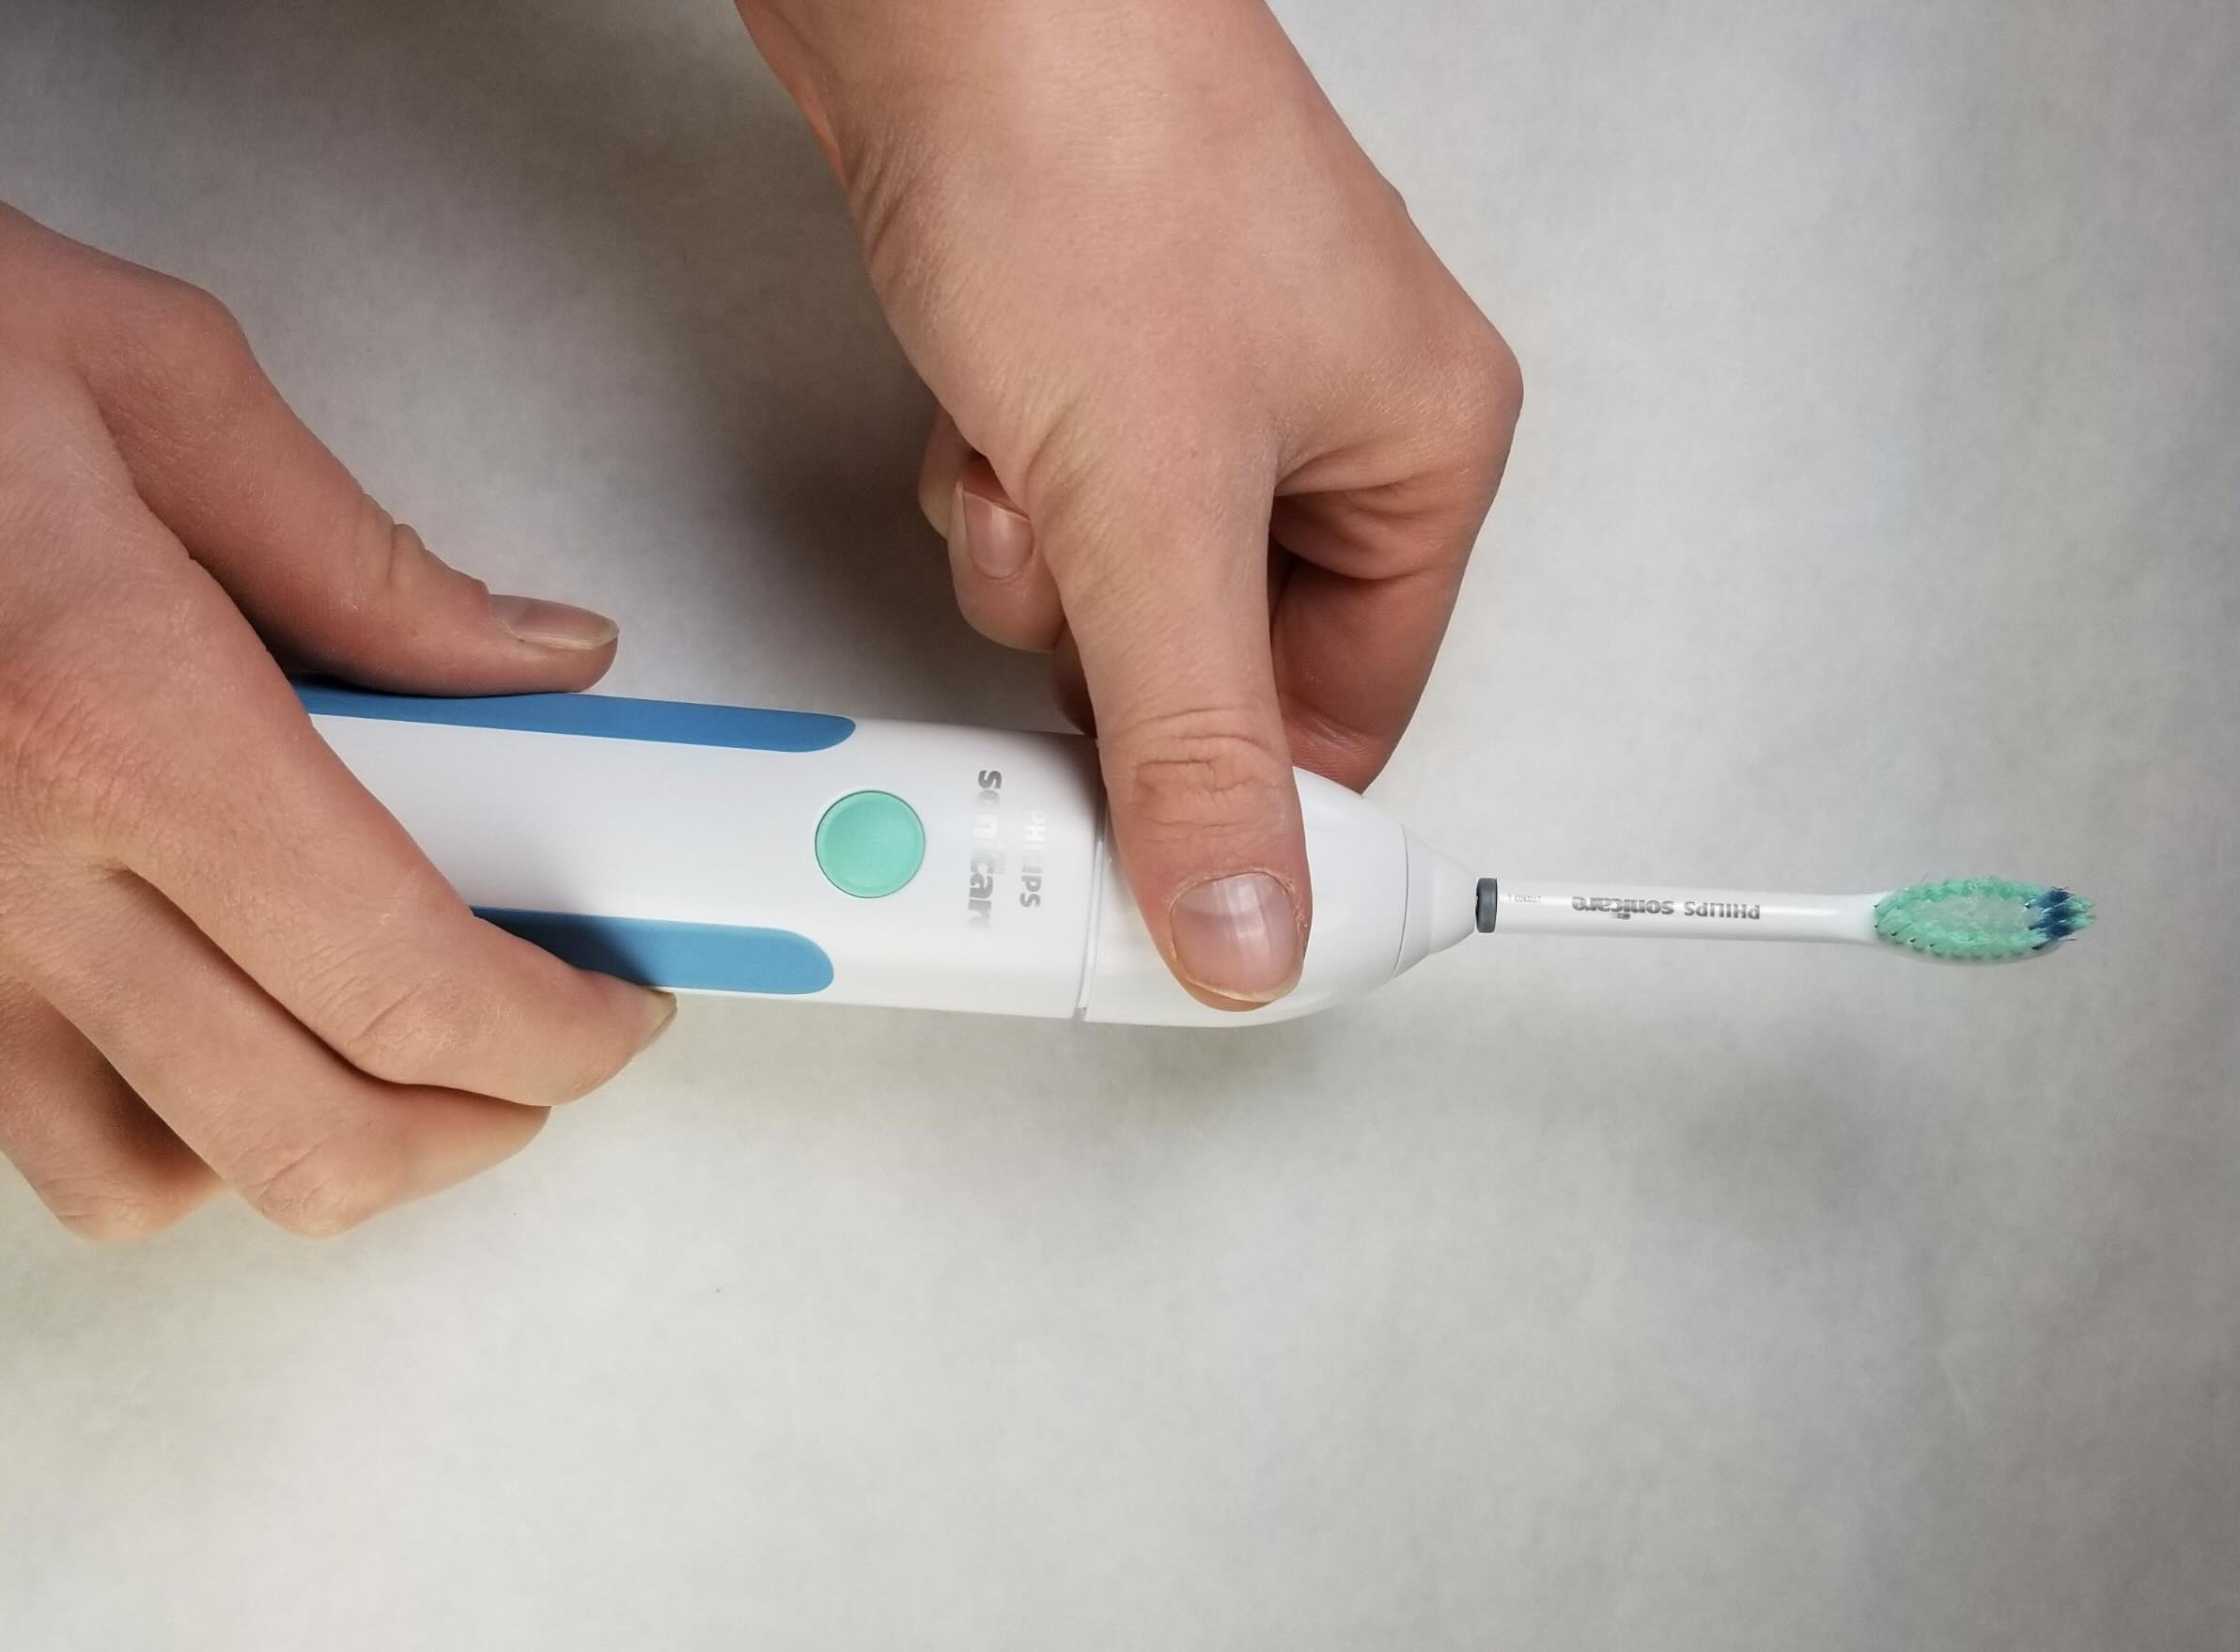
To begin, pick up your Sonicare toothbrush and locate the small indentation or slot on the handle that aligns with the prong on the charging base. This feature is designed to facilitate a seamless connection between the toothbrush and the base, allowing for efficient power transfer.
Carefully position the toothbrush on the charging base, ensuring that the prong on the base fits snugly into the corresponding slot on the handle of the toothbrush. Gently press the toothbrush down onto the base to ensure that it is securely seated and making proper contact with the charging prong.
As you place the toothbrush on the charging base, you may notice a slight magnetic pull that helps guide the toothbrush into the correct position. This magnetic feature assists in aligning the toothbrush with the charging prong, making it easier to establish a stable and reliable connection for charging.
Once the toothbrush is in place on the charging base, take a moment to ensure that it is positioned securely and that the connection between the prong and the handle is firm. This step is essential for initiating the charging process and allowing the toothbrush to draw power from the base to replenish its battery.
With the toothbrush securely positioned on the charging base, you have successfully completed the crucial step of establishing a connection for charging your Philips Sonicare toothbrush. This sets the stage for the next phase of the charging process, which involves connecting the charging base to a power source to initiate the replenishment of your toothbrush's battery.
By carefully placing the toothbrush on the charging base, you are taking a proactive step towards ensuring that your Sonicare toothbrush remains powered and ready to deliver exceptional oral care results whenever you need it. This simple yet essential action contributes to the overall effectiveness of the charging process, allowing you to maintain a consistent and reliable power supply for your toothbrush.
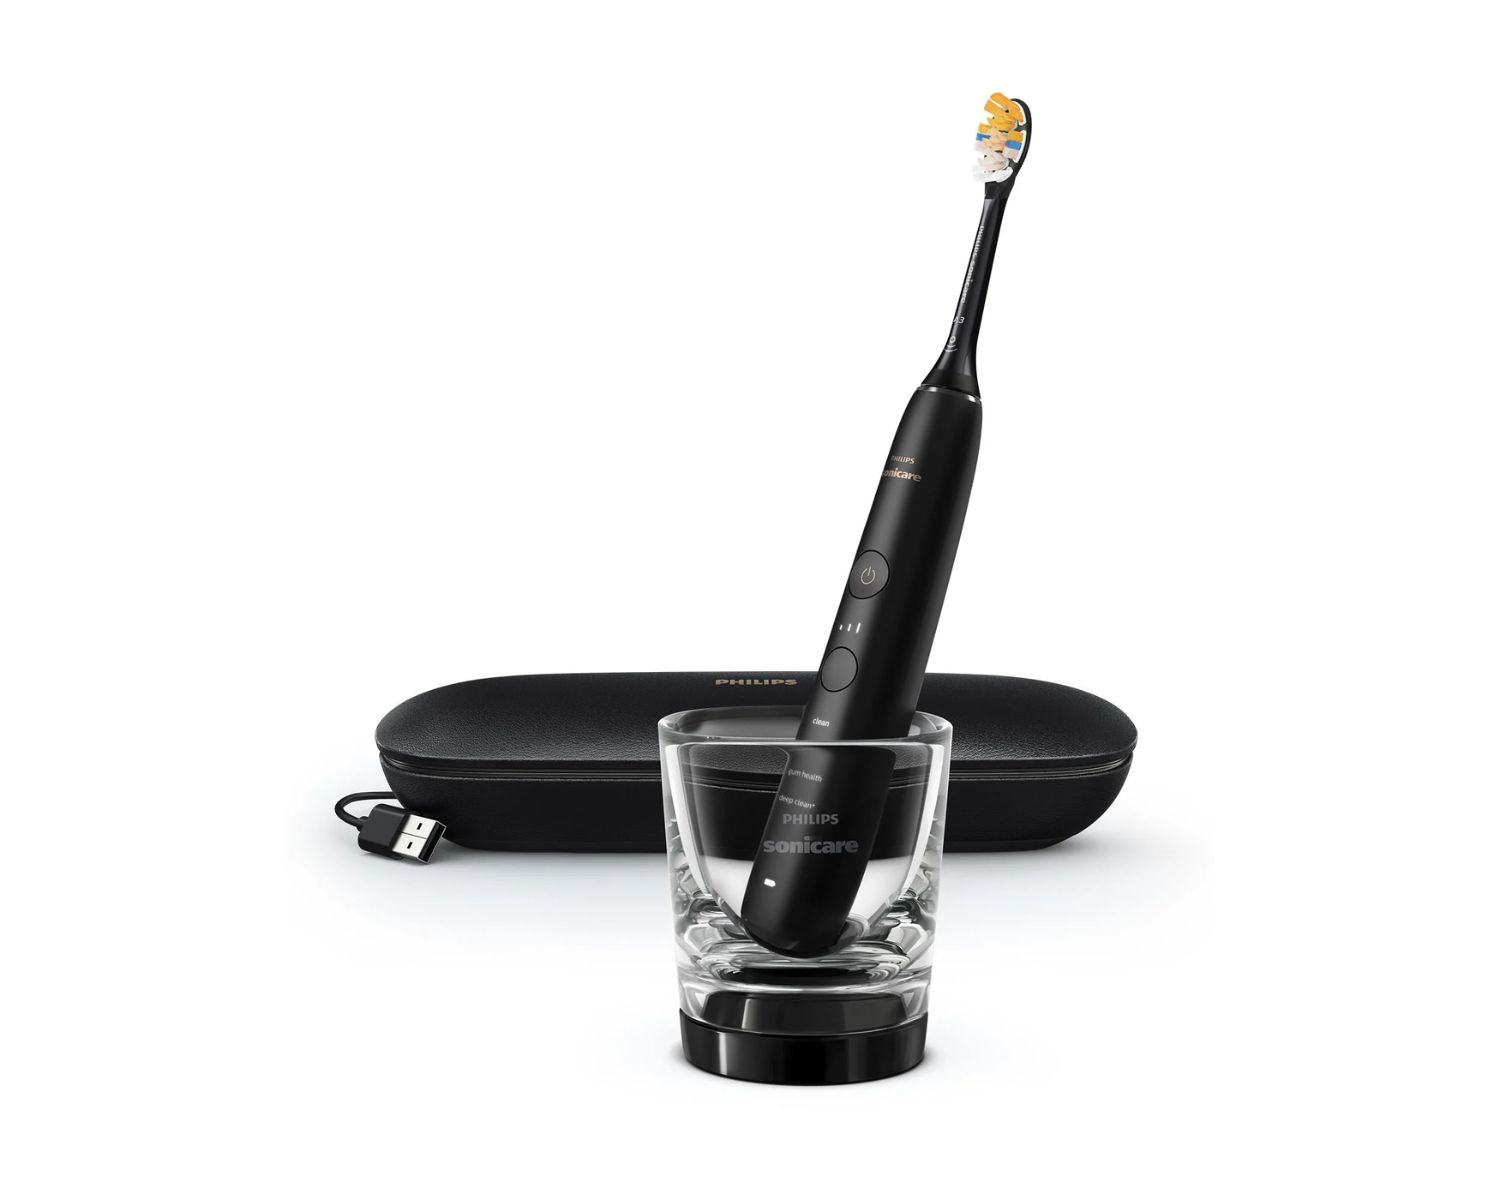
To charge your Philips Sonicare toothbrush, simply place it in the charging base and make sure it’s connected to a power source. The indicator light will show when it’s charging.
Step 3: Connect the charging base to a power source
With your Philips Sonicare toothbrush securely positioned on the charging base, the next critical step is to connect the charging base to a power source. This pivotal action initiates the transfer of electrical energy to your toothbrush, allowing it to replenish its battery and remain fully charged for optimal performance.
Locate a suitable power outlet in close proximity to the charging base. Ensure that the outlet is easily accessible and that there is ample space to maneuver the power cord without causing any obstructions. Choosing a convenient location for the power source streamlines the process of connecting the charging base and facilitates a smooth and hassle-free charging experience.
Take the power cord that is attached to the charging base and carefully unwind it, ensuring that it is free from any tangles or knots that could impede its reach to the power outlet. Handling the power cord with care helps prevent any damage and ensures that it remains in optimal condition for repeated use during the charging process.
Gently insert the plug at the end of the power cord into the power outlet, ensuring a secure and snug fit. Apply steady pressure to the plug as you insert it into the outlet, taking care to align the prongs with the receptacles to establish a reliable electrical connection. Once the plug is fully inserted, give it a slight tug to confirm that it is firmly seated in the outlet.
As the plug is securely in place, the charging base is now connected to the power source, and electrical energy is ready to flow to your Philips Sonicare toothbrush. This pivotal step sets the stage for the replenishment of your toothbrush's battery, ensuring that it remains fully charged and ready to deliver exceptional oral care results.
By connecting the charging base to a power source, you have taken a crucial step towards maintaining the functionality and effectiveness of your Philips Sonicare toothbrush. This proactive action ensures that your toothbrush remains powered and ready for use, allowing you to uphold a consistent and reliable oral care routine without any interruptions.
With the charging base successfully connected to a power source, you are now poised to monitor the charging indicator and oversee the replenishment of your toothbrush's battery, which will be covered in the next step of the charging process.
Step 4: Monitor the charging indicator
As you have connected the charging base to a power source, it's crucial to monitor the charging indicator on your Philips Sonicare toothbrush. The charging indicator serves as a visual cue that provides valuable information about the status of the charging process, allowing you to stay informed about the battery replenishment progress.
Upon connecting the charging base to the power source, the charging indicator on your Sonicare toothbrush will typically illuminate to signify that the charging process has commenced. This visual cue is often represented by a light located on the handle of the toothbrush, designed to convey essential information about the battery status and the ongoing charging activity.
The charging indicator light serves as a convenient and intuitive way to monitor the progress of the charging process. As the battery replenishment takes place, the indicator light may exhibit specific behaviors to communicate the status of the charging activity. For instance, it may pulse or emit a steady glow, indicating that the toothbrush is actively receiving power and that the charging process is underway.
During the initial phase of charging, it's normal for the indicator light to exhibit specific behaviors that signal the commencement of the battery replenishment. This visual feedback provides reassurance that your Sonicare toothbrush is successfully drawing power from the charging base and that the battery is being replenished to ensure optimal performance during use.
As the charging process progresses, the indicator light may undergo changes to reflect the evolving status of the battery replenishment. For instance, the light may transition from a pulsing pattern to a steady glow, indicating that the battery is approaching full capacity. This transition serves as a helpful visual cue, allowing you to gauge the remaining duration of the charging process and anticipate when your toothbrush will be fully charged and ready for use.
Monitoring the charging indicator enables you to stay informed about the status of the charging process, empowering you to plan your oral care routine effectively. By keeping an eye on the indicator light, you can gauge the progress of the battery replenishment and anticipate when your Sonicare toothbrush will be fully charged, ensuring that it remains ready to deliver exceptional oral care results whenever you need it.
By actively monitoring the charging indicator, you are actively engaged in the charging process, allowing you to stay informed about the status of your Philips Sonicare toothbrush's battery replenishment. This proactive approach ensures that you are well-informed about the charging progress, empowering you to seamlessly incorporate your fully charged toothbrush into your oral care routine without any delays or interruptions.
Read more: How To Fix A Philips Sonicare Toothbrush
Step 5: Remove the toothbrush from the charging base
Once the charging indicator on your Philips Sonicare toothbrush signals that the battery is fully replenished, it's time to remove the toothbrush from the charging base. This final step ensures that your toothbrush is ready for immediate use and allows you to seamlessly incorporate it into your oral care routine without any delays.
To begin, gently grasp the handle of your Sonicare toothbrush and lift it off the charging base. Exercise care and precision to ensure that the toothbrush is lifted straight up, maintaining a steady and even motion to disengage it from the charging prong. By lifting the toothbrush in a controlled manner, you can prevent any unnecessary strain on the handle and ensure that it is removed from the base smoothly and effortlessly.
As you lift the toothbrush from the charging base, take a moment to inspect the handle and ensure that it is free from any residual moisture or debris. Wipe the handle with a dry cloth if necessary, ensuring that it is clean and ready for immediate use. This simple yet essential step helps maintain the hygiene and functionality of your Sonicare toothbrush, allowing you to enjoy a consistently superior oral care experience.
With the toothbrush successfully removed from the charging base, take a moment to confirm that the charging base is disconnected from the power source. Gently unplug the power cord from the outlet, exercising caution to avoid any unnecessary tugs or pulls that could cause damage to the cord or the outlet. By disconnecting the charging base from the power source, you complete the charging process and ensure that your toothbrush is ready for immediate use.
Now that your Philips Sonicare toothbrush is free from the charging base and the base is disconnected from the power source, it's time to incorporate your fully charged toothbrush into your oral care routine. With a fully replenished battery, your Sonicare toothbrush is poised to deliver exceptional results, promoting effective plaque removal and gum health to support your overall oral hygiene.
By following the simple yet essential steps outlined in this guide, you have successfully charged your Philips Sonicare toothbrush and prepared it for immediate use. This proactive approach ensures that your toothbrush remains powered and ready to deliver superior oral care results whenever you need it, allowing you to maintain a consistent and reliable oral hygiene routine without any interruptions.
Frequently Asked Questions about How To Charge Philips Sonicare Toothbrush
Was this page helpful?
At Storables.com, we guarantee accurate and reliable information. Our content, validated by Expert Board Contributors, is crafted following stringent Editorial Policies. We're committed to providing you with well-researched, expert-backed insights for all your informational needs.
0 thoughts on “How To Charge Philips Sonicare Toothbrush”