Home>Articles>How Long Does It Take For Ring Doorbell To Charge
Articles
How Long Does It Take For Ring Doorbell To Charge
Modified: October 27, 2024
Discover how long it takes for the Ring Doorbell to charge with this informative article. Learn all about the charging process and optimize your device's battery life.
(Many of the links in this article redirect to a specific reviewed product. Your purchase of these products through affiliate links helps to generate commission for Storables.com, at no extra cost. Learn more)
Introduction
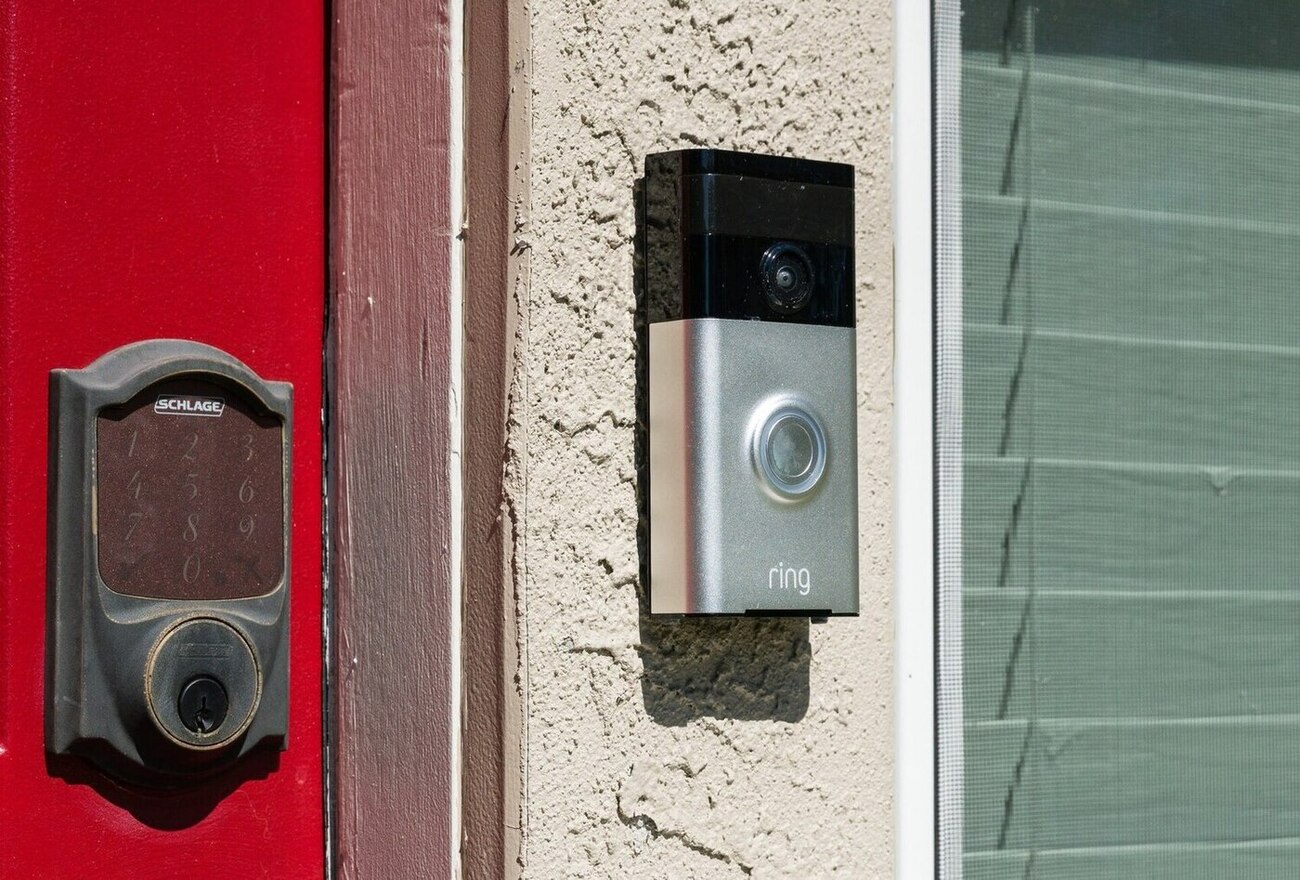
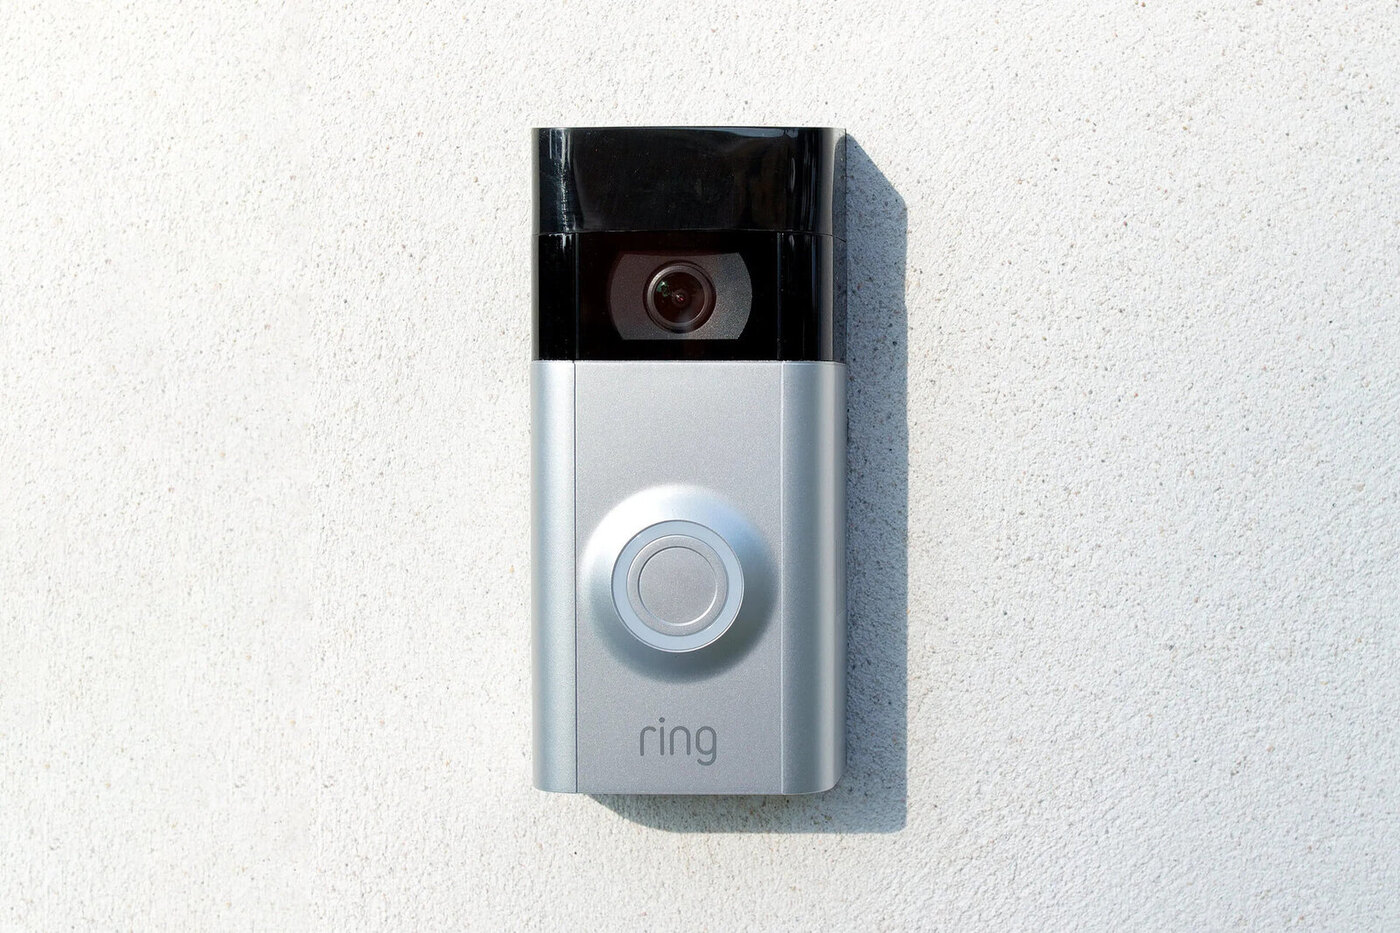
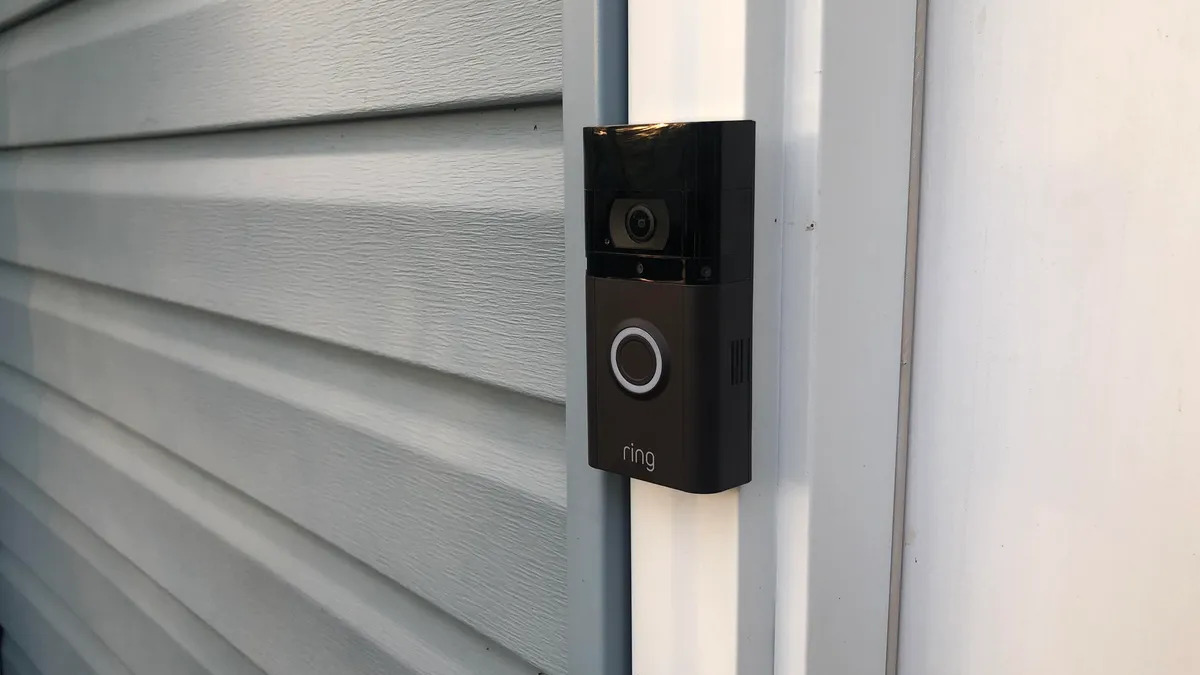
Welcome to the world of Ring doorbells, where convenience meets security. Ring doorbells have become incredibly popular due to their ability to provide homeowners with peace of mind and a sense of control over their property. One important aspect of owning a Ring doorbell is understanding how long it takes to charge the device’s battery.
The Ring doorbell battery is a crucial component that powers the device’s various features, such as motion detection, video recording, and two-way communication. To ensure uninterrupted functionality, it is essential to have a fully charged battery. Fortunately, charging the Ring doorbell is a straightforward process, but the amount of time it takes can vary depending on several factors.
In this article, we will explore the various aspects of Ring doorbell battery charging, including the factors that affect this process and how long it typically takes to achieve a full charge. Additionally, we will provide some helpful tips to expedite the charging process and ensure that your Ring doorbell is always ready to go.
So, if you’re curious about the charging time of your Ring doorbell or looking to optimize its battery life, keep reading to find all the essential information you need.
Key Takeaways:
- Charging a Ring doorbell battery typically takes 5 to 10 hours, but factors like battery capacity and charging method can affect the duration. Using a high-powered charger and optimizing settings can expedite the process.
- Understanding the factors affecting Ring doorbell charging time and implementing tips like charging in optimal conditions and checking battery status can ensure a seamless user experience and maximize device features.
Read more: How To Tell If Ring Doorbell Is Charging
Understanding Ring Doorbell Battery
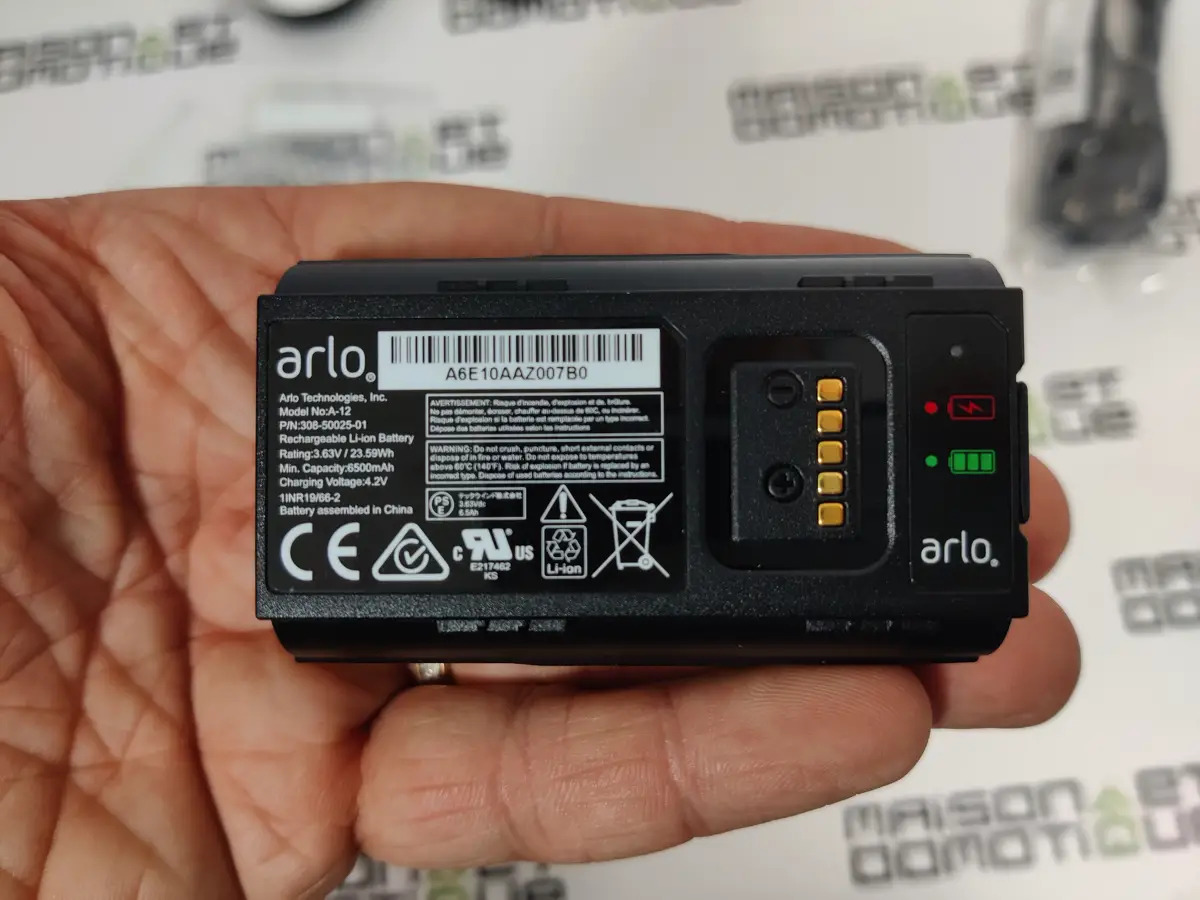
Before delving into the specifics of charging the Ring doorbell, it’s important to have a basic understanding of the device’s battery. The Ring doorbell typically comes with a lithium-ion rechargeable battery that is designed to provide long-lasting power for your doorbell.
The lithium-ion battery offers several advantages compared to traditional batteries. It is lightweight, compact, and can hold a large amount of energy. This type of battery is also known for its ability to hold a charge longer, allowing your Ring doorbell to function for extended periods without needing frequent recharging.
The battery capacity of the Ring doorbell can vary depending on the specific model you own. Generally, newer models have larger batteries that can store more energy, resulting in longer battery life. However, it’s important to note that the battery life also depends on the usage and settings of your Ring doorbell.
To check the battery status of your Ring doorbell, you can access the device settings through the Ring app or the control panel. This will give you an idea of how much charge the battery currently has and whether it needs to be charged soon.
Now that we have a basic understanding of the Ring doorbell battery, let’s move on to the process of charging it.
Charging the Ring Doorbell
Charging the Ring doorbell is a simple process that can be done in a few easy steps. Here’s how to do it:
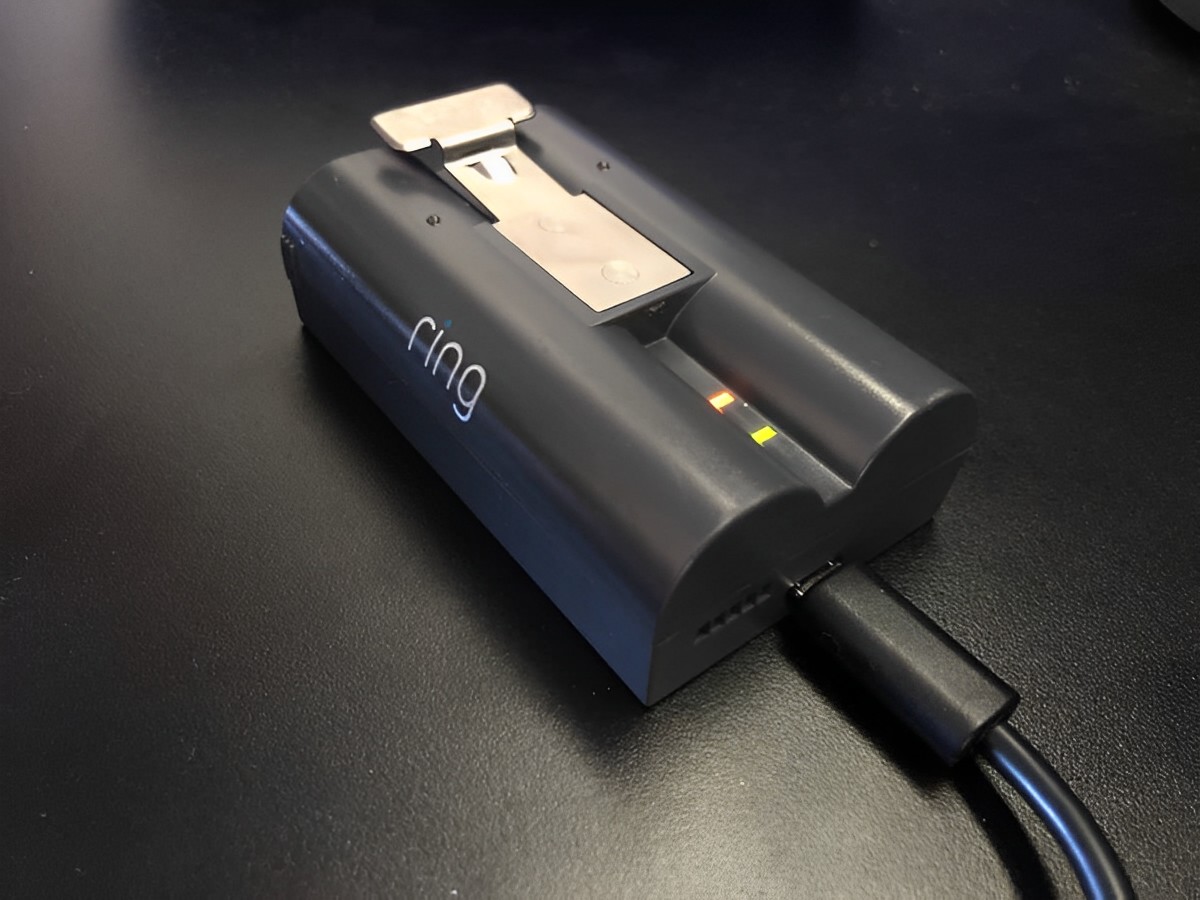
- Remove the battery: Depending on the model, the battery compartment of the Ring doorbell is usually located at the bottom or back of the device. Gently slide the compartment open or remove the cover to access the battery.
- Disconnect the battery: Some models have a quick-release mechanism to easily detach the battery from the doorbell. If your model doesn’t have this feature, carefully unplug the battery from its connector.
- Connect the battery to the charger: Using the provided charging cable, connect one end to the battery and the other end to a power source. You can use the included USB cable to connect it to a computer or a USB wall adapter, or you can use a compatible third-party charger.
- Monitor the charging process: Once the Ring doorbell battery is connected to the charger, a light indicator on the battery or the charging cable itself will illuminate to indicate that it’s charging. Keep an eye on the light to ensure that the charging process is underway.
- Wait for the battery to fully charge: The length of time it takes for the Ring doorbell battery to charge depends on several factors, including the battery capacity and the charging method used. It’s important to allow ample time for the battery to reach a full charge before disconnecting it.
- Reinstall the battery: After the battery is fully charged, remove it from the charger and reconnect it to the Ring doorbell. Make sure to secure it properly in the battery compartment or slot.
- Power on the Ring doorbell: Once the battery is installed, power on the Ring doorbell. It may take a few moments for the device to restart and establish a connection.
Following these steps will ensure that your Ring doorbell battery is properly charged and ready for use. Now let’s explore the factors that can affect the charging time of the Ring doorbell battery.
Factors Affecting Charging Time
The charging time of the Ring doorbell battery can vary depending on several factors. Understanding these factors will give you a better idea of how long it might take to fully charge your Ring doorbell battery. Here are the key factors that can affect the charging time:
- Battery capacity: The capacity of the battery itself plays a significant role in determining the charging time. A larger battery capacity will require more time to charge compared to a smaller capacity.
- Charging method: The method you use to charge the Ring doorbell battery can also impact the charging time. Charging via a USB port on a computer or using a slower charger may take longer compared to using a high-powered USB wall adapter.
- Battery status: The current charge level of the battery can also influence the charging time. If the battery is completely drained, it will take longer to charge compared to a battery that only requires a partial charge.
- Background activity: If your Ring doorbell is actively recording videos, detecting motion, or connected to other devices, it may draw power from the battery while it’s being charged. This can slow down the charging process.
- Environmental conditions: Extreme temperatures can affect the charging time of the Ring doorbell battery. Charging in high or low temperatures can reduce the efficiency of the battery and prolong the charging time.
Considering these factors can help you estimate the charging time for your Ring doorbell battery. However, it’s important to note that the actual charging time may still vary depending on individual circumstances.
Now that we understand the factors that can affect the charging time, let’s explore how long it typically takes to fully charge a Ring doorbell.
The Ring Doorbell takes approximately 5-10 hours to fully charge, depending on the model and the power source used. It is recommended to use the provided USB cable and a 5V/2A power adapter for optimal charging.
How Long Does It Take to Fully Charge a Ring Doorbell?
The time it takes to fully charge a Ring doorbell battery can vary depending on multiple factors, including the model, battery capacity, charging method, and battery status. On average, it can take approximately 5 to 10 hours to fully charge a completely drained Ring doorbell battery.
However, it’s important to note that this is just an estimate, and the actual charging time can vary. A larger battery capacity will naturally take longer to charge compared to a smaller one. Using a high-powered USB wall adapter or a fast-charging method can significantly reduce the charging time. Conversely, if the battery is only partially drained, it may take less time to reach a full charge.
To get a more accurate estimate of the charging time for your specific Ring doorbell model, you can refer to the manufacturer’s documentation or consult the Ring support website. These resources typically provide guidelines on battery charging times based on different scenarios and configurations.
It’s worth noting that Ring doorbells are designed to have a long battery life and can operate for several months on a single charge, depending on usage and settings. Regularly charging your Ring doorbell battery will help ensure optimal performance and minimize any interruption to its functionality.
Now that we know how long it typically takes to fully charge a Ring doorbell, let’s explore some tips to expedite the charging process.
Tips for Faster Charging
If you’re looking to speed up the charging process of your Ring doorbell battery, consider implementing the following tips:
- Use a high-powered charger: Using a USB wall adapter with a higher power output can significantly reduce the charging time. Look for a charger that provides at least 5V/2A or higher for faster charging.
- Avoid using a computer USB port: While charging your Ring doorbell through a computer’s USB port is possible, it often provides lower power output, resulting in slower charging. It’s best to use a dedicated USB wall adapter for faster and more efficient charging.
- Optimize settings and reduce activity: If you’re in a rush to charge your Ring doorbell battery, consider temporarily adjusting the device’s settings to minimize battery consumption. Reduce motion detection sensitivity, turn off unnecessary notifications, and limit connected devices that may drain power.
- Charge in optimal temperature conditions: Extreme temperatures, whether too hot or too cold, can affect the charging time and overall battery performance. It’s best to charge your Ring doorbell in a temperature-controlled environment.
- Regularly check battery status: Keeping a close eye on the battery status can help you identify when it is running low and needs to be charged. Regular charging before the battery drains completely can help reduce the overall charging time.
- Consider a spare battery: If you find yourself frequently needing a fully charged Ring doorbell, investing in a spare battery can be a convenient solution. While one battery is in use, the other can be charging, ensuring that you always have a charged battery ready to swap.
By implementing these tips, you can expedite the charging process of your Ring doorbell battery and ensure it’s ready to be back in action as quickly as possible.
Finally, let’s wrap up our discussion.
Conclusion
Charging the Ring doorbell battery is an essential part of maintaining its functionality and ensuring that it is always ready to perform its security duties. While the charging time can vary depending on factors such as battery capacity, charging method, and battery status, it typically takes about 5 to 10 hours to fully charge a drained Ring doorbell battery.
Understanding the factors that affect charging time, such as battery capacity and the charging method used, can help you plan accordingly and estimate the charging time for your specific Ring doorbell model. Additionally, implementing tips like using a high-powered charger, optimizing settings, and charging in optimal temperature conditions can speed up the charging process and minimize any interruptions to your Ring doorbell’s functionality.
Regularly checking the battery status and proactively charging the battery when needed can also help ensure that your Ring doorbell is always ready for action. If time is of the essence or you require a constant power source, investing in a spare battery can provide a convenient solution.
Remember, a fully charged Ring doorbell battery not only ensures a seamless user experience but also allows you to maximize the device’s features, including motion detection, recording, and two-way communication.
So, whether you’re installing a new Ring doorbell or looking to optimize the charging time of your current device, following the tips and guidelines outlined in this article will help you keep your Ring doorbell powered up and ready to go.
With a fully charged battery, you can enjoy the convenience, security, and peace of mind that come with owning a Ring doorbell.
Curious about maintaining your smart home devices? Dive into our detailed guide on checking your Ring Doorbell's battery status to ensure it's always ready to alert you. Plus, don't miss our roundup of the 12 best home automation systems set to enhance your living space in 2024. These insights will definitely keep your home connected and more efficient.
Frequently Asked Questions about How Long Does It Take For Ring Doorbell To Charge
Was this page helpful?
At Storables.com, we guarantee accurate and reliable information. Our content, validated by Expert Board Contributors, is crafted following stringent Editorial Policies. We're committed to providing you with well-researched, expert-backed insights for all your informational needs.


0 thoughts on “How Long Does It Take For Ring Doorbell To Charge”