Home>diy>Building & Construction>How To Clean New Construction Home
Building & Construction
How To Clean New Construction Home
Modified: January 8, 2024
Discover the best way to clean your new construction home with our step-by-step guide. Learn effective techniques and tips for maintaining your building-construction property.
(Many of the links in this article redirect to a specific reviewed product. Your purchase of these products through affiliate links helps to generate commission for Storables.com, at no extra cost. Learn more)
Introduction
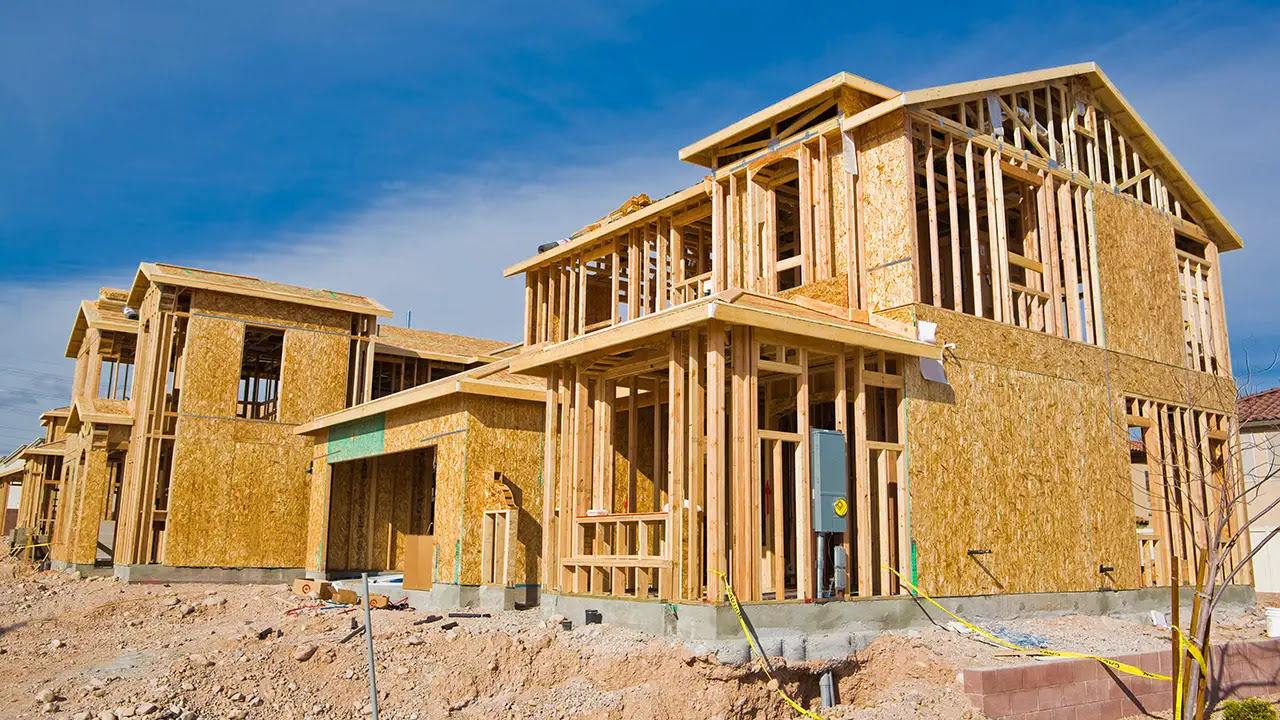
Welcome to your new construction home! The excitement of moving into a brand new space is undeniable. However, before you can fully settle in and enjoy your new surroundings, it’s essential to give your home a thorough cleaning. Construction projects can leave behind dust, debris, and various residues that need to be addressed. Cleaning a new construction home may seem daunting, but with the right approach and supplies, you can ensure a fresh and sanitized living environment.
In this article, we’ll guide you through the process of cleaning your new construction home, step by step. We’ll cover everything from gathering the necessary supplies to tackling each area of your home with expert techniques. By following these guidelines, you’ll be able to transform your new construction site into a clean and comfortable living space.
Before getting started, it’s important to prioritize your safety. Construction sites can have hazards such as sharp objects or exposed wiring. Make sure to wear protective gear, such as gloves and goggles, and be cautious when maneuvering around the premises. Safety should always be your top priority.
Now let’s gather the cleaning supplies you will need to tackle this endeavor.
Key Takeaways:
- Transform your new construction home into a spotless sanctuary by following expert cleaning techniques. From dusting and vacuuming to scrubbing and sanitizing, create a clean and comfortable living space.
- Prioritize safety and adapt cleaning steps to your home’s specific needs. Regular maintenance ensures a fresh and inviting environment for years to come. Happy cleaning!
Read more: Why Buy New Construction
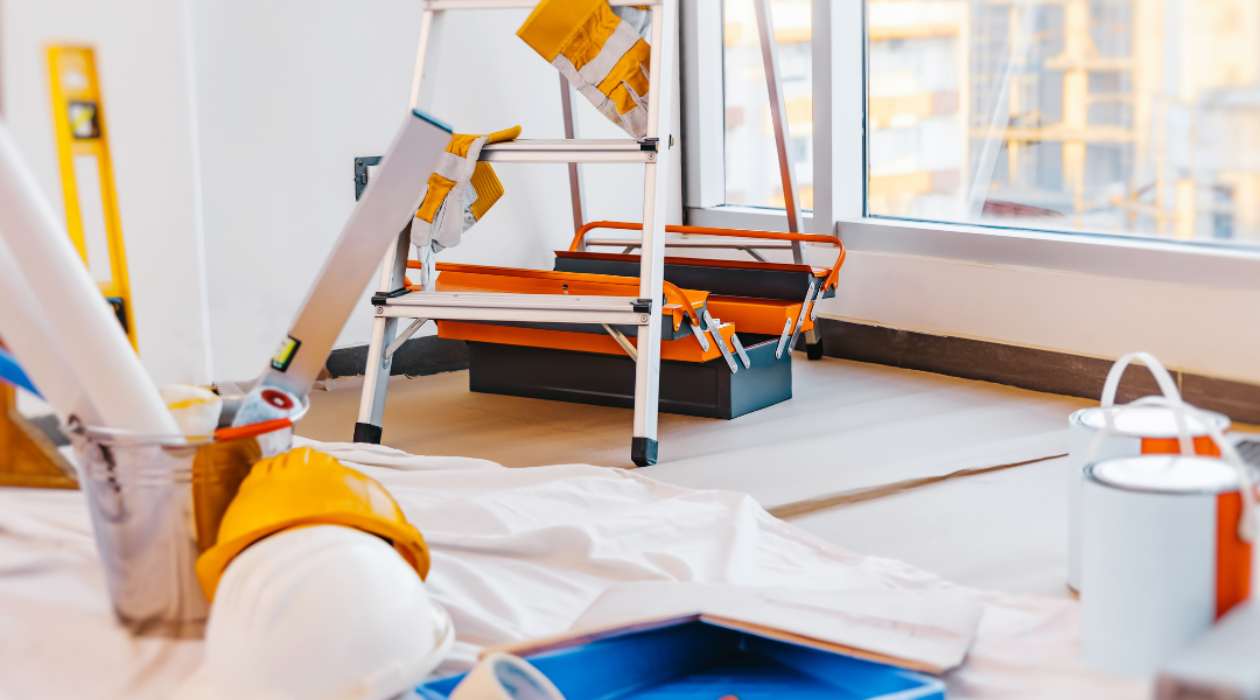
Gather Necessary Cleaning Supplies
Before diving into the cleaning process, it’s essential to gather all the necessary supplies. Having the right tools and cleaning products will make the task more efficient and effective. Here are some items you should have on hand:
- Protective gear: Disposable gloves, goggles, and a face mask will keep you safe while cleaning.
- Cleaning solutions: Invest in general-purpose cleaners for different surfaces such as glass cleaner, all-purpose spray, and bathroom cleaners.
- Mops and brooms: Get a mop and broom suitable for your floor type, whether it’s hardwood, tile, or carpet.
- Vacuum cleaner: A reliable vacuum cleaner with attachments will help remove dust and debris from various surfaces.
- Dusters: Microfiber dusters or disposable dusting cloths are ideal for capturing fine particles on surfaces.
- Scrub brushes: Have a variety of scrub brushes, from soft to medium bristle, for scrubbing stubborn stains.
- Sponges and cloths: Stock up on both disposable and reusable cloths or sponges for wiping and cleaning.
- Buckets: You’ll need buckets for carrying water, mixing cleaning solutions, and soaking mop heads.
- Extension poles: These are useful for dusting high ceilings, fans, and other hard-to-reach areas.
- Trash bags: Have an ample supply of trash bags for collecting and disposing of any debris.
- Step ladder: A step ladder will come in handy for reaching high areas during cleaning.
Once you have all the necessary supplies, you’re ready to start the cleaning process. In the next section, we’ll focus on dusting and vacuuming your new construction home to eliminate any loose debris.
Start With Dusting and Vacuuming
When it comes to cleaning a new construction home, it’s essential to begin with dusting and vacuuming. Construction projects tend to leave behind a significant amount of dust and debris. Dust can settle on surfaces, furniture, and even in hard-to-reach areas, making it important to thoroughly remove it before moving on to other cleaning tasks.
Here’s how to effectively dust and vacuum your new construction home:
- Dust from top to bottom: Start by dusting high surfaces such as ceiling fans, light fixtures, and crown molding. Use an extendable duster or a microfiber cloth attached to an extension pole to reach high areas. Work your way down, dusting shelves, furniture, and other surfaces. Don’t forget to dust baseboards, window sills, and door frames as well.
- Vacuum all floors: Once you’ve finished dusting, it’s time to tackle the floors. Vacuum all carpeted areas, using the appropriate attachment to reach corners and edges. If you have hardwood or tile floors, use a broom or dust mop to remove loose debris before vacuuming. Pay special attention to areas near construction zones as they may have accumulated the most dirt and dust.
- Empty and clean vacuum filters: Regularly check and empty the vacuum cleaner’s dust bin or replace the bag as needed. In addition, clean or replace the filters to maintain effective suction power and prevent the spread of dust.
- Dust blinds and curtains: Use a microfiber cloth or a duster to remove dust from blinds and curtains. If necessary, follow the manufacturer’s instructions to remove and launder curtains for a thorough clean.
- Clean air vents and registers: Dust and debris can accumulate in air vents and registers, negatively affecting indoor air quality. Use a vacuum cleaner with a brush attachment to gently clean these areas. If they are heavily clogged, consider hiring a professional duct cleaning service.
By starting your cleaning process with thorough dusting and vacuuming, you’ll eliminate a significant amount of dust and debris, laying the foundation for a cleaner home. Next, we’ll move on to cleaning the walls and ceilings to remove any residual dirt or marks left behind during construction.
Clean Walls and Ceilings
After dusting and vacuuming, it’s time to focus on cleaning the walls and ceilings of your new construction home. During the construction process, walls and ceilings can accumulate dust, smudges, and even small scuff marks. Giving them a thorough cleaning will enhance the overall appearance of your home. Here’s how to clean walls and ceilings effectively:
- Start with dry cleaning: Begin by using a microfiber cloth or a dry sponge to remove any loose dirt, dust, or cobwebs from the walls and ceilings. Work from top to bottom and pay special attention to corners and edges.
- Prepare a cleaning solution: Depending on the type of paint or wall surface, you may need to create a solution to clean more stubborn stains or marks. Mix a small amount of mild dish soap with warm water, or use a specialized wall cleaner as specified by the manufacturer.
- Spot test: Before applying the cleaning solution to the entire wall or ceiling, it’s important to spot test in an inconspicuous area. Apply a small amount of the solution and gently rub it with a clean cloth. Check for any adverse reactions, discoloration, or paint damage.
- Clean using gentle motions: Once the spot test is successful, dampen a soft cloth or sponge with the cleaning solution. Make sure it’s not dripping wet, as excessive moisture can damage the paint or wallpaper. Using gentle circular motions, clean the walls and ceilings, starting from the top and working your way down.
- Focus on stubborn stains: For stubborn stains, you may need to apply a bit of pressure or use a mild abrasive cleaner specifically designed for walls. Always read and follow the instructions on the cleaner to avoid damaging the surface.
- Rinse and dry: After cleaning, rinse the cloth or sponge with clean water and go over the walls and ceilings again to remove any residual cleaning solution. Then, use a clean, dry cloth to blot and dry the surfaces.
Remember to exercise caution when cleaning walls and ceilings, especially if they are high or require the use of a ladder. Take breaks if needed, and always prioritize your safety.
Now that your walls and ceilings are sparkling clean, it’s time to shift our focus to the windows and glass surfaces in your new construction home.
Focus on Windows and Glass Surfaces
The windows and glass surfaces in your new construction home are likely to have accumulated dust, smudges, and even residue from construction materials. Cleaning these surfaces will not only enhance the overall appearance of your home but also allow more natural light to shine through. Here’s a step-by-step guide on how to effectively clean windows and glass surfaces:
- Gather the necessary supplies: Before you begin, make sure you have the following items on hand: a glass cleaner, a microfiber cloth or a squeegee, a bucket of warm water, a sponge, and a newspaper or lint-free cloth for drying.
- Start with dry cleaning: Begin by using a dry microfiber cloth to remove any loose dirt, dust, or cobwebs from the window frames, sills, and corners. This will prevent these particles from smearing on the glass during the cleaning process.
- Prepare the cleaning solution: Fill a bucket with warm water and add a small amount of glass cleaner or mild dish soap. Make sure to follow the instructions on the glass cleaner or soap for the correct dilution ratio.
- Wet the glass: Dip a sponge into the cleaning solution and squeeze out any excess liquid. Gently wet the entire surface of the glass, ensuring thorough coverage.
- Clean the glass: Starting from the top, use a microfiber cloth or a squeegee to clean the glass in a vertical or horizontal motion. For large windows, a squeegee is more efficient, while a microfiber cloth is suitable for smaller or hard-to-reach areas.
- Pay attention to stubborn stains: For any stubborn stains or spots, apply a small amount of glass cleaner directly to the affected area and gently scrub with a soft brush or cloth. Avoid using abrasive materials that may scratch the glass.
- Rinse and dry: After cleaning, rinse the glass thoroughly with clean water to remove any residue. Then, using a lint-free cloth or newspaper, carefully dry the glass in a consistent motion, working from top to bottom.
- Don’t forget the window tracks and screens: To complete the window cleaning process, don’t overlook the tracks and screens. Use a vacuum cleaner or a brush attachment to remove any loose debris from the tracks, and wipe them down with a damp cloth. For screens, gently scrub them with a soft brush or sponge and rinse them with water before allowing them to air dry.
By following these steps, you can achieve sparkling clean windows and glass surfaces in your new construction home. Now that the windows are looking pristine, let’s move on to deep cleaning the floors to remove any lingering dust, dirt, or construction residue.
Read more: How To Finance New Home Construction
Deep Clean the Floors
Deep cleaning the floors of your new construction home is essential to remove any accumulated dirt, dust, and construction residue. Whether you have carpets, hardwood, laminate, or tile floors, giving them a thorough cleaning will ensure they look pristine and feel comfortable underfoot. Here’s a step-by-step guide on how to deep clean different types of flooring:
- Carpets:
- Vacuum: Start by vacuuming the entire carpeted area to remove loose dirt and debris. Use a vacuum cleaner with a rotating brush or beater bar for more effective results.
- Spot treat stains: If you notice any visible stains or spills, address them immediately. Use a carpet stain remover according to the product instructions and gently blot the affected area with a clean cloth.
- Steam clean: For a thorough deep clean, consider renting a steam cleaner or hiring a professional carpet cleaning service. Steam cleaning can effectively remove embedded dirt and allergens from your carpets. Follow the machine’s instructions for the best results.
- Hardwood and Laminate Floors:
- Sweep or dry mop: Begin by sweeping or dry mopping the floor to remove loose dirt, dust, and debris.
- Mop with a cleaner: Use a wood or laminate floor cleaner that is specifically formulated for your type of flooring. Follow the instructions on the cleaner for the correct dilution ratio.
- Spot clean stubborn stains: For any stubborn stains or spills, dampen a cloth with the floor cleaner and gently scrub the affected area. Avoid using excess water, as it can damage the flooring.
- Dry thoroughly: After mopping, ensure the floor is thoroughly dried to prevent water damage. Use a dry mop or cloth to remove any excess moisture.
- Tile or Vinyl Floors:
- Sweep or vacuum: Start by sweeping or vacuuming the floor to remove loose dirt, dust, and debris.
- Mop with a cleaner: Use a mild tile or vinyl floor cleaner mixed with warm water. Avoid using abrasive or acidic cleaners that can damage the surface.
- Scrub grout lines: If your tiled floor has grout lines, you may need to give them extra attention. Use a grout brush or an old toothbrush with a mild cleaner to scrub away any grime or stains.
- Rinse and dry: After mopping, rinse the floor with clean water to remove any residue. Dry the floor thoroughly with a mop or cloth to prevent slip hazards.
By following these steps, you can deep clean the different types of floors in your new construction home, leaving them fresh and rejuvenated. Next, we’ll focus on scrubbing and sanitizing the kitchen, one of the most heavily used areas of any home.
When cleaning a new construction home, start from the top and work your way down to avoid re-cleaning. Use a vacuum with a HEPA filter to remove construction dust and debris from all surfaces.
Scrub and Sanitize the Kitchen
The kitchen is the heart of any home, and it’s important to give it extra attention when cleaning a new construction home. The kitchen can accumulate dust, grime, and residue from construction materials. Scrubbing and sanitizing the kitchen will not only make it look spotless but also create a clean and healthy cooking environment. Here’s how to effectively scrub and sanitize your kitchen:
- Clear the countertops: Start by removing any items from the countertops and placing them in a safe location. This will allow you to thoroughly clean and sanitize the surface.
- Wipe down the countertops and backsplash: Use a mild cleaner suitable for your countertop material to clean the surfaces. Wipe them down thoroughly, paying attention to any spills, stains, or sticky residue. For stubborn stains, use a gentle scrub brush or sponge.
- Clean the sink and faucet: Scrub the sink with a non-abrasive cleaner or a mixture of baking soda and water. Pay attention to the edges, corners, and drain. Rinse the sink thoroughly and wipe dry. Use a microfiber cloth or an appropriate cleaner to wipe down the faucet and remove any water spots.
- Address the appliances: Wipe down all appliances in the kitchen, such as the refrigerator, oven, microwave, and dishwasher. Use appropriate cleaners for each, following the manufacturer’s instructions. Pay special attention to handles, buttons, and any visible grime or smudges.
- Scrub the stove and range hood: Clean the stovetop with a degreaser or a mixture of baking soda and water. Scrub away any burned-on food or grease. For the range hood, remove the filters and clean them according to the manufacturer’s instructions. Wipe down the surface, inside and out, to remove any residue.
- Clean the cabinets and drawers: Wipe down the exterior of the cabinets and drawers, removing any dust or fingerprints. Use a gentle cleaner suitable for the material of your cabinets. Take the opportunity to reorganize and declutter, ensuring everything has its proper place.
- Sanitize frequently-touched areas: Pay extra attention to sanitizing frequently-touched areas such as light switches, door handles, and knobs. Use a disinfectant spray or wipe to thoroughly clean and sanitize these surfaces.
- Don’t forget the floors: Finish off by giving the kitchen floor a proper cleaning, following the appropriate method for the specific flooring type as mentioned earlier in the article.
By scrubbing and sanitizing the kitchen, you’ll create a clean and welcoming space for cooking and entertaining. With the kitchen sparkling clean, it’s time to move on to the next important area – the bathrooms.
Disinfect Bathrooms
The bathrooms in your new construction home require special attention when it comes to cleaning and disinfecting. Bathrooms are prone to bacteria, germs, and mold due to their moisture-rich environment. Disinfecting the bathrooms will not only maintain cleanliness but also ensure a healthy and hygienic space. Follow these steps to thoroughly disinfect your bathrooms:
- Gather the necessary supplies: Before you begin, gather cleaning supplies such as gloves, disinfectant cleaner, toilet bowl cleaner, bathroom cleaner, scrub brushes, microfiber cloths, and a toilet brush.
- Clean the toilet: Start by applying toilet bowl cleaner to the inside of the toilet bowl and scrub it thoroughly with a toilet brush. Pay attention to hard-to-reach areas, such as under the rim and around the edges. Once done, flush the toilet to rinse away the cleaner.
- Wipe down surfaces: Use a bathroom cleaner or a mixture of water and vinegar to wipe down all surfaces, including the sink, countertop, shower walls, bathtub, and any tile or laminate surfaces. Focus on areas prone to mold or soap scum buildup. For stubborn stains or grime, use a scrub brush or sponge.
- Clean the shower and bathtub: Remove any soap residue or mineral deposits on the shower walls and bathtub using a suitable cleaner. Scrub the tiles, grout, and glass door or shower curtain for a thorough clean. Rinse everything with water and wipe it dry to prevent water spots from forming.
- Address the sink and fixtures: Clean the sink and its fixtures with a disinfectant cleaner. Pay attention to the faucet, handles, and drain. Use a toothbrush or a soft brush to clean hard-to-reach areas and remove any mineral deposits.
- Don’t forget the mirrors: Spray a glass cleaner or a mixture of water and vinegar onto a microfiber cloth or a paper towel, and wipe down the mirrors to remove any smudges or streaks. Pay extra attention to the edges and corners for a crystal-clear reflection.
- Clean and disinfect the toilet: After cleaning the rest of the bathroom, return to the toilet. Apply a disinfectant cleaner to the entire toilet, including the seat, lid, and exterior surface. Follow the product instructions for the appropriate contact time to ensure effective disinfection. Wipe everything down with a microfiber cloth or disposable disinfecting wipes.
- Mop the floor: Finish the bathroom cleaning process by mopping the floor with a suitable cleaner, depending on the flooring material. Pay attention to corners and hard-to-reach areas. Once done, allow the floor to air dry or use a clean, dry mop or cloth to dry it completely.
By following these steps, you will not only achieve a clean bathroom but also ensure that it is disinfected and free from harmful bacteria. With the bathrooms now fresh and germ-free, let’s move on to another important aspect of cleaning – wiping down and polishing fixtures and hardware throughout the house.
Wipe Down and Polish Fixtures and Hardware
While cleaning a new construction home, it’s important not to overlook the fixtures and hardware throughout the house. Fixtures such as doorknobs, light switches, cabinet handles, and faucets can accumulate dust, dirt, and fingerprints over time. Wiping down and polishing these fixtures will not only enhance the overall appearance of your home but also give them a fresh and polished look. Here’s how to effectively clean and polish fixtures and hardware:
- Gather the necessary supplies: Before you begin, gather microfiber cloths, a mild cleaning solution, a soft brush or toothbrush, and a metal polish (if applicable).
- Start with dusting: Begin by dusting the fixtures and hardware using a dry microfiber cloth. Remove any loose dirt or dust from the surfaces, taking care to reach all corners and crevices.
- Prepare a cleaning solution: Mix a small amount of mild cleaning solution, such as dish soap or all-purpose cleaner, with warm water. Ensure that the solution is well-diluted to avoid leaving any residue on the fixtures.
- Wipe down the fixtures: Dip a microfiber cloth into the cleaning solution and wring out any excess liquid. Gently wipe down each fixture, paying attention to all surfaces, including knobs, handles, and visible hardware. Use a soft brush or toothbrush to clean difficult-to-reach areas or intricate designs.
- Polish metal fixtures and hardware: If you have metal fixtures or hardware, such as brass, stainless steel, or chrome, you may choose to use a specialized metal polish. Apply a small amount of polish to a clean cloth and buff the metal surfaces using circular motions. This will restore shine and remove any tarnish or water spots. Be sure to read and follow the manufacturer’s instructions for best results.
- Remove excess residue: After cleaning and polishing, use a clean, damp cloth to remove any excess cleaning solution or polish from the fixtures. This will prevent buildup and ensure a streak-free finish.
- Dry and buff: Use a separate dry cloth to dry and buff the fixtures and hardware. This step will give them a polished and shiny appearance.
By following these steps, you can effectively wipe down and polish fixtures and hardware throughout your new construction home. Not only will your fixtures look clean and well-maintained, but you’ll also give them a refreshed and appealing aesthetic.
Now that we’ve covered cleaning fixtures and hardware, let’s move on to another important task – cleaning HVAC vents and filters to ensure clean and fresh air circulation in your home.
Read more: How To Get New Construction Listings
Clean HVAC Vents and Filters
Properly maintaining and cleaning your HVAC vents and filters is essential for ensuring clean and efficient air circulation throughout your new construction home. Dust, debris, and other particles can accumulate in the vents and filters, affecting the air quality and efficiency of your HVAC system. Here’s how you can clean your HVAC vents and filters:
- Gather the necessary supplies: Before you begin, gather a screwdriver, a vacuum cleaner with a brush attachment, a damp cloth or microfiber cloth, and a replacement filter (if needed).
- Turn off the HVAC system: Before cleaning the vents and filters, turn off the HVAC system to prevent any air or debris from circulating during the cleaning process.
- Remove vent covers: Use a screwdriver to carefully remove the vent covers from each vent in your home. Place the vent covers in a safe location for cleaning.
- Vacuum the vents: Use a vacuum cleaner with a brush attachment to gently vacuum the vents, removing any dust and debris. Pay extra attention to the corners and edges of the vents.
- Clean the vent covers: Wipe down the vent covers with a damp cloth or microfiber cloth to remove any dust or grime. If the vent covers are particularly dirty, you may use a mild cleaning solution diluted with water. Ensure the vent covers are completely dry before reattaching them.
- Check and clean the filters: Locate the HVAC filters, which are typically found near the return air grille or the air handler unit. Check the condition of the filters and replace them if they are visibly dirty or clogged. If the filters are reusable, follow the manufacturer’s instructions for cleaning. This may involve rinsing the filters with water or using a vacuum cleaner to remove dust and debris.
- Reattach the vent covers: Once the vents and filters are thoroughly cleaned, reattach the vent covers securely, ensuring they are properly aligned.
- Turn on the HVAC system: Finally, turn on the HVAC system and allow it to circulate clean and fresh air throughout your home. Regularly check and clean the vents and filters to maintain good air quality and efficient HVAC operation.
By following these steps, you can effectively clean your HVAC vents and filters, contributing to a healthier and more comfortable living environment. Clean vents and filters will help improve air quality, reduce allergens and dust, and ensure optimal HVAC performance.
Now that we’ve covered cleaning the HVAC vents and filters, let’s move on to addressing the outdoor areas of your new construction home.
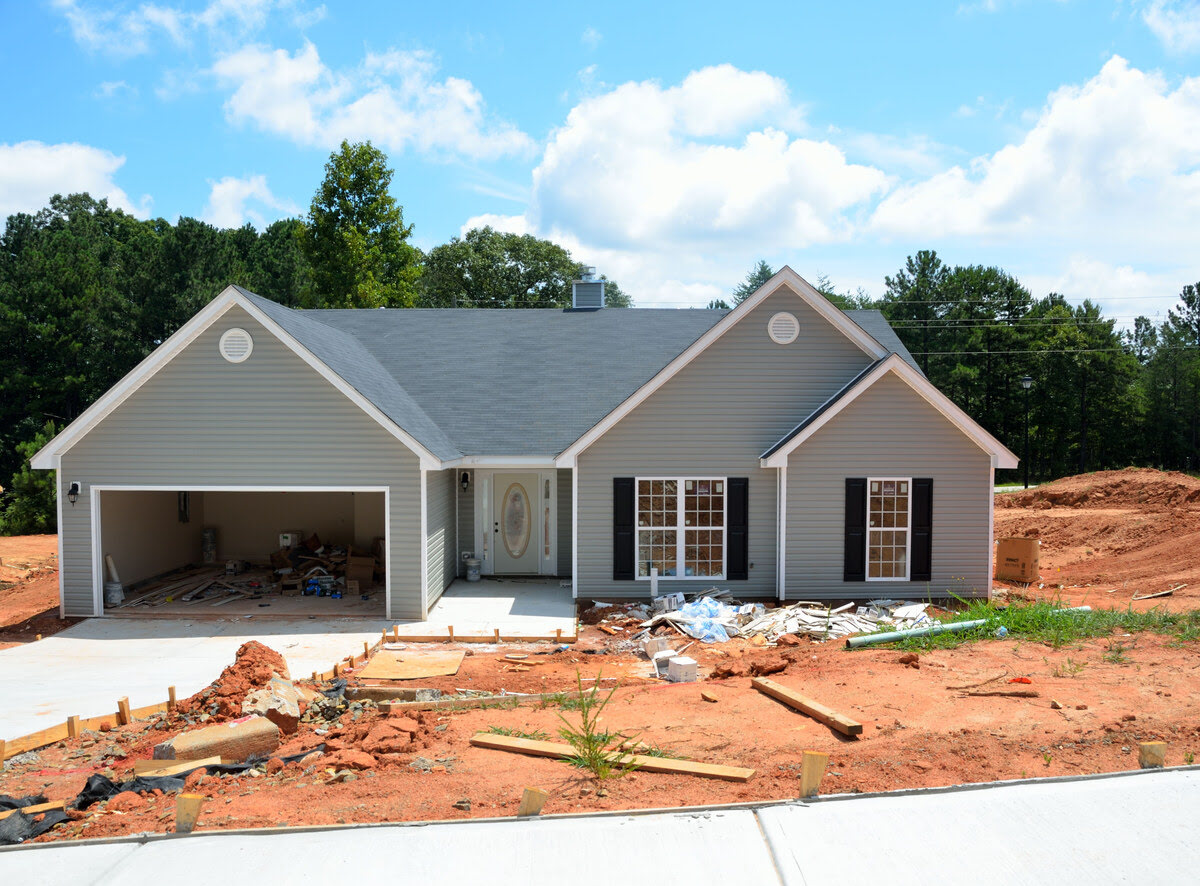
Pay Attention to Outdoor Areas
When cleaning a new construction home, it’s important to extend your cleaning efforts to the outdoor areas as well. These areas may have accumulated debris, dust, and construction residues during the building process. Paying attention to outdoor areas will not only enhance the curb appeal of your home but also create a clean and welcoming outdoor environment. Here’s what you should focus on when cleaning the outdoor areas:
- Clean the exterior walls: Use a pressure washer or a garden hose with a high-pressure nozzle to clean the exterior walls of your home. This will help remove any dirt, dust, or construction debris that may have accumulated on the surfaces.
- Wash windows and glass surfaces: Clean the exterior windows and glass surfaces using a window cleaner or a mixture of water and vinegar. Use a squeegee or a clean cloth to remove any streaks and achieve a spotless finish.
- Sweep or pressure wash the driveway and walkways: Remove any dirt, leaves, or debris from your driveway and walkways by sweeping or using a pressure washer. Pay attention to cracks or crevices where dirt may be trapped, and consider using a stiff brush to remove stubborn stains.
- Clear the gutters: Check the gutters for any leaves, twigs, or other debris. Use gloves and a scoop or a trowel to remove the debris, ensuring that the gutters are clear and allow for proper water drainage.
- Trim and clean the landscaping: Trim any overgrown plants or shrubs near the house and remove any weeds or dead branches. Rake any fallen leaves or debris in the yard, and consider adding fresh mulch or new plants to enhance the appearance of your outdoor space.
- Clean outdoor furniture: If you have outdoor furniture, wipe them down with a damp cloth or use a gentle cleaner suitable for the material. Remove any cushions or fabric covers and clean them according to the manufacturer’s instructions.
- Check and clean outdoor fixtures: Inspect and clean outdoor fixtures such as light fixtures, door hardware, and mailbox. Wipe them down with a damp cloth or use an appropriate cleaner to remove any dirt or grime.
By paying attention to the outdoor areas of your new construction home, you’ll create a clean and inviting space both inside and outside. A well-maintained exterior will not only enhance your home’s curb appeal but also provide a welcoming atmosphere for you and your guests.
With the outdoor areas now cleaned and refreshed, let’s summarize the cleaning process and conclude our guide to cleaning a new construction home.
Conclusion
Cleaning a new construction home is an essential step towards creating a clean, fresh, and comfortable living space. Construction projects can leave behind dust, dirt, and debris that require meticulous attention to detail. By following the steps outlined in this guide, you can effectively clean and transform your new construction home into a spotless and inviting sanctuary.
From gathering necessary cleaning supplies to tackling each area of your home with expert techniques, this guide has provided you with a comprehensive roadmap for cleaning your new construction home. By starting with dusting and vacuuming, you eliminate loose debris and create a clean canvas. Cleaning walls, ceilings, windows, and floors ensures that every surface gleams with freshness. Scrubbing and sanitizing the kitchen and bathrooms promote a clean and hygienic environment for cooking and personal hygiene. Wiping down and polishing fixtures and hardware adds a polished touch to every room. Paying attention to HVAC vents and filters ensures clean and fresh air circulation within your home. Lastly, cleaning outdoor areas enhances your home’s curb appeal and creates an inviting outdoor space.
Throughout the cleaning process, it’s important to prioritize your safety. Wear protective gear, exercise caution when using ladders or climbing areas, and always use cleaning products as instructed by the manufacturer.
Remember, the key to effective and efficient cleaning is to adapt these steps to your home’s specific needs. Consider the type of surfaces, materials, and fixtures you have, and adjust the cleaning products and techniques accordingly. Regular maintenance and cleaning of your new construction home will help maintain its cleanliness and ensure a comfortable living environment for years to come.
So, roll up your sleeves, gather your cleaning supplies, and embark on the journey of transforming your new construction home into a clean and welcoming haven. Happy cleaning!
Frequently Asked Questions about How To Clean New Construction Home
Was this page helpful?
At Storables.com, we guarantee accurate and reliable information. Our content, validated by Expert Board Contributors, is crafted following stringent Editorial Policies. We're committed to providing you with well-researched, expert-backed insights for all your informational needs.


0 thoughts on “How To Clean New Construction Home”