Articles
How To Drain A Toilet Bowl
Modified: October 28, 2024
Learn how to drain a toilet bowl with step-by-step instructions and helpful tips. Our articles provide expert advice for all your plumbing needs.
(Many of the links in this article redirect to a specific reviewed product. Your purchase of these products through affiliate links helps to generate commission for Storables.com, at no extra cost. Learn more)
Introduction
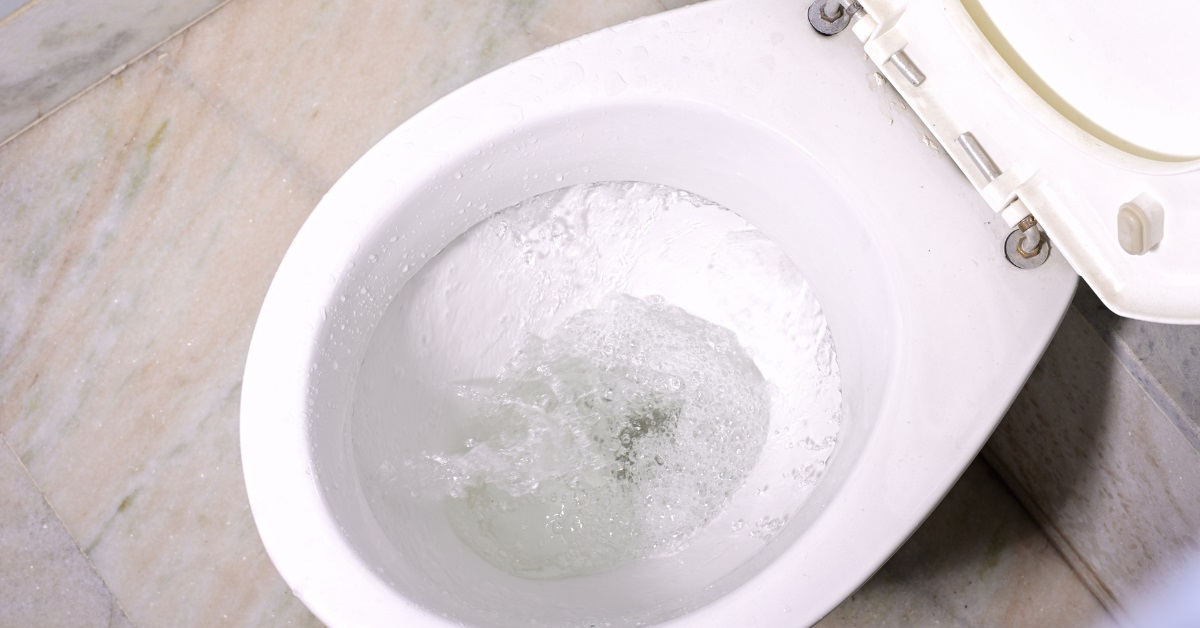
Dealing with a clogged toilet bowl can be a messy and frustrating experience. It’s a common household problem that can happen to anyone, but fortunately, it’s not a difficult issue to resolve. In this article, we will guide you through the steps of draining a toilet bowl and clearing any blockages. Whether it’s a minor clog or a more stubborn problem, by following our expert tips and using the right tools, you’ll have your toilet bowl back in working order in no time.
Before we dive into the process, it’s important to note that safety should always be a priority. We’ll discuss the necessary safety equipment that you’ll need to have on hand, along with the supplies needed to tackle the task. So, grab your gloves, a plunger, and let’s get started!
Key Takeaways:
- With the right tools and knowledge, anyone can safely and effectively drain a clogged toilet bowl. Remember to start by turning off the water supply, gather safety equipment, and use a plunger or toilet auger to clear the blockage.
- After successfully clearing the clog, don’t forget to flush and inspect the drainage, clean up the area, sanitize the toilet bowl, and practice good hygiene. With regular maintenance, you can prevent future clogs and keep your toilet in optimal working condition.
Read more: How To Descale A Toilet Bowl
Supplies Needed
Before you begin draining a toilet bowl, it’s important to gather the necessary supplies. Here’s what you’ll need:
- A plunger: This is the most essential tool you’ll need to clear the clog. Make sure you have a good quality plunger with a flanged end, as this design helps create a stronger seal around the drain.
- A toilet auger: If the plunger doesn’t work, a toilet auger, also known as a closet auger, can be used to break up stubborn blockages. This tool has a long, flexible cable with a corkscrew end.
- Rubber gloves: It’s important to protect your hands when dealing with a clogged toilet bowl. Rubber gloves will not only keep your hands clean but also provide a barrier against any harmful bacteria.
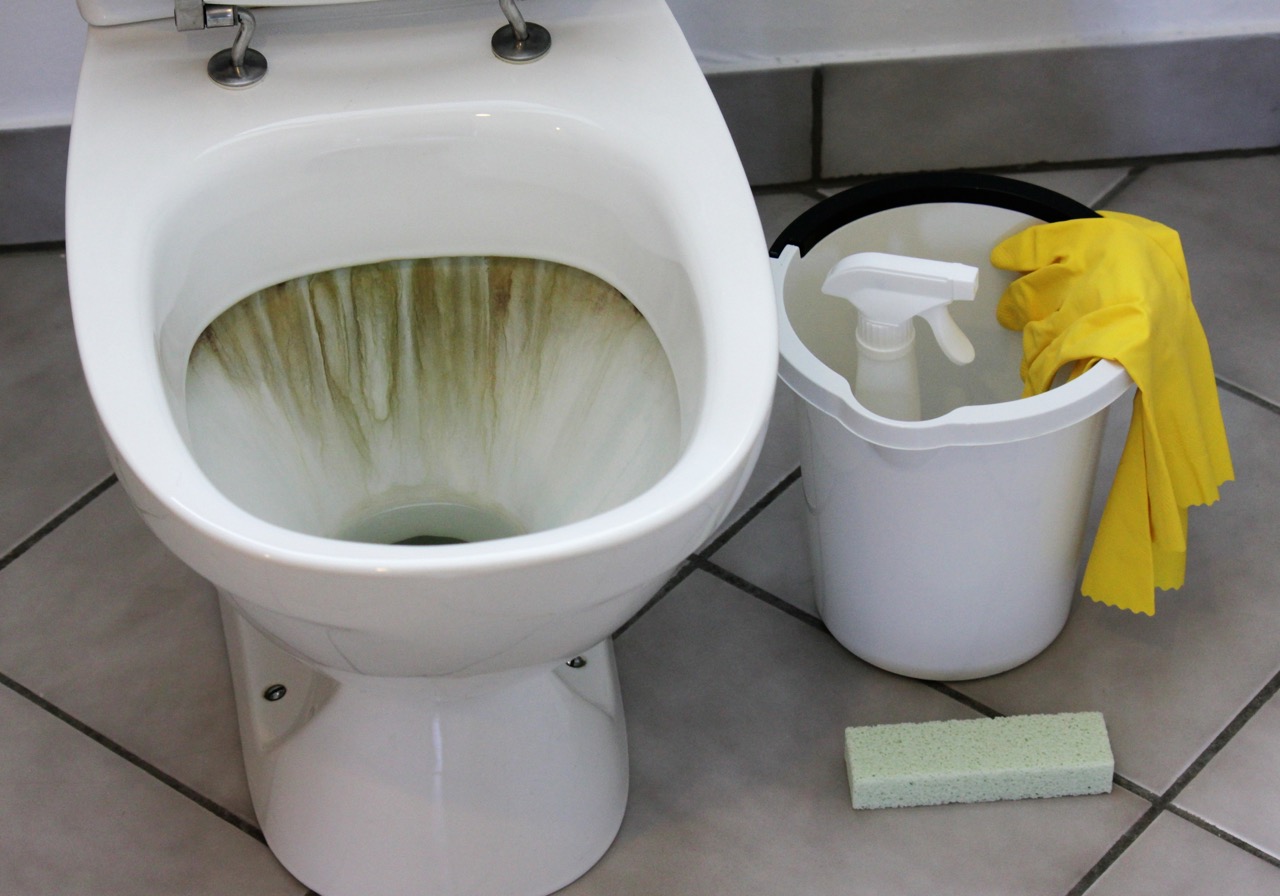
- Bucket or container: You’ll need a container to remove excess water from the toilet bowl. A bucket or a large plastic container will work well for this purpose.
- Towels or rags: Keep some towels or rags handy to wipe up any spills or messes that may occur during the process.
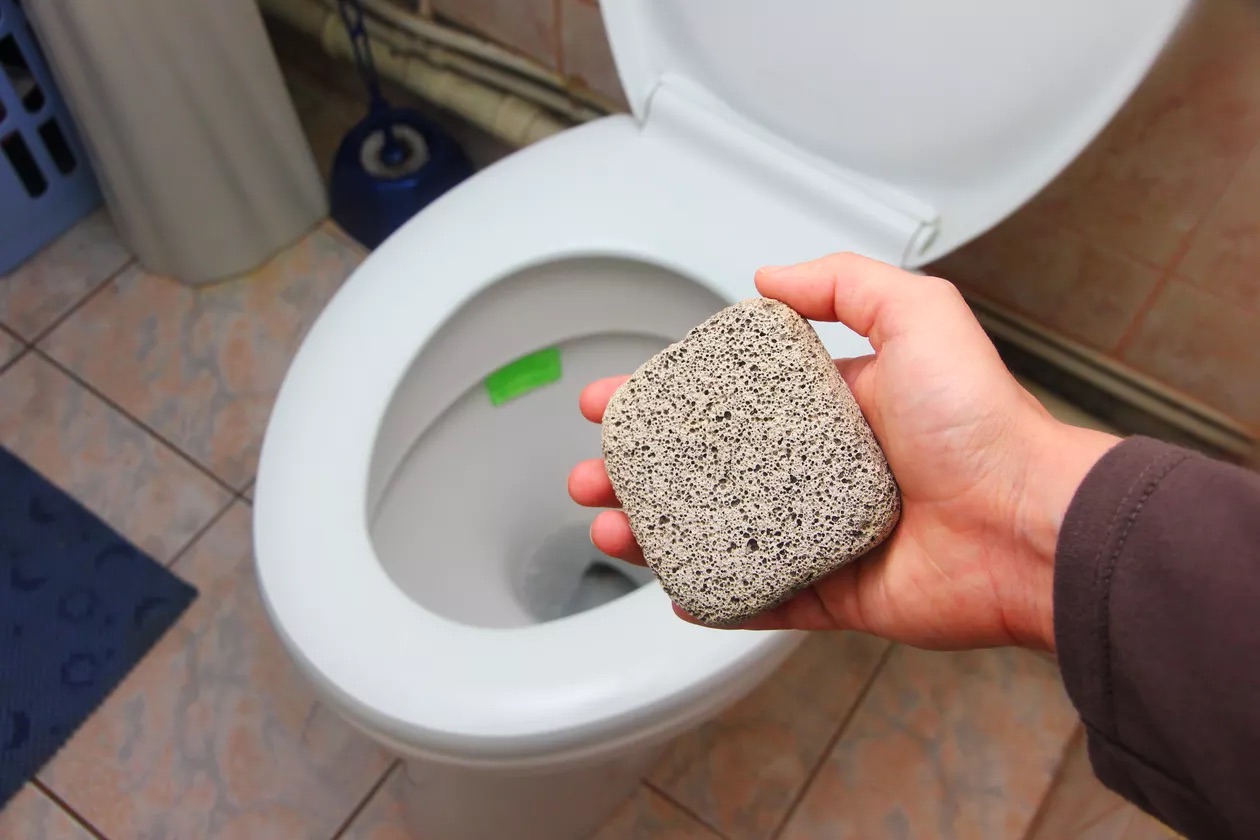
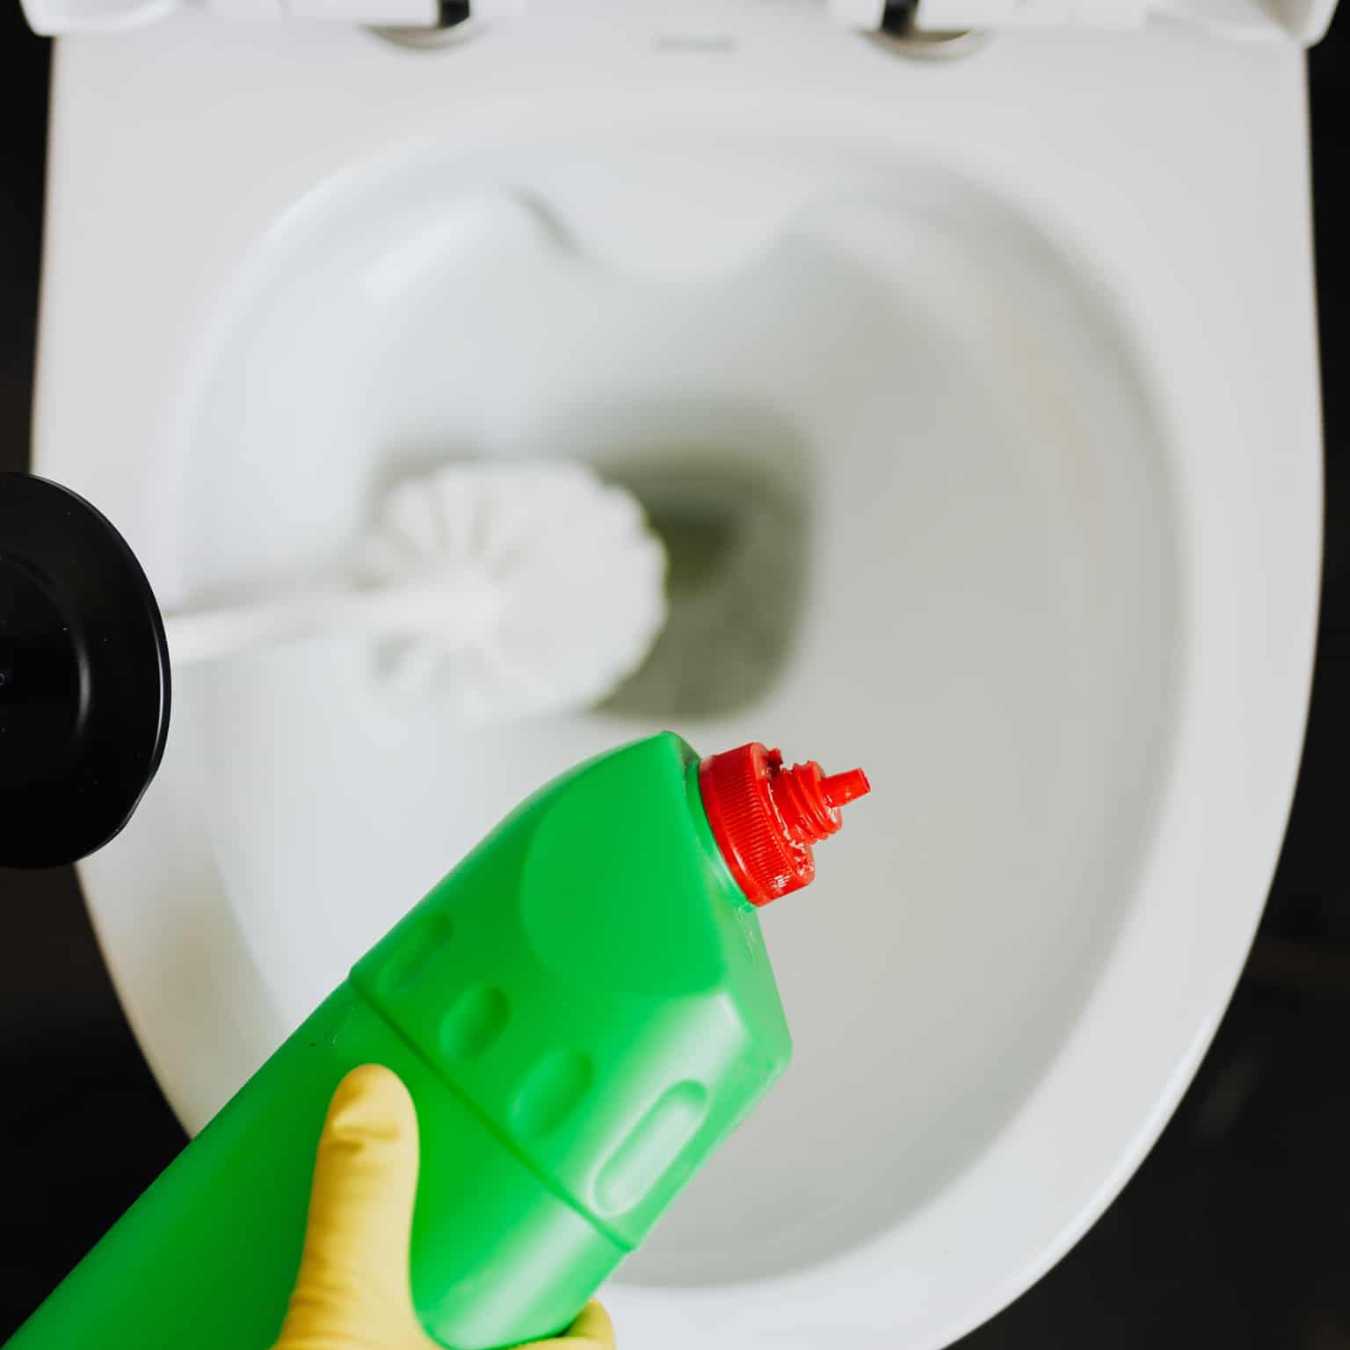
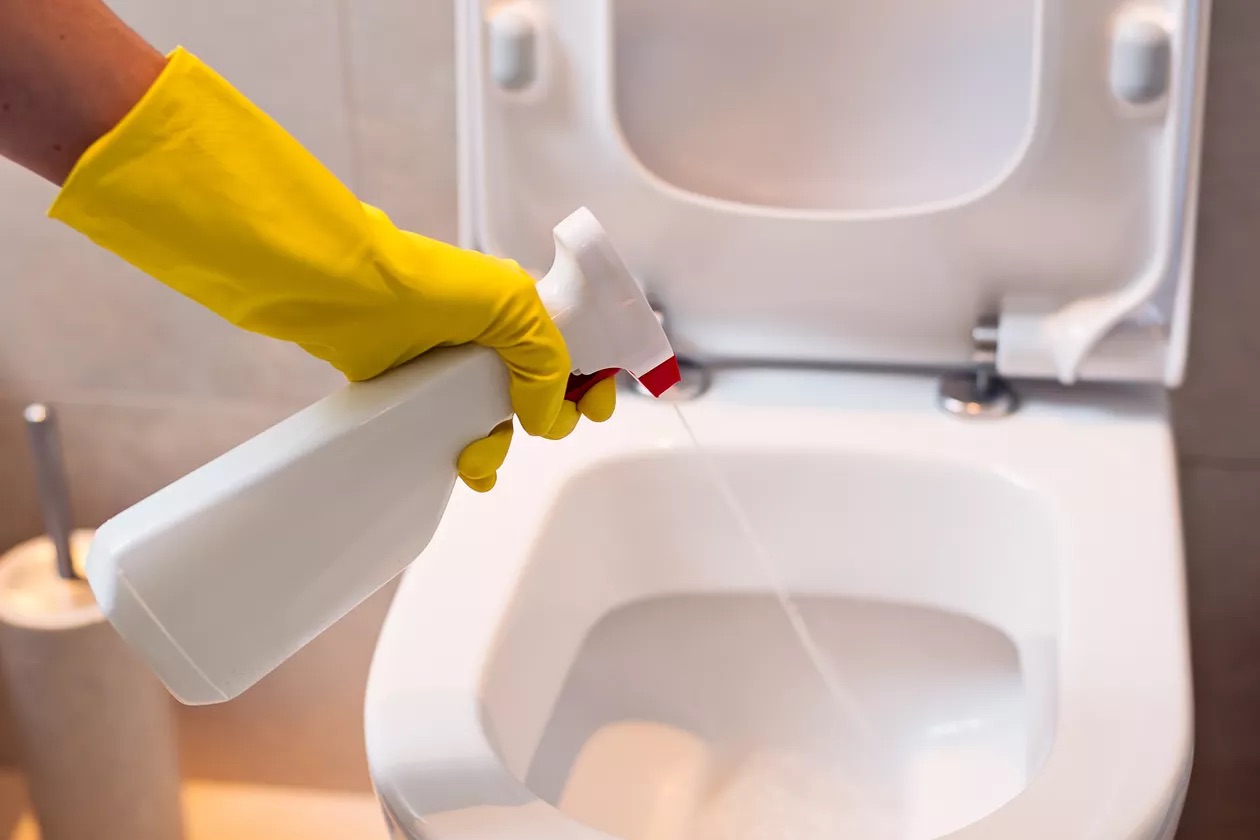
- Cleaning solution: Once you’ve successfully drained the toilet bowl, you’ll want to give it a thorough cleaning. Have a toilet bowl cleaner or a mild disinfectant on hand to sanitize the bowl.
With these supplies readily available, you’ll be well-equipped to tackle the task of draining a toilet bowl and clearing any blockages effectively. Now, let’s move on to the steps involved in the process.
Step 1: Turn off the Water Supply
Before you begin working on draining the toilet bowl, it’s essential to turn off the water supply to prevent any further flooding or overflow. The water supply valve is usually located either behind the toilet or on the wall nearby.
To turn off the water supply, follow these steps:
- Locate the water supply valve: Look for a small valve or lever connected to a water supply line near the bottom of the toilet tank.
- Turn the valve clockwise: With a firm grip, turn the valve clockwise until it’s fully closed. This will shut off the flow of water to the toilet tank and bowl.
- Test the water supply: Once you’ve closed the valve, flush the toilet to ensure that the water supply is completely shut off. If the tank refills, double-check the valve and make sure it’s securely closed.
It’s important to remember that turning off the water supply is a crucial step to avoid any mess or damage during the draining process. Once you’ve completed this step, proceed to the next one to gather the necessary safety equipment.
Step 2: Gather Safety Equipment
Before you begin the process of draining a toilet bowl, it’s important to gather the necessary safety equipment to protect yourself and prevent any potential accidents. Here are the safety items you’ll need:
- Rubber gloves: Put on a pair of rubber gloves to protect your hands from coming into contact with any bacteria or debris in the toilet bowl.
- Protective eyewear: It’s a good idea to wear protective eyewear, such as safety glasses or goggles, to shield your eyes in case of splashes or splatters.
- Old clothing or apron: Consider wearing old clothing or an apron to protect your clothes from any water or cleaning solutions that may spill during the process.
- Non-slip footwear: To prevent slipping or accidents, wear non-slip footwear that provides good traction on wet surfaces.
By taking these precautions and wearing the appropriate safety equipment, you can ensure a safer and more hygienic experience when draining a toilet bowl. Now that you’ve gathered the necessary supplies and safety equipment, you’re ready to proceed to the next step: removing the water from the bowl.
Step 3: Remove Water from the Bowl
Once you have turned off the water supply and gathered the necessary safety equipment, the next step in draining a toilet bowl is to remove the water from the bowl. This will make it easier to access and address any clogs or blockages.
Follow these steps to remove the water from the toilet bowl:
- Prepare a container: Place a bucket or a large plastic container next to the toilet. This container will be used to collect the water as you remove it from the bowl.
- Use a cup or a small container: If the water level in the bowl is not too high, you can use a cup or a smaller container to scoop out the water. Carefully pour the water from the bowl into the larger container, repeating this process until the water level has significantly lowered.
- Use a sponge or towel: If the water level is too high to scoop out with a cup, you can use a sponge or a towel to absorb and remove the excess water. Dip the sponge or towel into the toilet bowl, squeezing out the water into the container. Continue doing this until the water level is manageable.
- Dispose of the water: Once you have removed the water from the toilet bowl, carefully pour it into a sink, a bathtub, or an appropriate drain. Avoid pouring it on the floor or any surface that may be damaged by water.
Removing the water from the toilet bowl is an important step in the process of draining it. By following these steps, you can lower the water level and proceed to the next steps of clearing the clog. In the next step, we will discuss how to effectively plunge the toilet to resolve minor blockages.
Use a plunger to create a seal over the drain and push and pull to create suction. If that doesn’t work, try using a toilet auger to break up and remove the clog.
Read more: How To Dispose Of A Toilet Bowl
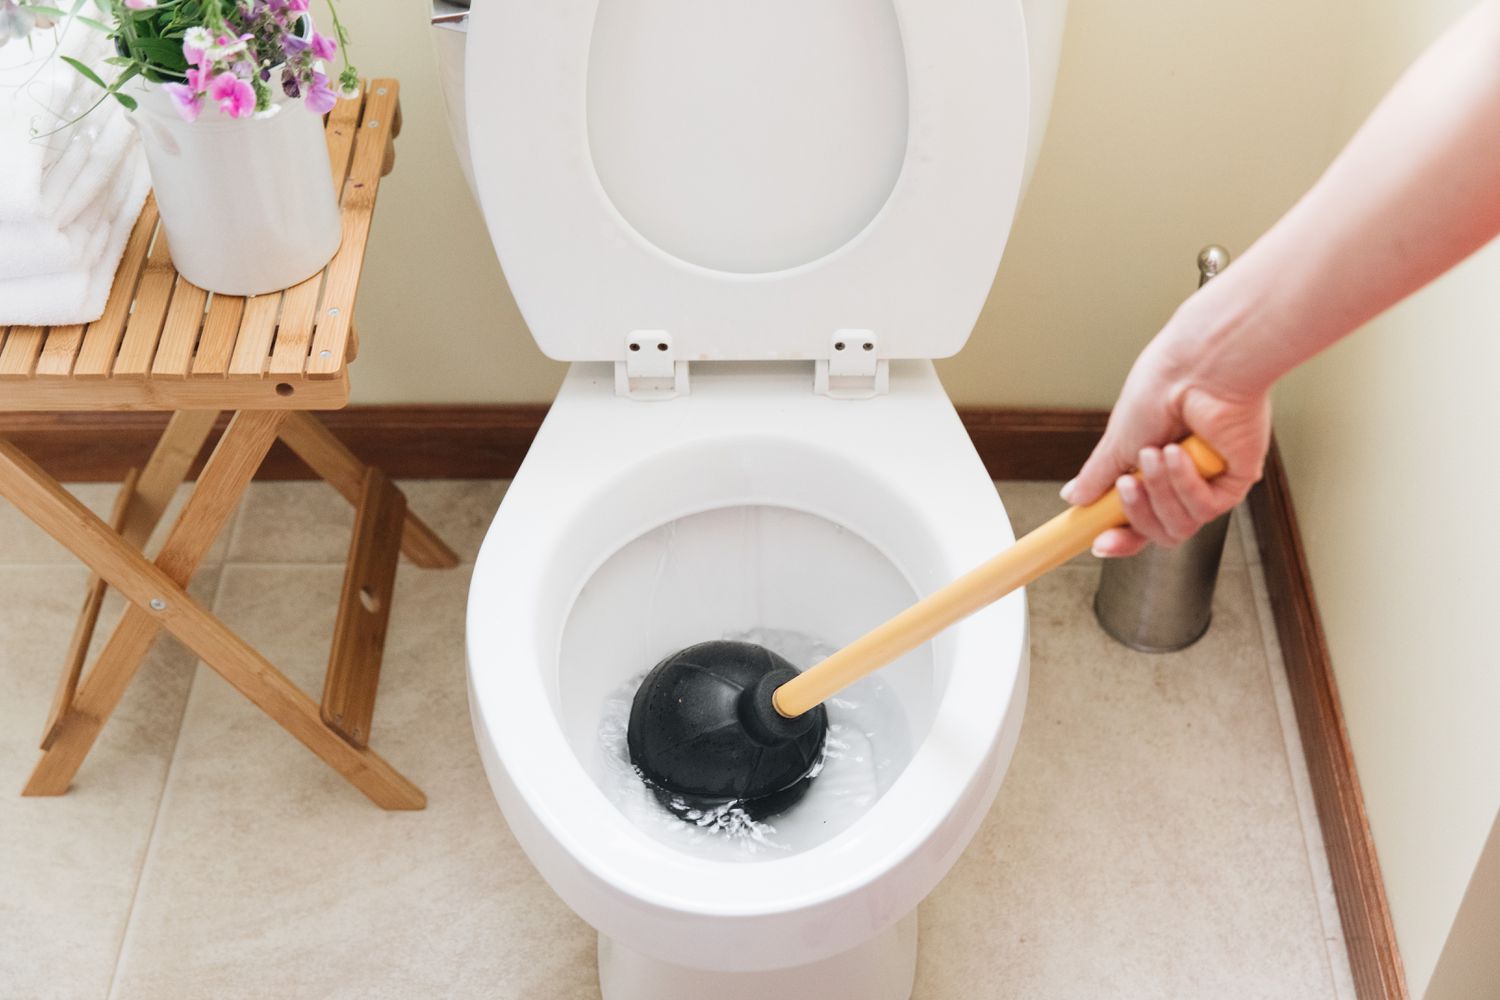
Step 4: Plunge the Toilet
If you have a minor clog in your toilet bowl, plunging can often be an effective way to clear it. This step involves using a plunger to create suction and dislodge the blockage. Follow these steps to plunge the toilet:
- Choose the right plunger: A flanged plunger works best for plunging a toilet. It has an extra piece on the bottom called a flange that helps create a better seal.
- Position the plunger: Place the plunger directly over the drain hole at the bottom of the toilet bowl. Make sure the rubber cup completely covers the hole.
- Apply downward pressure: Press the plunger down firmly so that it forms a tight seal with the drain hole. Be careful not to push too hard, as excessive force can cause water to splash out of the bowl.
- Begin plunging: With a consistent up-and-down motion, plunge the toilet about 10 to 15 times. Maintain a good seal with the drain hole throughout the process.
- Check for drainage: After plunging, release the plunger and observe if the water starts to drain out of the toilet bowl. If the water level lowers, you’ve successfully cleared the clog.
- Repeat if necessary: If the water doesn’t drain, you can repeat the plunging process a few more times. Sometimes stubborn clogs may require multiple attempts to clear.
Plunging is often effective for minor toilet bowl clogs, such as those caused by excessive toilet paper or organic matter. However, if plunging doesn’t solve the issue, you may need to move on to the next step, which involves using a toilet auger to tackle more stubborn blockages. We’ll cover that in the next step!
Step 5: Use a Toilet Auger
If plunging doesn’t resolve the clog in your toilet bowl, it’s time to bring out the big guns – a toilet auger, also known as a closet auger. This tool is designed specifically for clearing stubborn blockages that can’t be cleared through plunging alone. Follow these steps to use a toilet auger:
- Prepare the toilet auger: Extend the auger cable by turning the handle clockwise until it’s fully extended but still within the plastic sleeve.
- Position the auger cable: Insert the end of the auger cable into the toilet bowl, guiding it down the drain hole. Make sure to go in slowly and gently, as excessive force can cause damage to the porcelain.
- Rotate the auger handle: Once the auger is inserted, rotate the handle in a clockwise motion. This will help the auger navigate through the pipe and break up the blockage as it twists and turns.
- Continue rotating and pushing: As you rotate the handle, continue pushing the auger cable deeper into the drain. This action will help the auger reach and clear the clog.
- Retract and flush: Once you feel like the auger has made contact with and cleared the blockage, slowly retract the cable while continuing to rotate the handle. Be cautious not to yank the cable out abruptly, as this can cause the blockage to get stuck or create additional issues. Once the cable is fully retracted, flush the toilet to test the drainage.
- Repeat if necessary: If the blockage is not completely cleared after the first attempt, you may need to repeat the process a couple of times until the toilet flushes smoothly.
A toilet auger is a powerful tool that can help break up and remove stubborn clogs that a plunger cannot tackle. With proper use, it can save you from the hassle of calling a plumber. However, if you’re unable to dislodge the blockage with the auger, it may be time to seek professional assistance. In the next step, we’ll discuss what to do after successfully clearing the clog and ensuring proper flushing and drainage.
Step 6: Flush and Inspect
After successfully clearing the clog in your toilet bowl, it’s important to flush the toilet and inspect the drainage to ensure that everything is working properly. Follow these steps to complete this step:
- Turn on the water supply: Before flushing the toilet, turn the water supply valve back on. This will allow the toilet tank to refill with water.
- Flush the toilet: With the water supply turned on, press the flush lever to flush the toilet. Observe the water flow and check for any signs of slow drainage or any unusual noises.
- Listen for gurgling sounds: After flushing, listen carefully for any gurgling sounds coming from the drain pipes. These sounds may indicate that there is still a partial blockage or an issue with the plumbing system. If you hear these sounds, you may need to repeat the steps of clearing the toilet bowl or seek professional help.
- Inspect the water level: Once the toilet has been flushed, observe the water level in the bowl. It should return to its normal level and not rise or overflow. If there are any abnormalities in the water level, it may indicate a larger plumbing issue that needs attention.
By flushing the toilet and inspecting the drainage, you can ensure that the blockage has been completely cleared and that the toilet is functioning as it should. If everything appears to be in order, you can proceed to the final step: cleaning up after the clog.
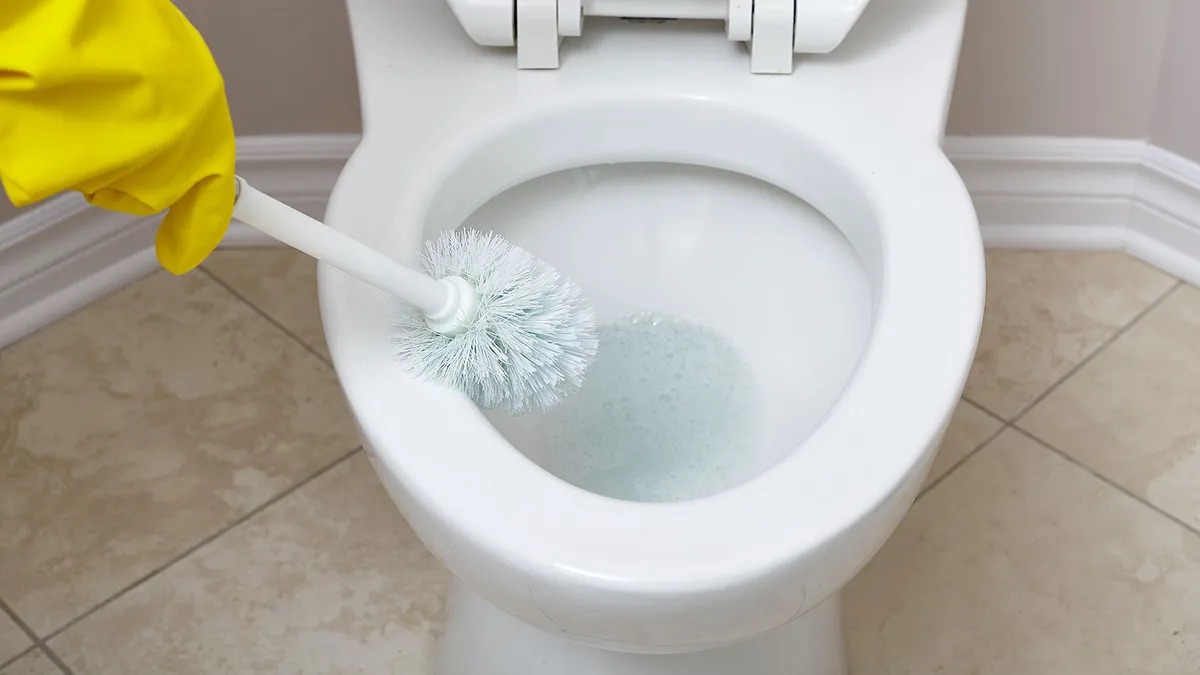
Step 7: Clean Up
Once you have successfully cleared the clog and ensured proper flushing and drainage, it’s time to clean up after the ordeal. Here are some steps to help you clean up effectively:
- Dispose of the waste: If you had to collect the water from the toilet bowl in a container, dispose of it appropriately. Pour it down a sink, bathtub, or other suitable drain.
- Sanitize the toilet bowl: After draining the toilet bowl and flushing, it’s essential to clean and sanitize the bowl. Use a toilet bowl cleaner or a mild disinfectant to thoroughly clean the inside of the bowl, including the rim, sides, and bottom. Scrub the surfaces with a toilet brush, paying close attention to any areas where residue or stains may be present.
- Clean the surrounding area: Check the floor around the toilet for any water spills or messes. Use a towel or a mop to wipe and dry the floor, ensuring it is clean and free from water or cleaning solution residue.
- Wash your hands: After handling the cleaning process, it’s crucial to wash your hands thoroughly with soap and water. This will help maintain good hygiene and prevent the spread of any bacteria or germs.
By following these clean-up steps, you can ensure that your bathroom is back to its clean and sanitary state. Remember, proper hygiene and cleanliness are essential not only for the functionality of your toilet but also for your overall well-being.
Congratulations! You have successfully drained a toilet bowl and cleared any blockages. By following these steps and using the right tools, you have saved yourself the hassle and expense of calling a plumber. Remember to practice regular maintenance and be mindful of what you flush down the toilet to prevent future clogs. Happy flushing!
Read more: How To Choose A Toilet Bowl
Conclusion
Dealing with a clogged toilet bowl can be a frustrating and messy experience, but with the right knowledge and tools, you can resolve the issue on your own. By following the steps outlined in this guide, you can safely and effectively drain a toilet bowl and clear any blockages.
Remember to start by turning off the water supply and gather the necessary safety equipment to protect yourself. Then, remove the water from the bowl and attempt to clear the clog by plunging the toilet. If that doesn’t work, you can use a toilet auger to tackle more stubborn blockages. After successfully clearing the clog, flush the toilet and inspect the drainage to ensure everything is working properly.
Finally, clean up the area, sanitize the toilet bowl, and wash your hands thoroughly. By practicing good hygiene and regular maintenance, you can prevent future clogs and keep your toilet in optimal working condition.
Remember, if at any point you feel uncomfortable or unable to resolve the issue on your own, it’s always best to seek professional help. However, by following the steps outlined in this guide, you’re equipped with the knowledge and tools to tackle clogged toilet bowls effectively.
So, the next time you encounter a clogged toilet bowl, don’t panic. Just remember the steps in this guide and tackle the problem with confidence. You’ll have your toilet back in working order in no time, without the need for a plumber. Happy repairing!
Frequently Asked Questions about How To Drain A Toilet Bowl
Was this page helpful?
At Storables.com, we guarantee accurate and reliable information. Our content, validated by Expert Board Contributors, is crafted following stringent Editorial Policies. We're committed to providing you with well-researched, expert-backed insights for all your informational needs.
0 thoughts on “How To Drain A Toilet Bowl”