Home>Furniture & Design>Bathroom Accessories>How To Remove Scratches In Toilet Bowl
Bathroom Accessories
How To Remove Scratches In Toilet Bowl
Modified: October 20, 2024
Learn how to remove scratches in your toilet bowl with our expert tips and tricks. Keep your bathroom accessories looking brand new with our simple solutions.
(Many of the links in this article redirect to a specific reviewed product. Your purchase of these products through affiliate links helps to generate commission for Storables.com, at no extra cost. Learn more)
Introduction
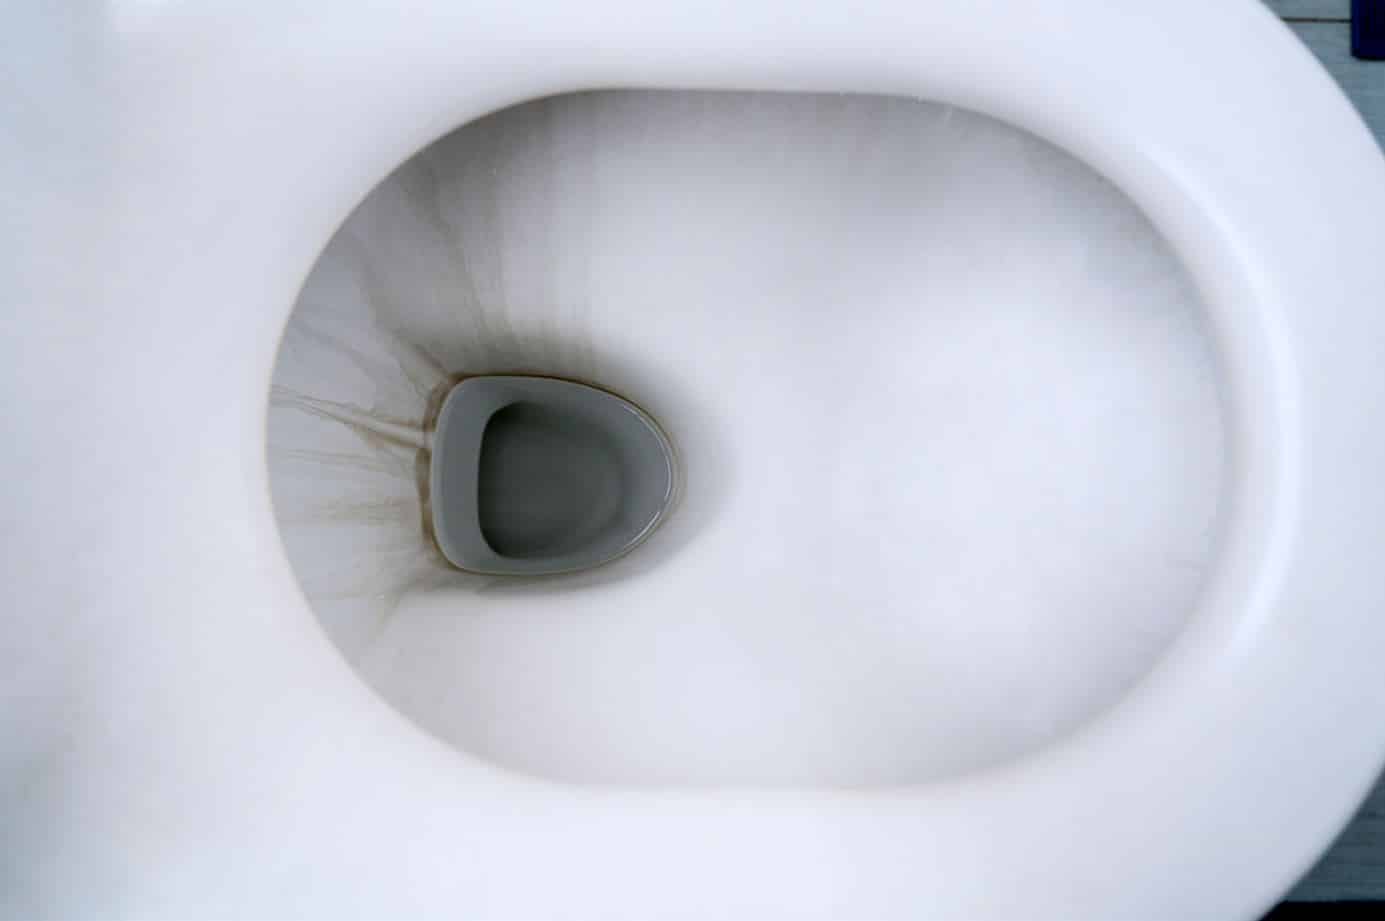
A pristine and gleaming toilet bowl is a hallmark of a clean and well-maintained bathroom. However, over time, scratches can mar the smooth surface of the toilet bowl, detracting from its aesthetic appeal and making it more challenging to keep clean. Whether these scratches are the result of abrasive cleaning tools, hard water deposits, or other factors, they can be unsightly and frustrating to deal with. Fortunately, with the right tools and techniques, it's possible to restore the smooth finish of your toilet bowl and regain its original luster.
In this comprehensive guide, we will delve into the causes of scratches in toilet bowls, the essential tools and materials needed for removing scratches, and a step-by-step guide to effectively eliminate these imperfections. Additionally, we will provide valuable tips for preventing future scratches, ensuring that your toilet bowl remains in pristine condition for the long term.
By following the expert advice and practical tips outlined in this article, you can take proactive measures to address scratches in your toilet bowl, restore its flawless appearance, and maintain a hygienic and visually appealing bathroom environment. Let's embark on this journey to rejuvenate your toilet bowl and elevate the overall cleanliness and aesthetics of your bathroom space.
Key Takeaways:
- Say goodbye to toilet bowl scratches! Use fine-grit sandpaper and polishing compound to restore your toilet bowl’s smooth finish and keep it looking pristine.
- Prevent future scratches by using gentle cleaning tools, regular maintenance, and mindful handling. Keep your toilet bowl flawless for a clean and inviting bathroom.
Read more: How To Remove A Toilet Bowl
Understanding the Causes of Scratches in Toilet Bowl
The toilet bowl, a vital fixture in any bathroom, is susceptible to scratches due to various factors. Understanding the root causes of these scratches is crucial in effectively addressing and preventing them. Here are the primary reasons behind scratches in toilet bowls:
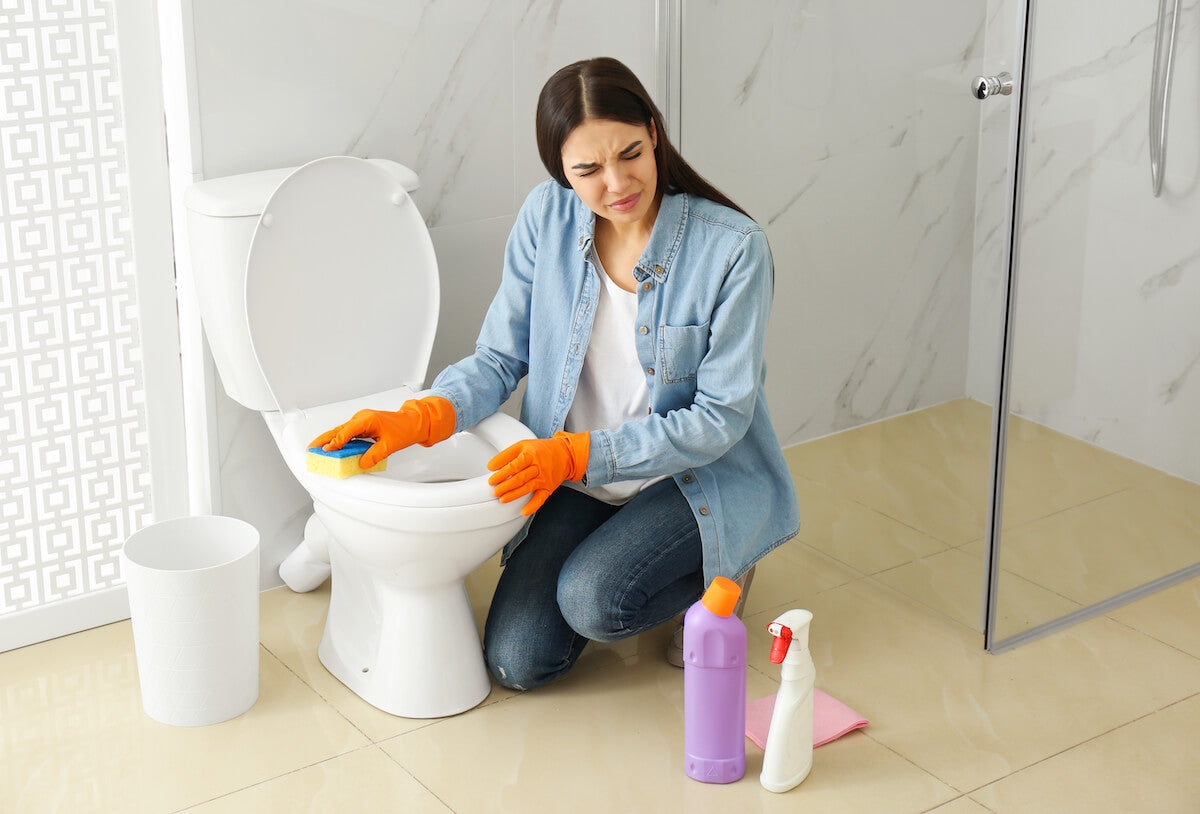
1. Abrasive Cleaning Tools:
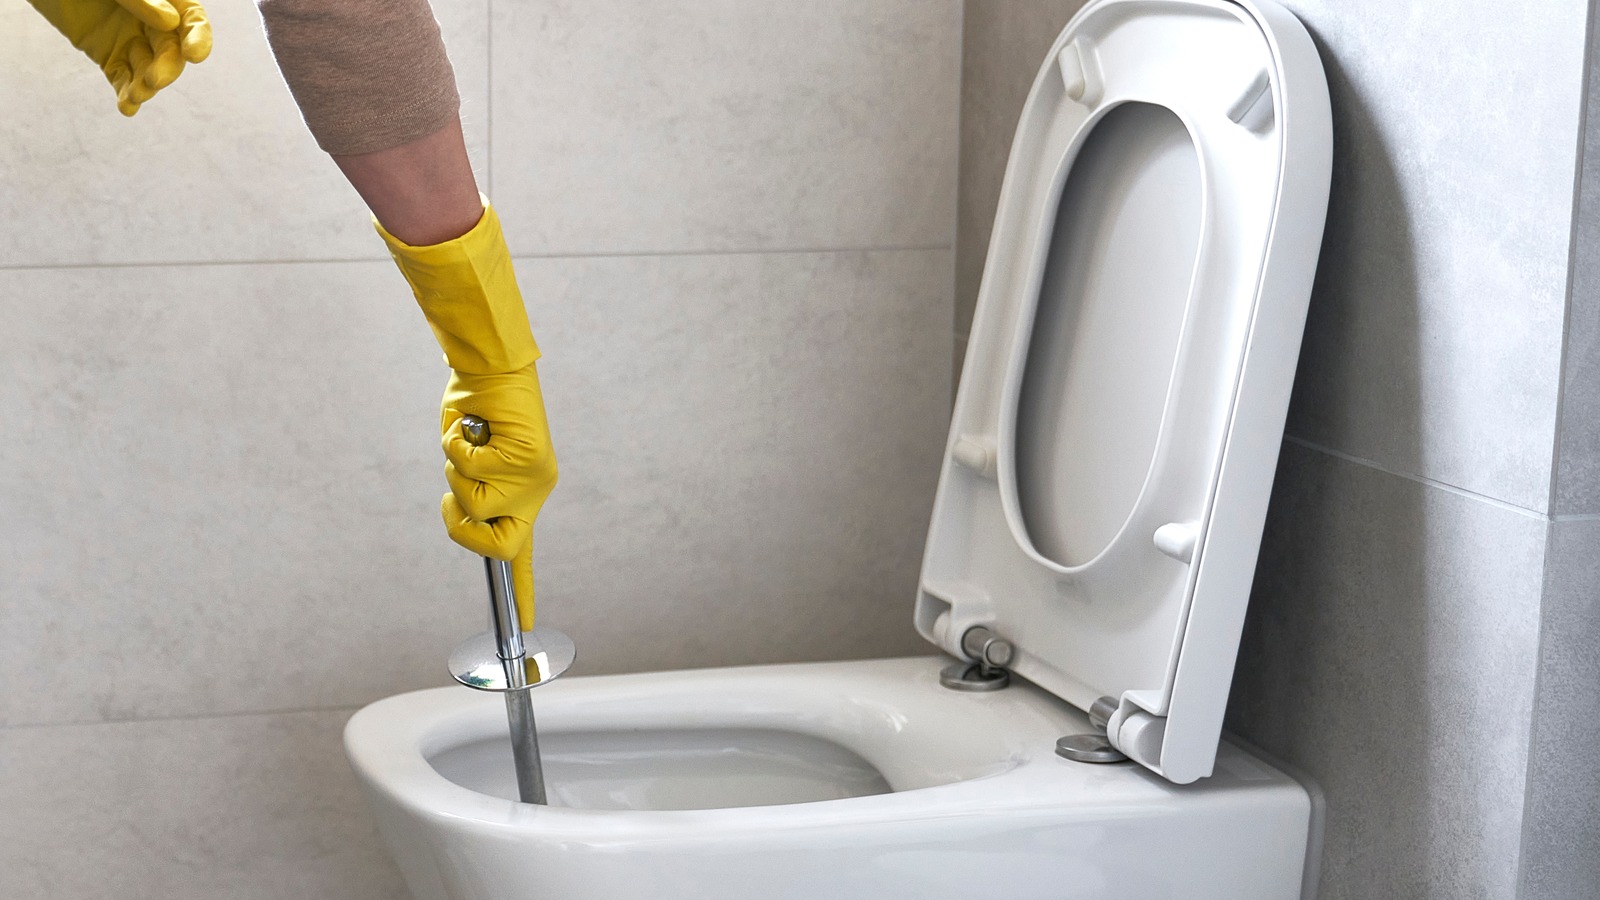
Frequent use of abrasive cleaning tools such as harsh scrub brushes, abrasive sponges, or abrasive cleaning agents can inadvertently cause scratches on the surface of the toilet bowl. These tools, while effective at removing stains and buildup, can gradually wear down the smooth finish of the bowl, leading to visible scratches over time.
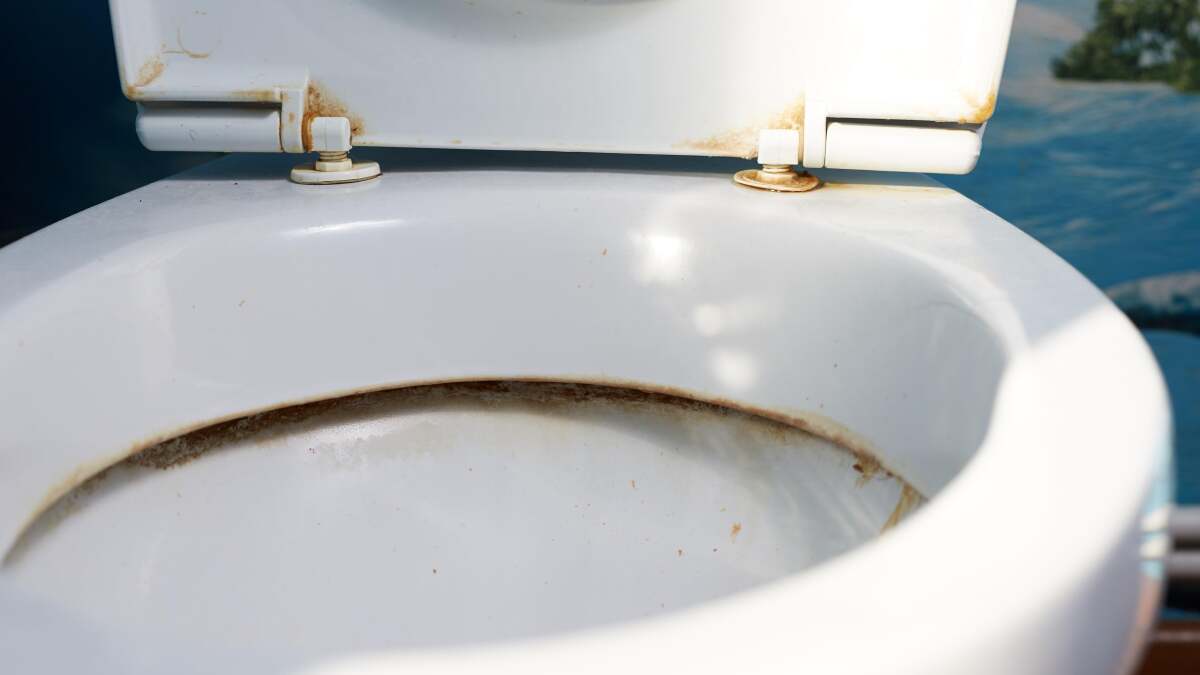
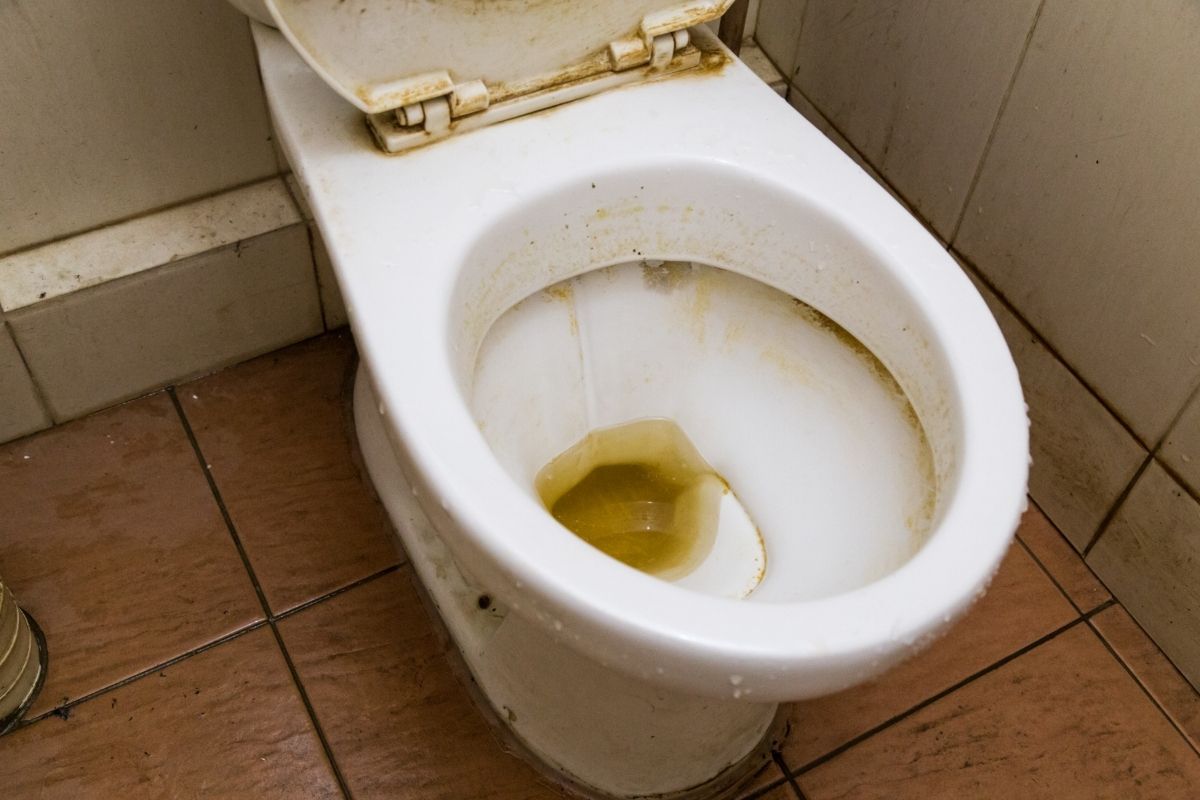
2. Hard Water Deposits:
In areas with hard water, mineral deposits can accumulate on the surface of the toilet bowl. When these deposits harden, they can become abrasive and cause scratches when scrubbed or cleaned, especially if the deposits are not regularly addressed. The presence of hard water deposits exacerbates the risk of scratches, particularly during cleaning routines.
3. Incorrect Cleaning Techniques:
Improper cleaning techniques, such as using excessive force or scrubbing in a back-and-forth motion with a rough cleaning implement, can contribute to scratches on the toilet bowl's surface. Additionally, using inappropriate cleaning products that contain harsh chemicals or abrasive particles can also lead to scratches and diminish the bowl's smooth finish.
Read more: How To Remove Scratches From Toilet Seat
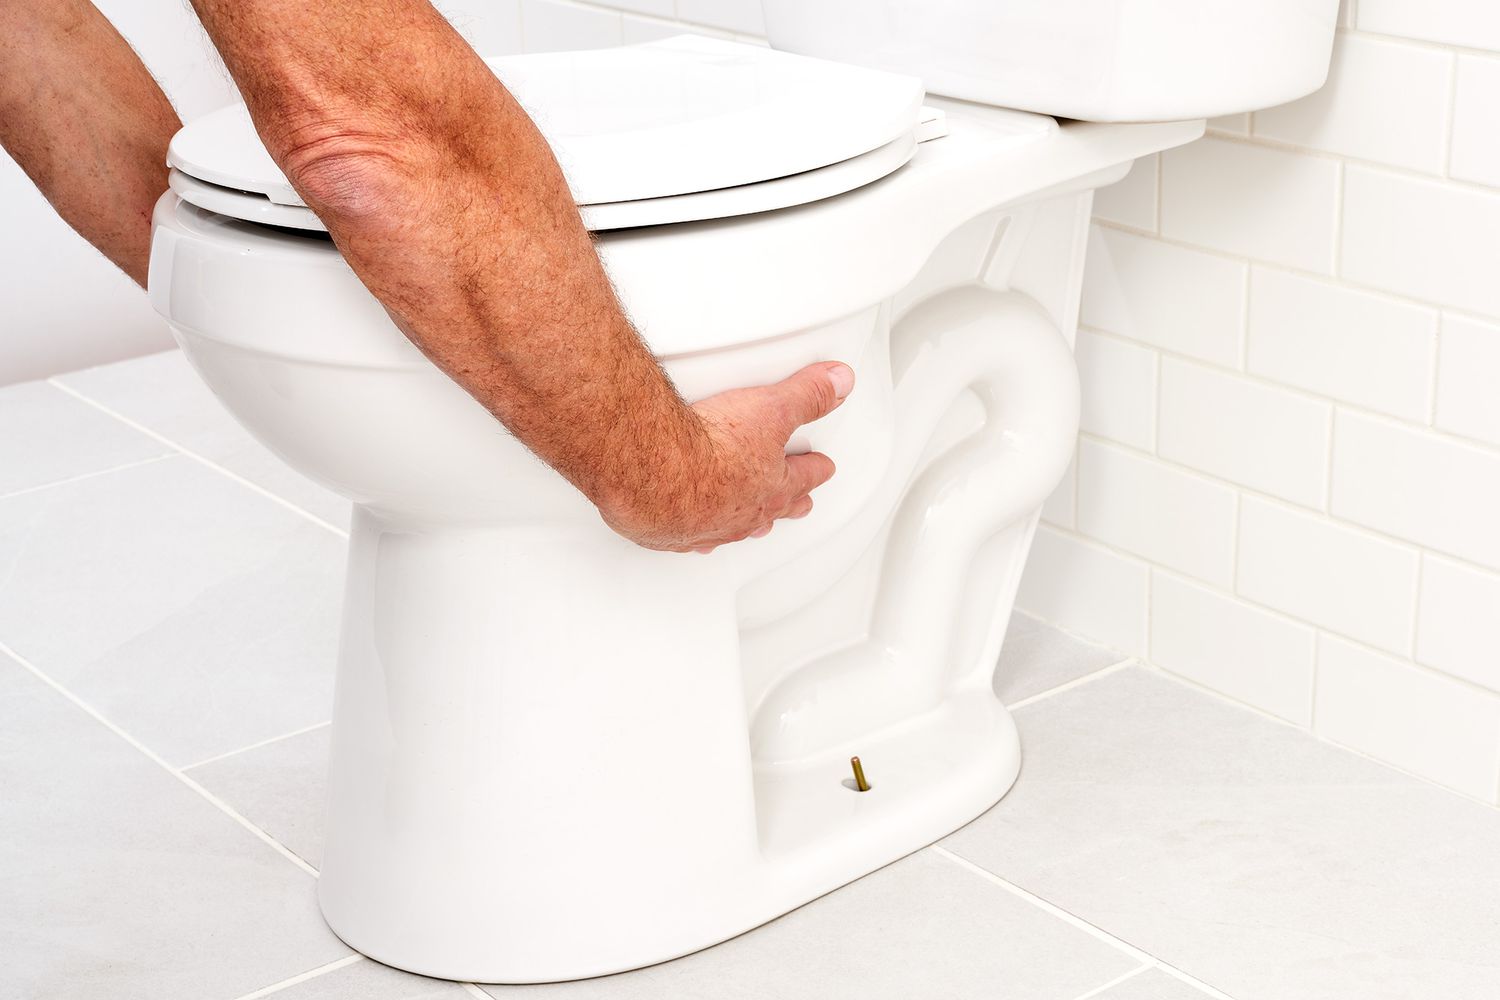
4. Foreign Objects:
Accidental contact with foreign objects, such as metal tools, jewelry, or other hard items, can inadvertently scratch the toilet bowl when they come into contact with its surface. These incidental scratches, while often minor, can accumulate over time and detract from the bowl's overall appearance.
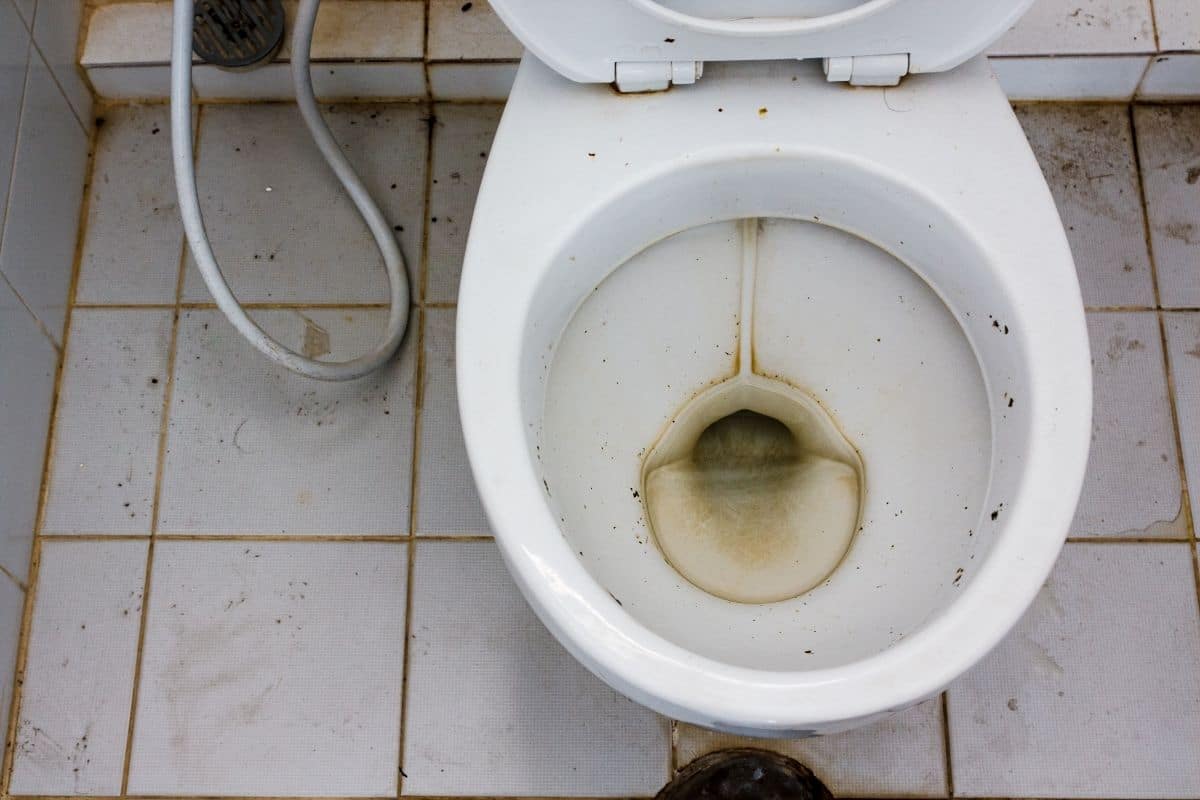
5. Wear and Tear:
As with any frequently used fixture, the toilet bowl is subject to general wear and tear over time. Continuous use, cleaning, and exposure to various elements can gradually diminish the smoothness of the bowl's surface, leading to the development of fine scratches and imperfections.
By understanding these underlying causes of scratches in toilet bowls, individuals can take proactive measures to mitigate these factors and preserve the pristine condition of their toilet fixtures. With this knowledge in mind, it becomes evident that employing the right cleaning tools, techniques, and preventive measures is essential in safeguarding the integrity and appearance of the toilet bowl.
Tools and Materials Needed for Removing Scratches
To effectively address scratches in a toilet bowl, it is essential to gather the appropriate tools and materials that will facilitate the restoration process. By assembling the following items, you can embark on the journey to rejuvenate your toilet bowl and eliminate unsightly scratches:
1. Fine-Grit Sandpaper:
Fine-grit sandpaper, typically in the range of 800 to 1200 grit, is a fundamental tool for smoothing out scratches on the surface of the toilet bowl. This specialized sandpaper is designed to delicately abrade the affected area, gradually diminishing the appearance of scratches without causing further damage to the bowl's finish.
Read more: How To Remove Calcium Buildup In Toilet Bowl
2. Polishing Compound:
A high-quality polishing compound, specifically formulated for use on porcelain or ceramic surfaces, is indispensable for restoring the luster of the toilet bowl. This compound aids in buffing out minor scratches and imperfections, effectively enhancing the overall smoothness and sheen of the bowl's surface.
3. Soft Microfiber Cloth:
A soft microfiber cloth serves as the ideal applicator for the polishing compound, allowing for gentle and precise application on the affected areas of the toilet bowl. The fine fibers of the cloth help distribute the polishing compound evenly, ensuring thorough coverage and optimal results.
4. Protective Gloves:
When engaging in the process of removing scratches from the toilet bowl, it is advisable to wear protective gloves to shield your hands from the abrasive nature of the sandpaper and the chemicals present in the polishing compound. Additionally, gloves provide a barrier against potential skin irritation during the restoration process.
5. Mild Cleanser and Water:
Prior to commencing the scratch removal procedure, it is essential to clean the toilet bowl thoroughly using a mild cleanser and water. This initial cleaning step helps eliminate any surface contaminants and prepares the bowl for the subsequent restoration process, ensuring optimal adhesion and effectiveness of the polishing compound.
Read more: How To Remove Clog In Toilet Bowl
6. Safety Glasses:
As a precautionary measure, wearing safety glasses during the scratch removal process is advisable to protect your eyes from any debris or particles that may become dislodged during sanding and polishing. Safety glasses provide essential eye protection, safeguarding against potential hazards during the restoration endeavor.
By equipping yourself with these essential tools and materials, you are well-prepared to embark on the journey of removing scratches from your toilet bowl. With careful attention to detail and the utilization of these specialized items, you can effectively restore the smoothness and visual appeal of your toilet bowl, revitalizing its overall appearance and ensuring a pristine bathroom environment.
Step-by-Step Guide to Remove Scratches in Toilet Bowl
-
Prepare the Work Area: Begin by ensuring that the bathroom is well-ventilated and adequately lit. Clear the surrounding area to create a conducive workspace, and lay down protective materials, such as a drop cloth or old towels, to safeguard the floor and nearby fixtures from any accidental spills or splatters.
-
Clean the Toilet Bowl: Thoroughly clean the interior of the toilet bowl using a mild cleanser and water. Remove any existing debris, stains, or residue to ensure that the surface is clean and free from contaminants. This initial cleaning step sets the stage for the subsequent scratch removal process.
-
Put on Protective Gear: Prior to commencing the scratch removal procedure, don protective gloves and safety glasses to safeguard your hands and eyes. These essential protective measures help minimize the risk of skin irritation and protect against potential hazards during the restoration process.
-
Dampen the Sandpaper: Submerge the fine-grit sandpaper in water to dampen it slightly. The moisture on the sandpaper aids in achieving a smoother and more controlled abrasion process, reducing the likelihood of causing further damage to the toilet bowl's surface.
-
Address the Scratched Areas: Gently sand the scratched areas of the toilet bowl using the dampened fine-grit sandpaper. Employ light, circular motions while exerting minimal pressure to gradually diminish the appearance of the scratches. Continuously assess the progress to ensure that the scratches are gradually fading without compromising the integrity of the bowl's surface.
-
Apply Polishing Compound: Once the scratches have been sufficiently abraded, apply a small amount of the polishing compound to a soft microfiber cloth. With gentle yet deliberate movements, buff the affected areas of the toilet bowl using the polishing compound. This process aids in further smoothing out the surface and enhancing the overall luster of the bowl.
-
Inspect and Refine: After applying the polishing compound, carefully inspect the treated areas to evaluate the effectiveness of the scratch removal process. If any residual scratches are still visible, repeat the sanding and polishing steps as necessary until the desired level of smoothness and uniformity is achieved.
-
Final Cleaning and Inspection: Once the scratches have been effectively addressed, perform a final cleaning of the toilet bowl using a mild cleanser and water. Thoroughly rinse the interior of the bowl to remove any remnants of the polishing compound, and inspect the surface to ensure that it is free from imperfections and scratches.
-
Admire the Results: Step back and admire the revitalized appearance of your toilet bowl. Revel in the smooth, scratch-free surface that exudes a renewed luster, enhancing the overall cleanliness and visual appeal of your bathroom space.
By following this meticulous step-by-step guide, you can successfully remove scratches from your toilet bowl, restoring its pristine condition and elevating the aesthetic allure of your bathroom. With patience, attention to detail, and the utilization of the recommended tools and materials, you can achieve remarkable results and enjoy a flawlessly rejuvenated toilet bowl.
Tips for Preventing Future Scratches
Preventing future scratches in your toilet bowl is paramount to maintaining its pristine condition and prolonging its longevity. By implementing proactive measures and adopting best practices, you can safeguard the smooth surface of the bowl and minimize the risk of unsightly scratches. Here are valuable tips to prevent future scratches and preserve the impeccable appearance of your toilet bowl:
-
Gentle Cleaning Practices: Embrace gentle cleaning practices by using soft-bristled brushes or non-abrasive sponges when cleaning the toilet bowl. Avoid harsh scrubbing motions and abrasive cleaning tools that can compromise the integrity of the bowl's surface. Opt for mild, non-abrasive cleaning agents to effectively remove stains and buildup without causing damage.
-
Regular Maintenance: Establish a regular maintenance routine to address hard water deposits and mineral buildup in the toilet bowl. By consistently removing these deposits using gentle cleaning methods, you can prevent the accumulation of abrasive substances that can contribute to scratches over time.
-
Avoid Harsh Chemicals: Refrain from using harsh or abrasive chemicals that can erode the smooth finish of the toilet bowl. Opt for non-abrasive, pH-neutral cleaners that are specifically formulated for use on porcelain or ceramic surfaces. These gentle cleaning agents effectively eliminate stains and residue without posing a risk to the bowl's surface.
-
Mindful Handling: Exercise caution when placing foreign objects, such as metal tools or jewelry, near the toilet bowl. Accidental contact with hard objects can lead to inadvertent scratches. Encourage mindful handling and storage of items to minimize the risk of incidental damage to the bowl's surface.
-
Soft-Close Toilet Seats: Consider installing soft-close toilet seats to prevent accidental impacts and friction that can result in scratches on the bowl's surface. These specialized seats feature a slow-closing mechanism, reducing the likelihood of abrupt contact and potential damage to the toilet bowl.
-
Regular Inspections: Periodically inspect the interior of the toilet bowl for any signs of wear, tear, or emerging scratches. Early detection allows for prompt intervention, enabling you to address minor imperfections before they escalate into more significant issues.
-
Educate Household Members: Educate household members about the importance of gentle toilet bowl maintenance and the potential impact of abrasive cleaning practices. By fostering awareness and understanding, you can collectively uphold the integrity of the toilet bowl and minimize the risk of scratches caused by inadvertent cleaning methods.
By integrating these preventive tips into your bathroom maintenance regimen, you can effectively mitigate the risk of future scratches and preserve the smooth, flawless appearance of your toilet bowl. Embracing gentle cleaning practices, regular maintenance, and mindful handling will contribute to a long-lasting and visually appealing toilet fixture, enhancing the overall cleanliness and aesthetics of your bathroom space.
Conclusion
In conclusion, the journey to remove scratches from a toilet bowl encompasses a blend of precision, care, and proactive maintenance. By delving into the causes of scratches, understanding the essential tools and materials, and following a meticulous step-by-step guide, individuals can effectively rejuvenate their toilet bowls and restore them to a flawless state. The insights provided in this comprehensive guide serve as a valuable resource for addressing scratches and elevating the overall cleanliness and aesthetics of the bathroom environment.
The process of removing scratches from a toilet bowl is not merely a restoration endeavor; it is a testament to the commitment to maintaining a hygienic and visually appealing bathroom space. Through the utilization of fine-grit sandpaper, polishing compounds, and diligent attention to detail, individuals can embark on a transformative journey that culminates in a revitalized toilet bowl, free from unsightly imperfections.
Furthermore, the proactive measures outlined for preventing future scratches underscore the significance of gentle cleaning practices, regular maintenance, and mindful handling. By integrating these preventive tips into daily bathroom maintenance routines, individuals can safeguard the smooth surface of the toilet bowl and minimize the risk of scratches, thereby preserving its pristine condition for the long term.
Ultimately, the pursuit of a scratch-free toilet bowl is a testament to the dedication to maintaining a clean, inviting, and harmonious bathroom environment. By embracing the knowledge and techniques presented in this guide, individuals can embark on a journey of restoration, prevention, and ongoing care, ensuring that their toilet bowls remain a shining symbol of cleanliness and visual appeal within their homes.
As the final step in this transformative process, individuals are encouraged to admire the remarkable results of their efforts, reveling in the renewed luster and flawless surface of their toilet bowls. This sense of accomplishment serves as a testament to the power of proactive maintenance and the ability to restore and preserve essential fixtures within the home.
In essence, the journey to remove scratches from a toilet bowl transcends mere restoration; it embodies a commitment to upholding the cleanliness, aesthetics, and integrity of the bathroom environment, enriching the daily experience within the home.
Frequently Asked Questions about How To Remove Scratches In Toilet Bowl
Was this page helpful?
At Storables.com, we guarantee accurate and reliable information. Our content, validated by Expert Board Contributors, is crafted following stringent Editorial Policies. We're committed to providing you with well-researched, expert-backed insights for all your informational needs.
0 thoughts on “How To Remove Scratches In Toilet Bowl”