Home>Storage Ideas>Bathroom Storage>How To Clean A Toilet Tank With Vinegar
Bathroom Storage
How To Clean A Toilet Tank With Vinegar
Modified: January 6, 2024
Learn how to effectively clean your toilet tank using vinegar for a spotless bathroom. Discover the best bathroom storage solutions for a clutter-free space.
(Many of the links in this article redirect to a specific reviewed product. Your purchase of these products through affiliate links helps to generate commission for Storables.com, at no extra cost. Learn more)
Introduction
Welcome to our comprehensive guide on how to clean a toilet tank with vinegar. The toilet tank is an often overlooked part of the bathroom when it comes to cleaning, but it is important to maintain its cleanliness for hygienic reasons and to prevent any unwanted odors or buildup. Using vinegar as a cleaning agent is a safe, natural, and effective way to tackle the task.
In this article, we will provide you with step-by-step instructions on how to clean a toilet tank using vinegar. We will also share some additional tips to help you maintain a clean and fresh toilet tank. It’s time to roll up your sleeves and give your toilet tank the attention it deserves!
Key Takeaways:
- Regularly cleaning your toilet tank with vinegar helps prevent odor, bacteria growth, mineral deposits, and stains, ensuring a fresh and hygienic bathroom environment.
- Incorporate maintenance practices like checking for leaks, removing mineral deposits, and replacing tank components to maintain a clean and functioning toilet tank over time.
Read more: How To Clean Inside Toilet Tank
The Importance of Cleaning a Toilet Tank
Keeping your bathroom clean is essential for maintaining a healthy and hygienic environment. While regularly cleaning the toilet bowl is a common practice, many people neglect to clean the toilet tank. However, cleaning the toilet tank is just as important as cleaning the rest of the bathroom.
The toilet tank is where the water that flushes the toilet is stored. Over time, mineral deposits, bacteria, and other contaminants can accumulate in the tank. This can lead to several issues if left unaddressed:
- Odor: A dirty toilet tank can develop a foul smell. This odor can not only be unpleasant but can also spread throughout the bathroom, making it an unwelcoming space.
- Bacteria and Germ Growth: The moist environment of the toilet tank provides an ideal breeding ground for bacteria and germs. These bacteria can multiply and spread to the toilet bowl, posing a threat to your health.
- Mineral Deposits: Hard water contains minerals that can accumulate in the toilet tank. Over time, these deposits can clog the tank’s mechanisms, affecting the flush performance and potentially leading to costly repairs.
- Stains: The constant presence of water in the toilet tank can cause unsightly stains to develop. These stains can be difficult to remove and can make the toilet tank look dirty and unappealing.
Regularly cleaning the toilet tank helps to prevent these issues and ensures a clean and functioning toilet. By incorporating a cleaning routine that includes the tank, you can maintain a fresh and odor-free bathroom.
In the next section, we will discuss the materials you will need to effectively clean your toilet tank with vinegar.
Materials Needed for Cleaning with Vinegar
Cleaning your toilet tank with vinegar is a simple and cost-effective solution. To get started, gather the following materials:
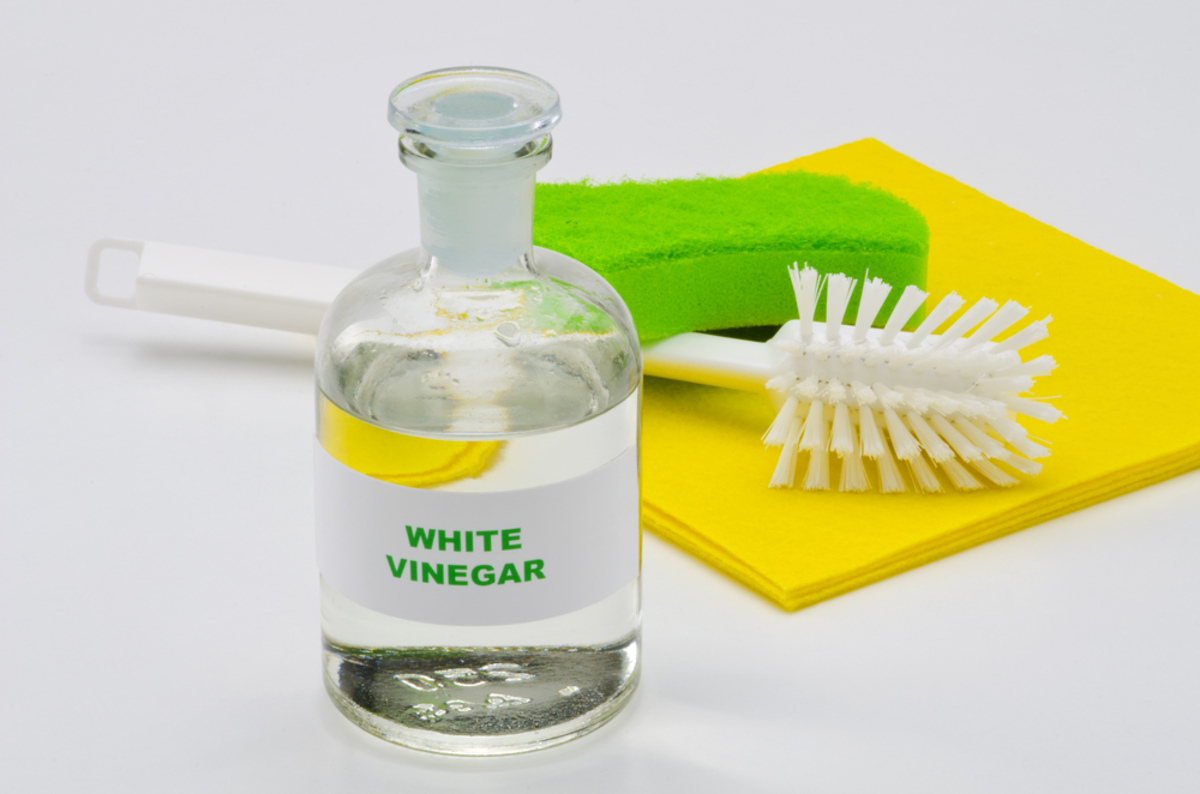
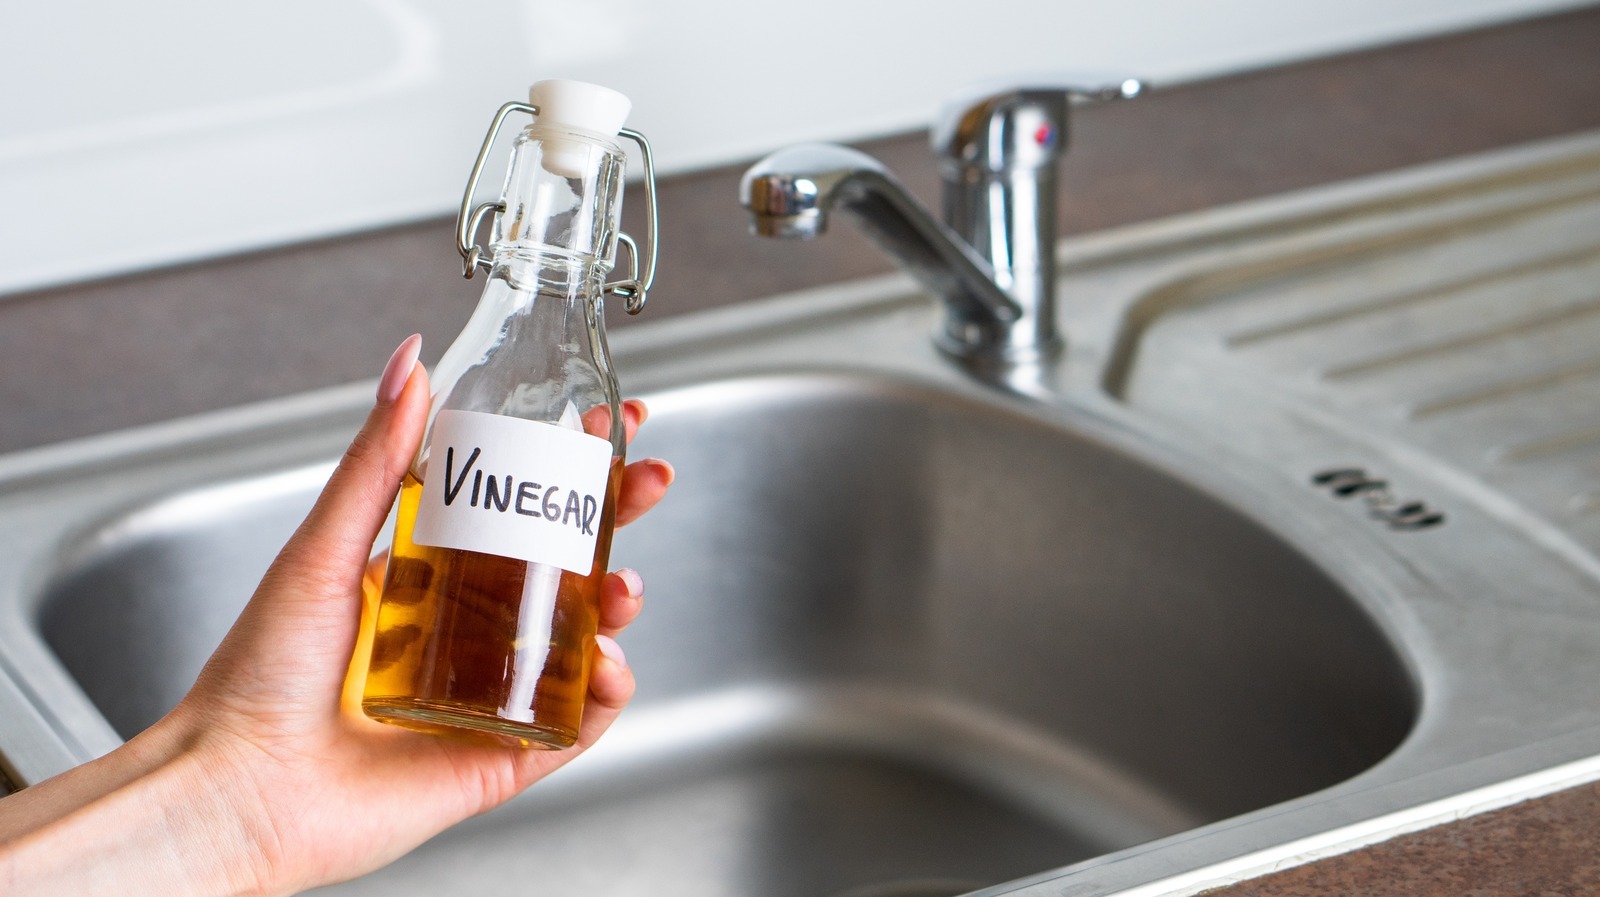
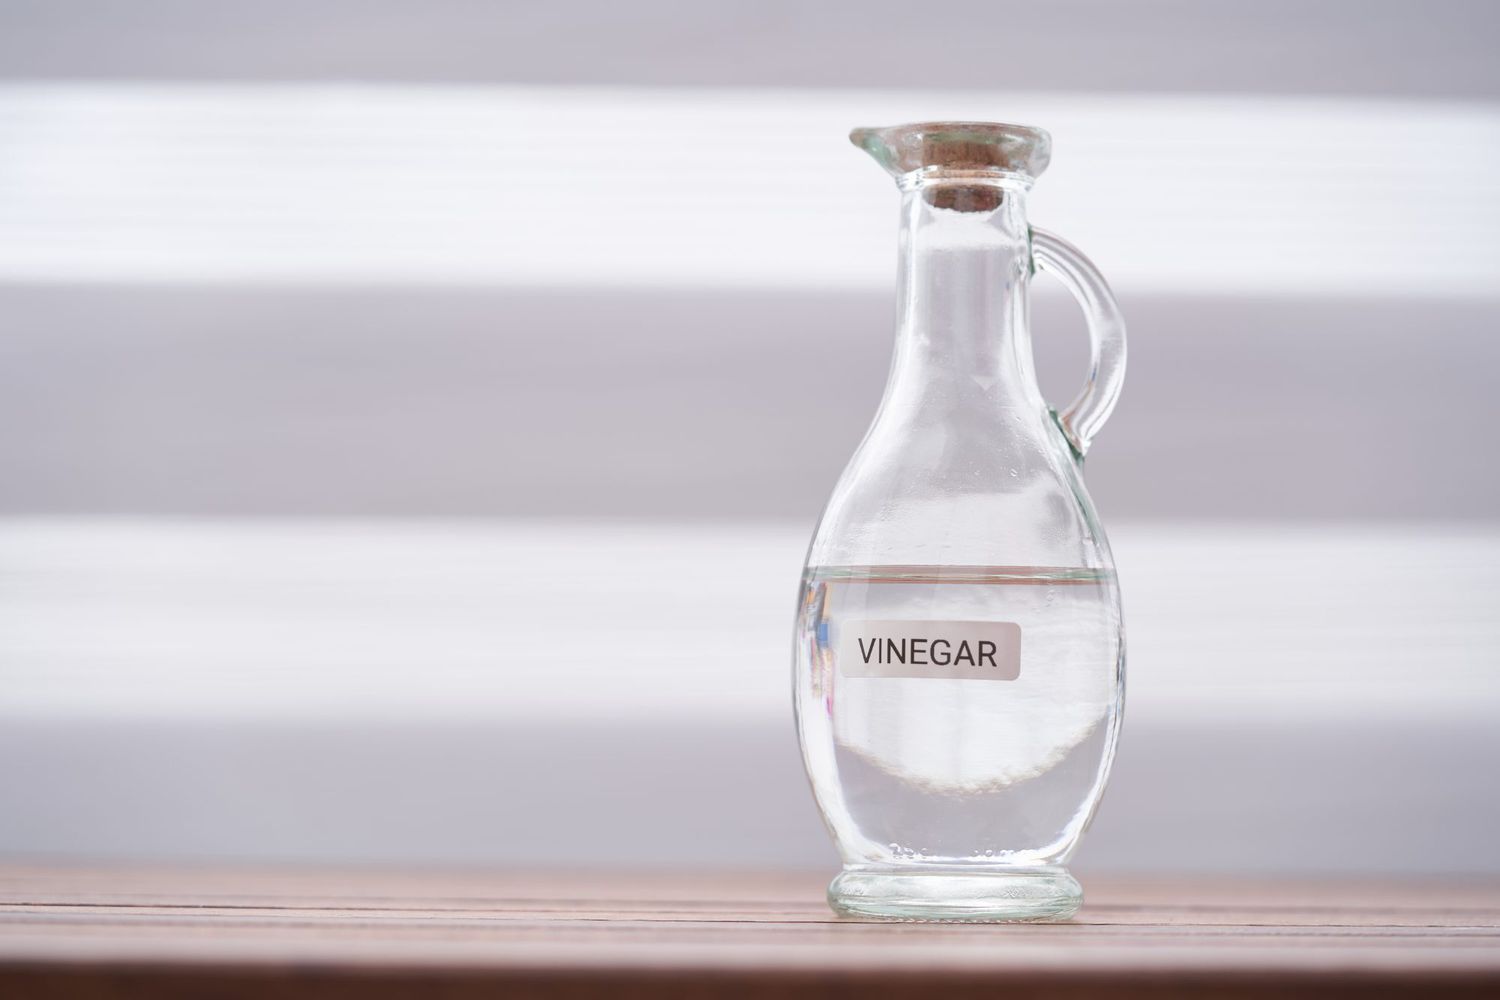
- Vinegar: You will need white distilled vinegar, which is a natural and effective cleaning agent. The acidity of vinegar helps to break down mineral deposits and kill bacteria.
- Bucket: Have a large bucket handy to mix and dilute the vinegar solution.
- Gloves: It is advisable to wear rubber gloves to protect your hands from the vinegar and any cleaning solutions you may use.
- Brush or Scrubber: Choose a brush or scrubber that is suitable for cleaning the toilet tank. Look for one with firm bristles that can effectively remove stains and buildup.
- Old Toothbrush: An old toothbrush can be useful for reaching into smaller and hard-to-reach areas of the toilet tank.
- Clean Cloth or Sponge: Have a clean cloth or sponge ready for wiping down the surfaces of the tank.
These materials are readily available and should be sufficient for cleaning your toilet tank. Let’s move on to the step-by-step guide on how to clean a toilet tank with vinegar.
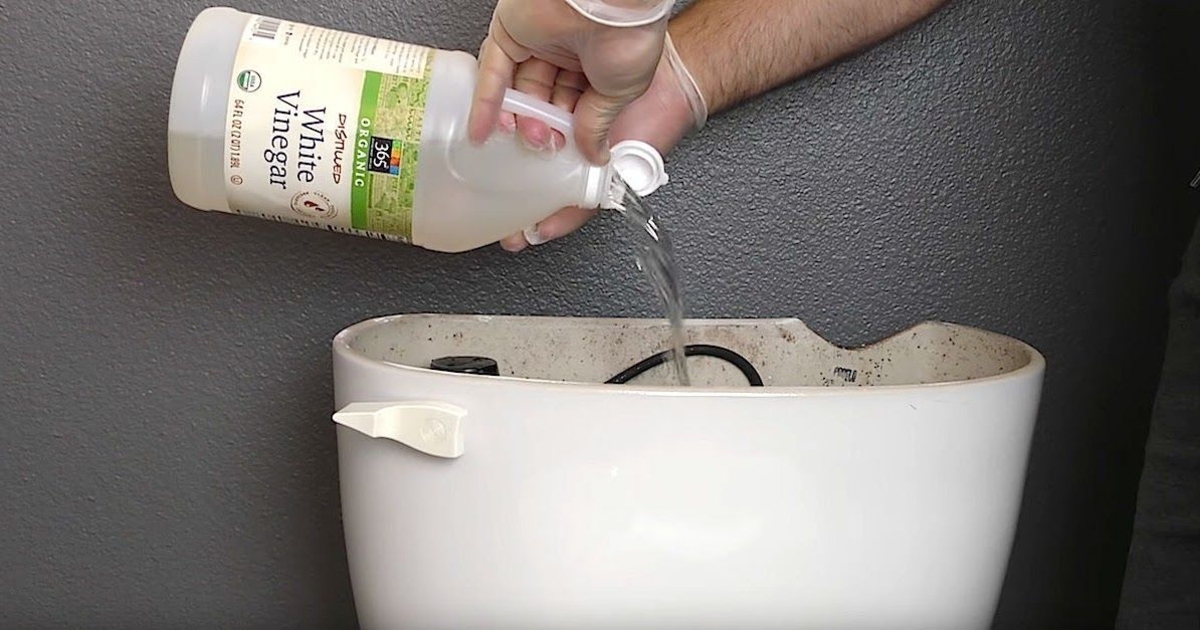
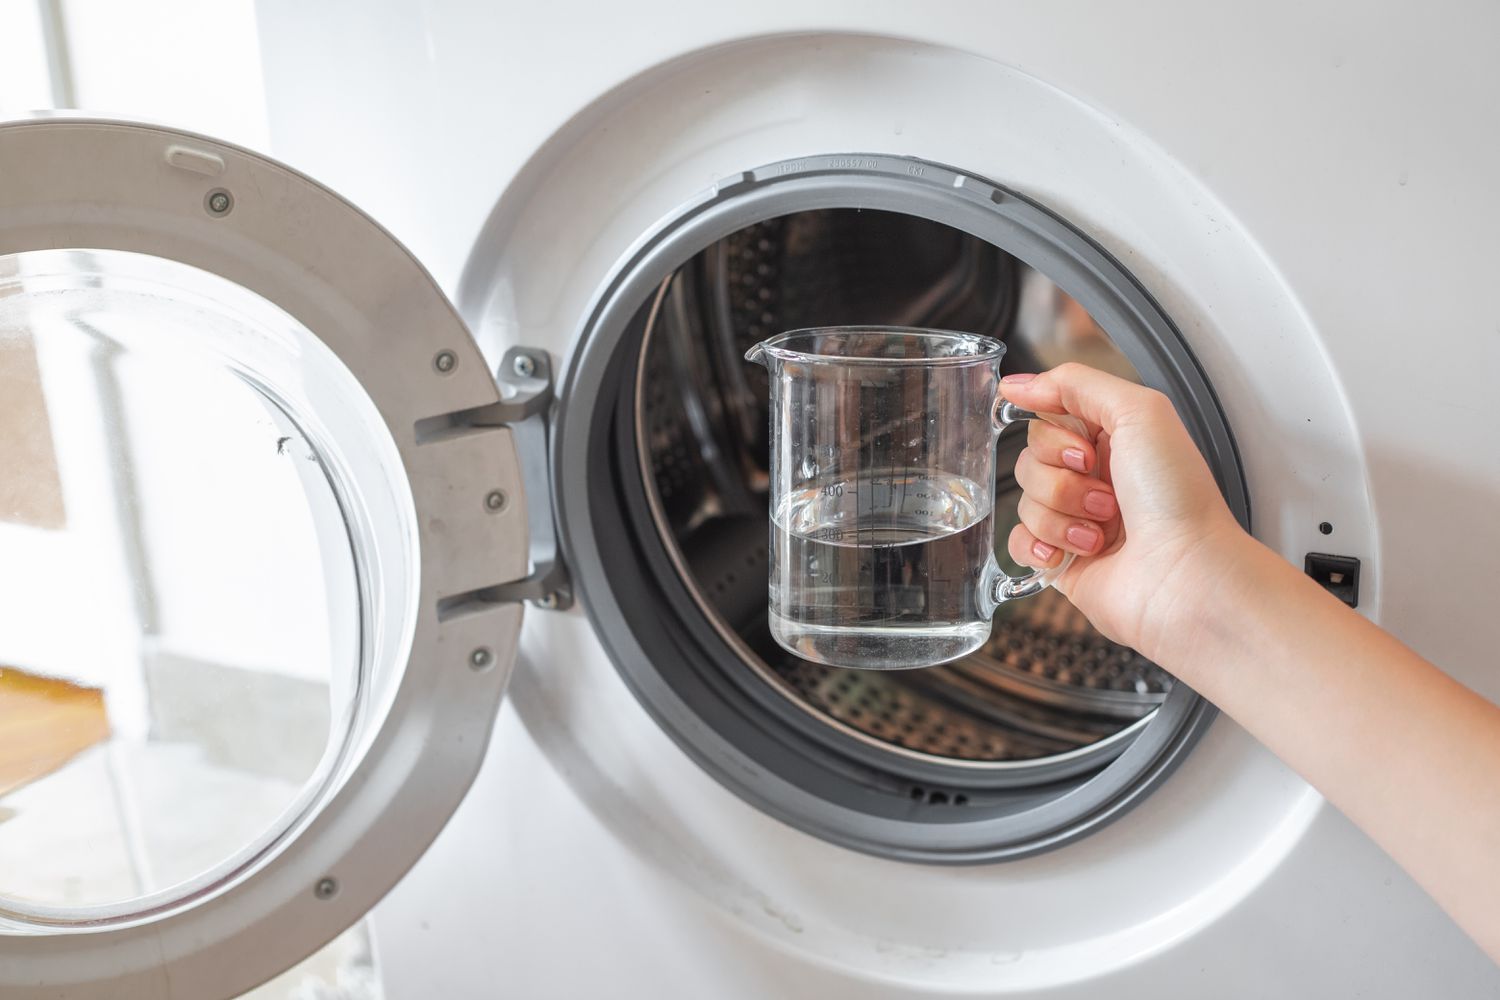
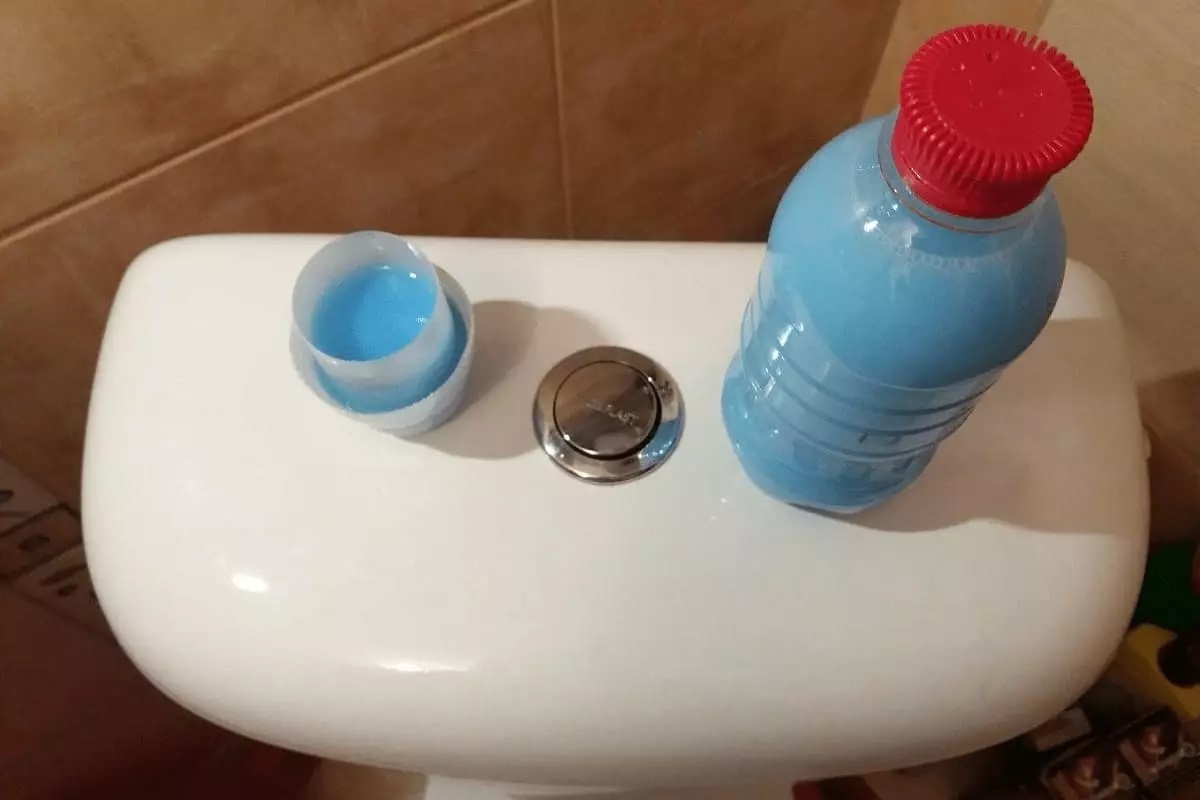
To clean a toilet tank with vinegar, start by pouring 3 cups of vinegar into the tank and letting it sit for several hours or overnight. Then, scrub the tank with a toilet brush and flush the toilet to rinse.
Step-by-step Guide to Cleaning a Toilet Tank with Vinegar
Now that you have gathered the necessary materials, we will walk you through the process of cleaning your toilet tank with vinegar. Follow these steps to ensure an effective and thorough cleaning:
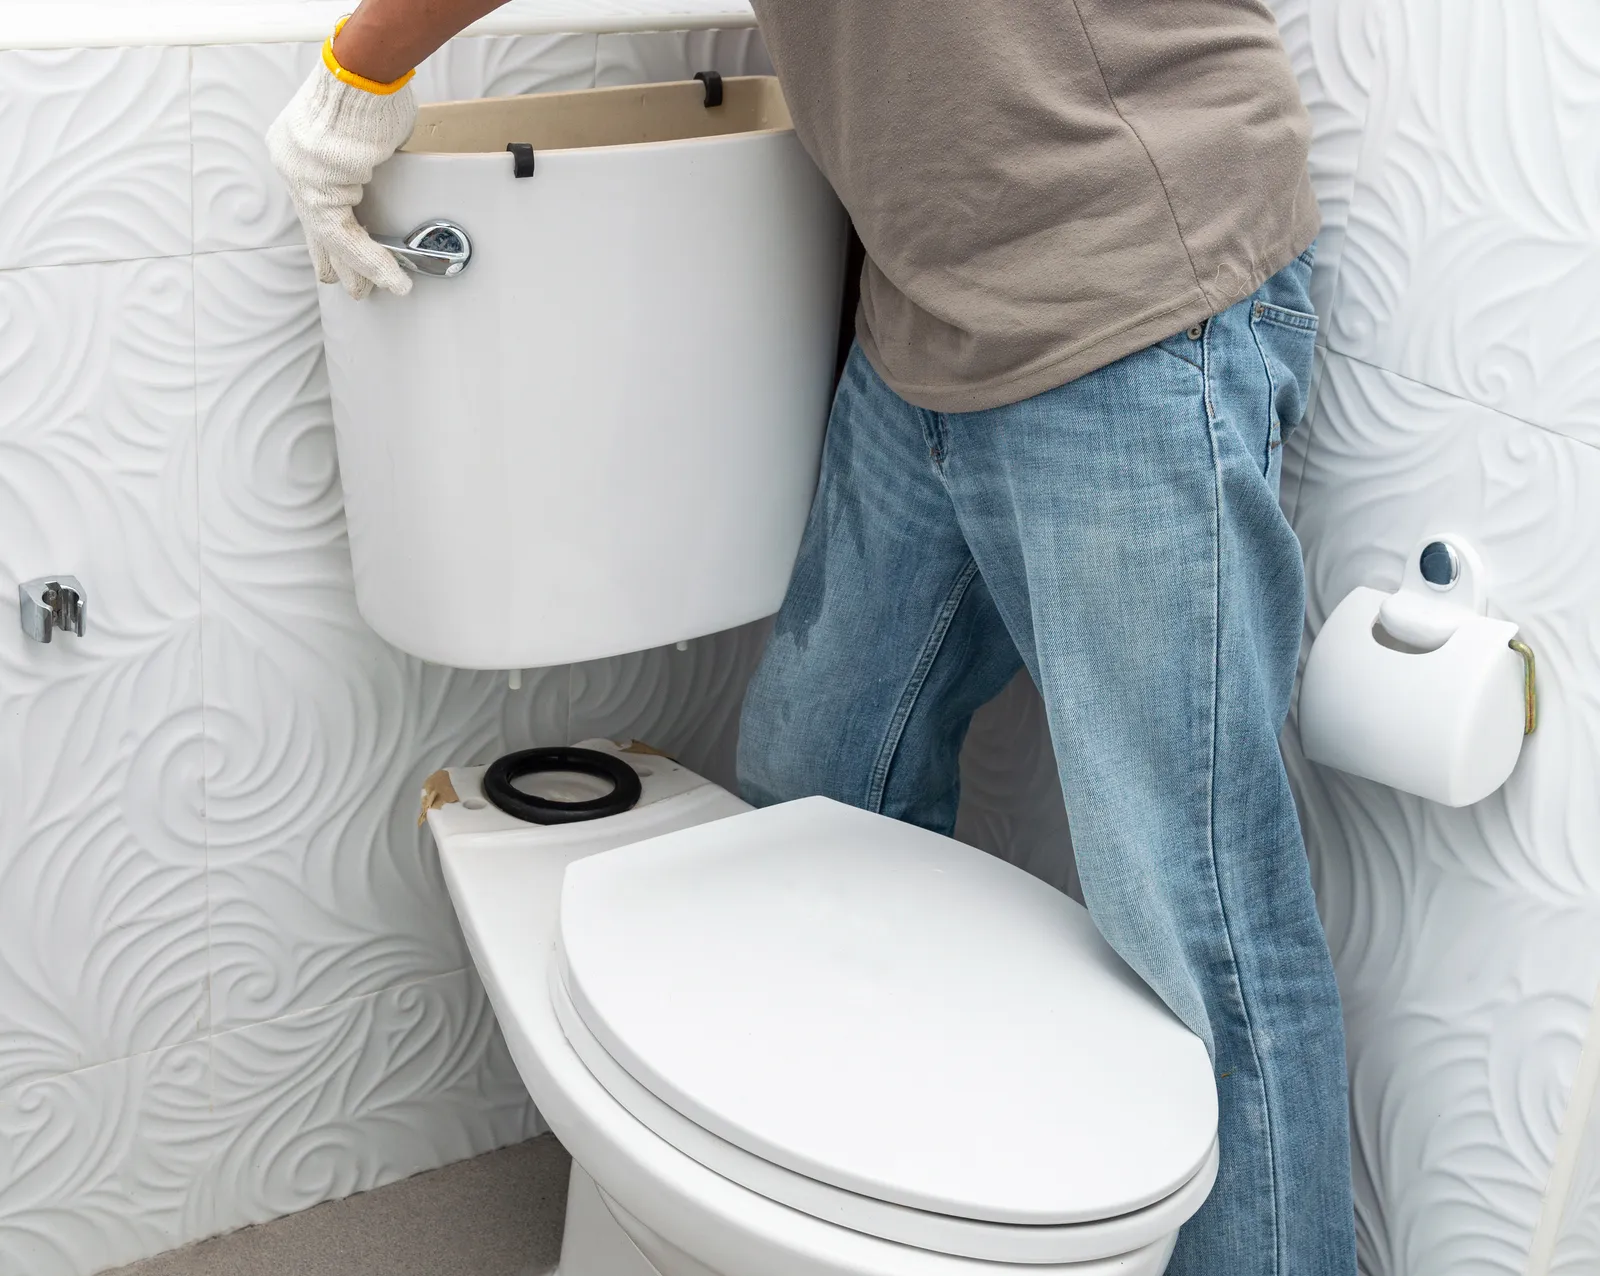
- Turn off the water supply: Locate the water shut-off valve behind the toilet bowl and turn it off. This will prevent water from refilling the tank while you clean.
- Flush the toilet: Flush the toilet to drain as much water as possible from the tank. Use a sponge or towel to soak up any remaining water.
- Pour vinegar into the tank: Measure out a sufficient amount of vinegar (approximately one to two cups) and pour it into the toilet tank. The vinegar will help to dissolve mineral deposits and kill bacteria.
- Dilute the vinegar: Fill a bucket with water and pour it into the toilet tank, diluting the vinegar. The ratio of vinegar to water should be approximately 50:50.
- Scrub the tank: Use a brush or scrubber to scrub the surfaces of the toilet tank, focusing on areas with stains or buildup. Pay close attention to the corners, edges, and under the rim of the tank. For hard-to-reach spots, use an old toothbrush.
- Let it sit: Allow the vinegar solution to sit in the tank for at least 30 minutes. This will give the vinegar time to break down stubborn stains and mineral deposits.
- Scrub again: After the vinegar solution has had time to work, give the tank another scrubbing to remove any loosened residue.
- Rinse the tank: Turn the water supply back on and flush the toilet several times to thoroughly rinse the tank. This will help to remove any remaining vinegar and residue.
- Wipe down the tank: Use a clean cloth or sponge to wipe down the surfaces of the tank, ensuring it is dry and free of any vinegar or residue.
- Turn on the water supply: Finally, turn the water supply back on, allowing the tank to refill for normal use.
By following these steps, you will have successfully cleaned your toilet tank using vinegar. However, there are a few additional tips you can keep in mind to maintain a clean toilet tank over time.
Additional Tips for Maintaining a Clean Toilet Tank
Cleaning your toilet tank with vinegar is a great way to remove stains and buildup, but it’s also important to implement regular maintenance to keep it clean and fresh. Here are some additional tips to help you maintain a clean toilet tank:
- Regularly clean the toilet bowl: A clean toilet bowl helps prevent dirt and debris from entering the tank. Use a toilet bowl cleaner and brush to clean the bowl regularly.
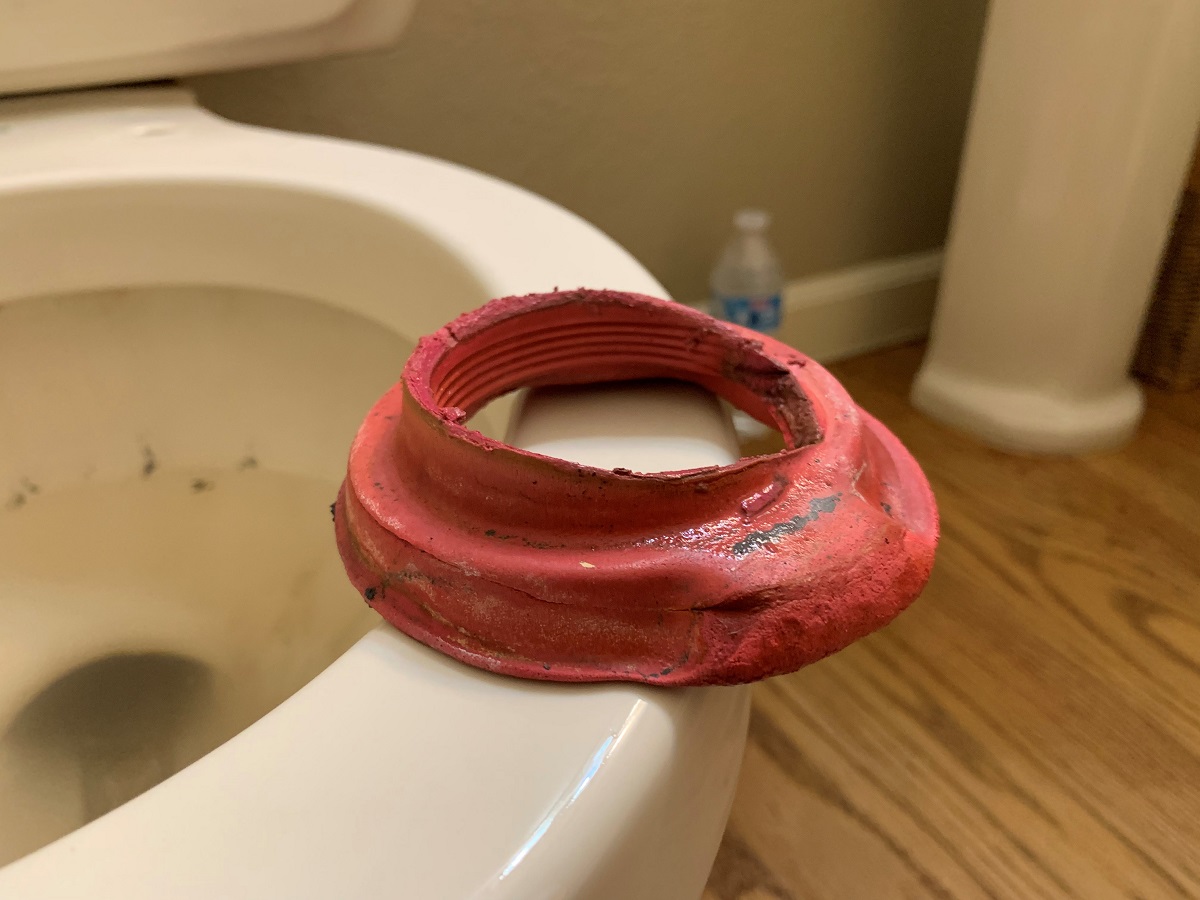
- Check for leaks: Periodically inspect your toilet tank for any leaks or cracks. A leaking tank can cause water damage and lead to mold growth. If you notice any leaks, it’s best to contact a plumber for repairs.
- Remove mineral deposits: If you have hard water in your area, mineral deposits can accumulate in the toilet tank over time. Consider using a commercial descaler or a mixture of vinegar and water to dissolve and remove these deposits regularly.
- Avoid using harsh chemicals: Harsh chemicals can damage the components of your toilet tank. Stick to using natural cleaning agents like vinegar, baking soda, or lemon juice to avoid any potential damage.
- Empty the tank for extended periods: If you plan to be away from home for an extended period, consider emptying the tank to prevent stagnant water and the growth of bacteria. Simply turn off the water supply, flush the toilet, and soak up any remaining water with a sponge or towel.
- Regularly replace tank components: Over time, the components of your toilet tank, such as the flapper or fill valve, may wear out and become less efficient. Regularly inspect and replace these components as needed to maintain optimal performance and prevent any issues.
- Incorporate routine cleaning: Set a regular cleaning schedule for your toilet tank to prevent dirt and buildup from accumulating. This can be done weekly, bi-weekly, or monthly, depending on your preference and cleaning needs.
- Keep the tank lid closed: When not in use, make a habit of keeping the toilet tank lid closed. This helps reduce the amount of dust, dirt, and debris that can enter the tank, keeping it cleaner for longer.
By following these tips, you can ensure that your toilet tank remains clean, odor-free, and functioning properly. With a little effort and regular maintenance, you can enjoy a fresh and hygienic bathroom environment.
Now that you have the knowledge and tools to clean and maintain your toilet tank, it’s time to put it into action. Enjoy your sparkling clean toilet and the peace of mind that comes with it!
Conclusion
Cleaning your toilet tank with vinegar is a simple and effective way to maintain a clean and hygienic bathroom. By following the step-by-step guide and incorporating the additional tips we’ve provided, you can ensure that your toilet tank remains free from stains, odors, and buildup.
The importance of cleaning the toilet tank should not be underestimated. Neglecting this crucial area of the bathroom can result in unpleasant odors, the growth of bacteria and germs, and the accumulation of mineral deposits. Regularly cleaning the toilet tank with vinegar helps to eliminate these issues and keeps your bathroom fresh and inviting.
Remember to gather the necessary materials, such as vinegar, a bucket, gloves, a brush or scrubber, an old toothbrush, and a clean cloth or sponge. Follow the step-by-step guide provided, making sure to turn off the water supply, flush the toilet, pour vinegar into the tank, dilute it, scrub the tank, and rinse thoroughly.
In addition to regular cleaning with vinegar, implementing maintenance practices like checking for leaks, removing mineral deposits, and replacing tank components can help you maintain a clean toilet tank over time. By incorporating these tips into your cleaning routine, you can ensure the longevity and optimal performance of your toilet tank.
Now that you are armed with the knowledge and tools to clean and maintain your toilet tank, it’s time to take action. Incorporate these practices into your cleaning routine and enjoy a fresh and hygienic bathroom environment. A clean toilet tank not only improves the overall cleanliness of your bathroom but also contributes to a healthier and more pleasant experience for you and your family.
So, don’t forget to show your toilet tank some love and attention – it’ll thank you for it!
Frequently Asked Questions about How To Clean A Toilet Tank With Vinegar
Was this page helpful?
At Storables.com, we guarantee accurate and reliable information. Our content, validated by Expert Board Contributors, is crafted following stringent Editorial Policies. We're committed to providing you with well-researched, expert-backed insights for all your informational needs.


0 thoughts on “How To Clean A Toilet Tank With Vinegar”