Home>Furniture & Design>Bathroom Accessories>How To Remove A Toilet Bowl
Bathroom Accessories
How To Remove A Toilet Bowl
Modified: October 18, 2024
Learn how to remove a toilet bowl with our step-by-step guide. Keep your bathroom accessories in top condition with our expert tips.
(Many of the links in this article redirect to a specific reviewed product. Your purchase of these products through affiliate links helps to generate commission for Storables.com, at no extra cost. Learn more)
Introduction
Removing a toilet bowl may seem like a daunting task, but with the right tools and a systematic approach, it can be a manageable DIY project. Whether you're renovating your bathroom, replacing a damaged toilet, or simply upgrading to a new model, knowing how to remove a toilet bowl is a valuable skill for any homeowner. By following the step-by-step guide outlined in this article, you'll gain the confidence and know-how to tackle this project with ease.
A toilet bowl removal typically becomes necessary during bathroom renovations, repairs, or upgrades. It's a crucial step in the process of replacing a toilet or addressing underlying plumbing issues. Before diving into the removal process, it's important to gather the necessary tools and materials to ensure a smooth and efficient operation. From shutting off the water supply to disconnecting the water line and removing the toilet bowl, each step plays a vital role in the overall process.
Understanding the intricacies of toilet bowl removal empowers homeowners to take charge of their bathroom maintenance and renovations. By mastering this skill, you can save on professional plumbing costs and have the satisfaction of completing a significant home improvement task on your own. Additionally, being able to remove a toilet bowl opens the door to various DIY bathroom projects, giving you the freedom to personalize and upgrade your space according to your preferences.
As we delve into the step-by-step process of removing a toilet bowl, it's important to approach the task with patience and attention to detail. Each step is crucial in ensuring a successful removal and preparing the area for the installation of a new toilet. With the right guidance and a willingness to learn, you'll be well-equipped to tackle this project and elevate your bathroom space. So, let's gather our tools and embark on this journey to learn how to remove a toilet bowl effectively.
Key Takeaways:
- Removing a toilet bowl is a manageable DIY project that empowers homeowners to save on professional plumbing costs and personalize their bathroom space with confidence and proficiency.
- By mastering the skill of removing a toilet bowl, homeowners gain a sense of empowerment, independence, and a deeper connection to their homes, enhancing their DIY skills and taking pride in home maintenance.
Read more: How To Remove Scratches In Toilet Bowl
Step 1: Gather necessary tools and materials
Before embarking on the task of removing a toilet bowl, it's essential to gather the necessary tools and materials to ensure a smooth and efficient process. Having the right equipment at hand will not only streamline the removal operation but also contribute to a safer and more organized workflow. Here's a comprehensive list of tools and materials you'll need for this undertaking:
-
Adjustable Wrench: This versatile tool will be used to loosen and remove the nuts and bolts securing the toilet bowl to the floor.
-
Sponge and Towels: Keep a sponge and a few towels handy to soak up any residual water in the toilet bowl and tank.
-
Bucket: Having a bucket on standby will allow you to dispose of the water from the toilet bowl and tank without creating a mess.
-
Putty Knife: A putty knife will come in handy for scraping off the old wax ring and any residual caulk or sealant around the base of the toilet.
-
Plastic Trash Bags: It's important to have plastic trash bags available to dispose of the old wax ring and any debris accumulated during the removal process.
-
Gloves: Protect your hands with a pair of durable gloves, especially when handling the toilet bowl and coming into contact with potentially unsanitary surfaces.
-
Safety Goggles: To safeguard your eyes from splashes and debris, wear safety goggles throughout the removal process.
-
New Wax Ring: You'll need a new wax ring to create a watertight seal between the toilet bowl and the floor flange during reinstallation.
-
Replacement Bolts and Caps: Depending on the condition of the existing bolts and caps, it's advisable to have replacements on hand for the reinstallation phase.
-
Caulk (Optional): If you plan to recaulk around the base of the toilet during reinstallation, ensure you have a tube of caulk and a caulking gun available.
By ensuring that you have all the necessary tools and materials ready before starting the removal process, you'll be well-prepared to tackle each subsequent step with confidence and efficiency. With these items at your disposal, you can proceed to the next phase of the toilet bowl removal process, knowing that you have everything you need to complete the task effectively.
Step 2: Turn off the water supply
Turning off the water supply is a crucial preliminary step before removing a toilet bowl. This ensures that water flow to the toilet is halted, preventing any potential leaks or spills during the removal process. Here's a detailed guide on how to effectively turn off the water supply to the toilet:
-
Locate the Shut-Off Valve: The shut-off valve is typically located on the wall behind the toilet. It is a small valve connected to the water supply line. Turn off the valve by rotating it clockwise until it is fully closed. This action stops the flow of water to the toilet tank and bowl.
-
Verify the Water Supply is Off: After closing the shut-off valve, flush the toilet to drain the remaining water from the tank and bowl. This step ensures that the water supply is indeed turned off. If the toilet flushes normally and the tank refills, the shut-off valve may not be fully closed, and you should double-check its position.
-
Inspect for Leaks: Once the water supply is turned off, inspect the area around the shut-off valve and the water supply line for any signs of leaks. It's essential to address any leaks before proceeding with the removal process to avoid potential water damage.
-
Prepare for Water Disposal: With the water supply turned off, use a sponge and towels to absorb any remaining water in the toilet tank and bowl. Dispose of the absorbed water in a bucket, ensuring that the area around the toilet remains dry and free of standing water.
By following these steps to turn off the water supply, you create a safe and controlled environment for the subsequent stages of toilet bowl removal. This proactive measure minimizes the risk of water-related mishaps and sets the stage for a smooth and efficient removal process. With the water supply successfully turned off, you're now ready to proceed to the next steps of emptying the toilet bowl and disconnecting the water supply line.
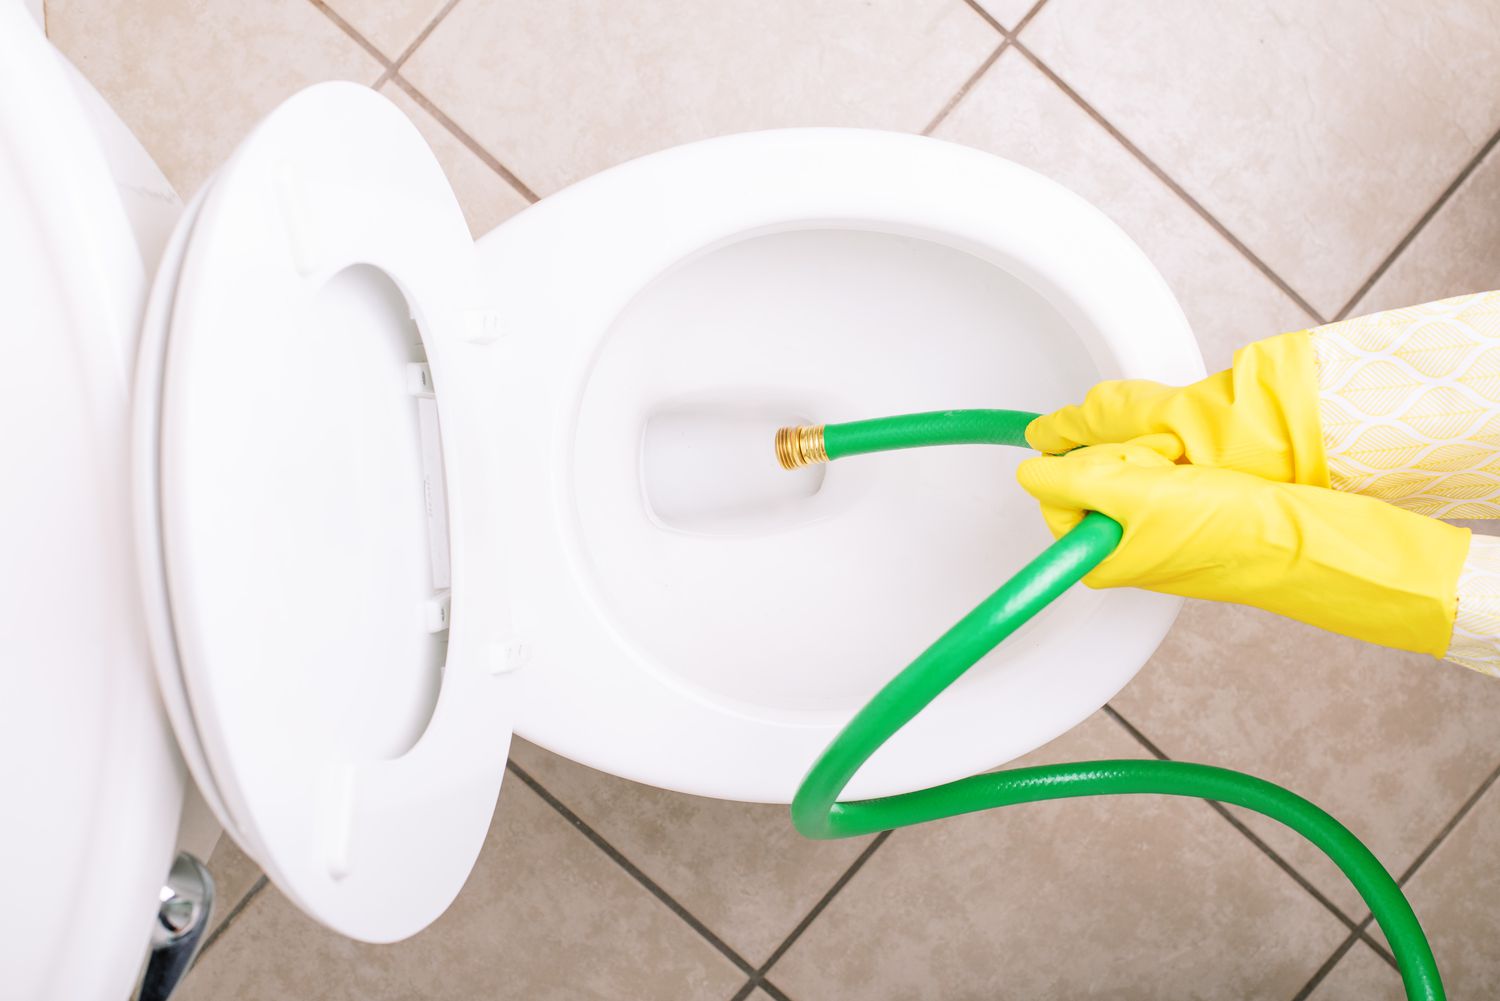
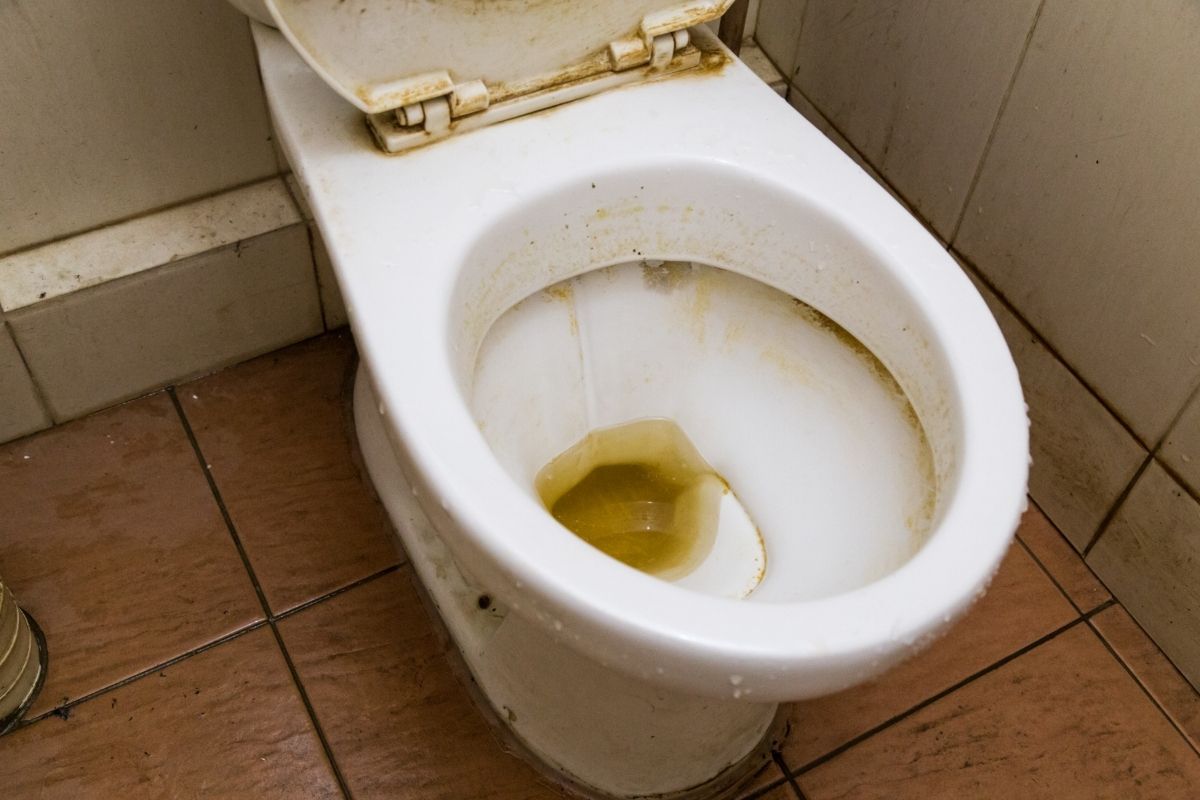
Step 3: Empty the toilet bowl
Emptying the toilet bowl is a crucial step in the process of removing a toilet. This ensures that the bowl is free of water, making it lighter and easier to handle during the subsequent removal steps. Here's a detailed guide on how to effectively empty the toilet bowl:
-
Turn Off the Water Supply: Before emptying the toilet bowl, ensure that the water supply to the toilet is turned off as outlined in Step 2. This prevents the bowl from refilling with water during the emptying process.
-
Use a Sponge and Towels: With the water supply turned off, use a sponge to soak up any remaining water in the toilet bowl. Start by pressing the sponge against the bottom of the bowl to absorb the water. Wring out the sponge into a bucket as needed to prevent spillage.
-
Dispose of the Absorbed Water: As you continue to soak up the water, periodically wring out the sponge into a bucket to dispose of the absorbed water. This process ensures that the toilet bowl is completely emptied, leaving it dry and ready for the next steps of the removal process.
-
Inspect for Residual Water: After using the sponge, visually inspect the bowl to ensure that all water has been removed. Check for any residual water in the bottom of the bowl and use towels to absorb any remaining moisture, leaving the bowl completely dry.
By effectively emptying the toilet bowl, you prepare it for the subsequent steps of disconnecting the water supply line and removing the bowl from its position. This proactive measure not only makes the bowl easier to handle but also minimizes the risk of water spillage during the removal process. With the toilet bowl successfully emptied, you're now ready to proceed to the next steps of disconnecting the water supply line and preparing for the removal of the bowl.
Step 4: Disconnect the water supply line
Disconnecting the water supply line is a critical step in the process of removing a toilet bowl. This step involves detaching the water supply line from the toilet tank, allowing for the complete separation of the bowl from the water source. Here's a detailed guide on how to effectively disconnect the water supply line:
-
Prepare the Work Area: Before proceeding with the disconnection, ensure that the immediate area around the toilet is clear and accessible. This includes removing any obstacles or items that may obstruct your access to the water supply line and the toilet tank.
-
Locate the Water Supply Line: The water supply line is typically located at the base of the toilet tank, connected to a valve or coupling. Identify the point where the water supply line meets the toilet tank to prepare for its disconnection.
-
Turn Off the Water Supply: As a safety measure, ensure that the water supply to the toilet is still turned off from the previous step. This prevents any potential leaks or spills during the disconnection process.
-
Disconnect the Water Supply Line: Using an adjustable wrench, carefully loosen the nut connecting the water supply line to the toilet tank. Turn the nut counterclockwise to release it from the threaded connection. Be prepared for residual water within the line and have a towel or bucket ready to catch any drips.
-
Inspect for Leaks: Once the water supply line is disconnected, inspect the area for any signs of leaks or moisture. Address any leaks promptly to prevent water damage and ensure a dry work environment.
-
Cap the Water Supply Line: To prevent any residual water from escaping, consider capping the open end of the water supply line temporarily. This additional measure helps maintain a clean and controlled work area as you proceed with the subsequent steps of removing the toilet bowl.
By effectively disconnecting the water supply line, you create a clear separation between the toilet bowl and the water source, setting the stage for the seamless removal of the bowl. This proactive measure ensures that the disconnection process is carried out safely and efficiently, paving the way for the next steps in the removal process. With the water supply line successfully disconnected, you're now ready to proceed to the subsequent steps of removing the toilet tank and loosening the bolts securing the bowl.
Read more: How To Remove Calcium Buildup In Toilet Bowl
Step 5: Remove the toilet tank
Removing the toilet tank is a pivotal step in the process of removing a toilet bowl. This step involves separating the tank from the bowl, allowing for easier handling and eventual removal of the entire unit. Here's a detailed guide on how to effectively remove the toilet tank:
-
Turn Off the Water Supply: Before proceeding with the tank removal, ensure that the water supply to the toilet is still turned off. This prevents any potential leaks or spills during the removal process.
-
Empty the Tank: To prepare the tank for removal, it's essential to empty it of any remaining water. Start by flushing the toilet to drain the water from the tank. Use a sponge or towels to soak up any residual water, ensuring that the tank is completely dry before proceeding.
-
Disconnect the Water Supply Line: If the water supply line is still connected to the tank, use an adjustable wrench to loosen and disconnect it. Ensure that any residual water within the line is contained and disposed of properly.
-
Remove the Tank Bolts: The tank is secured to the bowl by a set of bolts and rubber gaskets. Using a wrench or pliers, carefully loosen and remove the nuts from these bolts. Keep the bolts and gaskets in a safe place for potential reuse or replacement.
-
Lift and Remove the Tank: With the bolts and water supply line disconnected, carefully lift the tank away from the bowl. It's advisable to have an extra set of hands to assist with this step, as toilet tanks can be heavy and cumbersome to handle alone.
-
Set Aside the Tank: Once removed, place the tank in a safe and secure location, away from the work area. This prevents any accidental damage to the tank and allows for a clear workspace as you proceed with the next steps of removing the toilet bowl.
By effectively removing the toilet tank, you create a clear separation between the tank and the bowl, making the subsequent steps of loosening and removing the bowl more manageable. This proactive measure ensures that the tank removal process is carried out safely and efficiently, setting the stage for the seamless continuation of the toilet bowl removal process. With the tank successfully removed, you're now ready to proceed to the subsequent steps of loosening and removing the bolts securing the toilet bowl.
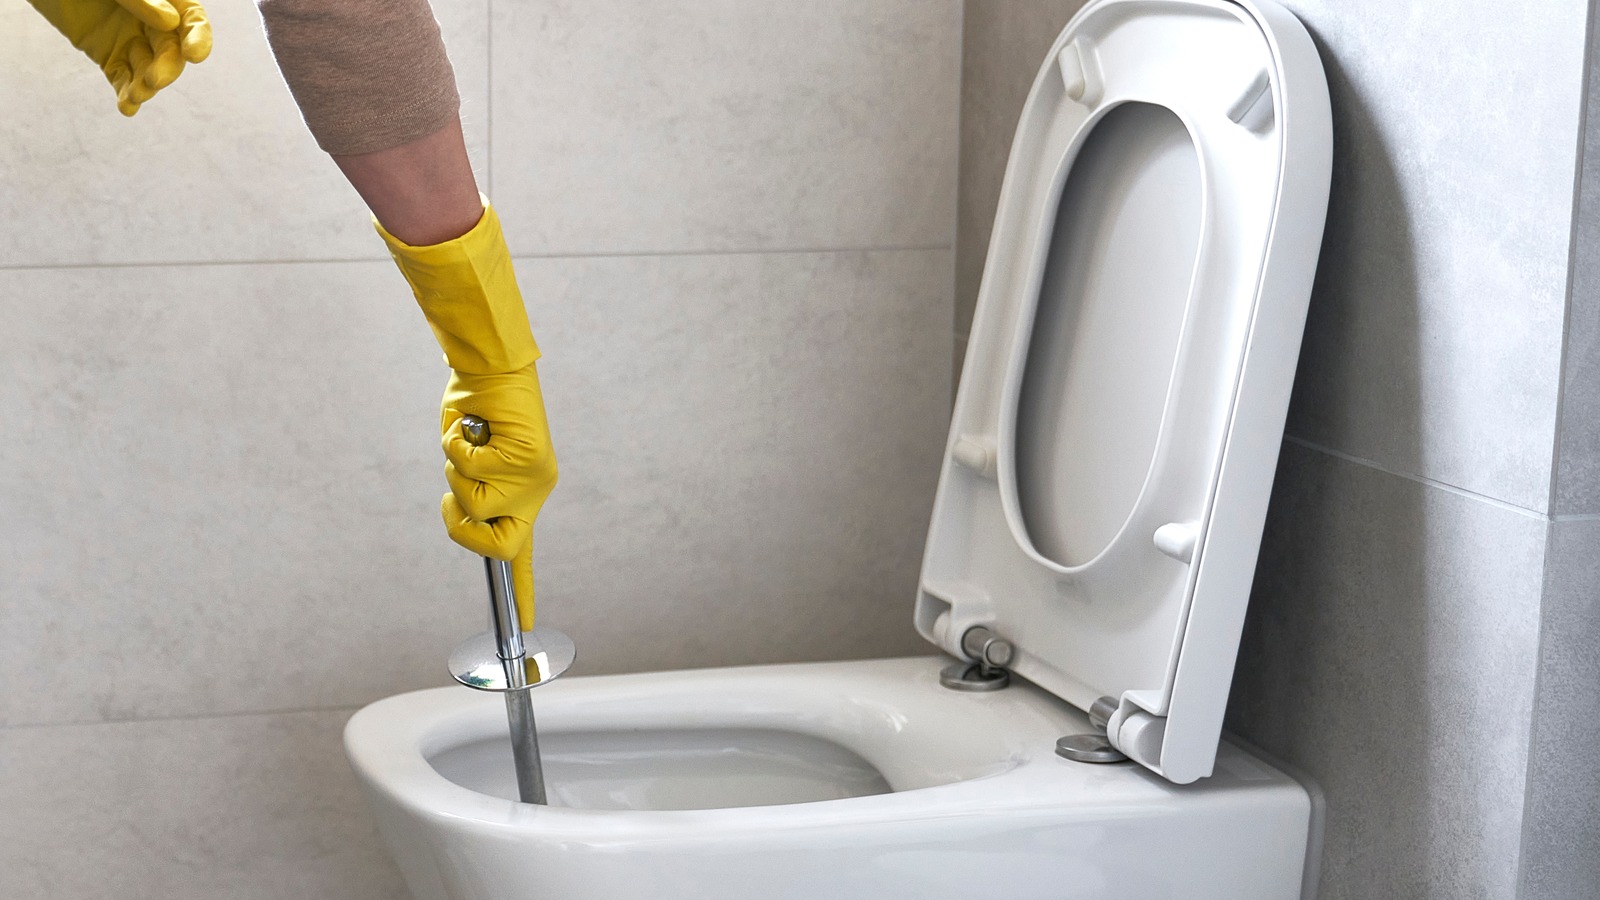
Step 6: Loosen and remove the bolts securing the toilet bowl
Loosening and removing the bolts that secure the toilet bowl to the floor is a critical step in the process of removing a toilet. These bolts, often covered by decorative caps, anchor the toilet to the flange on the bathroom floor. Here's a detailed guide on how to effectively loosen and remove these bolts:
-
Prepare the Work Area: Before proceeding with the bolt removal, ensure that the immediate area around the toilet is clear and accessible. This includes removing any rugs or obstacles that may obstruct your access to the base of the toilet.
-
Expose the Bolts: Depending on the toilet model, the bolts securing the toilet to the floor may be covered by plastic caps or decorative covers. Carefully pry off these covers using a flathead screwdriver or a putty knife to expose the bolts underneath.
-
Apply Lubricant (if necessary): Over time, the bolts securing the toilet may become corroded or rusted, making them challenging to remove. Applying a penetrating lubricant to the bolts can help loosen them and facilitate easier removal. Allow the lubricant to penetrate the threads for a few minutes before attempting to loosen the bolts.
-
Loosen the Nuts: Using an adjustable wrench or pliers, carefully loosen the nuts that secure the bolts to the toilet flange. Turn the nuts counterclockwise to release them from the bolts. It's important to exercise caution and avoid applying excessive force, as overtightened or corroded nuts may require additional lubrication and patience.
-
Remove the Washers and Nuts: Once the nuts are sufficiently loosened, remove them along with the accompanying washers from the bolts. Keep these components in a safe place, as they may be reused during the reinstallation of the toilet or replaced with new hardware.
-
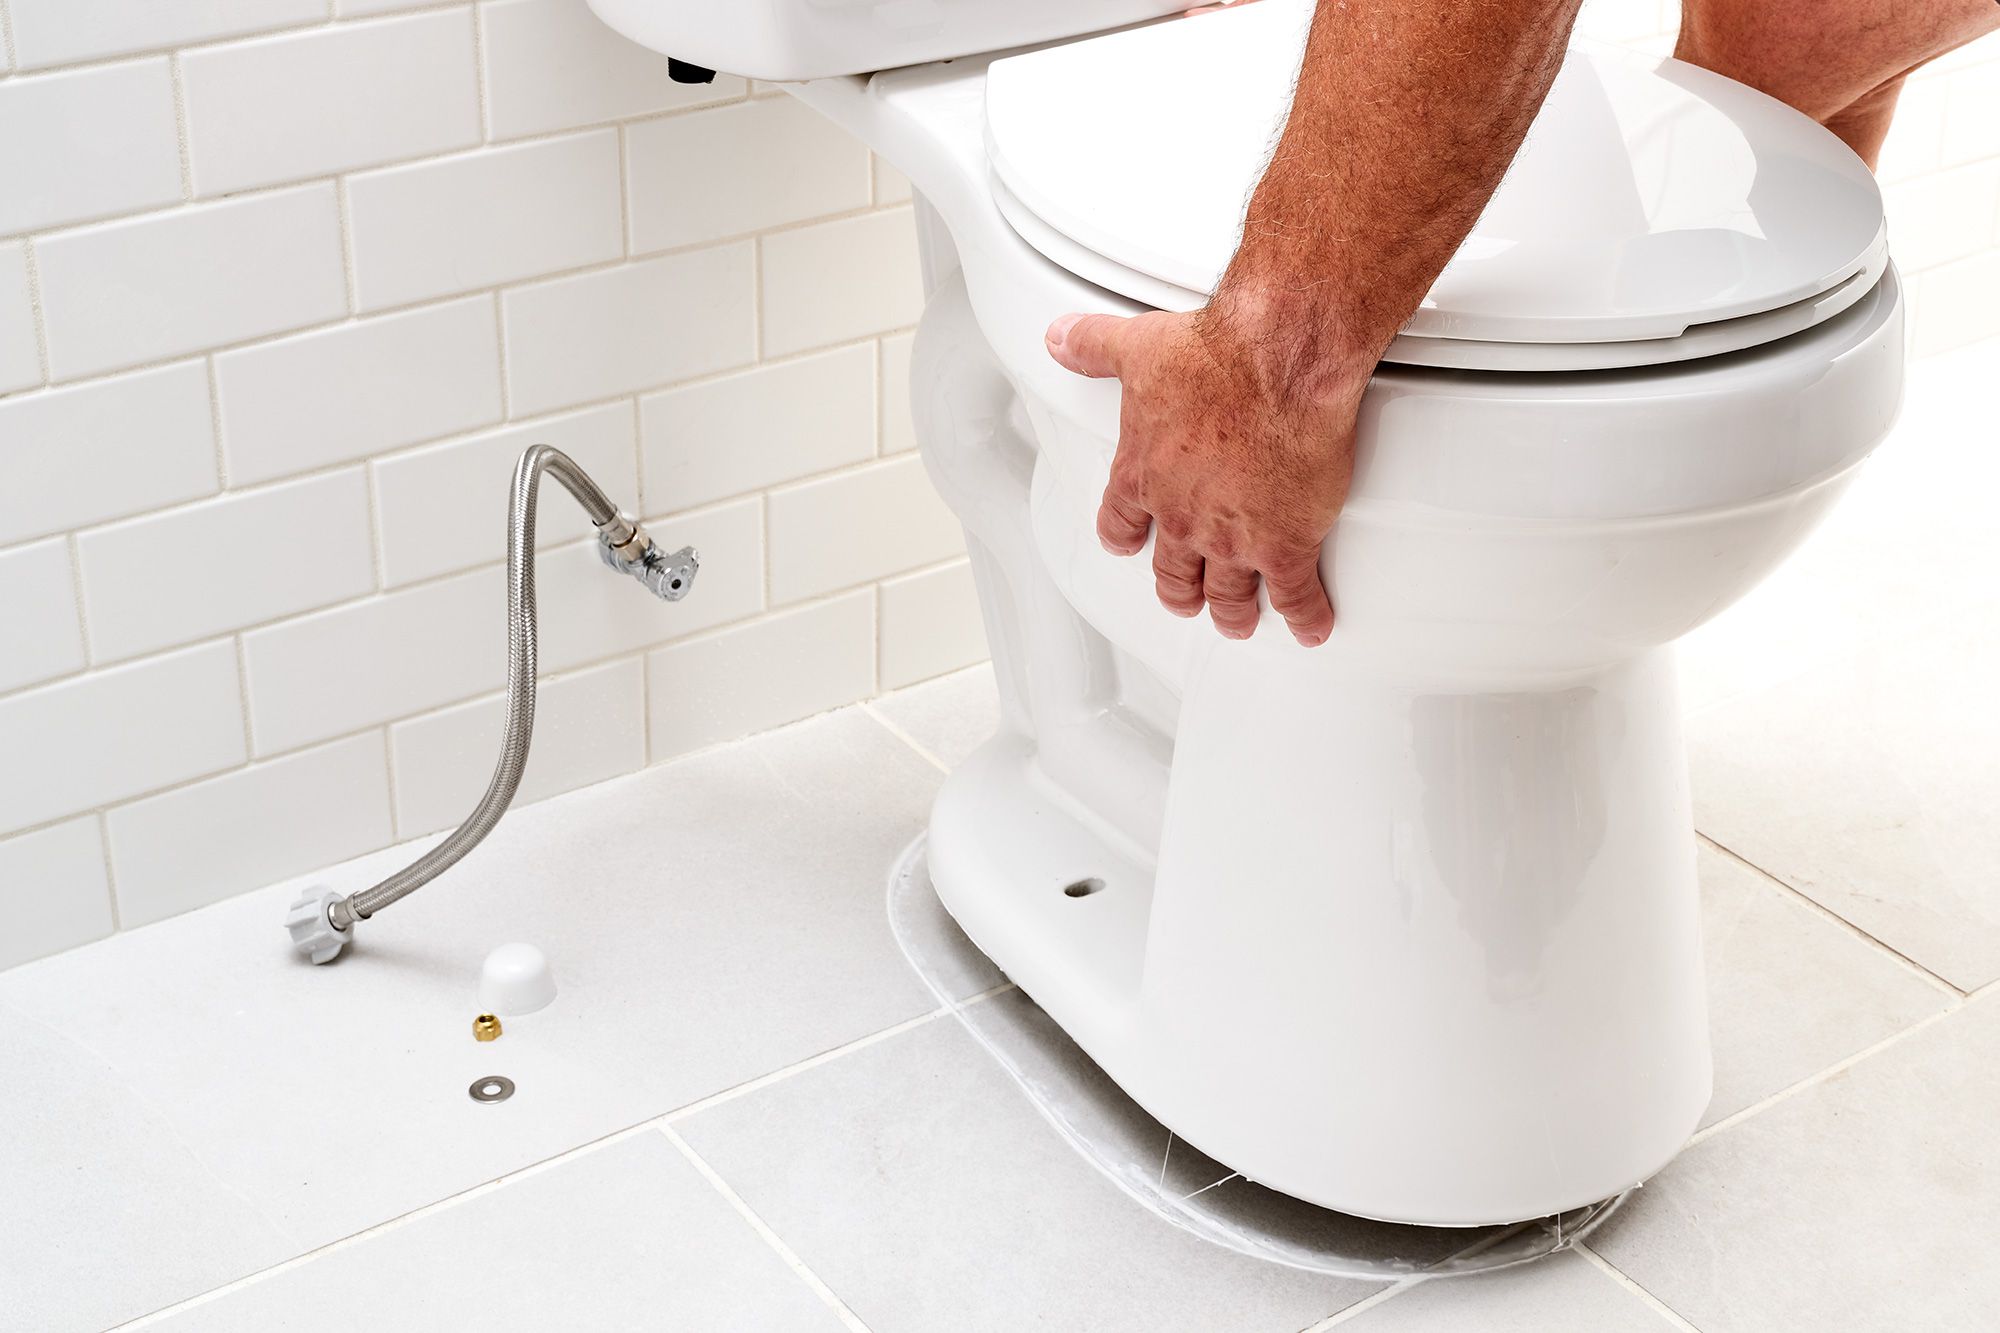
Lift the Toilet Bowl: With the nuts and washers removed, the toilet bowl is now ready to be lifted from its position. It's advisable to have an extra set of hands to assist with this step, as toilet bowls can be heavy and awkward to handle alone.
By effectively loosening and removing the bolts securing the toilet bowl, you create a clear separation between the bowl and the floor, setting the stage for its seamless removal. This proactive measure ensures that the bolt removal process is carried out safely and efficiently, paving the way for the subsequent steps in the toilet bowl removal process. With the bolts successfully removed, you're now ready to proceed to the final step of lifting and removing the toilet bowl.
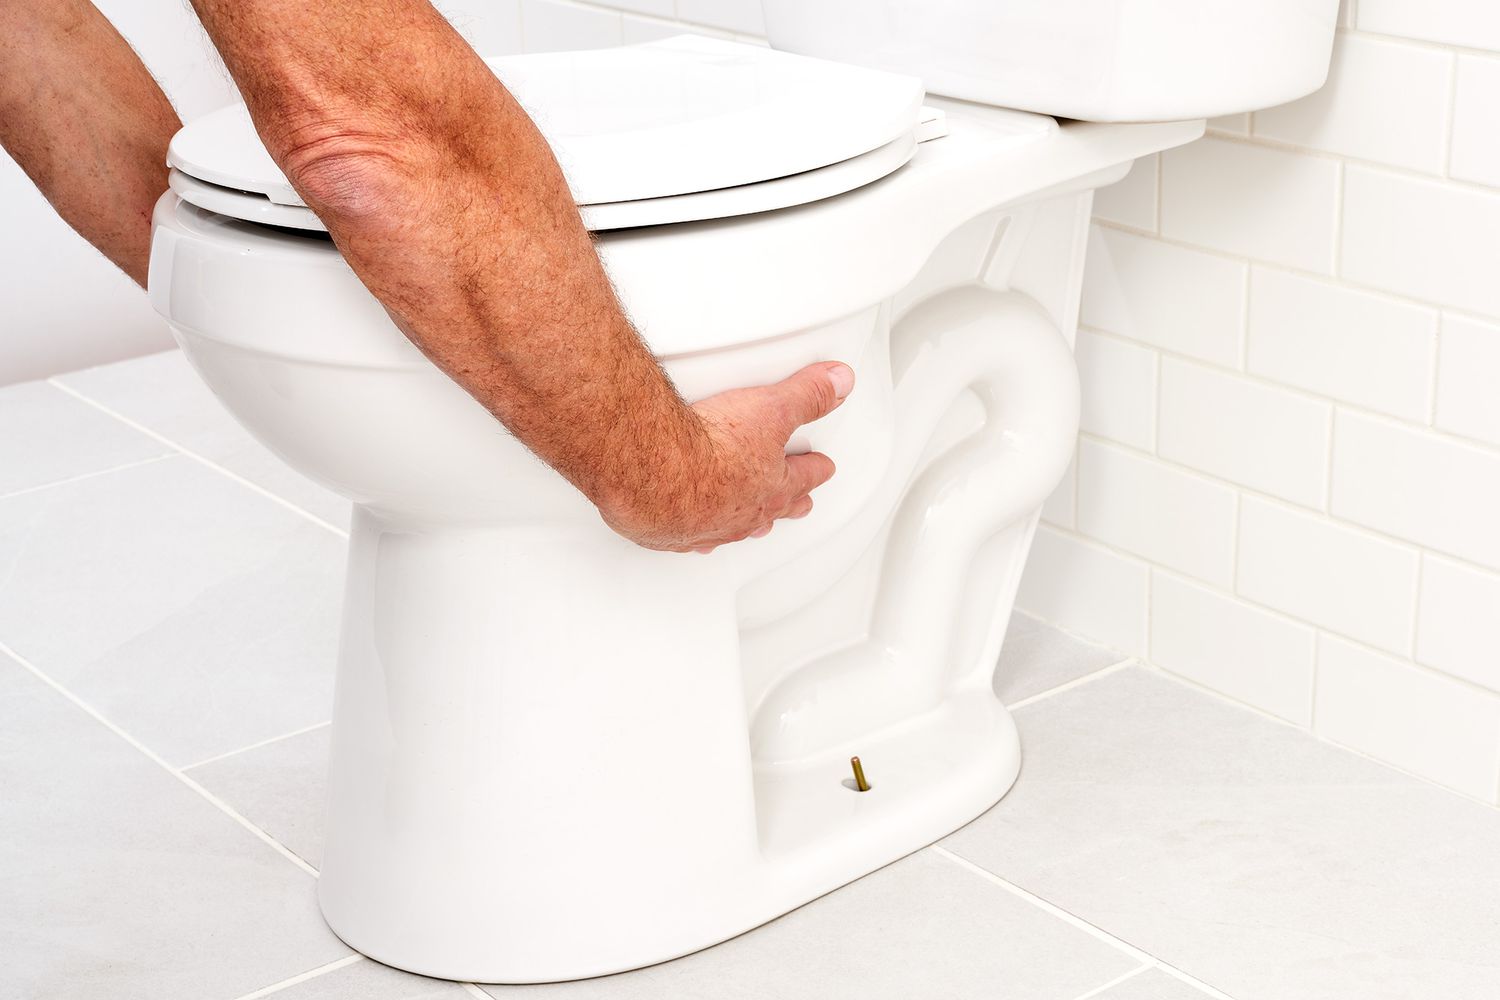
Step 7: Lift and remove the toilet bowl
Lifting and removing the toilet bowl is the culminating step in the process of removing a toilet. This pivotal task requires careful maneuvering and attention to detail to ensure a smooth and efficient removal. Here's a comprehensive guide on how to effectively lift and remove the toilet bowl:
-
Prepare the Work Area: Before lifting the toilet bowl, ensure that the immediate area around the toilet is clear and unobstructed. This includes removing any items or debris that may impede the lifting process and creating a safe workspace for the task at hand.
-
Lift the Bowl: With the bolts securing the toilet bowl to the floor successfully removed, it's time to lift the bowl from its position. To do this, grasp the bowl firmly on either side, ensuring a secure grip. It's advisable to have an additional person to assist with this step, as toilet bowls can be heavy and unwieldy to handle alone.
-
Lift with Care: When lifting the toilet bowl, be mindful of its weight and balance to prevent strain or potential injury. Lift using your legs and maintain a steady grip to ensure a controlled and stable movement. Slowly and carefully lift the bowl, keeping it level as you maneuver it away from the flange on the floor.
-
Inspect the Wax Ring: As the bowl is lifted, take note of the wax ring that forms a seal between the base of the toilet and the floor flange. The wax ring may adhere to the bottom of the bowl or remain on the flange. Inspect the condition of the wax ring, as it may need to be replaced during the reinstallation of the toilet.
-
Set Aside the Bowl: Once the toilet bowl is lifted from its position, place it in a secure and designated area away from the work zone. It's essential to handle the bowl with care to avoid any damage or breakage, ensuring that it remains intact for potential reuse or disposal.
By effectively lifting and removing the toilet bowl, you complete the crucial task of separating the bowl from the floor flange, marking the successful culmination of the removal process. This proactive measure ensures that the bowl removal is carried out safely and efficiently, setting the stage for the subsequent steps in the renovation or replacement of the toilet. With the toilet bowl successfully removed, you're now prepared to proceed with cleaning the area and preparing for the installation of a new toilet.
Before removing a toilet bowl, turn off the water supply and flush to empty the tank. Use a wrench to disconnect the water supply line, then unscrew the bolts at the base. Rock the bowl gently to break the seal, then lift and remove it.
Step 8: Clean the area and prepare for installation
With the toilet bowl successfully removed, it's essential to focus on cleaning the area and preparing for the installation of a new toilet. This step ensures that the space is primed for the reinstallation process, promoting a hygienic and well-prepared environment for the next phase of the project.
Read more: How To Remove Clog In Toilet Bowl
Cleaning the Floor and Flange
Begin by thoroughly cleaning the floor area where the toilet was situated. Use a mild cleaning solution and a scrub brush to remove any residual wax, debris, or stains. Pay close attention to the floor flange, ensuring that it is free of any obstructions or remnants from the previous wax ring. A clean and level flange is crucial for establishing a secure and watertight seal during the reinstallation of the toilet.
Inspecting the Floor Flange
Take this opportunity to inspect the floor flange for any signs of damage or corrosion. Ensure that the flange is securely anchored to the floor and that its integrity is intact. Address any issues related to the flange, such as instability or deterioration, to guarantee a stable foundation for the new toilet.
Preparing for the New Installation
As you clean the area, gather the necessary materials for the installation of the new toilet. This includes a new wax ring, replacement bolts and caps if needed, and any additional components specific to the new toilet model. Having these items readily available streamlines the installation process and minimizes delays.
Sealing and Leveling
Once the area is clean and the floor flange is inspected, consider applying a new layer of caulk around the perimeter of the flange. This creates a secure seal and prevents any potential leaks around the base of the toilet. Additionally, use a level to ensure that the flange is perfectly level, providing a stable foundation for the new toilet.
Read more: How To Remove Buildup In Toilet Bowl
Final Inspection and Readiness
Conduct a final inspection of the cleaned area, verifying that all remnants of the previous installation are removed, and the space is free of debris. Ensure that the water supply line is accessible and ready for connection to the new toilet. By meticulously preparing the area, you set the stage for a seamless and successful installation of the new toilet, ensuring that it is positioned on a clean, stable, and well-prepared surface.
By dedicating attention to cleaning and preparing the area, you establish the groundwork for a smooth transition to the installation of the new toilet. This proactive measure not only ensures a hygienic and organized workspace but also contributes to the overall success and longevity of the new toilet installation. With the area meticulously cleaned and prepared, you're now ready to proceed with the exciting phase of installing a new toilet, transforming the bathroom space with a fresh and functional fixture.
Conclusion
In conclusion, the process of removing a toilet bowl is a significant undertaking that requires careful planning, attention to detail, and a systematic approach. By following the step-by-step guide outlined in this article, homeowners can confidently tackle this DIY project and gain valuable insights into the intricacies of toilet maintenance and renovation.
The journey of toilet bowl removal begins with gathering the necessary tools and materials, setting the stage for a well-equipped and organized operation. Turning off the water supply and emptying the toilet bowl are pivotal initial steps that create a safe and controlled environment for the subsequent tasks. Disconnecting the water supply line and removing the toilet tank mark essential milestones in the process, setting the stage for the culminating steps of loosening and removing the bolts securing the toilet bowl and lifting the bowl from its position.
Each step in the removal process is underscored by the importance of safety, precision, and thoroughness. From inspecting for leaks to preparing the area for installation, attention to detail is paramount in ensuring a successful and seamless transition from the removal of the old toilet to the installation of a new fixture.
The culmination of the removal process is marked by the meticulous cleaning and preparation of the area, laying the groundwork for the installation of a new toilet. This final phase sets the stage for a fresh beginning, where a new toilet can be installed on a clean, stable, and well-prepared surface, transforming the bathroom space with a functional and aesthetically pleasing fixture.
By mastering the skill of removing a toilet bowl, homeowners gain a sense of empowerment and independence in managing their bathroom maintenance and renovations. This knowledge not only saves on professional plumbing costs but also fosters a deeper connection to the home and a greater understanding of its essential systems.
In essence, the process of removing a toilet bowl is not merely a practical task; it is an opportunity for homeowners to engage with their living spaces, enhance their DIY skills, and take pride in the maintenance and improvement of their homes. With the insights gained from this comprehensive guide, homeowners are well-equipped to embark on the journey of toilet bowl removal with confidence and proficiency, ultimately elevating their bathroom spaces and enriching their homeownership experience.
Frequently Asked Questions about How To Remove A Toilet Bowl
Was this page helpful?
At Storables.com, we guarantee accurate and reliable information. Our content, validated by Expert Board Contributors, is crafted following stringent Editorial Policies. We're committed to providing you with well-researched, expert-backed insights for all your informational needs.

0 thoughts on “How To Remove A Toilet Bowl”