Home>Furniture & Design>Bathroom Accessories>How To Empty Toilet Bowl To Clean
Bathroom Accessories
How To Empty Toilet Bowl To Clean
Modified: February 18, 2024
Learn the best way to empty a toilet bowl for cleaning with our expert tips and bathroom accessories. Keep your bathroom fresh and hygienic with our simple guide.
(Many of the links in this article redirect to a specific reviewed product. Your purchase of these products through affiliate links helps to generate commission for Storables.com, at no extra cost. Learn more)
Introduction
Cleaning the toilet bowl is an essential household chore that ensures a hygienic and pleasant bathroom environment. One crucial step in this process is emptying the toilet bowl to facilitate thorough cleaning. Whether you are dealing with stubborn stains, mineral deposits, or simply aiming to maintain a sparkling clean toilet, knowing how to effectively empty the bowl is key to achieving the desired results.
Emptying the toilet bowl before cleaning not only makes the task more manageable but also allows for better access to all surfaces, ensuring that no area is overlooked. By following a few simple steps, you can efficiently remove the water from the bowl, preparing it for a deep and effective cleaning process.
In the following guide, we will walk through the step-by-step process of emptying the toilet bowl to clean it thoroughly. From gathering the necessary supplies to turning off the water supply and using a plunger to remove excess water, each step is designed to streamline the cleaning process and help you achieve a spotless toilet bowl. So, let's dive into the details and learn how to empty the toilet bowl effectively for a comprehensive cleaning experience.
Key Takeaways:
- Emptying the toilet bowl before cleaning makes the task easier and more effective. By turning off the water supply, flushing, and using a plunger, you can achieve a spotless and sanitized result.
- Gathering the right supplies, like rubber gloves and a plunger, is essential for a successful cleaning process. Following the step-by-step guide ensures a hygienic and inviting bathroom environment.
Read more: How To Empty A Toilet Bowl
Step 1: Gather necessary supplies
Before embarking on the task of emptying the toilet bowl for cleaning, it is essential to gather the necessary supplies to ensure a smooth and efficient process. Having the right tools and materials at hand will not only streamline the task but also contribute to a more effective and thorough cleaning experience.
Here are the essential supplies you will need:
-
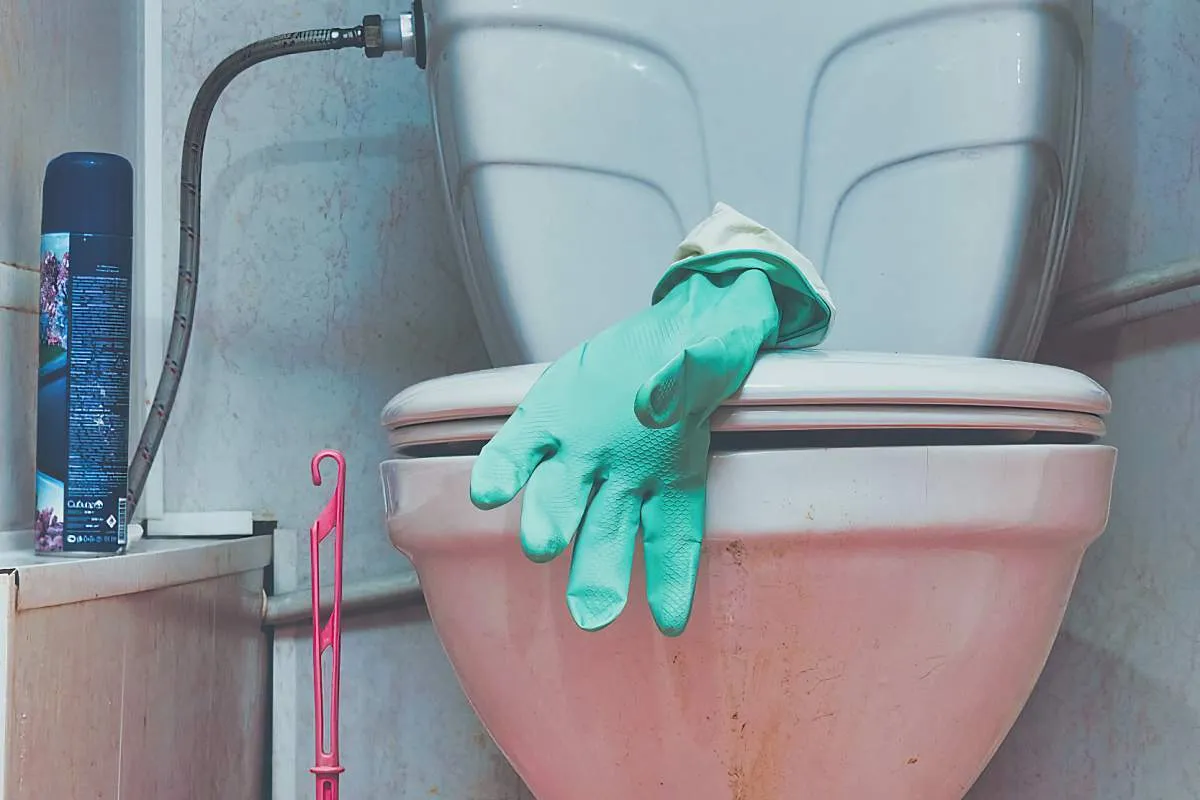
Rubber Gloves: To protect your hands from coming into direct contact with the toilet water and cleaning agents, it is advisable to wear rubber gloves. This not only ensures personal hygiene but also provides a barrier against potential bacteria and germs present in the toilet bowl.
-
Plastic Container or Bucket: A sturdy plastic container or bucket will be used to collect and dispose of the water from the toilet bowl. Ensure that the container is clean and large enough to hold an adequate amount of water from the bowl.
-
Towel or Sponge: Having a towel or sponge on hand is useful for wiping up any spills or drips that may occur during the emptying process. It helps to maintain cleanliness and prevent water from spreading to the surrounding floor area.
-
Plunger: While not essential for emptying the toilet bowl, having a plunger on standby can be beneficial in case there are any blockages or difficulties in removing the water. A plunger can assist in dislodging any stubborn clogs, allowing for a smoother emptying process.
-
Safety Goggles (Optional): For added protection, especially if you anticipate splashing or spraying during the water removal process, wearing safety goggles can safeguard your eyes from potential contact with toilet water or cleaning solutions.
By ensuring that you have these supplies readily available, you can proceed with confidence, knowing that you are well-equipped to effectively empty the toilet bowl and commence the cleaning process. With the necessary supplies in hand, you are now prepared to move on to the subsequent steps, which will guide you through the process of emptying the toilet bowl and achieving a pristine, sanitized result.
Step 2: Turn off the water supply
Turning off the water supply to the toilet is a crucial step in preparing to empty the bowl for cleaning. By halting the flow of water into the tank and bowl, you can effectively control the water level and prevent any refilling during the cleaning process. This step is essential for minimizing the amount of water that needs to be emptied and ensuring a more manageable and efficient cleaning experience.
To turn off the water supply, locate the shut-off valve connected to the toilet's water supply line. This valve is typically located on the wall or floor behind the toilet. Once you have identified the shut-off valve, follow these steps to turn off the water supply:
-
Locate the Shut-Off Valve: Look for a small, knob-like valve connected to the water supply line. It is often located on the wall or floor behind the toilet, near the base.
-
Turn the Valve Clockwise: Using your hand or an adjustable wrench, gently turn the valve clockwise to close it. This action will stop the flow of water into the toilet tank and bowl.
-
Verify the Water Flow: After turning the valve, flush the toilet to ensure that the water supply has been successfully shut off. If the tank does not refill after flushing, it indicates that the water supply has been effectively turned off.
By following these steps, you can confidently turn off the water supply to the toilet, setting the stage for the subsequent steps in the cleaning process. This simple yet essential action ensures that the water level remains static, allowing for a more controlled and efficient emptying of the toilet bowl. With the water supply turned off, you are now ready to proceed to the next steps, which will guide you through the process of emptying the bowl and achieving a thorough and effective cleaning outcome.
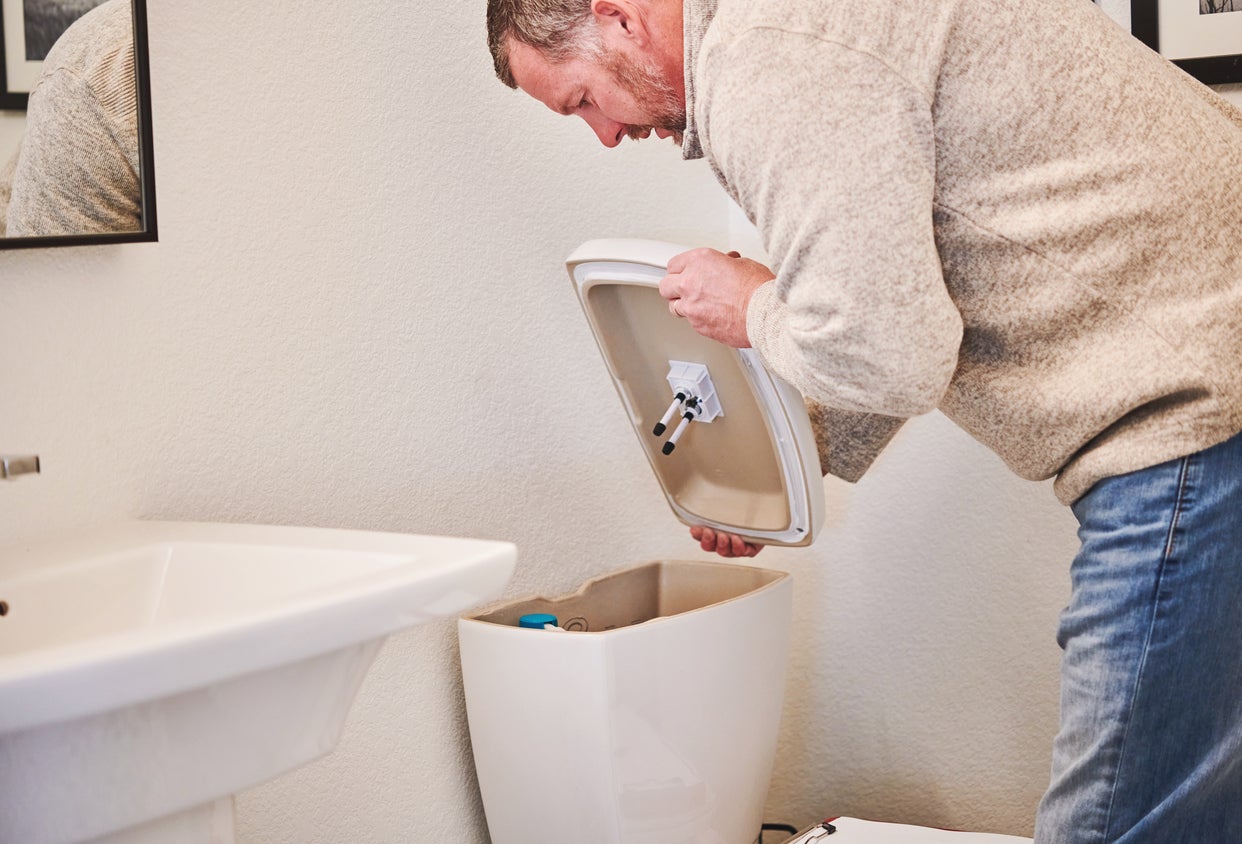
Step 3: Flush the toilet to remove excess water
Flushing the toilet to remove excess water is a fundamental step in the process of emptying the bowl for cleaning. By initiating a flush, you can effectively reduce the water level in the bowl, making it easier to proceed with the subsequent cleaning tasks. This step is essential for minimizing the volume of water that needs to be manually removed, streamlining the overall cleaning process.
To flush the toilet and remove excess water, simply press the flush handle or button located on the toilet tank. As the flush is activated, the water from the tank will flow into the bowl, initiating the flushing action. Allow the toilet to complete the flushing cycle, ensuring that the water level in the bowl visibly decreases.
Observing the water level after the flush will provide a clear indication of the effectiveness of the process. Ideally, the water level should noticeably decrease, leaving behind a reduced amount of water in the bowl. This step sets the stage for the subsequent water removal process, making it more manageable and efficient.
It is important to note that flushing the toilet to remove excess water serves a dual purpose. Not only does it lower the water level in the bowl, but it also initiates the removal of any loose debris or particles, contributing to a cleaner starting point for the subsequent cleaning steps. By effectively flushing the toilet, you can ensure that the excess water is swiftly and efficiently eliminated, paving the way for a more thorough and effective cleaning process.
With the excess water successfully flushed from the bowl, you are now ready to proceed to the next steps, which will guide you through the process of using a plunger to remove any remaining water and preparing the toilet bowl for a comprehensive cleaning experience. This simple yet essential step sets the stage for achieving a pristine and sanitized result, ensuring that the cleaning process progresses smoothly and efficiently.
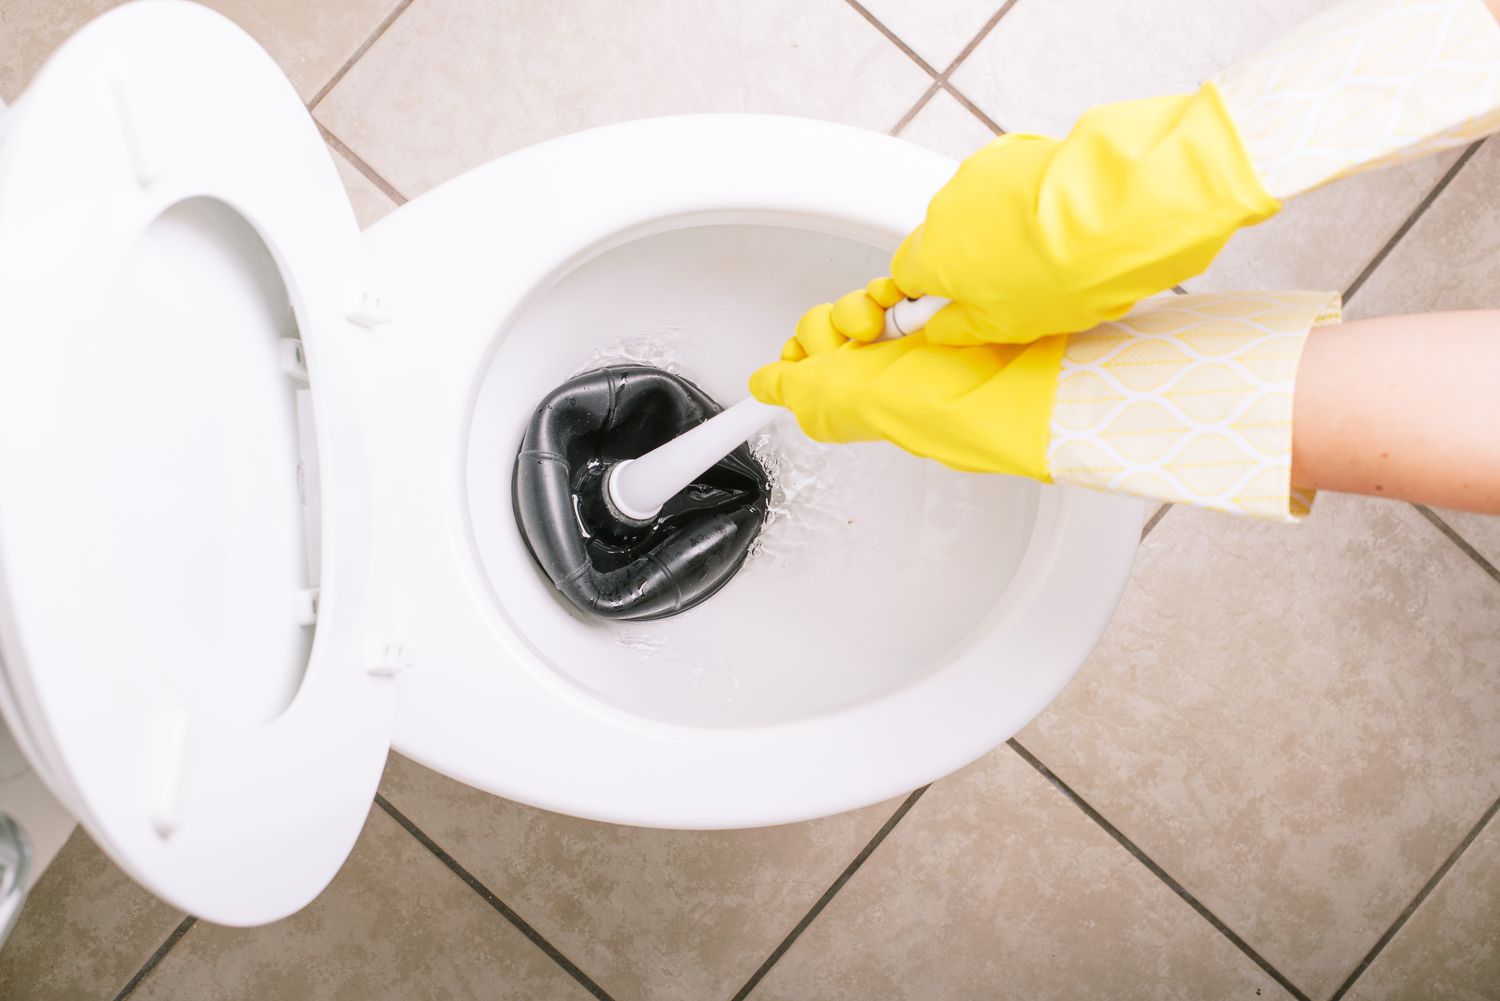
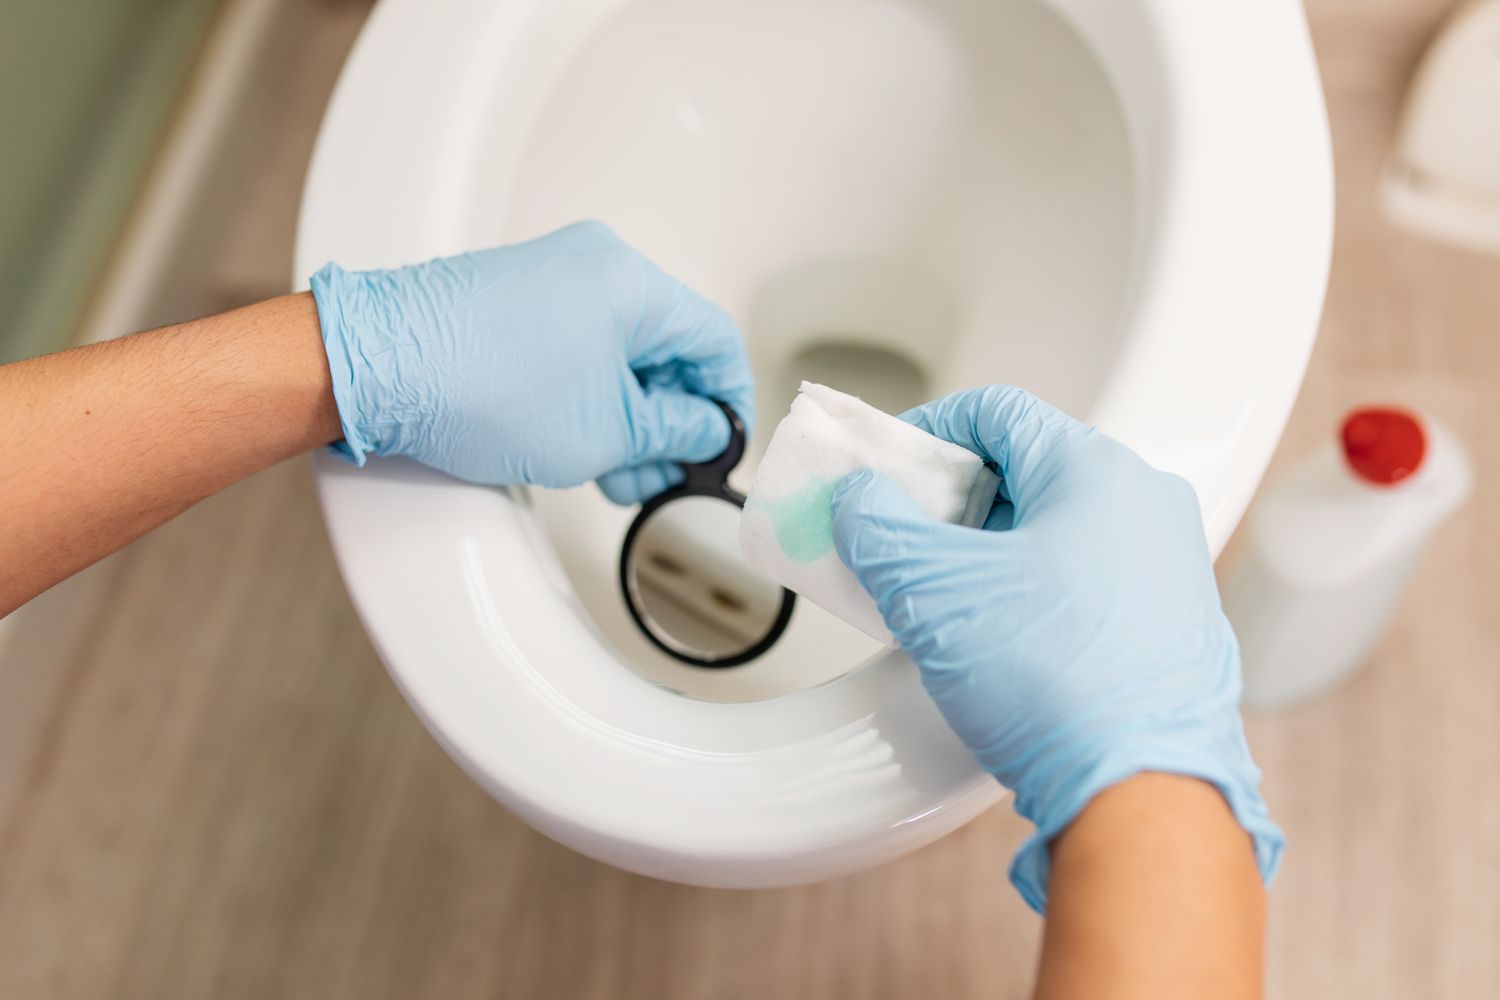
Step 4: Use a plunger to remove remaining water
After flushing the toilet to remove excess water, there may still be residual water remaining in the bowl. To effectively eliminate the remaining water and prepare the bowl for thorough cleaning, using a plunger is a practical and efficient solution. The plunger, a simple yet effective tool, can assist in dislodging any trapped water and facilitating its removal, ensuring that the bowl is emptied and ready for the cleaning process.
To use a plunger to remove the remaining water from the toilet bowl, follow these steps:
-
Position the Plunger: Place the plunger over the drain opening at the bottom of the toilet bowl, ensuring a tight seal between the plunger and the surface. The plunger's rubber cup should completely cover the drain opening to create a suction effect.
-
Apply Firm Pressure: With the plunger in position, apply firm and consistent pressure by pushing down and then pulling up in a rhythmic motion. This action creates a suction force that helps dislodge the remaining water and encourages it to move towards the drain.
-
Repeat the Plunging Motion: Continue the plunging motion several times to effectively displace the remaining water. The goal is to create enough suction to draw the water towards the drain and facilitate its removal from the bowl.
-
Observe the Water Level: As you plunge, observe the water level in the bowl. With each plunging action, the water level should gradually decrease, indicating the successful removal of the remaining water.
-
Dispose of the Water: As the water level diminishes, use a plastic container or bucket to collect and dispose of the water removed by the plunger. Carefully transfer the water to a drain or designated disposal area.
By using a plunger to remove the remaining water from the toilet bowl, you can effectively prepare the surface for the subsequent cleaning steps. This simple yet essential process ensures that the bowl is thoroughly emptied, allowing for unobstructed access to all areas during the cleaning process. With the remaining water successfully removed, the stage is set for the next step: cleaning the toilet bowl to achieve a pristine and sanitized result.
Read more: Toilet Bowl Doesn’t Empty When Flushed
Step 5: Clean the toilet bowl
Cleaning the toilet bowl is a critical step in maintaining a hygienic and pleasant bathroom environment. Once the bowl has been effectively emptied of water, the cleaning process can commence, focusing on removing stains, mineral deposits, and germs to achieve a sparkling clean result. Here's a detailed guide on how to clean the toilet bowl effectively:
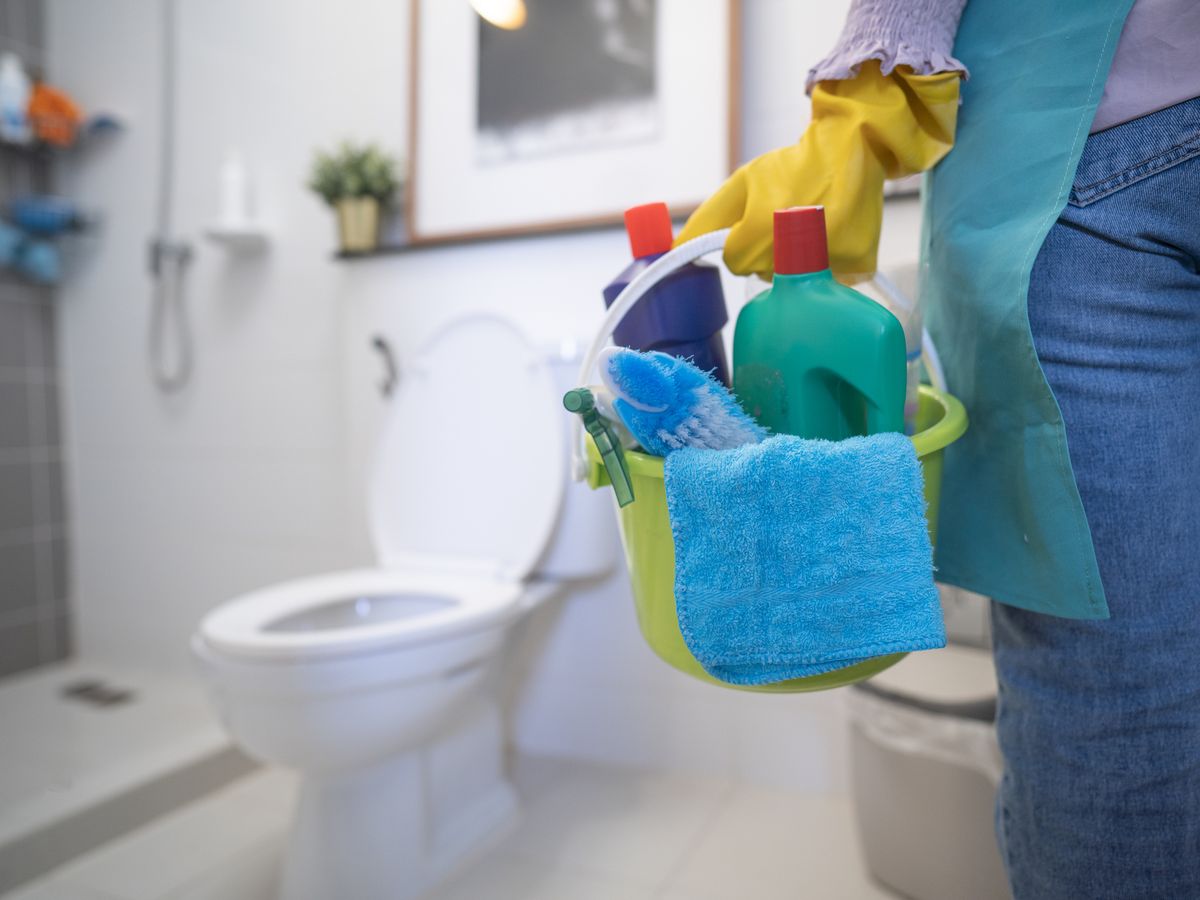
Gather Cleaning Supplies
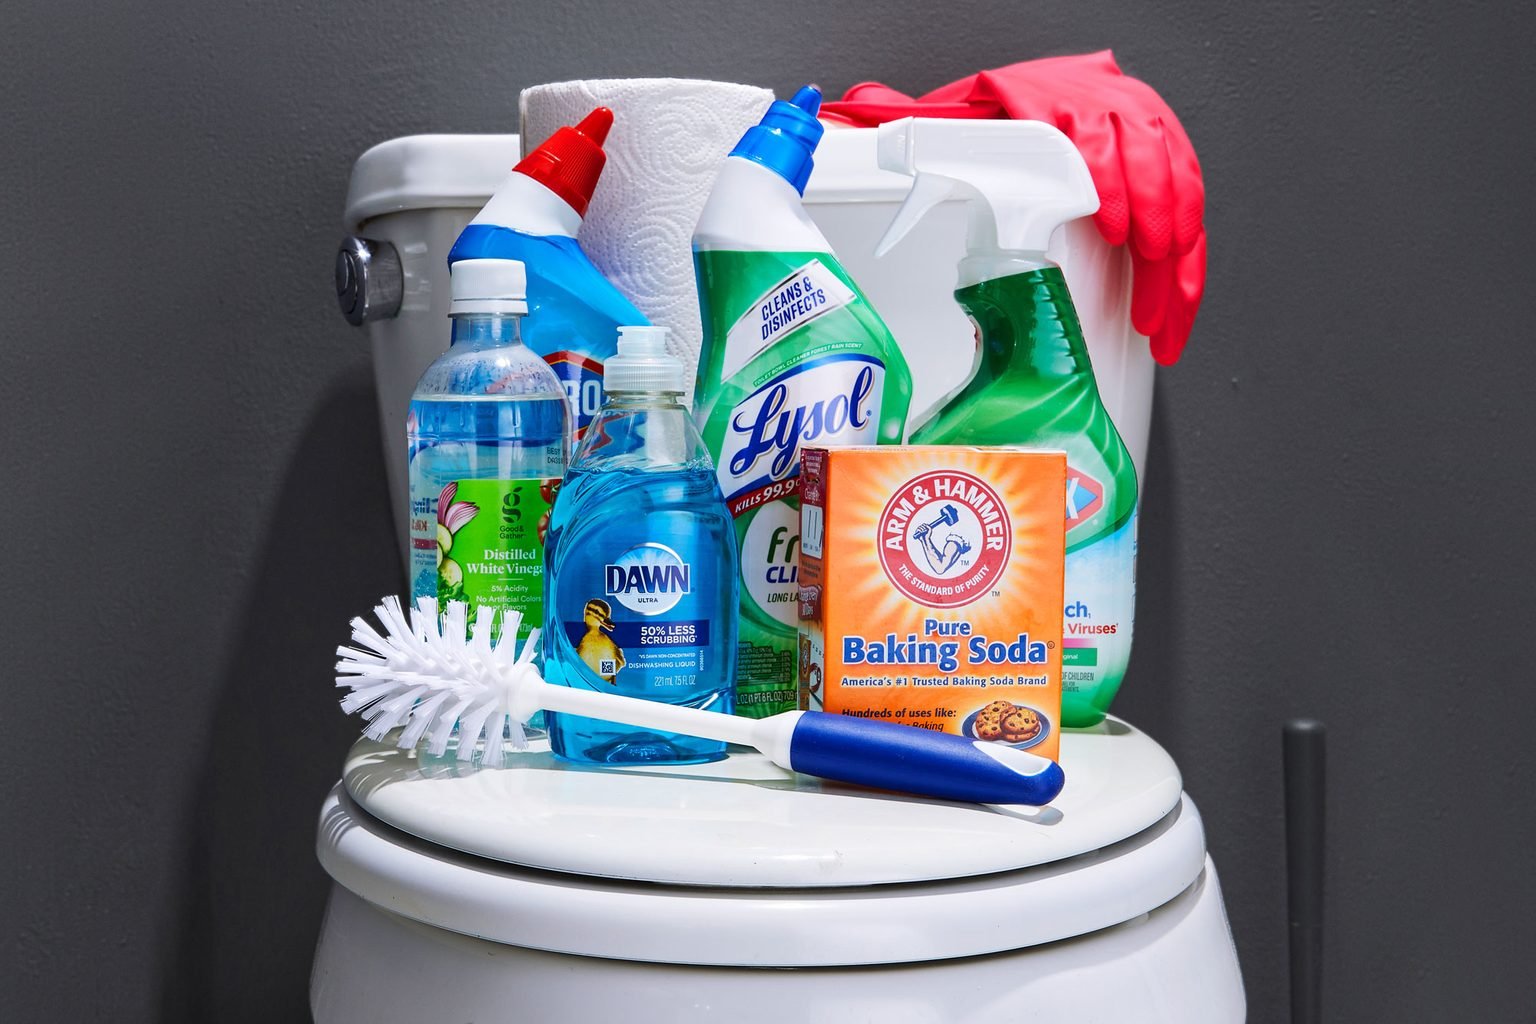
Before starting the cleaning process, gather the necessary cleaning supplies. You will need:
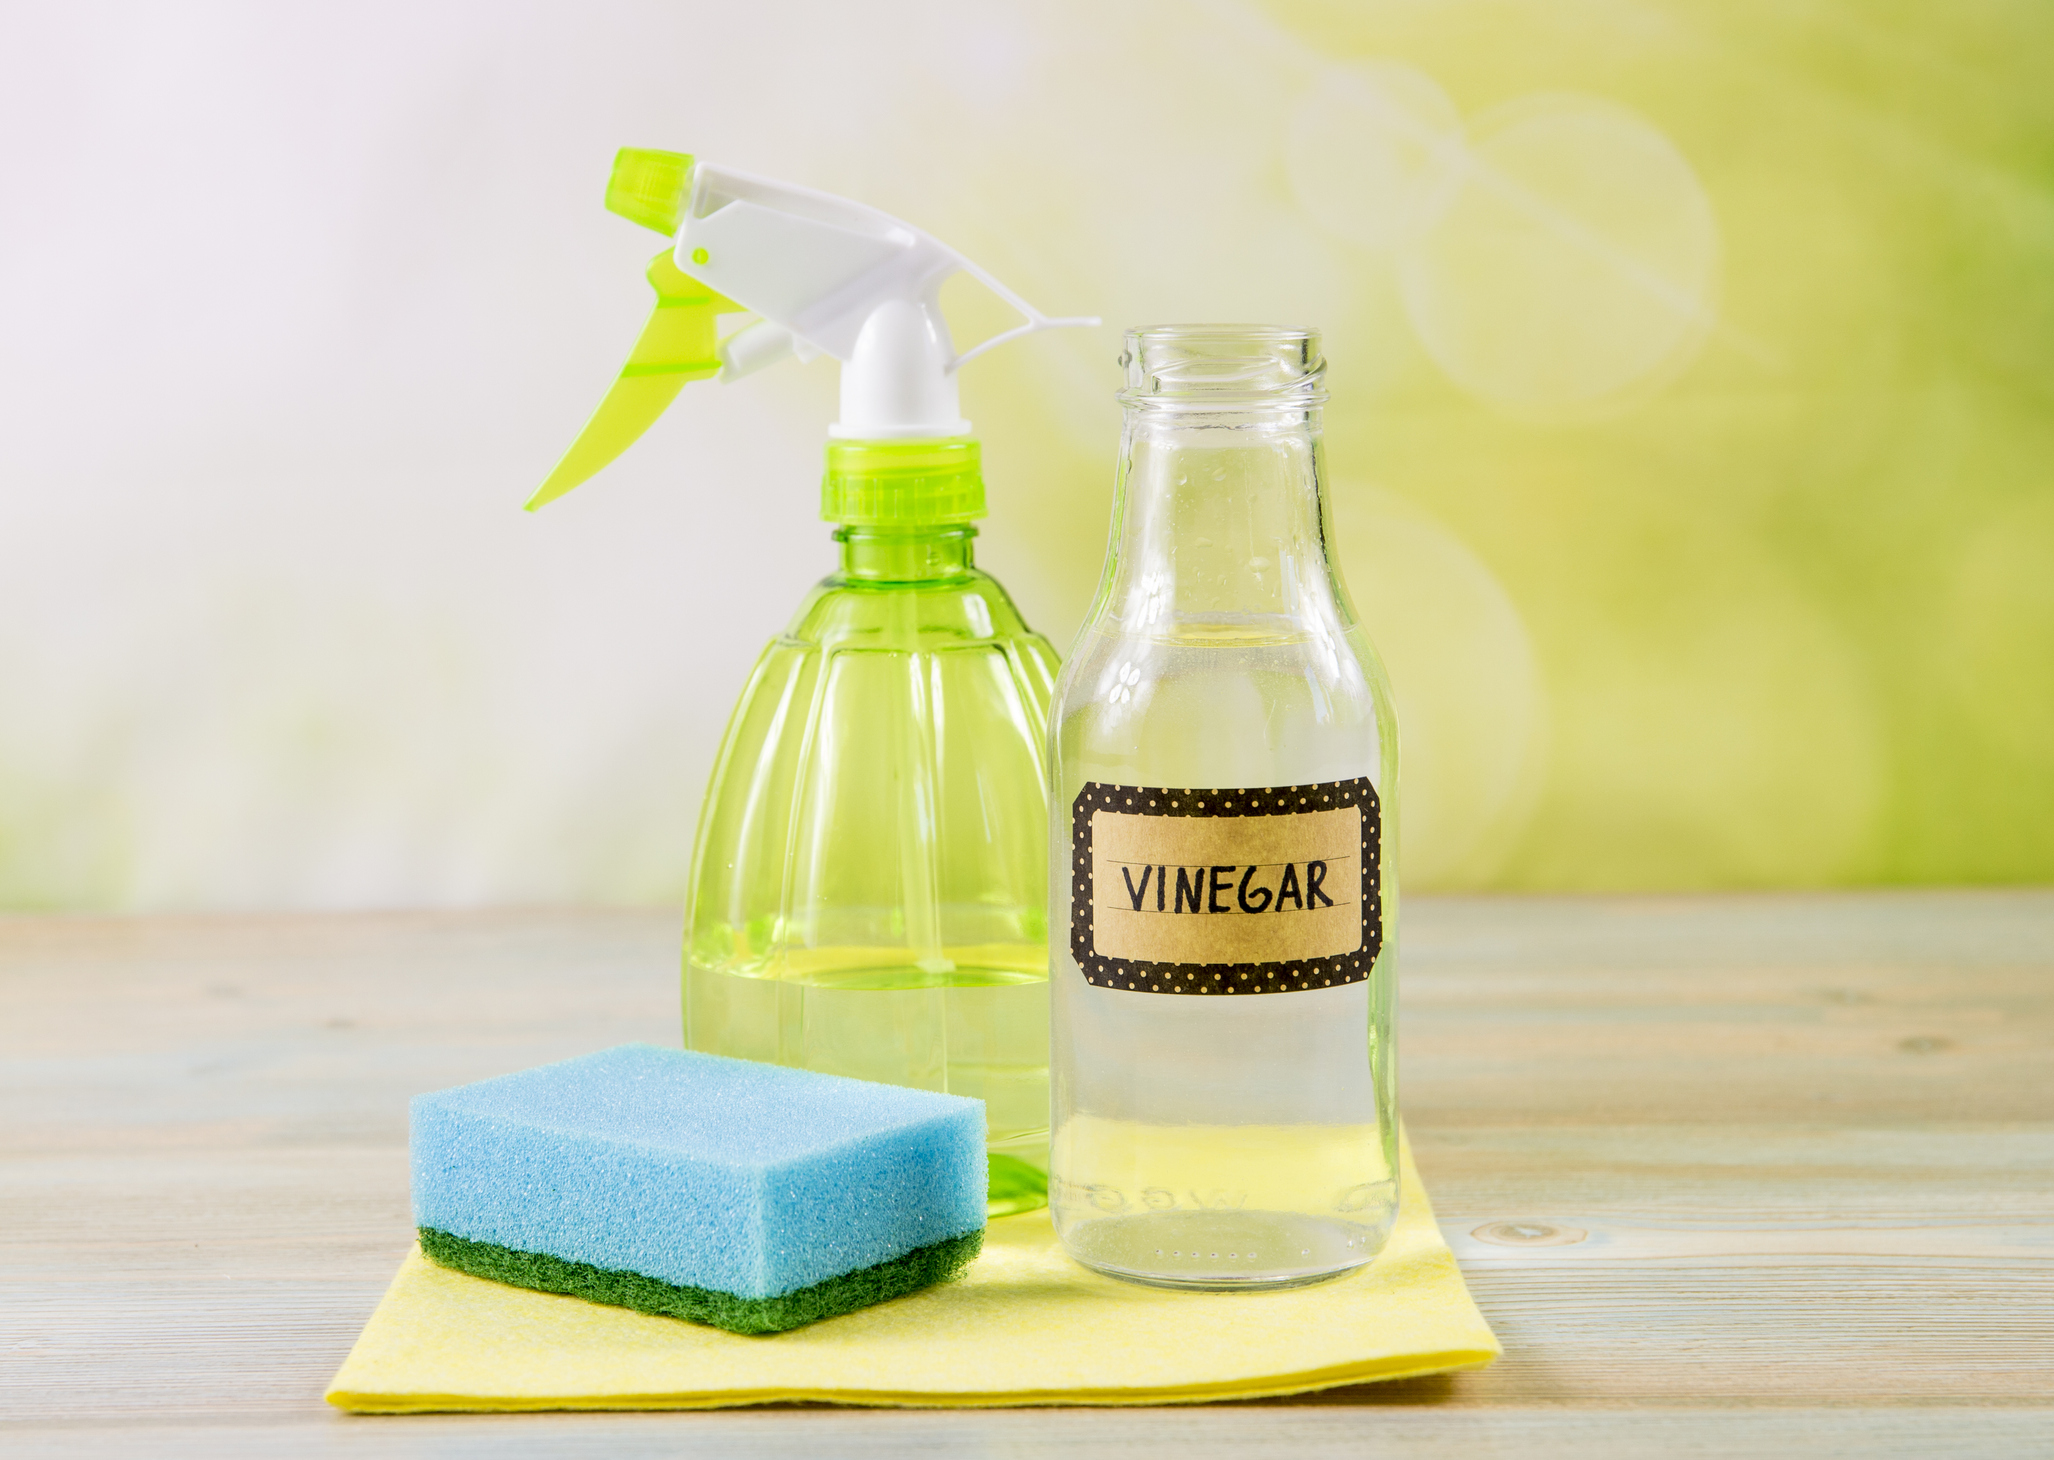
- Toilet bowl cleaner or a DIY cleaning solution (such as vinegar and baking soda)
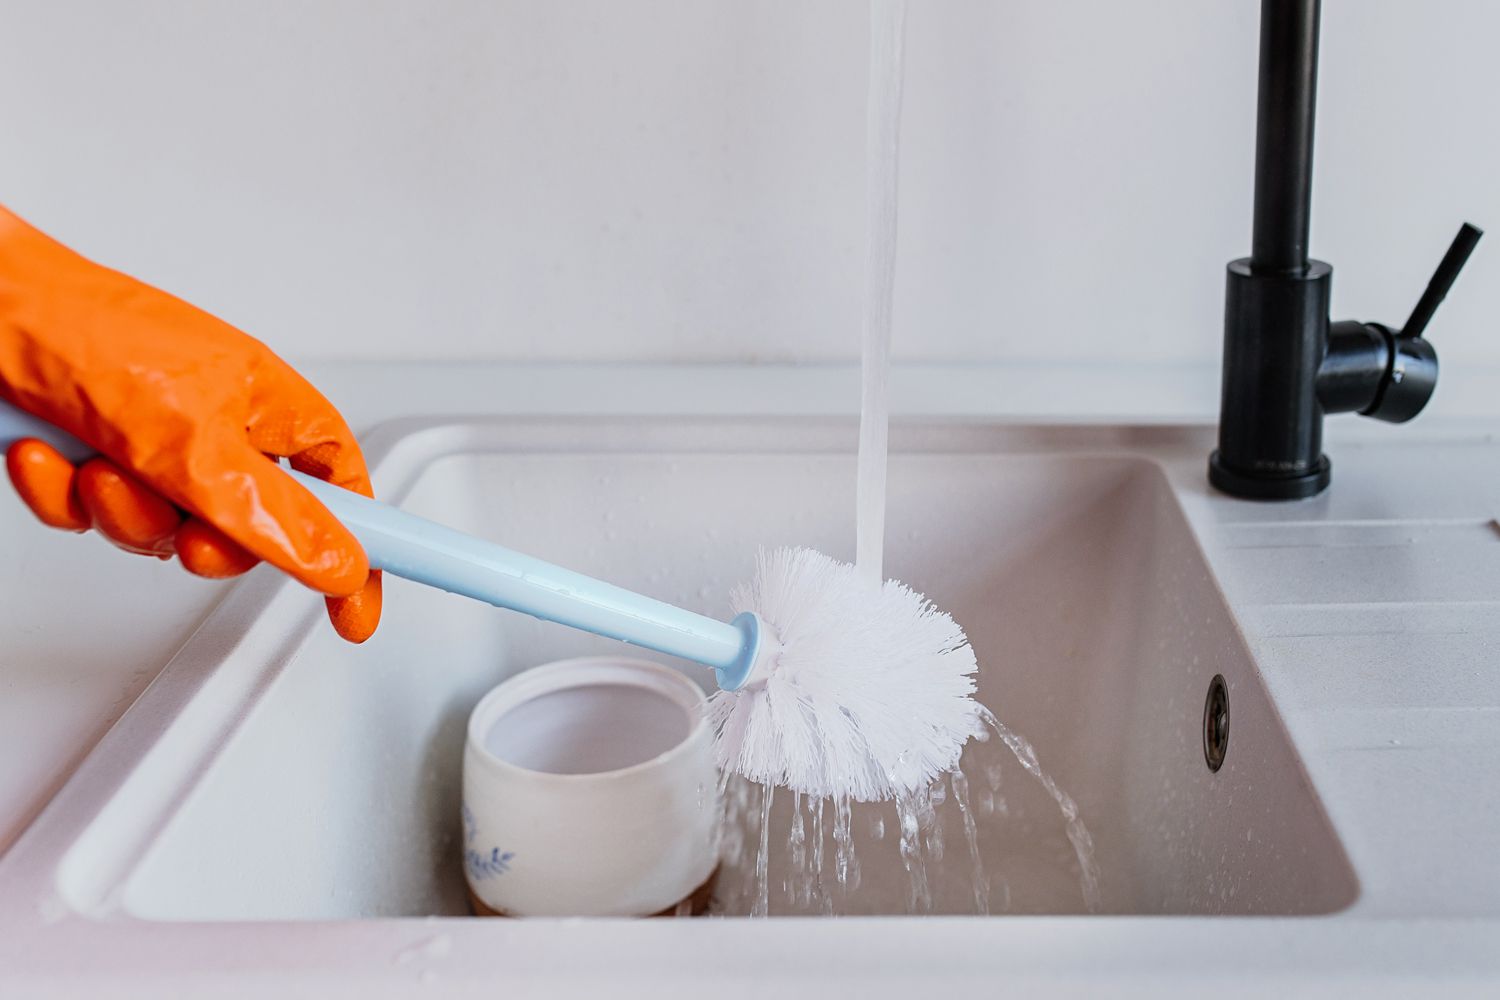
- Toilet brush
- Rubber gloves
- Microfiber cloth or sponge
Apply the Cleaning Solution
Begin by applying the chosen toilet bowl cleaner or DIY cleaning solution to the interior surface of the toilet bowl. Ensure that the cleaner reaches under the rim and covers the entire bowl. If using a commercial cleaner, follow the manufacturer's instructions regarding application and contact time. For a DIY solution, a combination of vinegar and baking soda can be effective in removing stains and disinfecting the bowl.
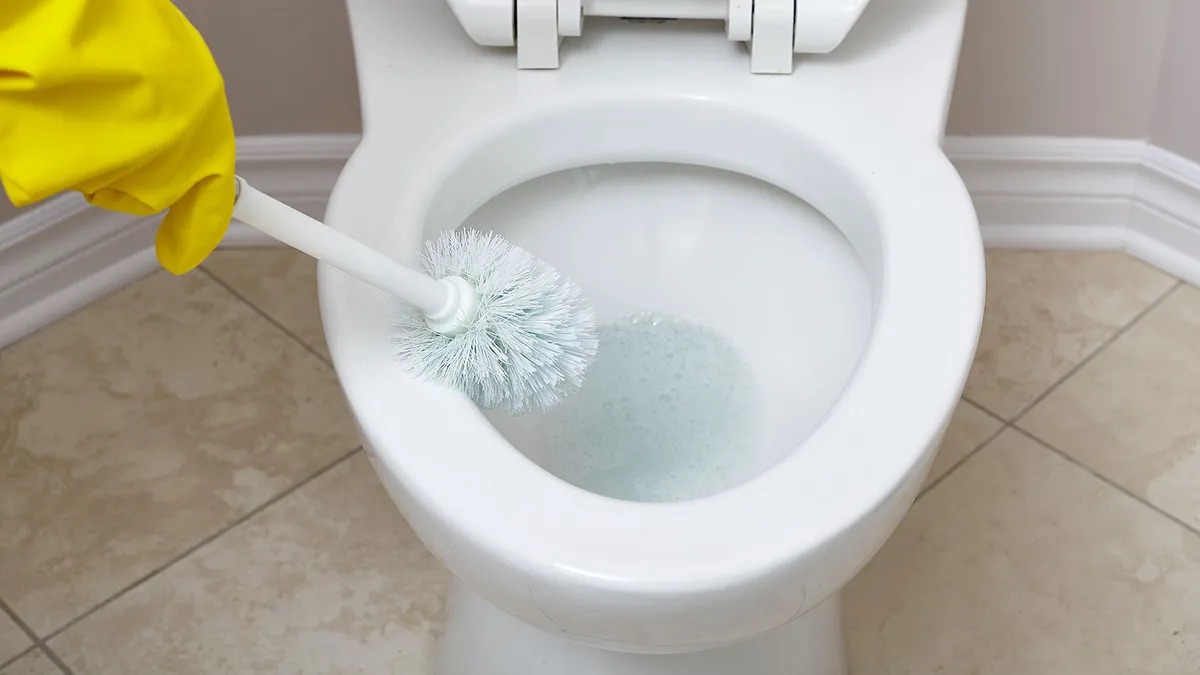
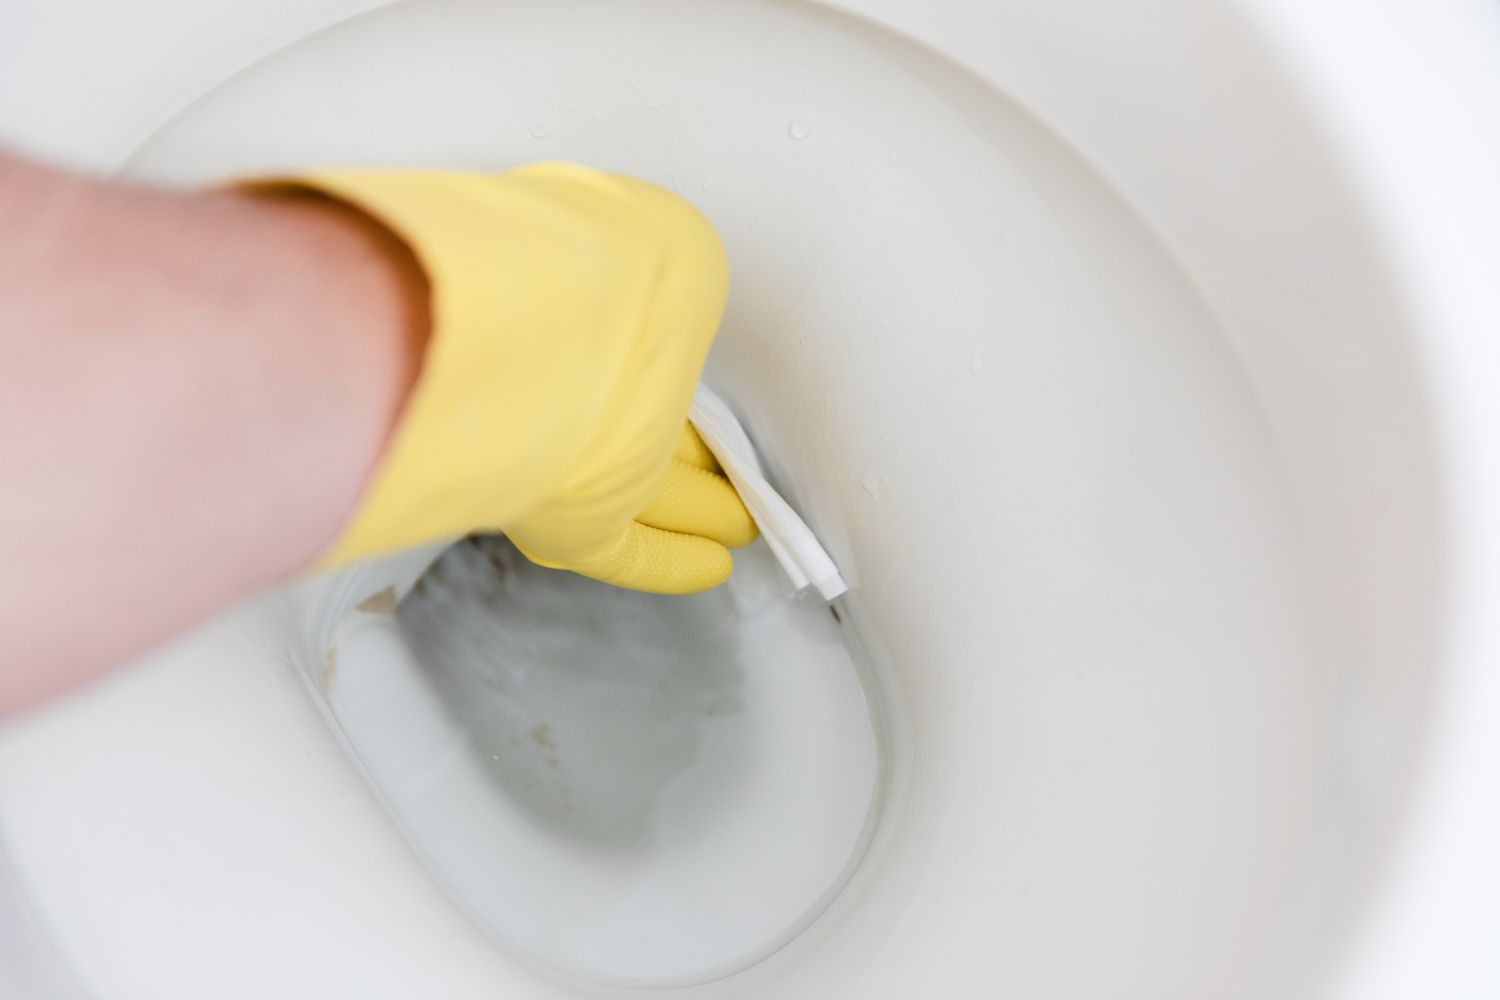
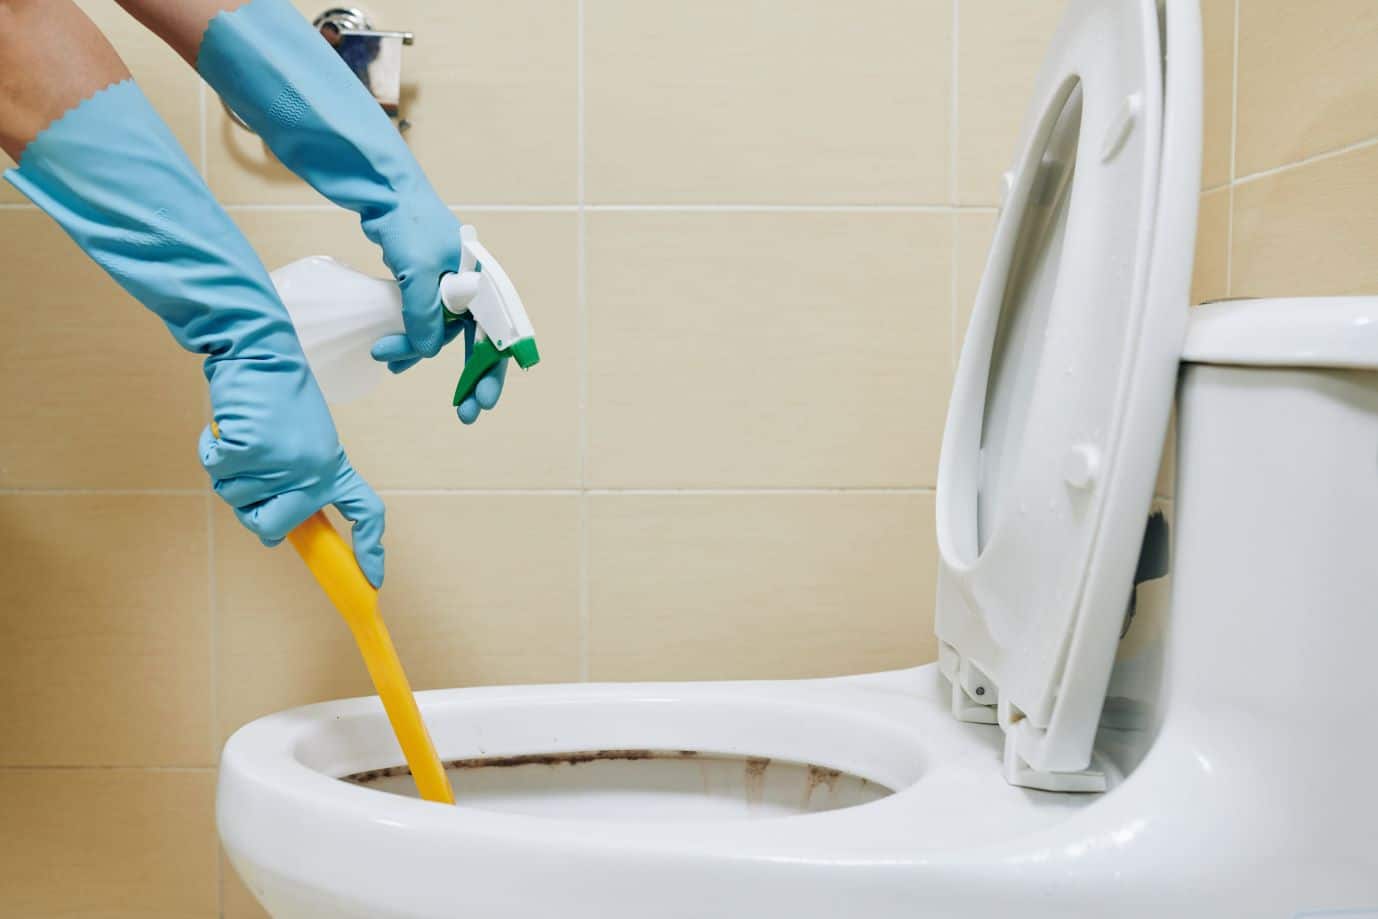
Scrub the Bowl
Using a toilet brush, scrub the interior of the bowl thoroughly, focusing on areas with visible stains or mineral deposits. Pay special attention to the waterline and under the rim, as these areas are prone to buildup. The scrubbing action helps to dislodge and remove stubborn stains, ensuring a thorough cleaning process.
Read more: How To Clean Toilet Bowl With Coke
Address Stubborn Stains
For particularly stubborn stains or mineral deposits, consider using a pumice stone designed for cleaning toilets. Gently rub the pumice stone against the stained areas, taking care not to apply excessive pressure that could scratch the porcelain surface. The abrasive nature of the pumice stone can effectively remove tough stains without causing damage to the toilet bowl.
Rinse and Sanitize
Once the interior of the bowl has been scrubbed and stains have been addressed, flush the toilet to rinse away the cleaning solution and loosened debris. After rinsing, use a clean microfiber cloth or sponge to wipe down the exterior of the toilet bowl, including the base and tank, with a disinfectant cleaner. This final step helps to sanitize the entire toilet and maintain overall cleanliness.
By following these steps, you can effectively clean the toilet bowl, removing stains, mineral deposits, and germs to achieve a pristine and sanitized result. With the bowl thoroughly cleaned, the final step is to turn the water supply back on, allowing the toilet to refill and resume normal functionality.
Step 6: Turn the water supply back on
After successfully emptying and cleaning the toilet bowl, the final step in the process is to turn the water supply back on, allowing the toilet to refill and resume normal functionality. This step is essential for restoring the toilet's operational status and ensuring that it is ready for immediate use.
To turn the water supply back on, locate the shut-off valve that was previously closed to stop the flow of water to the toilet. The valve is typically located on the wall or floor behind the toilet, near the base. Once you have located the shut-off valve, follow these steps to turn the water supply back on:
-
Locate the Shut-Off Valve: Identify the shut-off valve connected to the toilet's water supply line. It is usually a small, knob-like valve that can be found on the wall or floor behind the toilet.
-
Turn the Valve Counterclockwise: Using your hand or an adjustable wrench, gently turn the valve counterclockwise to open it. This action will restore the flow of water into the toilet tank and bowl.
-
Verify the Water Flow: After turning the valve, wait for a few moments and then flush the toilet to ensure that the water supply has been successfully restored. If the tank refills after flushing, it indicates that the water supply has been effectively turned back on.
By following these steps, you can confidently turn the water supply back on, allowing the toilet to refill and become fully operational. Once the water supply has been restored, the toilet is ready for immediate use, and the cleaning process is successfully concluded.
With the water supply turned back on, the toilet bowl has been effectively emptied, thoroughly cleaned, and restored to its functional state. This comprehensive process ensures that the toilet is not only clean and sanitized but also fully operational, ready to meet the needs of household members and guests.
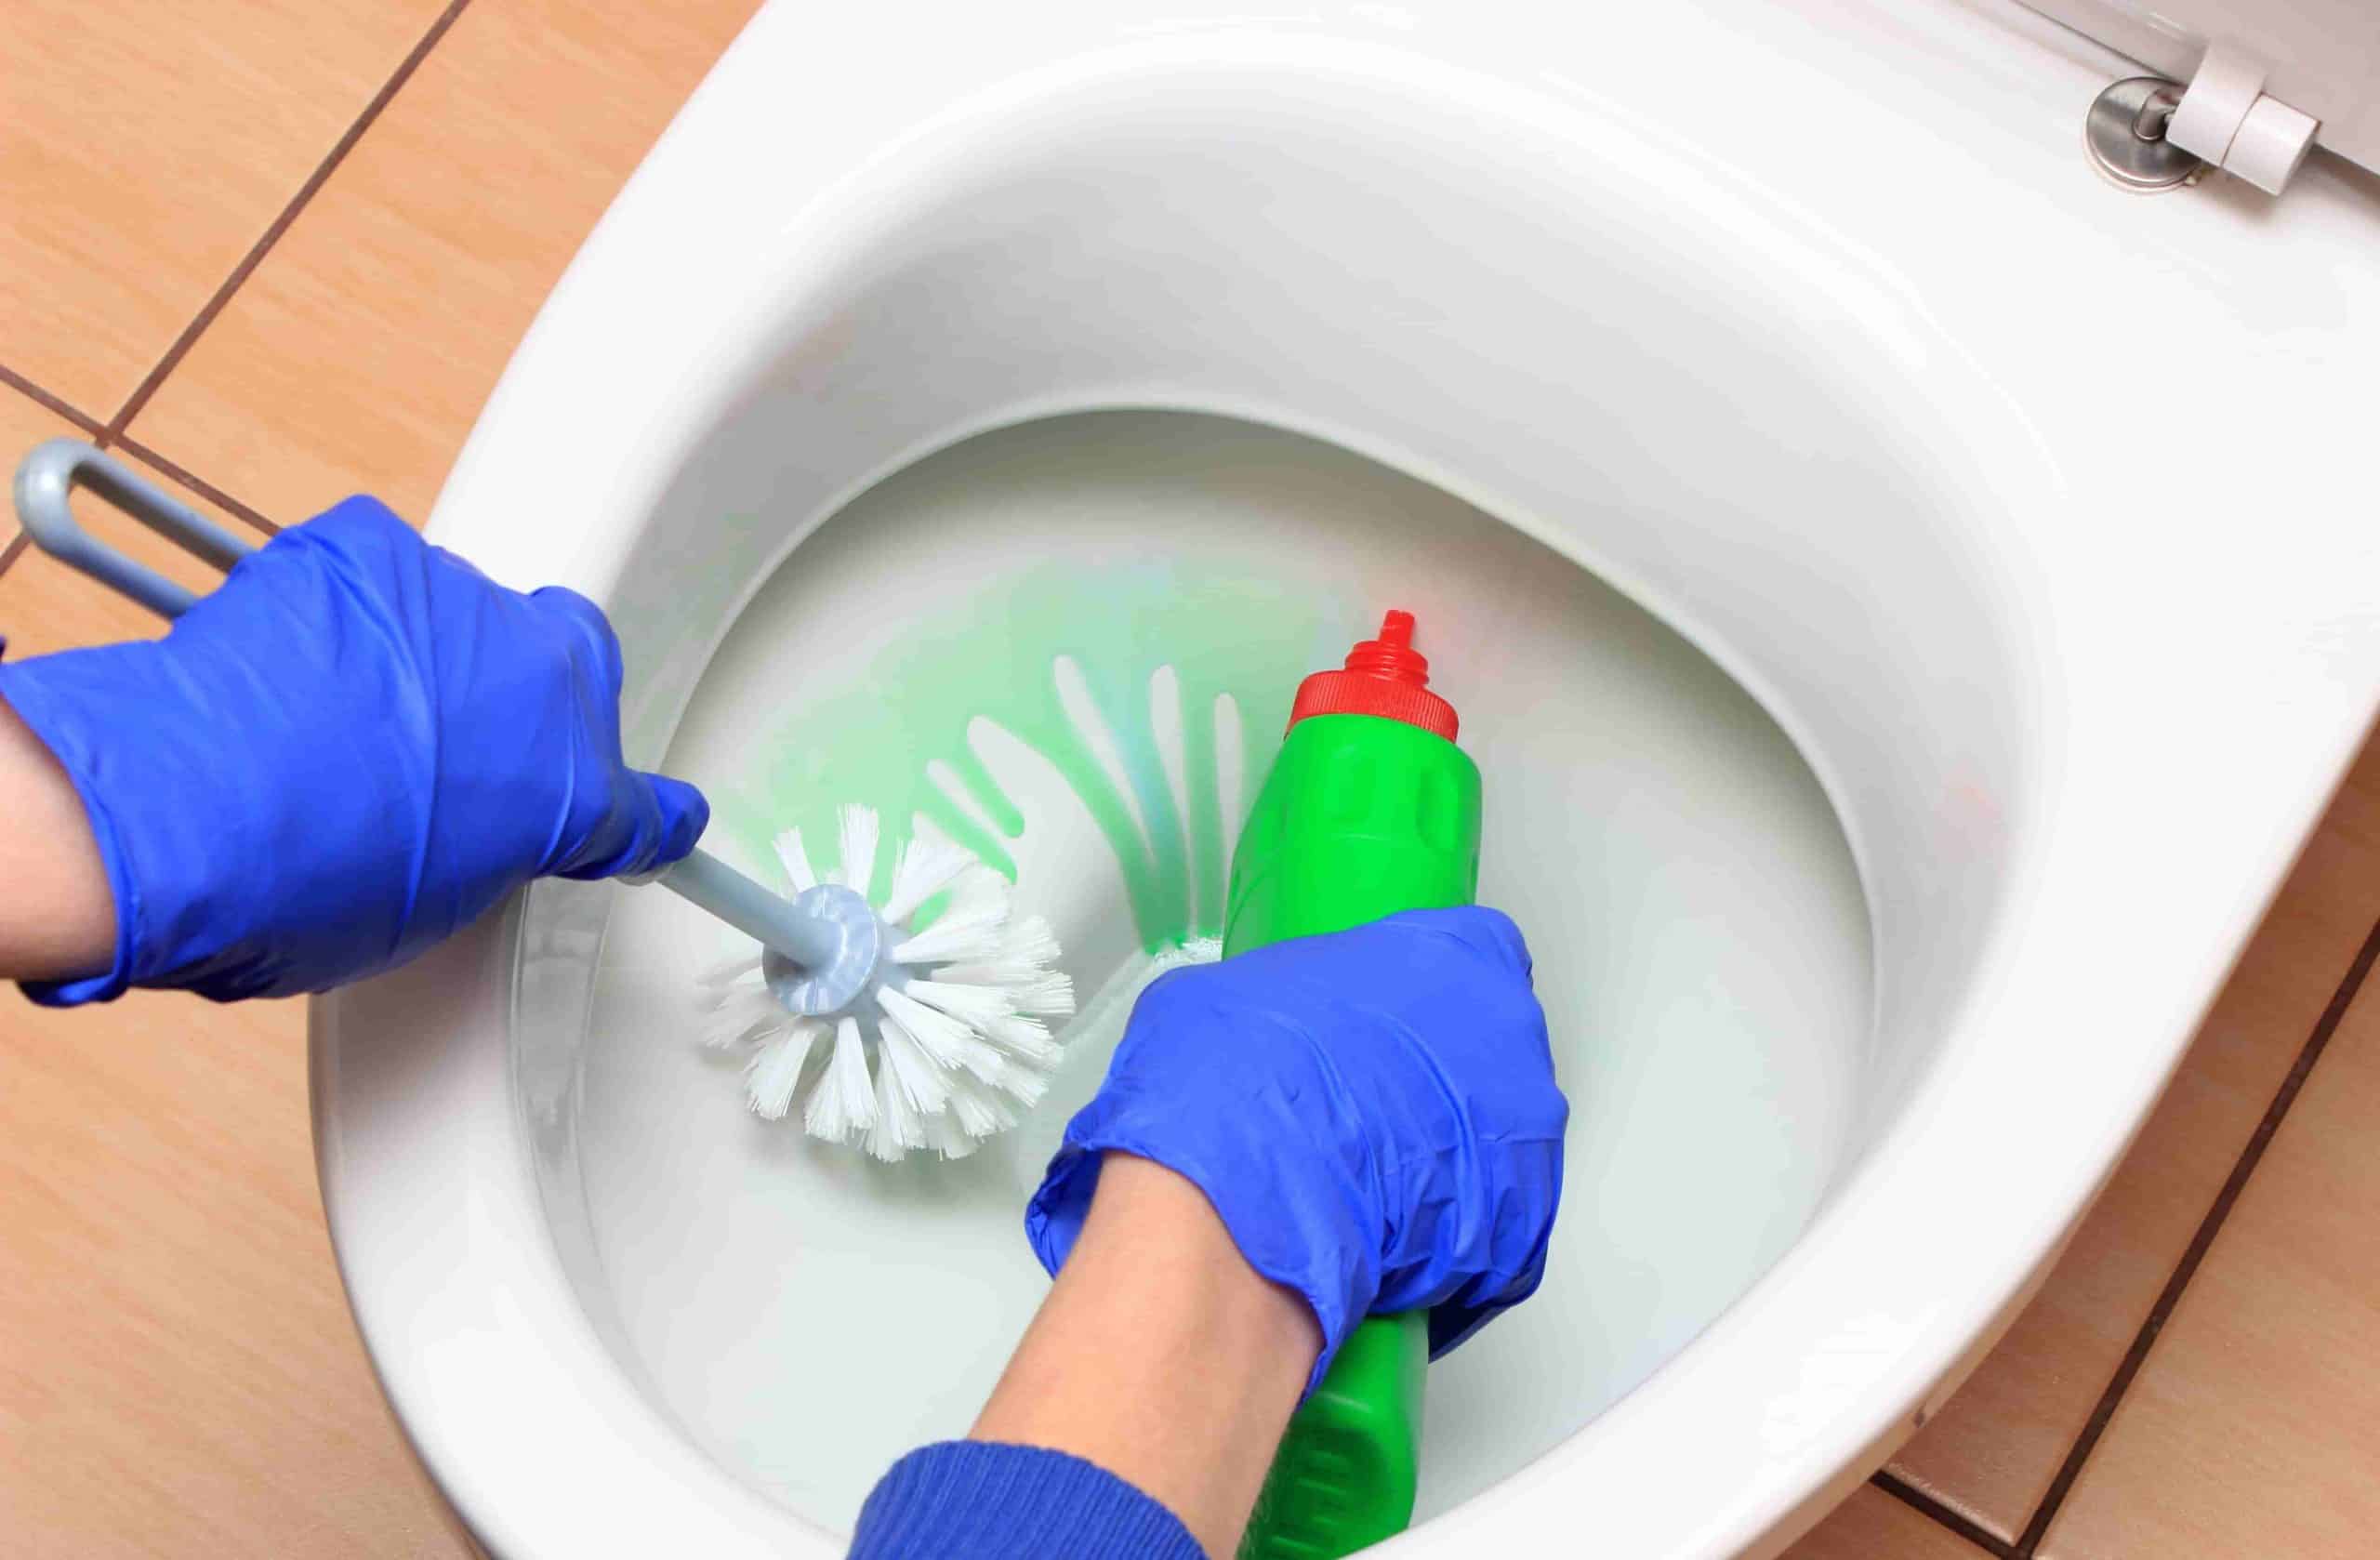
Use a toilet brush to remove excess water from the bowl. Then, pour a toilet bowl cleaner or a mixture of vinegar and baking soda into the bowl. Let it sit for a few minutes before scrubbing with the brush and flushing.
Conclusion
In conclusion, mastering the art of emptying the toilet bowl for thorough cleaning is a valuable skill that contributes to maintaining a hygienic and inviting bathroom environment. By following the step-by-step process outlined in this guide, you can effectively prepare the toilet bowl for a comprehensive cleaning experience, ensuring that stains, mineral deposits, and germs are effectively addressed.
The journey begins with gathering the necessary supplies, including rubber gloves, a plastic container or bucket, a plunger, and optional safety goggles. These supplies form the foundation for a successful and efficient emptying and cleaning process. With the right tools at hand, you can confidently proceed to the subsequent steps, each designed to streamline the cleaning experience and deliver exceptional results.
Turning off the water supply marks a pivotal moment in the process, allowing for better control of the water level and setting the stage for subsequent actions. By following the simple steps to turn off the water supply, you can effectively minimize the amount of water that needs to be emptied, ensuring a more manageable and efficient cleaning process.
Flushing the toilet to remove excess water and using a plunger to eliminate any remaining water are essential steps that pave the way for a thorough cleaning experience. These actions not only reduce the water level in the bowl but also facilitate unobstructed access to all areas, ensuring that the cleaning process is comprehensive and effective.
Once the bowl is effectively emptied, the cleaning process can commence, focusing on removing stains, mineral deposits, and germs to achieve a sparkling clean result. By applying the appropriate cleaning solutions, scrubbing the bowl, and addressing stubborn stains, you can ensure that the toilet bowl is not only clean but also sanitized, contributing to a hygienic bathroom environment.
Finally, turning the water supply back on restores the toilet to its operational state, ready for immediate use. This final step completes the comprehensive process, ensuring that the toilet bowl is not only clean and sanitized but also fully functional.
By mastering the art of emptying the toilet bowl for cleaning, you can elevate the cleanliness and hygiene of your bathroom, creating a welcoming space for household members and guests. With the knowledge and skills acquired from this guide, you are well-equipped to tackle the task of emptying and cleaning the toilet bowl with confidence and efficiency, ensuring a pristine and inviting bathroom environment.
Frequently Asked Questions about How To Empty Toilet Bowl To Clean
Was this page helpful?
At Storables.com, we guarantee accurate and reliable information. Our content, validated by Expert Board Contributors, is crafted following stringent Editorial Policies. We're committed to providing you with well-researched, expert-backed insights for all your informational needs.

0 thoughts on “How To Empty Toilet Bowl To Clean”