Home>Furniture & Design>Bathroom Accessories>Toilet Bowl Doesn’t Empty When Flushed
Bathroom Accessories
Toilet Bowl Doesn’t Empty When Flushed
Modified: October 20, 2024
Ensure proper flushing with our high-quality bathroom accessories. Say goodbye to a toilet bowl that doesn't empty when flushed. Shop now!
(Many of the links in this article redirect to a specific reviewed product. Your purchase of these products through affiliate links helps to generate commission for Storables.com, at no extra cost. Learn more)
Common Reasons for Toilet Bowl Not Emptying When Flushed
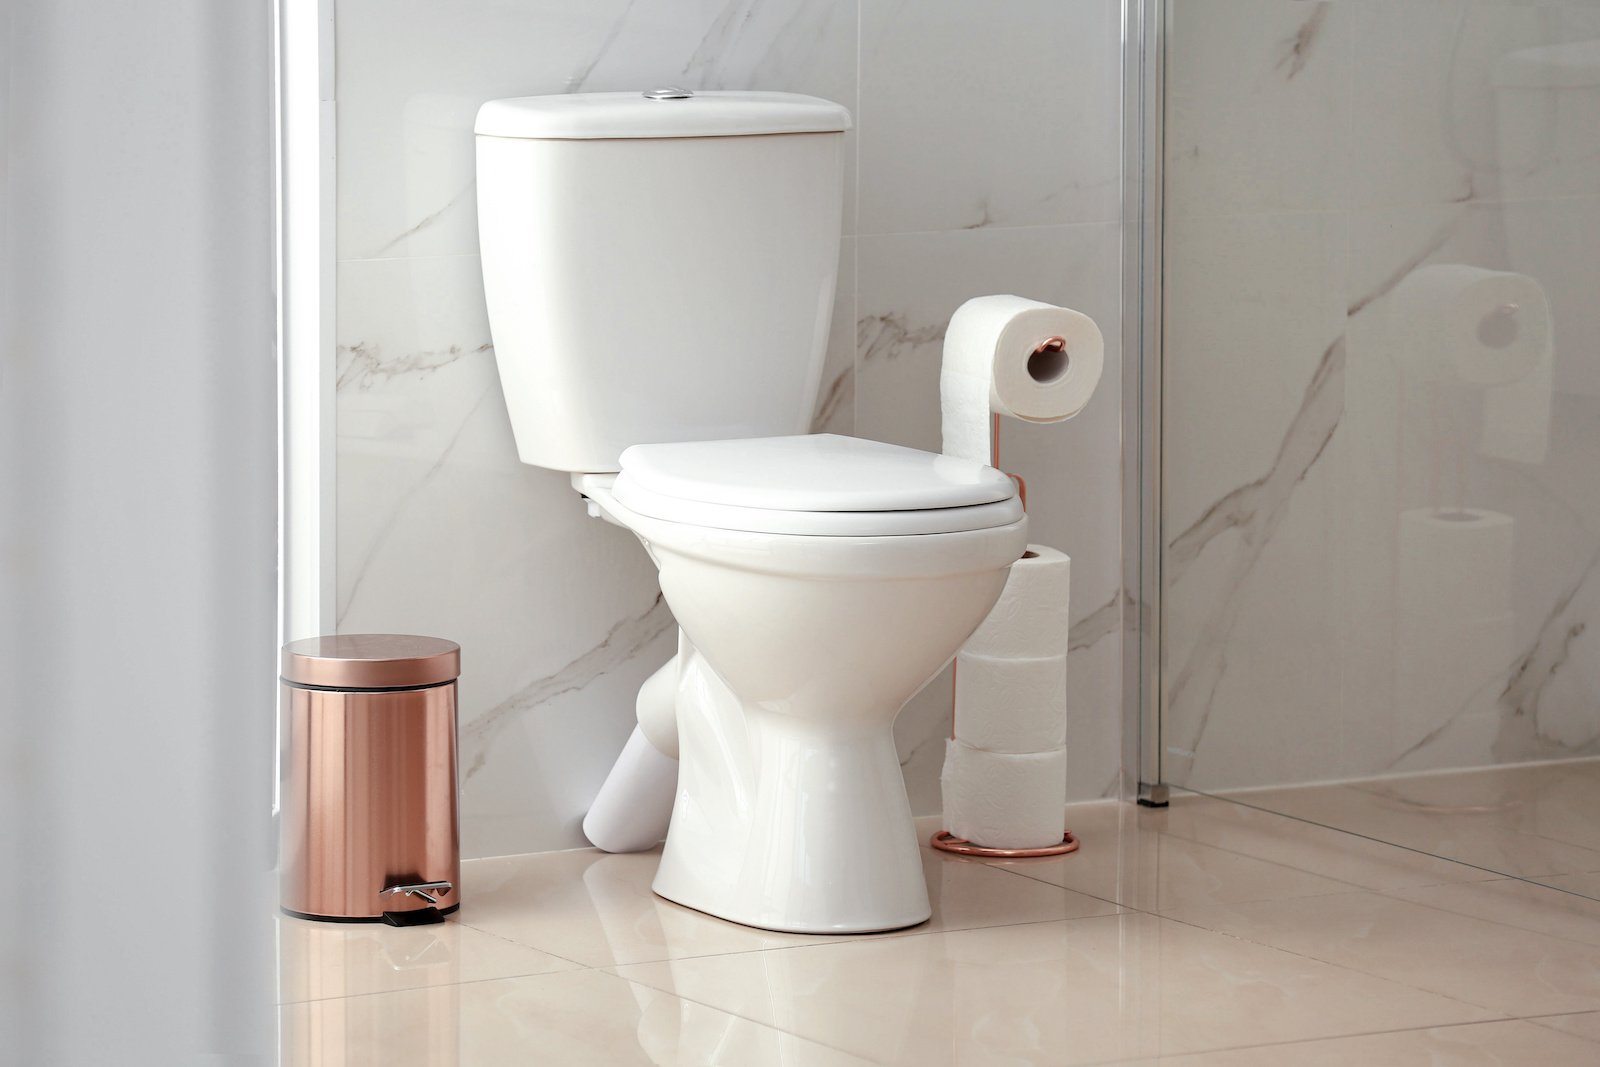
When you flush the toilet, you expect the bowl to swiftly and efficiently empty its contents. However, if you notice that the bowl is not emptying as it should, several common reasons could be causing this issue. Understanding these reasons can help you troubleshoot and resolve the problem effectively.
Read more: Toilet Bowl Fills With Water When Flushed
Insufficient Water Level in the Tank
One of the primary reasons for a toilet bowl failing to empty when flushed is an insufficient water level in the tank. When the tank does not fill up to the appropriate level after flushing, it can result in a weak flush, leaving behind waste in the bowl. To address this, check the water level in the tank. If it is lower than the designated fill line, adjusting the fill valve to increase the water level can potentially resolve the issue.
Malfunctioning Flapper and Chain
A malfunctioning flapper or chain within the toilet tank can also lead to an incomplete flush. The flapper is responsible for releasing water from the tank into the bowl during the flushing process. If the flapper is damaged or not sealing properly, it can hinder the flow of water, causing the bowl to not empty completely. Similarly, a loose or tangled chain can prevent the flapper from opening fully, resulting in an inadequate flush. Inspecting the flapper and chain for any signs of damage or misalignment and making necessary adjustments or replacements can rectify this issue.
Faulty Flush Valve
The flush valve, located at the bottom of the tank, plays a crucial role in facilitating a strong and effective flush. If the flush valve is faulty or obstructed, it can impede the proper release of water into the bowl, leading to incomplete emptying. Examining the flush valve for any debris or mineral buildup and ensuring that it opens fully during flushing can help restore the optimal flushing performance of the toilet.
Obstructions in the Toilet Bowl or Trapway
Obstructions within the toilet bowl or trapway can significantly hinder the flushing process, causing the bowl to retain waste after flushing. Common culprits include excessive toilet paper, sanitary products, or foreign objects that have inadvertently found their way into the toilet. Clearing any visible obstructions using a plunger or a toilet auger can often resolve this issue, allowing for a more effective flush and complete emptying of the bowl.
Read more: How To Empty A Toilet Bowl
Incorrect Water Level Adjustment
In some cases, an incorrectly adjusted water level in the tank can contribute to an inadequate flush, resulting in the bowl not emptying completely. If the water level is too low or too high, it can impact the flushing performance. Adjusting the water level to align with the designated fill line can help optimize the flushing process, ensuring that the bowl empties thoroughly after each flush.
By addressing these common reasons for a toilet bowl not emptying when flushed, you can troubleshoot the issue effectively and restore the proper functioning of your toilet. Identifying and resolving these underlying factors can lead to a more efficient and satisfactory flushing experience, promoting cleanliness and hygiene in your bathroom.
Key Takeaways:
- Keep the water level in the toilet tank at the designated mark to ensure a powerful flush and a completely empty bowl. Adjust the fill valve if needed for optimal performance.
- Regularly check and clear any clogs in the toilet bowl and trapway using a plunger or toilet auger to maintain efficient flushing and prevent blockages.
Checking the Water Level in the Tank
The water level in the tank of a toilet plays a pivotal role in ensuring a proper and effective flush. When the water level is inadequate, it can lead to a weak flush, resulting in the incomplete emptying of the bowl. Therefore, checking and adjusting the water level in the tank is a fundamental step in troubleshooting a toilet bowl that doesn't empty when flushed.
To begin, locate the water level mark inside the toilet tank. This mark indicates the optimal water level for the tank and is typically imprinted on the inner wall of the tank. Upon identifying the water level mark, observe the current water level in the tank. If the water level is below the designated mark, it signifies that there is insufficient water in the tank to facilitate a robust flush.
Next, inspect the fill valve, which is responsible for regulating the water level in the tank. The fill valve is typically located on the left side of the tank and is connected to the water supply line. Adjusting the fill valve can help increase the water level in the tank, subsequently enhancing the flushing performance of the toilet.
To adjust the water level, locate the adjustment screw or knob on the fill valve. Turning the screw or knob clockwise will raise the water level, while turning it counterclockwise will lower the water level. Gradually adjust the fill valve to raise the water level to align with the designated mark inside the tank.
After making the adjustments, allow the tank to refill and observe the new water level. It should now reach the specified mark, indicating that the tank is adequately filled and ready for a robust flush. It's important to ensure that the water level does not exceed the designated mark, as an excessively high water level can lead to other issues such as constant running of the toilet and potential water wastage.
By checking and adjusting the water level in the tank, you can address one of the common reasons for a toilet bowl not emptying when flushed. This simple yet crucial step can significantly improve the flushing performance of the toilet, ensuring that the bowl empties completely after each flush. Additionally, maintaining the appropriate water level in the tank promotes water efficiency and contributes to the overall functionality of the toilet system.
Remember, if you encounter persistent issues with the water level or flushing performance, it may be advisable to seek professional assistance to diagnose and resolve any underlying problems with the toilet's components.
Inspecting the Flapper and Chain
The flapper and chain within the toilet tank are integral components that directly influence the flushing process. A malfunctioning flapper or a misaligned chain can significantly impact the efficiency of the flush, leading to an incomplete emptying of the toilet bowl when flushed. Therefore, conducting a thorough inspection of the flapper and chain is essential in troubleshooting and resolving this common issue.
To commence the inspection, remove the lid of the toilet tank to gain access to the internal components. Once the tank is exposed, locate the flapper, which is a rubber or plastic valve situated at the bottom of the tank. The flapper is responsible for releasing water from the tank into the bowl during the flushing cycle. Carefully examine the flapper for any signs of damage, deterioration, or misalignment. If the flapper appears worn out, cracked, or warped, it may not create a proper seal when closed, leading to water leakage and an inadequate flush.
In addition to the flapper, inspect the chain that connects the flapper to the flushing handle. The chain should be appropriately positioned to allow the flapper to open fully when the toilet is flushed. A loose or tangled chain can hinder the smooth operation of the flapper, resulting in an incomplete flush and leaving waste in the bowl. Ensure that the chain is free from tangles and has the correct amount of slack to enable the flapper to open and close seamlessly during the flushing process.
Furthermore, check the alignment of the flapper within its seating. The flapper should sit securely and form a tight seal when closed to prevent water from continuously flowing into the bowl. If the flapper is not aligned properly or is obstructed by debris, it can impede the flow of water, leading to an insufficient flush. Gently adjust the position of the flapper to ensure that it sits flush and forms a complete seal when closed.
If any issues are identified during the inspection, such as a damaged flapper or a misaligned chain, consider replacing the flapper with a new, compatible component. Additionally, adjusting the chain to the appropriate length and ensuring that it operates smoothly can contribute to the optimal functioning of the flapper during the flushing process.
By meticulously inspecting the flapper and chain, you can identify and address potential factors contributing to the incomplete emptying of the toilet bowl when flushed. This proactive approach enables you to maintain the proper operation of these essential components, ultimately promoting a more effective and efficient flushing experience.
Remember, if you encounter persistent issues or complexities during the inspection or replacement process, seeking professional assistance from a qualified plumber can provide valuable expertise in diagnosing and resolving the underlying concerns with the toilet's flushing mechanism.
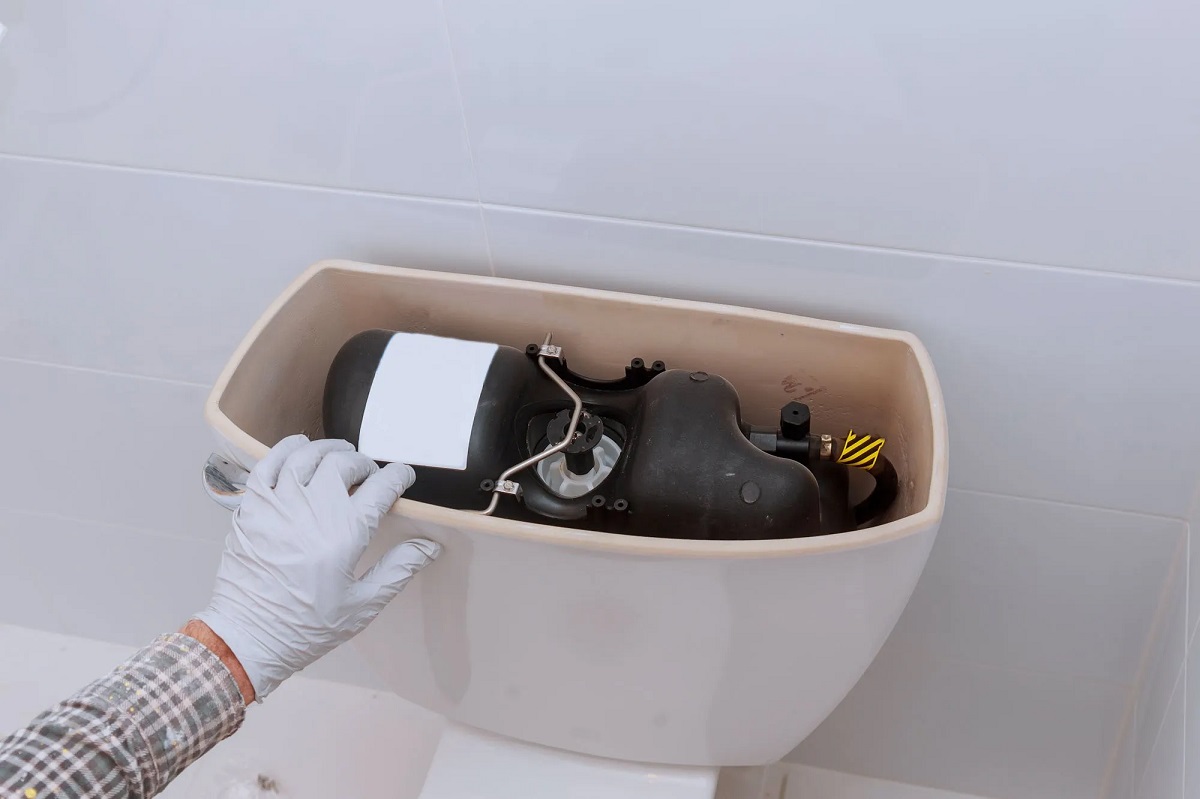
Examining the Flush Valve
The flush valve, positioned at the bottom of the toilet tank, serves as a critical component in the flushing mechanism, playing a pivotal role in facilitating the efficient emptying of the bowl during each flush. When the flush valve encounters issues or obstructions, it can impede the proper release of water into the bowl, resulting in an incomplete emptying of the toilet bowl when flushed. Therefore, conducting a comprehensive examination of the flush valve is essential in troubleshooting and rectifying this common concern.
To initiate the examination, remove the lid of the toilet tank to gain access to the internal components. Once the tank is exposed, identify the flush valve, which is typically a large, cylindrical component situated at the center or towards the back of the tank's bottom. The flush valve is responsible for releasing a sufficient volume of water from the tank into the bowl, generating the force necessary for a robust flush.
Upon locating the flush valve, carefully inspect it for any signs of debris, mineral buildup, or damage that may impede its functionality. Mineral deposits and sediment accumulation can restrict the movement of the flush valve, hindering its ability to open fully and release water effectively during flushing. Additionally, check for any cracks, deterioration, or misalignment of the flush valve that may compromise its sealing and operational integrity.
Using a flashlight, peer into the flush valve opening to identify any visible obstructions or buildup that may be obstructing the flow of water. If mineral deposits or debris are present, use a suitable cleaning solution or vinegar to dissolve and dislodge the buildup, restoring the smooth operation of the flush valve. A small brush or cloth can be utilized to gently remove any stubborn deposits, ensuring that the flush valve remains unobstructed and fully functional.
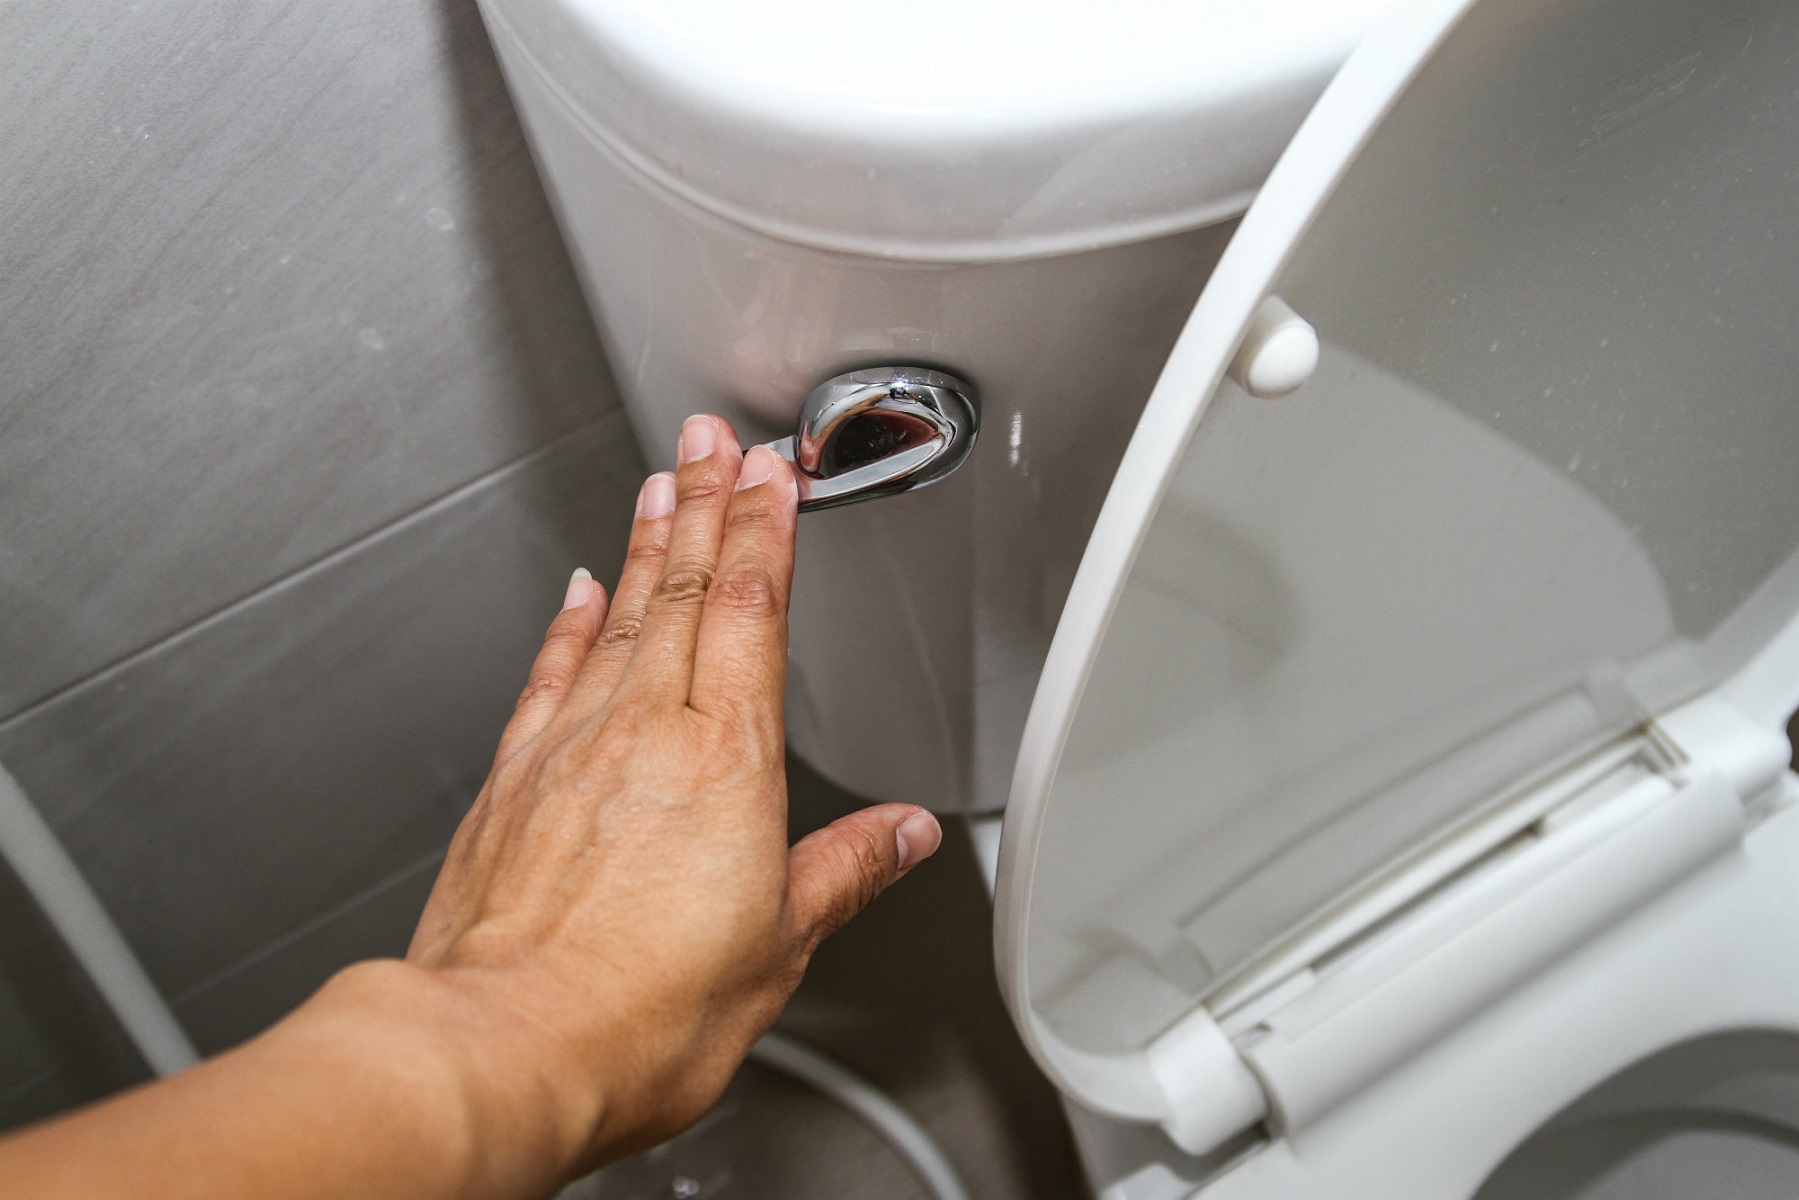
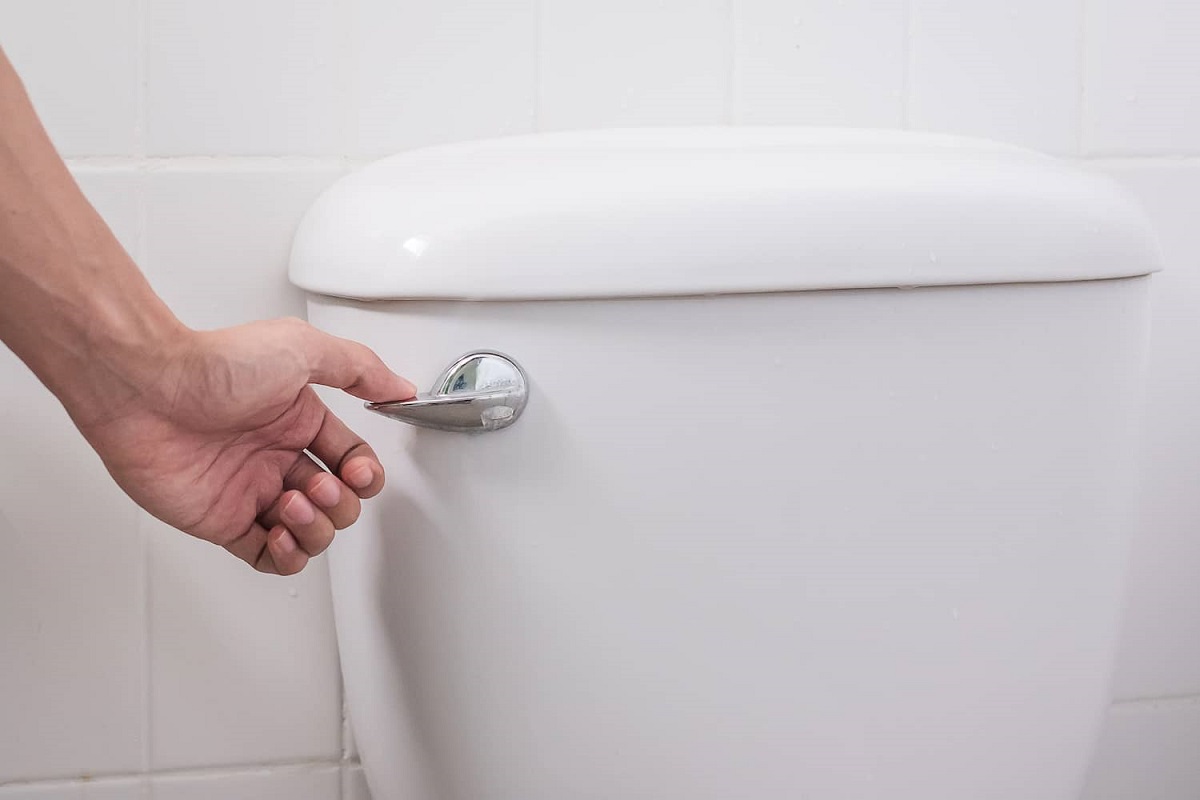
Furthermore, manually actuate the flush valve to observe its movement and functionality. Depress the flush handle to initiate a flush cycle and carefully observe the opening and closing of the flush valve. Ensure that the flush valve opens fully to allow a sufficient volume of water to flow into the bowl, creating a strong and effective flush. If the flush valve exhibits resistance, irregular movement, or fails to open completely, it may require adjustment or potential replacement to restore its optimal performance.
By meticulously examining the flush valve and addressing any identified issues or obstructions, you can effectively troubleshoot and resolve factors contributing to the incomplete emptying of the toilet bowl when flushed. This proactive approach enables you to maintain the proper operation of the flush valve, promoting a more efficient and satisfactory flushing experience.
Remember, if you encounter complexities or challenges during the examination or maintenance of the flush valve, seeking professional assistance from a qualified plumber can provide valuable expertise in diagnosing and resolving the underlying concerns with the toilet's flushing mechanism.
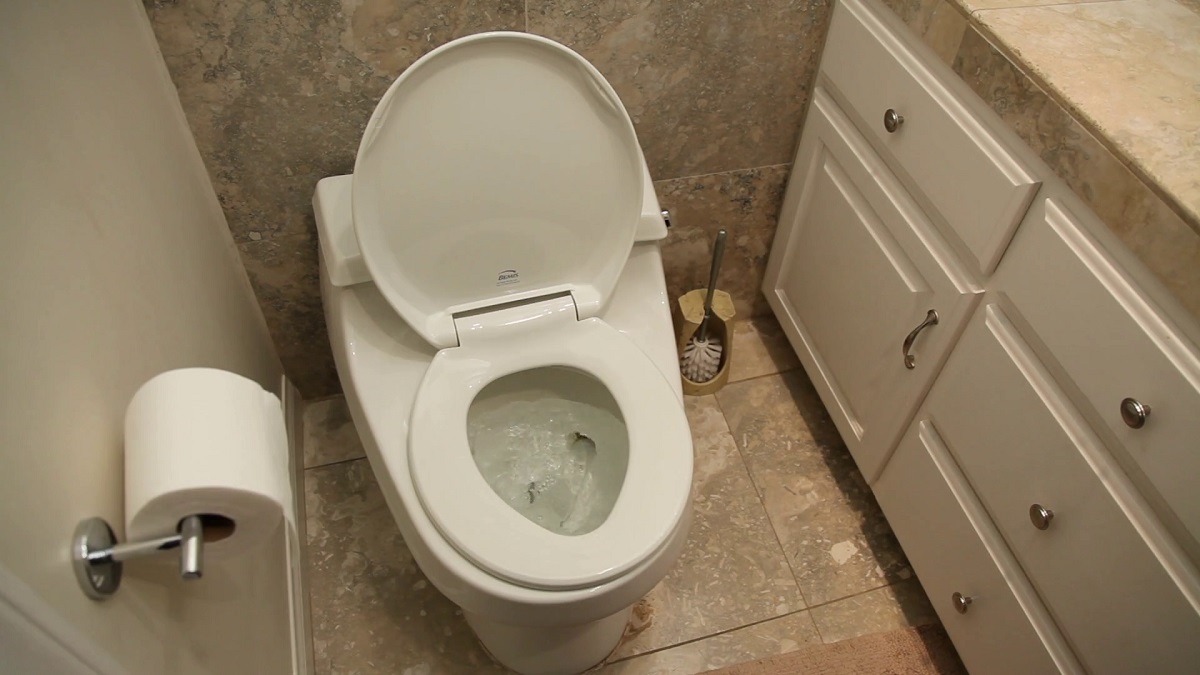
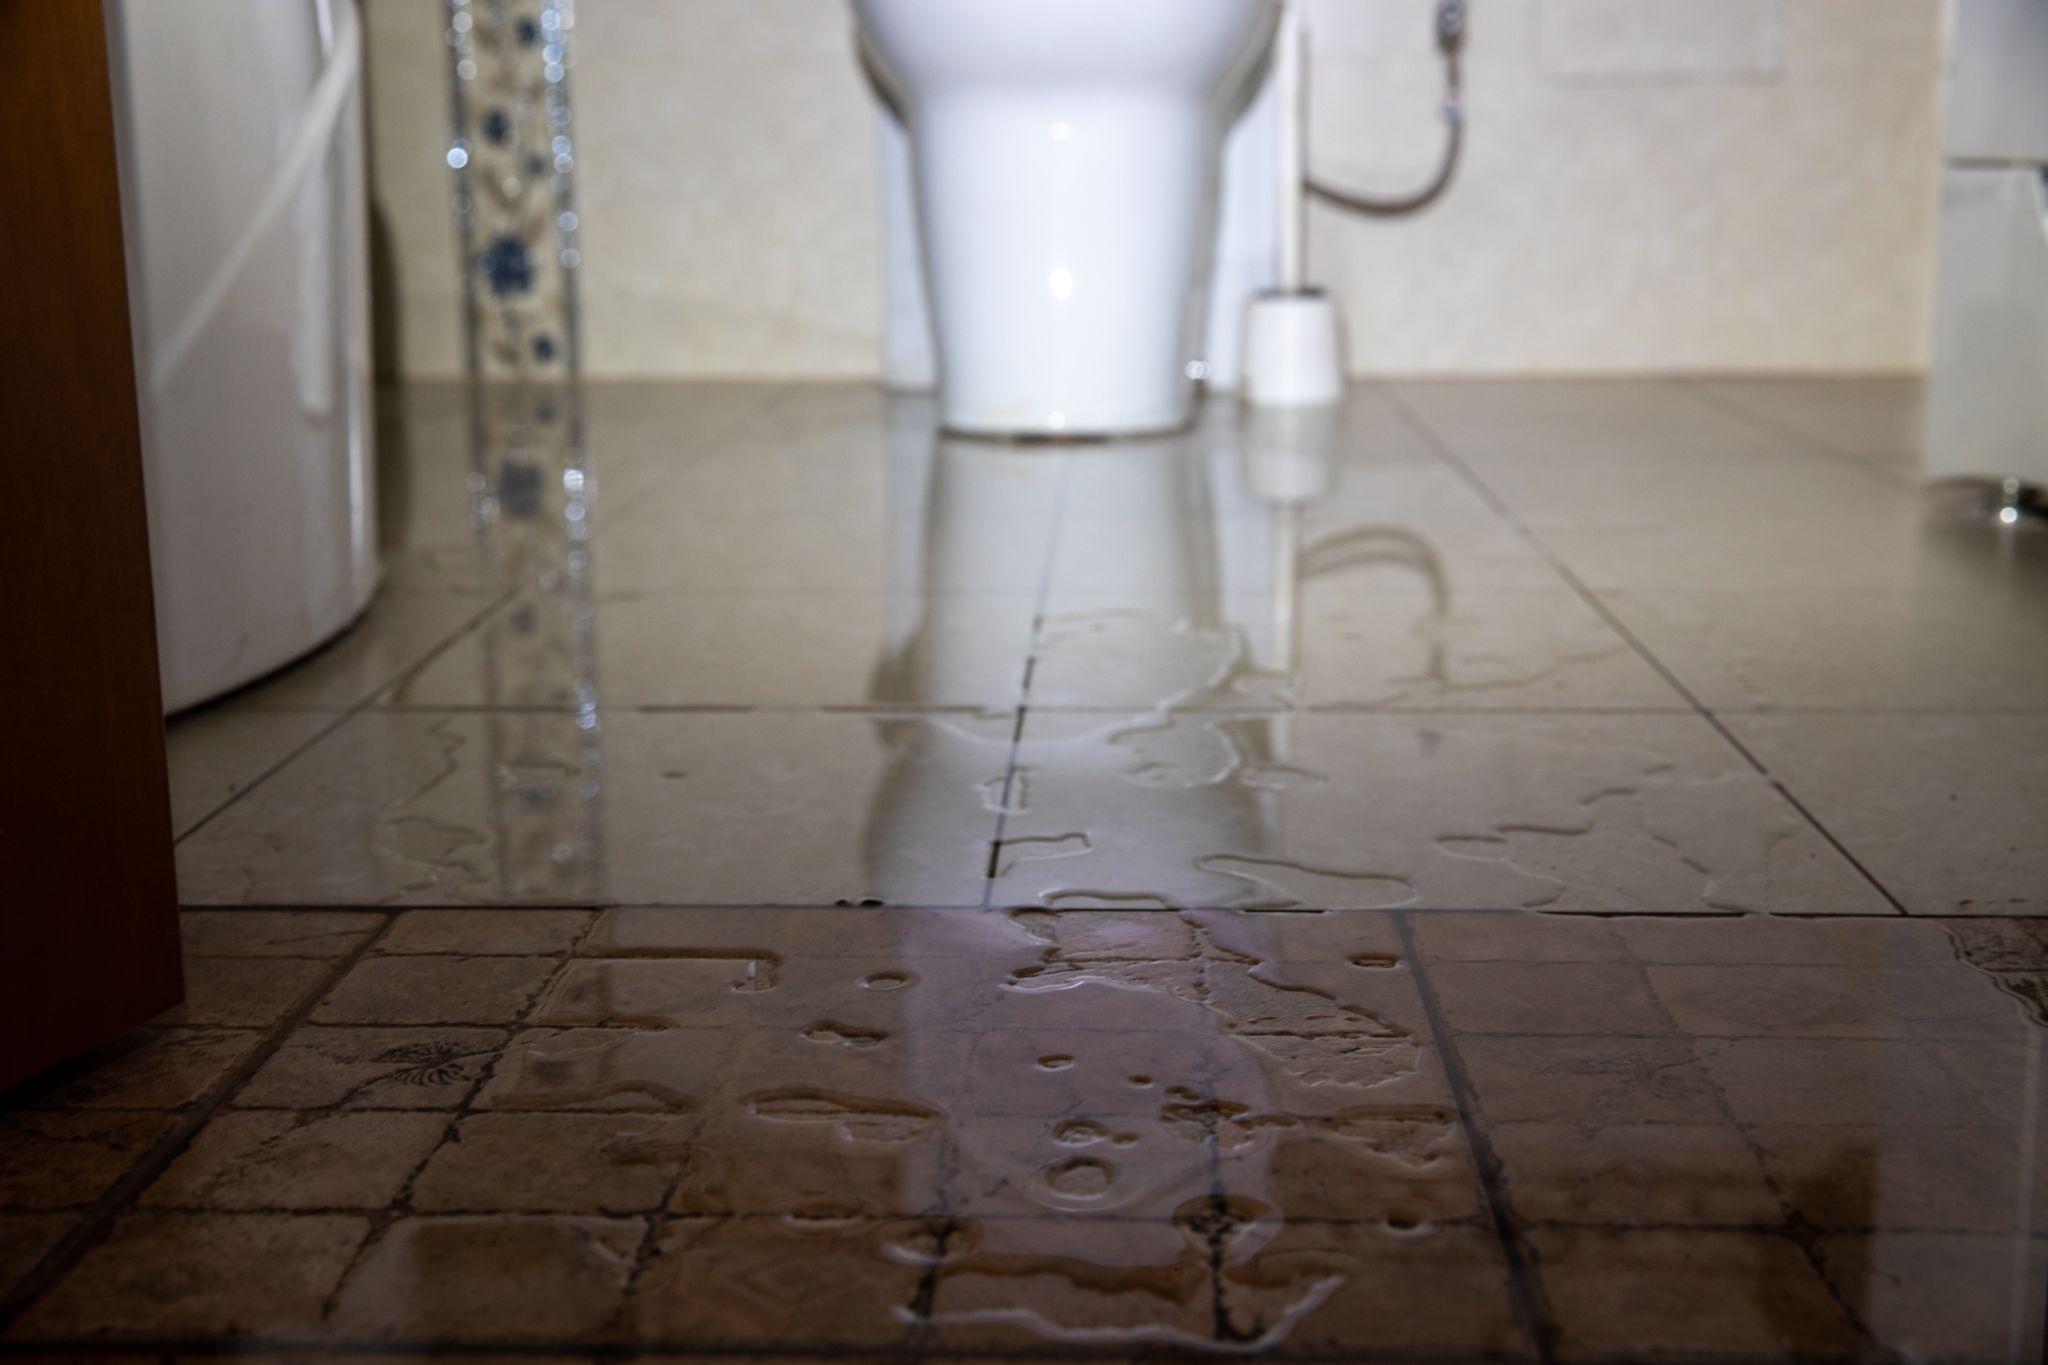
Clearing any Clogs in the Toilet Bowl or Trapway
When a toilet bowl fails to empty properly after flushing, a common culprit is the presence of clogs within the toilet bowl or trapway. These obstructions can impede the flow of water and prevent the complete emptying of the bowl, leading to unsatisfactory flushing performance. Addressing and clearing any clogs in the toilet bowl or trapway is essential in restoring the optimal functionality of the toilet and ensuring a thorough emptying of the bowl with each flush.
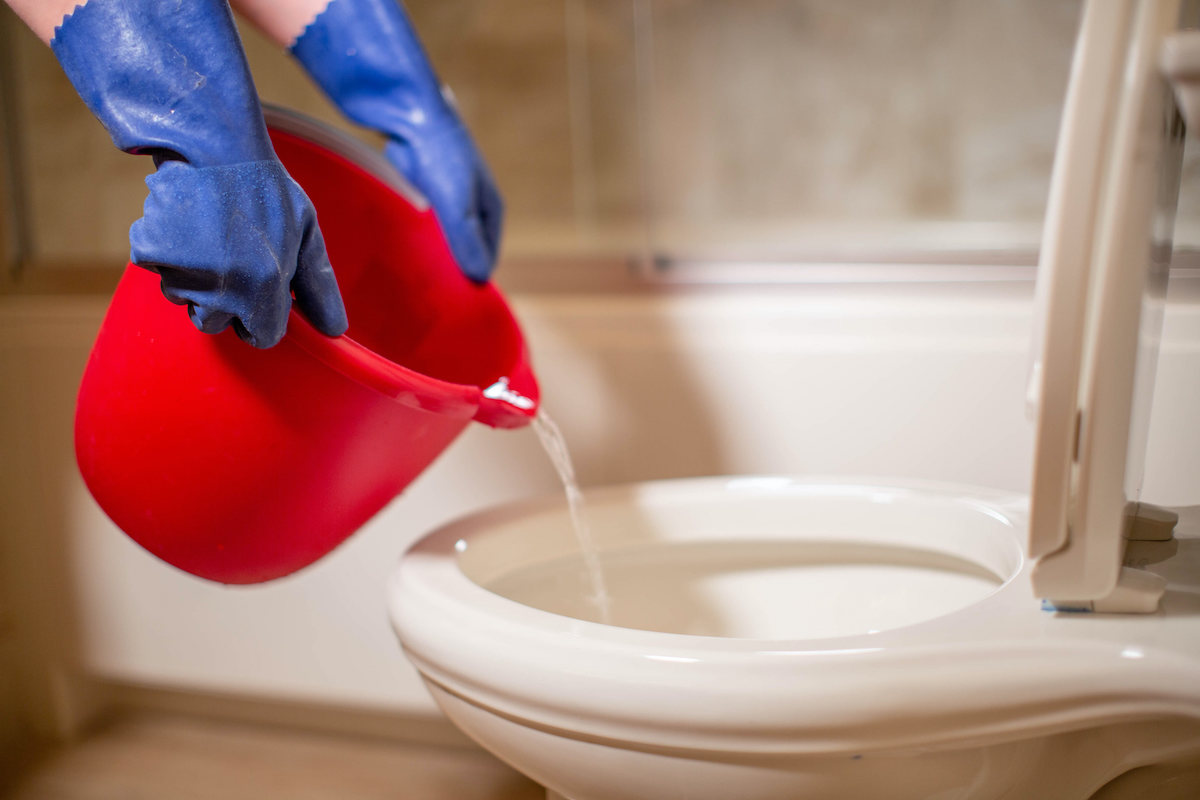
To begin the process of clearing clogs, it is important to gather the necessary tools and equipment. A plunger is a fundamental tool for dislodging clogs within the toilet bowl. Additionally, a toilet auger, also known as a closet auger, can be utilized to reach and remove obstructions within the trapway, the curved passage that connects the toilet bowl to the drainpipe.
Commence the clog-clearing process by focusing on the toilet bowl. Position the plunger over the drain opening at the bottom of the bowl, ensuring a tight seal between the plunger and the surface of the bowl. Apply firm and consistent pressure by plunging up and down, creating a suction force to dislodge the clog. Repeat this process several times, maintaining a steady rhythm to effectively clear the obstruction within the bowl.
If the clog persists despite plunging efforts, it may be necessary to utilize a toilet auger to address the obstruction within the trapway. Insert the end of the auger into the drain opening at the bottom of the toilet bowl and carefully maneuver it through the trapway. Rotate the auger handle to navigate the curved passage and reach the point of obstruction. With gentle and deliberate movements, the auger can effectively break apart and retrieve the clog, allowing for unimpeded water flow during flushing.
In instances where the clog is particularly stubborn or located deeper within the plumbing system, it may be prudent to seek professional assistance from a qualified plumber. Professional plumbers possess the expertise and specialized equipment to address complex clogs and ensure the comprehensive clearing of obstructions within the toilet bowl and trapway.
By diligently clearing any clogs within the toilet bowl or trapway, you can eliminate impediments to the flushing process and promote a more effective and efficient emptying of the bowl. This proactive approach contributes to the overall functionality of the toilet, enhancing its performance and maintaining optimal hygiene in the bathroom.
Remember, practicing regular maintenance and adopting proper usage habits, such as avoiding flushing non-flushable items, can help prevent future clogs and preserve the smooth operation of the toilet system.
Adjusting the Water Level in the Tank
The water level in the tank of a toilet is a critical factor that directly influences the effectiveness of the flushing process. When the water level is inadequate, it can lead to a weak flush, resulting in the incomplete emptying of the bowl. Therefore, checking and adjusting the water level in the tank is a fundamental step in troubleshooting a toilet bowl that doesn't empty when flushed.
To begin the adjustment process, it's essential to locate the water level mark inside the toilet tank. This mark indicates the optimal water level for the tank and is typically imprinted on the inner wall of the tank. Once the water level mark is identified, it's important to observe the current water level in the tank. If the water level is below the designated mark, it signifies that there is insufficient water in the tank to facilitate a robust flush.
The next step involves inspecting the fill valve, which is responsible for regulating the water level in the tank. The fill valve is typically located on the left side of the tank and is connected to the water supply line. Adjusting the fill valve can help increase the water level in the tank, subsequently enhancing the flushing performance of the toilet.
To adjust the water level, locate the adjustment screw or knob on the fill valve. Turning the screw or knob clockwise will raise the water level, while turning it counterclockwise will lower the water level. Gradually adjusting the fill valve to raise the water level to align with the designated mark inside the tank is crucial.
After making the adjustments, allow the tank to refill and observe the new water level. It should now reach the specified mark, indicating that the tank is adequately filled and ready for a robust flush. It's important to ensure that the water level does not exceed the designated mark, as an excessively high water level can lead to other issues such as constant running of the toilet and potential water wastage.
By checking and adjusting the water level in the tank, you can address one of the common reasons for a toilet bowl not emptying when flushed. This simple yet crucial step can significantly improve the flushing performance of the toilet, ensuring that the bowl empties completely after each flush. Additionally, maintaining the appropriate water level in the tank promotes water efficiency and contributes to the overall functionality of the toilet system.
Remember, if you encounter persistent issues with the water level or flushing performance, it may be advisable to seek professional assistance to diagnose and resolve any underlying problems with the toilet's components.
Frequently Asked Questions about Toilet Bowl Doesn't Empty When Flushed
Was this page helpful?
At Storables.com, we guarantee accurate and reliable information. Our content, validated by Expert Board Contributors, is crafted following stringent Editorial Policies. We're committed to providing you with well-researched, expert-backed insights for all your informational needs.

0 thoughts on “Toilet Bowl Doesn’t Empty When Flushed”