Home>Furniture & Design>Bathroom Accessories>How To Empty A Toilet Bowl
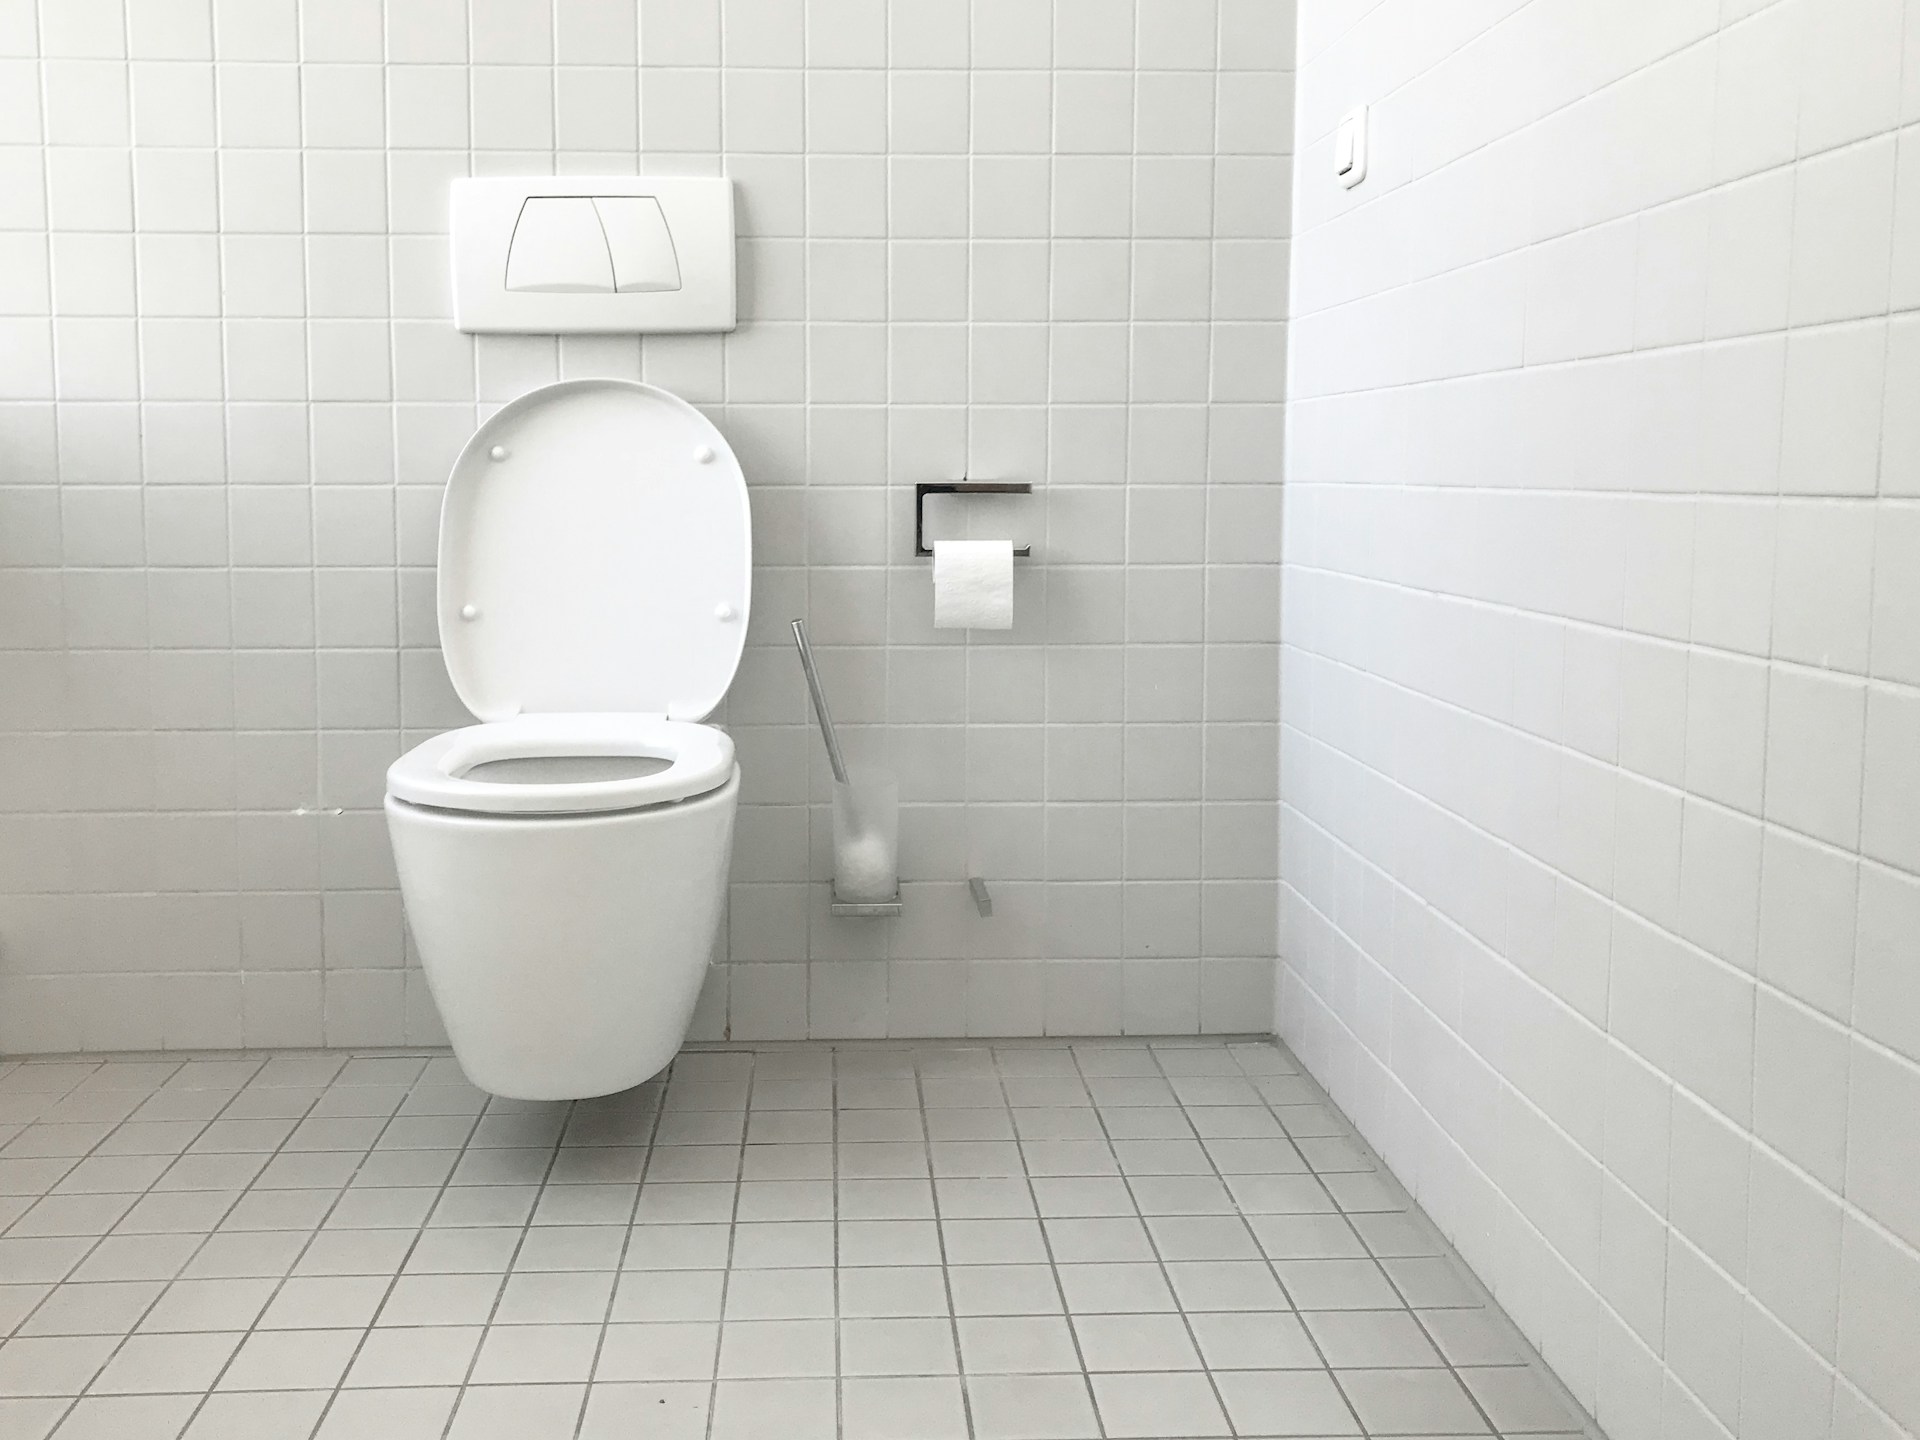
Bathroom Accessories
How To Empty A Toilet Bowl
Modified: October 19, 2024
Learn the step-by-step process for safely and effectively emptying a toilet bowl. Discover the essential bathroom accessories and tools needed for this task.
(Many of the links in this article redirect to a specific reviewed product. Your purchase of these products through affiliate links helps to generate commission for Storables.com, at no extra cost. Learn more)
Introduction
Dealing with a clogged or overflowing toilet can be a stressful and unpleasant experience. Whether it's due to excessive toilet paper usage, foreign objects, or a more serious plumbing issue, knowing how to effectively empty a toilet bowl can save you from a messy and inconvenient situation. By following a few simple steps and using the right tools, you can quickly and efficiently resolve the issue and restore your bathroom to its pristine condition.
Understanding the underlying causes of a clogged toilet can help you approach the situation with a clear plan of action. In some cases, a clog may be caused by an excessive amount of toilet paper or the flushing of non-flushable items. Other times, the issue may stem from a more serious plumbing problem, such as a blockage in the pipes. Regardless of the cause, having a systematic approach to emptying the toilet bowl can make the process more manageable and less daunting.
In this comprehensive guide, we will walk you through the step-by-step process of emptying a toilet bowl, from gathering the necessary tools and materials to effectively cleaning and disinfecting the area. By following these instructions, you can tackle the task with confidence and ensure that your bathroom remains a clean and functional space for you and your family.
So, let's dive into the essential steps for emptying a toilet bowl and regaining control of your bathroom environment. With the right approach and a willingness to tackle the issue head-on, you can effectively address a clogged toilet and prevent future incidents from disrupting your daily routine.
Key Takeaways:
- Don’t panic when your toilet clogs! Gather tools, turn off water, flush, and use a plunger to clear the clog. Then, clean and disinfect for a fresh, functional bathroom.
- Be prepared to tackle toilet clogs with confidence. Gather tools, turn off water, flush, use a plunger, and clean for a hygienic and stress-free bathroom.
Read more: Toilet Bowl Doesn’t Empty When Flushed
Step 1: Gather necessary tools and materials
Before embarking on the task of emptying a toilet bowl, it's essential to gather the necessary tools and materials to ensure a smooth and efficient process. Having the right equipment at hand can make a significant difference in addressing the issue effectively. Here's a comprehensive list of tools and materials you'll need:
-
Rubber Gloves: It's crucial to protect your hands from coming into direct contact with any waste or potentially harmful bacteria. Rubber gloves provide a barrier and help maintain hygiene throughout the process.
-
Plunger: A high-quality plunger is a fundamental tool for clearing toilet bowl clogs. Look for a heavy-duty rubber plunger with a flange or extension at the bottom, specifically designed for toilets.
-
Wet/Dry Vacuum: In cases of stubborn clogs or excessive water accumulation, a wet/dry vacuum can be invaluable for removing water and debris from the toilet bowl and drain.
-
Bucket: Having a sturdy bucket on hand can be useful for transferring water or collecting excess water from the toilet bowl.
-
Old Towels or Rags: Keep a supply of old towels or rags nearby to clean up any spills or to dry the area after emptying the toilet bowl.
-
Plastic Bags: It's essential to have a few plastic bags available for disposing of any waste or soiled materials.
-
Safety Goggles (Optional): While not always necessary, safety goggles can provide an extra layer of protection, especially if there's a risk of splashing during the emptying process.
By ensuring that you have these tools and materials readily available, you can approach the task of emptying a toilet bowl with confidence and preparedness. With the right equipment at your disposal, you'll be well-equipped to tackle the issue effectively and restore your bathroom to a clean and functional state.
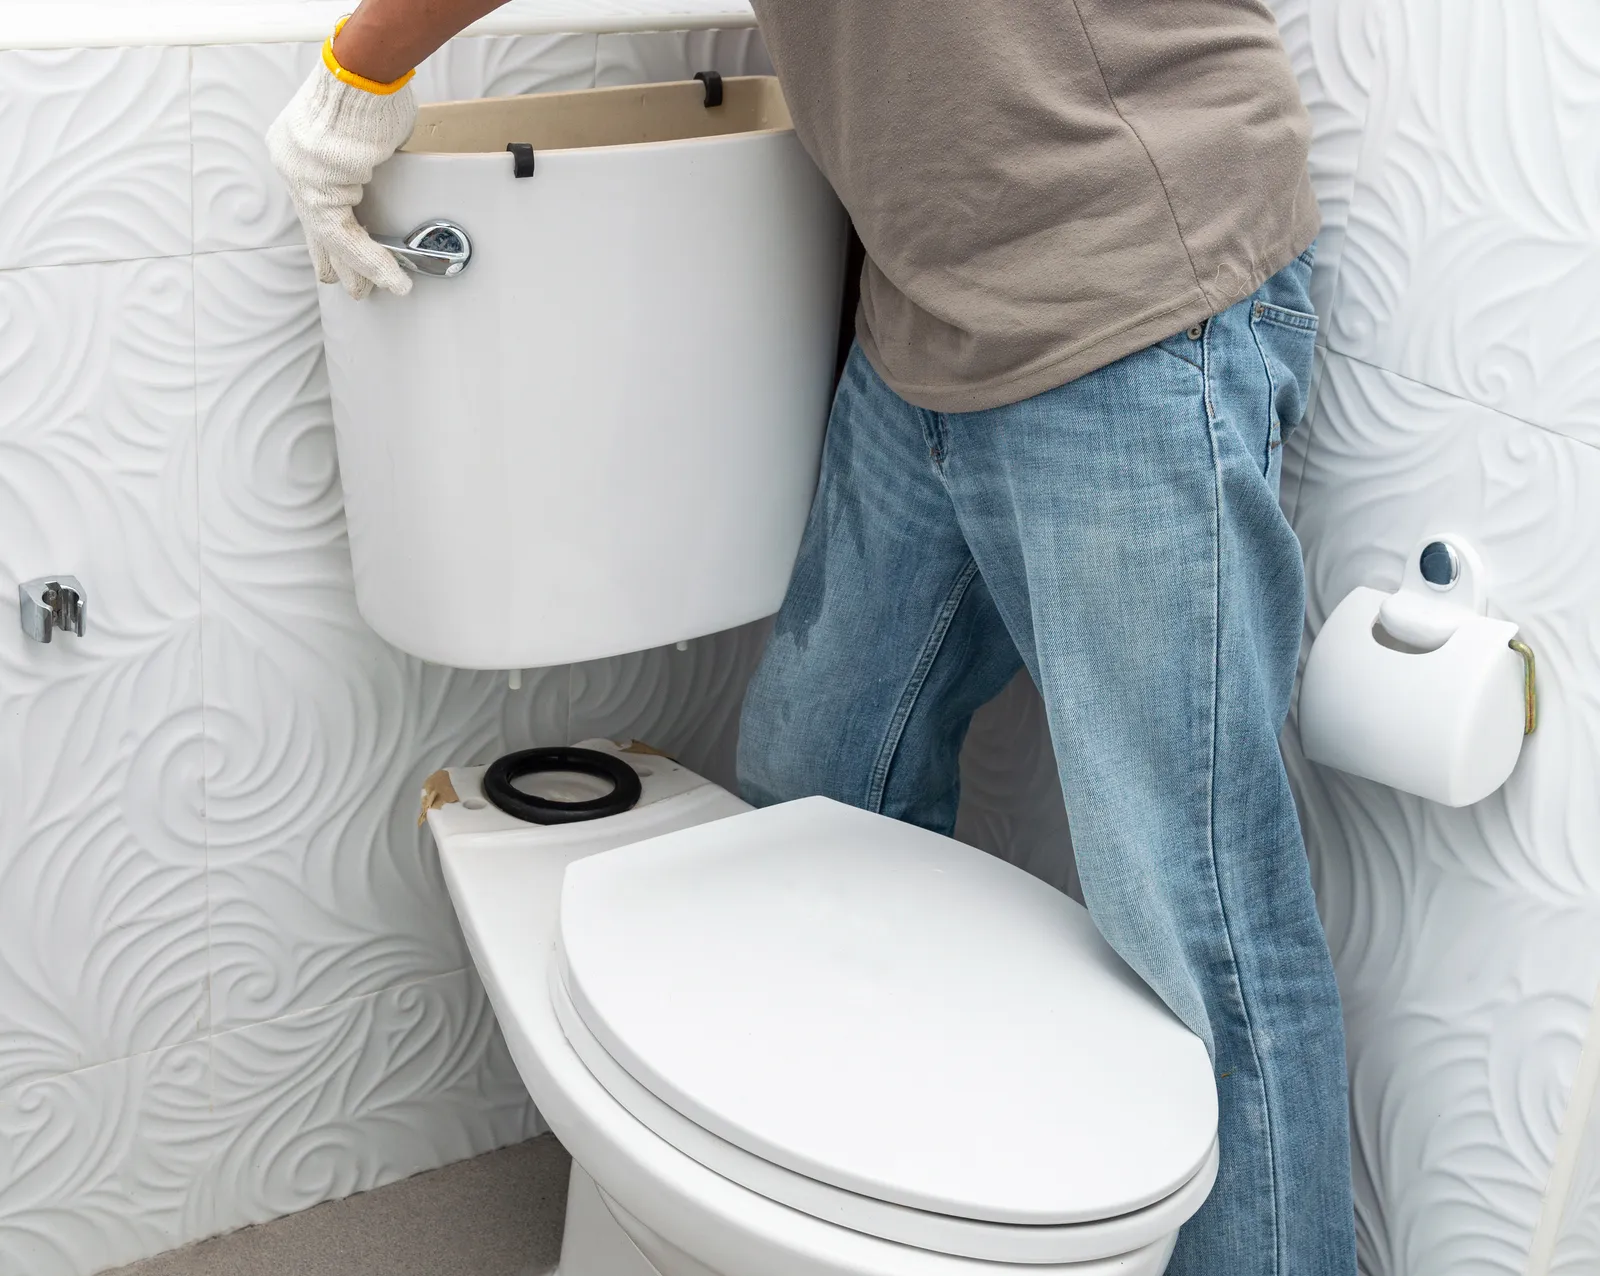
Step 2: Turn off the water supply
Turning off the water supply is a crucial initial step when dealing with a clogged or overflowing toilet. By halting the flow of water into the toilet bowl, you can prevent further complications and create a safer environment for addressing the issue. Here's a detailed guide on how to effectively turn off the water supply to the toilet:
-
Locate the Shut-Off Valve: The shut-off valve is typically located behind the toilet near the floor or on the wall. It is essential to familiarize yourself with the valve's location beforehand to avoid any confusion during an emergency. Once you've identified the shut-off valve, ensure that there is clear access to it without any obstructions.
-
Turn the Valve Clockwise: To shut off the water supply, turn the valve clockwise (to the right) until it is fully closed. This action will stop the flow of water into the toilet tank and bowl, effectively preventing any additional water from entering the system.
-
Verify the Water Supply Is Off: After turning the shut-off valve, it's important to verify that the water supply has been successfully turned off. You can do this by flushing the toilet and ensuring that no new water enters the bowl. Additionally, listen for any sounds of running water to confirm that the supply has been effectively shut off.
-
Consider Additional Precautions: In situations where the shut-off valve is inaccessible or non-functional, it may be necessary to turn off the main water supply to the entire house. This precaution can help mitigate potential water damage and provide a safer working environment for addressing the toilet issue.
By following these steps to turn off the water supply, you can effectively control the flow of water to the toilet and minimize the risk of further complications. This proactive measure sets the stage for the subsequent steps in emptying the toilet bowl and addressing the underlying cause of the clog. With the water supply successfully turned off, you can proceed with confidence, knowing that you have created a safer and more manageable environment for resolving the issue.
Step 3: Flush the toilet to remove excess water
Once the water supply has been successfully turned off, the next step in emptying a toilet bowl is to flush the toilet and remove any excess water from the bowl and tank. Flushing the toilet serves the dual purpose of reducing the water level in the bowl and providing a clearer view of the underlying issue. Here's a detailed guide on how to effectively flush the toilet to remove excess water:
-
Lift the Toilet Tank Lid: Carefully lift the lid of the toilet tank and set it aside in a safe location. The tank contains the mechanism responsible for flushing and refilling the toilet bowl, and gaining access to it is essential for the next steps.
-
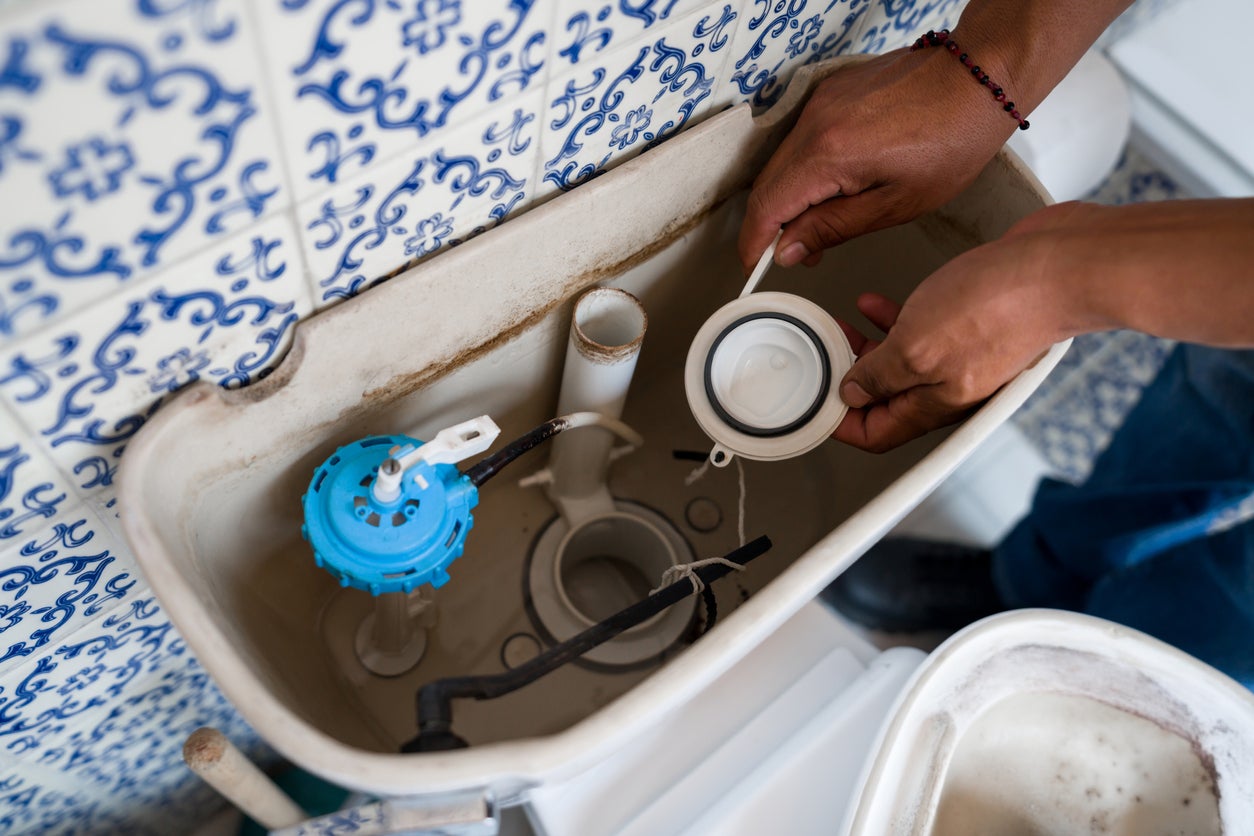
Locate the Flushing Mechanism: Inside the toilet tank, locate the flushing mechanism, which typically consists of a flapper or valve connected to the flush handle. Understanding the components of the flushing system can help you identify any potential issues that may be contributing to the clog.
-
Press and Hold the Flush Handle: Press and hold the flush handle to initiate the flushing process. By doing so, you can effectively drain the water from the tank into the bowl, reducing the water level and providing a clearer view of the remaining water and any potential obstructions.
-
Observe the Water Level: As the toilet flushes, observe the water level in the bowl to assess the effectiveness of the flush and identify any lingering clogs or blockages. A successful flush will result in a noticeable reduction in the water level, indicating that excess water has been removed from the bowl.
-
Repeat the Flush if Necessary: In cases where the initial flush does not sufficiently reduce the water level, consider repeating the flushing process to further remove excess water from the bowl. Multiple flushes may be necessary to achieve the desired water level for the subsequent steps in addressing the clog.
By following these steps to flush the toilet and remove excess water, you can effectively prepare the toilet bowl for the next phase of addressing the clog. Clearing the excess water not only provides a better view of the situation but also sets the stage for using a plunger to address any remaining obstructions. With the water level reduced, you can proceed with confidence, knowing that you have taken the necessary steps to create a more manageable environment for resolving the issue.
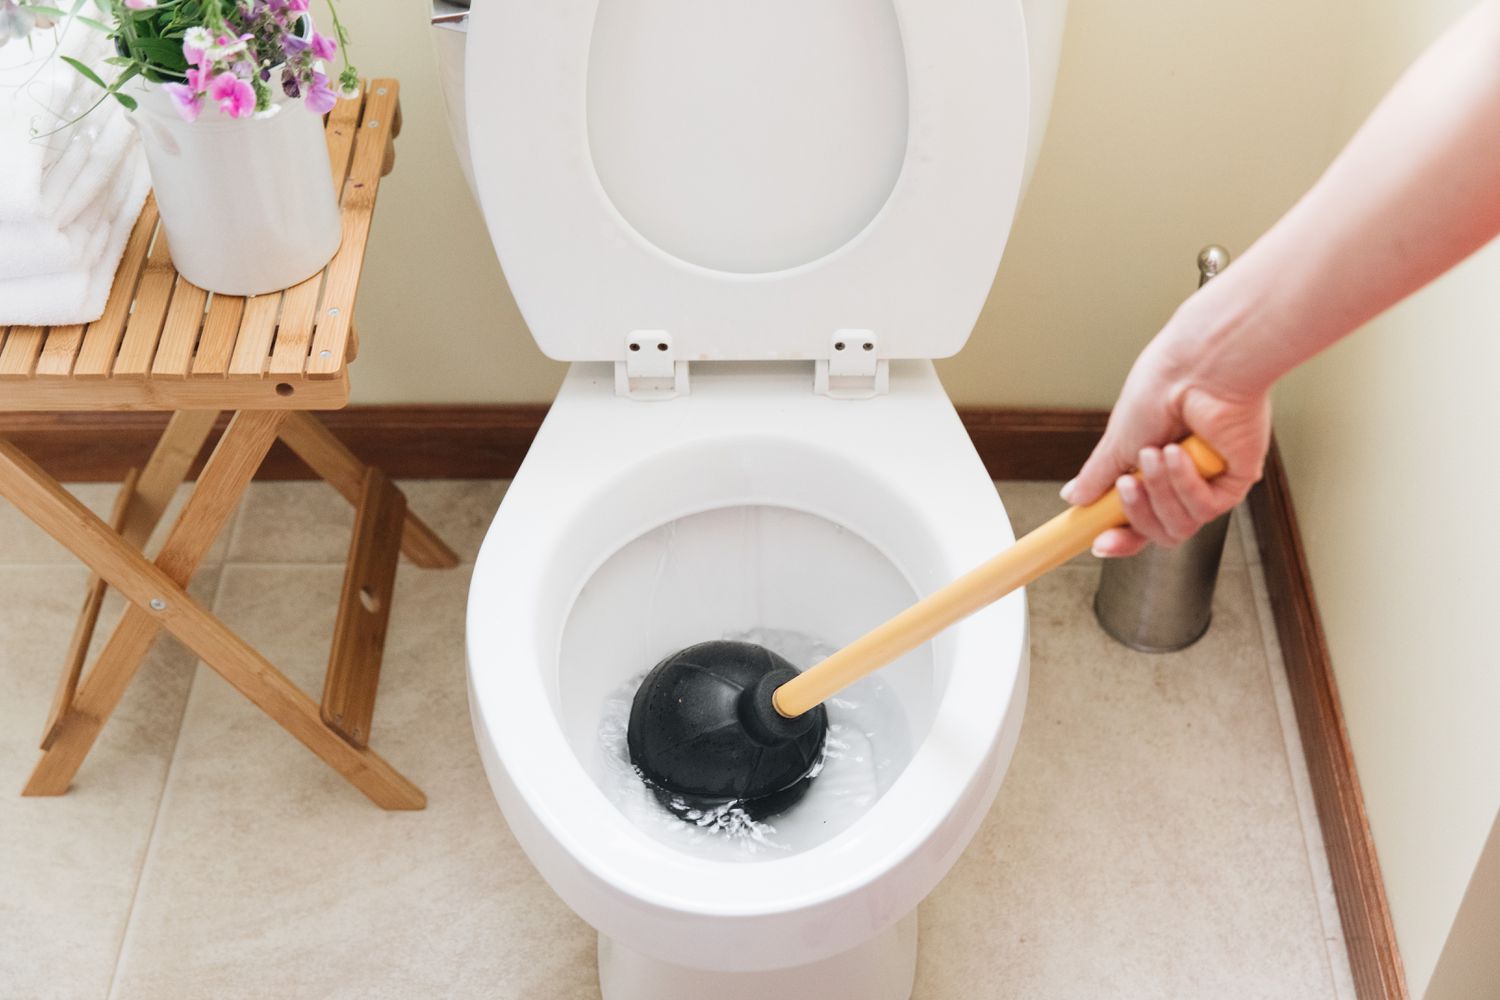
Use a plunger to unclog the toilet. Place the plunger over the drain and push down and pull up rapidly to create suction. This should help to empty the bowl.
Step 4: Use a plunger to remove remaining water and debris
With the excess water removed from the toilet bowl, the next crucial step in addressing a clog is to use a plunger to effectively remove any remaining water and debris. A plunger is a simple yet powerful tool designed to create suction and dislodge obstructions within the toilet drain. Here's a detailed guide on how to use a plunger to clear the remaining water and debris from the toilet bowl:
-
Select the Right Plunger: When using a plunger to clear a toilet clog, it's essential to choose the right type of plunger. A flange or accordion-style plunger specifically designed for toilets is the most effective option. These plungers feature a protruding rubber flange at the bottom, which creates a better seal and enhances suction during use.
-
Position the Plunger: Position the plunger at the center of the toilet bowl drain, ensuring that it covers the opening completely. The rubber flange should form a tight seal around the drain to maximize suction and pressure during the plunging process.
-
Apply Firm Pressure: With the plunger in position, apply firm and consistent pressure by pressing down on the handle and then pulling up in a controlled manner. The goal is to create a strong suction force that dislodges the clog and allows water and debris to move through the drain.
-
Repeat the Plunging Motion: Continue the plunging motion several times, maintaining a strong seal and applying consistent pressure with each repetition. The repeated action helps to dislodge the obstruction and clear the drain, allowing water to flow freely and restore the toilet's functionality.
-
Observe the Drainage: As you plunge, observe the drainage in the toilet bowl to determine if the water level is decreasing and if the clog is being effectively cleared. A successful plunging effort will result in improved drainage and a noticeable reduction in water level, indicating that the obstruction has been removed.
-
Flush the Toilet: After using the plunger, flush the toilet to verify that the clog has been successfully cleared. A successful flush will result in normal water flow and drainage, indicating that the remaining water and debris have been effectively removed from the toilet bowl.
By following these steps to use a plunger effectively, you can address the remaining water and debris in the toilet bowl and clear any obstructions that may be causing the clog. The proper use of a plunger can be highly effective in resolving minor toilet clogs and restoring the toilet's functionality without the need for professional intervention. With the remaining water and debris removed, you can proceed to the next steps in the process of emptying and cleaning the toilet bowl, ensuring that the issue is fully resolved.
Read more: How To Descale A Toilet Bowl
Step 5: Use a wet/dry vacuum to remove any stubborn clogs
In some cases, particularly when dealing with stubborn or persistent clogs, a plunger alone may not be sufficient to fully clear the obstruction from the toilet drain. When faced with a challenging clog that resists traditional plunging methods, using a wet/dry vacuum can provide an effective alternative for removing stubborn debris and restoring proper drainage in the toilet bowl.
Here's a detailed guide on how to use a wet/dry vacuum to remove stubborn clogs from a toilet:
-
Select the Appropriate Vacuum: Ensure that the wet/dry vacuum you intend to use is suitable for handling water and debris. Verify that the vacuum's hose and attachments are clean and free from any obstructions before use.
-
Prepare the Vacuum: If the wet/dry vacuum is not already set up for wet suction, adjust the settings accordingly to accommodate the removal of water and debris from the toilet bowl. Attach the appropriate nozzle or attachment to the vacuum hose to create a secure seal.
-
Position the Vacuum Hose: Carefully position the vacuum hose into the toilet bowl, ensuring that it reaches the bottom of the drain and forms a tight seal around the opening. The secure seal is essential for maximizing suction and effectively removing stubborn clogs.
-
Activate the Vacuum: Turn on the wet/dry vacuum and initiate the suction process. Allow the vacuum to draw in the water and debris from the toilet bowl, creating a powerful suction force that targets the stubborn clog and facilitates its removal.
-
Monitor the Progress: As the vacuum operates, monitor the progress of the suction process and observe the removal of water and debris from the toilet bowl. Pay close attention to any signs of improved drainage and reduced water level, indicating that the stubborn clog is being effectively cleared.
-
Repeat as Needed: If necessary, repeat the vacuuming process to ensure that the stubborn clog is fully removed from the toilet drain. Multiple passes with the wet/dry vacuum can help dislodge and extract any remaining debris, restoring proper functionality to the toilet.
By utilizing a wet/dry vacuum to remove stubborn clogs from the toilet, you can effectively address challenging obstructions that may resist traditional plunging methods. The powerful suction capabilities of a wet/dry vacuum provide a valuable alternative for clearing persistent clogs and restoring the proper flow of water in the toilet bowl. With the stubborn clog successfully removed, you can proceed with confidence to the next steps in the process of emptying and cleaning the toilet bowl, ensuring that the issue is fully resolved.
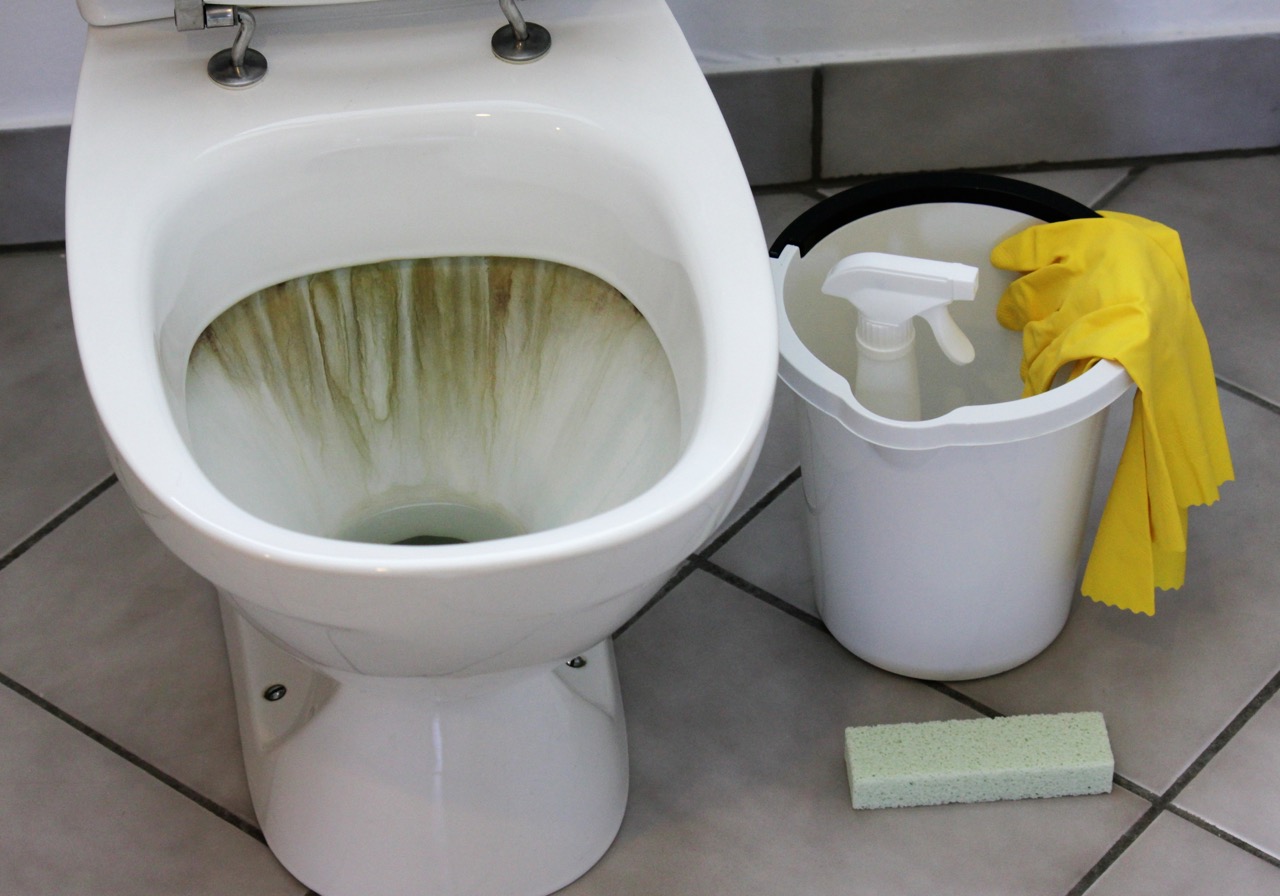
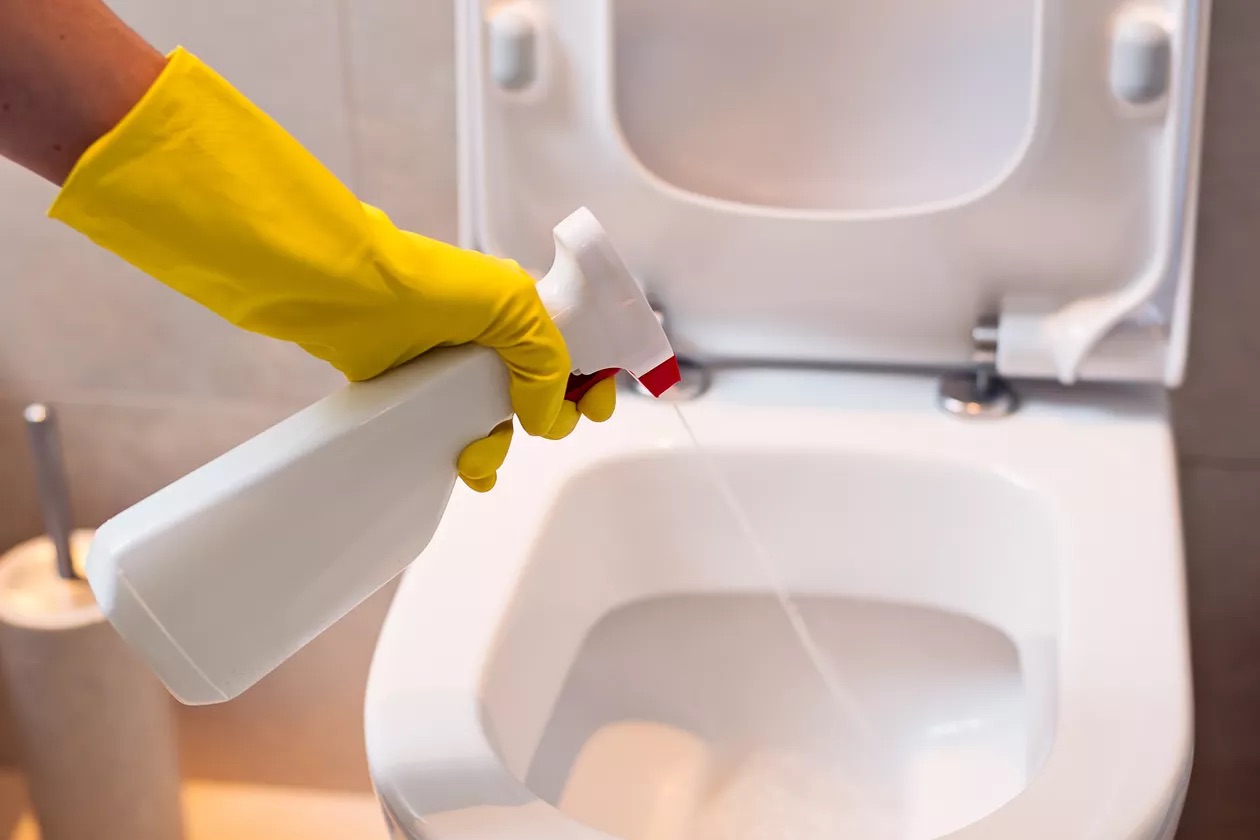
Step 6: Clean and disinfect the toilet bowl
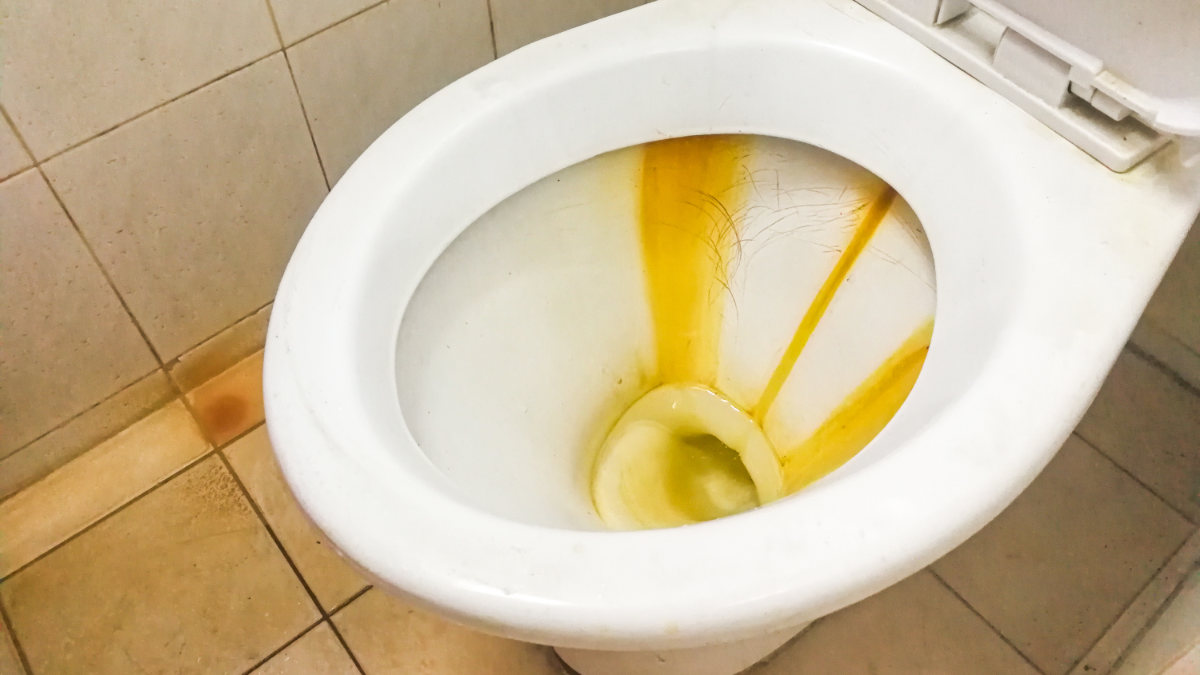
After successfully addressing the clog and emptying the toilet bowl of excess water and debris, the final step in restoring the functionality and cleanliness of the toilet involves thorough cleaning and disinfection. This critical step not only ensures the removal of any lingering bacteria and odors but also contributes to maintaining a hygienic and pleasant bathroom environment for you and your family.
Here's a detailed guide on how to effectively clean and disinfect the toilet bowl:
-
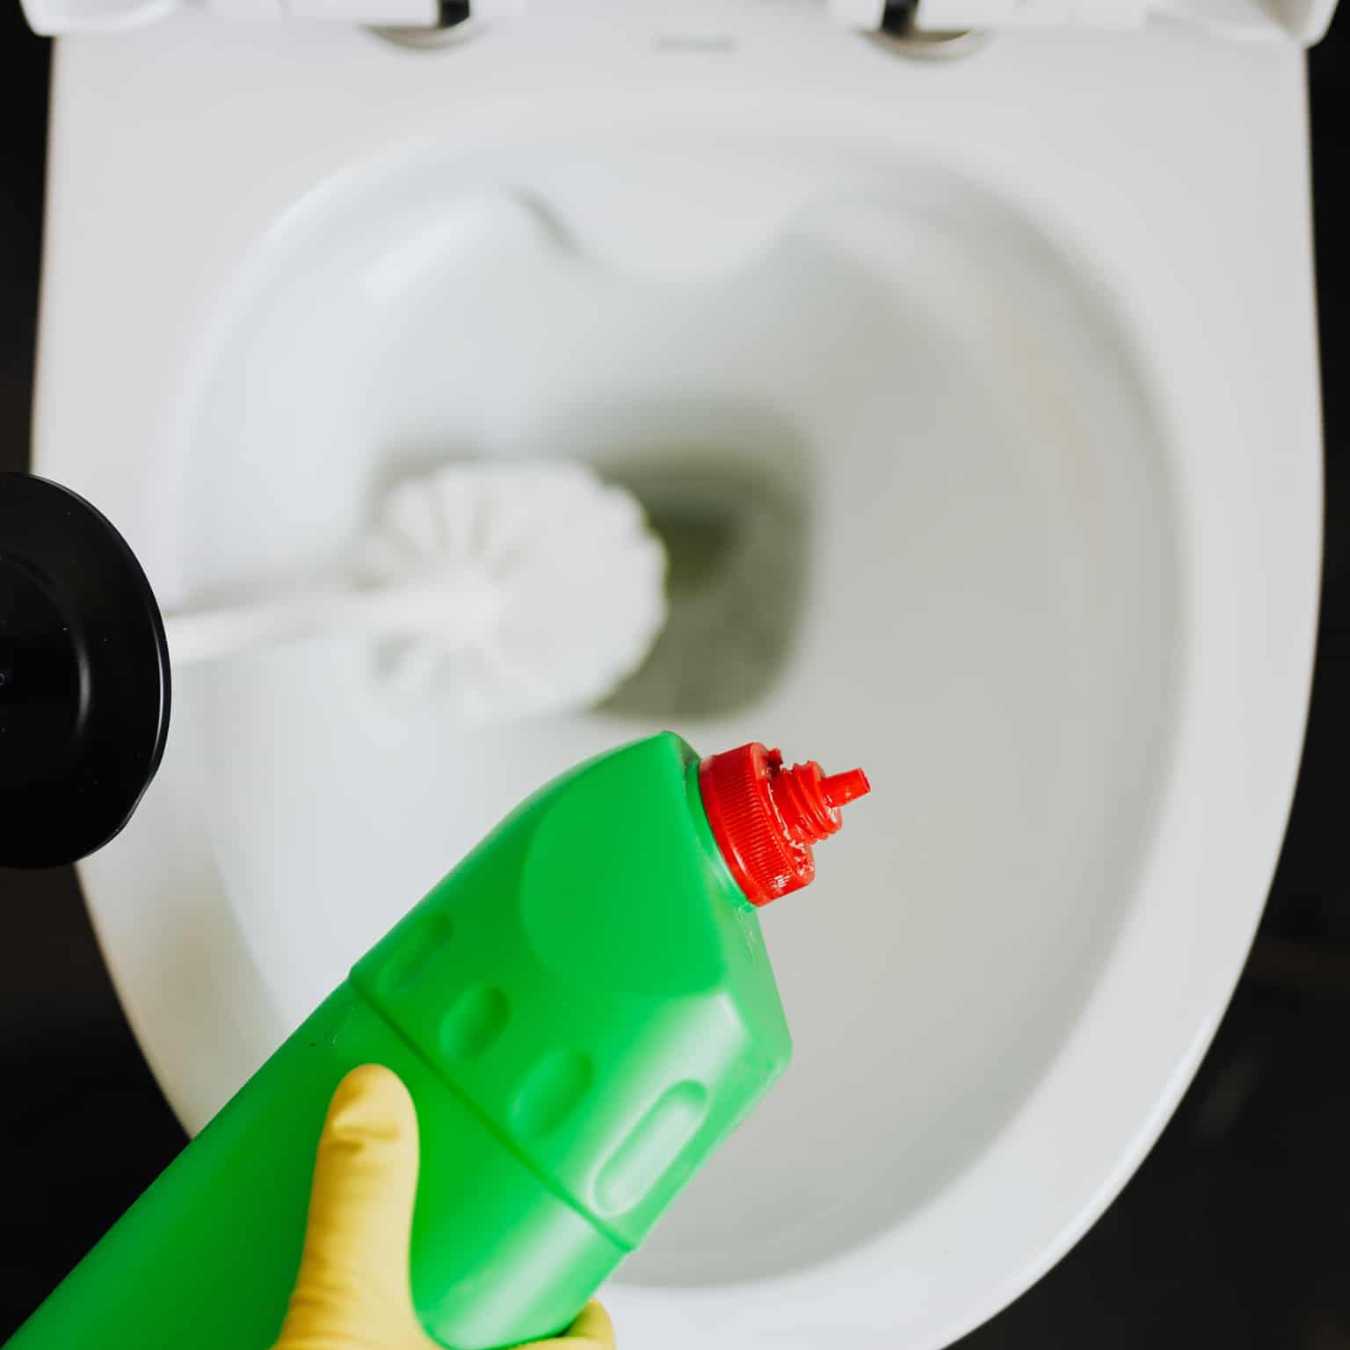
Prepare Cleaning Solutions: Begin by preparing a cleaning solution suitable for disinfecting the toilet bowl. A mixture of bleach and water or a commercial disinfectant specifically formulated for toilets can be highly effective in eliminating germs and bacteria.
-
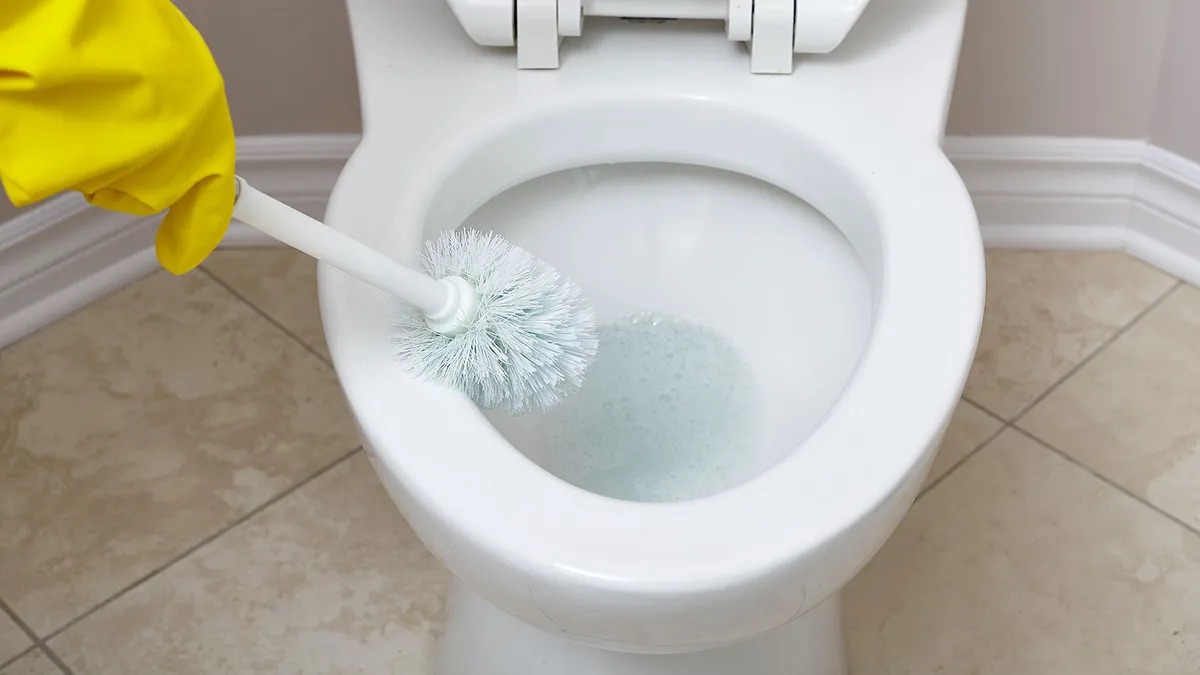
Apply the Cleaning Solution: Carefully apply the cleaning solution to the interior of the toilet bowl, ensuring thorough coverage of the surfaces. Use a toilet brush to scrub the bowl, focusing on areas under the rim and around the drain to remove any residual stains and bacteria.
-
Allow Dwell Time: After applying the cleaning solution, allow it to sit and dwell in the toilet bowl for the recommended period, as specified by the product instructions. This dwell time is essential for the disinfectant to effectively eliminate germs and bacteria, ensuring a thorough cleaning process.
-
Scrub and Rinse: Using a toilet brush, scrub the interior of the toilet bowl to agitate the cleaning solution and remove any remaining stains or residue. Once the bowl has been thoroughly scrubbed, flush the toilet to rinse away the cleaning solution and residual debris, leaving the bowl clean and refreshed.
-
Additional Disinfection: For added assurance, consider using disinfectant wipes or a spray disinfectant to clean the exterior surfaces of the toilet, including the handle, seat, and base. These commonly touched areas can harbor germs and bacteria, and thorough disinfection helps maintain overall hygiene.
-
Final Inspection: After cleaning and disinfecting the toilet bowl, perform a final inspection to ensure that all surfaces are clean and free from any lingering odors or stains. This visual inspection provides confidence that the toilet bowl has been effectively cleaned and disinfected.
By following these steps to clean and disinfect the toilet bowl, you can ensure that the entire toilet is free from germs, bacteria, and unpleasant odors. This final step not only completes the process of emptying and cleaning the toilet bowl but also contributes to maintaining a sanitary and inviting bathroom environment. With the toilet bowl thoroughly cleaned and disinfected, you can enjoy the peace of mind that comes with a clean and hygienic bathroom for you and your family.
Conclusion
In conclusion, knowing how to effectively empty a toilet bowl is a valuable skill that can save you from the inconvenience and frustration of dealing with a clogged or overflowing toilet. By following the step-by-step process outlined in this guide, you can confidently address toilet bowl issues and restore your bathroom to a clean and functional state.
The initial steps of gathering the necessary tools and materials, as well as turning off the water supply, set the stage for effectively managing the task at hand. With the right equipment and a safe working environment established, you can proceed with the subsequent steps of flushing the toilet to remove excess water and using a plunger to clear remaining debris. These proactive measures help address minor clogs and restore proper drainage in the toilet bowl.
In cases of stubborn or persistent clogs, the utilization of a wet/dry vacuum provides an effective alternative for removing challenging obstructions and restoring the functionality of the toilet. The powerful suction capabilities of a wet/dry vacuum can dislodge stubborn debris, ensuring that the toilet drain is clear and free from obstructions.
Finally, the critical step of cleaning and disinfecting the toilet bowl ensures the removal of germs, bacteria, and odors, contributing to a hygienic and pleasant bathroom environment. Thorough cleaning and disinfection not only address the immediate issue but also promote overall cleanliness and sanitation in the bathroom.
By mastering the process of emptying a toilet bowl and addressing common clogging issues, you can confidently navigate unexpected toilet-related challenges and maintain a clean and functional bathroom environment. With the right approach and a willingness to tackle the issue head-on, you can effectively address a clogged toilet and prevent future incidents from disrupting your daily routine.
In summary, the comprehensive guide presented here equips you with the knowledge and practical steps to handle toilet bowl issues with confidence and efficiency. By following these guidelines, you can effectively address clogs, restore proper functionality to your toilet, and ensure a clean and hygienic bathroom environment for yourself and your family.
Frequently Asked Questions about How To Empty A Toilet Bowl
Was this page helpful?
At Storables.com, we guarantee accurate and reliable information. Our content, validated by Expert Board Contributors, is crafted following stringent Editorial Policies. We're committed to providing you with well-researched, expert-backed insights for all your informational needs.
0 thoughts on “How To Empty A Toilet Bowl”