Home>Furniture & Design>Bathroom Accessories>How To Remove Non-Slip Stickers From Bathtub
Bathroom Accessories
How To Remove Non-Slip Stickers From Bathtub
Modified: October 20, 2024
Learn effective methods for removing non-slip stickers from your bathtub without damaging the surface. Discover safe techniques for maintaining your bathroom accessories.
(Many of the links in this article redirect to a specific reviewed product. Your purchase of these products through affiliate links helps to generate commission for Storables.com, at no extra cost. Learn more)
Introduction
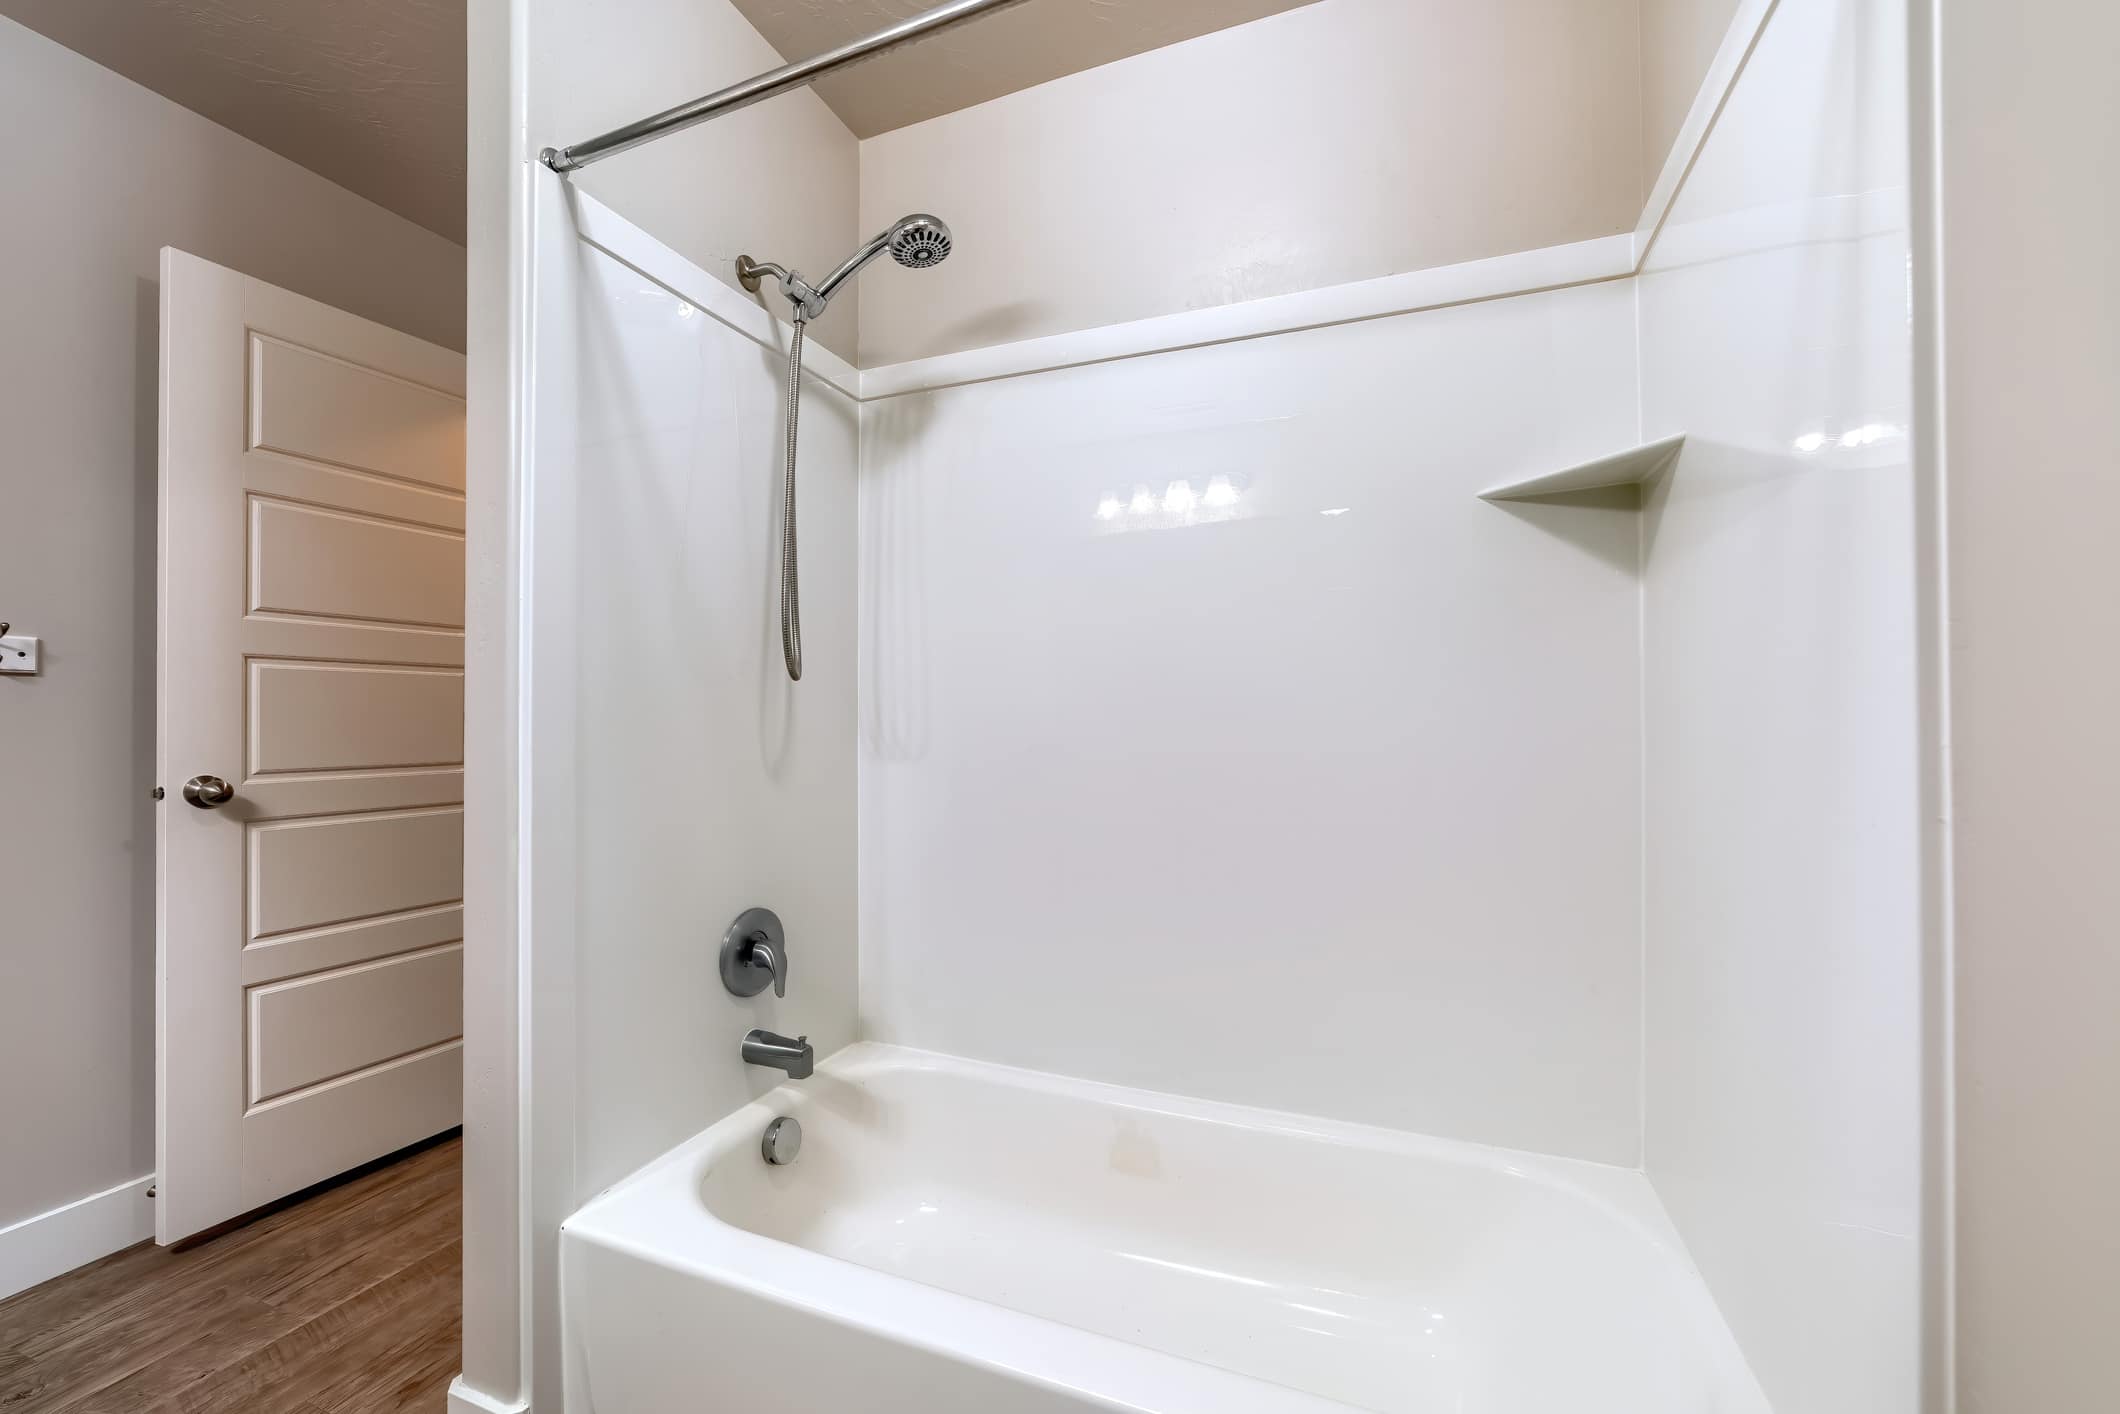
Removing non-slip stickers from a bathtub can be a daunting task, especially when the adhesive has firmly adhered to the surface. These stickers, while designed to enhance safety by preventing slips and falls, can become unsightly over time, leading to the desire to remove them. Whether you're looking to replace the stickers with new ones or restore the bathtub to its original appearance, it's essential to approach the removal process with care to avoid damaging the tub's surface.
In this comprehensive guide, we will walk you through the step-by-step process of safely and effectively removing non-slip stickers from your bathtub. By following these instructions and using the right tools and techniques, you can restore your bathtub to its former glory and create a smooth, clean surface that not only looks better but also feels more comfortable underfoot.
Removing non-slip stickers is a task that requires patience and attention to detail. Rushing through the process or using harsh chemicals can potentially damage the bathtub's finish or leave behind stubborn adhesive residue. Therefore, it's crucial to approach the removal process methodically and with the right tools to achieve the best results.
Whether you're a seasoned DIY enthusiast or tackling this project for the first time, this guide will equip you with the knowledge and techniques needed to successfully remove non-slip stickers from your bathtub. With a bit of effort and the right approach, you can restore your bathtub to its original condition and create a safer, more aesthetically pleasing bathing environment for you and your family.
Key Takeaways:
- Safely remove non-slip stickers from your bathtub by softening the adhesive with a hairdryer, peeling off the stickers carefully, and using adhesive remover to clean any remaining residue.
- Gather essential materials like a hairdryer, plastic putty knife, adhesive remover, and mild soap to effectively remove non-slip stickers and restore your bathtub to its original condition.
Step 1: Gather the necessary materials
Before embarking on the task of removing non-slip stickers from your bathtub, it's essential to gather the necessary materials to ensure a smooth and effective process. Here's a list of items you'll need:
-
Hairdryer or Heat Gun: A hairdryer or heat gun will be used to soften the adhesive underneath the non-slip stickers, making them easier to peel off. The heat helps to loosen the grip of the adhesive, facilitating a more straightforward removal process.
-
Plastic Putty Knife or Razor Blade: These tools are crucial for gently lifting the edges of the stickers and carefully peeling them off the bathtub surface. A plastic putty knife is preferred to avoid scratching or damaging the tub, but a razor blade can be used cautiously on durable surfaces.
-
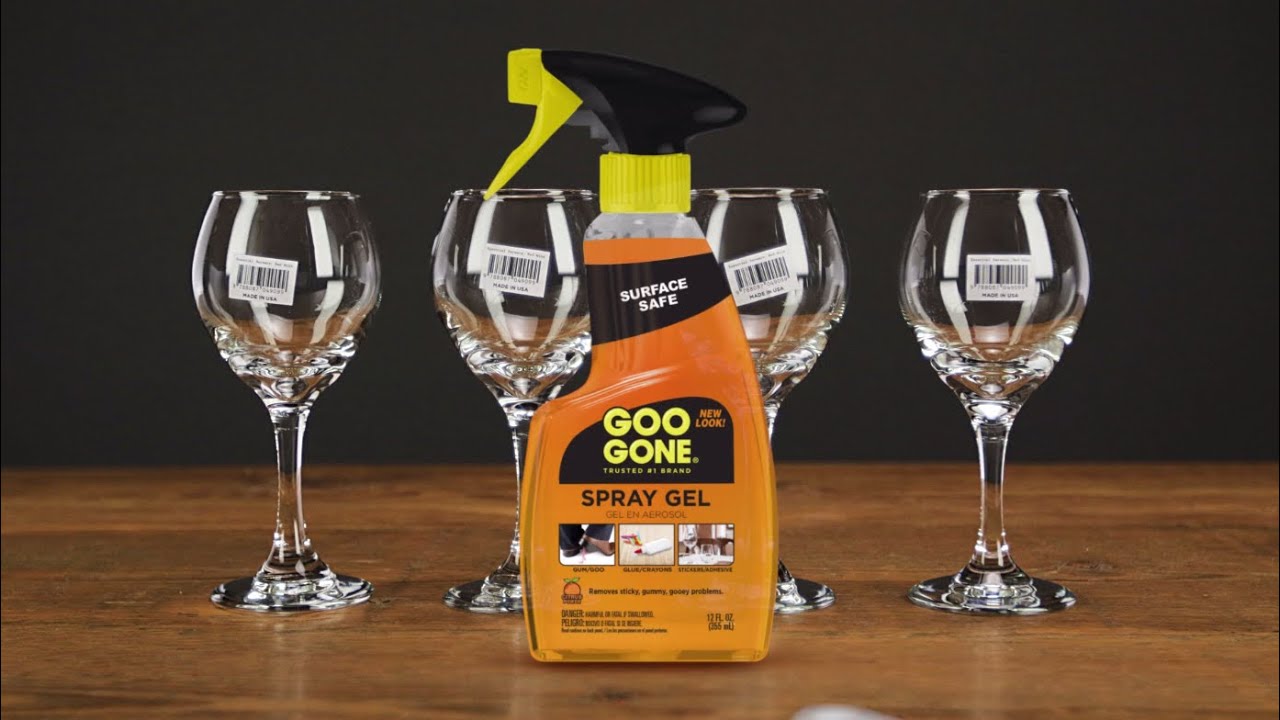
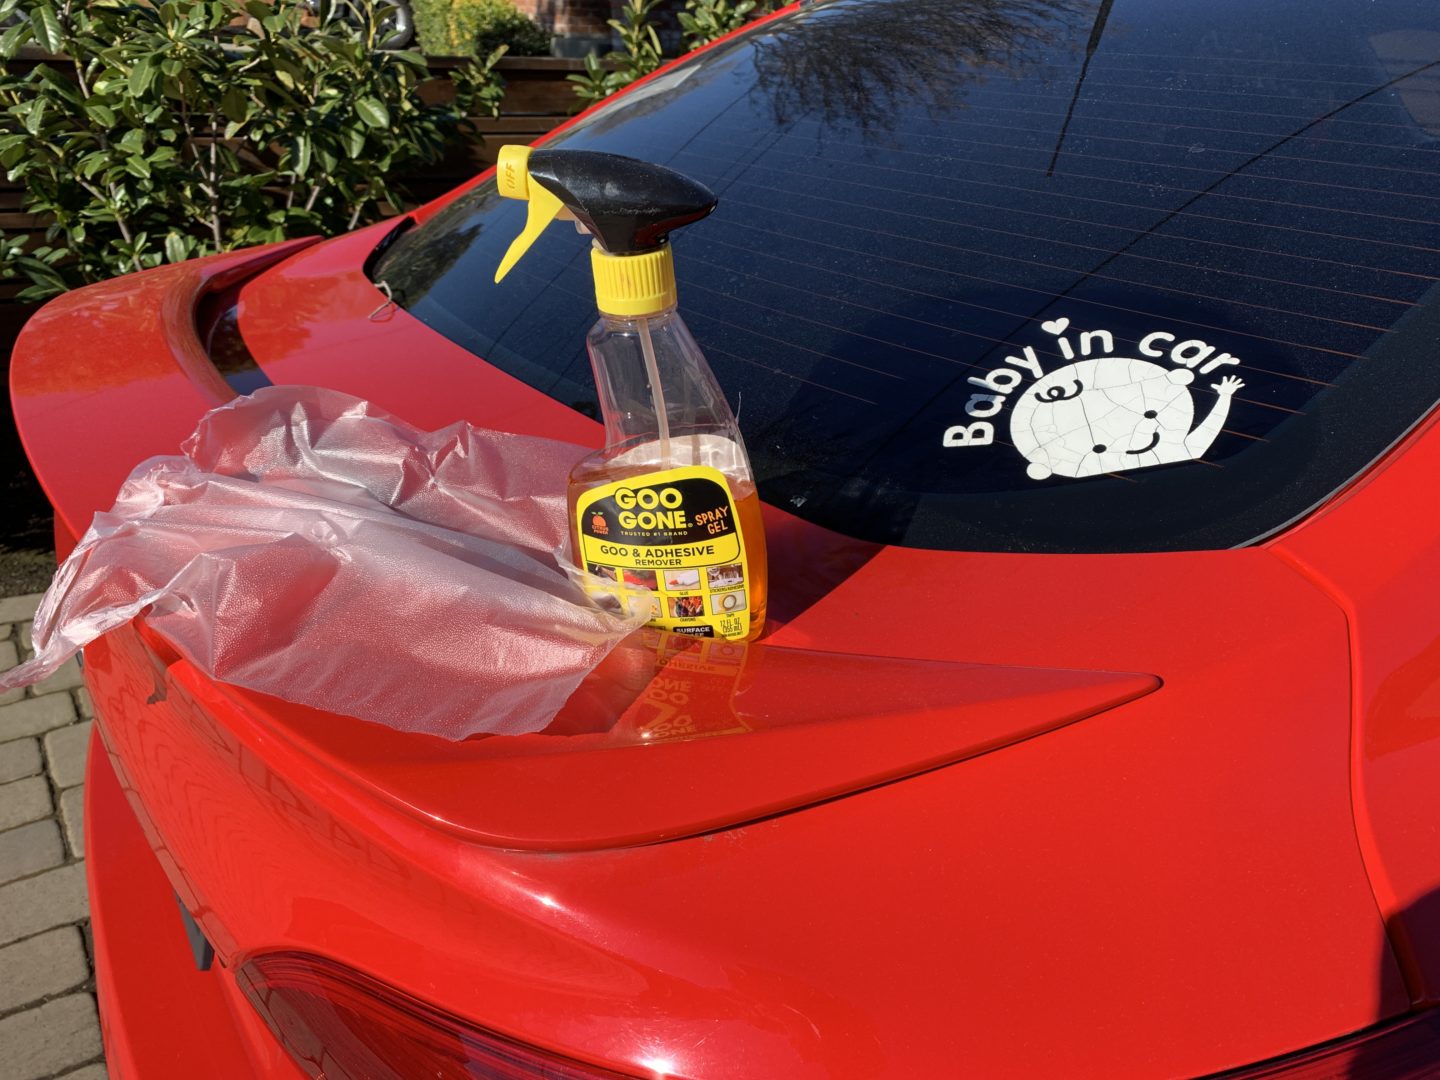
Adhesive Remover: An adhesive remover or solvent can be used to dissolve any remaining adhesive residue after the stickers have been removed. Look for a product that is safe for use on your bathtub's material, whether it's acrylic, fiberglass, enamel, or another type of surface.
-
Rubbing Alcohol: Rubbing alcohol is effective for removing stubborn adhesive residue and thoroughly cleaning the bathtub surface after the stickers have been peeled off. It helps to dissolve any remaining adhesive and leaves the surface clean and ready for use.
-
Microfiber Cloth or Soft Towel: Having a soft, non-abrasive cloth on hand is essential for wiping down the bathtub and ensuring that no residue or cleaning agents are left behind. A microfiber cloth is ideal for this purpose, as it is gentle on the surface and absorbs moisture effectively.
-
Mild Soap or Detergent: Using a mild soap or detergent, along with warm water, will help to clean the bathtub thoroughly after the sticker removal process. This step is crucial for removing any remaining traces of adhesive remover or rubbing alcohol.
By gathering these materials before you begin, you'll be well-prepared to tackle the task of removing non-slip stickers from your bathtub. With the right tools and a methodical approach, you can achieve a successful sticker removal process without causing any damage to the bathtub's surface.
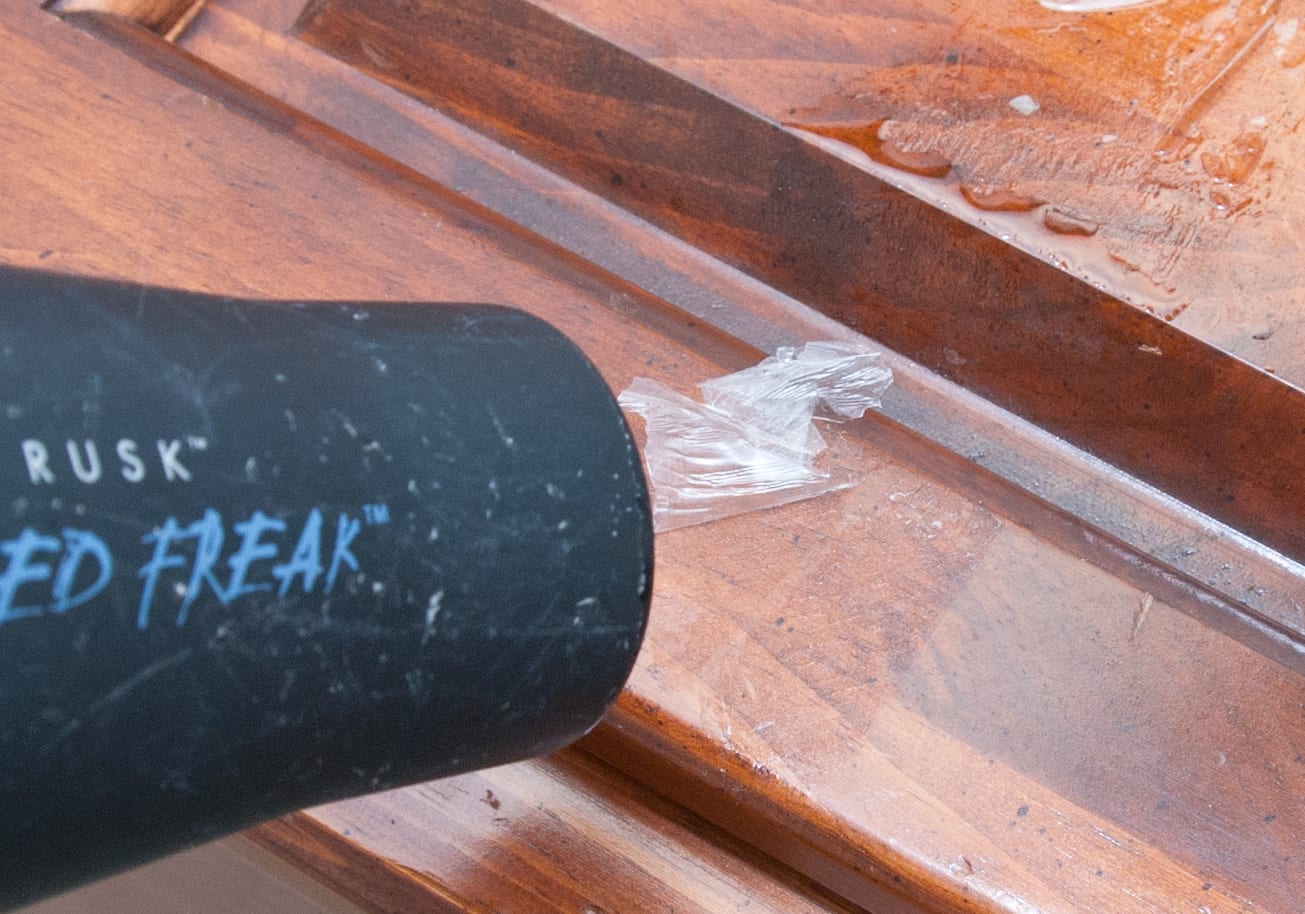
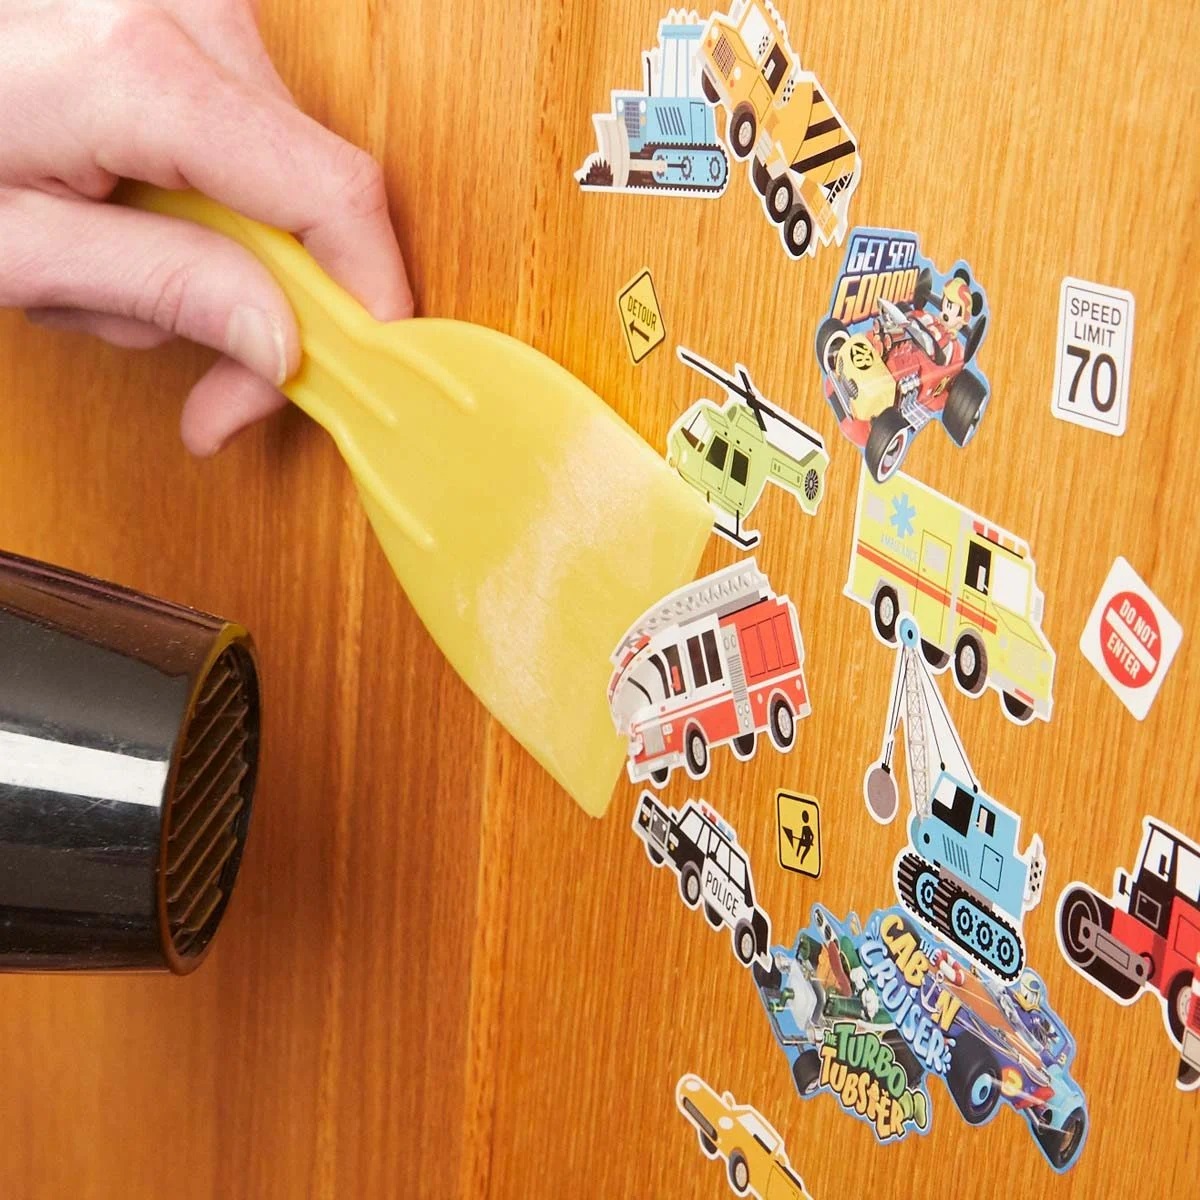
Step 2: Soften the adhesive
Softening the adhesive is a crucial step in the process of removing non-slip stickers from a bathtub. The adhesive used to secure these stickers is designed to adhere firmly to the surface, making it challenging to remove them without the proper technique. By softening the adhesive, you can make the stickers more pliable and easier to peel off, minimizing the risk of damaging the bathtub's surface.
To begin, gather your hairdryer or heat gun, as these tools will be instrumental in softening the adhesive. Hold the hairdryer or heat gun a few inches away from the non-slip stickers and turn it on to the highest heat setting. Direct the heat evenly across the surface of the stickers, moving the hairdryer or heat gun back and forth to ensure that the adhesive underneath begins to loosen.
As you apply the heat, you'll notice the stickers becoming more flexible and easier to lift. The goal is to warm the adhesive enough to weaken its grip on the bathtub surface without causing damage. Be patient during this process, as it may take a few minutes for the adhesive to soften adequately.
Once the adhesive has been sufficiently heated, carefully use a plastic putty knife or razor blade to lift the edges of the stickers. Start at one corner and gently work your way across, taking care not to apply too much force that could scratch or damage the bathtub. As the adhesive softens, the stickers should begin to peel away from the surface more easily.
If you encounter resistance or find that the stickers are still firmly attached, apply additional heat to the stubborn areas and continue to lift the edges gradually. Avoid rushing this step, as forcing the stickers off before the adhesive has softened enough can lead to residue being left behind or damage to the bathtub's finish.
By taking the time to soften the adhesive properly, you can make the subsequent steps of removing the non-slip stickers more manageable and less likely to result in damage to the bathtub. This methodical approach sets the stage for a successful sticker removal process, allowing you to restore your bathtub to its original condition without compromising its appearance or integrity.
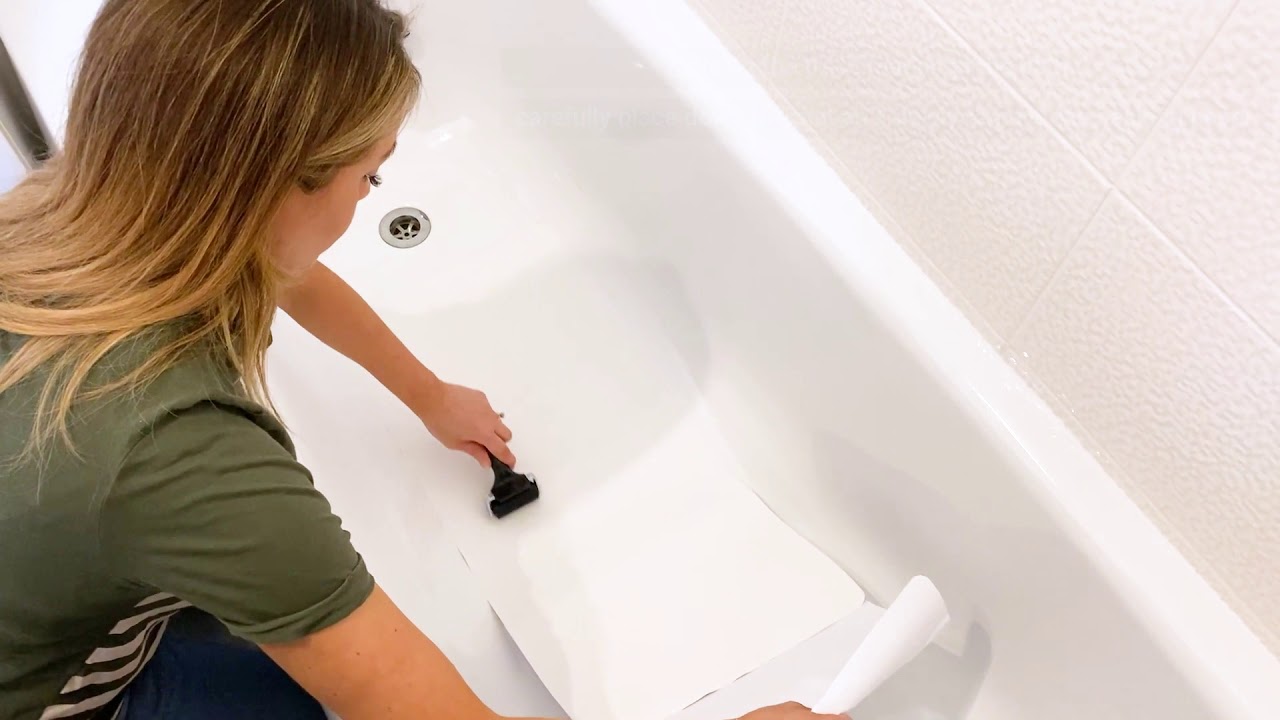
Step 3: Peel off the stickers
With the adhesive sufficiently softened, it's time to proceed to the next critical step: peeling off the non-slip stickers from the bathtub surface. This step requires patience and precision to ensure that the stickers are removed without leaving behind any residue or causing damage to the bathtub's finish.
Using a plastic putty knife or razor blade, gently lift the edges of the softened stickers from the bathtub surface. Start at one corner and carefully work your way across, applying even pressure to gradually peel the stickers away. It's essential to proceed slowly and cautiously, especially if the stickers have been in place for an extended period, as they may be more stubborn to remove.
As you peel off the stickers, be mindful of any resistance or areas where the adhesive may still be firmly attached to the bathtub. If you encounter stubborn spots, apply additional heat from the hairdryer or heat gun to further soften the adhesive before continuing to peel off the stickers. This methodical approach helps to minimize the risk of leaving behind adhesive residue or causing damage to the bathtub's surface.
Once the stickers have been successfully peeled off, inspect the bathtub surface to ensure that no adhesive residue remains. If you notice any lingering residue, proceed to the next step to address it promptly. However, if the surface appears clean and free of adhesive, you can proceed to the final steps of cleaning and restoring the bathtub to its original condition.
By taking the time to peel off the stickers carefully and thoroughly, you can minimize the likelihood of encountering challenges during the subsequent steps of the removal process. This meticulous approach sets the stage for a successful sticker removal, allowing you to achieve a smooth, clean bathtub surface without compromising its appearance or structural integrity.
Step 4: Remove any remaining residue
After peeling off the non-slip stickers, it's essential to address any remaining adhesive residue that may be left behind on the bathtub surface. Even with careful removal, it's common to encounter stubborn adhesive remnants that require attention to ensure a clean and smooth finish. By following the steps outlined below, you can effectively tackle any lingering residue and restore the bathtub to its original condition.
Read more: How To Clean Non-Slip Bathtub
Adhesive Remover or Solvent Application
To begin the residue removal process, apply a small amount of adhesive remover or solvent to the areas where adhesive remnants are present. Ensure that the product you use is safe for the specific material of your bathtub, whether it's acrylic, fiberglass, enamel, or another surface type. Carefully follow the manufacturer's instructions for application and ventilation to ensure safe and effective use.
Using a soft, clean cloth or sponge, gently dab the adhesive remover onto the affected areas, allowing it to penetrate and dissolve the remaining adhesive. It's important to avoid using excessive force or abrasive materials that could scratch or damage the bathtub surface. Allow the adhesive remover to work its magic for the recommended duration, giving it ample time to loosen the residue effectively.
Gentle Scrubbing and Wiping
Once the adhesive remover has had time to work, use a plastic putty knife or a soft-bristled brush to gently scrub the treated areas. The goal is to lift and dislodge the softened adhesive residue without causing any damage to the bathtub surface. Take care to apply gentle pressure and use smooth, controlled motions to avoid scratching or marring the finish.
After scrubbing the affected areas, use a clean, damp microfiber cloth or soft towel to wipe away the loosened adhesive residue. Ensure that the cloth is non-abrasive and gentle on the bathtub surface, allowing you to remove the residue without leaving behind any marks or scratches. Repeat the scrubbing and wiping process as needed until the bathtub surface is free of any remaining adhesive remnants.
Final Cleaning and Inspection
Once the adhesive residue has been successfully removed, it's crucial to give the bathtub a final cleaning to ensure that no traces of adhesive remover or solvent remain. Use a mild soap or detergent, along with warm water, to thoroughly clean the bathtub surface, removing any lingering residue and ensuring a pristine finish.
After cleaning, inspect the bathtub surface carefully to confirm that all adhesive remnants have been effectively eliminated. Take the time to examine the entire surface, paying attention to any potential areas where residue may still be present. If necessary, repeat the adhesive remover application and gentle scrubbing process to address any remaining traces of adhesive.
By diligently addressing any remaining adhesive residue, you can achieve a clean, smooth bathtub surface that is free of unsightly remnants. This meticulous approach ensures that the bathtub is restored to its original condition, ready to provide a safe and comfortable bathing experience for you and your family.
Step 5: Clean the bathtub
Cleaning the bathtub after removing non-slip stickers is a crucial final step in the process, ensuring that the surface is thoroughly cleansed of any remaining residue and ready for use. By following the steps outlined below, you can achieve a pristine and inviting bathtub that not only looks great but also provides a hygienic bathing environment for you and your family.
Read more: How To Make Your Bathtub Non-Slip
Mild Soap or Detergent Application
To begin the cleaning process, prepare a solution of mild soap or detergent and warm water. Using a clean sponge or soft cloth, apply the soapy solution to the entire bathtub surface, gently scrubbing to remove any residual adhesive remover, solvent, or general grime. The mild soap effectively lifts and dissolves any remaining traces of cleaning agents, leaving the bathtub surface clean and refreshed.
Rinse Thoroughly
After scrubbing the bathtub with the soapy solution, thoroughly rinse the entire surface with clean water. Ensure that all traces of soap, detergent, and loosened residue are completely removed, leaving behind a clean and residue-free surface. Pay particular attention to corners, edges, and any textured areas where residue may accumulate, ensuring that the entire bathtub is thoroughly rinsed and free of cleaning agents.
Dry with a Soft Towel or Microfiber Cloth
Once the bathtub has been rinsed, use a soft towel or microfiber cloth to dry the surface thoroughly. Wipe away any excess water, ensuring that the bathtub is left clean and dry. This step not only prevents water spots and streaks but also allows you to inspect the surface for any remaining residue or areas that may require additional cleaning.
Final Inspection
After the bathtub has been cleaned and dried, take a moment to inspect the entire surface carefully. Look for any lingering residue, water spots, or areas that may require further attention. If necessary, repeat the cleaning process in targeted areas to ensure that the bathtub surface is impeccably clean and ready for use.
By following these steps, you can achieve a clean, smooth, and inviting bathtub that is free of non-slip stickers and any residual adhesive. This final cleaning process ensures that your bathtub is restored to its original condition, providing a safe, comfortable, and aesthetically pleasing bathing environment for you and your family.
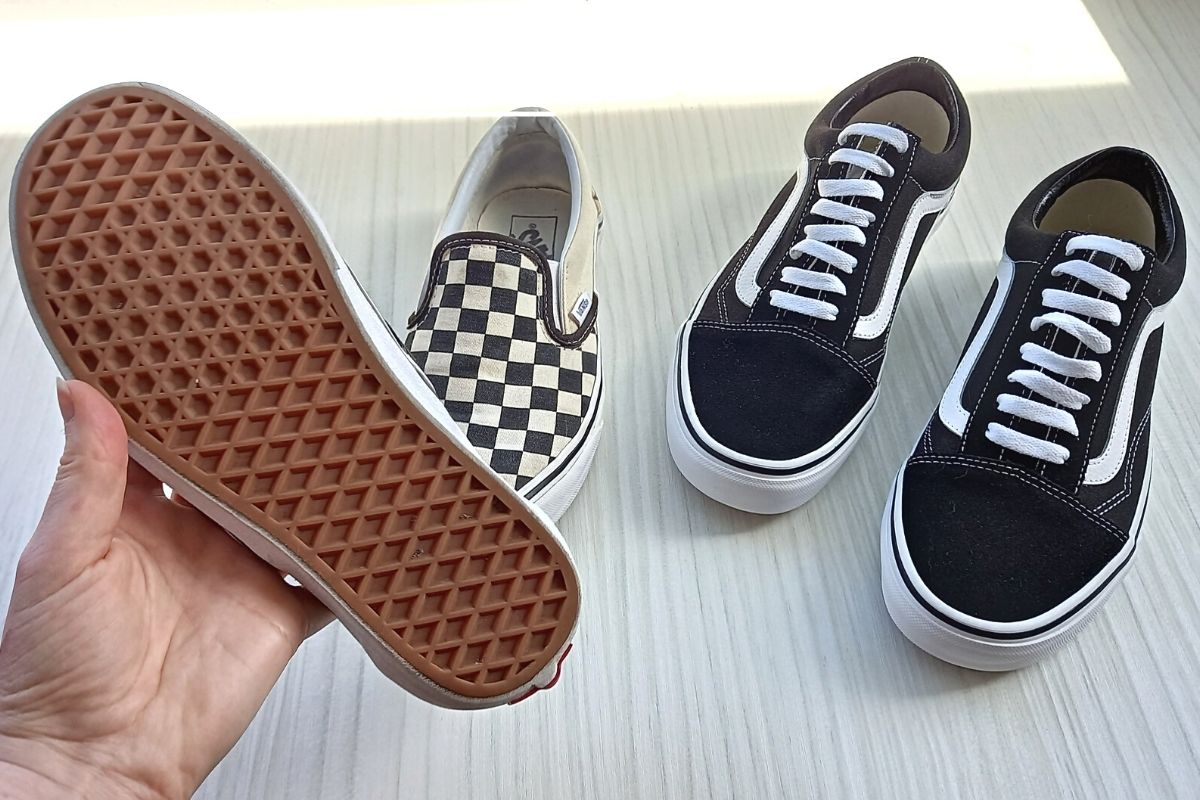
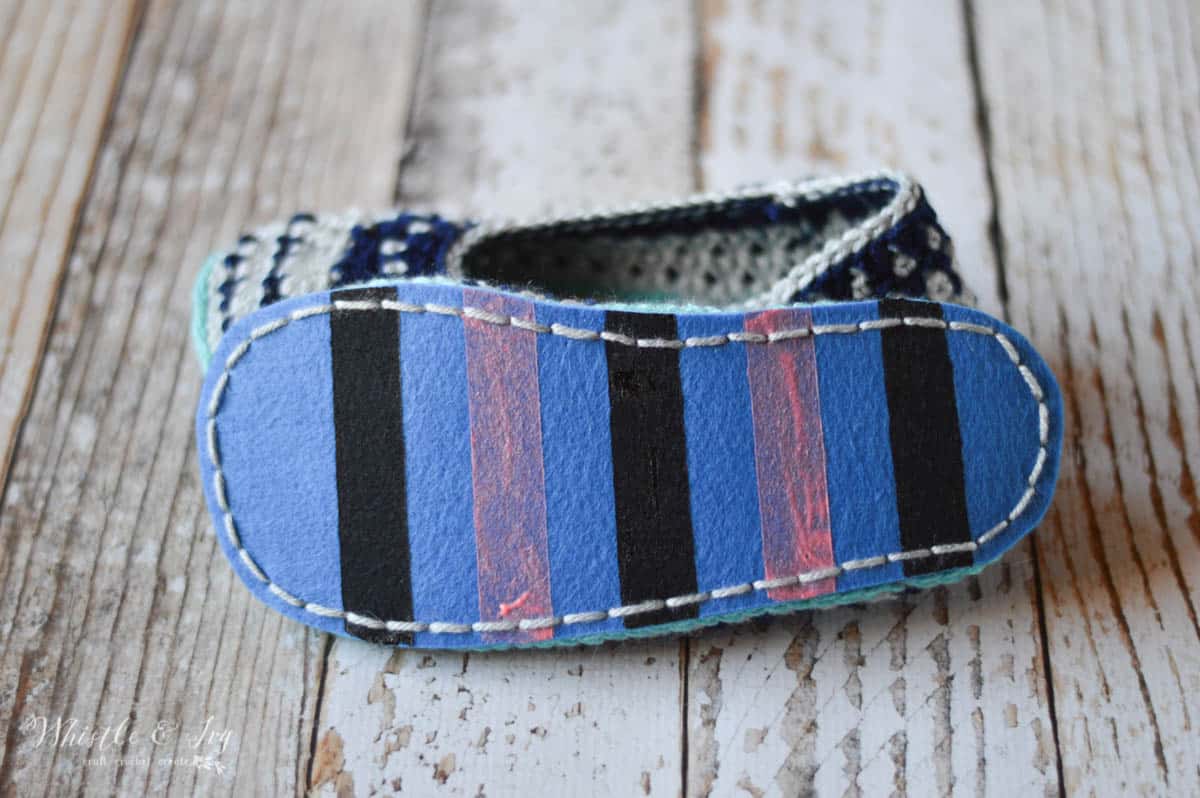
Read more: What Makes Non-Slip Shoes Non-Slip
Conclusion
In conclusion, the process of removing non-slip stickers from a bathtub requires patience, attention to detail, and the use of the right tools and techniques. By following the step-by-step guide outlined in this comprehensive article, you can successfully restore your bathtub to its original condition, creating a smooth, clean surface that not only looks better but also feels more comfortable underfoot.
The initial step of gathering the necessary materials sets the stage for a smooth and effective removal process. Having essential items such as a hairdryer or heat gun, plastic putty knife or razor blade, adhesive remover, rubbing alcohol, microfiber cloth or soft towel, and mild soap or detergent ensures that you are well-prepared to tackle the task at hand.
Softening the adhesive is a critical step that makes the subsequent removal process more manageable. By using a hairdryer or heat gun to gently warm the stickers and loosen the adhesive, you can minimize the risk of damaging the bathtub's surface while making the stickers easier to peel off.
Peeling off the stickers requires patience and precision to ensure that they are removed without leaving behind any residue or causing damage to the bathtub's finish. By carefully lifting the edges and gradually peeling the stickers away, you can minimize the likelihood of encountering challenges during the removal process.
Addressing any remaining adhesive residue is essential to achieving a clean and smooth bathtub surface. By using an adhesive remover or solvent, gentle scrubbing, and thorough cleaning, you can effectively eliminate any lingering residue and restore the bathtub to its original condition.
Finally, cleaning the bathtub after removing the non-slip stickers ensures that the surface is thoroughly cleansed of any remaining residue and ready for use. By following the steps outlined in the cleaning process, you can achieve a pristine and inviting bathtub that provides a hygienic bathing environment for you and your family.
In essence, the process of removing non-slip stickers from a bathtub is a task that requires careful attention and the right approach. By following the steps outlined in this guide and using the recommended tools and techniques, you can achieve a successful sticker removal process without causing any damage to the bathtub's surface. The result is a clean, smooth, and aesthetically pleasing bathtub that enhances both safety and comfort for your bathing experience.
Frequently Asked Questions about How To Remove Non-Slip Stickers From Bathtub
Was this page helpful?
At Storables.com, we guarantee accurate and reliable information. Our content, validated by Expert Board Contributors, is crafted following stringent Editorial Policies. We're committed to providing you with well-researched, expert-backed insights for all your informational needs.

0 thoughts on “How To Remove Non-Slip Stickers From Bathtub”