Furniture
How To Remove Stickers From A Dresser
Modified: January 6, 2024
Learn how to easily remove stickers from your dresser and restore it to its original condition. Our step-by-step guide will help you tackle this common furniture issue.
(Many of the links in this article redirect to a specific reviewed product. Your purchase of these products through affiliate links helps to generate commission for Storables.com, at no extra cost. Learn more)
Introduction
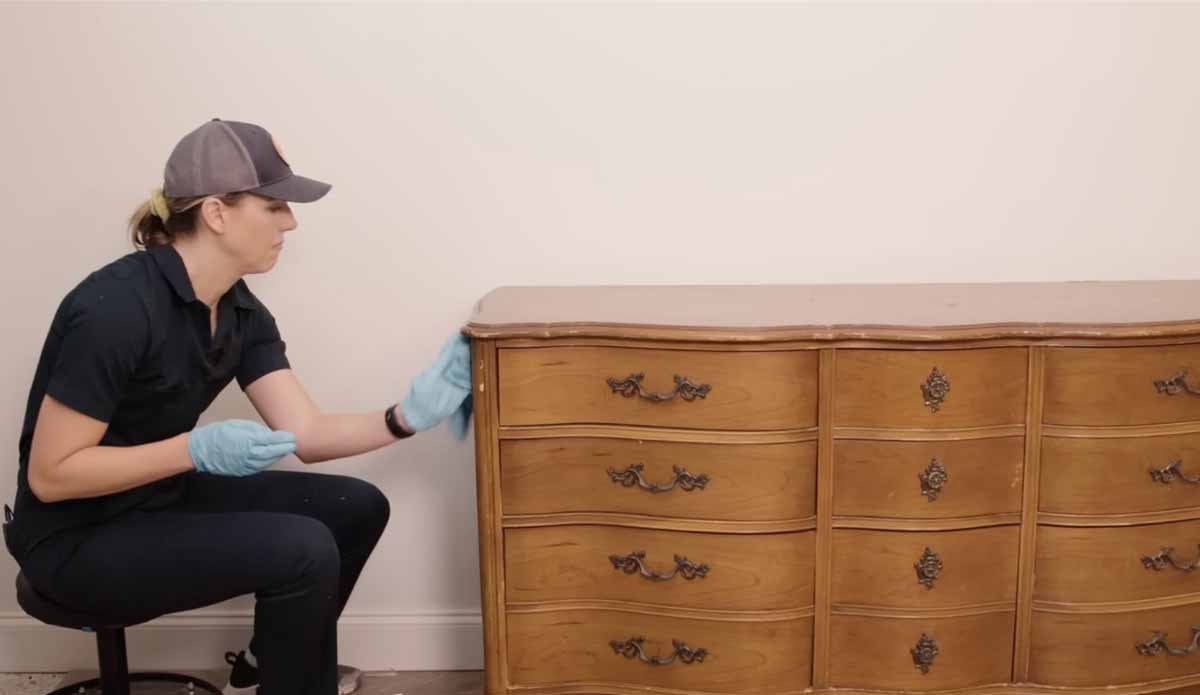
Stickers can be a fun way to personalize your belongings, including your beloved dresser. However, there may come a time when you want to remove those stickers and give your dresser a fresh look. But, how do you go about removing stickers from a dresser without leaving behind any sticky residue or damaging the surface?
In this article, I will walk you through five methods that can effectively remove stickers from your dresser. Whether you prefer using heat, solvents, natural ingredients, or commercial adhesive removers, or if you’d rather sand the surface, there is a method for you. Let’s dive in and explore each method in detail.
Key Takeaways:
- Say goodbye to stubborn stickers on your dresser with these five effective methods: heat, solvents, natural ingredients, commercial adhesive removers, and sanding. Choose the method that suits your preferences and restore your dresser’s beauty.
- Test any sticker removal method on a small area first to ensure it’s safe for your dresser’s material and finish. Work gently and patiently to avoid damaging the surface, and consider applying a fresh coat of varnish or paint for a complete makeover.
Read more: How To Remove A Sticker From Glass
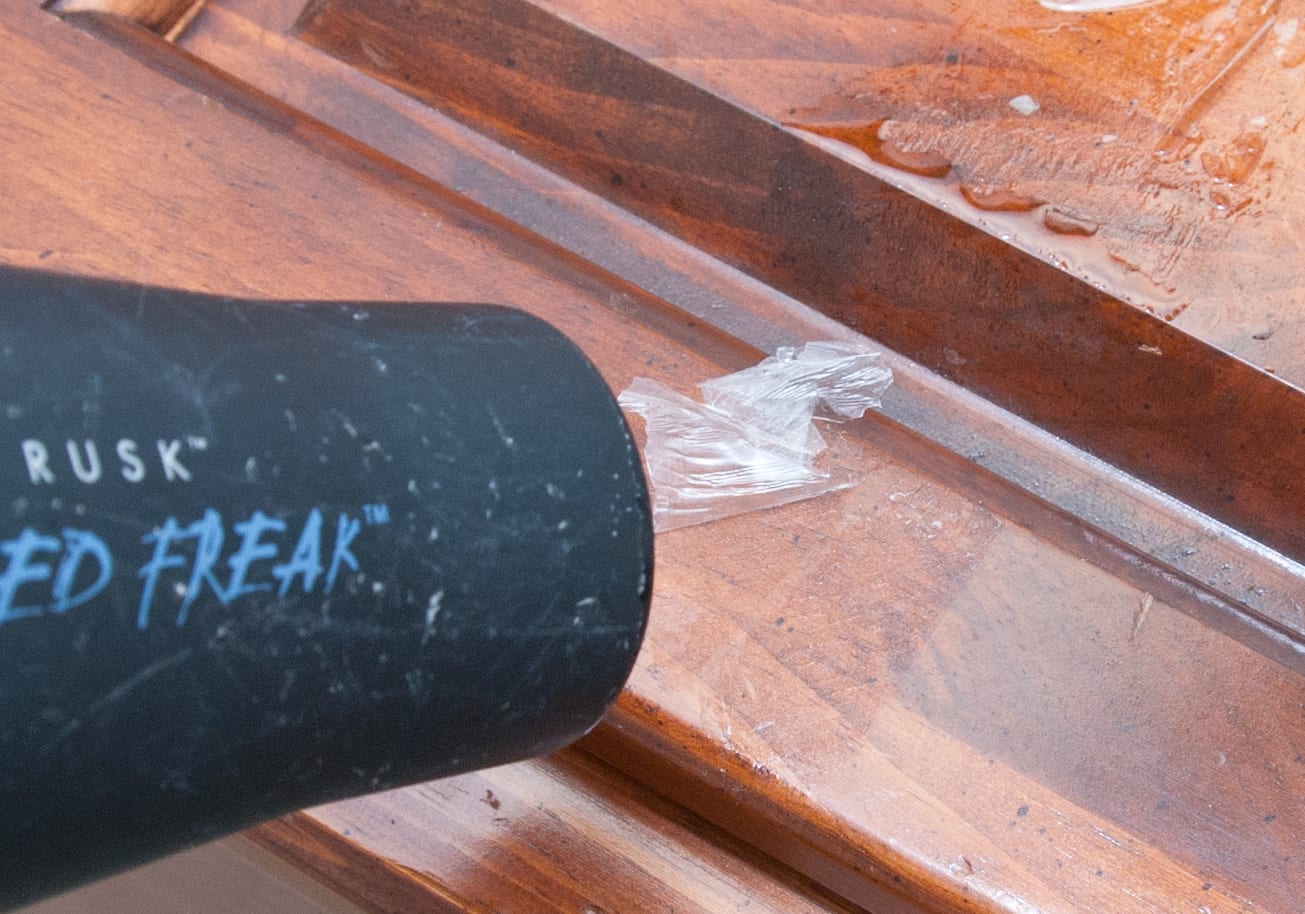
Method 1: Using Heat
Using heat is a common and effective method to remove stickers from surfaces. The heat helps to loosen the adhesive, making it easier to peel off the sticker. Here’s how you can use heat to remove stickers from your dresser:
- Start by using a hairdryer or a heat gun on the lowest heat setting. Hold the dryer or gun about 6-8 inches away from the sticker.
- Move the dryer or gun back and forth over the sticker, heating it for about 30 seconds to a minute. Be careful not to concentrate the heat on one spot for too long, as it may damage the surface of the dresser.
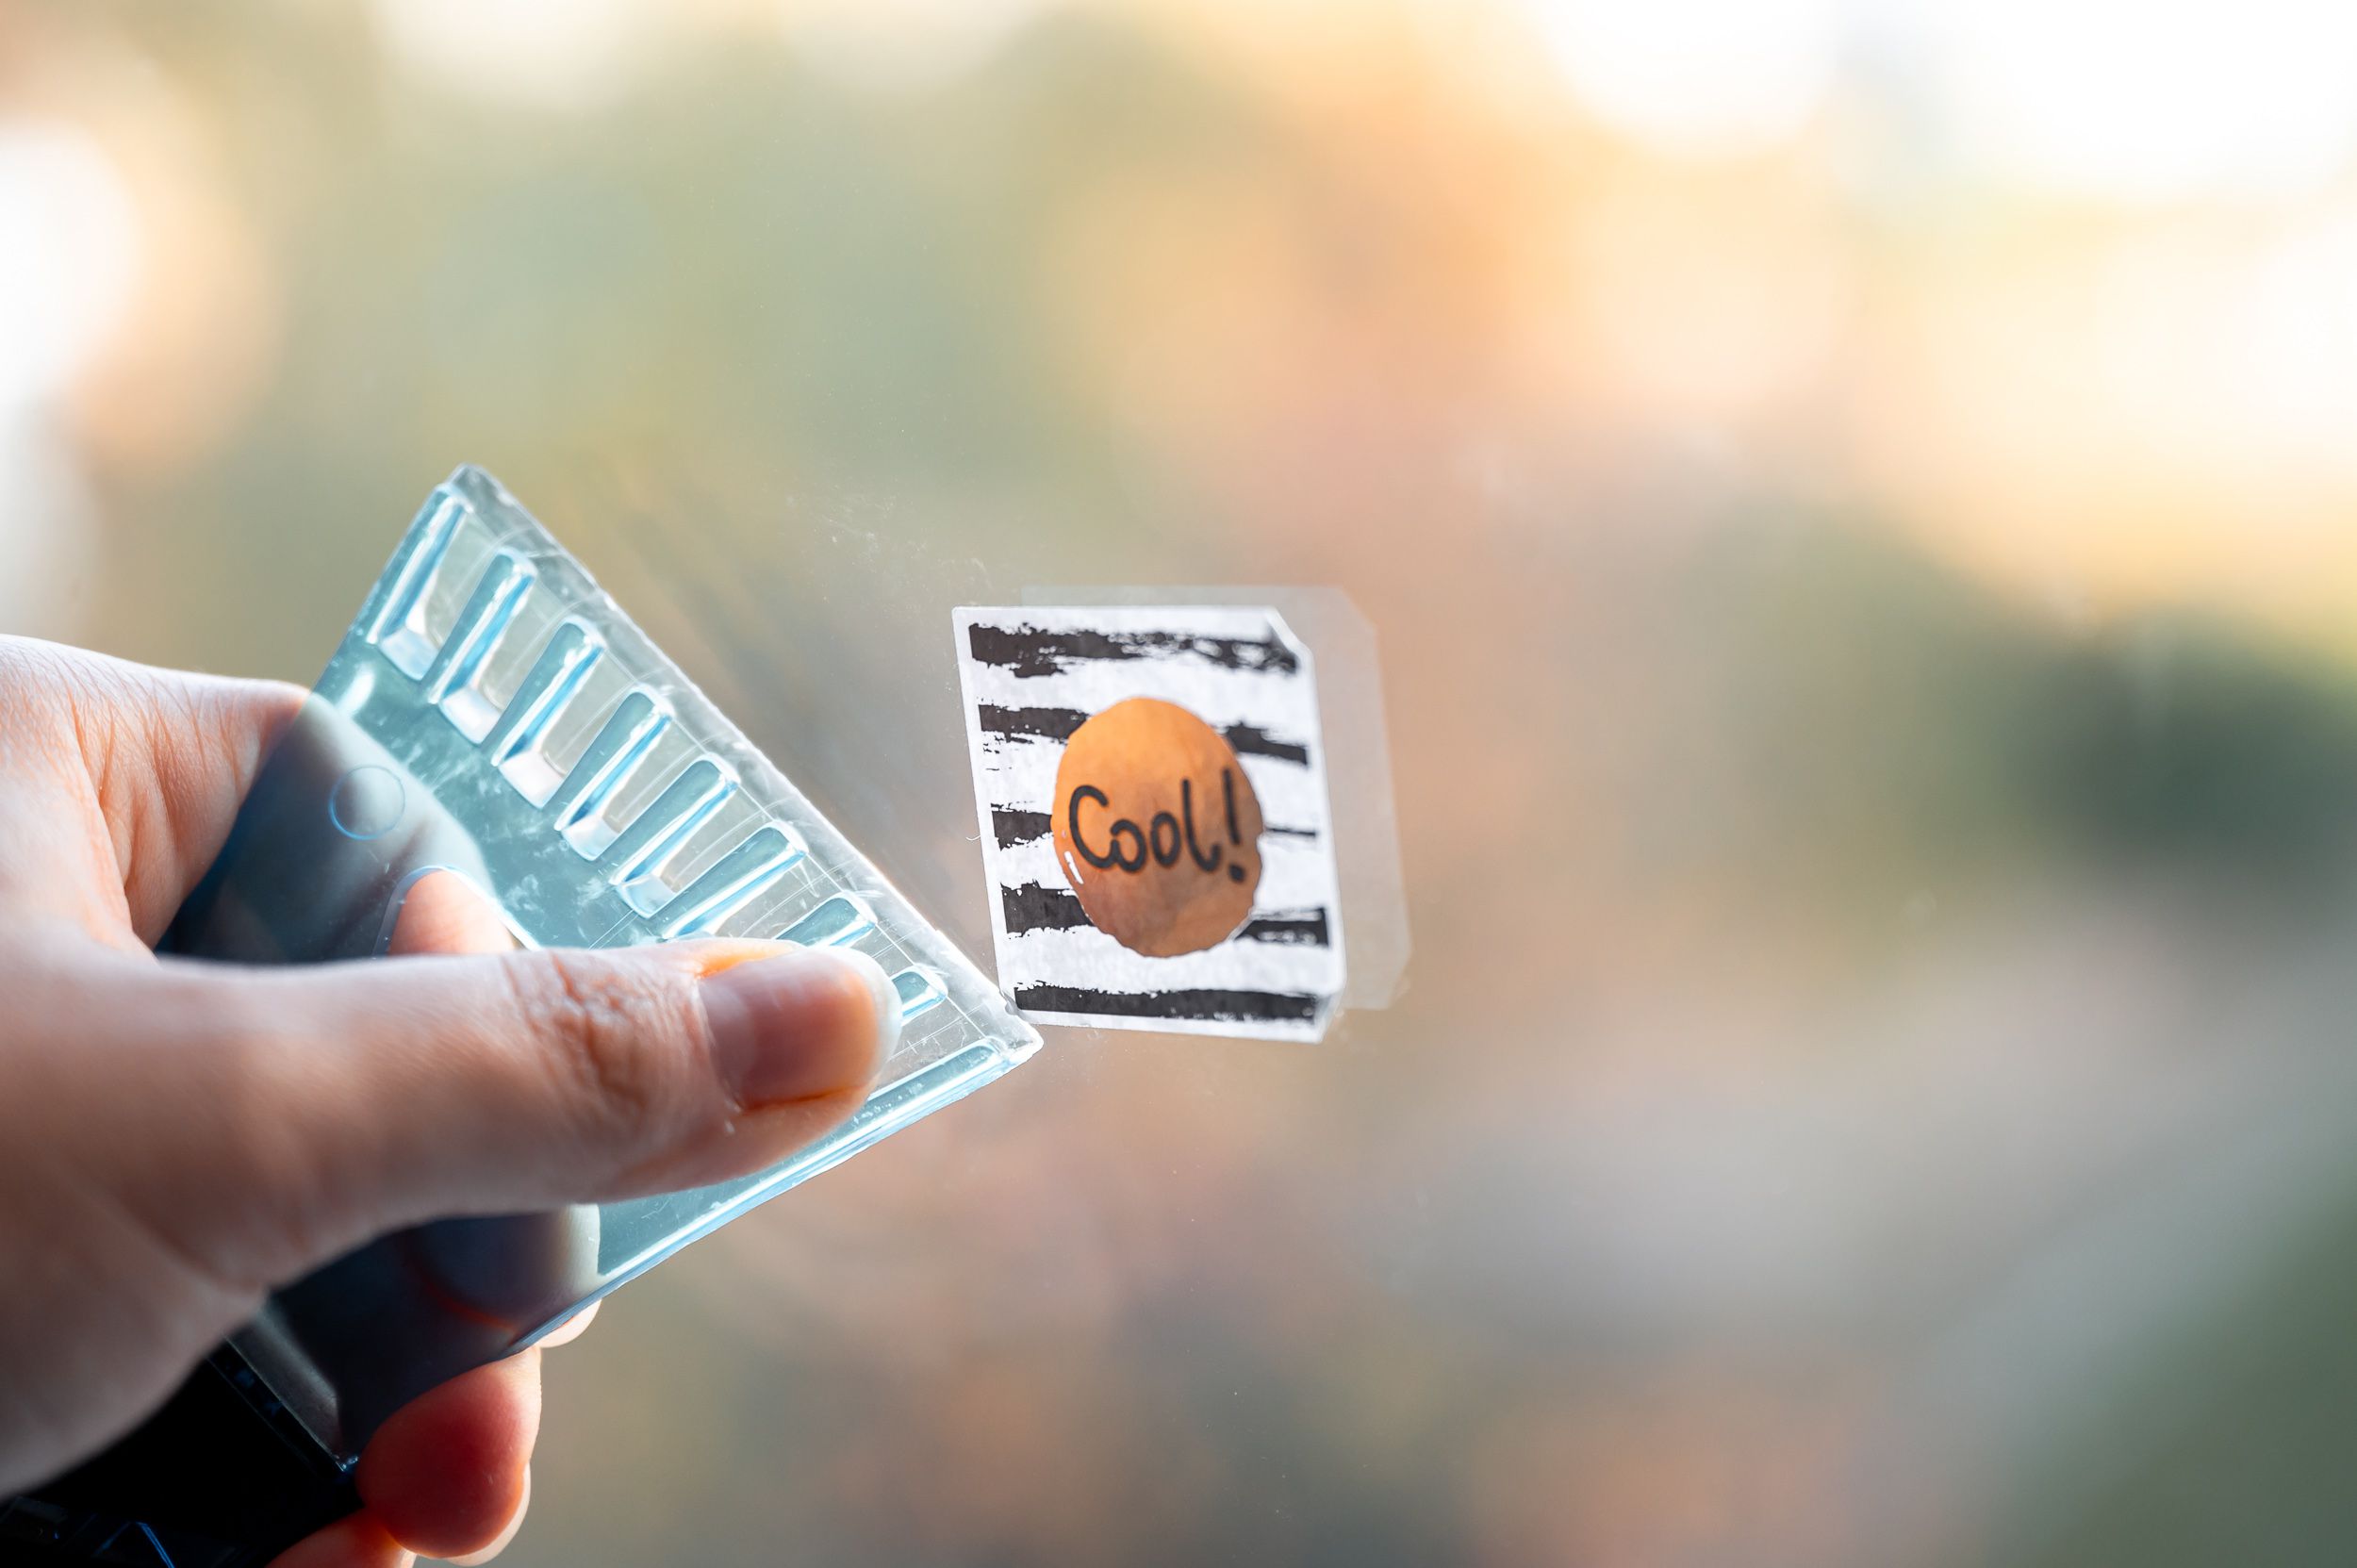
- Once the sticker feels warm to the touch, use your fingernail or a plastic scraper to gently lift the edge of the sticker.
- Continue to heat the sticker as you peel it away. If you encounter any resistance, reapply heat to soften the adhesive.
- If any residue remains after removing the sticker, you can use a mild adhesive remover or rubbing alcohol to clean the surface.
Remember to test the heat on a small, inconspicuous area of the dresser first to ensure it doesn’t cause any damage or discoloration. Heat can be particularly effective on stickers that have been exposed to sunlight, as the heat can reactivate the adhesive.
Note: Be cautious when using heat, as it can cause burns. Keep the heat source away from flammable objects and ensure proper ventilation in the room.
Method 2: Using Solvents
If heat doesn’t do the trick, you can try using solvents to dissolve the adhesive and remove the stickers from your dresser. Here’s how to use solvents effectively:
- Choose a suitable solvent for your needs. Common solvents include rubbing alcohol, nail polish remover, white vinegar, or citrus-based cleaners. Make sure to test the solvent on a small, inconspicuous area of the dresser first to ensure it doesn’t damage the finish.
- Apply the solvent onto a clean cloth or sponge, and gently dab it onto the sticker. Allow the solvent to sit on the sticker for a few minutes to let it penetrate the adhesive.
- Using your fingers or a plastic scraper, start peeling off the sticker from one corner. If the sticker is resistant, apply more solvent and let it sit for a few more minutes.
- Continue to peel off the sticker, applying more solvent as needed. Be patient and work slowly to avoid damaging the surface of the dresser.
- Once the sticker is removed, clean the area with soap and water to remove any residue from the solvent.
Remember to work in a well-ventilated area when using solvents and avoid inhaling the fumes. Always read and follow the instructions and safety guidelines on the solvent’s label.
Note: Some solvents may have a strong odor and can potentially damage certain finishes or materials. Test the solvent on a small area first and take necessary precautions to protect the surrounding surfaces.
Method 3: Using Natural Ingredients
If you prefer to use natural and eco-friendly methods, there are several household ingredients that can help remove stickers from your dresser. Here’s how you can use natural ingredients to effectively remove stickers:
- Vinegar: Soak a cloth or sponge in white vinegar and place it over the sticker. Let it sit for a few minutes to allow the vinegar to dissolve the adhesive. Gently peel off the sticker and clean any residue with a mixture of vinegar and water.
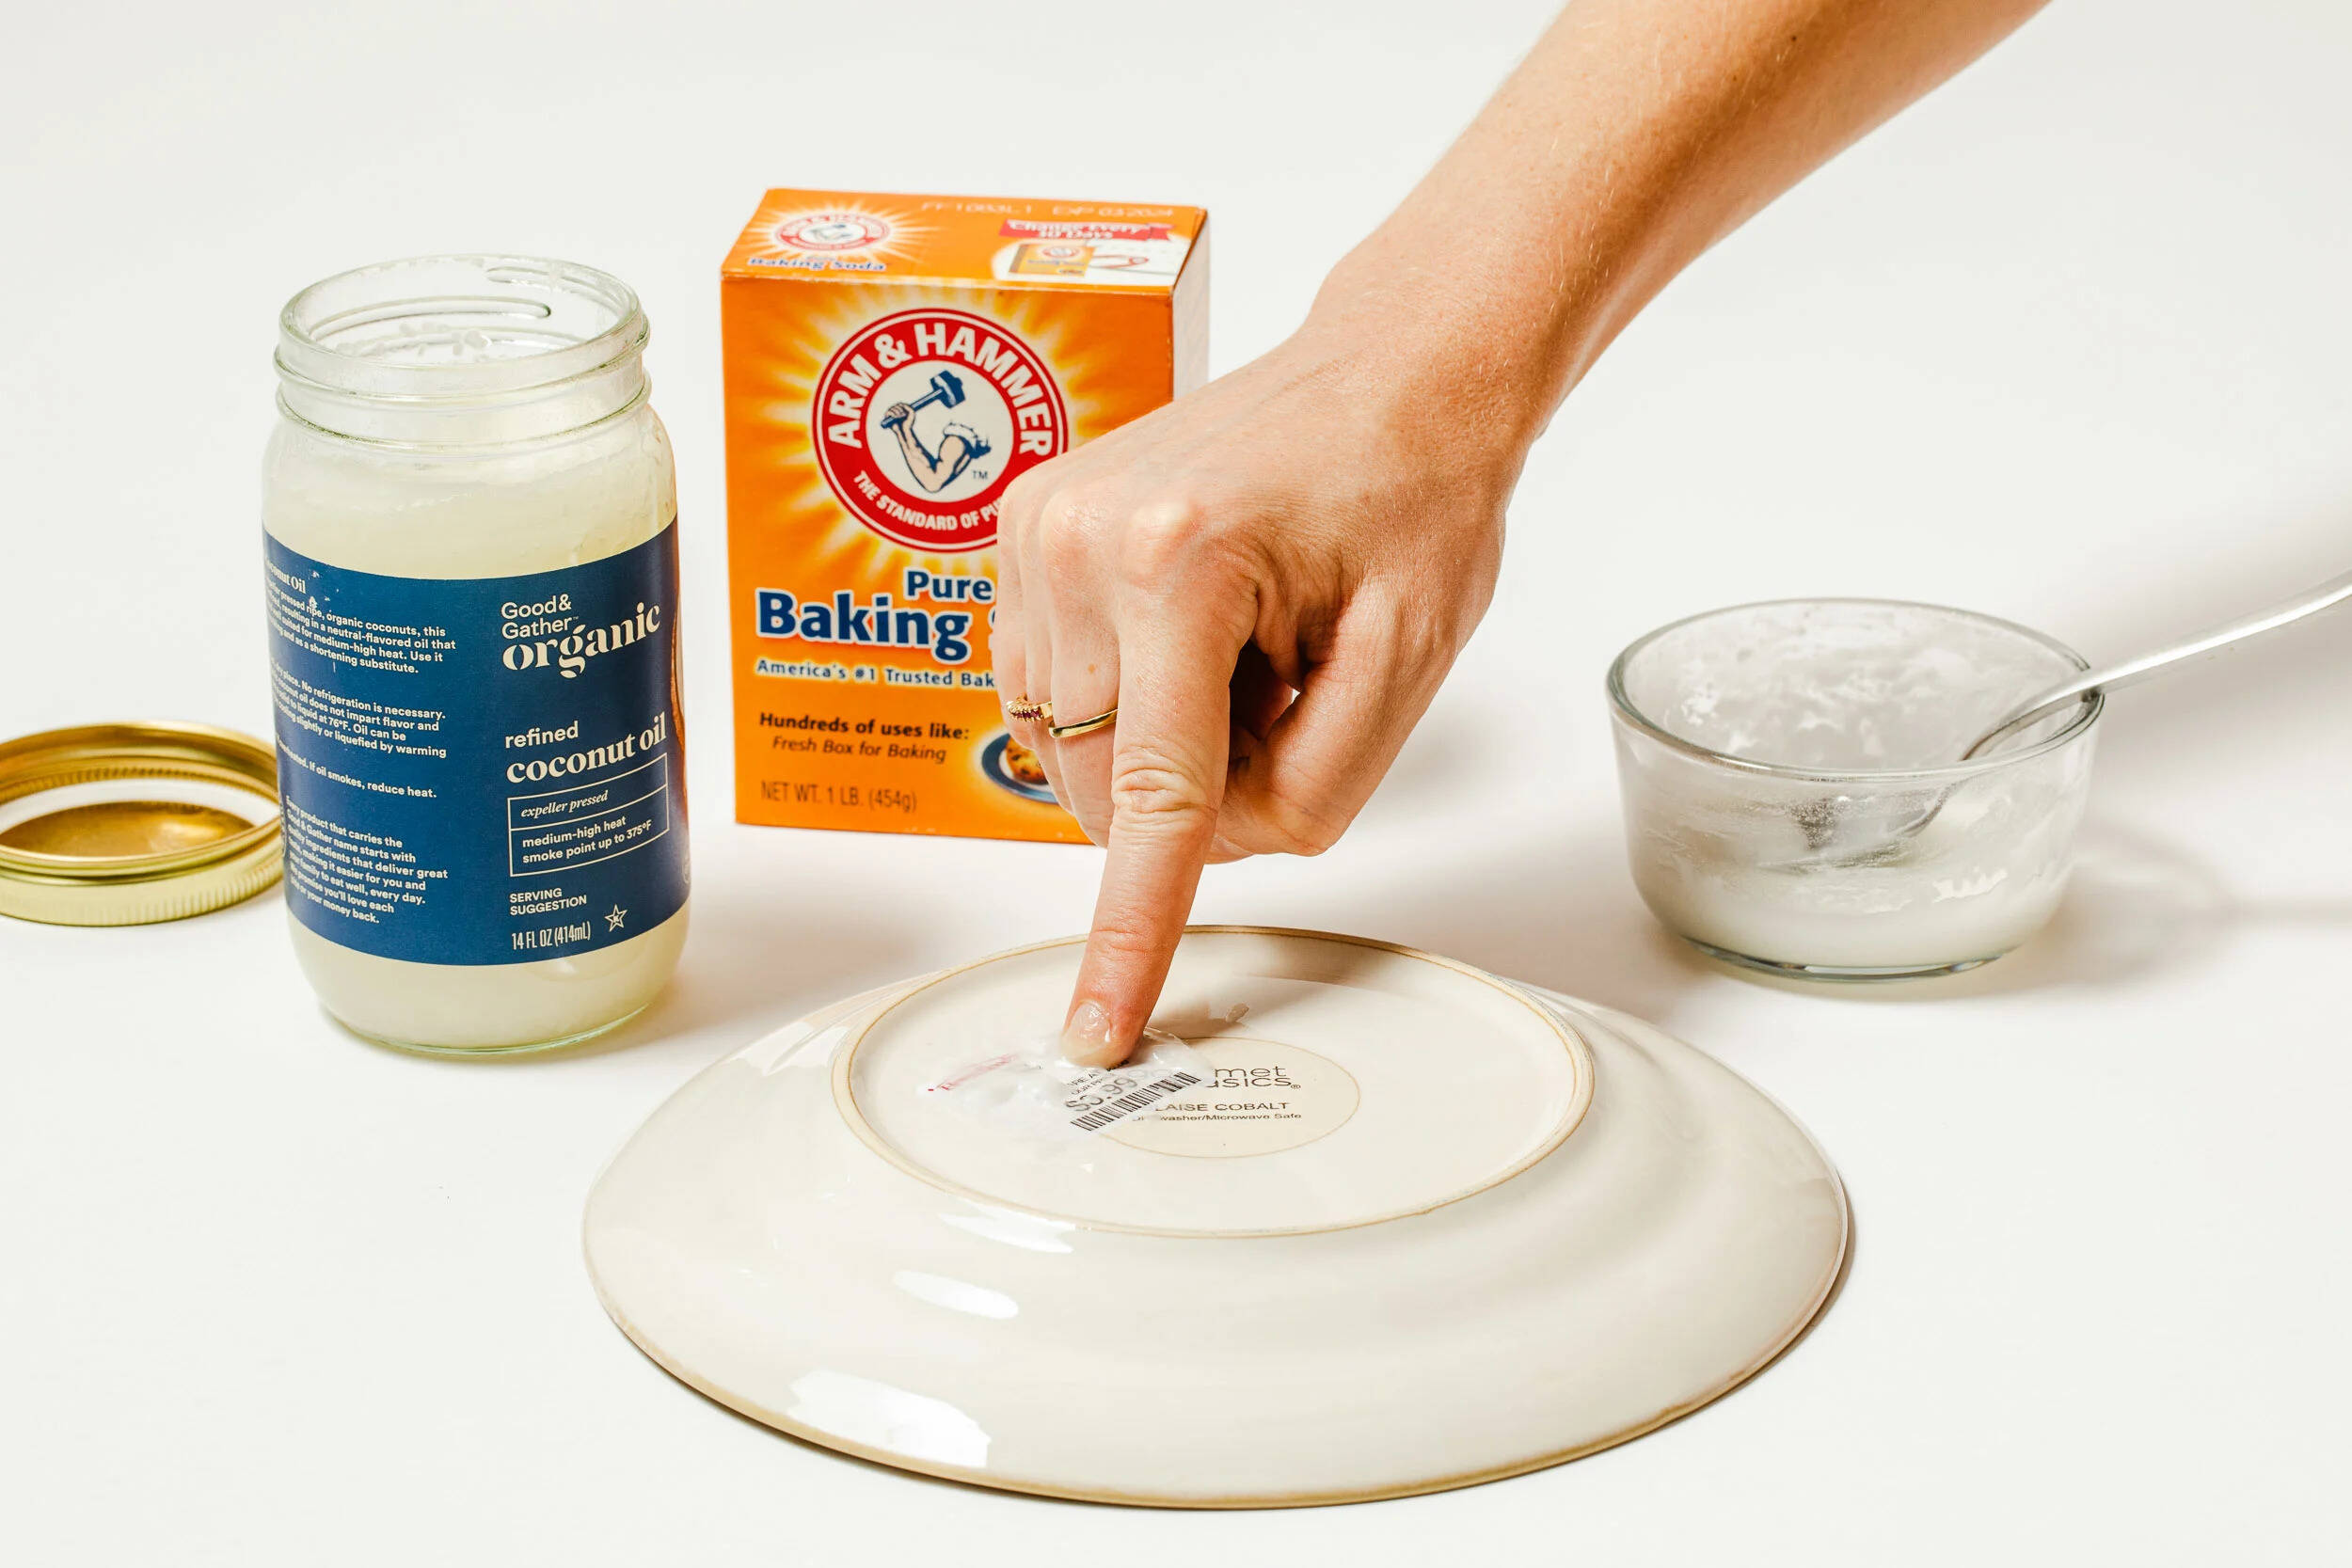
- Baking Soda: Create a paste by mixing baking soda with water. Apply the paste to the sticker using a cloth or sponge and let it sit for a few minutes. Scrub the sticker gently with a toothbrush or a plastic scraper, and rinse the area with water.
- Lemon Juice: Squeeze fresh lemon juice onto the sticker and let it sit for a few minutes. The citric acid in the lemon will help dissolve the adhesive. Gently peel off the sticker and clean any residue with soap and water.
- Olive Oil: Apply a generous amount of olive oil onto the sticker and let it sit for a few minutes. The oil will help loosen the adhesive, making it easier to remove. Gently peel off the sticker and clean any residue with soap and water.
- Mayonnaise: Spread a thick layer of mayonnaise onto the sticker and let it sit for a few hours or overnight. The oils in the mayonnaise will help break down the adhesive. Wipe off the mayonnaise and gently peel off the sticker. Clean any residue with soap and water.
These natural ingredients are gentle on the surface of your dresser and are safe to use. They may require a bit more time and effort compared to other methods, but they can effectively remove stickers without leaving behind any sticky residue.
Note: Always test these natural ingredients on a small, inconspicuous area of the dresser first to ensure they do not cause any damage or discoloration.
Use a hairdryer to heat the sticker, then slowly peel it off. Use a mixture of equal parts vinegar and water to remove any sticky residue.
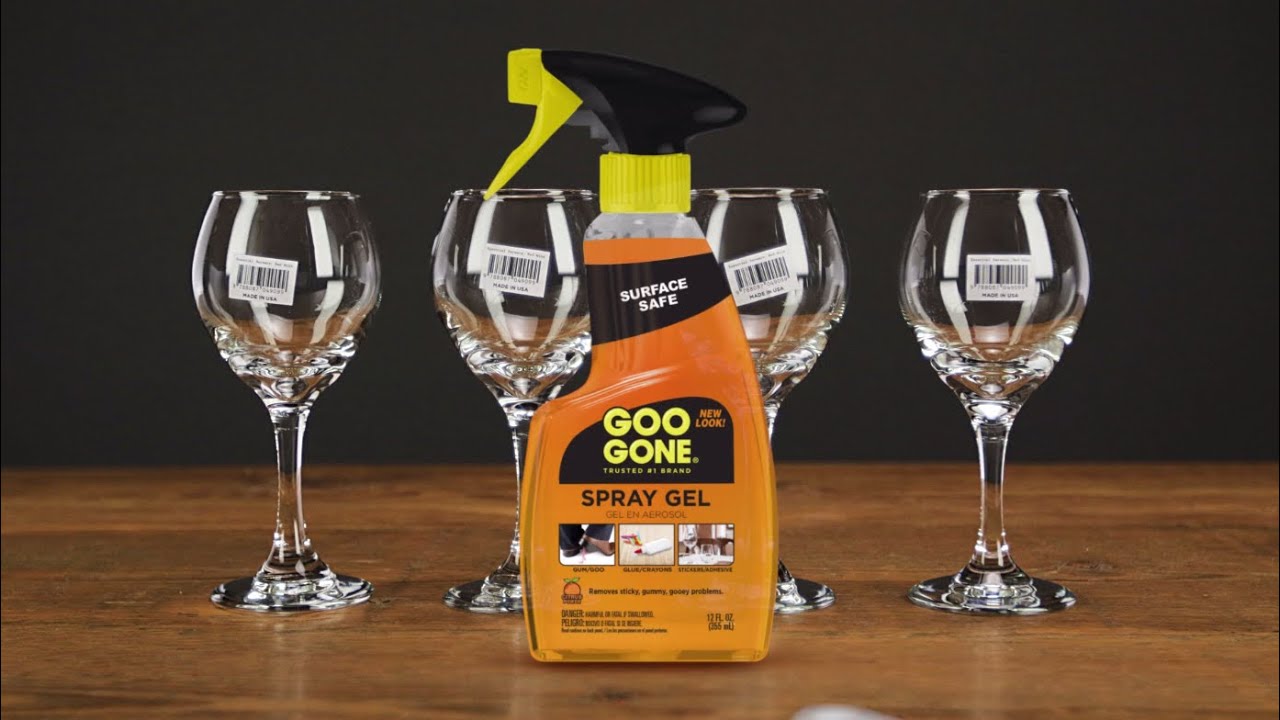
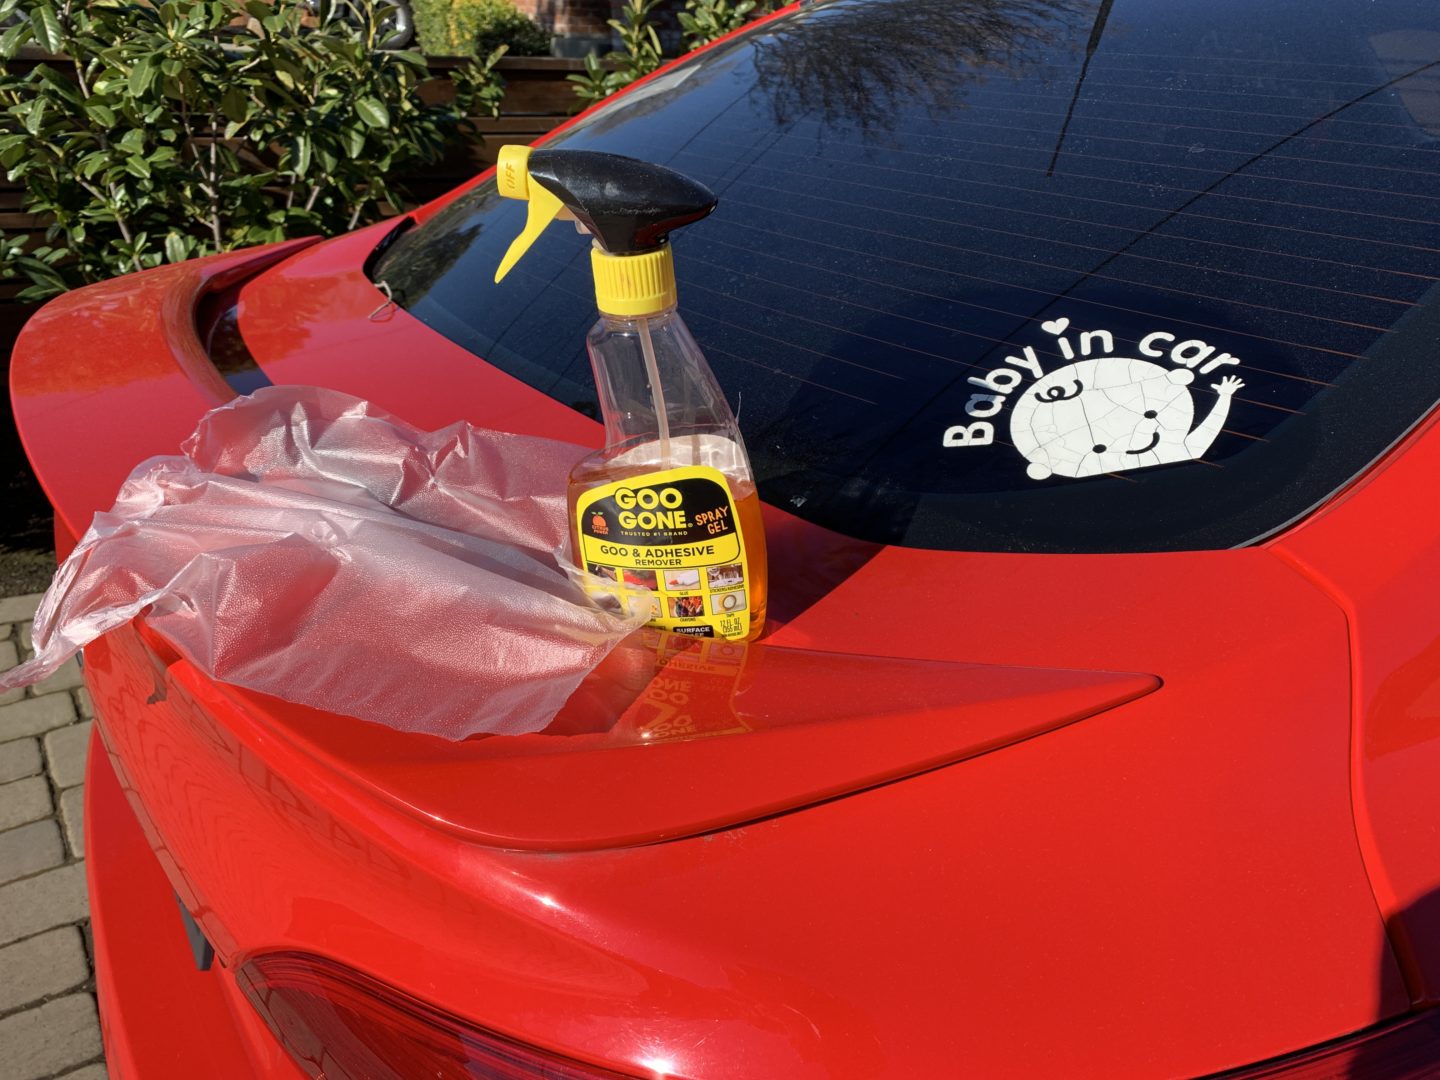
Method 4: Using Commercial Adhesive Removers
If you prefer a more specialized approach, you can use commercial adhesive removers specifically designed to tackle stubborn stickers. Here’s how you can effectively use commercial adhesive removers to remove stickers from your dresser:
- Choose a commercial adhesive remover that is safe to use on the surface of your dresser. There are a variety of options available, such as Goo Gone, WD-40, or citrus-based removers.
- Read and follow the instructions on the adhesive remover’s label carefully.
- Apply a small amount of the adhesive remover onto a clean cloth or sponge.
- Gently rub the cloth or sponge over the sticker, allowing the adhesive remover to penetrate and dissolve the sticky residue.
- Use your fingers or a plastic scraper to peel off the sticker from one corner. If the sticker is resistant, apply more adhesive remover and let it sit for a few minutes before attempting to remove it again.
- Once the sticker is removed, clean the area with soap and water to remove any residue from the adhesive remover.
Commercial adhesive removers are formulated to effectively break down adhesives without damaging the surface of your dresser. They can make your sticker removal process faster and easier, especially for tough stickers or those with strong adhesives.
Note: Always test the adhesive remover on a small, inconspicuous area of the dresser first to ensure it does not cause any damage or discoloration. Follow the safety precautions and guidelines provided by the manufacturer.
Read more: How To Remove Sticker From Wood Furniture
Method 5: Sanding the Surface
If all else fails or if you’re dealing with stickers that are particularly stubborn, you may consider sanding the surface of your dresser to remove them. Sanding can help remove the sticker and any residue left behind, but it should be done with caution to avoid damaging the finish of your furniture. Here’s how you can effectively sand the surface to remove stickers:
- Start by choosing a fine-grit sandpaper, such as 220-grit. Test the sandpaper on a small, inconspicuous area of the dresser to ensure it doesn’t cause any damage.
- Gently sand the sticker and the area around it in a circular motion. Apply light pressure to avoid removing too much of the finish or damaging the surface.
- Continue sanding until the sticker and any residue are completely removed. Be patient and work gradually to prevent any accidental damage.
- Once the sticker is removed, clean the sanded area with a soft cloth or vacuum to remove any sanding dust.
- Finish by applying a fresh coat of varnish, paint, or protective finish to restore the appearance of the sanded area and blend it with the rest of the dresser.
It’s important to note that sanding should be the last resort and should only be used if other methods have failed or if you are comfortable with the process. Additionally, sanding may not be suitable for all types of dressers or finishes, so be sure to assess the suitability of this method for your specific case.
Note: When sanding, wear protective eyewear and a dust mask to prevent inhalation of dust particles. Follow proper sanding techniques and avoid excessive sanding that may damage the dresser’s surface.
Conclusion
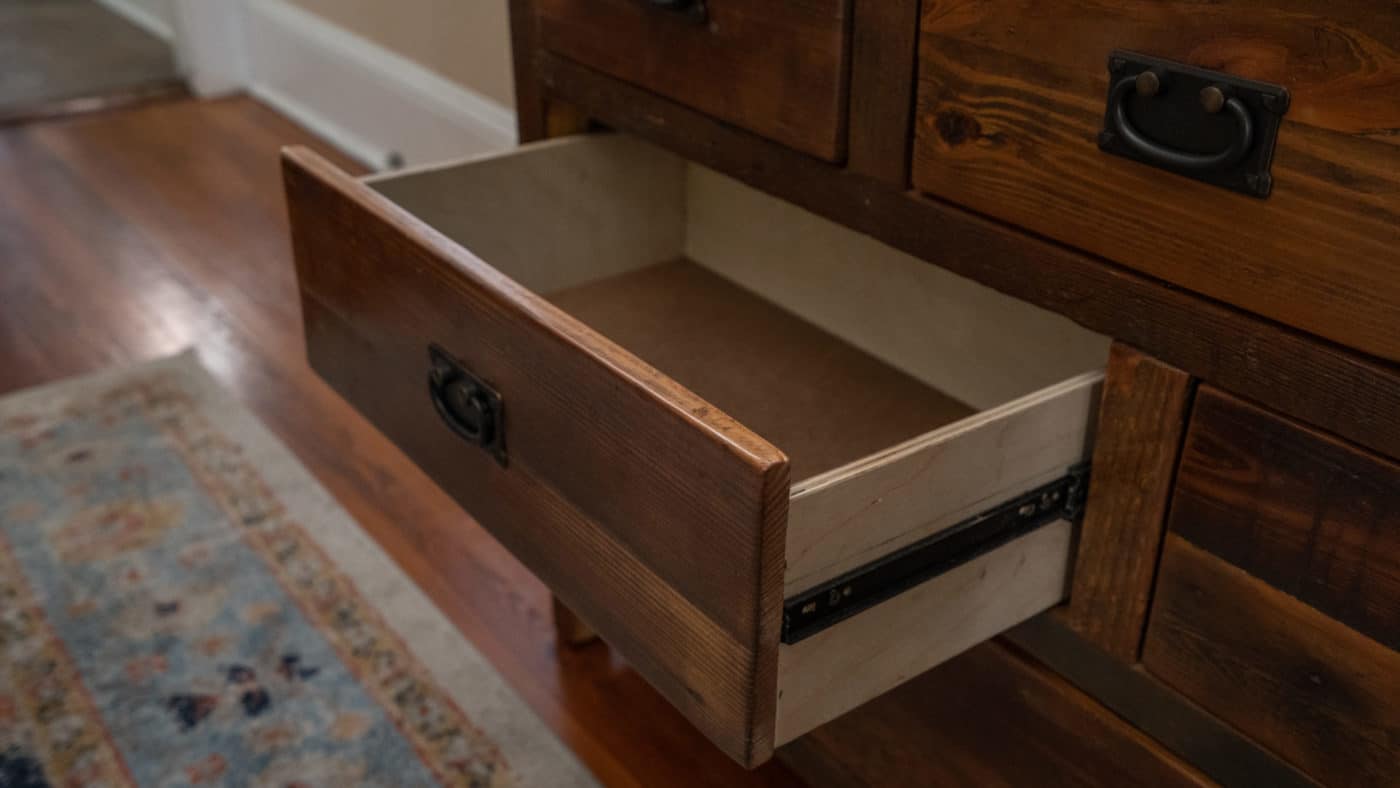
Removing stickers from a dresser can be a challenging task, but with the right methods and a little patience, you can restore your dresser to its original beauty. Whether you choose to use heat, solvents, natural ingredients, commercial adhesive removers, or sanding, there is a method that will suit your preferences and the condition of your dresser.
Remember to always test any method or product on a small, inconspicuous area of the dresser before proceeding with the sticker removal process. This will help you determine if the method is safe and effective for your specific dresser’s material and finish.
Regardless of the method you choose, it’s essential to work gently and gradually to avoid damaging the surface of your dresser. Take your time and be patient during the removal process, especially if the sticker is stubborn or if there is adhesive residue left behind. A gentle touch and a careful approach will yield the best results.
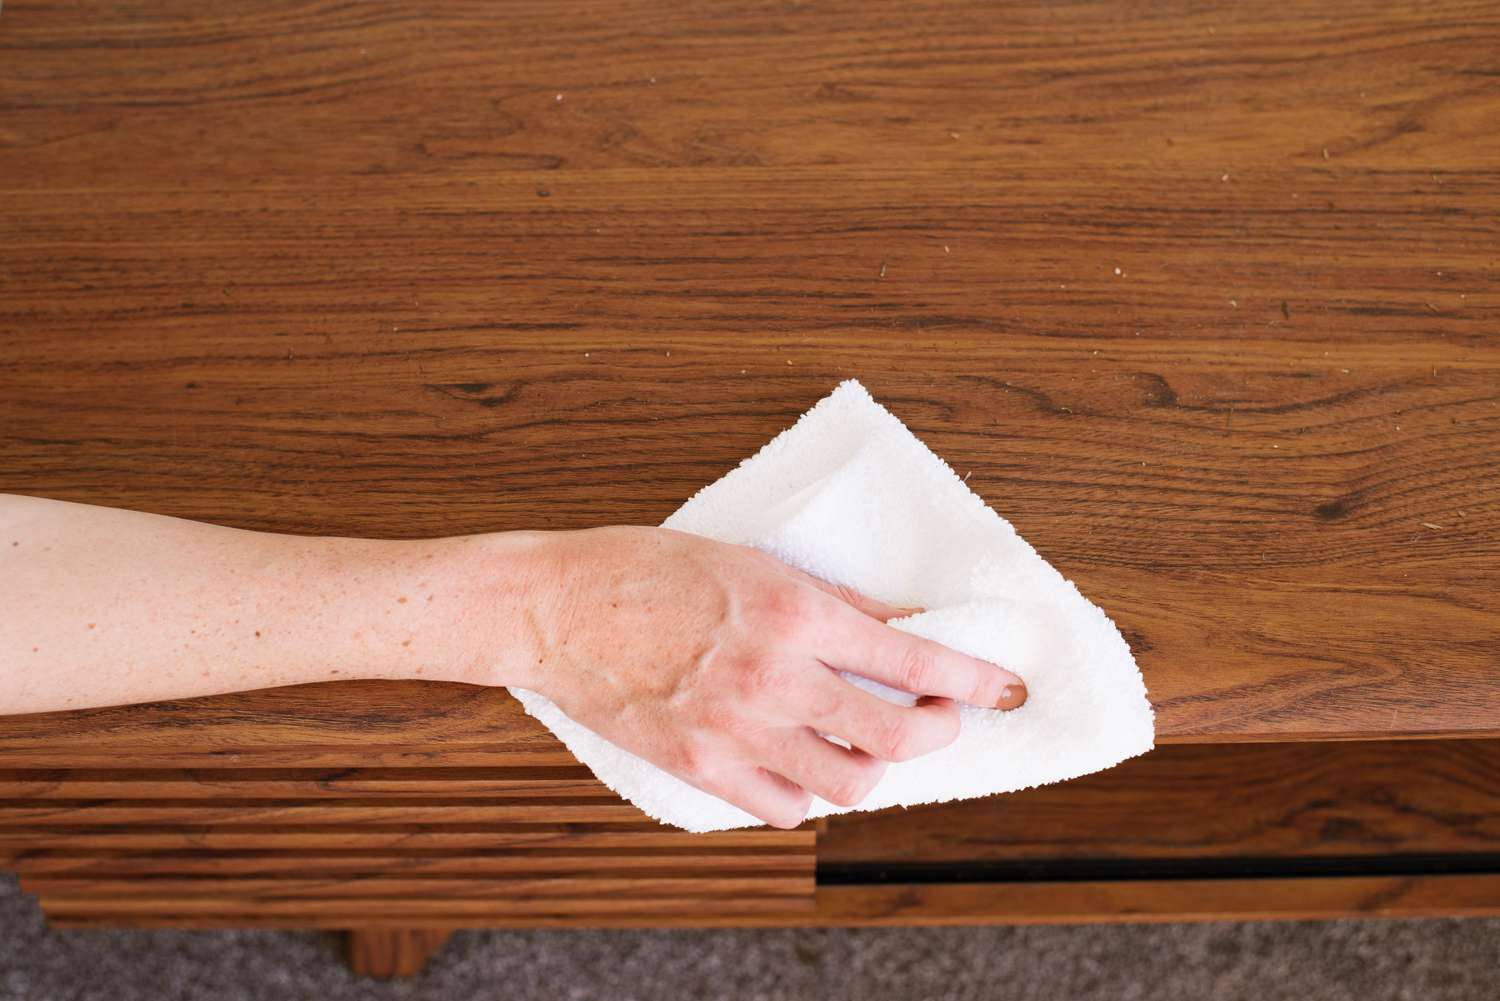
After removing the stickers, clean the dresser surface thoroughly to remove any remaining residue. This will ensure a clean and fresh look for your dresser. If needed, you can also consider applying a new coat of varnish, paint, or protective finish to restore the dresser’s appearance.
By following these methods, you can say goodbye to unsightly stickers and give your dresser a much-needed makeover. Enjoy the process and embrace the satisfaction of reviving your furniture to its former glory!
Frequently Asked Questions about How To Remove Stickers From A Dresser
Was this page helpful?
At Storables.com, we guarantee accurate and reliable information. Our content, validated by Expert Board Contributors, is crafted following stringent Editorial Policies. We're committed to providing you with well-researched, expert-backed insights for all your informational needs.


0 thoughts on “How To Remove Stickers From A Dresser”