Home>Furniture & Design>Interior Design Trends>How To Get Tape Off Of Glass
Interior Design Trends
How To Get Tape Off Of Glass
Modified: August 20, 2024
Learn how to remove tape residue from glass surfaces with these interior design trends. Discover effective techniques for a spotless finish.
(Many of the links in this article redirect to a specific reviewed product. Your purchase of these products through affiliate links helps to generate commission for Storables.com, at no extra cost. Learn more)
Introduction
Removing tape from glass surfaces can be a frustrating task, especially when it leaves behind sticky residue. Whether it's a stubborn price tag, adhesive tape, or painter's tape, dealing with the aftermath of tape removal can be a daunting challenge. However, with the right approach and materials, you can effectively restore the pristine appearance of your glass surfaces without causing damage.
In this comprehensive guide, we will walk you through the step-by-step process of safely removing tape from glass. By following these methods, you can say goodbye to unsightly tape residue and restore the clarity and shine of your glass surfaces. With a few simple techniques and readily available materials, you can tackle this common household issue with confidence and ease.
So, gather your materials and let's dive into the process of safely and effectively removing tape from glass surfaces. Whether you're dealing with a small sticker on a mirror or residue from masking tape on a window, these methods will help you achieve a clean and polished finish without any hassle. Let's get started!
Key Takeaways:
- Say goodbye to stubborn tape residue on glass surfaces by using heat, a plastic razor blade, rubbing alcohol, and a microfiber cloth for a pristine finish.
- Restore the clarity and shine of glass windows and mirrors by following a step-by-step process using common household materials for easy tape removal.
Read more: How To Get Scotch Tape Off Glass
Materials Needed
To effectively remove tape from glass surfaces, you will need a few essential materials to ensure a successful and safe removal process. These items are readily available and can be found in most households or easily obtained from a local store. Here's what you'll need:
-
Hair Dryer or Heat Gun: Utilizing heat is a gentle and effective way to soften the adhesive on the tape, making it easier to peel off without leaving residue. A hair dryer set to a medium or high heat setting can serve this purpose, or a heat gun can be used for more stubborn adhesive.
-
Plastic Razor Blade or Plastic Putty Knife: These tools are invaluable for gently lifting and scraping off the softened tape from the glass surface without causing scratches or damage. Opting for a plastic razor blade or putty knife reduces the risk of scratching the glass, ensuring a smooth removal process.
-
Rubbing Alcohol or Goo Gone: After peeling off the tape, you'll need a solvent to effectively remove any remaining adhesive residue. Rubbing alcohol or a commercial adhesive remover like Goo Gone can dissolve and lift the sticky residue, preparing the glass for a thorough cleaning.
-
Microfiber Cloth or Soft Towel: A soft, lint-free cloth is essential for wiping and cleaning the glass surface. Microfiber cloths are ideal for this task, as they are gentle and highly effective at removing any remaining residue and ensuring a streak-free finish.
-
Glass Cleaner: Once the tape and residue are removed, a quality glass cleaner will provide the finishing touch, leaving the glass surface sparkling and free from any remaining marks or streaks.
By gathering these materials, you'll be well-equipped to tackle the task of removing tape from glass surfaces with confidence and precision. With the right tools at your disposal, you can effectively restore the pristine appearance of your glass windows, mirrors, or other surfaces without any hassle. Now that you have your materials ready, let's proceed to the step-by-step process of safely removing tape from glass.
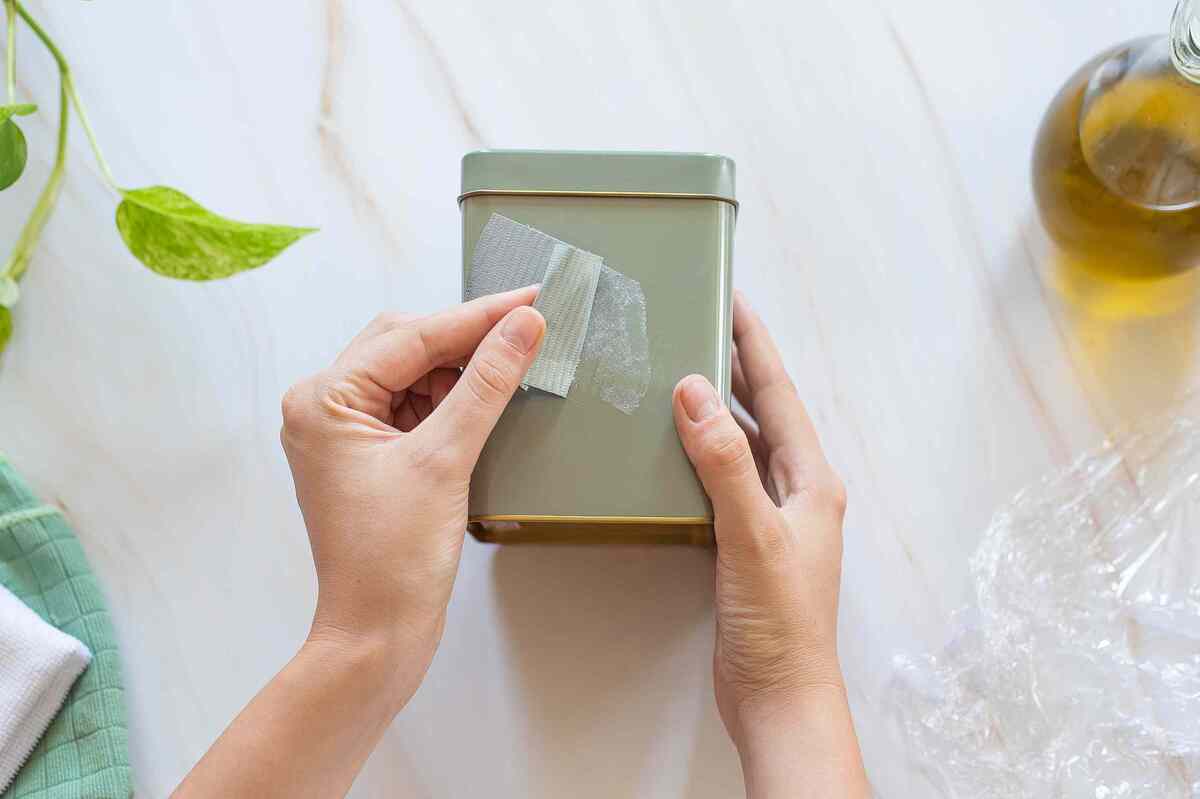
Step 1: Soften the Tape
The first step in removing tape from glass surfaces is to soften the adhesive, making it easier to peel off without leaving behind residue or causing damage. To achieve this, you will need to apply gentle heat to the tape, effectively loosening its grip on the glass. This method is particularly effective for adhesive tapes, stickers, or labels that have been in place for an extended period, making them stubborn and resistant to removal.
Begin by using a hair dryer set to a medium or high heat setting. Hold the hair dryer a few inches away from the tape and move it back and forth across the surface. The heat from the hair dryer will gradually soften the adhesive, making it more pliable and easier to work with. Alternatively, if the tape is particularly stubborn, a heat gun set to a low heat setting can be used with caution, ensuring that the glass is not exposed to excessive heat that could cause damage.
As the adhesive begins to soften, you may notice the edges of the tape lifting slightly from the glass surface. This is a positive indication that the heat is effectively loosening the adhesive bond. Continue applying heat evenly across the entire surface of the tape, taking care not to concentrate the heat in one area for too long, as this could potentially damage the glass.
Once the tape has been heated for a sufficient period, gently test the edges with a plastic razor blade or plastic putty knife. The softened adhesive should allow the tool to lift the tape from the glass without resistance. If the tape still seems firmly attached, continue applying heat and periodically test the edges until the adhesive softens adequately for removal.
By effectively softening the tape with gentle heat, you are preparing it for the next step of the removal process. This method minimizes the risk of tearing the tape or leaving behind stubborn residue, setting the stage for a smooth and successful removal process. With the adhesive softened, you are now ready to proceed to the next step of gently peeling the tape from the glass surface.
Step 2: Gently Peel the Tape
With the adhesive softened and pliable from the application of gentle heat, it's time to carefully peel the tape from the glass surface. This step requires patience and precision to ensure that the tape is removed smoothly without leaving behind any residue or causing damage to the glass.
Using a plastic razor blade or plastic putty knife, gently lift the edge of the softened tape from the glass. It's important to approach this step with caution, ensuring that the tool is used at a shallow angle to avoid scratching the glass surface. As you begin to lift the tape, work slowly and steadily, allowing the softened adhesive to release its grip without resistance.
If the tape resists lifting or feels as though it may tear, apply additional heat with the hair dryer or heat gun to further soften the adhesive. This will make the tape more pliable and easier to peel off without leaving behind stubborn residue.
As the tape is lifted, continue to apply gentle heat as needed, periodically testing the adhesive's responsiveness to ensure that it remains soft and manageable. By taking your time and exercising patience during this process, you can effectively remove the tape without leaving any traces behind.
Once the tape has been completely peeled from the glass, inspect the surface for any remaining adhesive residue. If there are small remnants of adhesive, use a small amount of rubbing alcohol or a commercial adhesive remover like Goo Gone to dissolve and lift the residue from the glass. Apply the solvent to a clean, lint-free cloth and gently rub the affected area until the residue is completely removed.
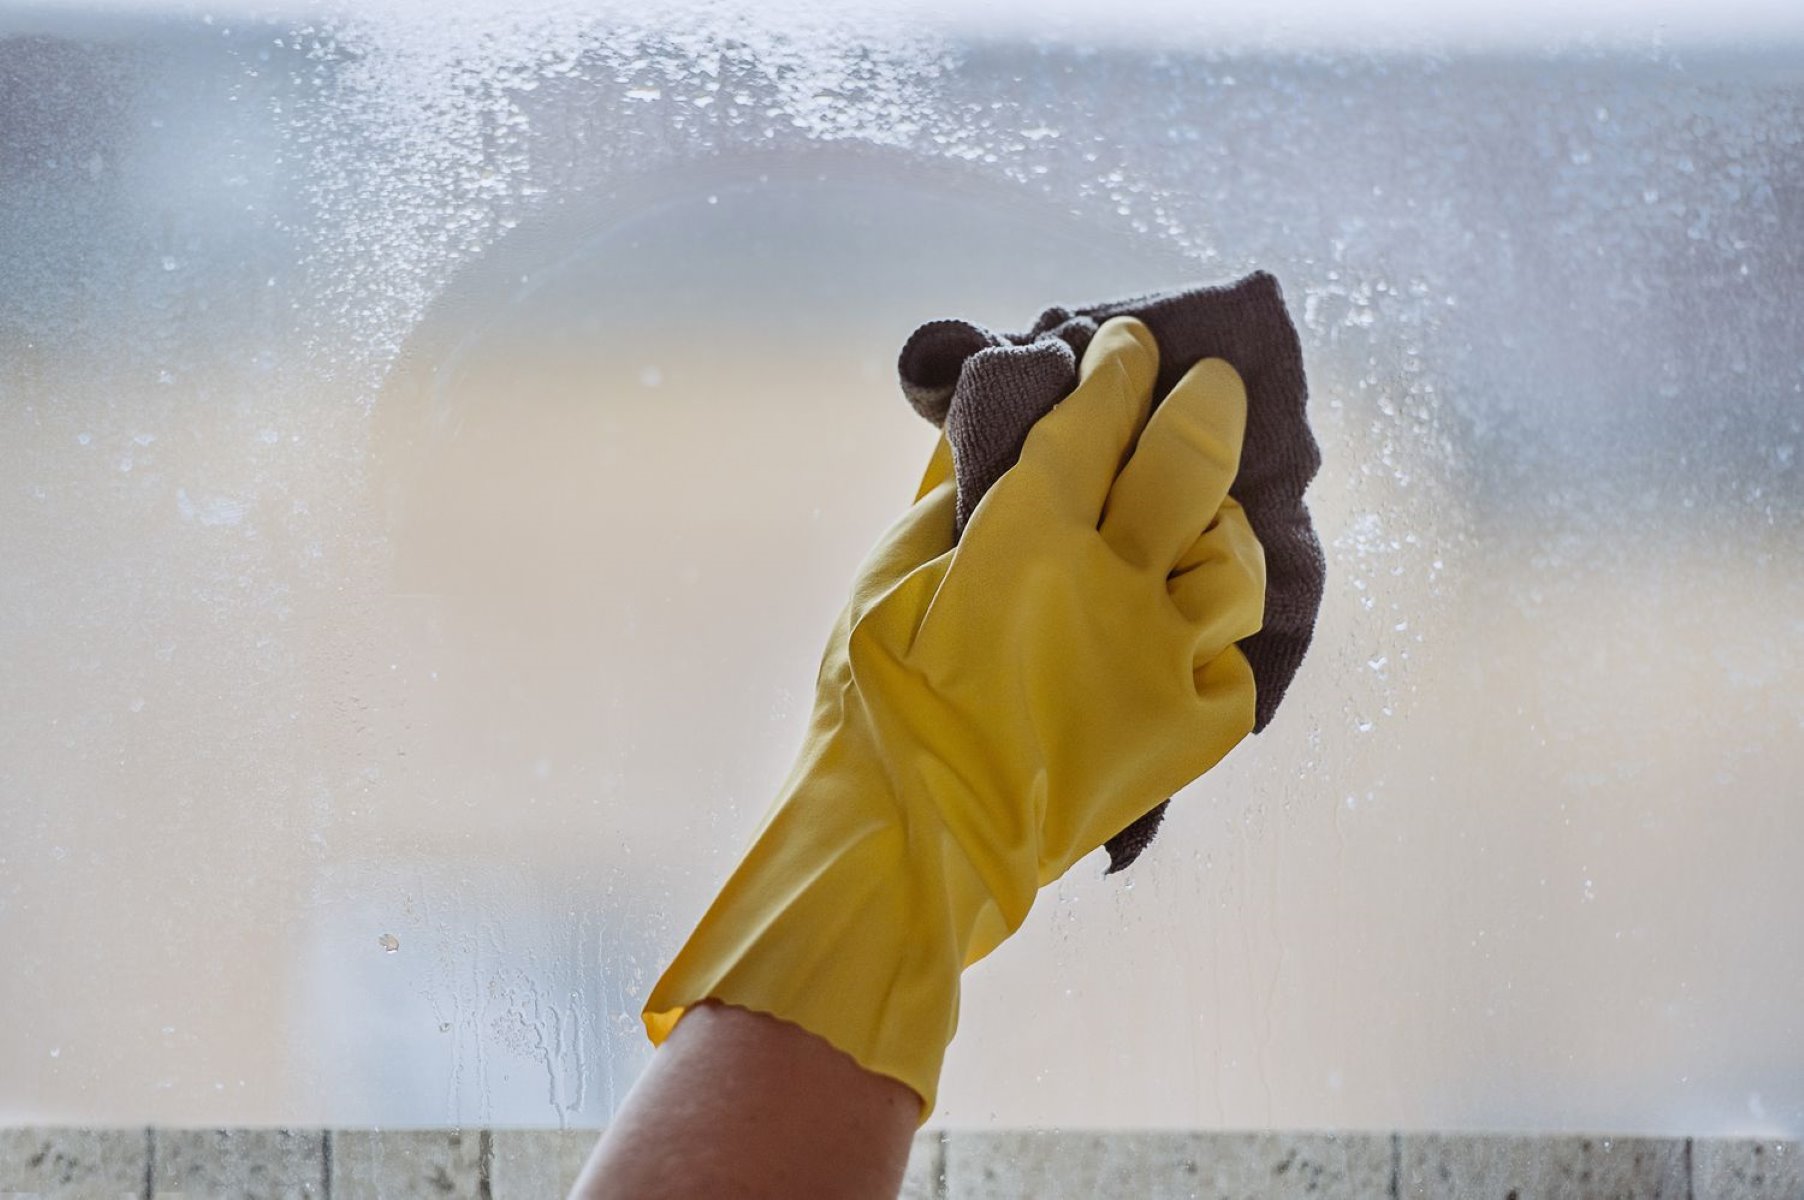
After addressing any remaining residue, use a microfiber cloth or soft towel to wipe the glass surface, ensuring that it is free from any traces of adhesive or solvent. This step prepares the glass for the final stage of the process, which involves cleaning and restoring its pristine appearance.
By gently peeling the tape from the glass surface and addressing any residual adhesive, you can effectively achieve a clean and polished finish without any hassle. With the tape successfully removed and any remaining residue dissolved, the glass is now ready for the final step of cleaning and restoration.
Now that the tape has been safely removed from the glass, it's time to proceed to the next step of removing any remaining residue with a solvent.
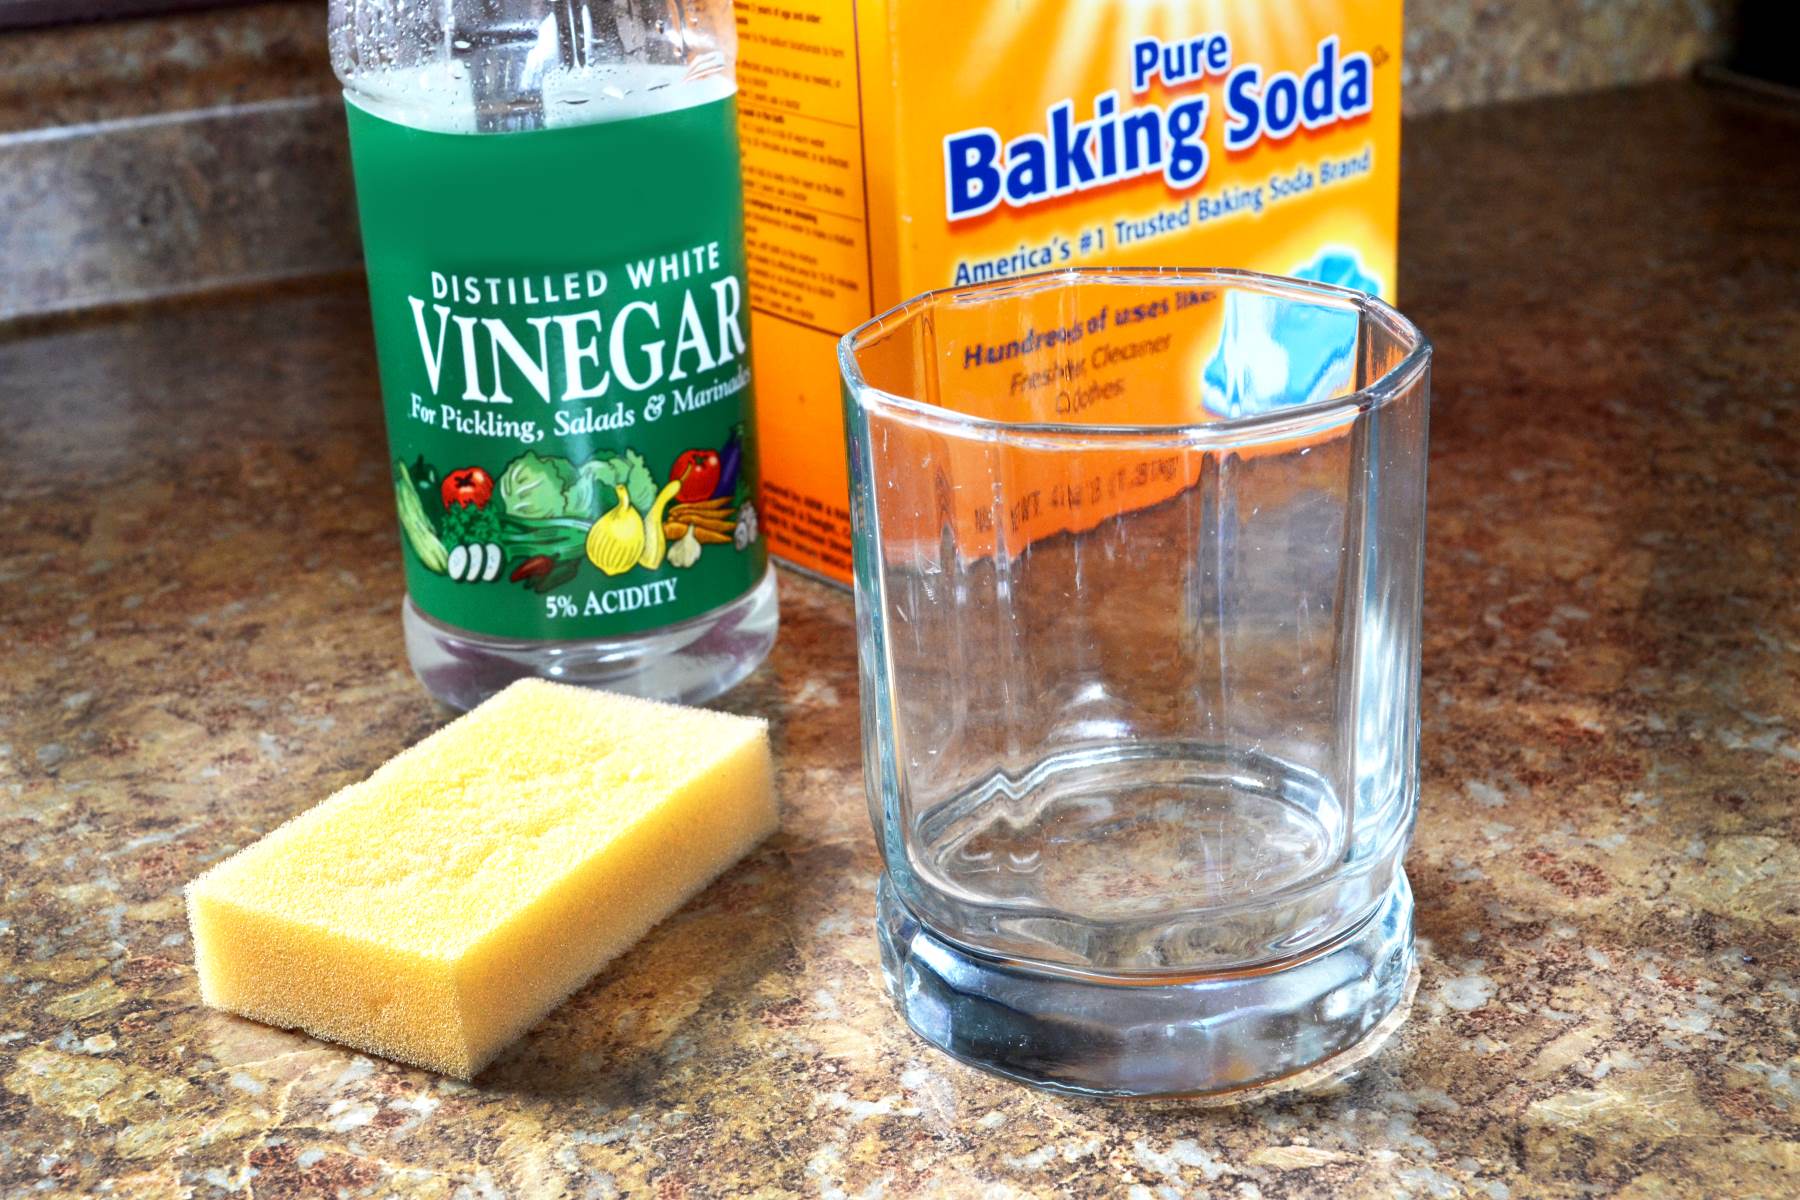
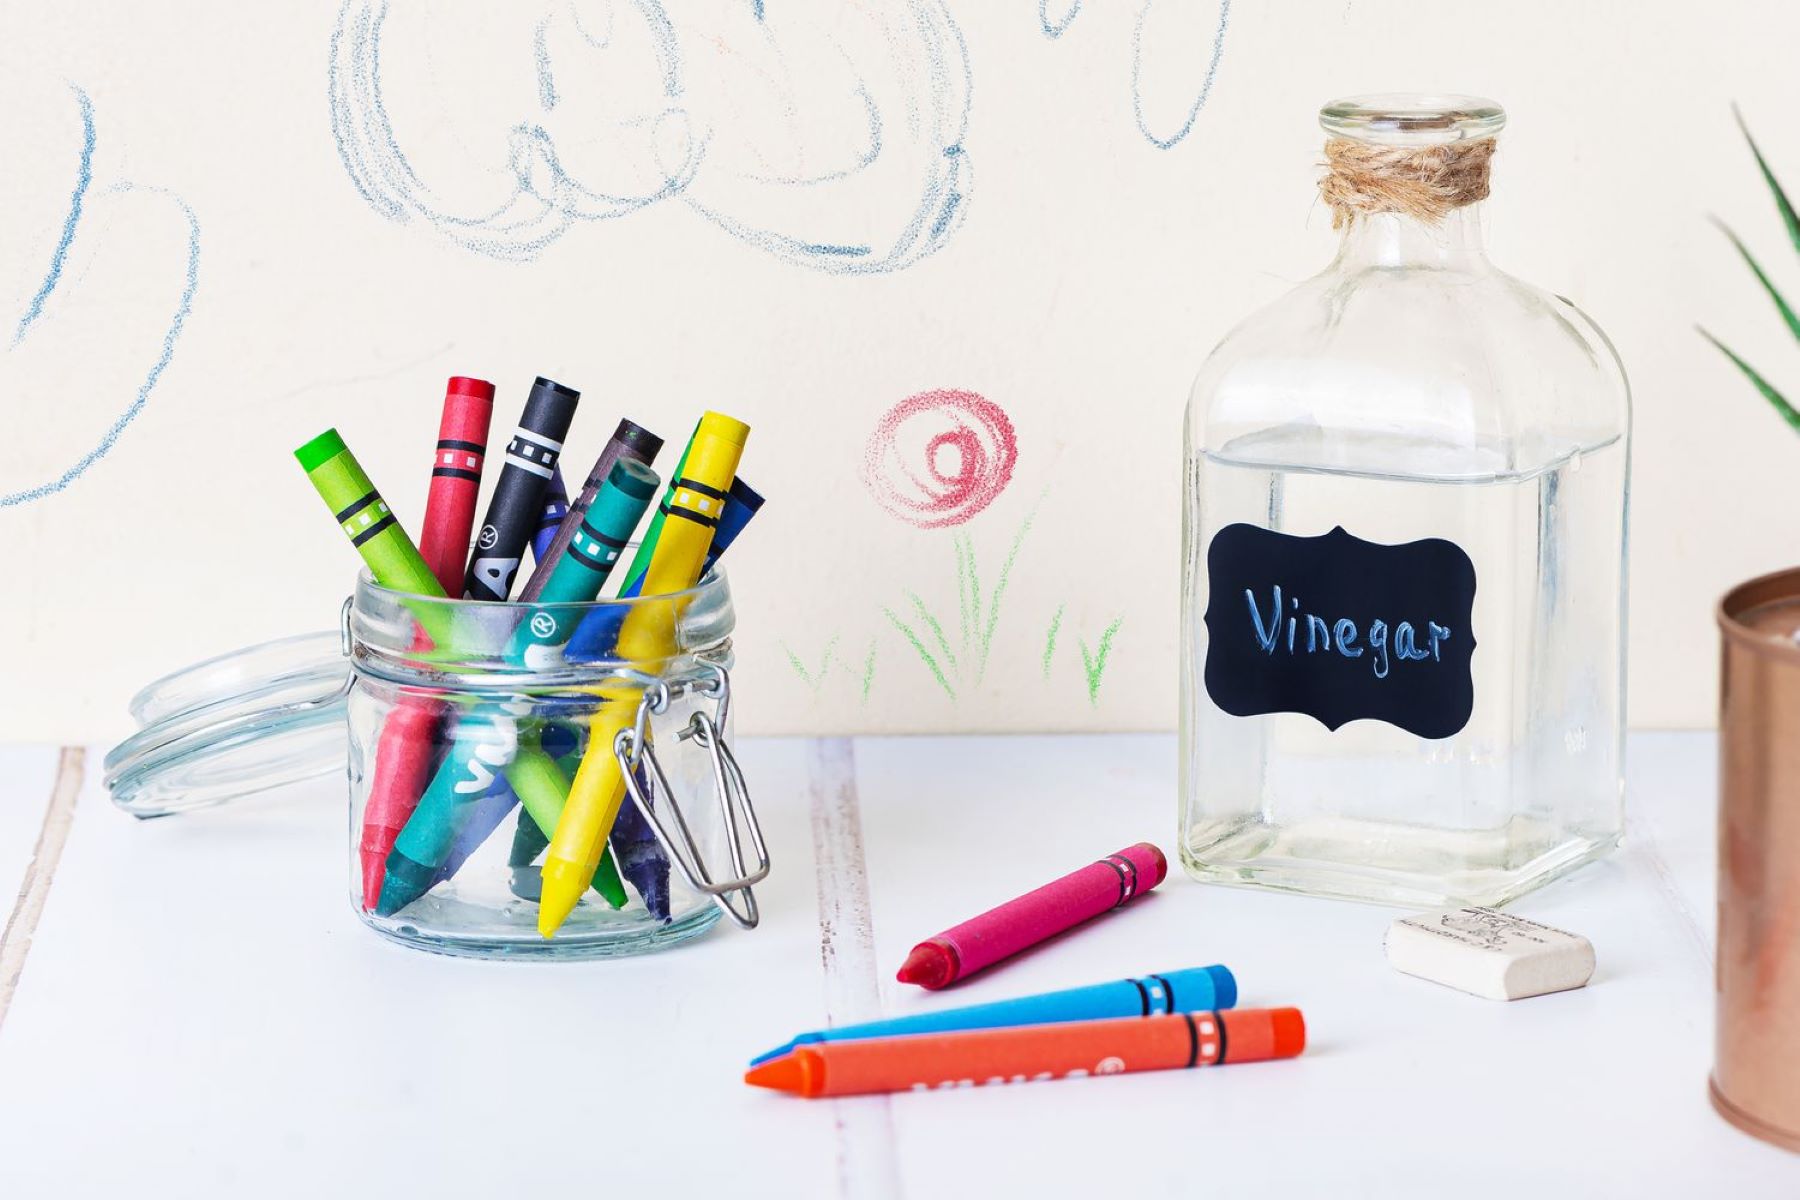
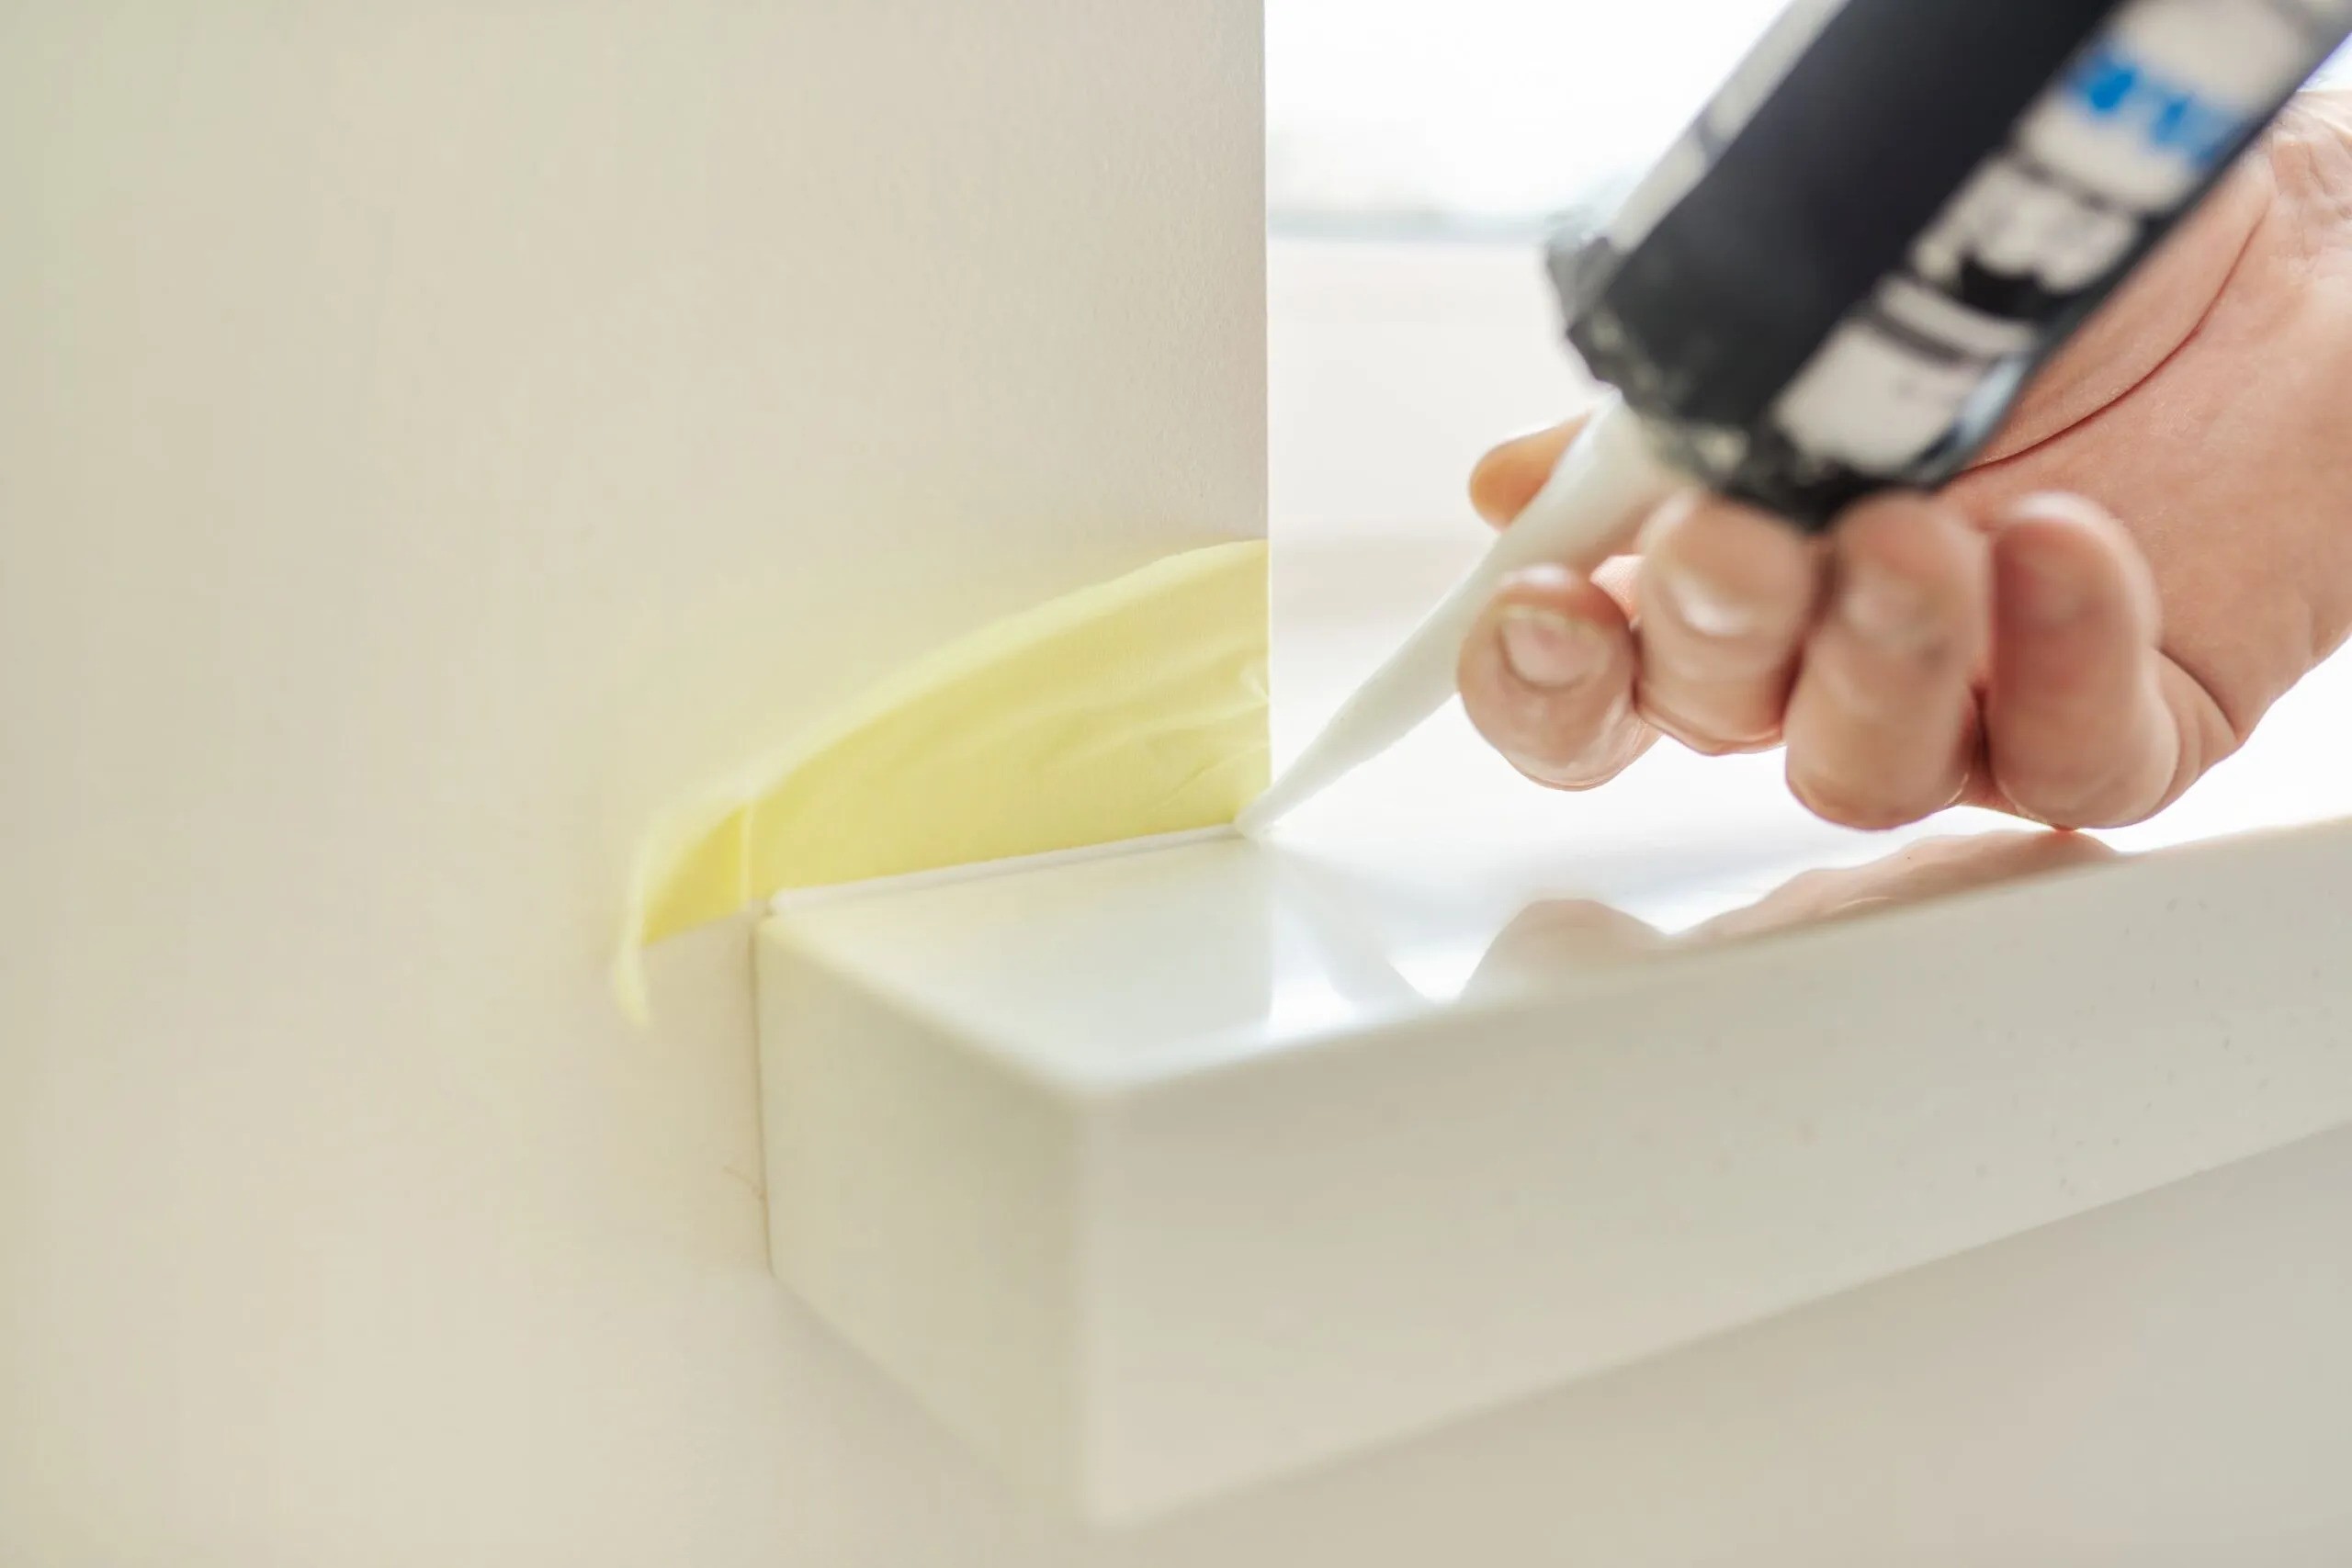
Use a hairdryer to heat the tape, then gently peel it off. If there’s residue, use rubbing alcohol or vinegar to remove it.
Step 3: Remove Residue with Solvent
After successfully peeling off the tape and addressing any visible residue, the next crucial step involves removing any stubborn adhesive remnants from the glass surface using a solvent. This process ensures that the glass is left impeccably clean and free from any lingering traces of the tape's adhesive.
To begin, gather your chosen solvent, such as rubbing alcohol or a commercial adhesive remover like Goo Gone, along with a clean, lint-free cloth. Apply a small amount of the solvent to the cloth, ensuring it is sufficiently damp but not saturated. Gently dab or rub the cloth over the areas where adhesive residue remains, allowing the solvent to effectively dissolve and lift the stubborn remnants from the glass.
As you work the solvent into the affected areas, you may notice the adhesive residue gradually loosening and dissolving, making it easier to remove. Exercise patience during this process, as it may take a few passes with the solvent to completely eliminate all traces of the adhesive. Additionally, avoid using excessive force or abrasive materials that could potentially scratch or damage the glass surface.
For particularly stubborn residue, you may need to allow the solvent to sit on the affected areas for a few minutes to effectively break down the adhesive. This will facilitate easier removal and ensure that the glass is left pristine and free from any lingering marks or residue.
Once the adhesive residue has been successfully dissolved and lifted from the glass, use a clean section of the cloth to gently wipe the treated areas, ensuring that any remaining solvent is removed. This step is crucial in preparing the glass for the final stage of the process, which involves thoroughly cleaning and restoring its clarity and shine.
By effectively removing adhesive residue with a solvent, you can ensure that the glass surface is left immaculately clean and free from any remnants of the tape. This meticulous approach sets the stage for the final step of cleaning the glass, ensuring that it is restored to its original pristine condition.
With the adhesive residue successfully removed, it's time to proceed to the final step of cleaning the glass to achieve a sparkling and streak-free finish.
Read more: How To Get Carpet Tape Off Floor
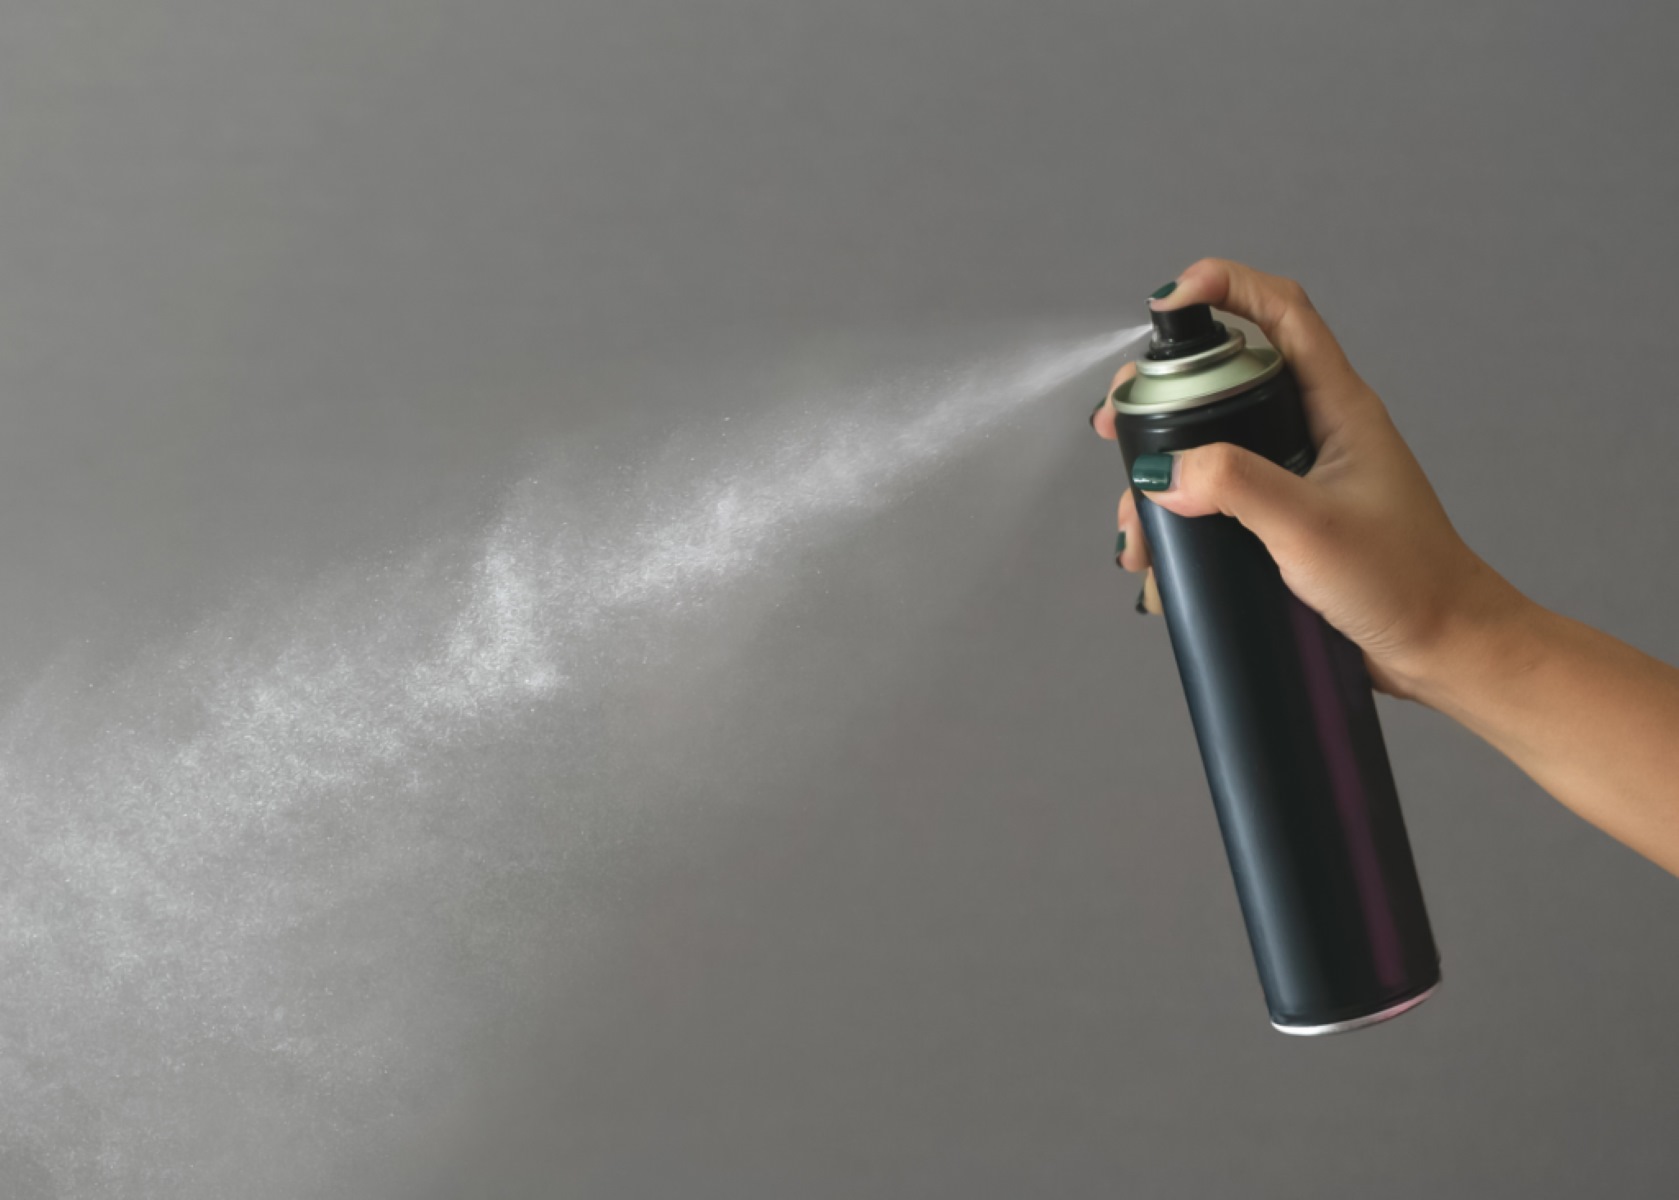
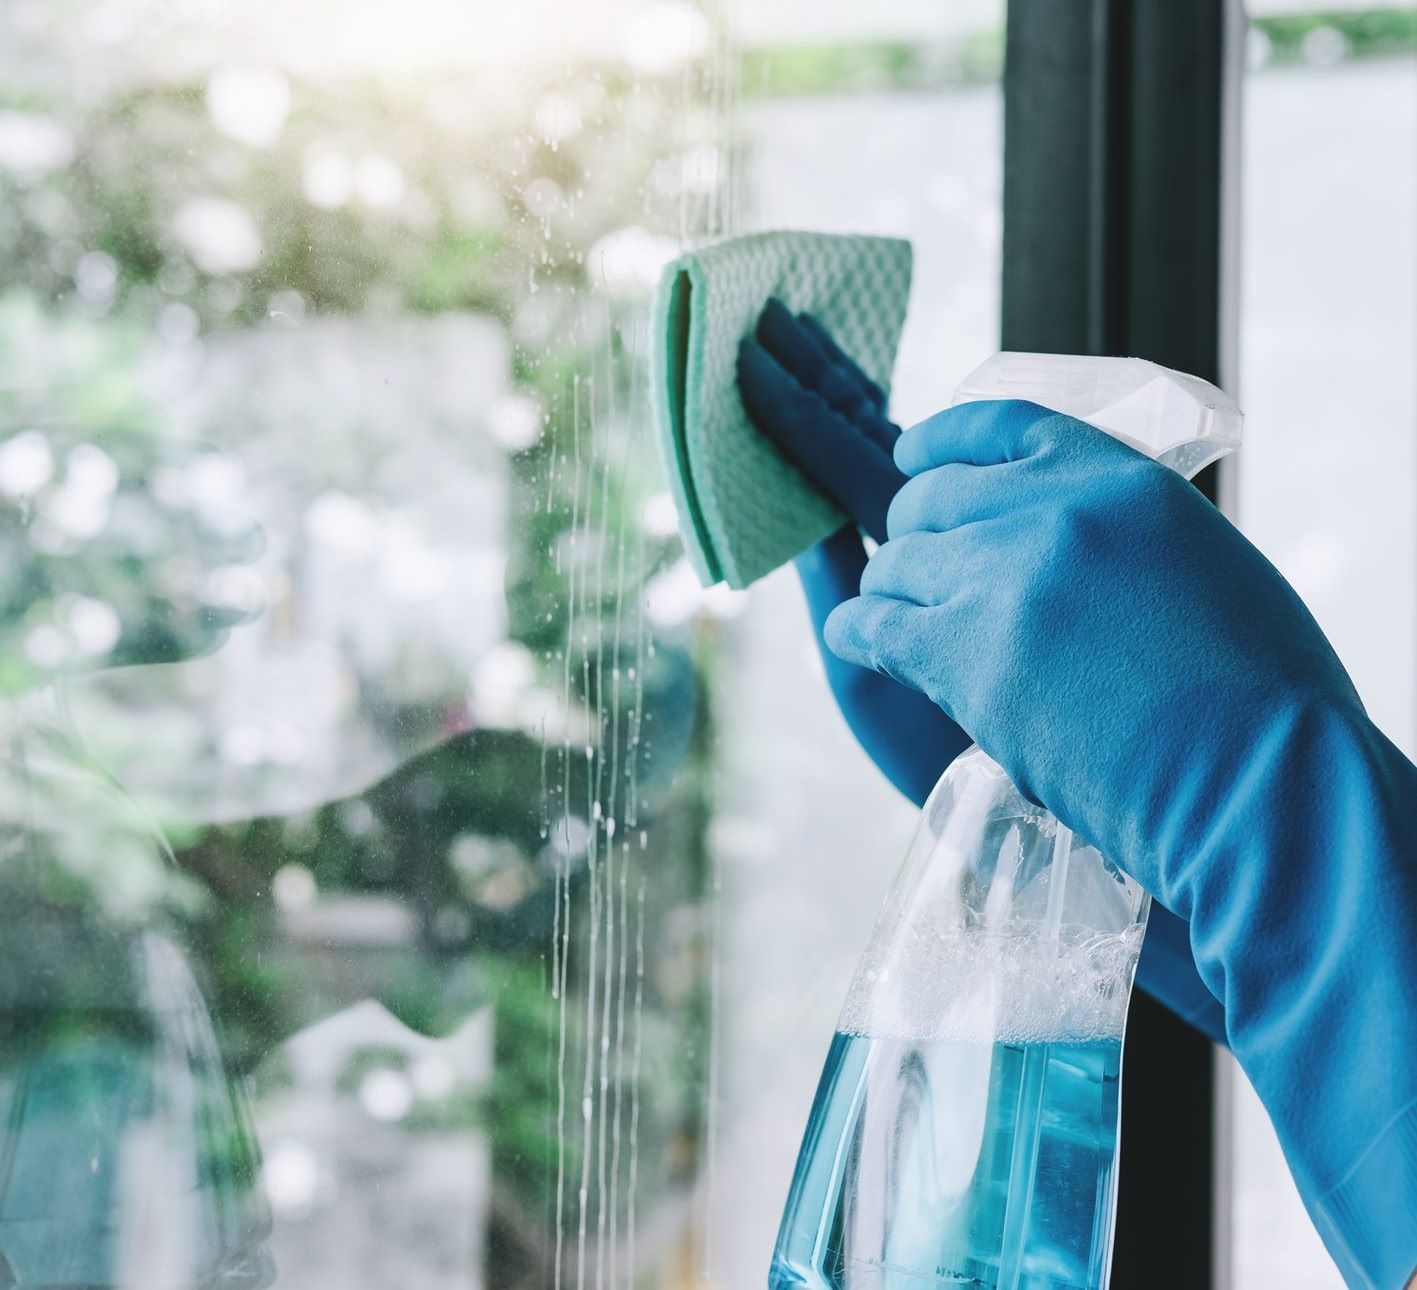
Step 4: Clean the Glass
With the tape and any adhesive residue successfully removed, the final step in the process involves thoroughly cleaning the glass surface to restore its clarity and shine. This crucial step ensures that the glass is left impeccably clean and free from any remaining marks or streaks, providing a polished and pristine finish.
To begin the cleaning process, gather a high-quality glass cleaner and a fresh microfiber cloth or soft towel. It's essential to use a glass cleaner specifically formulated for glass surfaces to achieve optimal results without leaving streaks or residue behind. Additionally, opting for a microfiber cloth ensures gentle and effective cleaning without the risk of lint or streaking.
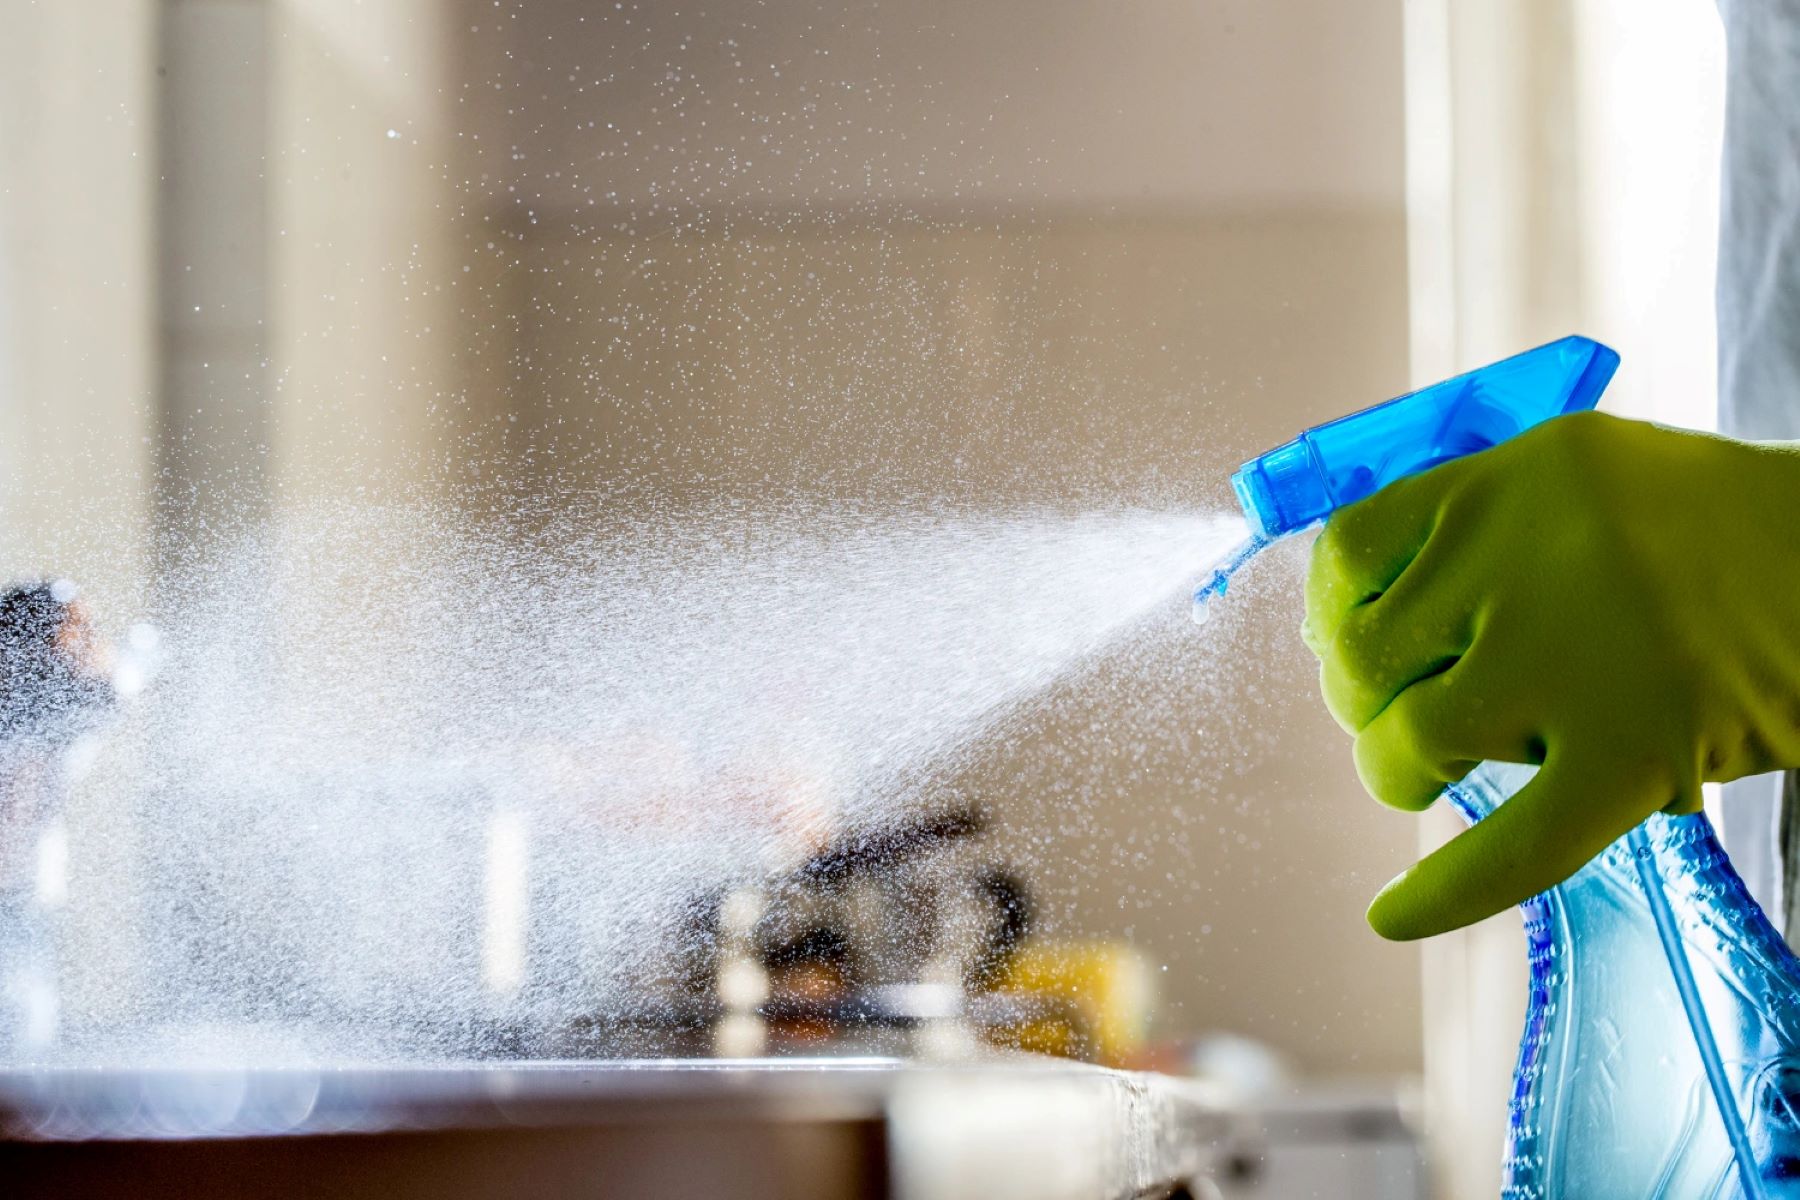
Spray a generous amount of the glass cleaner onto the glass surface, ensuring even coverage across the entire area. The cleaner will effectively lift any remaining traces of solvent or residue, leaving the glass surface impeccably clean and ready to be polished.
Using the microfiber cloth or soft towel, gently wipe the glass surface in a circular motion, ensuring thorough coverage and attention to detail. This method effectively removes any remaining cleaner, residue, or marks, leaving the glass with a streak-free and polished finish.
For larger glass surfaces, such as windows or glass doors, consider using a squeegee to achieve a flawless and streak-free result. The squeegee allows for efficient and uniform cleaning, ensuring that the glass is left sparkling and free from any remaining marks or streaks.
As you work through the cleaning process, pay attention to any stubborn spots or streaks, addressing them with additional cleaner and gentle wiping until the glass surface is pristine and free from any imperfections.
Once the glass has been thoroughly cleaned and polished, take a step back to admire the impeccable clarity and shine that has been restored. The glass surface should now be free from any traces of the tape or adhesive, presenting a flawless and polished appearance.
By following these meticulous steps and paying attention to detail, you can effectively restore the pristine condition of the glass, ensuring that it remains free from any lingering marks or residue. With the glass now thoroughly cleaned and polished, you can enjoy the clarity and shine of your glass surfaces without any reminders of the tape's presence.
This completes the process of safely and effectively removing tape from glass surfaces, leaving them impeccably clean and restored to their original pristine condition. With the right materials and a methodical approach, you can confidently tackle the task of tape removal, achieving a polished and flawless finish without any hassle.
Conclusion
In conclusion, successfully removing tape from glass surfaces requires a methodical approach and the right materials to ensure a safe and effective process. By following the step-by-step guide outlined in this comprehensive article, you can confidently tackle the task of tape removal, restoring the pristine appearance of your glass windows, mirrors, or other surfaces without any hassle.
The process begins with softening the tape using gentle heat from a hair dryer or heat gun, effectively loosening the adhesive and making it easier to peel off without leaving residue. This method minimizes the risk of damaging the glass surface and sets the stage for a smooth removal process.
Gently peeling the tape from the glass surface is the next crucial step, requiring patience and precision to ensure that the tape is removed smoothly without leaving behind any residue or causing damage. By exercising caution and periodically applying heat as needed, you can effectively lift the tape without leaving any traces behind.
Addressing any remaining adhesive residue with a solvent is a meticulous step that ensures the glass is left impeccably clean and free from any lingering marks or residue. By using rubbing alcohol or a commercial adhesive remover like Goo Gone, you can effectively dissolve and lift stubborn remnants of the adhesive, preparing the glass for the final stage of cleaning and restoration.
Thoroughly cleaning the glass surface with a high-quality glass cleaner and a microfiber cloth or soft towel ensures that any remaining marks or streaks are removed, leaving the glass with a streak-free and polished finish. This meticulous approach restores the clarity and shine of the glass, ensuring that it remains free from any reminders of the tape's presence.
By following these detailed steps and utilizing the essential materials, you can confidently and effectively remove tape from glass surfaces, achieving a flawless and polished finish without any hassle. The restored pristine condition of the glass allows you to enjoy the clarity and shine of your glass surfaces without any lingering traces of the tape or adhesive.
In summary, with the right tools and a methodical approach, you can successfully restore the pristine appearance of your glass surfaces, ensuring that they remain free from any reminders of the tape's presence. This comprehensive guide equips you with the knowledge and techniques needed to tackle the task of tape removal with confidence and precision, allowing you to maintain the impeccable condition of your glass surfaces.
Frequently Asked Questions about How To Get Tape Off Of Glass
Was this page helpful?
At Storables.com, we guarantee accurate and reliable information. Our content, validated by Expert Board Contributors, is crafted following stringent Editorial Policies. We're committed to providing you with well-researched, expert-backed insights for all your informational needs.

0 thoughts on “How To Get Tape Off Of Glass”