Home>Furniture & Design>Interior Design Trends>How To Get Silicon Off Glass
Interior Design Trends
How To Get Silicon Off Glass
Published: February 7, 2024
Discover the latest interior design trends and learn how to effectively remove silicon from glass surfaces. Transform your space with these expert tips!
(Many of the links in this article redirect to a specific reviewed product. Your purchase of these products through affiliate links helps to generate commission for Storables.com, at no extra cost. Learn more)
Introduction
Removing silicon residue from glass surfaces can be a challenging task, especially when it has bonded firmly over time. Whether it's from a DIY project gone awry or a previous homeowner's handiwork, the stubborn presence of silicon can detract from the overall aesthetics of the glass. However, with the right approach and materials, it's possible to restore the glass to its pristine state.
Understanding the nature of silicon and its adhesion to glass is crucial in effectively tackling this issue. By delving into the properties of silicon and the methods for its removal, you can equip yourself with the knowledge needed to execute the process with precision and care.
In the following sections, we will explore the step-by-step process of removing silicon residue from glass, along with the essential tools and materials required for the task. From preparing the glass surface to applying the solvent and meticulously scraping off the silicon, each stage plays a pivotal role in achieving a successful outcome.
By following these detailed instructions and incorporating additional tips and precautions, you can effectively restore the glass to its former glory. Let's embark on this journey to reclaim the pristine beauty of glass surfaces by bidding farewell to unwanted silicon residue.
Key Takeaways:
- Removing silicone residue from glass requires precision and patience. By understanding silicone’s properties, using the right tools, and following a step-by-step process, you can restore glass surfaces to their pristine state.
- Before removing silicone residue, test the solvent in a small area, protect surrounding surfaces, and practice patience. With meticulous care and attention, you can successfully reclaim the beauty of glass surfaces.
Read more: How To Get Silicone Off Of Glass
Understanding Silicon Residue
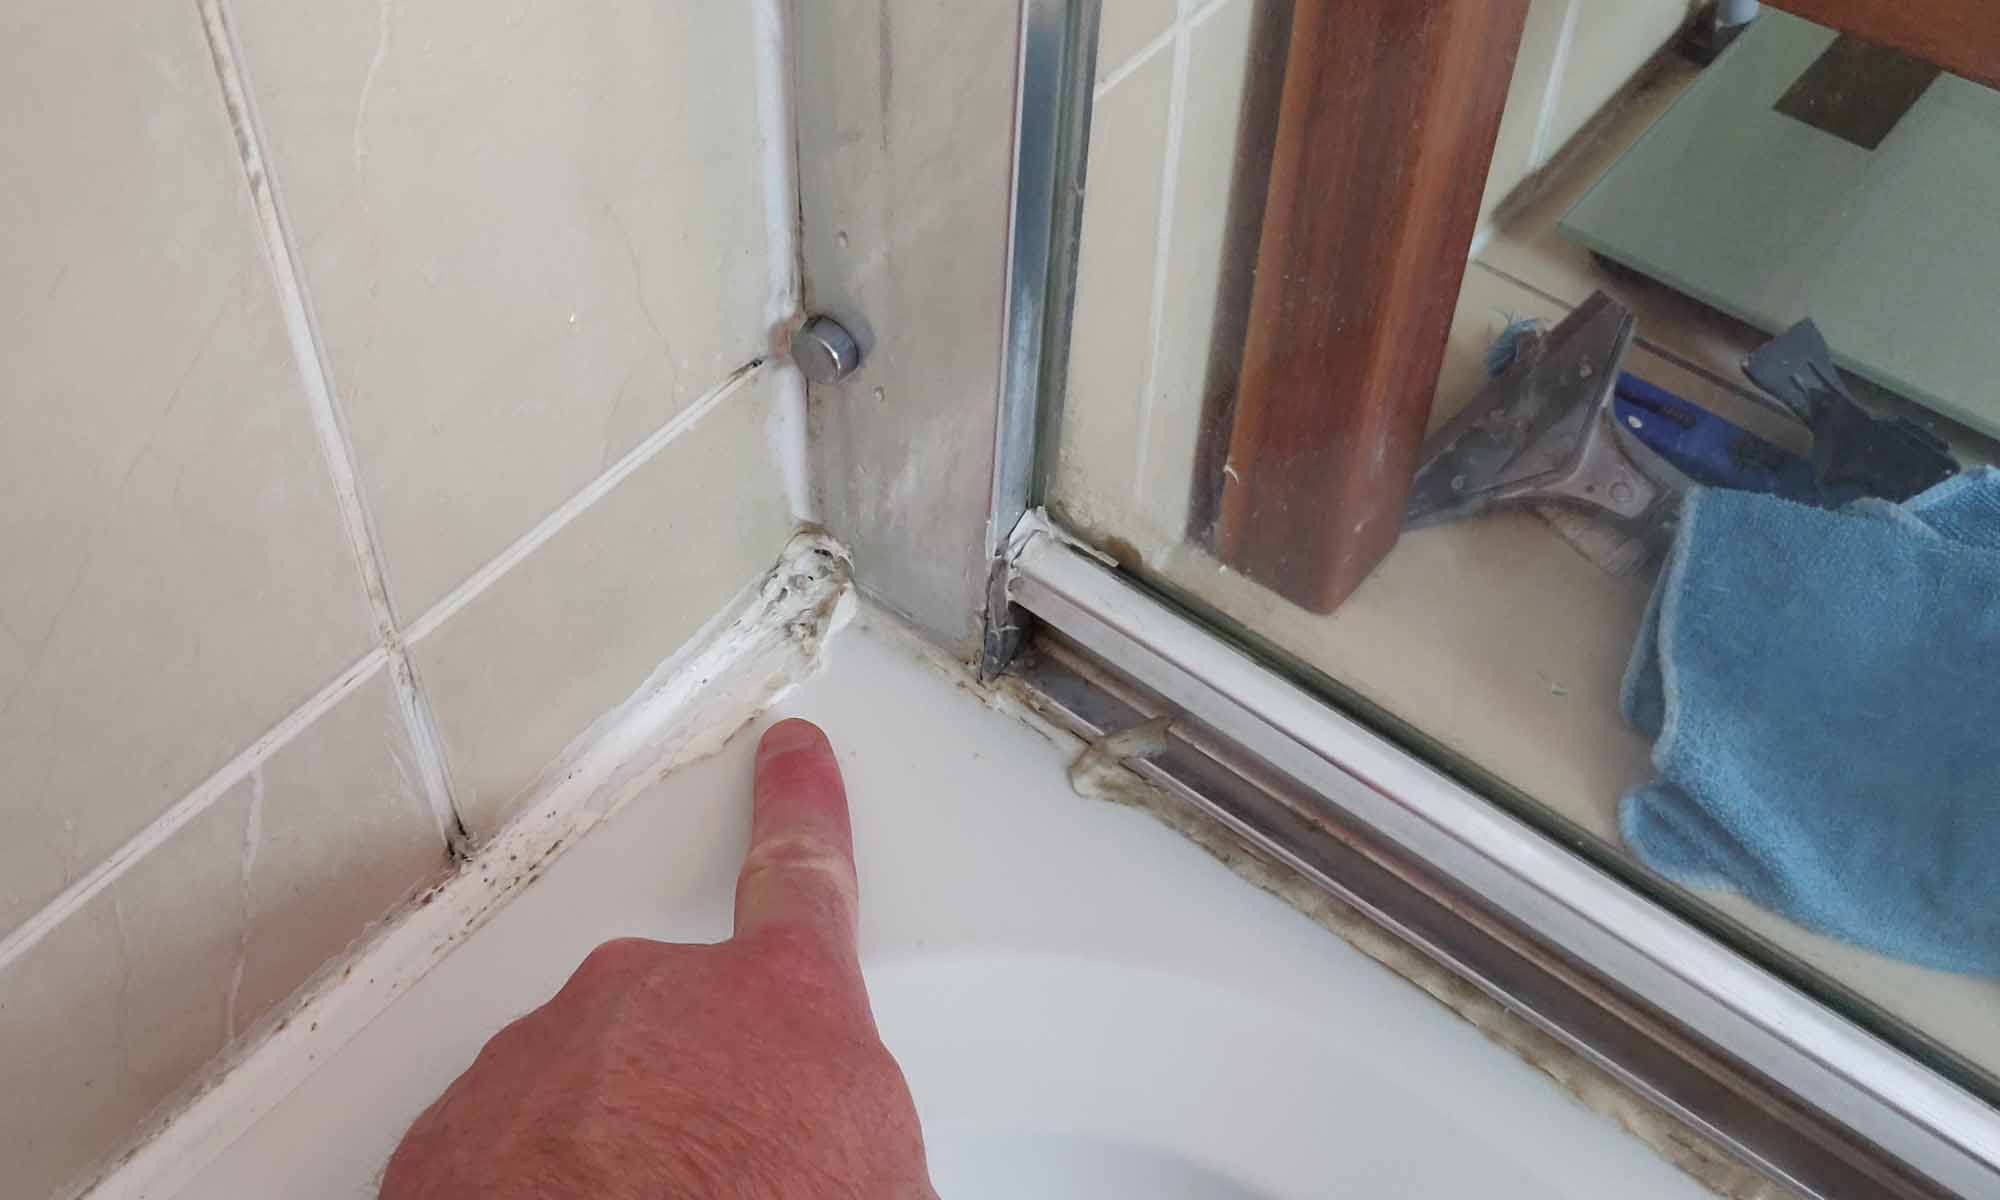
Silicon residue, often encountered in the form of silicone caulk or sealant, can stubbornly adhere to glass surfaces, creating an unsightly and challenging problem. Silicone is a synthetic material known for its flexibility, durability, and resistance to moisture, making it a popular choice for sealing and bonding applications. When applied to glass, silicone forms a strong bond, effectively sealing gaps and providing a waterproof barrier. However, over time, silicone can degrade, discolor, or become damaged, leading to the need for its removal and replacement.
Silicone residue on glass surfaces can manifest in various forms, including hardened beads, smudges, or thin layers. Regardless of its presentation, silicone residue poses a formidable challenge due to its tenacious adhesion and resistance to conventional cleaning methods. Understanding the composition of silicone is crucial in devising an effective removal strategy. Silicone sealants typically consist of a silicone polymer, a curing agent, and various additives. The curing process involves the release of acetic acid, resulting in the characteristic vinegar-like odor associated with fresh silicone applications.
The adhesion of silicone to glass is facilitated by its unique properties, including excellent adhesion to non-porous surfaces and resistance to water and extreme temperatures. When silicone sealant cures, it forms a durable and flexible bond with the glass, ensuring long-term effectiveness in sealing gaps and preventing water ingress. However, this robust adhesion also presents a formidable challenge when it comes to removing silicone residue from glass surfaces.
In addition to its adhesive properties, silicone residue can also exhibit discoloration, hardening, or degradation over time, further complicating the removal process. The presence of silicone residue can detract from the visual appeal of glass surfaces, creating an unsightly blemish that warrants prompt attention.
By gaining insight into the nature of silicone residue and its interaction with glass surfaces, individuals can approach the removal process with a comprehensive understanding of the challenges involved. With this knowledge as a foundation, the subsequent steps in the removal process can be executed with precision and confidence, leading to successful outcomes and restored glass surfaces.
Tools and Materials Needed
To effectively remove silicon residue from glass surfaces, you will need a specific set of tools and materials to facilitate the process. These essential items are instrumental in preparing the glass, applying the solvent, and meticulously scraping off the silicon residue. By ensuring that you have the following tools and materials at your disposal, you can approach the task with confidence and precision.
Tools:
-
Razor Blade Scraper: A razor blade scraper with a handle provides the necessary precision for scraping off silicone residue without damaging the glass surface. Ensure that the razor blade is sharp to facilitate smooth and controlled scraping.
-
Plastic Putty Knife: A plastic putty knife serves as an alternative to a razor blade scraper, offering a gentler approach for delicate glass surfaces. The flexibility of the plastic blade helps in maneuvering around curved or uneven areas.
-
Rubbing Alcohol: Utilize rubbing alcohol to clean the glass surface before applying the solvent. This helps remove any surface contaminants and prepares the glass for the subsequent steps.
-
Microfiber Cloth: A soft microfiber cloth is essential for wiping and cleaning the glass surface. Its non-abrasive nature ensures that the glass remains free from scratches or marks during the cleaning process.
-
Safety Gloves: It is crucial to protect your hands during the silicon removal process. Wear durable safety gloves to shield your skin from the solvent and any sharp edges while handling the tools.
-
Safety Goggles: Safeguard your eyes with safety goggles to prevent any potential splashes or debris from coming into contact with your eyes during the silicon removal process.
Materials:
-
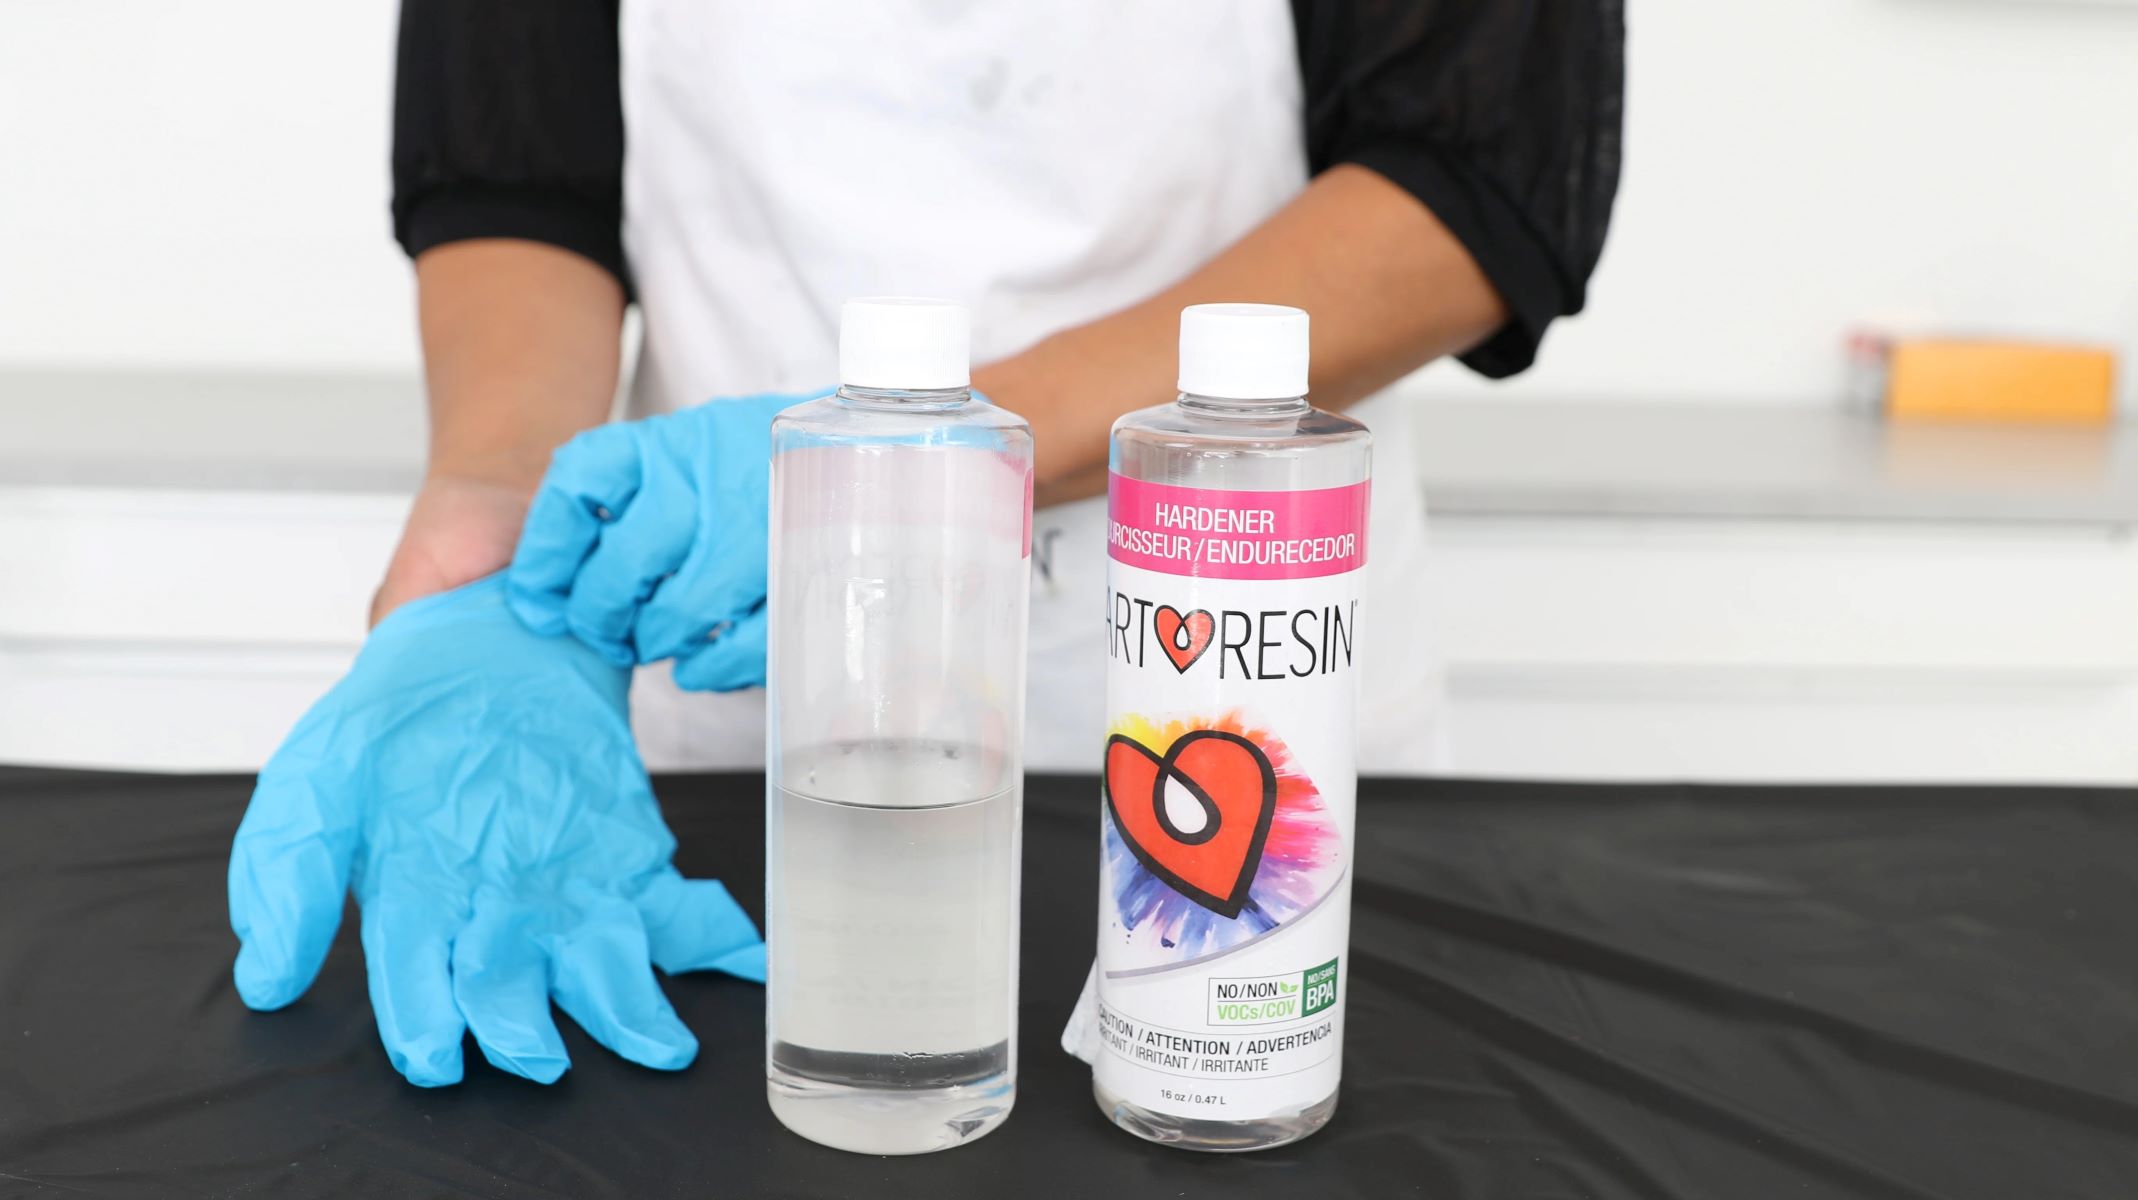
Silicone Solvent: Acquire a specialized silicone solvent designed for effectively dissolving and softening silicone residue. Ensure that the solvent is compatible with glass surfaces and follow the manufacturer's instructions for safe usage.
-
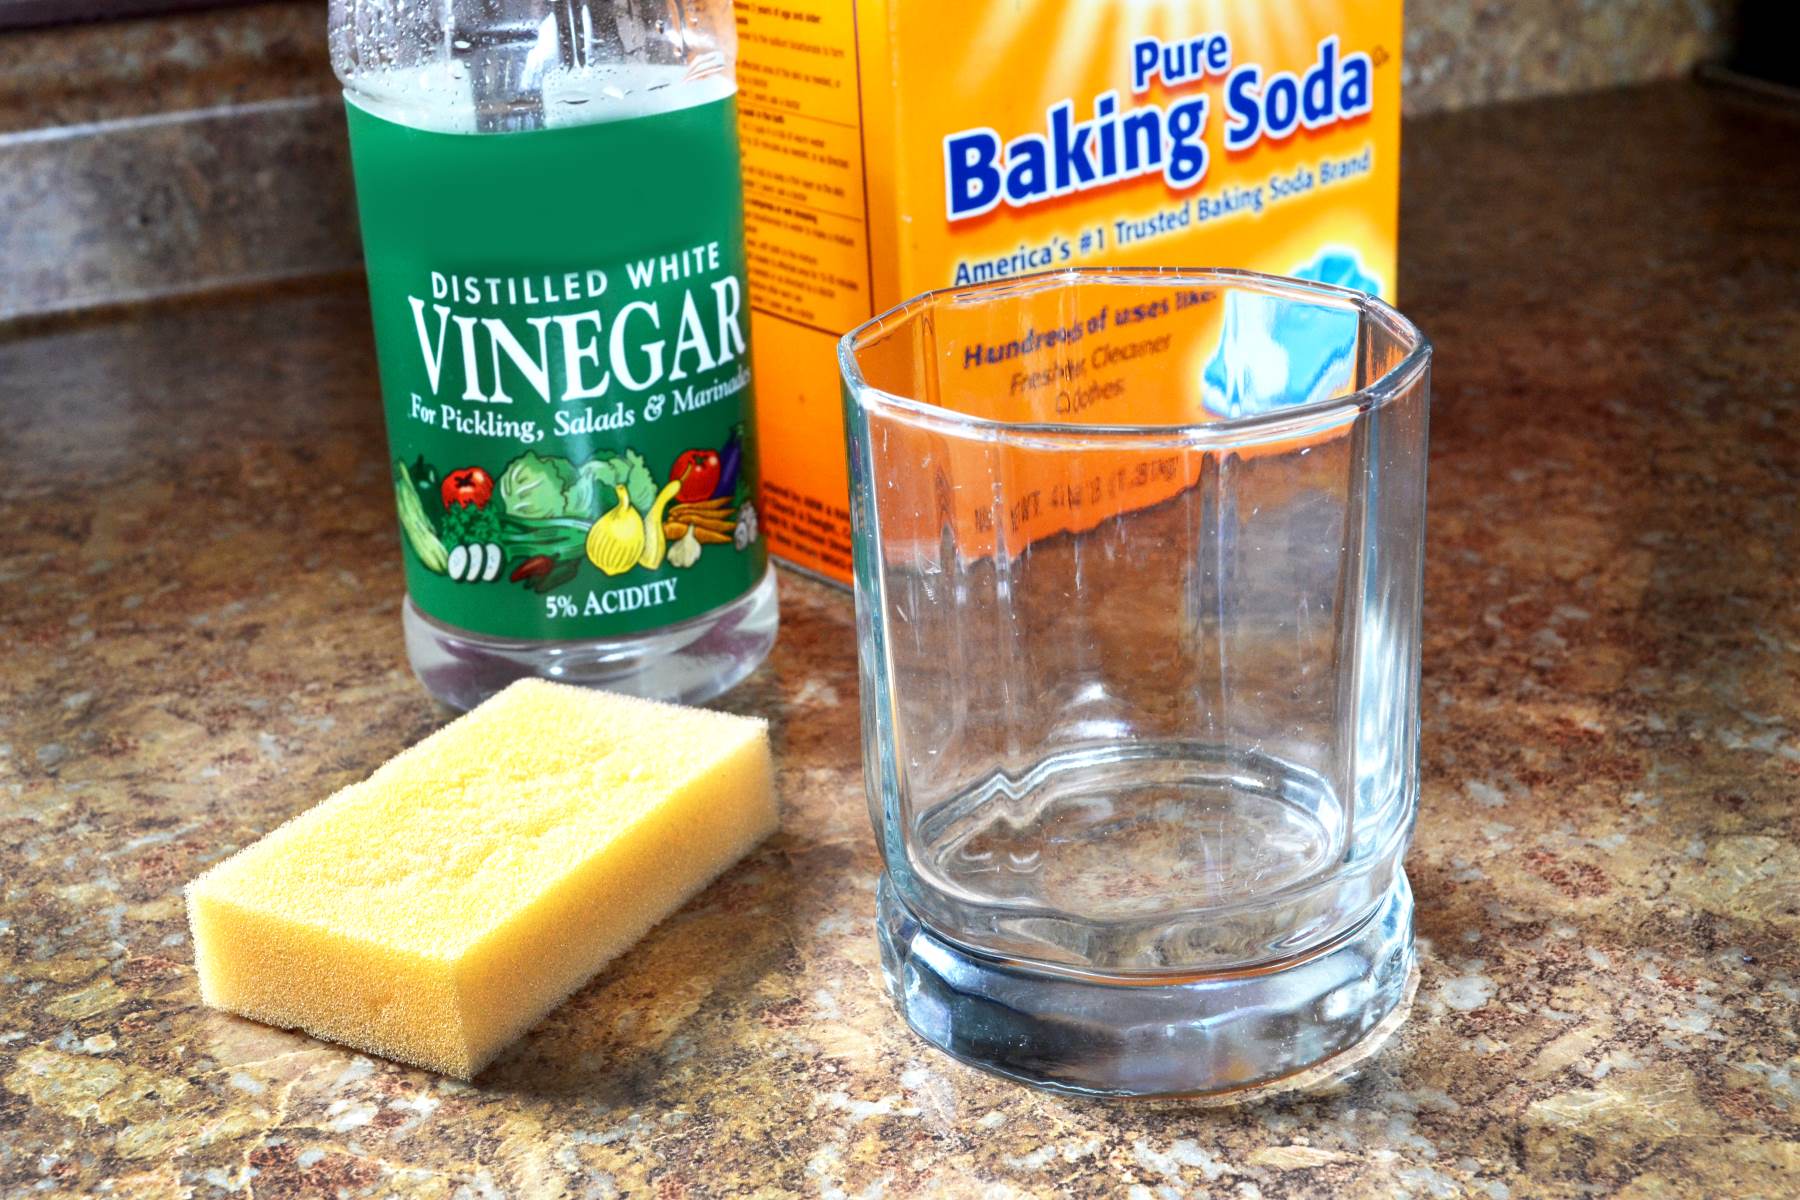
Vinegar: In some cases, vinegar can serve as a natural alternative for softening silicone residue. Dilute white vinegar with water in a 1:1 ratio and use it as a preliminary step before applying the silicone solvent.
-
Warm, Soapy Water: Prepare a solution of warm water and mild dish soap to thoroughly clean the glass surface after removing the silicone residue. This helps eliminate any remaining solvent and ensures a clean, residue-free finish.
By assembling these essential tools and materials, you are well-equipped to embark on the process of removing silicone residue from glass surfaces with efficiency and care. Each item plays a crucial role in facilitating the meticulous removal of silicone residue, ultimately leading to the restoration of the glass to its pristine condition.
Read more: How To Get Silicone Off A Bathtub
Step 1: Preparing the Glass Surface
Before initiating the process of removing silicone residue from the glass, it is essential to prepare the surface adequately. This preparatory step sets the foundation for the subsequent stages, ensuring that the glass is primed for the effective application of the silicone solvent and the meticulous removal of the residue. The preparation process involves thorough cleaning and the removal of any surface contaminants that may impede the effectiveness of the silicone solvent.
To begin, gather the necessary tools and materials, including rubbing alcohol, a microfiber cloth, safety gloves, and safety goggles. These items are essential for ensuring a safe and controlled environment during the preparation phase. Put on the safety gloves and goggles to protect your hands and eyes from potential splashes and debris.
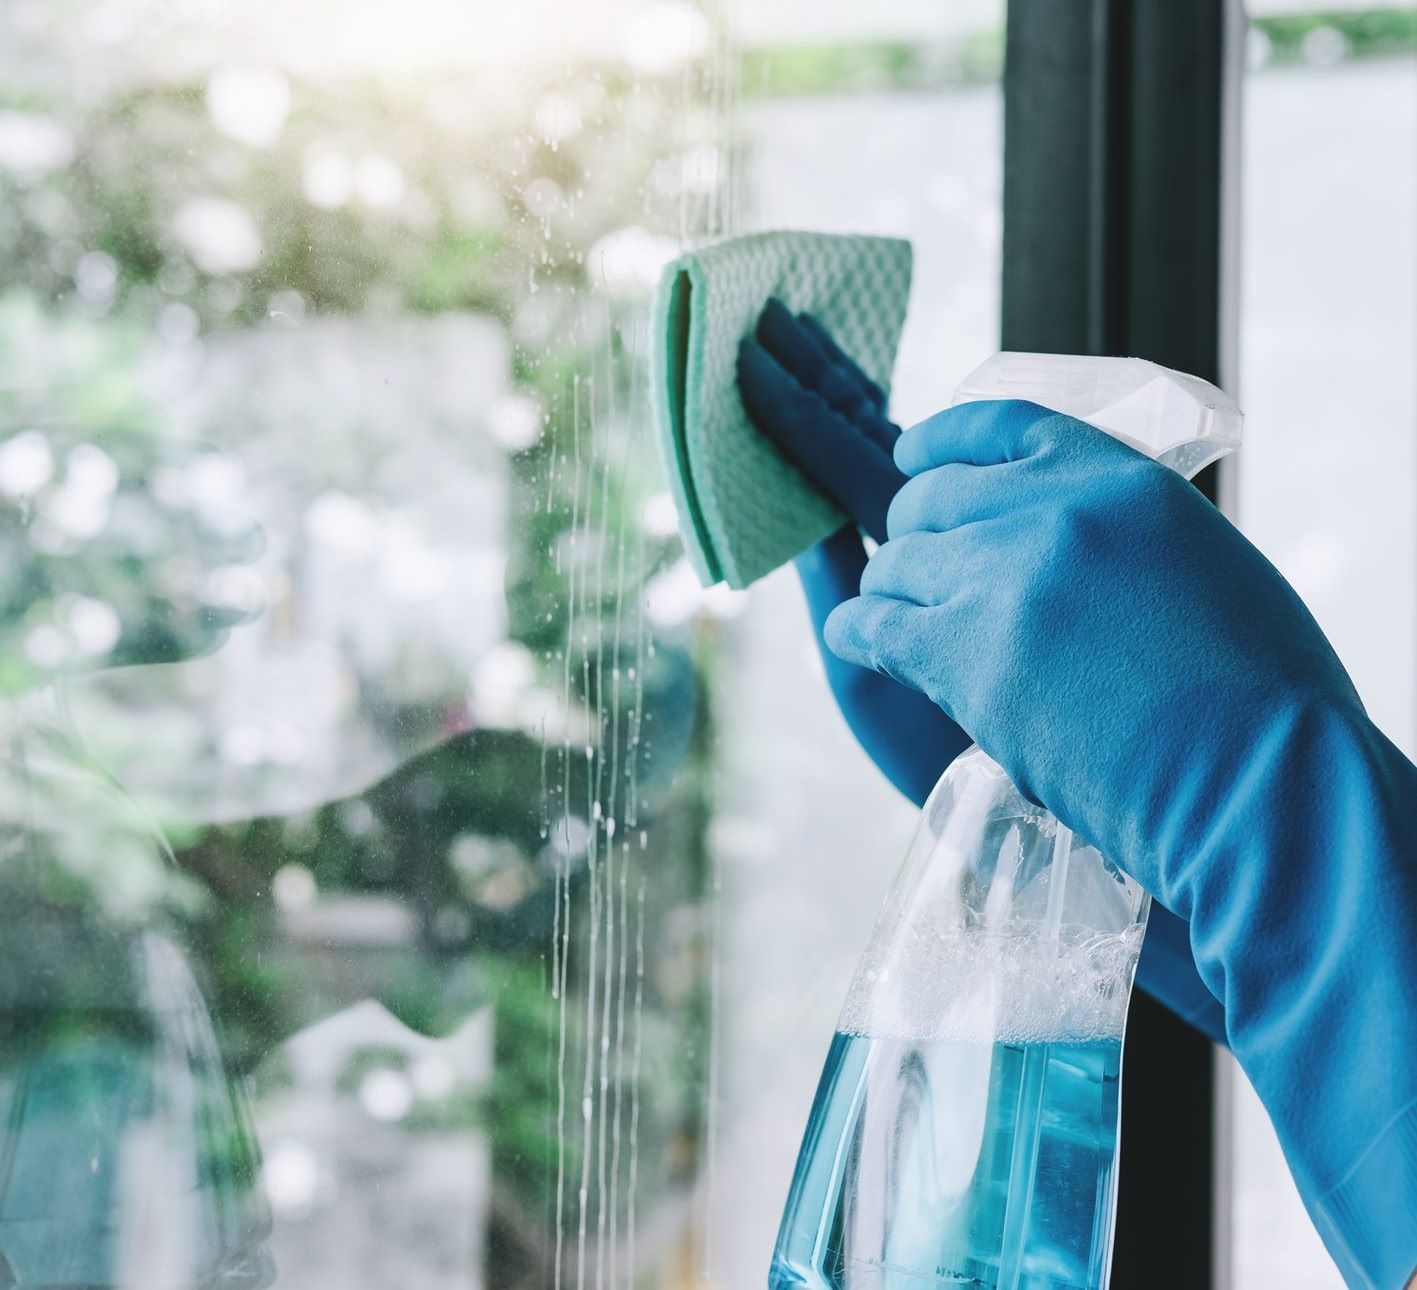
Start by applying rubbing alcohol to a clean microfiber cloth and gently wipe the entire glass surface. This step serves to remove any dirt, dust, or grease that may have accumulated on the glass. By eliminating surface contaminants, the adhesion of the silicone solvent to the glass is optimized, ensuring maximum effectiveness in softening and dissolving the silicone residue.
Pay particular attention to areas where the silicone residue is concentrated, ensuring that they are thoroughly cleaned and free from any obstructions. The meticulous cleaning process sets the stage for the subsequent application of the silicone solvent, allowing it to directly target the silicone residue without interference from surface impurities.
Once the glass surface has been meticulously cleaned with rubbing alcohol, inspect the area to ensure that it is free from any residual contaminants. Any remaining debris or particles can compromise the effectiveness of the silicone solvent, potentially prolonging the removal process.
By diligently preparing the glass surface through thorough cleaning and the removal of surface contaminants, you establish an optimal environment for the subsequent steps in the silicone residue removal process. This preparatory phase sets the stage for the application of the silicone solvent, ensuring that it can effectively target and soften the silicone residue, ultimately leading to its successful removal from the glass surface.
Step 2: Applying the Solvent
After meticulously preparing the glass surface, the next crucial step in the process of removing silicone residue involves the precise application of the silicone solvent. This pivotal stage is instrumental in softening and dissolving the stubborn silicone residue, preparing it for subsequent removal. The application of the solvent demands precision, care, and adherence to safety protocols to ensure an effective and controlled process.
Begin by ensuring that the area is well-ventilated to disperse any fumes that may emanate from the silicone solvent. Proper ventilation is essential for creating a safe and comfortable environment for the application process. Additionally, don the safety gloves and goggles to protect your hands and eyes from direct contact with the solvent.
Carefully follow the manufacturer's instructions for the silicone solvent, as different products may have specific application guidelines. Using a clean, lint-free cloth or sponge, apply the silicone solvent directly onto the silicone residue, ensuring thorough coverage of the affected areas. Allow the solvent to penetrate and soften the silicone residue as per the recommended duration specified by the manufacturer.
During the application process, exercise caution to prevent the solvent from coming into contact with surrounding surfaces or materials that are not intended for treatment. Focus on applying the solvent exclusively to the silicone residue, minimizing any potential impact on the adjacent glass areas.
As the solvent begins to work its magic, you may observe the silicone residue softening and becoming more pliable. This indicates that the solvent is effectively breaking down the silicone, preparing it for the subsequent removal stage. Exercise patience and allow the solvent adequate time to work its way through the silicone residue, ensuring comprehensive softening for seamless removal.
Throughout the application process, periodically assess the condition of the silicone residue to gauge the progress of the solvent's action. If necessary, reapply the solvent to areas where the silicone residue remains stubborn, ensuring that it receives sufficient treatment for effective softening.
By meticulously applying the silicone solvent and allowing it to penetrate and soften the silicone residue, you pave the way for the subsequent removal stage. This strategic application process sets the stage for the precise and controlled removal of the silicone residue, ultimately leading to the restoration of the glass surface to its pristine state.
Step 3: Scraping Off the Silicon
With the silicone residue effectively softened by the solvent, the meticulous process of scraping off the silicon becomes the focal point of the removal endeavor. This critical stage demands precision, patience, and the appropriate tools to ensure the thorough elimination of the softened silicone residue from the glass surface.
Armed with a razor blade scraper or a plastic putty knife, carefully maneuver the tool along the softened silicone residue, applying gentle pressure to lift and remove the softened silicone. Exercise caution to avoid exerting excessive force that may damage the glass surface, maintaining a delicate balance between thorough removal and safeguarding the integrity of the glass.
When utilizing a razor blade scraper, ensure that the blade is sharp to facilitate smooth and controlled scraping. The sharpness of the blade enables precise removal of the softened silicone, minimizing the risk of residue remnants or damage to the glass surface. Alternatively, a plastic putty knife offers a gentler approach, particularly suitable for delicate or curved glass surfaces, allowing for meticulous removal without the risk of scratches or abrasions.
As you navigate the scraping process, periodically inspect the tool to ensure that any accumulated silicone residue is promptly cleared, preventing potential smearing or re-deposition onto the glass surface. This diligent approach ensures that the removal process remains effective and controlled, minimizing the likelihood of residual silicone impeding the restoration of the glass.
In areas where the silicone residue presents a greater challenge, exercise patience and precision, gradually working through the softened silicone to achieve comprehensive removal. By adopting a methodical approach and paying attention to detail, you can effectively navigate intricate or stubborn areas, ensuring that the glass surface is thoroughly liberated from the silicone residue.
Throughout the scraping process, periodically assess the condition of the glass surface to gauge the progress of the silicone removal. As the softened silicone is meticulously lifted and removed, the pristine beauty of the glass gradually emerges, signifying the successful culmination of the scraping stage.
By meticulously scraping off the softened silicone residue, you pave the way for the final phase of the removal process, setting the stage for the comprehensive cleaning and restoration of the glass surface. This meticulous endeavor ensures that the glass is liberated from the remnants of silicone, ultimately reclaiming its pristine appearance and visual appeal.
To remove silicon from glass, use a razor blade to carefully scrape it off. Then, apply a solvent like acetone or isopropyl alcohol to dissolve any remaining residue. Always work in a well-ventilated area and wear gloves for safety.
Step 4: Cleaning the Glass
After the meticulous removal of the softened silicone residue, the final step in the restoration process involves the comprehensive cleaning of the glass surface. This pivotal stage is instrumental in ensuring that any residual solvent, debris, or remnants of silicone are effectively eliminated, resulting in a pristine and visually appealing glass surface.
To commence the cleaning process, prepare a solution of warm water and mild dish soap in a clean container. The gentle nature of the dish soap ensures that the glass surface is effectively cleansed without the risk of abrasive or harsh chemicals compromising its integrity. Thoroughly mix the solution to create a uniform cleaning agent that is ready for application.
Using a soft microfiber cloth, generously saturate it with the prepared warm, soapy water solution. Gently wipe the entire glass surface, ensuring comprehensive coverage and meticulous attention to detail. The gentle yet effective nature of the microfiber cloth facilitates the removal of any residual silicone, solvent, or debris, resulting in a clean and residue-free finish.
As you navigate the cleaning process, pay particular attention to areas where the silicone residue was concentrated, ensuring that they receive thorough and targeted cleaning. By focusing on these areas, you can effectively eliminate any remaining traces of silicone, further enhancing the visual clarity and pristine appearance of the glass surface.
Following the initial cleaning with the warm, soapy water solution, rinse the glass surface with clean water to remove any lingering soap residue. This additional step ensures that the glass is left immaculately clean, free from any cleaning agent remnants that may compromise its visual appeal.
Once the glass surface has been thoroughly rinsed, utilize a dry microfiber cloth to gently pat and dry the glass, ensuring that it is free from any moisture or streaks. The gentle drying process further enhances the clarity and luster of the glass, resulting in a pristine and visually appealing finish.
Upon completing the cleaning process, take a moment to inspect the glass surface, ensuring that it is free from any residual silicone, solvent, or debris. The meticulous cleaning endeavor culminates in the restoration of the glass to its pristine state, reclaiming its visual clarity and aesthetic allure.
By diligently cleaning the glass surface following the removal of silicone residue, you conclude the restoration process with a visually stunning and immaculately clean glass surface. This final stage ensures that the glass is free from any remnants of the silicone removal process, resulting in a rejuvenated and visually captivating appearance.
Read more: How To Get Hairspray Off Glass
Additional Tips and Precautions
In addition to the core steps involved in removing silicone residue from glass surfaces, several additional tips and precautions can further enhance the efficacy and safety of the removal process. By incorporating these insights into the silicone removal endeavor, individuals can navigate the task with heightened precision, care, and confidence.
-
Test in a Small Area: Before embarking on the complete removal process, it is advisable to conduct a small-scale test in an inconspicuous area of the glass surface. This preliminary test allows you to assess the compatibility of the silicone solvent with the glass and evaluate its effectiveness in softening the silicone residue. By conducting a test patch, you can mitigate the risk of adverse reactions or unexpected outcomes during the full-scale removal process.
-
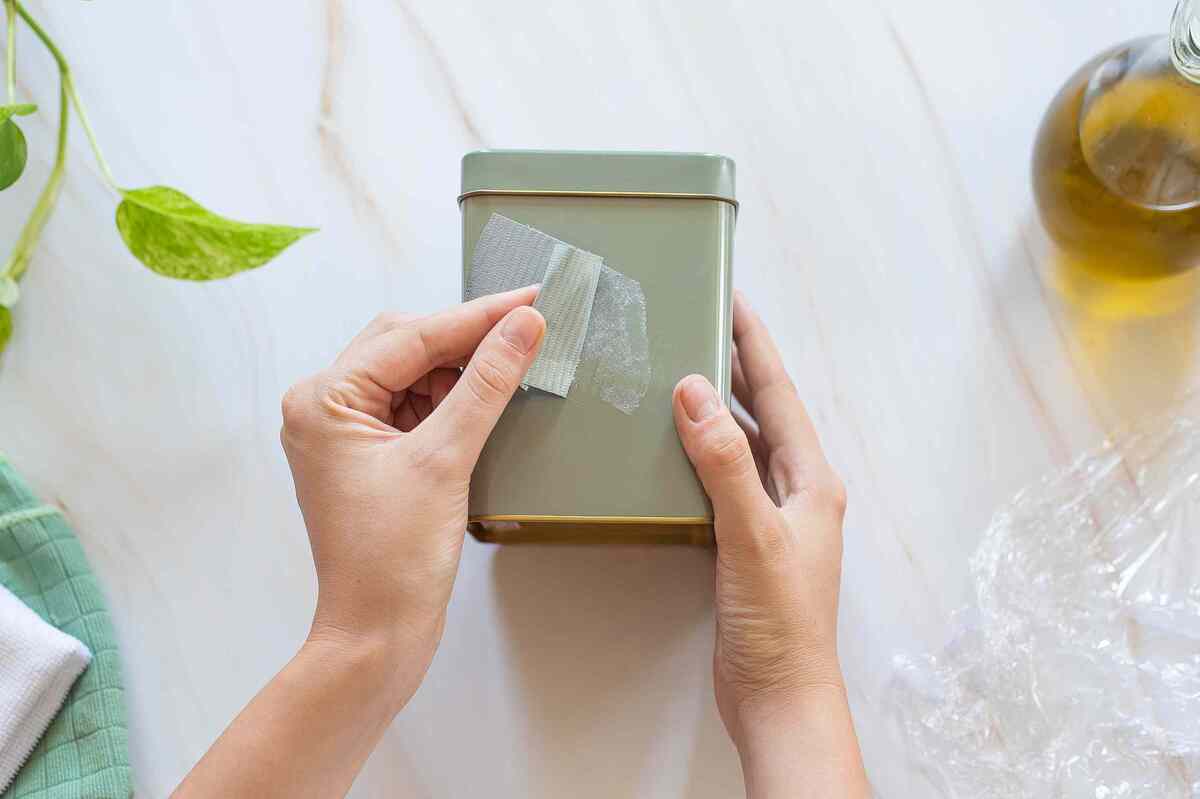
Utilize Protective Coverings: In scenarios where adjacent surfaces or materials require protection from the silicone solvent, consider utilizing protective coverings such as painter's tape or plastic sheeting. By carefully covering and shielding surrounding areas, you can minimize the risk of inadvertent exposure to the solvent, ensuring a controlled and targeted application process.
-
Patience and Precision: Throughout the silicone removal process, exercise patience and precision to achieve thorough and meticulous results. Avoid rushing through the steps and instead focus on methodical and deliberate actions, ensuring that each stage is executed with care and attention to detail.
-
Regular Maintenance: To prevent the accumulation of stubborn silicone residue on glass surfaces in the future, consider implementing regular maintenance and inspection routines. By promptly addressing any signs of deteriorating silicone sealant and addressing them in a timely manner, you can mitigate the need for extensive removal efforts in the future.
-
Seek Professional Assistance: In cases where the silicone residue presents significant challenges or the glass surface is of a delicate nature, consider seeking professional assistance. Professional glass restoration experts possess the expertise and specialized tools to effectively address stubborn silicone residue while safeguarding the integrity of the glass.
-
Environmental Considerations: When working with silicone solvents, be mindful of environmental considerations and adhere to proper disposal practices. Dispose of used cloths, sponges, and any residual materials in accordance with local regulations, ensuring responsible and eco-friendly waste management.
By integrating these additional tips and precautions into the silicone removal process, individuals can elevate the overall effectiveness and safety of the endeavor. These insights serve to enhance the precision, care, and environmental consciousness of the removal process, ultimately contributing to the successful restoration of glass surfaces to their pristine state.
Conclusion
In conclusion, the successful removal of silicone residue from glass surfaces is a meticulous and rewarding endeavor that demands precision, care, and adherence to essential steps and precautions. By embarking on this journey to reclaim the pristine beauty of glass surfaces, individuals can effectively restore visual clarity and aesthetic allure, bidding farewell to unwanted silicone residue.
The comprehensive understanding of silicone residue and its interaction with glass surfaces serves as a foundational knowledge base, empowering individuals to approach the removal process with confidence and insight. By delving into the nature of silicone and its adhesion to glass, individuals gain valuable insights into the challenges involved, paving the way for strategic and effective removal strategies.
The essential tools and materials required for the silicone removal process play a pivotal role in facilitating the meticulous removal of silicone residue. From razor blade scrapers and plastic putty knives to silicone solvents and warm, soapy water, each item contributes to the precision and care required for successful removal.
The step-by-step process, from preparing the glass surface to applying the solvent, meticulously scraping off the silicone, and concluding with comprehensive cleaning, ensures a methodical and effective approach to silicone residue removal. Each stage is imbued with precision, patience, and attention to detail, ultimately leading to the restoration of the glass to its pristine state.
Furthermore, the incorporation of additional tips and precautions, such as conducting small-scale tests, utilizing protective coverings, and exercising patience and precision, enhances the overall efficacy and safety of the removal process. These insights contribute to a comprehensive and controlled approach, ensuring successful outcomes and safeguarding the integrity of the glass surface.
By integrating these essential elements and insights into the silicone removal process, individuals can navigate the task with confidence, precision, and environmental consciousness, ultimately reclaiming the visual clarity and pristine beauty of glass surfaces. The successful removal of silicone residue culminates in the rejuvenation of glass, transforming unsightly blemishes into visually captivating and immaculately clean surfaces.
In essence, the removal of silicone residue from glass surfaces is a transformative endeavor that empowers individuals to reclaim the inherent beauty of glass, ensuring that it remains a timeless and visually stunning element within any space.
Frequently Asked Questions about How To Get Silicon Off Glass
Was this page helpful?
At Storables.com, we guarantee accurate and reliable information. Our content, validated by Expert Board Contributors, is crafted following stringent Editorial Policies. We're committed to providing you with well-researched, expert-backed insights for all your informational needs.


0 thoughts on “How To Get Silicon Off Glass”