Home>Furniture & Design>Interior Design Trends>How To Get Writing Off Glass
Interior Design Trends
How To Get Writing Off Glass
Modified: August 27, 2024
Discover the latest interior design trends and learn how to effectively remove writing from glass surfaces. Enhance your space with these expert tips!
(Many of the links in this article redirect to a specific reviewed product. Your purchase of these products through affiliate links helps to generate commission for Storables.com, at no extra cost. Learn more)
Introduction
Writing on glass surfaces can be a creative and practical way to communicate messages, create art, or simply add a personal touch to your living or working space. Whether you want to leave a motivational quote on your bathroom mirror, jot down reminders on your office window, or showcase your artistic talents on a glass tabletop, knowing how to write on glass and remove the writing afterward can open up a world of possibilities.
In this guide, we will explore the step-by-step process of writing on glass, including the materials needed, the techniques for writing, and the methods for removing the writing without leaving any permanent marks. By following these simple yet effective instructions, you can confidently express yourself on glass surfaces, knowing that you can easily erase and update your creations as often as you like.
So, gather your materials and let's embark on this creative journey of writing on glass!
Key Takeaways:
- Unleash your creativity on glass surfaces with the right tools and techniques. Express yourself boldly, then easily erase and update your creations for a seamless and gratifying experience.
- Writing on glass offers a unique canvas for self-expression and storytelling. Prepare, write, and remove with ease, opening up endless possibilities for dynamic visual communication.
Read more: How To Write On Glass
Materials Needed
To embark on the exciting endeavor of writing on glass, you will need a few essential materials to ensure a smooth and successful process. Here's a comprehensive list of items that will equip you for this creative undertaking:
-
Glass Surface: Select the glass surface on which you intend to write. This could be a mirror, window, glass tabletop, or any other glass object that you wish to adorn with your writing.
-
Glass Cleaner: Before you begin writing, it's crucial to ensure that the glass surface is clean and free of any dust, dirt, or smudges. A high-quality glass cleaner will help you achieve a pristine writing canvas.
-
Lint-Free Cloth: To wipe the glass surface after cleaning, use a lint-free cloth to avoid leaving behind any fibers or particles that could interfere with the writing process.
-
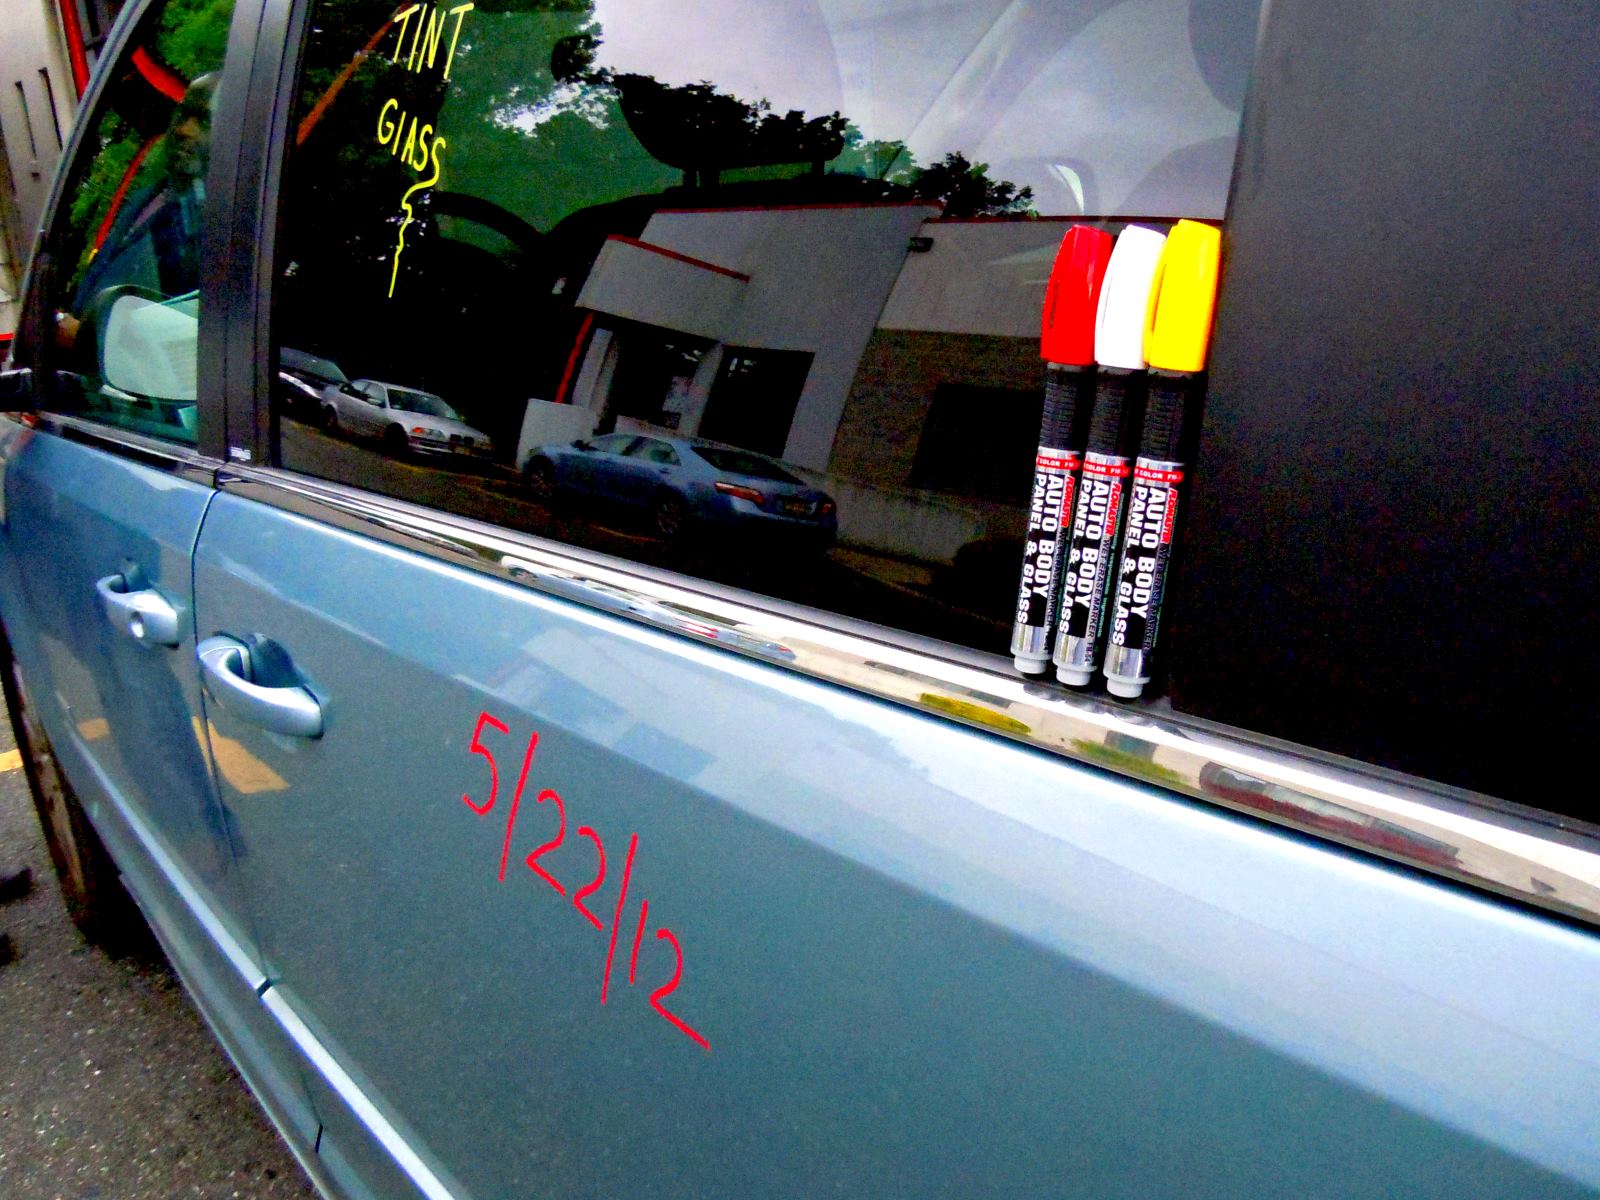
Dry Erase Markers: Opt for dry erase markers specifically designed for writing on glass surfaces. These markers are formulated to produce vibrant and easily erasable ink, making them ideal for temporary messages and artwork.
-
Chalk Markers: If you prefer a chalk-like finish, chalk markers are an excellent alternative to traditional dry erase markers. They offer a matte texture and are available in a wide range of colors to suit your creative vision.
-
Painter's Tape: In case you want to create precise borders or guidelines for your writing or artwork, painter's tape can be used to mark off specific areas on the glass surface.
-
Eraser or Damp Cloth: To correct any mistakes or make adjustments while writing on the glass, keep an eraser or a damp cloth handy for quick and easy modifications.
-
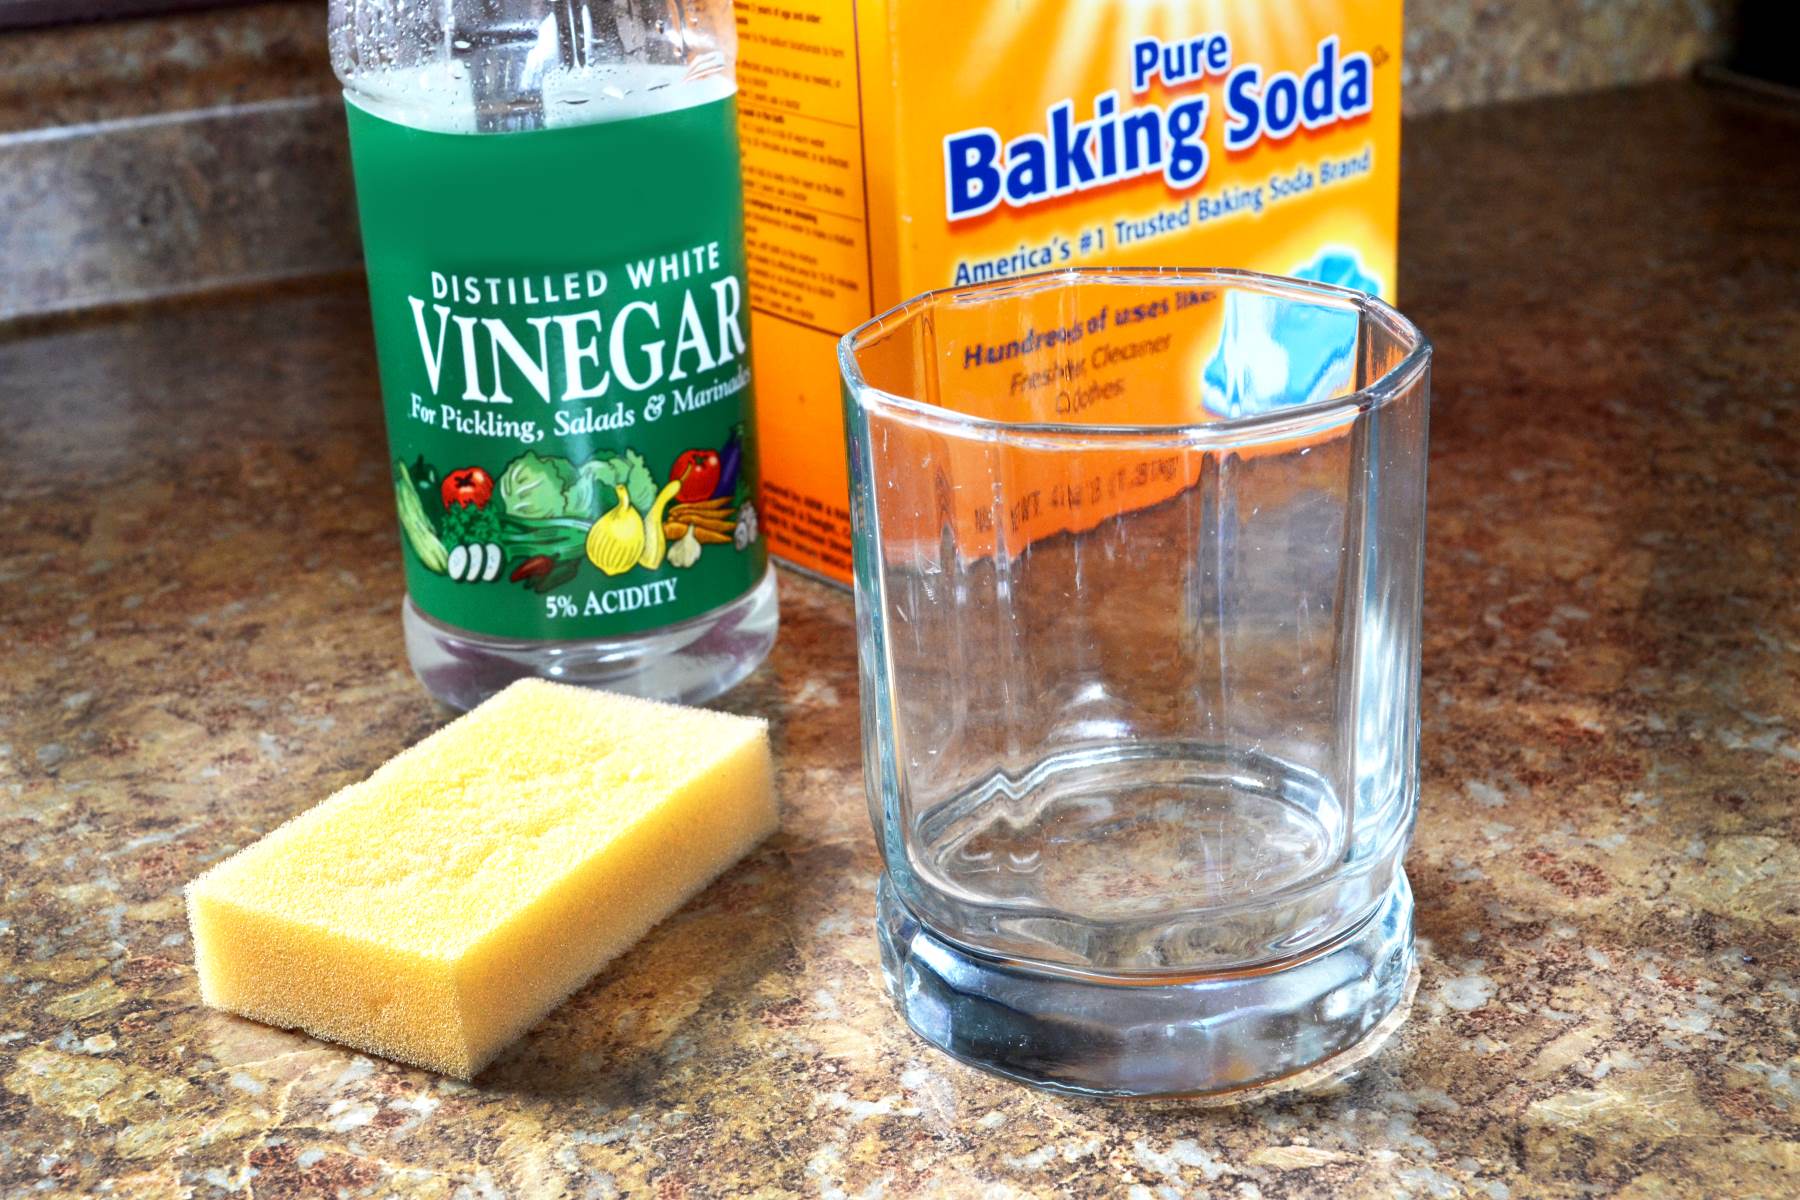
Rubbing Alcohol: When it's time to remove the writing from the glass, rubbing alcohol can effectively dissolve and erase the ink, leaving the glass surface clean and ready for new creations.
By gathering these materials, you'll be well-prepared to embark on your glass writing journey with confidence and creativity. Now that you have all the necessary items at your disposal, let's proceed to the next steps and bring your ideas to life on glass surfaces.
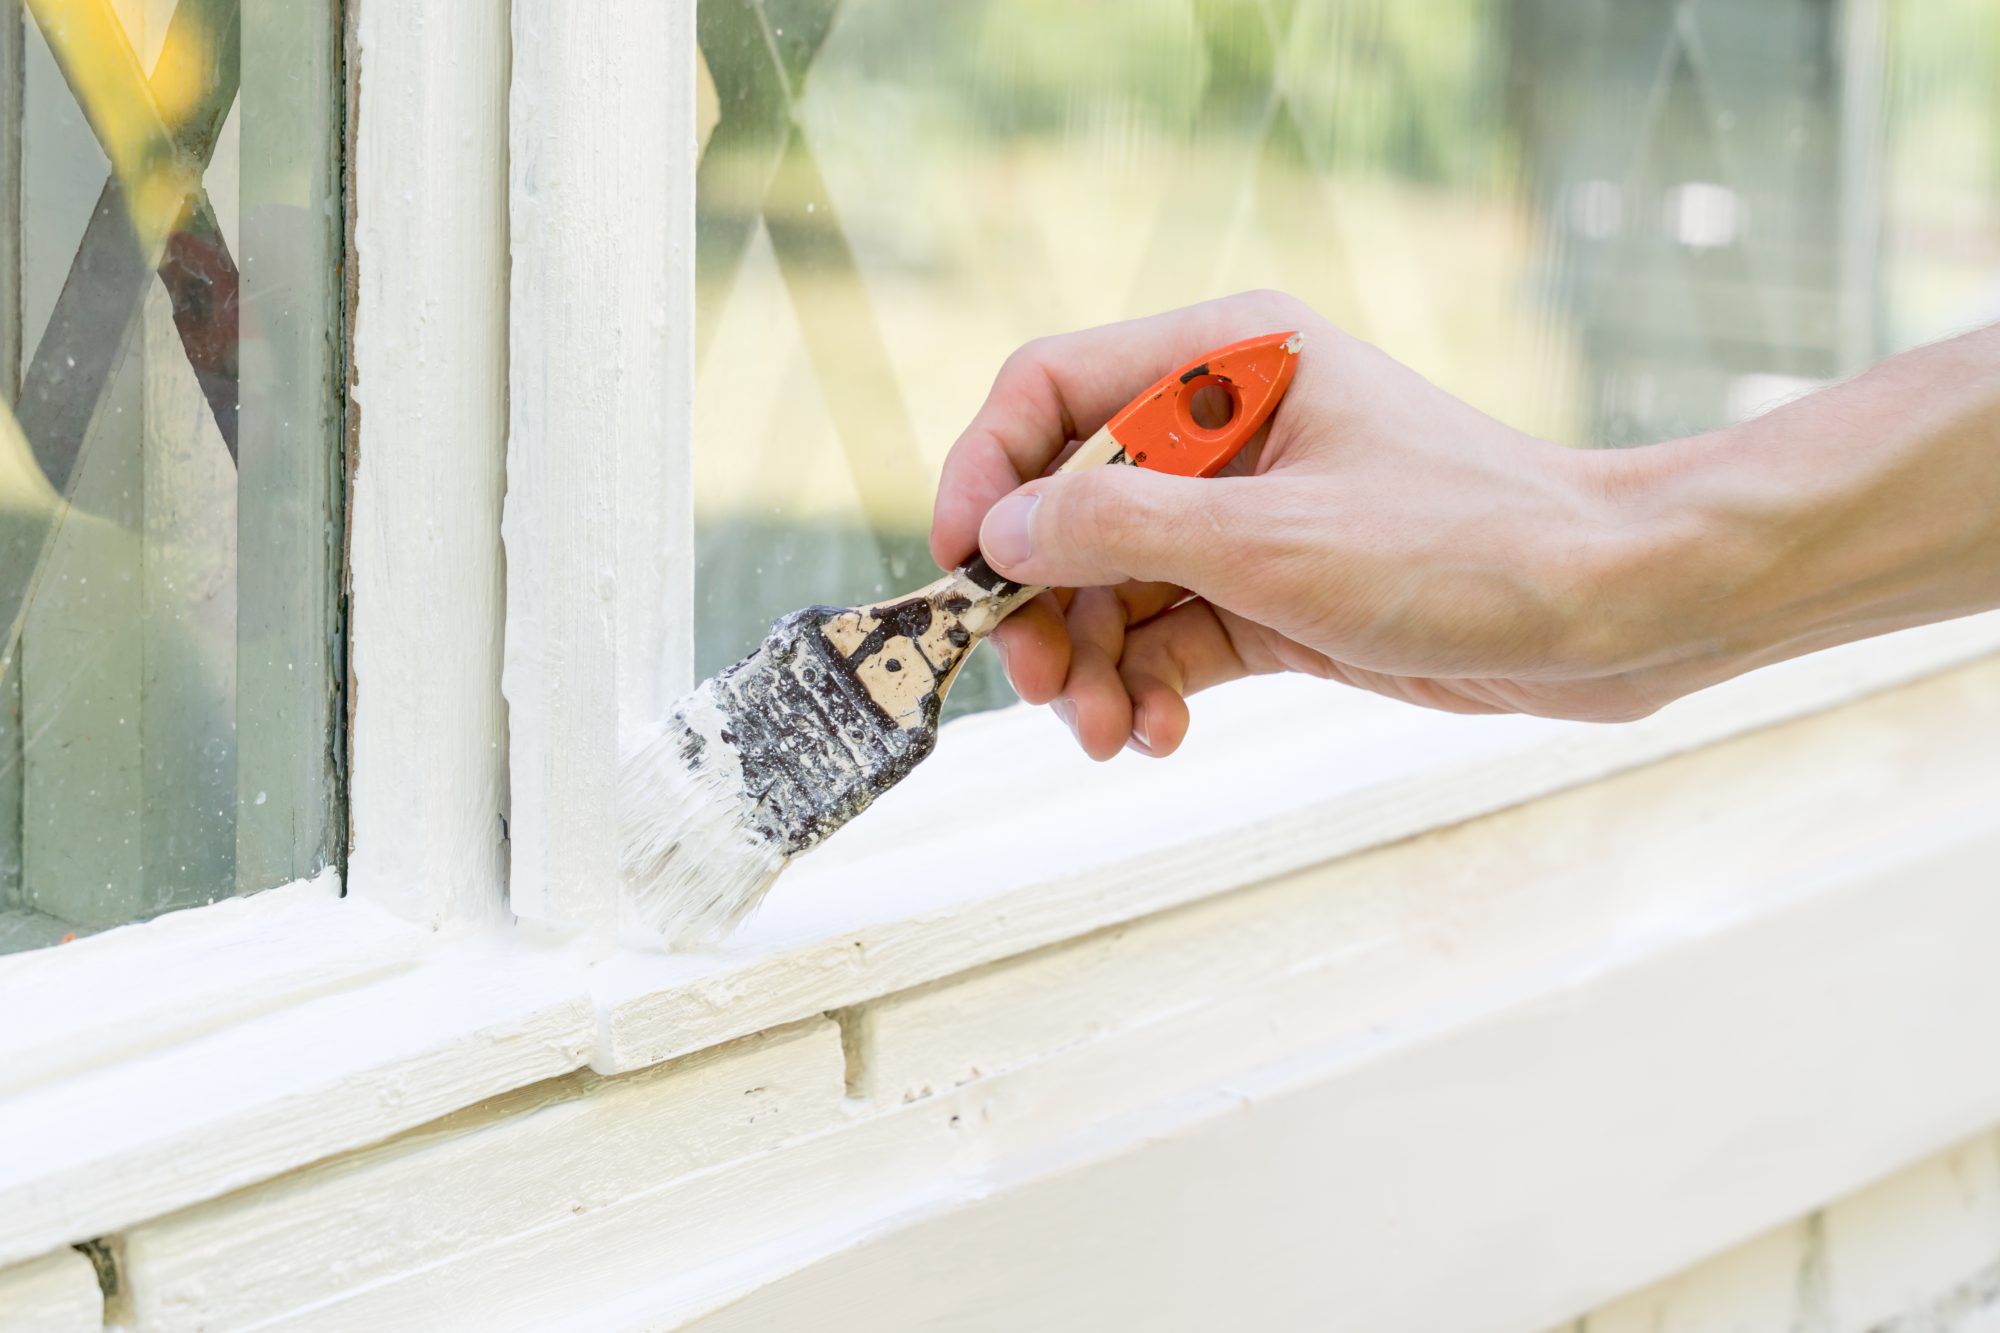
Step 1: Prepare the Glass Surface
Before you begin the exciting process of writing on a glass surface, it's crucial to ensure that the glass is impeccably clean and free of any blemishes that could interfere with the writing or detract from the final result. Follow these steps to prepare the glass surface for your creative endeavors:
-
Gather Your Materials: Assemble the necessary materials, including a glass cleaner, lint-free cloth, and any additional tools or markers you plan to use for writing on the glass.
-
Clean the Glass: Start by spraying the glass cleaner evenly across the entire surface. Using the lint-free cloth, wipe the glass in a circular motion, ensuring that all areas are thoroughly cleaned. Pay special attention to any smudges, fingerprints, or dirt that may have accumulated on the glass.
-
Inspect for Residue: After cleaning, carefully inspect the glass surface for any remaining residue or streaks. If you notice any stubborn marks or streaks, reapply the glass cleaner and wipe the area again until the surface is completely clear and transparent.
-
Allow the Glass to Dry: Once the glass is cleaned to your satisfaction, allow it to air dry or use a dry lint-free cloth to remove any excess moisture. It's essential to ensure that the glass is completely dry before proceeding to the next steps, as moisture can affect the adhesion and erasability of the writing materials.
By meticulously preparing the glass surface, you set the stage for a seamless and enjoyable writing experience. With a pristine canvas at your disposal, you can unleash your creativity and confidently express your ideas on the glass with the assurance that your writing will stand out vibrantly and clearly. Now that the glass surface is immaculately prepared, you're ready to move on to the next step and choose the right writing tool for your project.
Step 2: Choose the Right Writing Tool
Selecting the appropriate writing tool is a pivotal decision that significantly influences the outcome of your glass writing endeavor. The right tool not only ensures clear and vibrant writing but also facilitates easy erasure when the time comes to refresh the glass surface with new content. Here's a detailed exploration of the various writing tools available for glass surfaces, along with their unique characteristics and benefits:
Dry Erase Markers
Dry erase markers are a popular choice for writing on glass due to their versatility and ease of use. These markers are specifically formulated to produce bold, vivid lines that stand out prominently on glass surfaces. Their erasable ink allows for effortless corrections and modifications, making them ideal for temporary messages, artistic creations, or brainstorming sessions. Available in a spectrum of colors, dry erase markers offer a wide range of options to suit your creative vision, whether you're outlining intricate designs or jotting down quick notes.
Read more: How To Write Off Home Renovations
Chalk Markers
For those seeking a matte, chalk-like finish on glass, chalk markers present an appealing alternative to traditional dry erase markers. These markers deliver a velvety texture that mimics the appearance of chalk, adding a touch of nostalgia and artistic flair to your glass creations. With a diverse palette of colors at your disposal, chalk markers enable you to explore various hues and shades, allowing for captivating and expressive designs that evoke a sense of whimsy and creativity.
Painter's Tape for Precision
When precision and delineation are paramount, painter's tape emerges as a valuable tool for creating crisp borders and guidelines on the glass surface. By strategically applying painter's tape, you can establish clear boundaries for your writing or artwork, ensuring a polished and professional presentation. This method is particularly useful for intricate designs, decorative borders, or when delineating specific areas for different types of content, such as calendars, to-do lists, or inspirational quotes.
Consider Your Creative Vision
When choosing the right writing tool for your glass surface, consider the nature of your project and the ambiance you wish to create. Whether you opt for the vibrant clarity of dry erase markers, the nostalgic charm of chalk markers, or the precision of painter's tape, aligning your choice with your creative vision will yield a harmonious and visually captivating result.
By carefully selecting the most suitable writing tool for your glass writing project, you pave the way for a seamless and gratifying creative process. With the right tool in hand, you can confidently proceed to the next step and bring your ideas to life on the pristine canvas of the glass surface.
Step 3: Write on the Glass
With the glass surface meticulously prepared and the appropriate writing tool at your disposal, it's time to embark on the exhilarating process of writing on the glass. Whether you're conveying a motivational message, creating an eye-catching display, or simply jotting down reminders, this step offers boundless opportunities for self-expression and creativity.
Begin by visualizing the content you wish to write on the glass. Whether it's a poignant quote, a vibrant illustration, or a playful doodle, having a clear vision of your intended message or artwork will guide your hand as you bring it to life on the glass surface.
When using dry erase markers, ensure that the tip is primed by gently pressing it against a separate surface until the ink flows smoothly. With chalk markers, shake the marker well and press the tip on a test surface to initiate the ink flow. This step ensures that your writing tool is ready to deliver crisp and consistent lines on the glass.
As you commence writing, maintain a steady hand and apply even pressure to the marker to achieve uniform strokes and legible text or artwork. Whether you're crafting elegant cursive script, bold block letters, or intricate designs, the fluidity and precision of your movements will determine the clarity and visual impact of your writing on the glass.
If you're using painter's tape to create borders or guidelines, apply it carefully to delineate the areas where you intend to write or draw. This technique ensures clean and defined boundaries, adding a professional touch to your glass writing and allowing for seamless transitions between different sections of content.
Throughout the writing process, embrace spontaneity and creativity, allowing your ideas to flow freely onto the glass surface. Whether you're sketching out a spontaneous illustration or penning an inspiring message, the transparent nature of the glass invites a sense of fluidity and openness, encouraging uninhibited self-expression.
Once your writing or artwork is complete, take a moment to admire your creation and appreciate the unique visual impact it brings to the glass surface. Whether it's a decorative embellishment, an informative display, or a personalized message, your writing on glass has the power to captivate and inspire those who encounter it.
With your ideas vividly expressed on the glass, you've successfully navigated the exhilarating process of writing on this versatile and visually striking canvas. Now, as you admire your handiwork, you can confidently proceed to the next step and explore the methods for removing the writing from the glass, ensuring a seamless transition to new and captivating creations.
Read more: How To Get Hairspray Off Glass
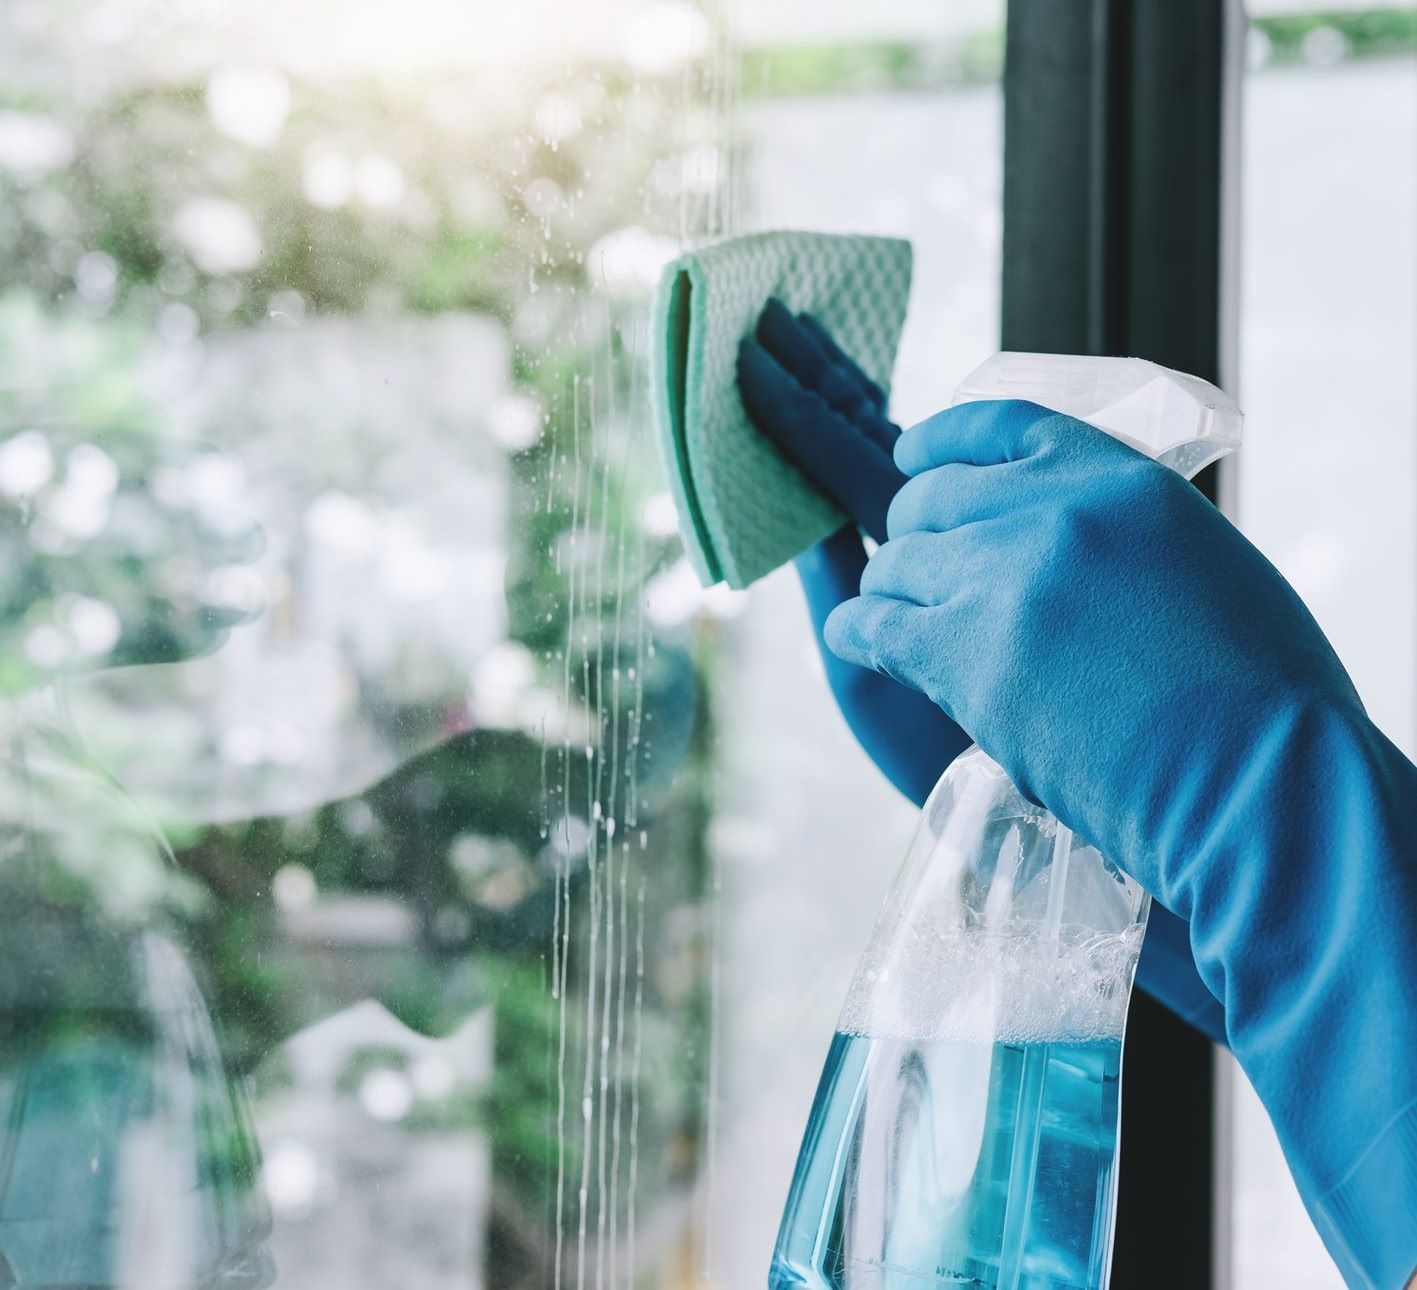
Step 4: Removing the Writing
After indulging in the creative process of writing on glass, the prospect of removing the writing may seem daunting, but rest assured, it can be accomplished with ease and precision. Whether you're ready to refresh the glass surface with new content or simply wish to return it to its pristine state, the following methods for removing the writing will ensure a seamless transition.
Erasing with a Dry Cloth or Eraser
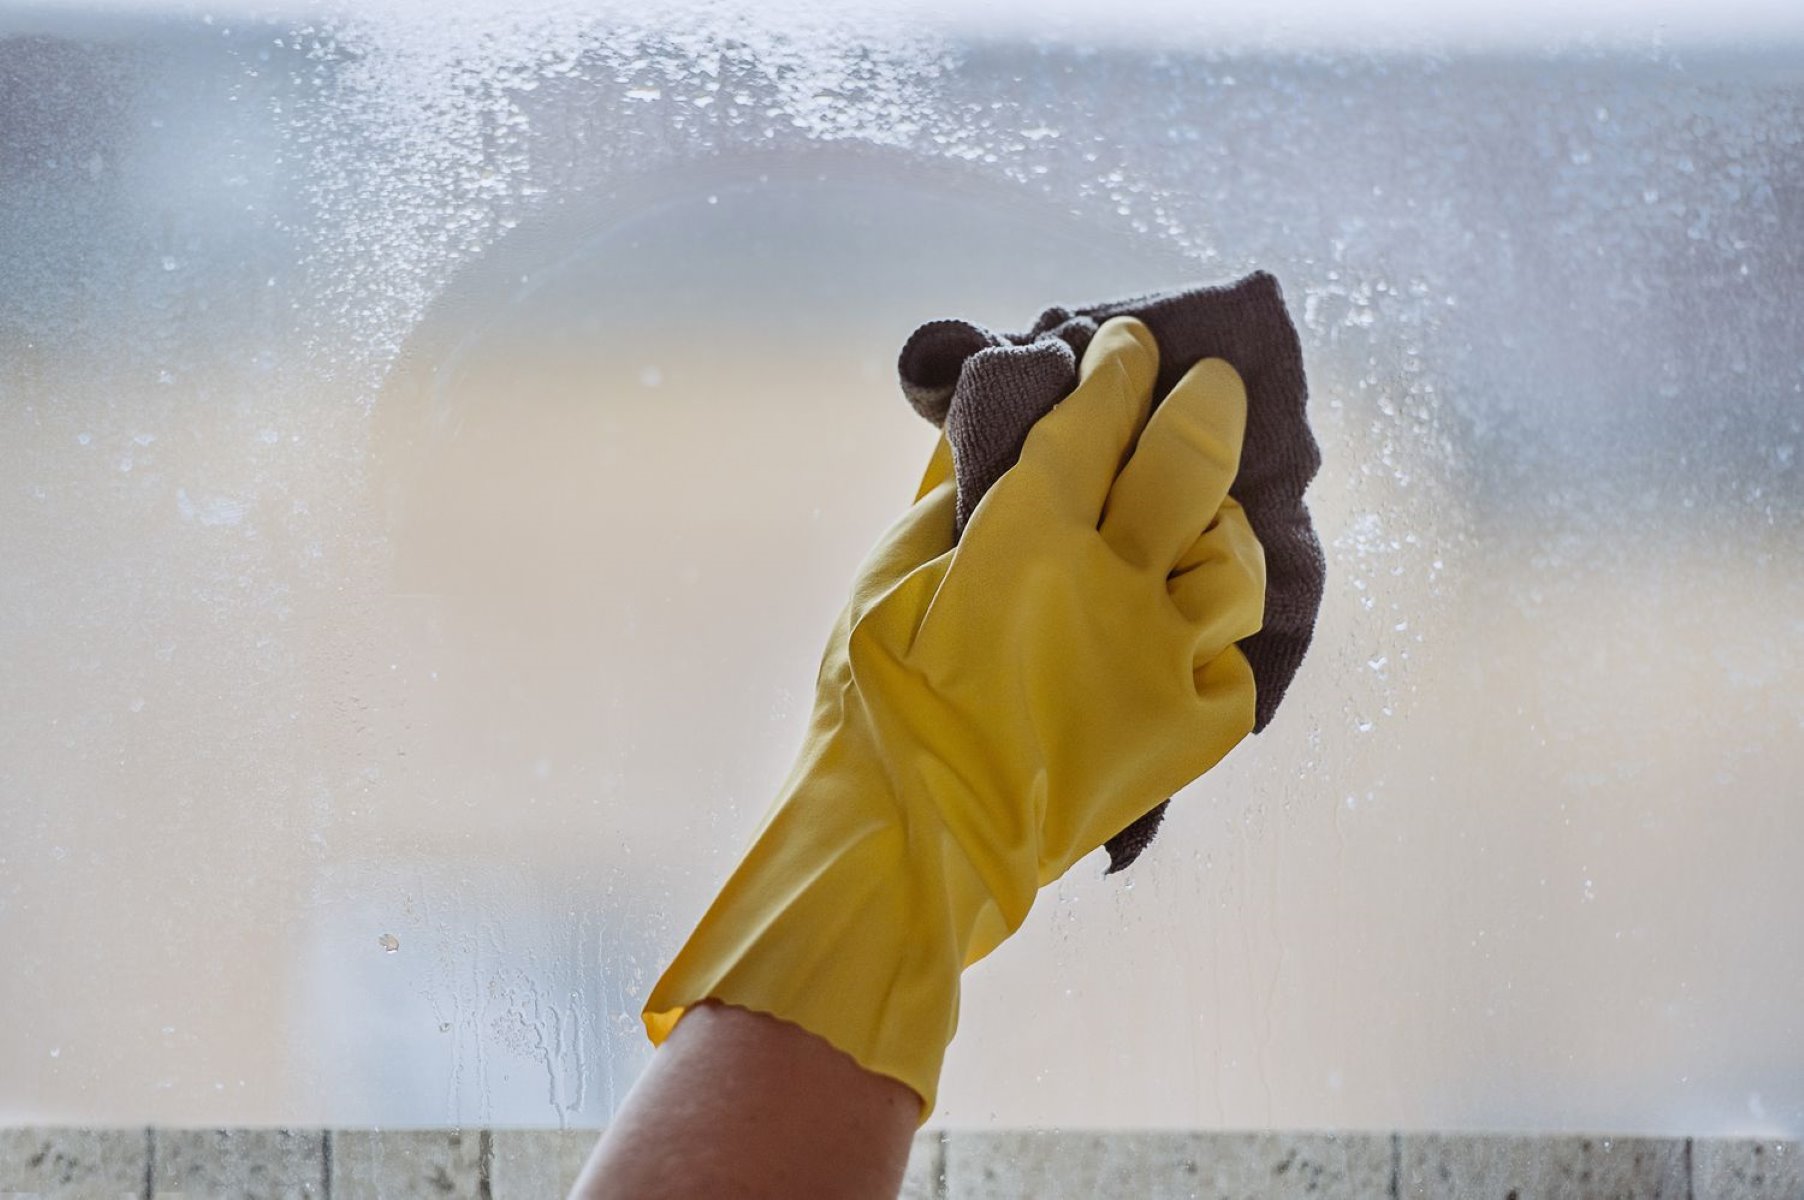
For temporary messages or light markings made with dry erase markers, a simple dry cloth or eraser can effectively remove the writing from the glass. Using gentle circular motions, lightly rub the cloth or eraser over the writing, gradually lifting the ink from the surface. This method is ideal for quick corrections or when the writing is intended to be temporary, allowing for swift and effortless removal without the need for additional cleaning agents.
Utilizing Rubbing Alcohol
When faced with more stubborn or long-standing writing on the glass, rubbing alcohol emerges as a powerful ally in the removal process. Begin by applying a small amount of rubbing alcohol to a clean cloth or cotton ball. Gently dab the alcohol-soaked cloth over the writing, allowing the alcohol to penetrate the ink and dissolve its adhesion to the glass. As the ink begins to loosen, continue to wipe the area with the cloth, gradually erasing the writing until the glass surface is clear and unblemished.
Ensuring a Clean Finish
After removing the writing, it's essential to ensure that the glass surface is thoroughly cleaned and free of any residual ink or cleaning agents. Using a glass cleaner and lint-free cloth, carefully wipe the area where the writing was removed, ensuring that no traces of ink or alcohol remain. This final step guarantees a pristine and transparent glass surface, ready to accommodate new writing or artistic creations.
By employing these effective methods for removing the writing from glass, you can confidently explore new ideas and expressions, knowing that the glass surface can be effortlessly refreshed and renewed. Whether you're a creative enthusiast, a professional communicator, or a homeowner seeking to personalize your living space, mastering the art of writing on glass and removing the writing opens up a world of possibilities for self-expression and visual storytelling.
Read more: How To Get Tape Off Of Glass
Conclusion
In conclusion, the art of writing on glass surfaces offers a captivating blend of creativity, self-expression, and practicality. By following the step-by-step process outlined in this guide, you can confidently embark on a journey of visual storytelling, personalization, and dynamic communication through the medium of glass. From motivational messages to intricate designs, the transparent allure of glass provides a unique canvas for your ideas to flourish.
As you have learned, meticulous preparation of the glass surface sets the stage for a seamless and gratifying writing experience. The careful selection of writing tools, whether dry erase markers, chalk markers, or painter's tape, empowers you to bring your creative vision to life with clarity and precision. The act of writing on glass is not merely a practical endeavor but a form of artistic expression that invites spontaneity, fluidity, and uninhibited self-expression.
Furthermore, the methods for removing the writing from glass ensure a seamless transition to new creations, allowing you to refresh and update the glass surface as often as your creativity desires. Whether you seek to convey temporary messages, create ever-changing displays, or infuse your living or working space with personalized touches, the ability to write on glass and effortlessly remove the writing opens up a world of possibilities for dynamic visual storytelling.
As you gaze upon your finished creations on the glass, whether they are decorative embellishments, informative displays, or personalized messages, take pride in the unique visual impact they bring to the space. The art of writing on glass transcends mere functionality, offering a means to captivate, inspire, and communicate with those who encounter your creations.
In essence, mastering the art of writing on glass and removing the writing is an invitation to infuse your surroundings with your unique voice, creativity, and visual storytelling. Whether you're a creative enthusiast, a professional communicator, or a homeowner seeking to personalize your living space, the versatility and allure of writing on glass empower you to transform ordinary surfaces into dynamic canvases of self-expression and inspiration. Embrace the endless possibilities that writing on glass presents, and let your ideas flow freely onto this captivating and visually striking medium.
Frequently Asked Questions about How To Get Writing Off Glass
Was this page helpful?
At Storables.com, we guarantee accurate and reliable information. Our content, validated by Expert Board Contributors, is crafted following stringent Editorial Policies. We're committed to providing you with well-researched, expert-backed insights for all your informational needs.

0 thoughts on “How To Get Writing Off Glass”