Home>Furniture & Design>Interior Design Trends>How To Get Overspray Off Glass
Interior Design Trends
How To Get Overspray Off Glass
Modified: February 5, 2024
Learn effective techniques for removing overspray from glass surfaces. Discover the latest interior design trends to keep your space looking fresh and stylish.
(Many of the links in this article redirect to a specific reviewed product. Your purchase of these products through affiliate links helps to generate commission for Storables.com, at no extra cost. Learn more)
Introduction
Dealing with overspray on glass surfaces can be a frustrating and challenging task. Whether it's from paint, varnish, or other substances, overspray can mar the appearance of glass and diminish its transparency. However, with the right techniques and products, it's possible to effectively remove overspray and restore the glass to its pristine condition.
In this comprehensive guide, we will delve into the process of removing overspray from glass, providing step-by-step instructions and valuable insights to help you achieve optimal results. From understanding the nature of overspray to identifying the essential tools and materials, we will cover every aspect of this task to ensure that you are well-equipped to tackle the issue with confidence.
By following the detailed instructions outlined in this guide, you will be able to effectively remove overspray from glass surfaces, whether it's on windows, mirrors, or other glass fixtures. Additionally, we will explore the importance of proper preparation, the application of overspray remover, and the subsequent cleaning and polishing steps to ensure a flawless finish.
Whether you're a DIY enthusiast or a professional in the field of glass maintenance and restoration, this guide is designed to provide you with the knowledge and expertise needed to address overspray-related challenges effectively. With a focus on practicality and efficiency, the methods and techniques presented here are aimed at delivering exceptional results while minimizing the risk of damage to the glass surface.
As we embark on this journey to conquer overspray on glass, it's essential to approach the task with patience, precision, and a commitment to achieving a pristine, blemish-free finish. So, let's dive into the intricacies of removing overspray from glass and unlock the secrets to restoring clarity and brilliance to your glass surfaces.
Key Takeaways:
- Removing overspray from glass requires careful preparation, precise application of overspray remover, and gentle removal techniques. With the right tools and methods, restoring glass surfaces to a pristine condition is achievable.
- Understanding the nature of overspray on glass is crucial for effective removal. Thorough cleaning, proper selection of remover, and meticulous polishing are essential for achieving streak-free clarity and visual appeal.
Read more: How To Remove Overspray From Glass
Understanding Overspray on Glass
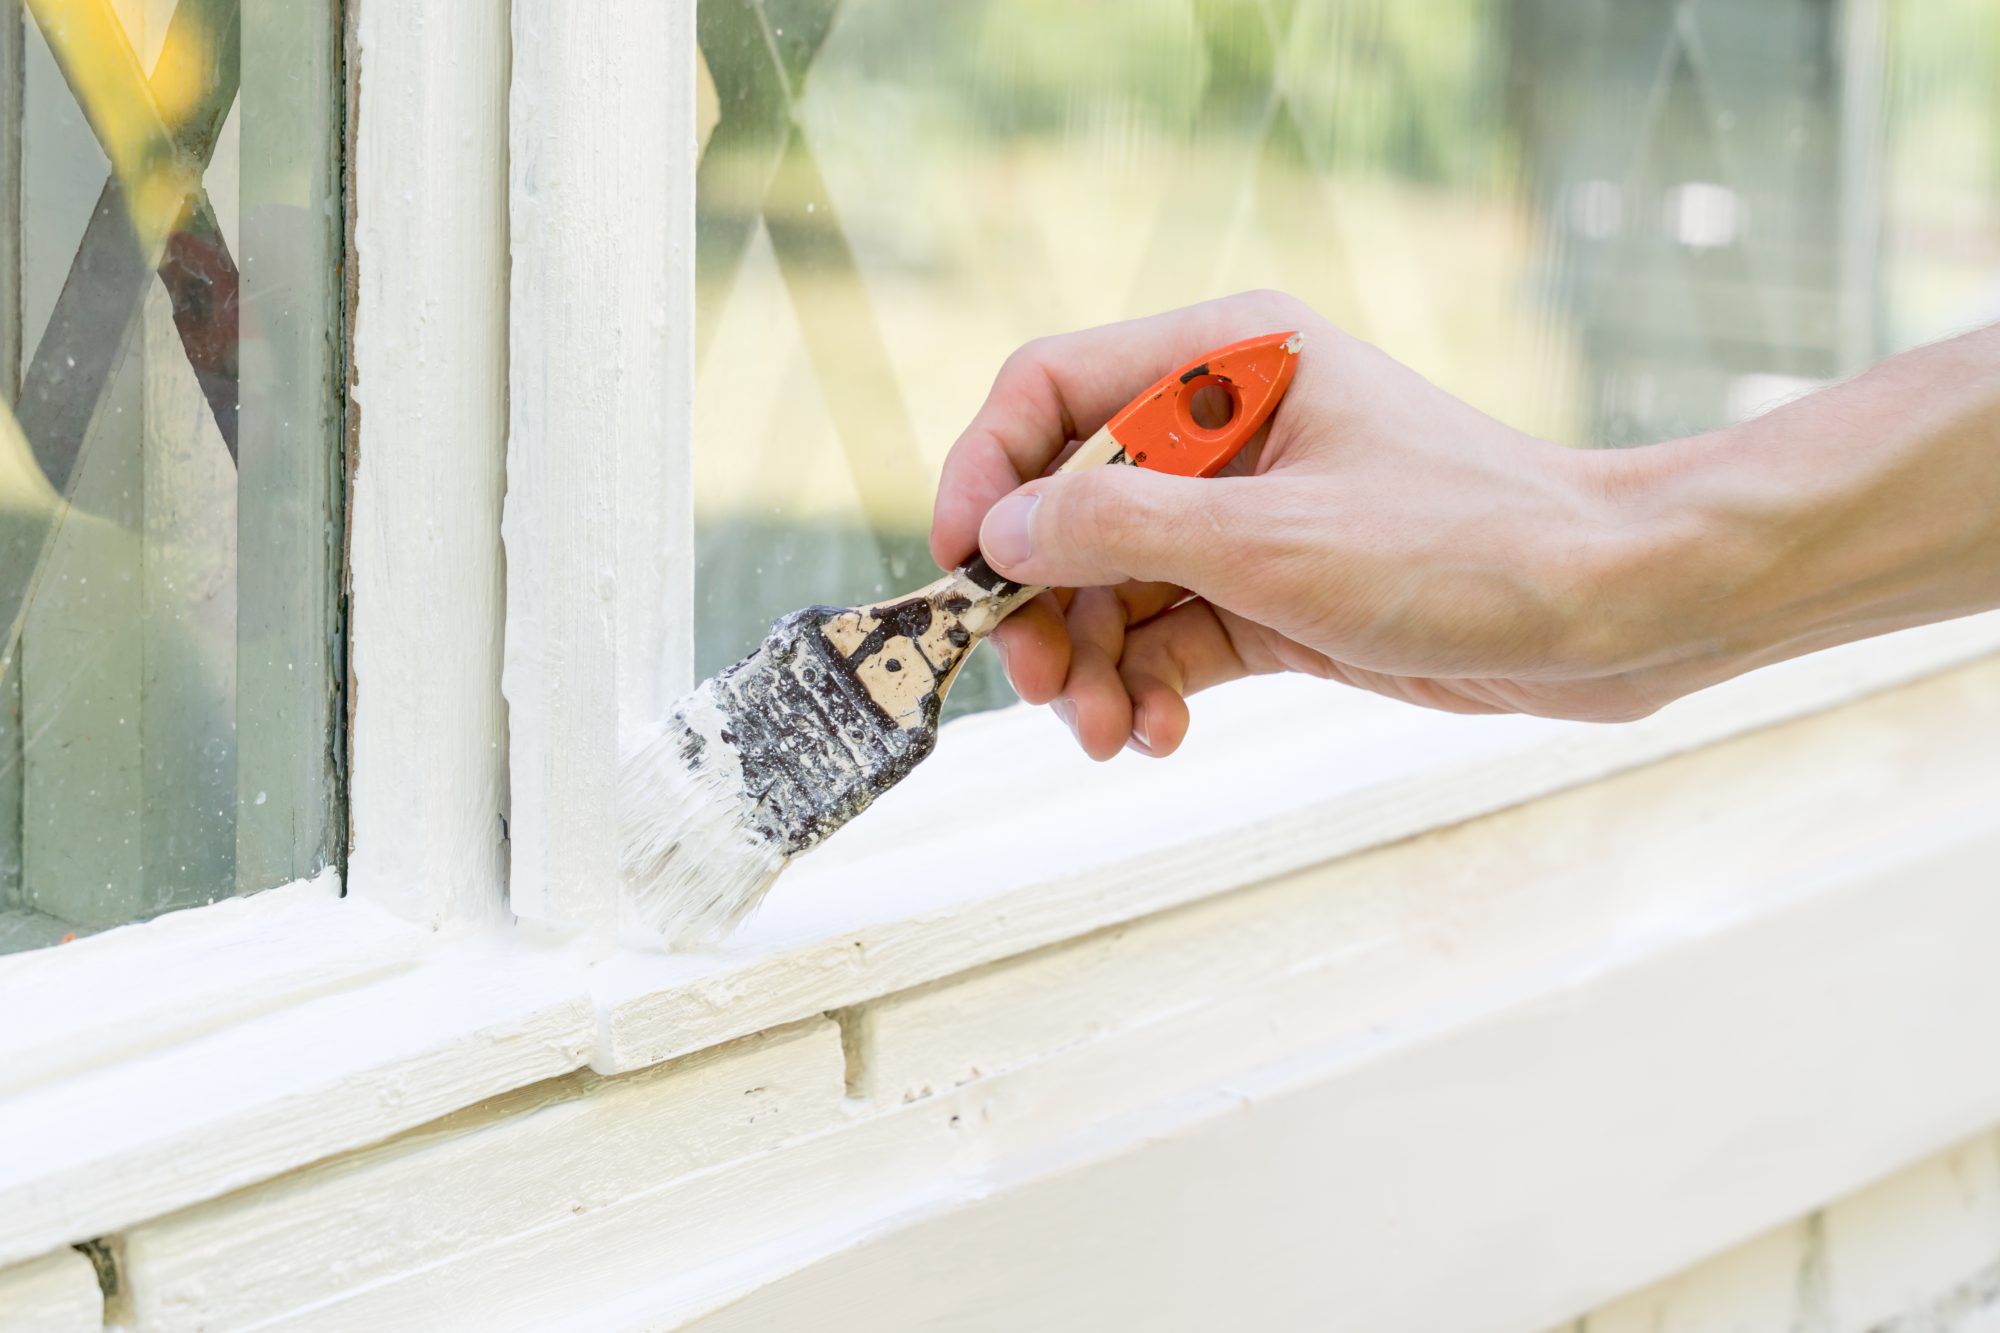
Overspray on glass occurs when fine particles of substances such as paint, varnish, or other materials land on the glass surface during a painting or finishing process. This can happen during home improvement projects, automotive painting, industrial applications, or even as a result of nearby construction work. The overspray particles adhere to the glass, creating a hazy or speckled appearance that compromises the transparency and aesthetics of the surface.
It's important to recognize that overspray on glass is not merely a superficial issue. If left unaddressed, it can lead to long-term damage, as the particles can bond with the glass surface, making them more challenging to remove over time. Additionally, exposure to sunlight and environmental elements can further embed the overspray, making the removal process even more arduous.
Understanding the nature of overspray is crucial in determining the most effective removal methods. Different types of overspray, such as water-based or oil-based paints, require specific approaches to ensure successful removal without causing damage to the glass. Furthermore, the age of the overspray and the type of glass surface also play significant roles in determining the appropriate removal techniques.
By gaining a comprehensive understanding of overspray on glass, individuals can approach the removal process with confidence and precision. This knowledge empowers them to select the right tools, materials, and methods tailored to the specific characteristics of the overspray and the glass surface, ultimately leading to successful removal and restoration.
In the subsequent sections, we will delve into the practical aspects of removing overspray from glass, providing detailed instructions and insights to guide you through the process. From preparing the glass surface to applying the overspray remover and conducting the final cleaning and polishing, each step is designed to address the nuances of overspray removal, ensuring that the glass surfaces regain their pristine clarity and visual appeal.
Tools and Materials Needed
To effectively remove overspray from glass surfaces, it is essential to gather the appropriate tools and materials. By assembling the following items, you will be well-prepared to undertake the overspray removal process with confidence and precision.
Tools:
-
Razor Blade Scraper: A razor blade scraper with a handle provides the necessary precision for removing overspray from glass surfaces without causing damage.
-
Microfiber Cloths: High-quality microfiber cloths are ideal for cleaning and polishing the glass after the overspray removal process. They are lint-free and gentle on the glass surface, ensuring a streak-free finish.
-
Plastic or Nylon Scrubbing Pad: A plastic or nylon scrubbing pad is effective for gently scrubbing the glass surface to remove stubborn overspray particles without scratching the glass.
-
Spray Bottle: A spray bottle filled with water is useful for dampening the glass surface before applying the overspray remover, facilitating the removal process.
-
Rubbing Alcohol: Rubbing alcohol serves as a versatile cleaning agent, effectively dissolving and removing adhesive residues left behind by overspray.
-
Protective Gloves: It is important to wear protective gloves to shield your hands from the overspray remover and other cleaning agents, ensuring safety during the removal process.
Materials:
-
Overspray Remover: Select a high-quality overspray remover specifically formulated for glass surfaces. Ensure that the remover is suitable for the type of overspray you are dealing with, whether it is paint, varnish, or other substances.
-
Glass Cleaner: A reliable glass cleaner is essential for thoroughly cleaning the glass surface after removing the overspray, leaving it crystal clear and free of residue.
-
Polishing Compound: A polishing compound designed for glass surfaces can help restore the shine and clarity of the glass after the overspray removal process.
-
Protective Mask: When working with overspray remover and other cleaning agents, it is advisable to wear a protective mask to prevent inhalation of fumes and particles.
-
Protective Eyewear: Protective eyewear safeguards your eyes from potential splashes or airborne particles during the overspray removal process.
By ensuring that you have these tools and materials at your disposal, you can proceed with confidence, knowing that you are equipped to tackle the task of removing overspray from glass surfaces effectively and safely. These items are essential for preparing the glass surface, applying the overspray remover, and conducting the subsequent cleaning and polishing steps, ultimately restoring the glass to its pristine condition.
Read more: How To Get Hairspray Off Glass
Step 1: Preparing the Glass Surface
Before embarking on the process of removing overspray from glass, it is crucial to prepare the glass surface adequately. Proper preparation sets the stage for a successful and efficient removal process, ensuring that the glass is ready to undergo the necessary treatments without risk of damage or complications.
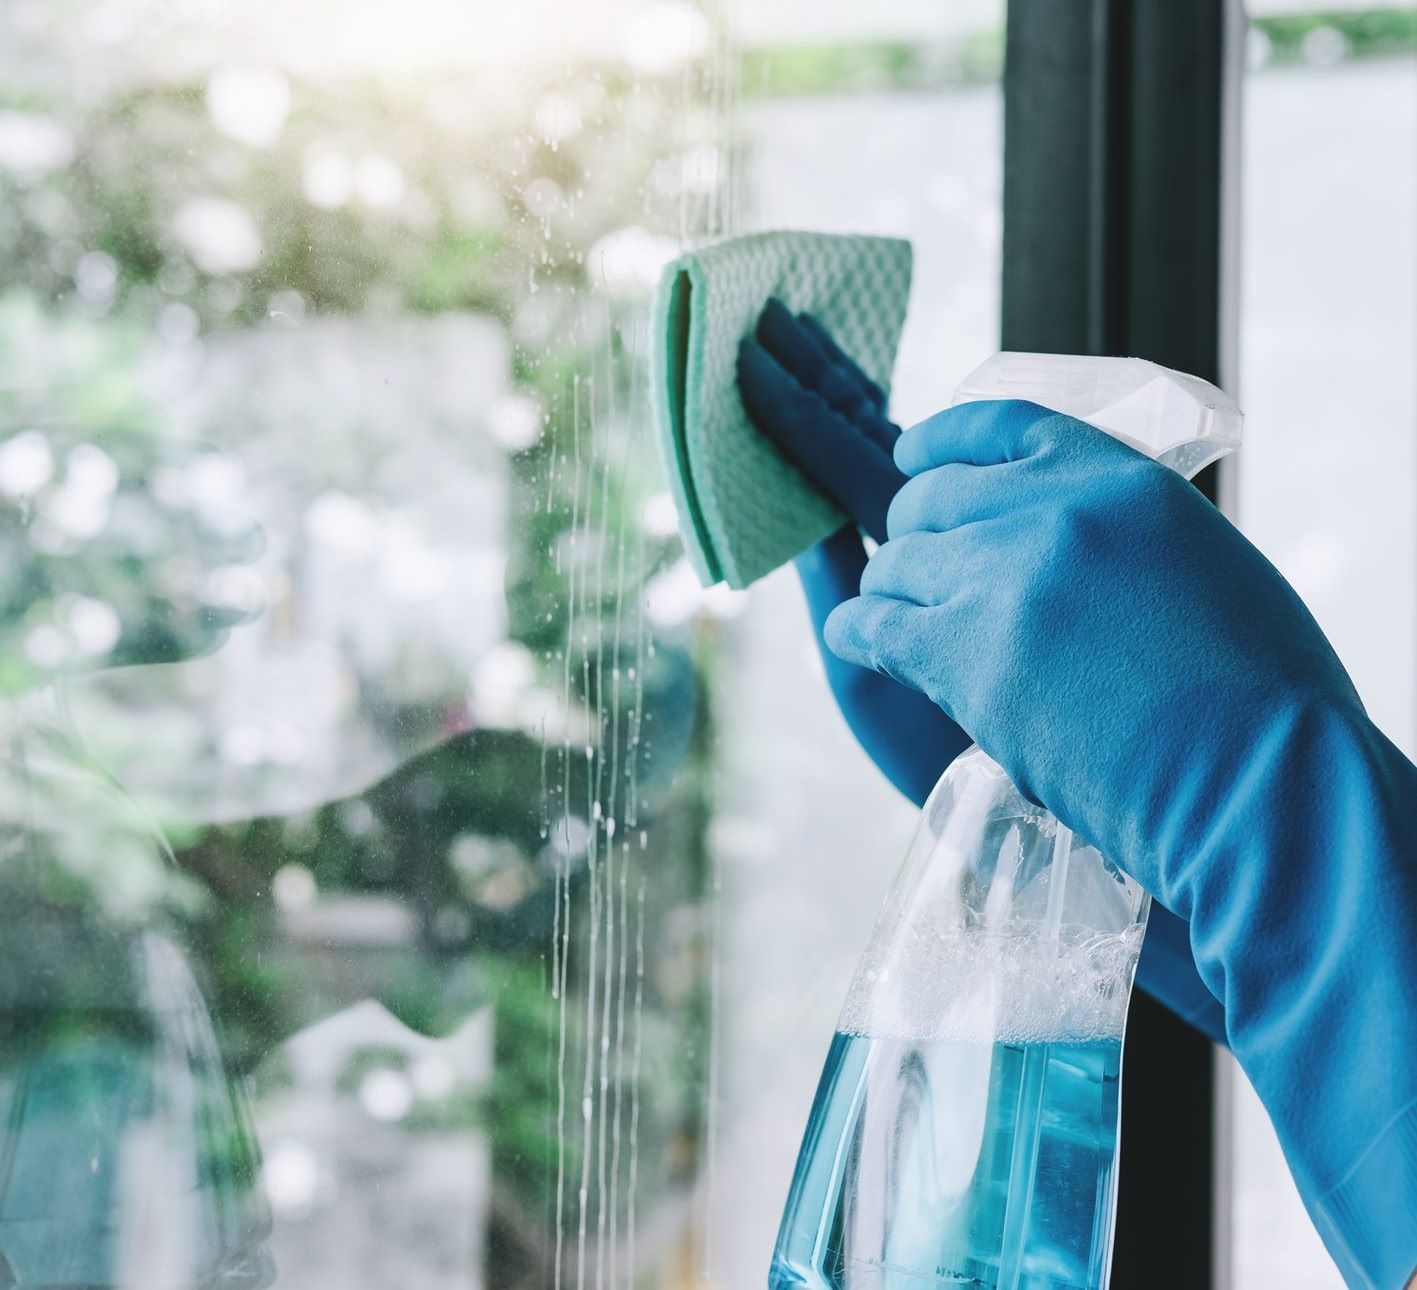
Cleaning the Surface
Begin by thoroughly cleaning the glass surface using a high-quality glass cleaner and lint-free microfiber cloths. Remove any dirt, dust, or debris that may be present on the surface, as these particles can interfere with the overspray removal process and potentially cause scratches if not addressed beforehand.
Dampening the Glass
Using a spray bottle filled with water, lightly dampen the glass surface. This step helps to loosen any surface contaminants and provides a conducive environment for the application of the overspray remover. Ensure that the glass is evenly dampened, but not excessively wet, to facilitate the subsequent removal process.
Protecting Surrounding Areas
If the glass surface is part of a larger structure or is surrounded by other materials, it is essential to protect these areas from overspray remover and potential splashes. Use masking tape and plastic sheeting to cover and shield adjacent surfaces, ensuring that only the targeted glass area is exposed and ready for treatment.
Read more: How To Get Tape Off Of Glass
Ensuring Personal Safety
Prior to applying any cleaning or removal agents, it is important to prioritize personal safety. Wear protective gloves, a mask, and eyewear to safeguard yourself from potential exposure to chemicals and overspray particles. This precautionary measure is essential for a safe and controlled working environment.
By meticulously preparing the glass surface in this manner, you establish the ideal conditions for the subsequent steps in the overspray removal process. This proactive approach minimizes the risk of complications, ensures the effectiveness of the removal treatments, and sets the stage for achieving a flawless finish without compromising the integrity of the glass surface.
Step 2: Applying the Overspray Remover
Once the glass surface is meticulously prepared, the next crucial step in the overspray removal process involves the application of the overspray remover. This pivotal stage requires precision and attention to detail to ensure that the remover effectively targets and dissolves the overspray particles without causing damage to the glass.
-
Selecting the Appropriate Overspray Remover: Begin by carefully selecting an overspray remover specifically formulated for glass surfaces. Consider the type of overspray you are dealing with, whether it is paint, varnish, or other substances, and choose a remover that is tailored to address the specific characteristics of the overspray.
-
Testing in a Small Area: Before applying the overspray remover to the entire glass surface, conduct a small test in an inconspicuous area. This allows you to assess the remover's effectiveness and compatibility with the glass without risking damage to the entire surface. Follow the manufacturer's instructions for the test application.
-
Even Application: Apply the overspray remover evenly across the affected glass surface, ensuring comprehensive coverage of the overspray-affected areas. Use a soft, lint-free cloth or sponge to apply the remover, gently working it into the overspray particles without exerting excessive pressure on the glass.
-
Allowing Dwell Time: After applying the overspray remover, allow it to dwell on the glass surface for the duration recommended by the manufacturer. This dwell time is crucial for the remover to effectively penetrate and dissolve the overspray particles, preparing them for the subsequent removal process.
-
Monitoring the Reaction: During the dwell time, monitor the reaction of the overspray remover with the glass surface. Look for any signs of adverse effects, such as discoloration or etching. If any such effects are observed, immediately rinse the affected area with water and discontinue the use of the remover.
-
Avoiding Excessive Drying: Prevent the overspray remover from drying on the glass surface. If necessary, lightly mist the area with water to keep it moist and prevent the remover from hardening, ensuring that it remains in an active state for optimal overspray dissolution.
By meticulously following these steps, you can effectively apply the overspray remover to the glass surface, setting the stage for the subsequent removal of overspray particles. This meticulous approach ensures that the remover targets and dissolves the overspray without compromising the integrity of the glass, paving the way for a successful and blemish-free restoration of the glass surface.
Step 3: Removing the Overspray
With the glass surface adequately prepared and the overspray remover effectively targeting and dissolving the overspray particles, the next critical step involves the meticulous removal of the dissolved particles to restore the glass to its pristine clarity. This step requires precision and care to ensure that the overspray is completely eliminated without causing damage to the glass surface.
Gentle Scrubbing
Using a plastic or nylon scrubbing pad, gently scrub the glass surface in circular motions, focusing on the areas where the overspray particles are concentrated. Exercise caution to avoid applying excessive pressure, as this could potentially scratch the glass. The dissolved overspray should begin to lift off the glass surface, aided by the gentle scrubbing action.
Read more: How To Get Writing Off Glass
Razor Blade Scraper
For stubborn overspray particles that may be firmly adhered to the glass, a razor blade scraper can be employed with precision. Hold the scraper at a shallow angle to the glass and carefully scrape the remaining overspray residue. It is crucial to maintain a light touch and constantly inspect the scraper to ensure that there are no debris or particles that could scratch the glass.
Continuous Monitoring
Throughout the removal process, closely monitor the glass surface for any signs of resistance or remaining overspray particles. If certain areas require additional attention, repeat the application of the overspray remover and gentle scrubbing until the glass surface is completely free of overspray residue.
Thorough Rinsing
Once the overspray particles have been effectively lifted from the glass surface, thoroughly rinse the area with clean water to remove any residual remover and dissolved overspray. This rinsing step is essential to ensure that the glass is free from any remaining traces of the remover and overspray particles, preparing it for the subsequent cleaning and polishing stage.
By meticulously following these steps, the overspray removal process can be executed with precision and effectiveness, ensuring that the glass surface is thoroughly cleansed of overspray residue. This meticulous approach sets the stage for the final steps in the restoration process, ultimately leading to a flawless and blemish-free glass surface.
Step 4: Cleaning and Polishing the Glass
After successfully removing the overspray from the glass surface, the final step involves thorough cleaning and polishing to restore the glass to its pristine condition. This critical stage is essential for achieving a flawless finish and ensuring that the glass regains its transparency, brilliance, and visual appeal.
Read more: How To Get Silicon Off Glass
Cleaning the Glass Surface
Begin by using a high-quality glass cleaner and lint-free microfiber cloths to thoroughly clean the glass surface. Remove any residual traces of the overspray remover, dissolved overspray particles, and any remaining contaminants. It is crucial to ensure that the glass is impeccably clean before proceeding to the polishing stage.
Polishing the Glass
Apply a small amount of a specialized glass polishing compound to a clean, dry microfiber cloth. Gently polish the glass surface using circular motions, focusing on areas that may exhibit minor blemishes or cloudiness resulting from the overspray removal process. The polishing compound works to restore the shine and clarity of the glass, effectively eliminating any remaining imperfections.
Final Inspection
After polishing the glass, conduct a thorough visual inspection of the entire surface. Look for any remaining blemishes, streaks, or imperfections that may detract from the glass's clarity and brilliance. If any issues are identified, repeat the polishing process in targeted areas to ensure a uniform and flawless finish.
Ensuring Streak-Free Clarity
To achieve streak-free clarity, use a fresh microfiber cloth to gently buff the glass surface. This final buffing step helps to remove any remaining polishing residue and ensures that the glass is free from streaks or smudges, resulting in a pristine and crystal-clear appearance.
By meticulously following these steps, the glass surface undergoes a comprehensive cleaning and polishing process, culminating in the restoration of its transparency, brilliance, and visual appeal. This meticulous approach ensures that the glass is free from any remnants of the overspray removal process, presenting a flawless and blemish-free finish that enhances its aesthetic and functional qualities.
Read more: How To Get Calcium Off Glass
Conclusion
In conclusion, the process of removing overspray from glass surfaces demands meticulous attention to detail, precision, and a comprehensive understanding of the nuances involved. By following the step-by-step guide outlined in this comprehensive resource, individuals can effectively address overspray-related challenges and restore glass surfaces to their pristine condition.
Understanding the nature of overspray on glass is crucial in determining the most effective removal methods. Whether it's paint, varnish, or other substances, overspray can compromise the transparency and aesthetics of glass surfaces. However, with the right tools, materials, and techniques, the restoration process can be approached with confidence and precision.
The meticulous preparation of the glass surface sets the stage for a successful overspray removal process. Thorough cleaning, dampening, and protective measures ensure that the glass is ready to undergo the necessary treatments without risk of damage or complications. Additionally, the careful selection and application of the overspray remover play a pivotal role in targeting and dissolving the overspray particles effectively.
The subsequent steps, including the gentle removal of overspray particles and the thorough cleaning and polishing of the glass, are essential for achieving a flawless finish. By employing plastic or nylon scrubbing pads, razor blade scrapers, and specialized glass polishing compounds, individuals can meticulously restore the transparency and brilliance of glass surfaces, ensuring streak-free clarity and visual appeal.
Ultimately, the removal of overspray from glass surfaces is a meticulous and multi-faceted process that demands patience, precision, and a commitment to achieving exceptional results. By adhering to the guidelines presented in this guide, individuals can navigate the intricacies of overspray removal with confidence, ensuring that glass surfaces regain their pristine clarity and visual allure.
Whether it's addressing overspray on windows, mirrors, or other glass fixtures, the methods and techniques outlined in this guide are designed to empower individuals to tackle overspray-related challenges effectively. By embracing the principles of thorough preparation, precise application, and meticulous restoration, the removal of overspray from glass surfaces becomes a manageable and rewarding endeavor, ultimately leading to the revitalization of glass surfaces and the enhancement of their aesthetic and functional qualities.
Frequently Asked Questions about How To Get Overspray Off Glass
Was this page helpful?
At Storables.com, we guarantee accurate and reliable information. Our content, validated by Expert Board Contributors, is crafted following stringent Editorial Policies. We're committed to providing you with well-researched, expert-backed insights for all your informational needs.

0 thoughts on “How To Get Overspray Off Glass”