Home>Furniture & Design>Interior Design Trends>How To Get Wax Out Of Glass Jar
Interior Design Trends
How To Get Wax Out Of Glass Jar
Modified: October 18, 2024
Learn how to effectively remove wax from glass jars with these interior design trends. Keep your jars looking clean and stylish!
(Many of the links in this article redirect to a specific reviewed product. Your purchase of these products through affiliate links helps to generate commission for Storables.com, at no extra cost. Learn more)
Introduction
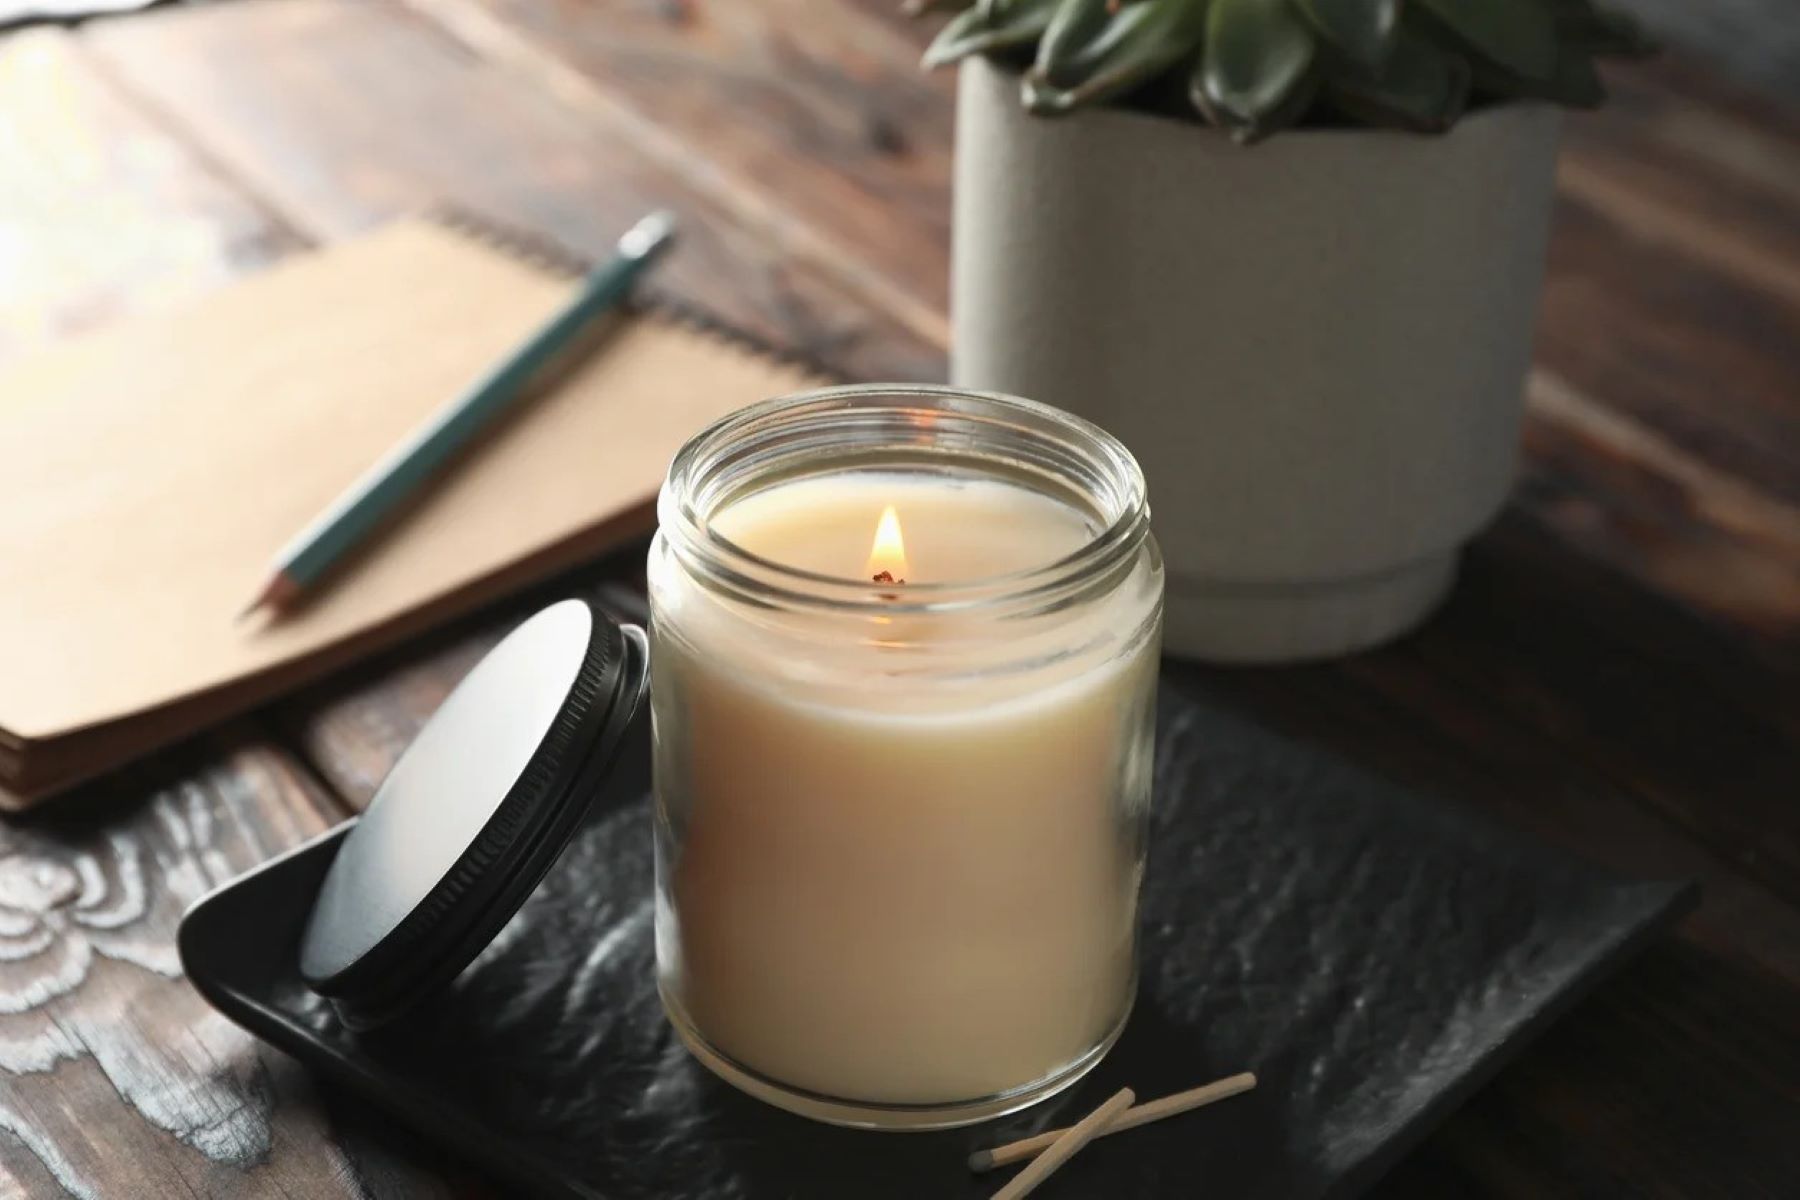
Removing wax from a glass jar can be a challenging task, especially when the wax has hardened and adhered to the sides. Whether you want to repurpose the jar for storage, create a new candle, or simply clean it for reuse, it's essential to tackle this task with care and precision. Fortunately, there are several effective methods for safely removing wax from a glass jar without causing damage to the container.
In this comprehensive guide, we will explore various techniques to help you successfully extract wax from a glass jar. From freezing the wax to using boiling water, a hair dryer, or simple utensils like a knife or spoon, each method offers a unique approach to address this common household dilemma. By following these step-by-step instructions and utilizing common household items, you can restore your glass jar to its pristine condition and prepare it for a new purpose.
Whether you're a craft enthusiast, a candle lover, or someone seeking practical solutions for household maintenance, mastering the art of wax removal from glass jars is a valuable skill. With the right approach and a bit of patience, you can transform a seemingly daunting task into a manageable and rewarding endeavor. So, let's delve into the materials needed and the step-by-step methods to reclaim the beauty and functionality of your glass jars.
Key Takeaways:
- Easily remove wax from glass jars using simple household items like a freezer, boiling water, or a hair dryer. No need for harsh chemicals, just follow the step-by-step instructions for a clean and reusable jar.
- Transform seemingly mundane glass jars into functional and aesthetically pleasing elements of your living environment. Embrace resourcefulness, creativity, and environmental consciousness by repurposing and revitalizing these versatile containers.
Read more: How To Get Smell Out Of Glass Jar
Materials Needed
Before embarking on the journey of wax removal from a glass jar, it's essential to gather the necessary materials to ensure a smooth and efficient process. These items are commonly found in most households, making the task accessible and convenient. Here's a comprehensive list of the materials needed to tackle this endeavor:
-
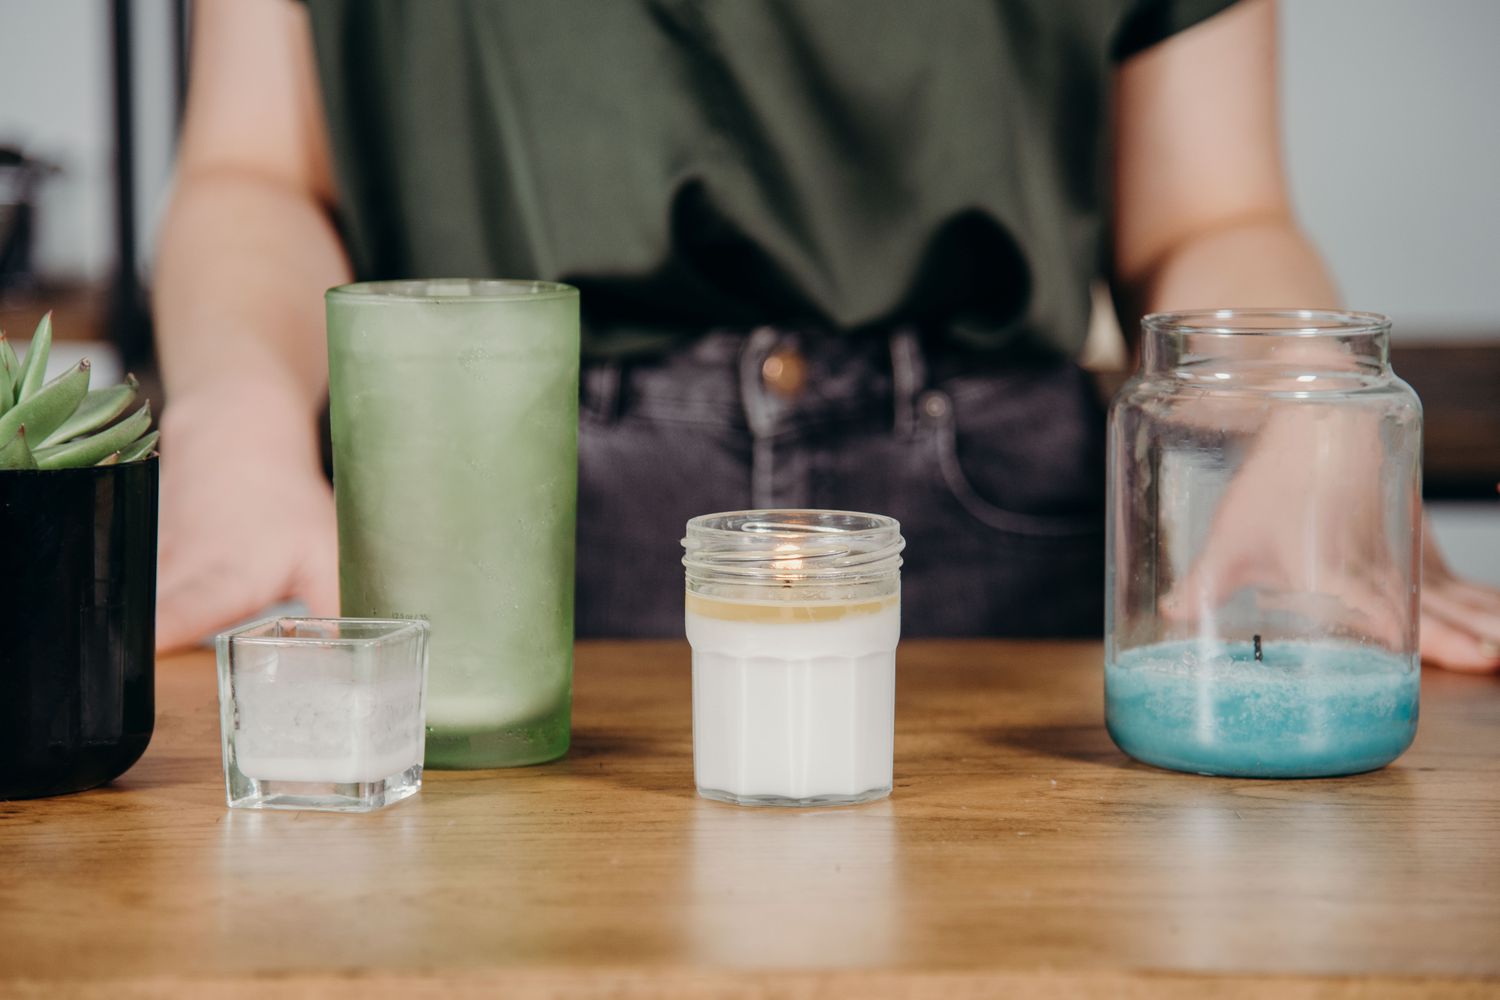
Glass Jar with Wax: The primary object of attention, the glass jar with the residual wax, is the focal point of this endeavor. Ensure that the jar is at room temperature and free from any external contaminants.
-
Freezer: A standard household freezer will be utilized for the freezing method. This appliance will aid in solidifying the wax, making it easier to remove from the glass surface.
-
Boiling Pot or Kettle: For the boiling water method, a pot or kettle capable of holding a sufficient amount of water will be required. This will facilitate the application of heat to the glass jar.
-
Hair Dryer: When opting for the hair dryer method, a standard household hair dryer with adjustable heat settings will be utilized to melt and remove the wax from the glass jar.
-
Knife or Spoon: In the event that the wax proves stubborn, a butter knife or spoon can be employed to gently dislodge the wax from the glass surface.
-
Protective Gloves: As safety is paramount, a pair of protective gloves is recommended to shield your hands from potential heat or sharp edges during the wax removal process.
-
Dish Soap and Sponge: Once the wax is removed, dish soap and a sponge will be used to thoroughly clean the glass jar, ensuring that no residue or greasy film remains.
-
Towel or Cloth: A clean towel or cloth will be utilized to dry the glass jar after the wax removal and cleaning process.
By assembling these materials, you will be well-equipped to tackle the task of removing wax from a glass jar using the methods outlined in this guide. With these items at your disposal, you can proceed with confidence, knowing that you have everything needed to restore your glass jar to its pristine state.
Method 1: Freezing the Wax
Freezing the wax is a simple yet effective method for removing wax from a glass jar. This technique capitalizes on the principle that cold temperatures cause wax to contract and solidify, making it easier to dislodge from the glass surface. Here's a step-by-step guide to successfully execute this method:
-
Preparation: Begin by ensuring that the glass jar containing the residual wax is at room temperature. Placing a jar that is too cold into the freezer may cause thermal shock and lead to glass breakage.
-
Emptying the Jar: If the glass jar contains any remnants of the candle wick or debris, it's advisable to remove these before proceeding. This can be done by gently tapping the jar or using a small tool to dislodge any remaining wick fragments.
-
Placement in Freezer: Carefully place the glass jar in the freezer, ensuring that it is positioned upright and stable. Allow the jar to remain in the freezer for a minimum of 2-3 hours, or ideally overnight, to ensure that the wax becomes thoroughly chilled and solidified.
-
Wax Removal: Once the allotted time has passed, carefully remove the glass jar from the freezer. The now-solidified wax should be easier to dislodge from the glass surface. Using a butter knife or a similar blunt tool, gently pry the edges of the wax to release it from the glass. Avoid using excessive force to prevent damage to the jar.
-
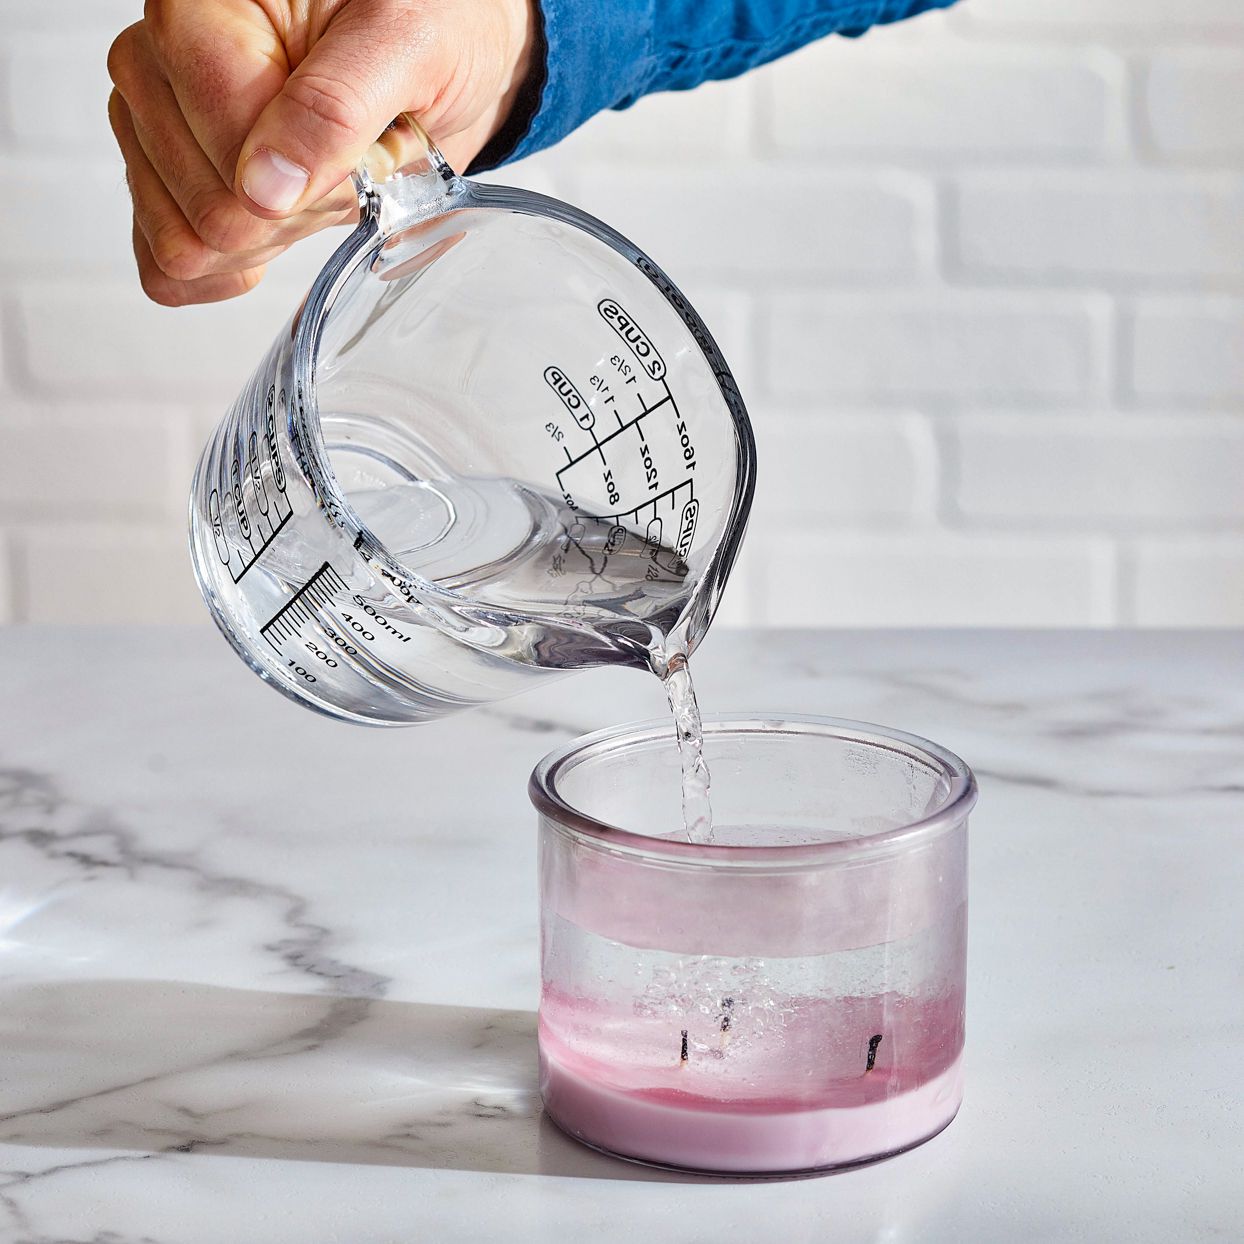
Cleaning the Jar: After successfully removing the wax, it's essential to clean the glass jar to eliminate any residual wax or greasy film. This can be achieved by washing the jar with warm, soapy water and using a sponge to ensure that the interior is thoroughly clean.
By employing the freezing method, you can effectively reclaim your glass jar from the clutches of hardened wax. This approach offers a safe and non-invasive means of wax removal, allowing you to repurpose the jar for various uses without the need for harsh chemicals or excessive manual labor. With the wax successfully removed, the glass jar is now ready to be utilized for storage, crafting, or any other purpose of your choosing.
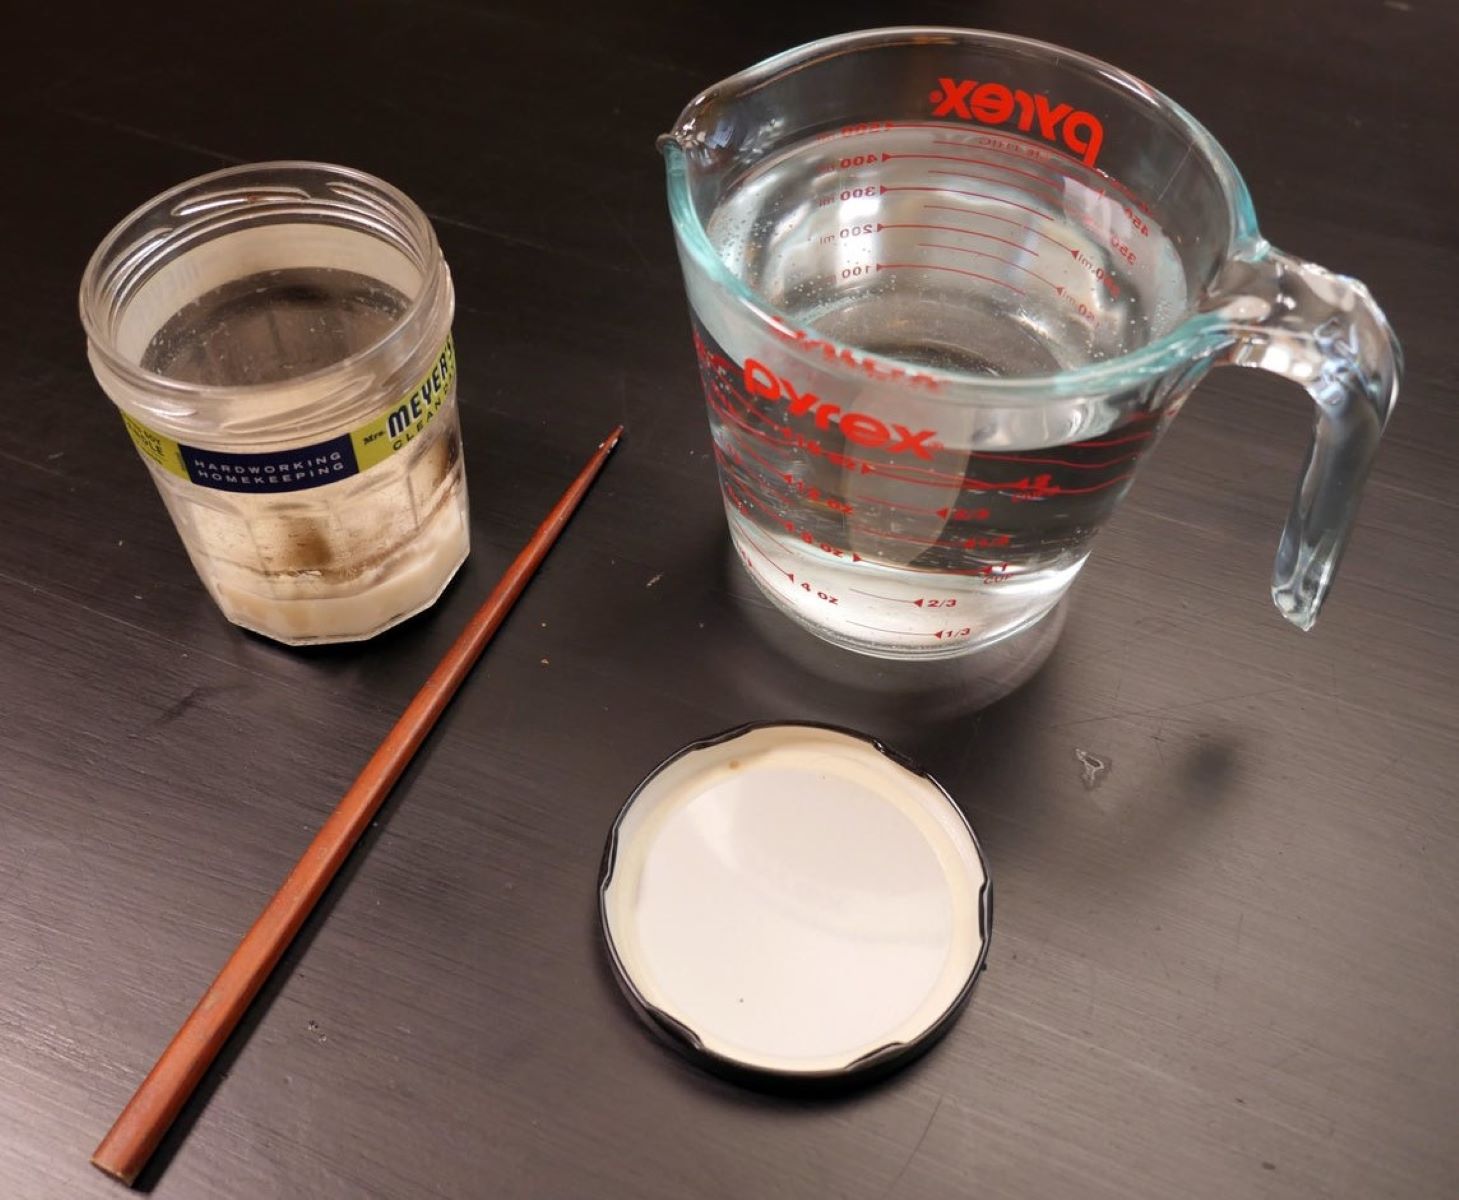
Method 2: Boiling Water
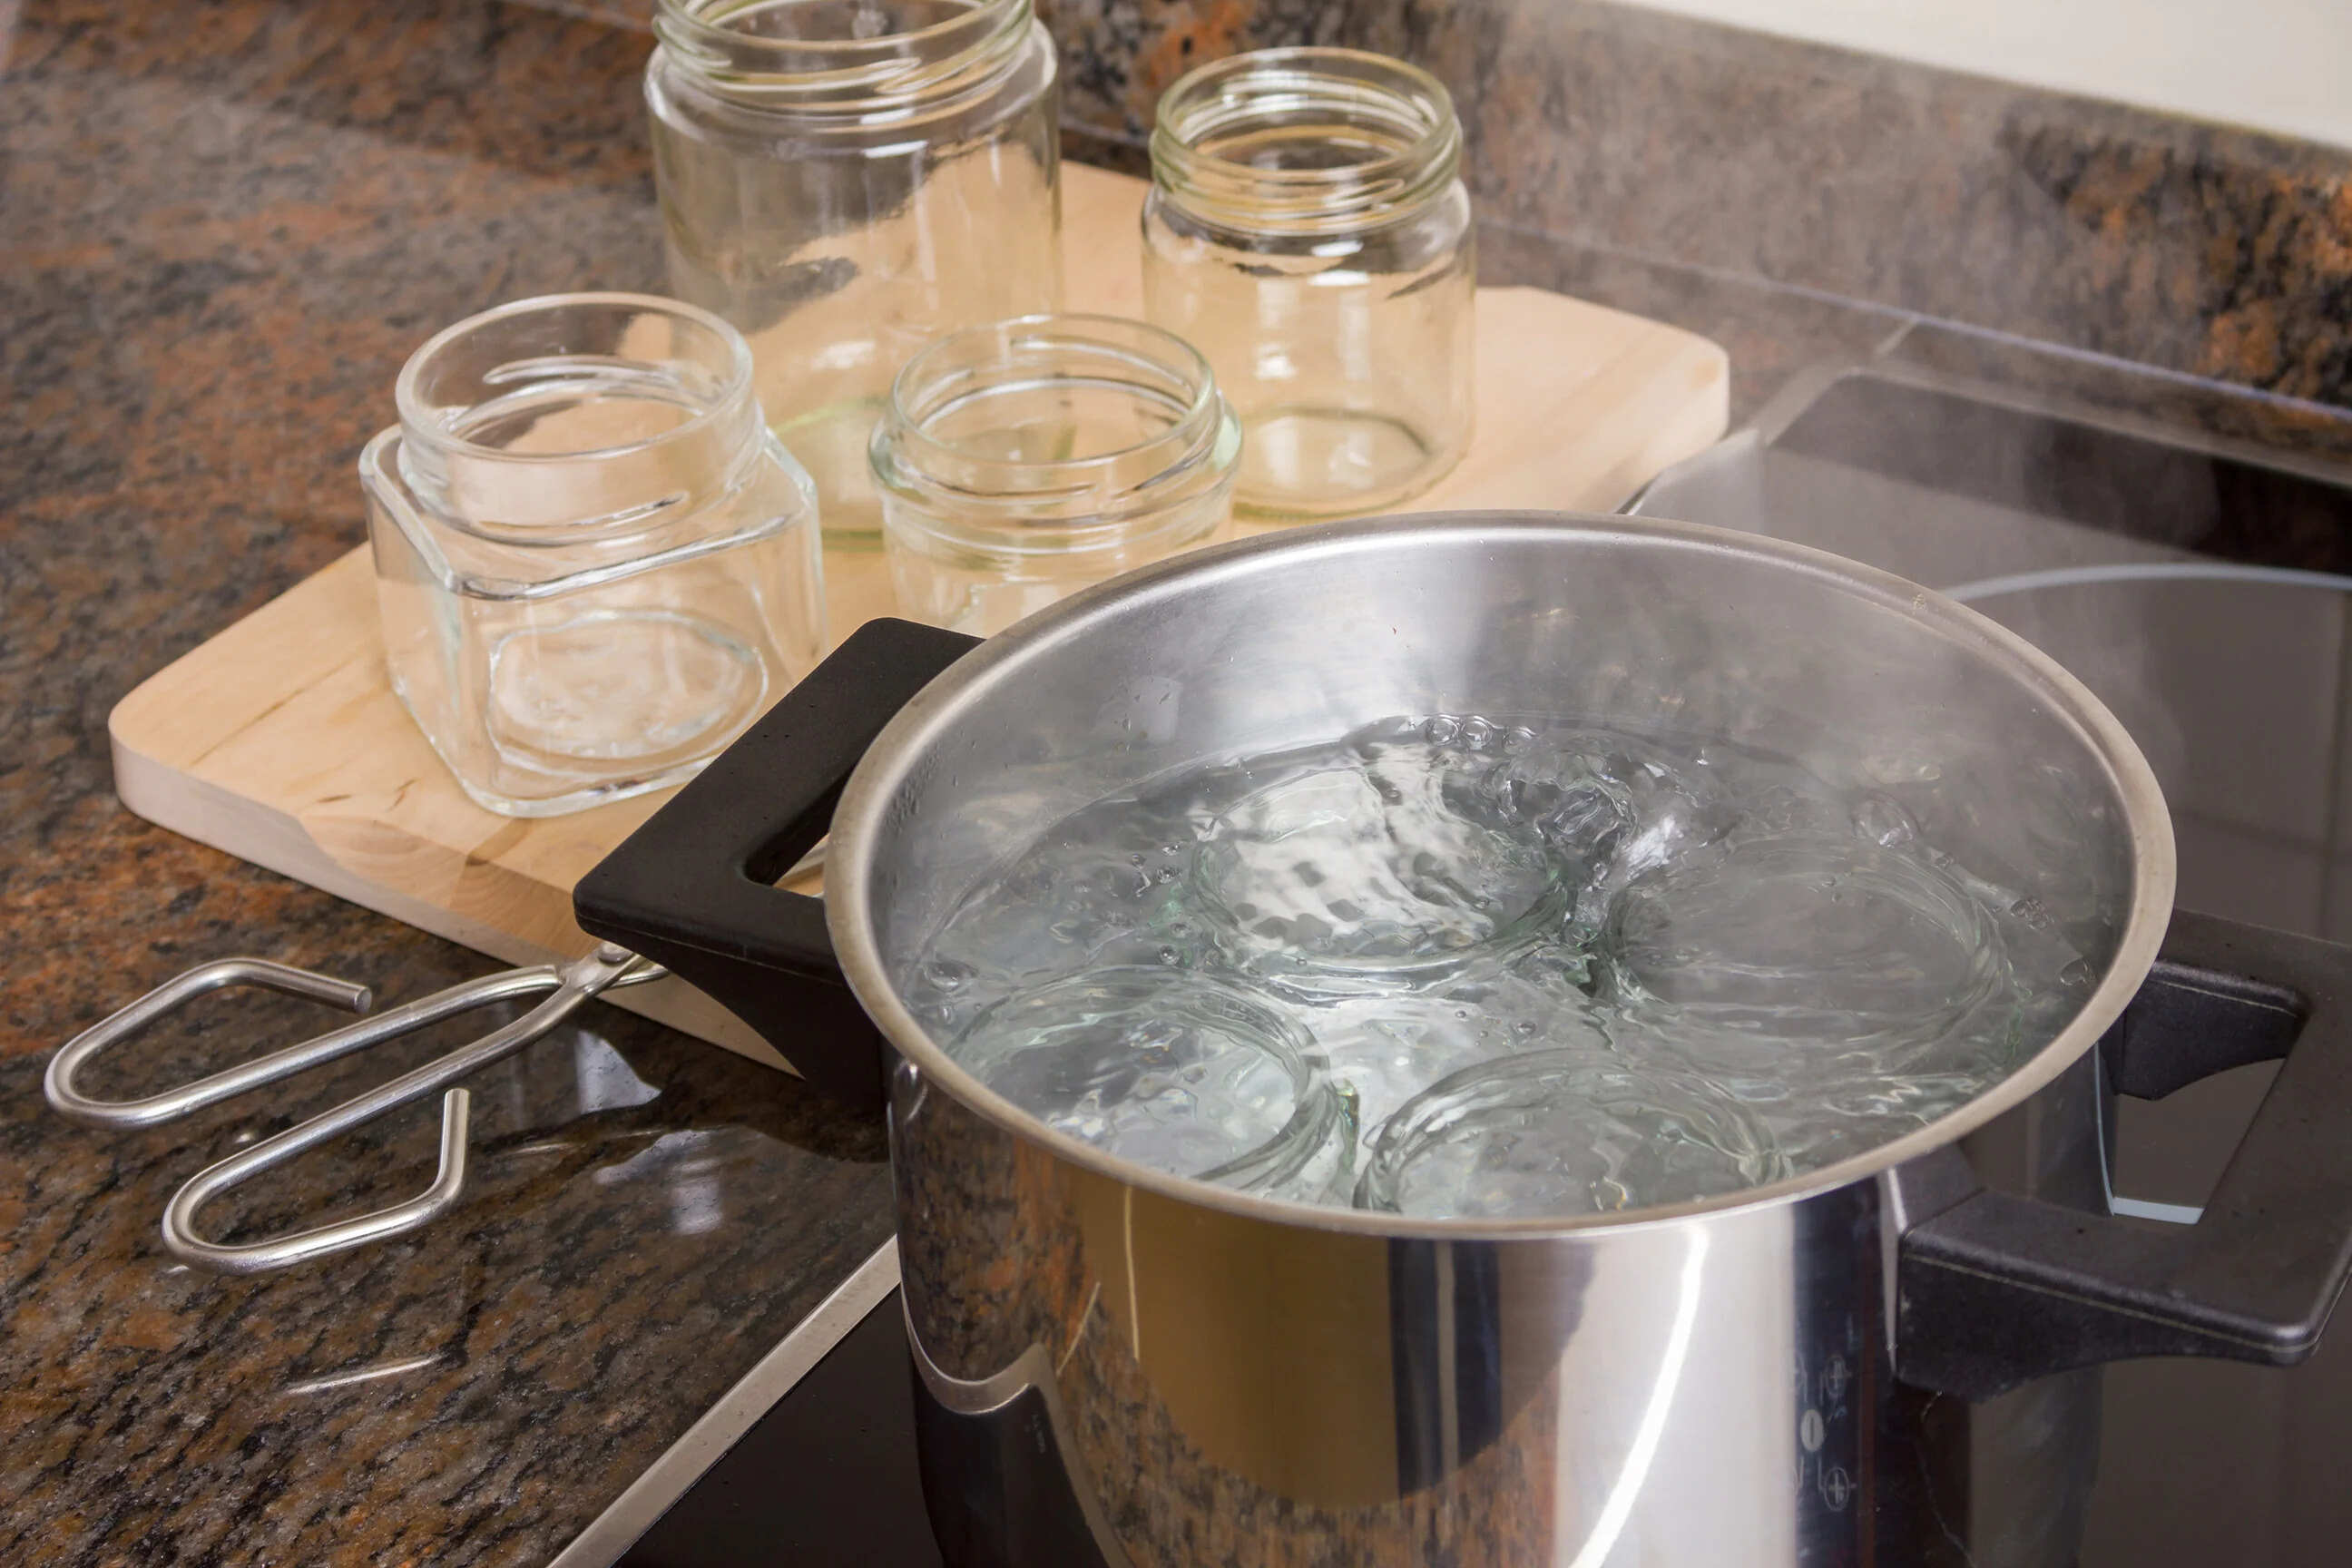
Boiling water is a versatile and readily available tool that can be harnessed to remove wax from a glass jar. This method leverages the high temperature of boiling water to melt and dislodge the hardened wax, allowing for easy extraction from the glass surface. Here's a detailed exploration of the step-by-step process to effectively utilize boiling water for wax removal:
-
Preparation: Begin by ensuring that the glass jar is at room temperature to prevent thermal shock. It's crucial to handle glassware with care to avoid potential breakage due to sudden temperature changes.
-
Boiling Water: Heat a sufficient amount of water in a pot or kettle until it reaches a rolling boil. The quantity of water should be adequate to submerge the wax-affected portion of the glass jar.
-
Submerging the Jar: Carefully lower the glass jar into the pot or place it in the sink, ensuring that the boiling water fully covers the wax-affected area. Allow the jar to sit in the hot water for approximately 5-10 minutes, allowing the heat to soften and liquefy the wax.
-
Wax Dislodgement: After the designated time has elapsed, use a non-abrasive tool, such as a wooden or silicone spatula, to gently agitate the wax. The softened wax should begin to detach from the glass surface, aided by the heat from the boiling water.
-
Cleaning the Jar: Once the wax has been successfully removed, thoroughly wash the glass jar with warm, soapy water to eliminate any residual wax and ensure that the interior is impeccably clean. A sponge or soft cloth can be used to scrub the interior, ensuring that no greasy film remains.
By harnessing the power of boiling water, you can effectively restore your glass jar to its pristine state, free from the remnants of hardened wax. This method offers a simple and non-invasive approach to wax removal, utilizing a household staple to achieve impressive results. With the wax successfully extracted and the glass jar thoroughly cleaned, you can now repurpose the jar for storage, crafting, or any other desired use.
This method provides a practical and environmentally friendly solution, avoiding the use of harsh chemicals and minimizing manual effort. By following these steps, you can confidently tackle the task of wax removal from glass jars, unlocking the potential for creative and functional reuse of these versatile containers.
Place the glass jar in the freezer for a few hours. Once the wax is frozen, use a butter knife to gently pry it out. Then, use hot soapy water to clean the remaining residue.
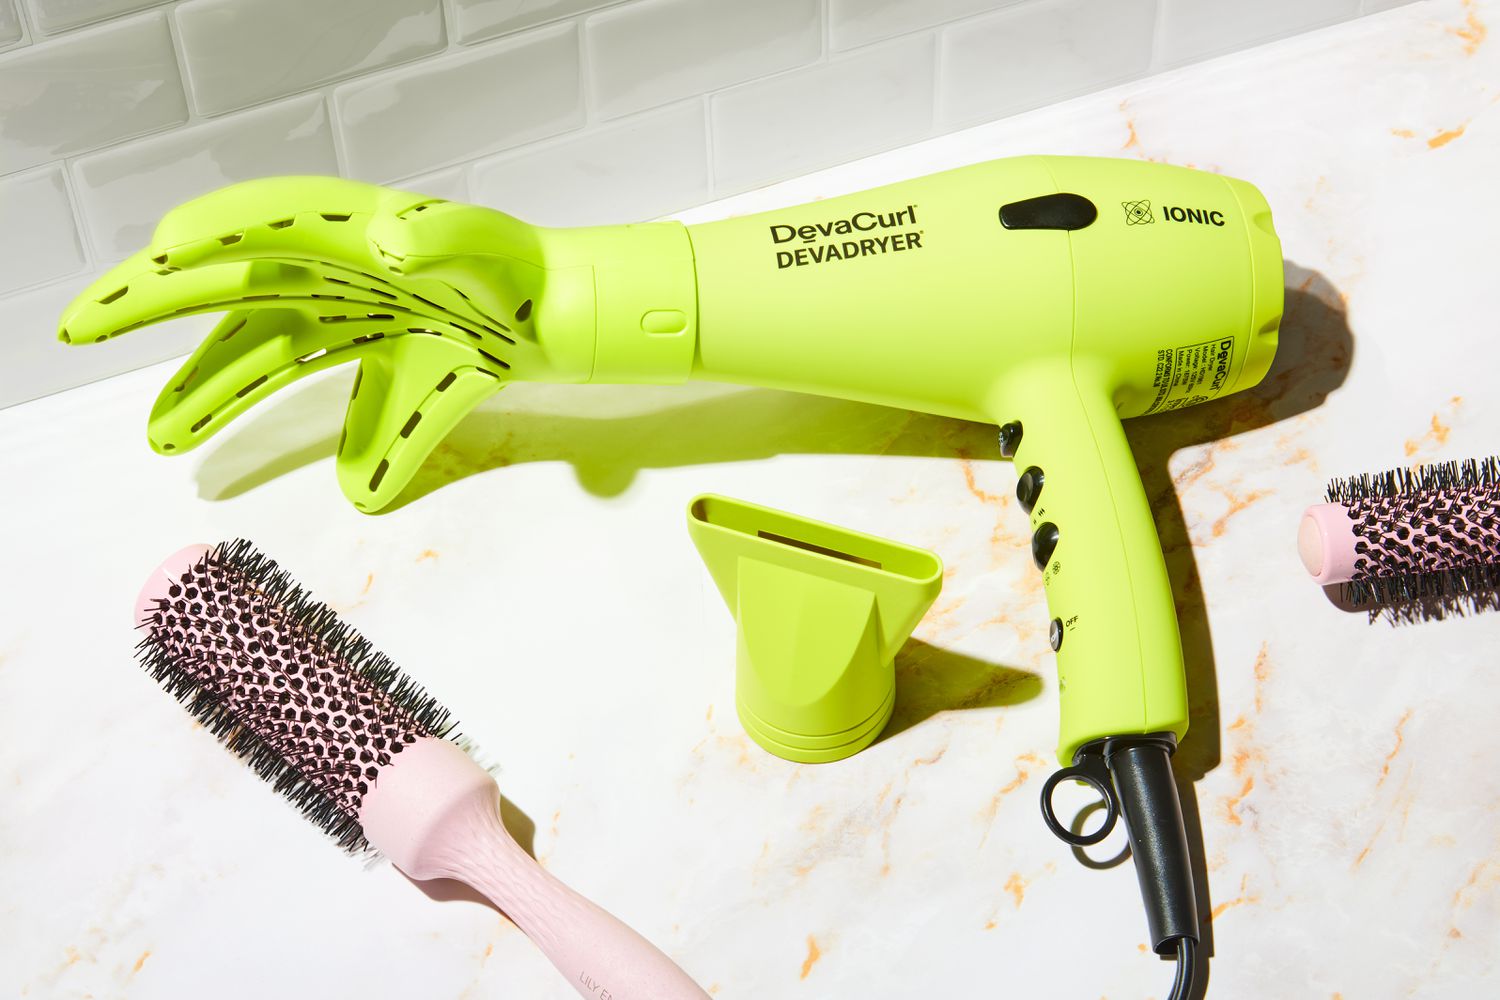
Method 3: Using a Hair Dryer
Using a hair dryer presents a convenient and effective method for removing wax from a glass jar. This approach harnesses the controlled application of heat to melt and dislodge the hardened wax, facilitating its easy extraction from the glass surface. Here's a detailed exploration of the step-by-step process to effectively utilize a hair dryer for wax removal:
-
Preparation: Begin by ensuring that the glass jar is at room temperature to prevent thermal shock. It's crucial to handle glassware with care to avoid potential breakage due to sudden temperature changes.
-
Wax Softening: Position the glass jar on a stable surface and set the hair dryer to a medium or high heat setting. Hold the hair dryer approximately 6-8 inches away from the wax-affected area of the jar. Direct the hot air onto the wax, moving the hair dryer in a back-and-forth motion to evenly distribute the heat. As the wax begins to soften and liquefy, you may notice it becoming translucent or starting to drip.
-
Wax Removal: Once the wax has reached a softened state, carefully tilt the glass jar to allow the melted wax to pool at the base. Use a gentle rocking motion to encourage the wax to detach from the glass surface. Alternatively, you can lightly tap the jar to aid in dislodging the softened wax. Exercise caution to avoid excessive tilting or sudden movements that may cause the hot wax to spill.
-
Cleaning the Jar: After successfully removing the wax, it's essential to clean the glass jar to eliminate any residual wax and ensure that the interior is impeccably clean. Wash the jar with warm, soapy water, using a sponge or soft cloth to scrub the interior and remove any remaining wax or greasy film.
By harnessing the power of a hair dryer, you can effectively restore your glass jar to its pristine state, free from the remnants of hardened wax. This method offers a simple and controlled approach to wax removal, utilizing a common household tool to achieve impressive results. With the wax successfully extracted and the glass jar thoroughly cleaned, you can now repurpose the jar for storage, crafting, or any other desired use.
Using a hair dryer for wax removal provides a practical and environmentally friendly solution, avoiding the use of harsh chemicals and minimizing manual effort. By following these steps, you can confidently tackle the task of wax removal from glass jars, unlocking the potential for creative and functional reuse of these versatile containers.
Method 4: Using a Knife or Spoon
When traditional methods such as freezing, boiling water, or a hair dryer are not viable options, employing simple utensils like a knife or spoon can provide an effective alternative for removing wax from a glass jar. This method leverages manual dexterity and precision to dislodge the hardened wax from the glass surface, offering a hands-on approach to tackle this common household challenge.
Here's a detailed exploration of the step-by-step process to effectively utilize a knife or spoon for wax removal:
-
Preparation: Begin by ensuring that the glass jar is at room temperature to prevent thermal shock. It's essential to handle glassware with care to avoid potential breakage due to sudden temperature changes.
-
Wax Loosening: Gently tap the sides of the glass jar to dislodge any loose wax fragments. This preliminary step helps to create small fractures in the wax, making it easier to initiate the removal process.
-
Edge Pruning: Using a butter knife or the edge of a spoon, carefully insert the tool between the wax and the glass surface. Employ gentle pressure to create a slight separation, gradually working your way around the perimeter of the wax. This method allows for incremental loosening of the wax without causing damage to the glass jar.
-
Gradual Extraction: Once the initial separation is achieved, continue to gently pry and lift the wax from the glass surface using the knife or spoon. Exercise patience and precision, ensuring that the process is gradual and controlled to avoid any sudden movements that may lead to glass breakage.
-
Cleaning the Jar: After successfully removing the wax, it's essential to clean the glass jar to eliminate any residual wax and ensure that the interior is impeccably clean. Wash the jar with warm, soapy water, using a sponge or soft cloth to scrub the interior and remove any remaining wax or greasy film.
By employing the method of using a knife or spoon, you can effectively restore your glass jar to its pristine state, free from the remnants of hardened wax. This approach offers a hands-on and controlled means of wax removal, utilizing common household utensils to achieve impressive results. With the wax successfully extracted and the glass jar thoroughly cleaned, you can now repurpose the jar for storage, crafting, or any other desired use.
Using a knife or spoon for wax removal provides a practical and environmentally friendly solution, avoiding the use of harsh chemicals and minimizing manual effort. By following these steps, you can confidently tackle the task of wax removal from glass jars, unlocking the potential for creative and functional reuse of these versatile containers.
Conclusion
In conclusion, the process of removing wax from a glass jar encompasses a range of effective methods, each offering its unique approach to address this common household challenge. Whether you opt for freezing the wax, utilizing boiling water, employing a hair dryer, or resorting to simple utensils like a knife or spoon, the ultimate goal remains the same – to restore the glass jar to its pristine condition, free from the remnants of hardened wax.
These methods not only provide practical solutions for wax removal but also offer environmentally friendly alternatives, minimizing the need for harsh chemicals and excessive manual effort. By leveraging common household items and tools, individuals can confidently tackle the task of reclaiming glass jars from the clutches of stubborn wax, unlocking the potential for creative and functional reuse of these versatile containers.
Furthermore, the versatility of these methods allows individuals to adapt the wax removal process to suit their specific preferences and available resources. Whether you are a craft enthusiast, a candle lover, or someone seeking practical solutions for household maintenance, mastering the art of wax removal from glass jars is a valuable skill that empowers individuals to repurpose and revitalize these containers for various uses.
As we navigate the realm of DIY projects, sustainability, and creative reuse, the ability to effectively remove wax from glass jars not only contributes to a cleaner and more organized living space but also encourages a mindful approach to resourcefulness and waste reduction. By embracing these methods, individuals can breathe new life into seemingly mundane objects, transforming them into functional and aesthetically pleasing elements of their living environment.
In essence, the journey of wax removal from glass jars transcends the realm of household maintenance, embodying the spirit of resourcefulness, creativity, and environmental consciousness. By following the step-by-step instructions outlined in this guide and harnessing the power of simple yet effective methods, individuals can embark on a rewarding endeavor that culminates in the revitalization of glass jars, ready to serve a new purpose in the home or creative projects.
Frequently Asked Questions about How To Get Wax Out Of Glass Jar
Was this page helpful?
At Storables.com, we guarantee accurate and reliable information. Our content, validated by Expert Board Contributors, is crafted following stringent Editorial Policies. We're committed to providing you with well-researched, expert-backed insights for all your informational needs.


0 thoughts on “How To Get Wax Out Of Glass Jar”