Home>Furniture & Design>Interior Design Trends>How To Seal Glass Jars
Interior Design Trends
How To Seal Glass Jars
Published: February 5, 2024
Learn how to seal glass jars and keep your pantry organized with the latest interior design trends. Discover the best techniques for preserving food and adding style to your kitchen.
(Many of the links in this article redirect to a specific reviewed product. Your purchase of these products through affiliate links helps to generate commission for Storables.com, at no extra cost. Learn more)
Introduction
Sealing glass jars is a fundamental practice that ensures the preservation of food, spices, and other perishable items. Whether you are an avid home cook, a passionate gardener, or a DIY enthusiast, mastering the art of sealing glass jars is a valuable skill that can prolong the shelf life of your homemade creations.
Properly sealed glass jars serve as a barrier against moisture, air, and contaminants, safeguarding the contents within from spoilage and degradation. This simple yet essential process not only maintains the freshness and flavor of the stored items but also contributes to reducing food waste and promoting sustainability.
In this comprehensive guide, we will delve into the step-by-step process of sealing glass jars, equipping you with the knowledge and techniques needed to preserve your favorite ingredients and culinary creations. From cleaning the glass jars to applying the sealing material and storing the sealed jars, each step plays a crucial role in ensuring the effectiveness of the sealing process.
By following the instructions outlined in this guide, you will gain the confidence to seal glass jars with precision and care, allowing you to savor the bounties of your garden, the flavors of your culinary experiments, and the delights of homemade preserves for an extended period.
Embark on this journey with an open mind and a willingness to embrace the art of glass jar sealing. Let's dive into the first step: cleaning the glass jars to prepare them for the sealing process.
Key Takeaways:
- Sealing glass jars preserves food and reduces waste. Clean jars thoroughly, apply the right sealing material, and store them properly to enjoy homemade treats for longer.
- Sealing glass jars is a timeless tradition that celebrates flavors and sustainability. It empowers individuals to preserve culinary creations with care and expertise, fostering a sense of pride and fulfillment.
Read more: How To Store Glass Jars
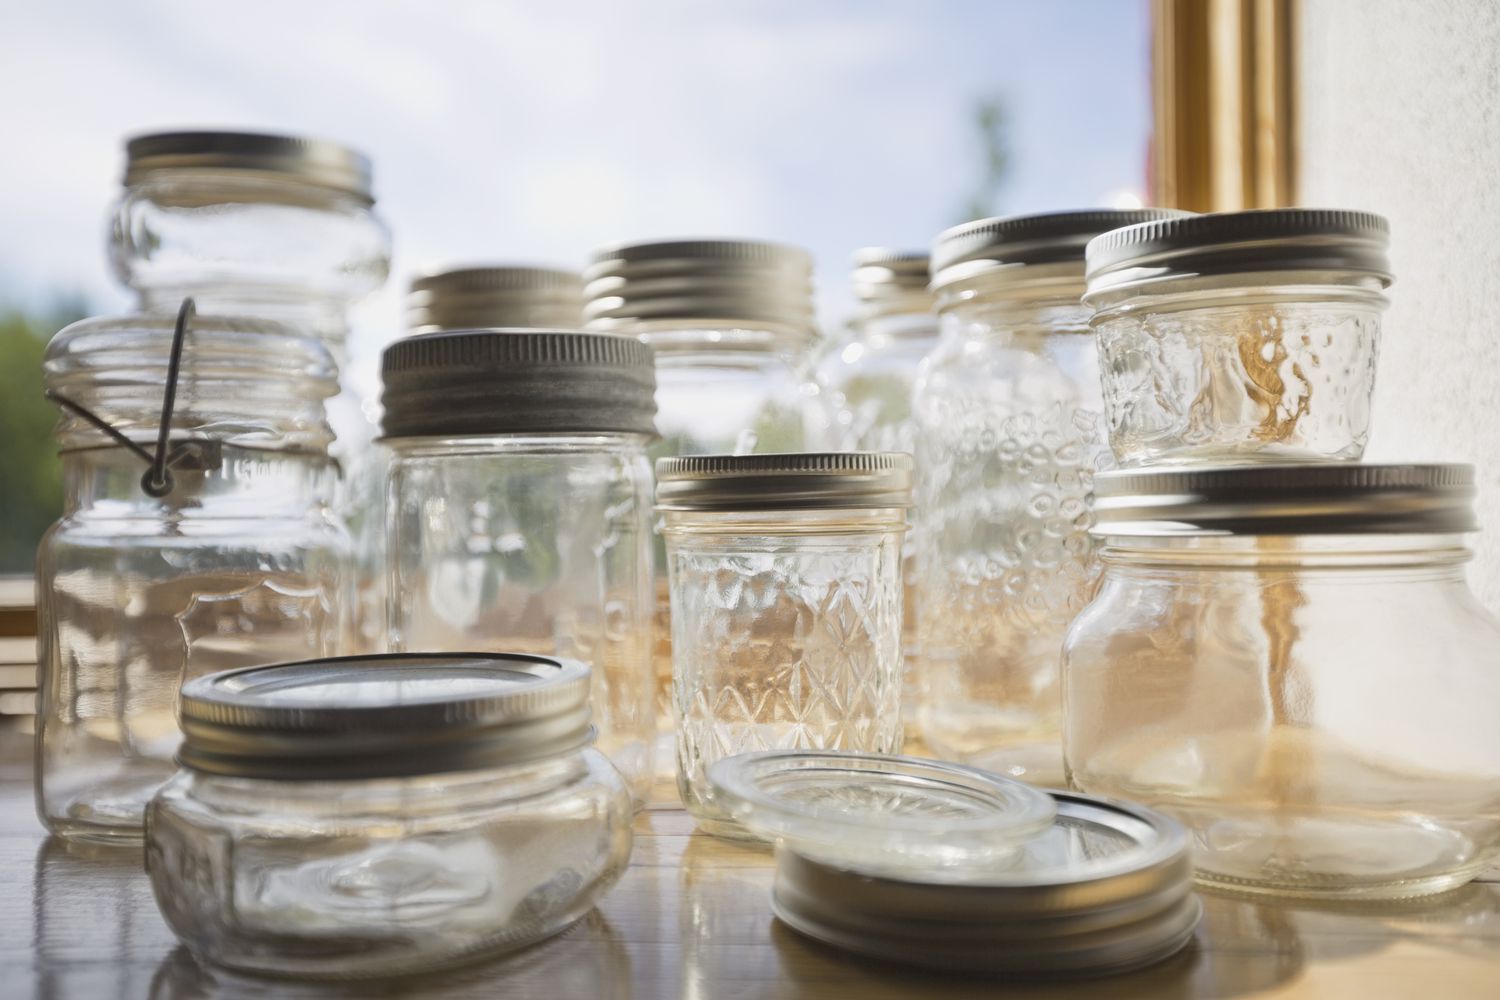
Step 1: Clean the Glass Jars
Before embarking on the glass jar sealing process, it is crucial to ensure that the jars are thoroughly cleaned to create an optimal environment for preserving the contents. Follow these steps to prepare the glass jars for sealing:
-
Gather the Supplies: Assemble all the necessary cleaning supplies, including dish soap, a scrubbing brush or sponge, and clean, lint-free towels. Additionally, ensure access to hot water for rinsing the jars.
-
Inspect the Jars: Examine each glass jar for any signs of damage, such as chips or cracks. Discard any jars that are compromised, as they may hinder the effectiveness of the sealing process and compromise the safety of the stored items.
-
Remove Residue: Prior to washing the jars, remove any labels, adhesive residue, or lingering food particles. Soak the jars in warm, soapy water to loosen stubborn residue, making it easier to scrub away.
-
Wash and Rinse: Thoroughly wash the jars with hot, soapy water, ensuring that both the interior and exterior surfaces are cleansed of any lingering debris or oils. Use a scrubbing brush or sponge to gently scrub the jars, paying particular attention to the rims and threads.
-
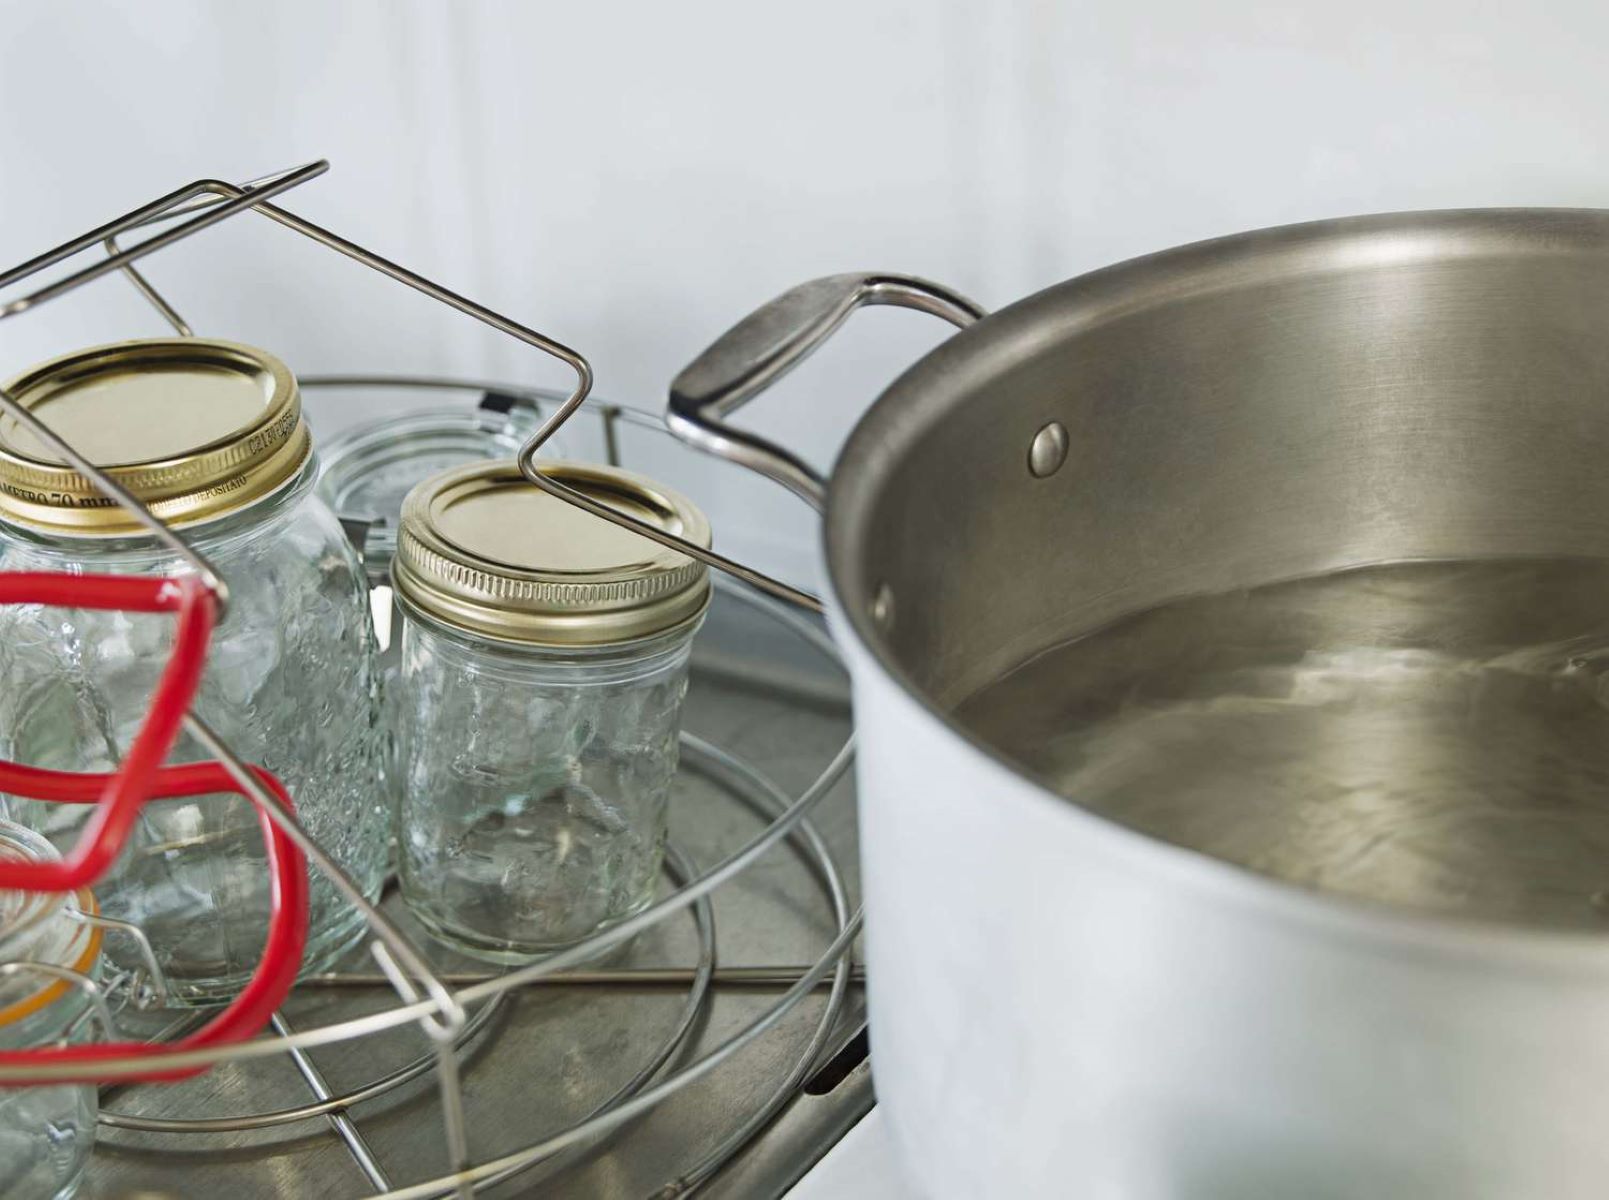
Sanitize the Jars: After washing, sanitize the jars by submerging them in a pot of boiling water for a few minutes. Alternatively, place the jars in an oven preheated to a low temperature, effectively sterilizing them before the sealing process.
-
Air Dry: Once cleaned and sanitized, allow the jars to air dry on a clean, lint-free towel. Avoid using towels with a strong fabric scent, as this could transfer to the jars and affect the stored contents.
By meticulously cleaning the glass jars, you create a hygienic foundation for the sealing process, minimizing the risk of contamination and ensuring the longevity of the preserved items. With the jars now primed for sealing, you are ready to proceed to the next step: preparing the sealing material.
Step 2: Prepare the Sealing Material
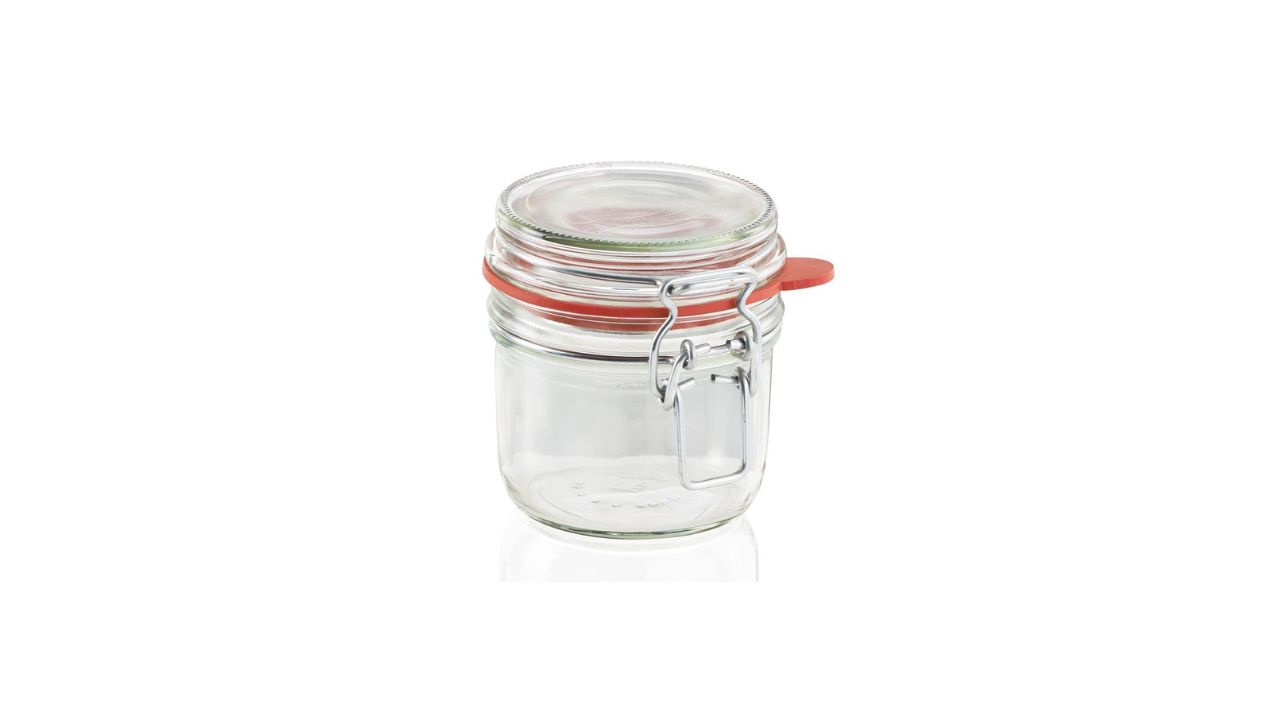
Once the glass jars are cleaned and sanitized, the next crucial step in the glass jar sealing process is to prepare the sealing material. The sealing material, often in the form of lids and gaskets, plays a pivotal role in creating an airtight seal that safeguards the contents from external elements. Here's a detailed guide on how to prepare the sealing material for the glass jars:
-
Select the Appropriate Sealing Components: Choose the sealing components that are compatible with the specific type and size of the glass jars. This may include metal lids with built-in sealing compounds, rubber gaskets, or other specialized sealing accessories designed for preserving various types of contents.
-
Inspect the Sealing Components: Before use, carefully inspect the sealing components for any signs of damage, such as dents, rust, or deformities. Ensure that the sealing surfaces are smooth and free from imperfections that could compromise the effectiveness of the seal.
-
Clean the Sealing Components: Thoroughly wash the sealing components with warm, soapy water to remove any manufacturing residues or debris. Use a soft cloth or sponge to gently clean the surfaces, and rinse them thoroughly to eliminate any soap residue.
-
Dry the Sealing Components: After washing, allow the sealing components to air dry completely on a clean, lint-free towel. It is essential to ensure that the components are completely dry before they are used to seal the glass jars, as moisture can impede the sealing process.
-
Optional Pre-Treatment: Depending on the specific sealing components and manufacturer's recommendations, you may need to perform additional pre-treatment steps, such as applying a thin layer of oil to the gaskets or seasoning the metal lids. Follow the instructions provided by the manufacturer to optimize the performance of the sealing material.
By meticulously preparing the sealing material, you lay the groundwork for a successful glass jar sealing process, setting the stage for the next step: applying the sealing material to the cleaned and dried glass jars. With the sealing material ready for use, you are one step closer to preserving your favorite ingredients and culinary creations with confidence and precision.
Step 3: Apply the Sealing Material
With the glass jars meticulously cleaned and the sealing material prepared, the next critical step is to apply the sealing material to create an effective barrier that safeguards the contents within. The process of applying the sealing material involves precise techniques to ensure a secure and airtight seal, preserving the freshness and quality of the stored items. Here's a detailed guide on how to apply the sealing material to the cleaned and dried glass jars:
-
Position the Sealing Components: Begin by positioning the prepared sealing components, such as the lids and gaskets, in close proximity to the cleaned glass jars. Ensure that the sealing components are easily accessible and ready for immediate application once the jars are filled with the intended contents.
-
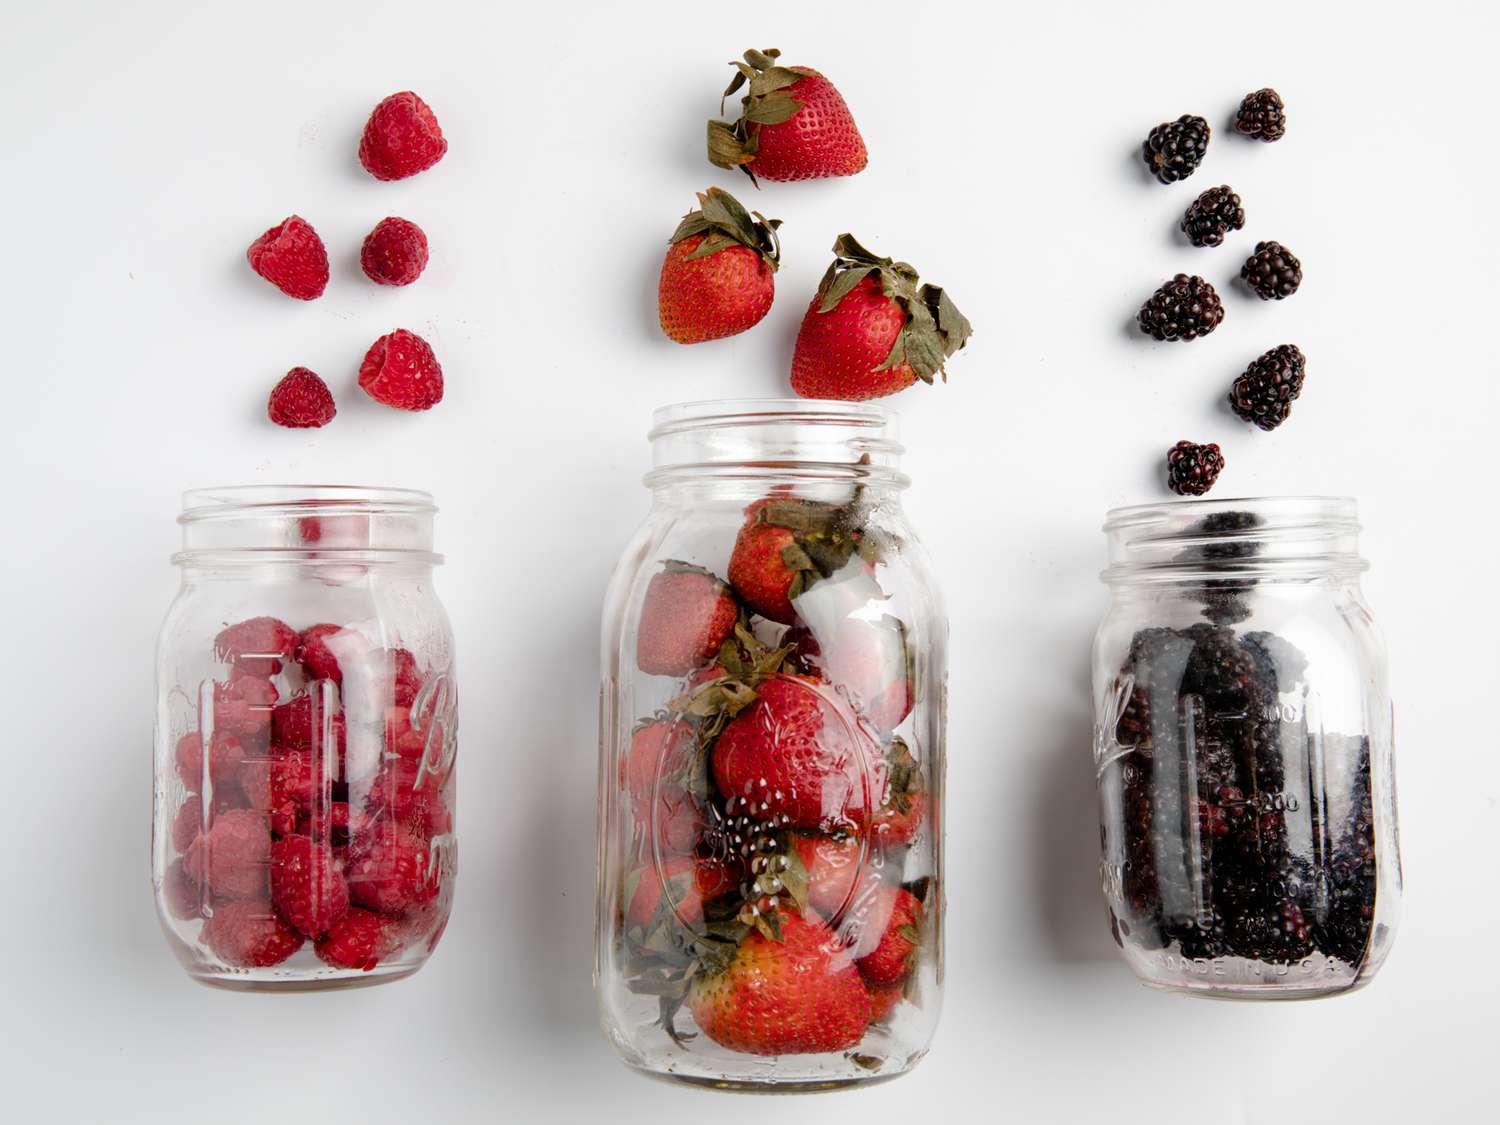
Fill the Jars: Carefully fill the cleaned glass jars with the desired contents, leaving the appropriate headspace as recommended for the specific type of items being preserved. Whether it's homemade jams, pickled vegetables, or dry spices, maintaining the correct headspace is crucial for achieving a successful seal.
-
Wipe the Jar Rims: Using a clean, damp cloth or paper towel, meticulously wipe the rims of the filled jars to remove any residue or spills. This step is essential for ensuring that the jar rims are clean and free from any obstructions that could hinder the sealing process.
-
Position the Sealing Lids: Place the prepared sealing lids onto the wiped jar rims, ensuring that they are centered and aligned properly. If using metal lids with built-in sealing compounds, ensure that the sealing compound is in direct contact with the jar rims to facilitate a secure seal.
-
Secure the Lids: Gently but firmly secure the lids onto the jar rims, applying uniform pressure to ensure a consistent seal. Avoid overtightening the lids, as this could lead to deformation of the sealing components and compromise the effectiveness of the seal.
-
Check for Alignment: Verify that the sealing lids are aligned correctly and sit flush with the jar rims. Any misalignment or uneven positioning could result in a compromised seal, potentially allowing air and contaminants to infiltrate the jars.
By meticulously following these steps to apply the sealing material, you establish a robust foundation for preserving the contents within the glass jars. With the sealing material effectively applied, the final step involves sealing the jars to complete the preservation process, ensuring that the stored items remain fresh and flavorful for an extended period.
Before sealing glass jars, make sure they are clean and dry. Use new, properly fitting lids and screw them on tightly. For an extra seal, consider using a hot water bath canning method.
Step 4: Seal the Jars
Sealing the glass jars is the pivotal stage that culminates the meticulous preparation and application of sealing material, ensuring the preservation of the contents within. This step involves the activation of the sealing process, creating an airtight environment that safeguards the stored items from external elements and degradation. Here's a detailed guide on how to effectively seal the glass jars, securing the contents for long-term preservation:
-
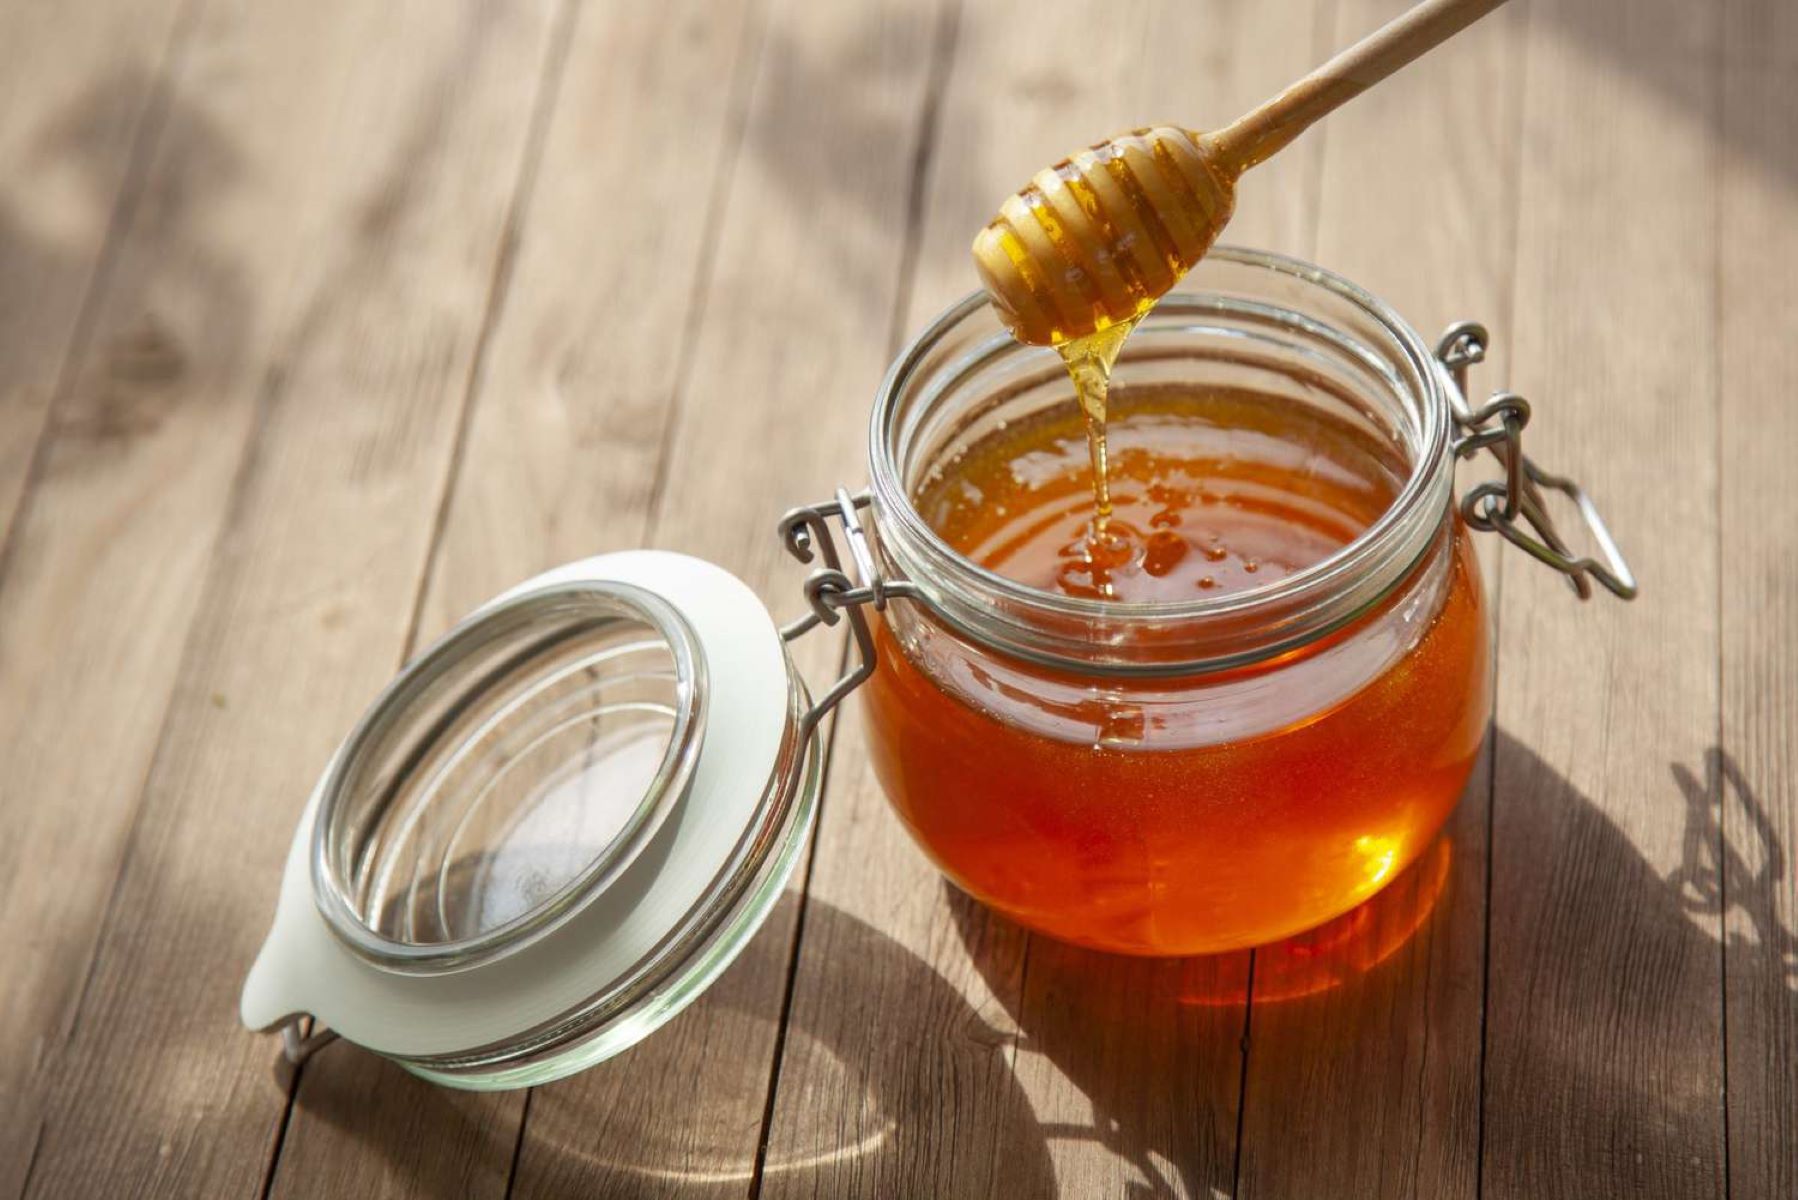
Heat Processing (Optional): Depending on the specific preservation method and the type of contents being stored, you may opt for heat processing to facilitate the sealing of the jars. This process, commonly known as water bath canning or pressure canning, involves submerging the filled and lidded jars in boiling water or subjecting them to controlled pressure, effectively creating a vacuum seal as the jars cool. Heat processing is particularly beneficial for preserving high-acid foods, such as fruits and pickles, and low-acid foods, including vegetables and meats.
-
Cooling and Sealing Verification: Once the jars have undergone heat processing, or if heat processing is not required for the specific preservation method, allow the sealed jars to cool naturally at room temperature. As the jars cool, the internal pressure decreases, creating a vacuum effect that pulls the lids downward, forming a concave indentation. This visual cue indicates a successful seal, affirming the airtight integrity of the preserved contents. It is essential to verify the seal on each jar to ensure the effectiveness of the preservation process.
-
Testing the Seal: After the jars have cooled, gently press the center of each lid to confirm that it is concave and does not flex or make a popping sound. Additionally, carefully lift each jar by the lid to ensure that it is securely sealed and does not detach from the rim. Any lids that exhibit flexibility or detachment indicate a compromised seal and should be addressed immediately. Properly sealed jars can be stored with confidence, knowing that the contents are protected and preserved.
By meticulously following these steps to seal the glass jars, you complete the preservation process with precision and care, ensuring that the stored items remain fresh and flavorful for an extended period. With the jars effectively sealed, the final step involves storing them in a suitable environment to maintain the quality and integrity of the preserved contents.
Read more: How To Repurpose Glass Jars
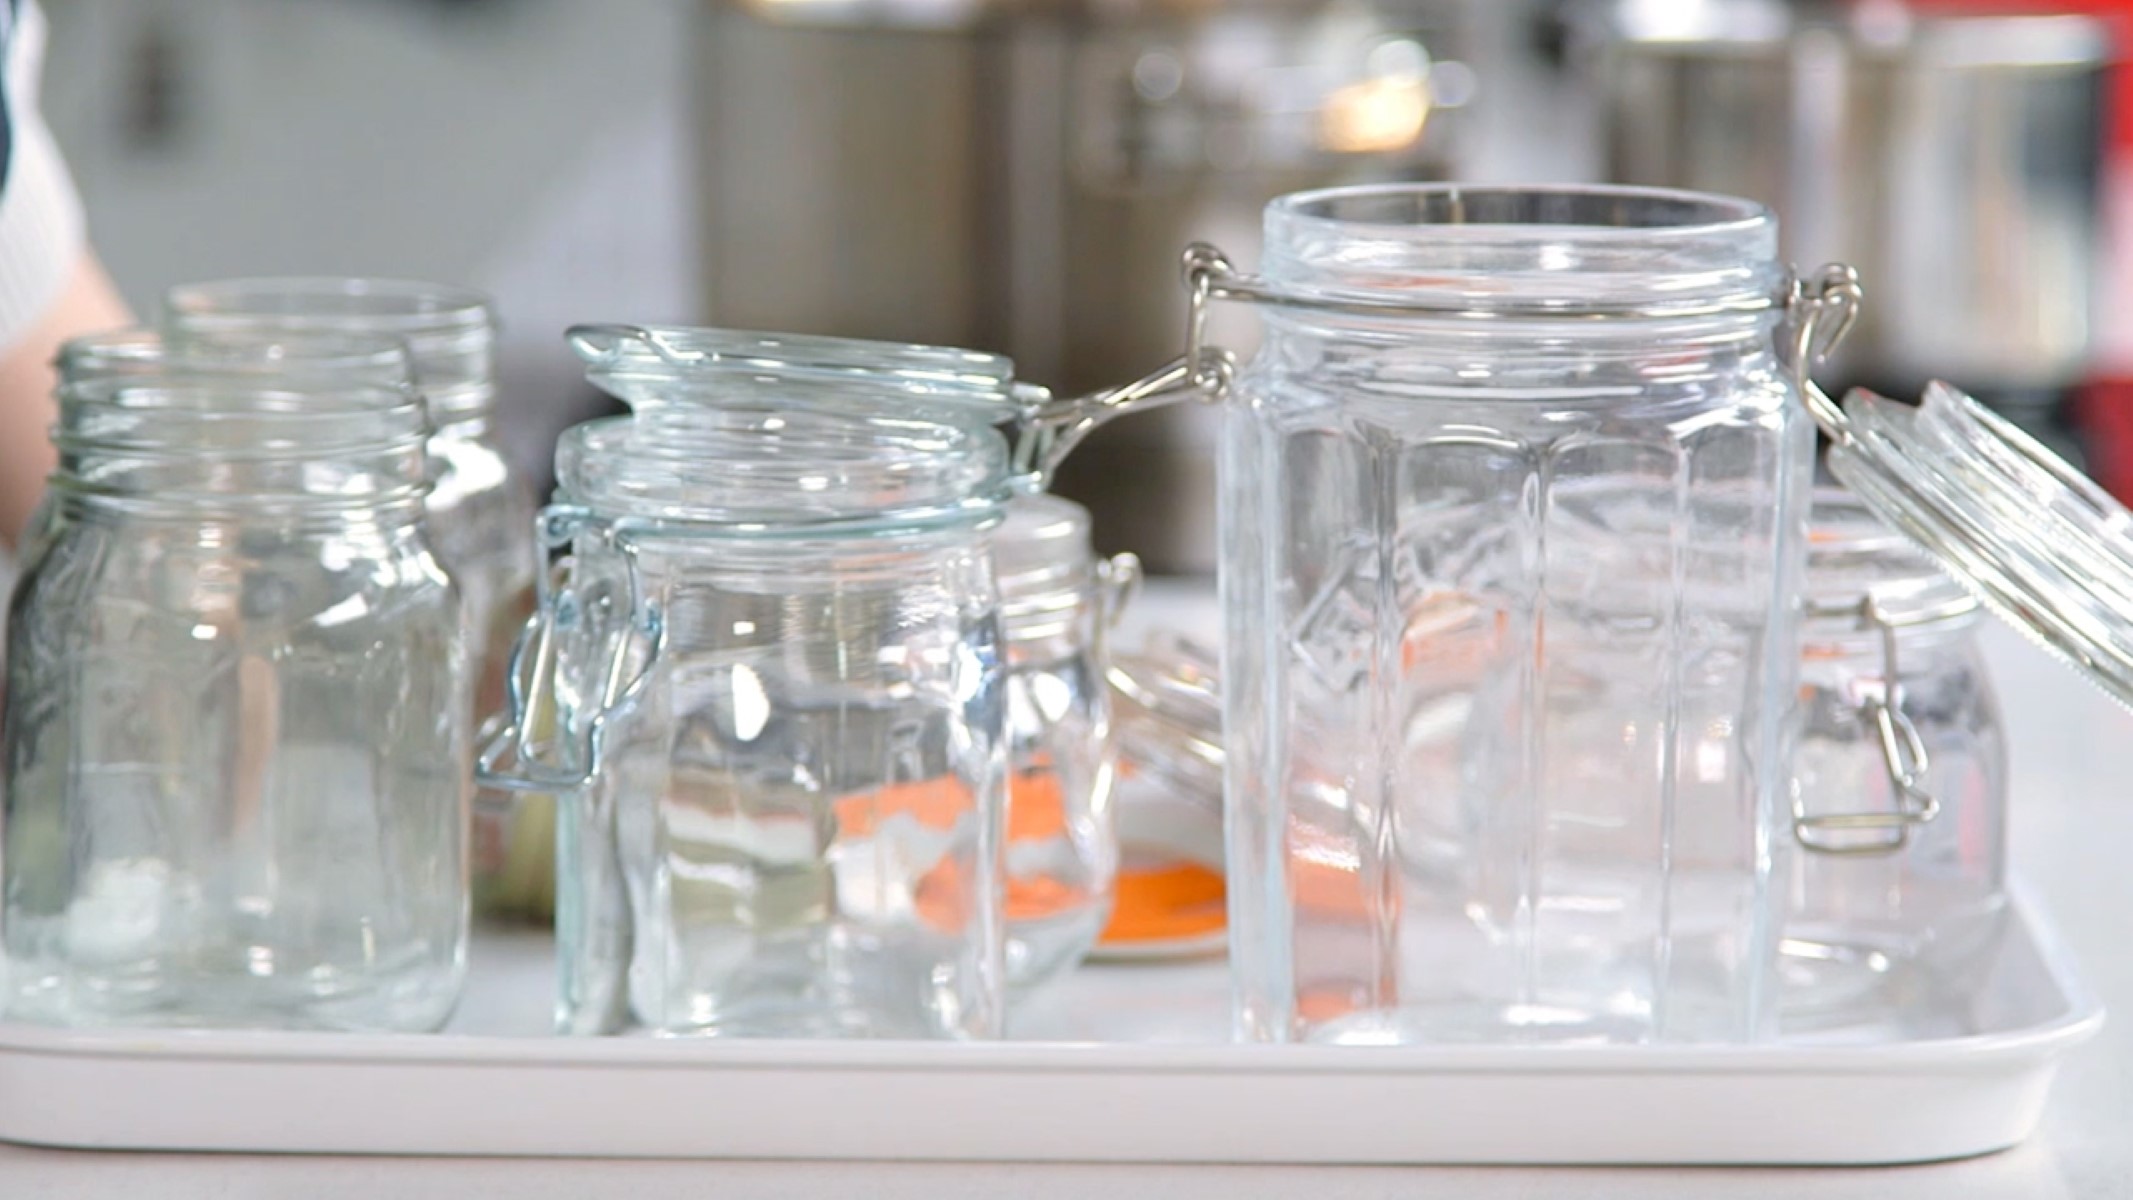
Step 5: Store the Sealed Jars
Proper storage of the sealed glass jars is paramount to maintaining the quality, flavor, and safety of the preserved contents. After completing the sealing process, it is essential to store the jars in a suitable environment that minimizes exposure to factors that could compromise the integrity of the seal and the freshness of the stored items. Here's a detailed guide on how to store the sealed jars effectively:
-
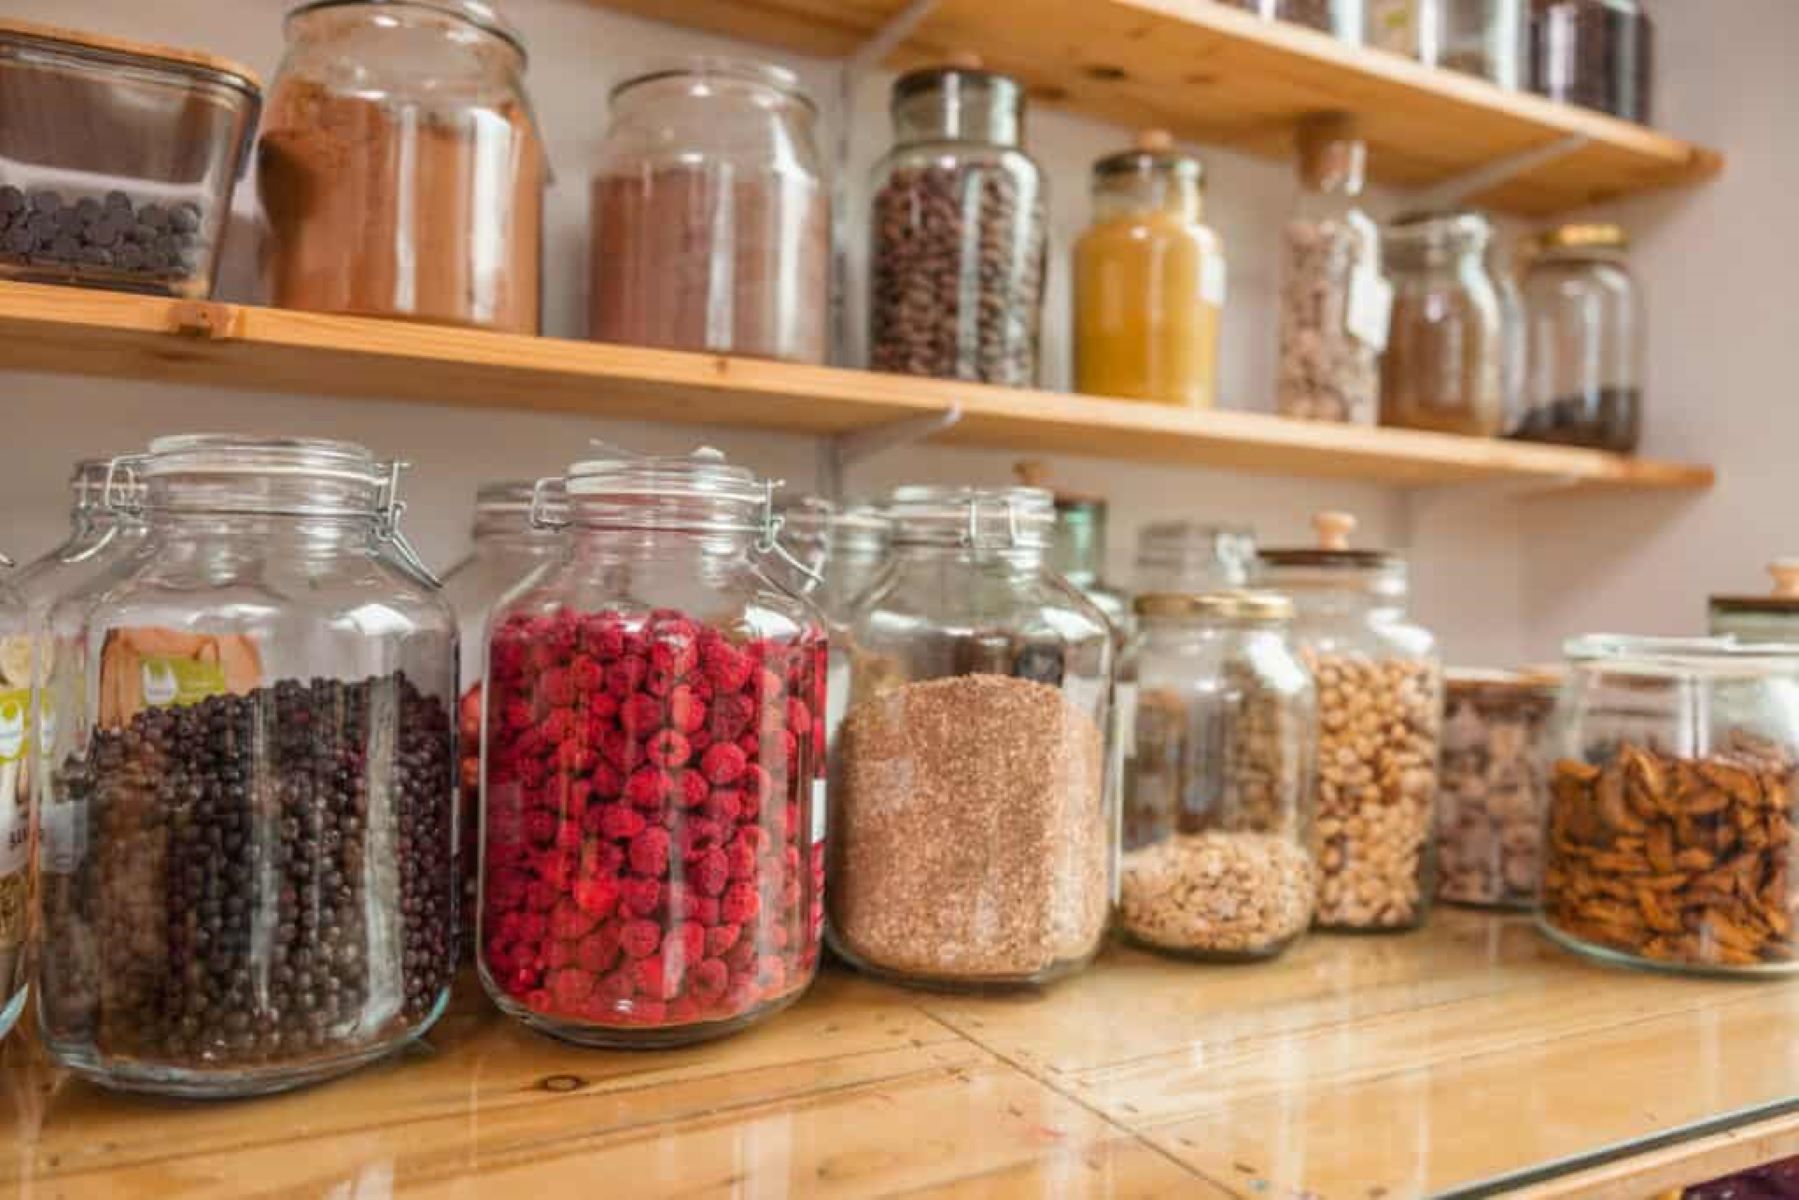
Cool, Dark Location: Select a cool, dark location for storing the sealed jars. Exposure to direct sunlight and fluctuating temperatures can accelerate the degradation of the contents and affect the effectiveness of the seal. A pantry, cellar, or dedicated storage area provides an ideal environment for preserving the sealed jars.
-
Avoid Temperature Extremes: Ensure that the storage area maintains a consistent, moderate temperature. Extreme heat or cold can impact the stability of the seal and lead to spoilage. Aim for a temperature range that is conducive to preserving the specific type of contents stored in the jars.
-
Organized Arrangement: Arrange the sealed jars in an organized manner, allowing sufficient space between each jar to facilitate air circulation. Avoid overcrowding the storage shelves, as this can hinder ventilation and make it challenging to inspect the jars periodically.
-
Labeling and Dating: Label each sealed jar with its contents and the date of sealing. Clear labeling enables easy identification of the stored items and helps track the shelf life of the preserved contents. Use waterproof and fade-resistant labels to ensure that the information remains legible throughout the storage period.
-
Regular Inspection: Periodically inspect the sealed jars for any signs of leakage, bulging lids, or compromised seals. Any jars exhibiting abnormalities should be addressed promptly to prevent spoilage and maintain the quality of the preserved items. Additionally, check for any visible changes in the contents, such as discoloration or unusual odors, which could indicate spoilage.
-
Rotation and Consumption: As part of good storage practices, consider implementing a rotation system for the sealed jars, consuming the oldest preserved items first to ensure freshness. Regularly assess the contents of the jars and plan their usage to optimize the enjoyment of the preserved delicacies.
By adhering to these storage guidelines, you can safeguard the quality and longevity of the preserved contents within the sealed glass jars, allowing you to savor the fruits of your labor and culinary creativity over an extended period. With the sealed jars stored in an optimal environment, you can confidently enjoy the flavors and benefits of your homemade preserves, knowing that they have been preserved with care and expertise.
Conclusion
In conclusion, mastering the art of sealing glass jars is a gratifying endeavor that empowers individuals to preserve the flavors, aromas, and nutritional benefits of their favorite ingredients and culinary creations. From meticulously cleaning the glass jars to applying the sealing material and completing the preservation process, each step plays a pivotal role in ensuring the longevity and quality of the stored items.
The process of sealing glass jars transcends mere preservation; it embodies a profound connection to tradition, sustainability, and the art of culinary craftsmanship. By embracing this practice, individuals honor age-old techniques while embracing modern innovations, fostering a sense of self-reliance and resourcefulness in the kitchen.
The satisfaction derived from sealing glass jars extends beyond the act itself. It encompasses the anticipation of savoring homemade jams, pickled vegetables, and spice blends months after their creation, evoking a sense of pride and fulfillment. Moreover, the act of preserving seasonal bounties and garden harvests in sealed jars symbolizes a commitment to reducing food waste and embracing sustainable living practices.
As we conclude this comprehensive guide, it is essential to recognize that the art of glass jar sealing is a timeless tradition that transcends generations, cultures, and culinary preferences. Whether it's the allure of opening a jar of homemade preserves during the winter months or the joy of gifting sealed jars of culinary delights to loved ones, the impact of this practice resonates deeply within the realm of home cooking and DIY craftsmanship.
With the knowledge and techniques acquired from this guide, individuals are equipped to embark on a journey of preserving flavors, capturing seasonal abundance, and relishing the fruits of their labor long after the initial creation. The act of sealing glass jars becomes a testament to the artistry and dedication invested in nurturing and celebrating the culinary treasures that enrich our lives.
In essence, the art of sealing glass jars transcends mere preservation; it embodies a celebration of flavors, a reverence for tradition, and a commitment to sustainability. As you embark on your glass jar sealing endeavors, may each jar sealed be a testament to your culinary passion and a promise of delightful flavors preserved for the future.
Frequently Asked Questions about How To Seal Glass Jars
Was this page helpful?
At Storables.com, we guarantee accurate and reliable information. Our content, validated by Expert Board Contributors, is crafted following stringent Editorial Policies. We're committed to providing you with well-researched, expert-backed insights for all your informational needs.


0 thoughts on “How To Seal Glass Jars”