Home>Storage Ideas>Kitchen Storage>How To Remove Wax And Upcycle Candle Jars
Kitchen Storage
How To Remove Wax And Upcycle Candle Jars
Modified: August 28, 2024
Looking to upcycle your old candle jars? Learn how to effectively remove wax and repurpose them for kitchen storage with these creative kitchen storage ideas.
(Many of the links in this article redirect to a specific reviewed product. Your purchase of these products through affiliate links helps to generate commission for Storables.com, at no extra cost. Learn more)
Introduction
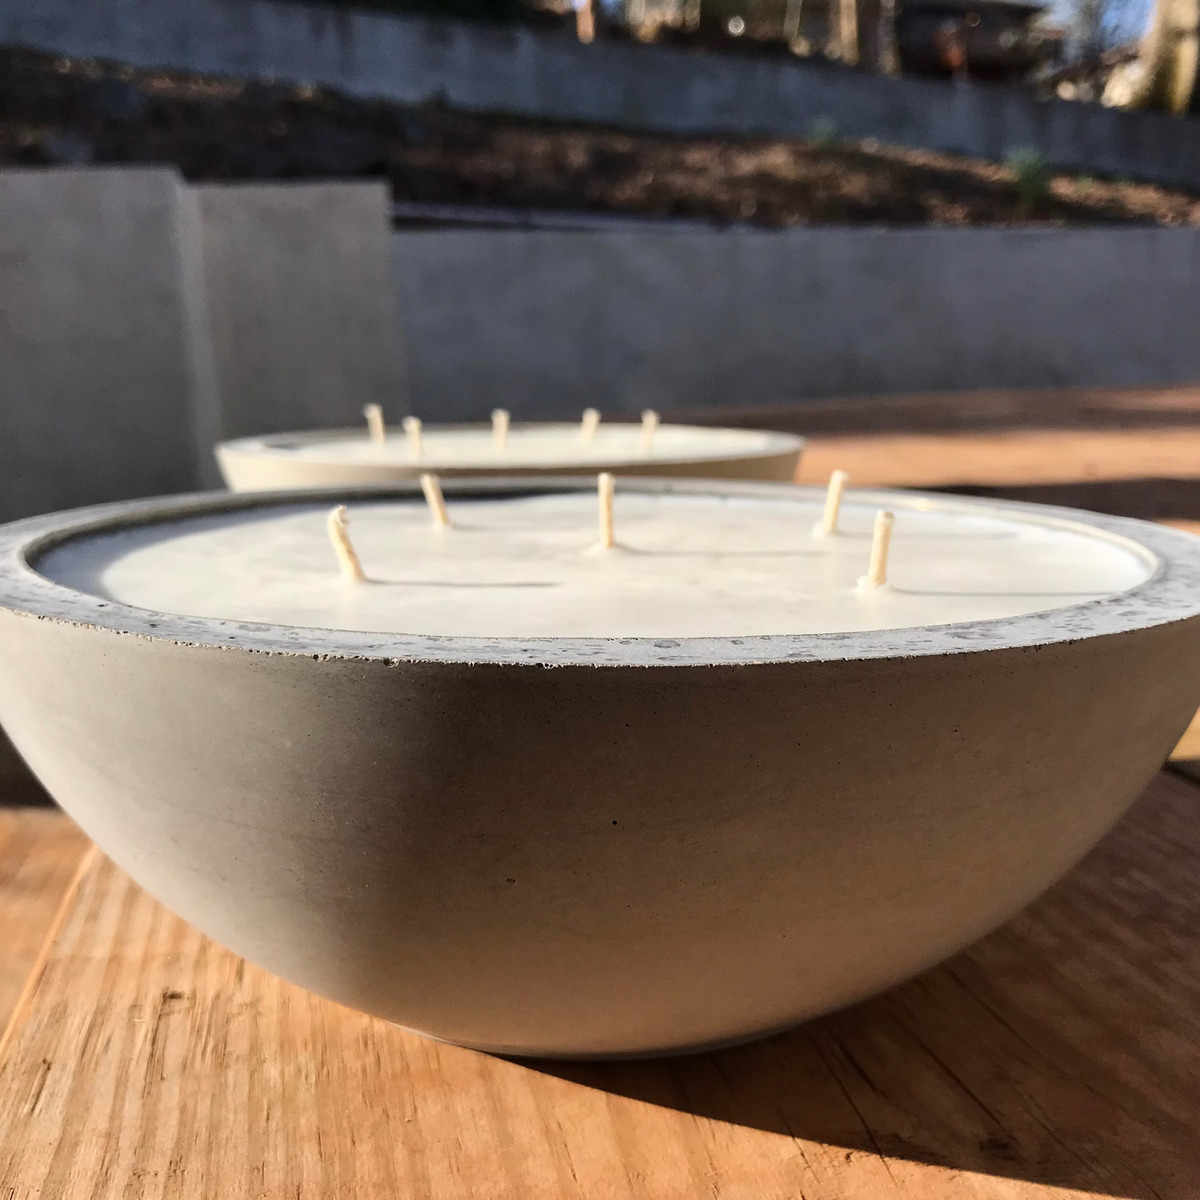
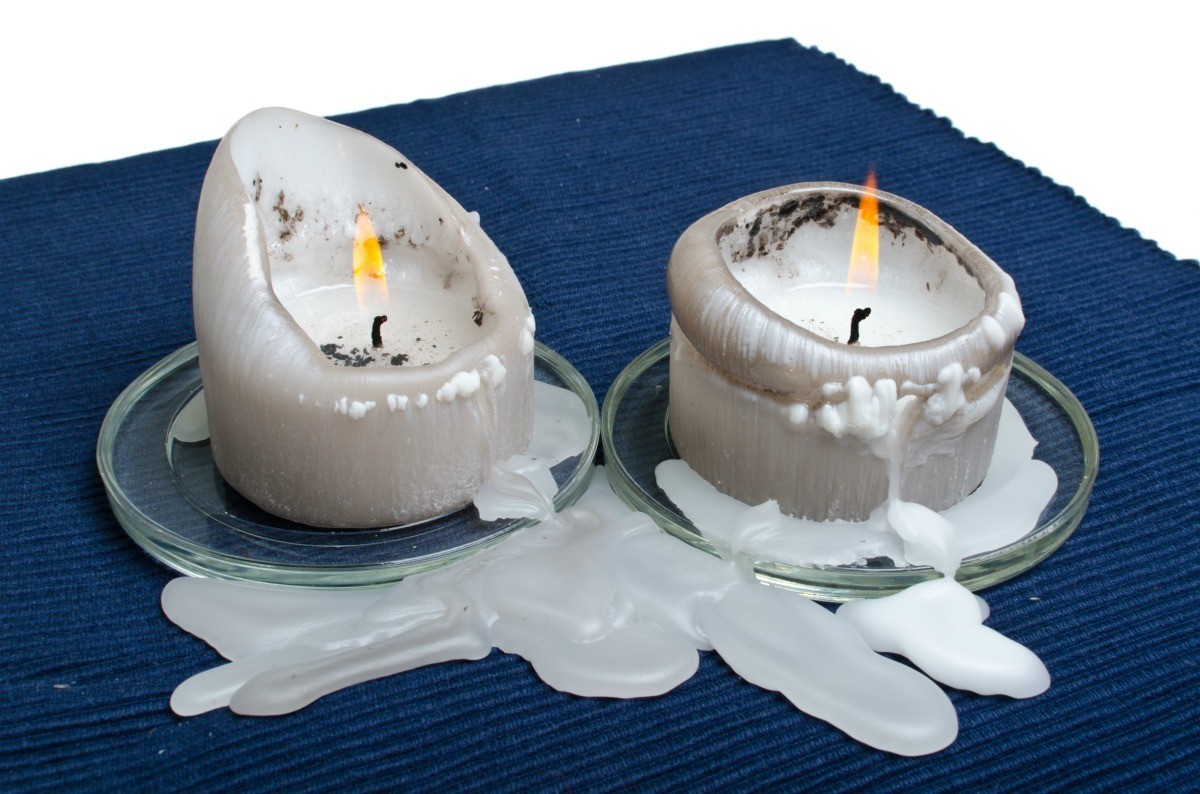
Welcome to our guide on how to remove wax and upcycle candle jars! Candles can create a warm and cozy atmosphere in any space, but once the wax has burned down, you’re left wondering what to do with the empty jar. Instead of throwing it away, why not repurpose it into a stylish and functional storage solution for your kitchen?
Whether you’re looking to organize your pantry, declutter your countertops, or find a clever way to store your cooking utensils, repurposing candle jars can offer a simple yet effective solution. Not only does this help you reduce waste and promote sustainability, but it also adds a touch of creativity to your kitchen storage.
In this article, we will guide you through the steps of removing wax from candle jars and provide you with some inspiring upcycling ideas to give those jars a new lease on life. So, let’s get started and transform your kitchen storage with these fantastic ideas!
Key Takeaways:
- Transform empty candle jars into stylish and functional kitchen storage solutions by removing wax and upcycling them for spices, utensils, baking supplies, and more. Embrace creativity, reduce waste, and promote sustainability in your kitchen.
- Give your kitchen storage a unique and personalized touch by repurposing candle jars. Upcycle them into practical containers for condiments, tea, coffee, baking tools, and more. Enjoy a clutter-free, organized kitchen while contributing to a sustainable lifestyle.
Materials Needed
Before diving into the process of removing wax and upcycling candle jars, let’s gather the materials you’ll need for this project:
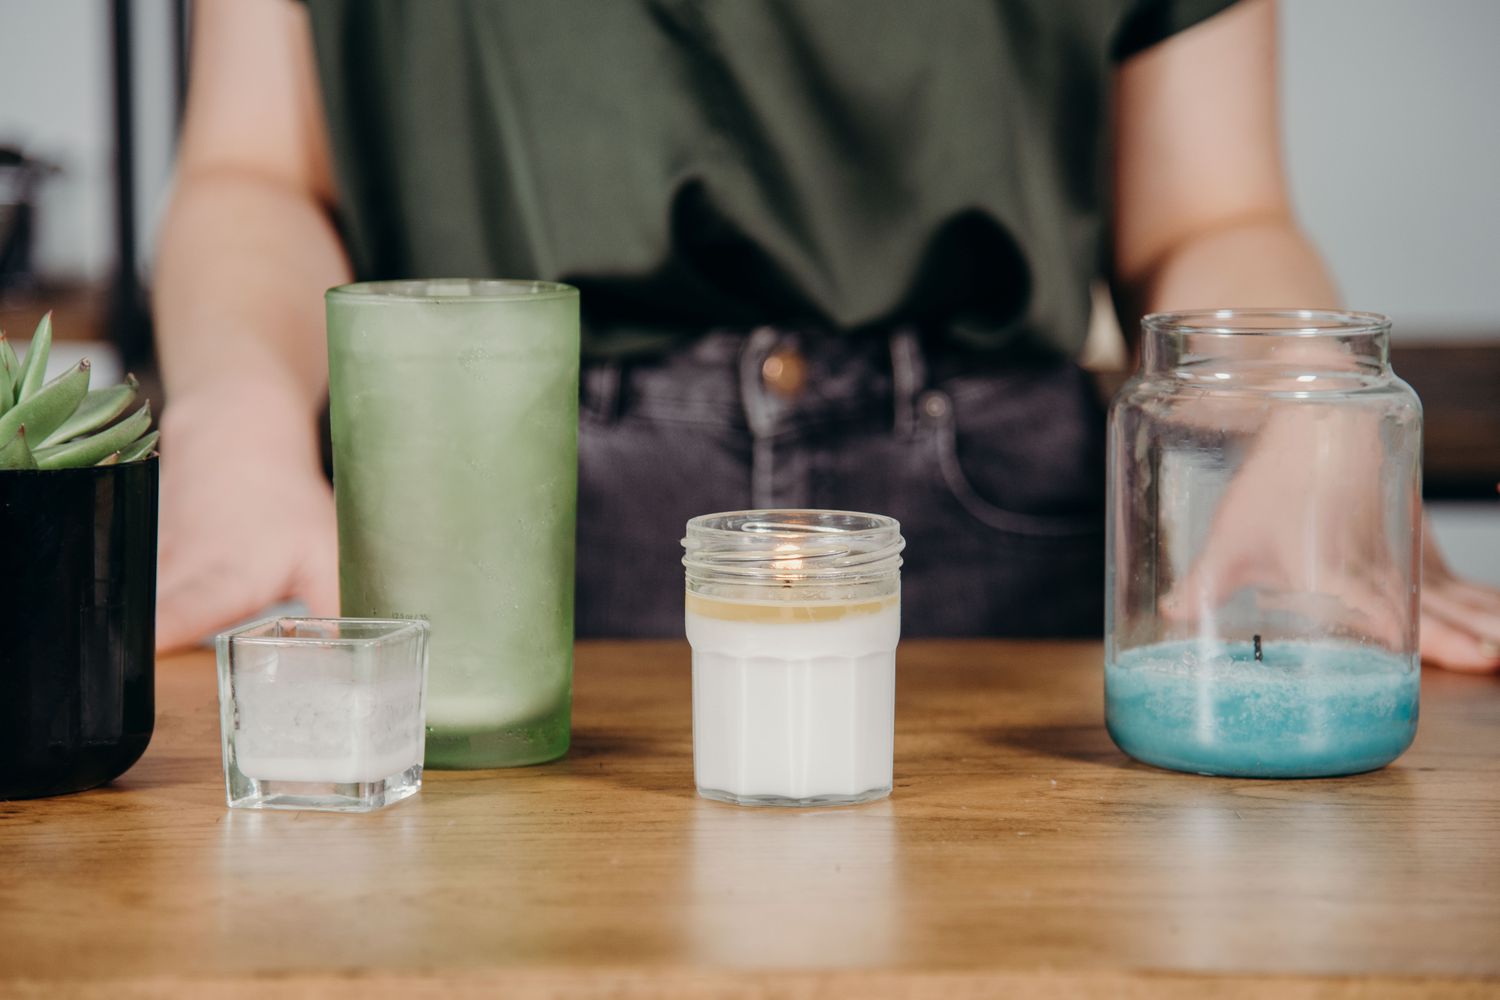
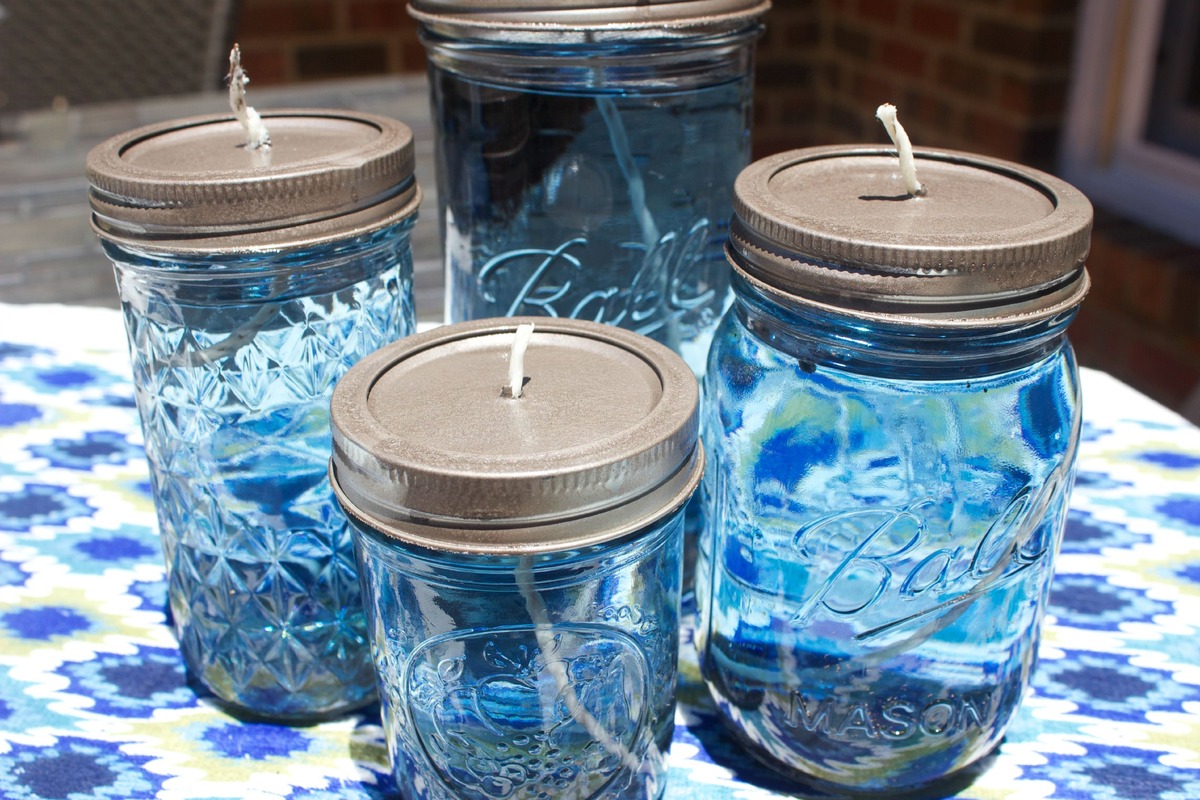
- Empty candle jars: Make sure the jars are clean and free from any residual candle wax.
- Freezer-safe container: A container that can fit your candle jars and be placed in the freezer.
- Knife or spoon: For removing the hardened wax from the jar.
- Hot water: To assist in removing any remaining wax and residue.
- Dish soap: For cleaning the jars thoroughly.
- Cleaning cloth or sponge: To wipe and scrub the jars.
- Optional: Goo Gone or similar adhesive remover for stubborn residue.
By having these materials ready, you’ll be well-prepared to tackle the process of removing wax and giving your candle jars a new purpose in your kitchen storage setup. Now, let’s move on to the step-by-step instructions for removing wax from the jars.
Step 1: Freezing the Jar
The first step in removing wax from a candle jar is to freeze the jar. Freezing the jar will cause the wax to harden and shrink, making it easier to remove. Here’s how to do it:
- Ensure the candle jar is empty, with no remaining wax or wick.
- Place the candle jar in a freezer-safe container, making sure it sits upright and is not touching any other items.
- Leave the jar in the freezer for a few hours or overnight, allowing the wax to completely freeze and harden.
- Make sure the freezer is set to a temperature below the melting point of the wax used in the candle.
Freezing the jar is an essential first step as it makes the next steps much easier and cleaner. Once the wax has hardened, you’re ready to move on to the next step: removing the wax from the jar.
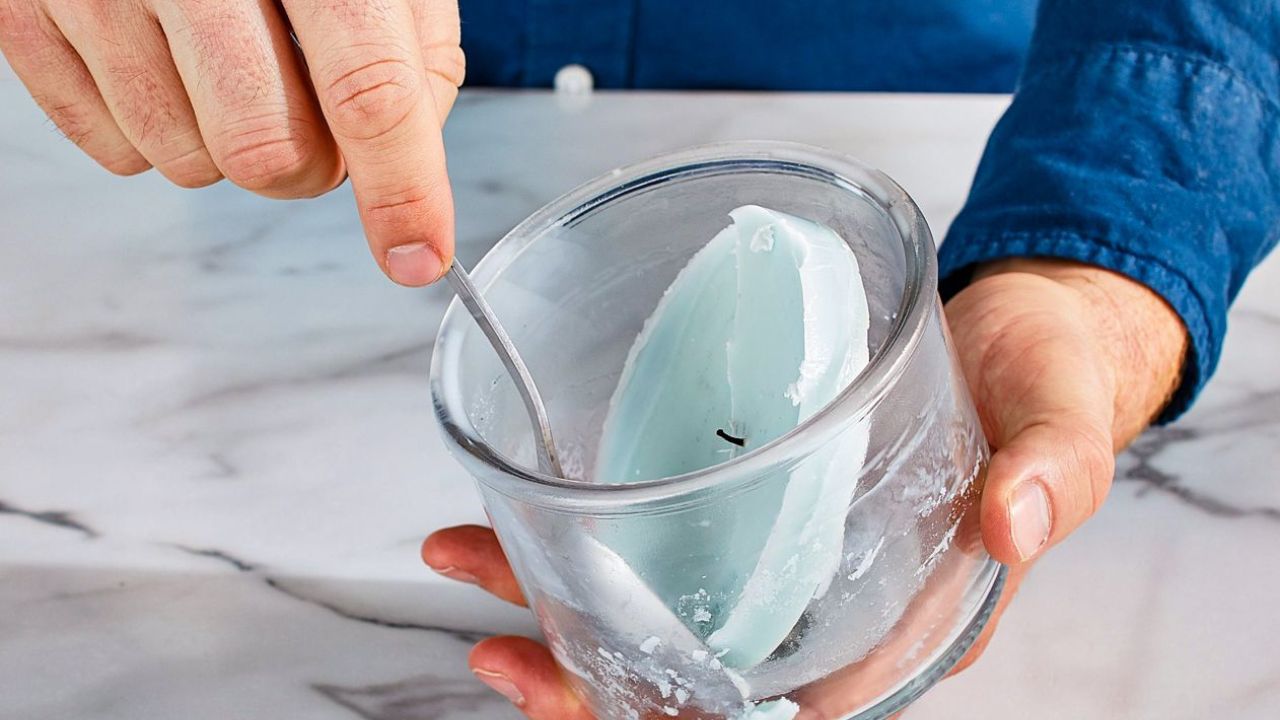
Step 2: Removing the Wax
Now that the wax in your candle jar is frozen and hardened, it’s time to remove it. Follow these steps to effectively remove the wax from the jar:
- Take the frozen candle jar out of the freezer and place it on a flat surface, such as a kitchen counter or table.
- Using a knife or spoon, gently pry the frozen wax away from the sides of the jar. Be cautious not to scratch or damage the jar.
- Continue to remove the wax in small pieces until as much as possible has been loosened from the jar.
- If the wax doesn’t come off easily, you can run the back of the jar under hot water for a few seconds to help loosen it. Avoid getting water inside the jar.
- Gently scrub the inside of the jar with a sponge or cloth to remove any remaining wax residue. If needed, use a dab of dish soap for stubborn spots.
- Rinse the jar thoroughly with warm water to ensure it’s clean and free from any wax or detergent.
By following these steps, you should be able to successfully remove the wax and have a clean candle jar ready for its new purpose in your kitchen. Next, we’ll move on to the important task of cleaning the jar.
After removing the wax from the candle jar, use hot soapy water and a sponge to clean the jar thoroughly. Then, consider upcycling it as a storage container for small items like cotton balls or makeup brushes.
Step 3: Cleaning the Jar
Once the wax has been successfully removed from your candle jar, it’s time to give it a thorough cleaning. Follow these steps to ensure your jar is clean and ready for upcycling:
- Fill a sink or basin with warm water and add a few drops of dish soap. Mix the water and soap to create a soapy solution.
- Place the candle jar in the soapy water and let it soak for a few minutes. This will help loosen any remaining wax residue and other dirt inside the jar.
- After soaking, take a sponge or cloth and scrub the inside and outside of the jar, paying attention to any stubborn marks or residue.
- Rinse the jar thoroughly with warm water to remove any soap residue.
- Inspect the jar for any remaining wax or sticky residue. If necessary, use a small amount of Goo Gone or a similar adhesive remover to remove any stubborn residue. Follow the instructions on the adhesive remover product.
- Once the jar is completely clean, dry it thoroughly with a clean cloth.
Now that your candle jar is clean and free from wax and residue, it’s time to explore the exciting possibilities of upcycling it into a useful storage solution for your kitchen. Let’s move on to the next step: discovering creative upcycling ideas!
Step 4: Upcycling Ideas
Congratulations on successfully removing wax and cleaning your candle jar! Now, let’s explore some creative and practical upcycling ideas for repurposing your jars in the kitchen:
- Spice or Herb Jars: Use your clean candle jars to store and organize your spices or herbs. Label the jars and arrange them on a shelf or in a drawer for easy access during cooking.
- Utensil Holders: Repurpose larger candle jars into stylish utensil holders for your kitchen countertop. They can hold spatulas, whisks, wooden spoons, and more.
- Grains and Legumes Containers: Keep your pantry organized by storing various grains, legumes, and small pasta shapes in candle jars. They will keep your ingredients fresh and visible.
- Baking Supplies Storage: Use smaller candle jars to store baking supplies such as sprinkles, chocolate chips, or baking soda. Arrange them neatly on a shelf or in a baking cabinet.
- Tea or Coffee Storage: Repurpose candle jars to store loose tea leaves, tea bags, or ground coffee. Keep them within reach on your kitchen countertop or arrange them in a dedicated tea or coffee station.
- Condiment Containers: Clean candle jars can be used to store homemade sauces, dressings, or condiments. Place them in the refrigerator or on the dining table for easy access.
- Baking Tool or Cookie Cutter Holders: Smaller candle jars are perfect for organizing baking tools, such as measuring spoons or cookie cutters. They can be displayed on a shelf or tucked away in a kitchen drawer.
Be creative and let your imagination guide you in finding the perfect use for your upcycled candle jars. The possibilities are endless, and you can customize them to match your kitchen decor and personal style.
By repurposing candle jars, you not only save money on storage containers but also contribute to a more sustainable lifestyle by reducing waste. So, have fun exploring these upcycling ideas and enjoy the unique storage solutions they bring to your kitchen!
Conclusion
Removing wax and upcycling candle jars is a fantastic way to bring creativity and functionality to your kitchen storage. By following the steps outlined in this guide, you can easily repurpose empty candle jars into practical containers for organizing spices, utensils, pantry items, and more.
Freezing the jar, removing the wax, and thoroughly cleaning the jar are essential steps in the upcycling process. Once your candle jar is clean and ready to be repurposed, the possibilities are endless. You can use them for storing spices, utensils, baking supplies, condiments, or even as decorative containers for tea or coffee.
Not only does upcycling candle jars help to declutter and organize your kitchen, but it also promotes sustainability by reusing materials instead of throwing them away. Plus, it adds a touch of creativity and personalization to your kitchen storage setup.
So, the next time you burn a candle and find yourself left with an empty jar, don’t toss it in the trash. Instead, follow the steps in this guide and transform it into a functional and stylish storage solution for your kitchen.
Get creative, explore different upcycling ideas, and have fun giving your candle jars a new lease on life. Enjoy the benefits of a clutter-free and organized kitchen, all while reducing waste and embracing a sustainable lifestyle.
Start repurposing those candle jars today and enjoy the innovative storage solutions they bring to your kitchen!
Frequently Asked Questions about How To Remove Wax And Upcycle Candle Jars
Was this page helpful?
At Storables.com, we guarantee accurate and reliable information. Our content, validated by Expert Board Contributors, is crafted following stringent Editorial Policies. We're committed to providing you with well-researched, expert-backed insights for all your informational needs.

0 thoughts on “How To Remove Wax And Upcycle Candle Jars”