Home>Furniture & Design>Interior Design Trends>How To Seal A Glass Jar
Interior Design Trends
How To Seal A Glass Jar
Published: February 6, 2024
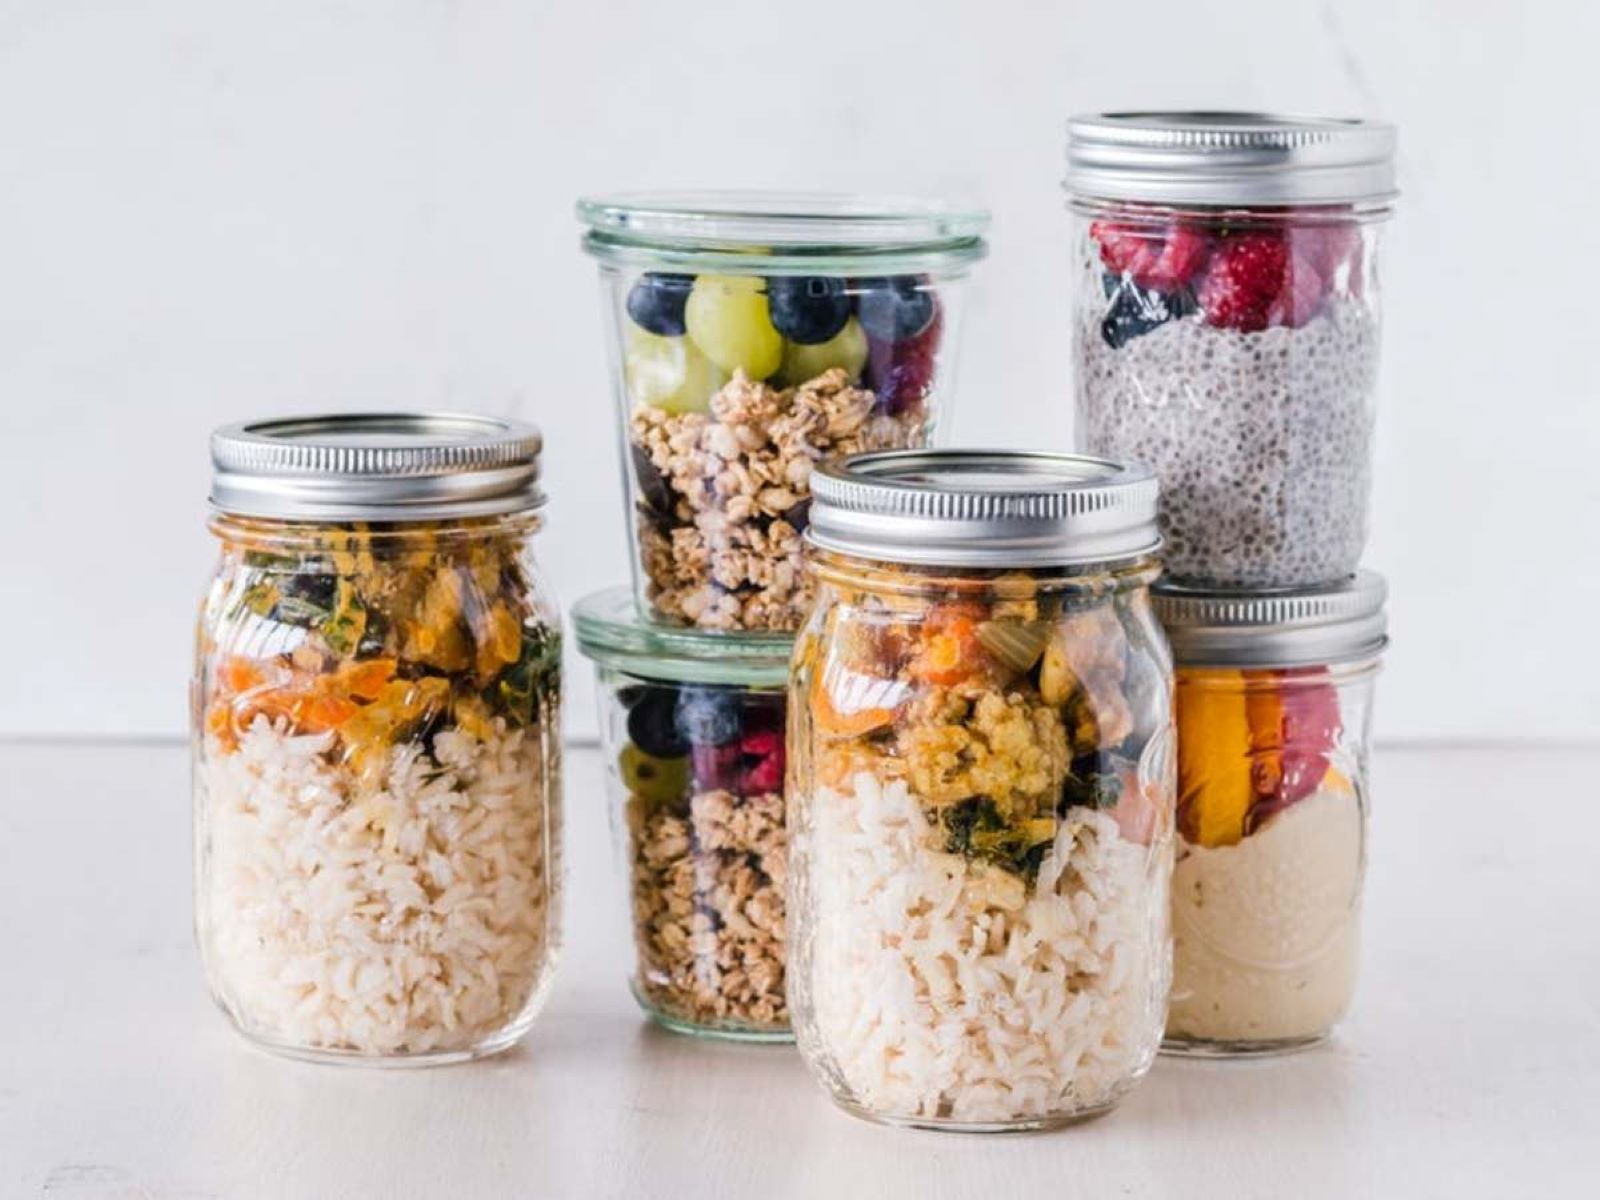
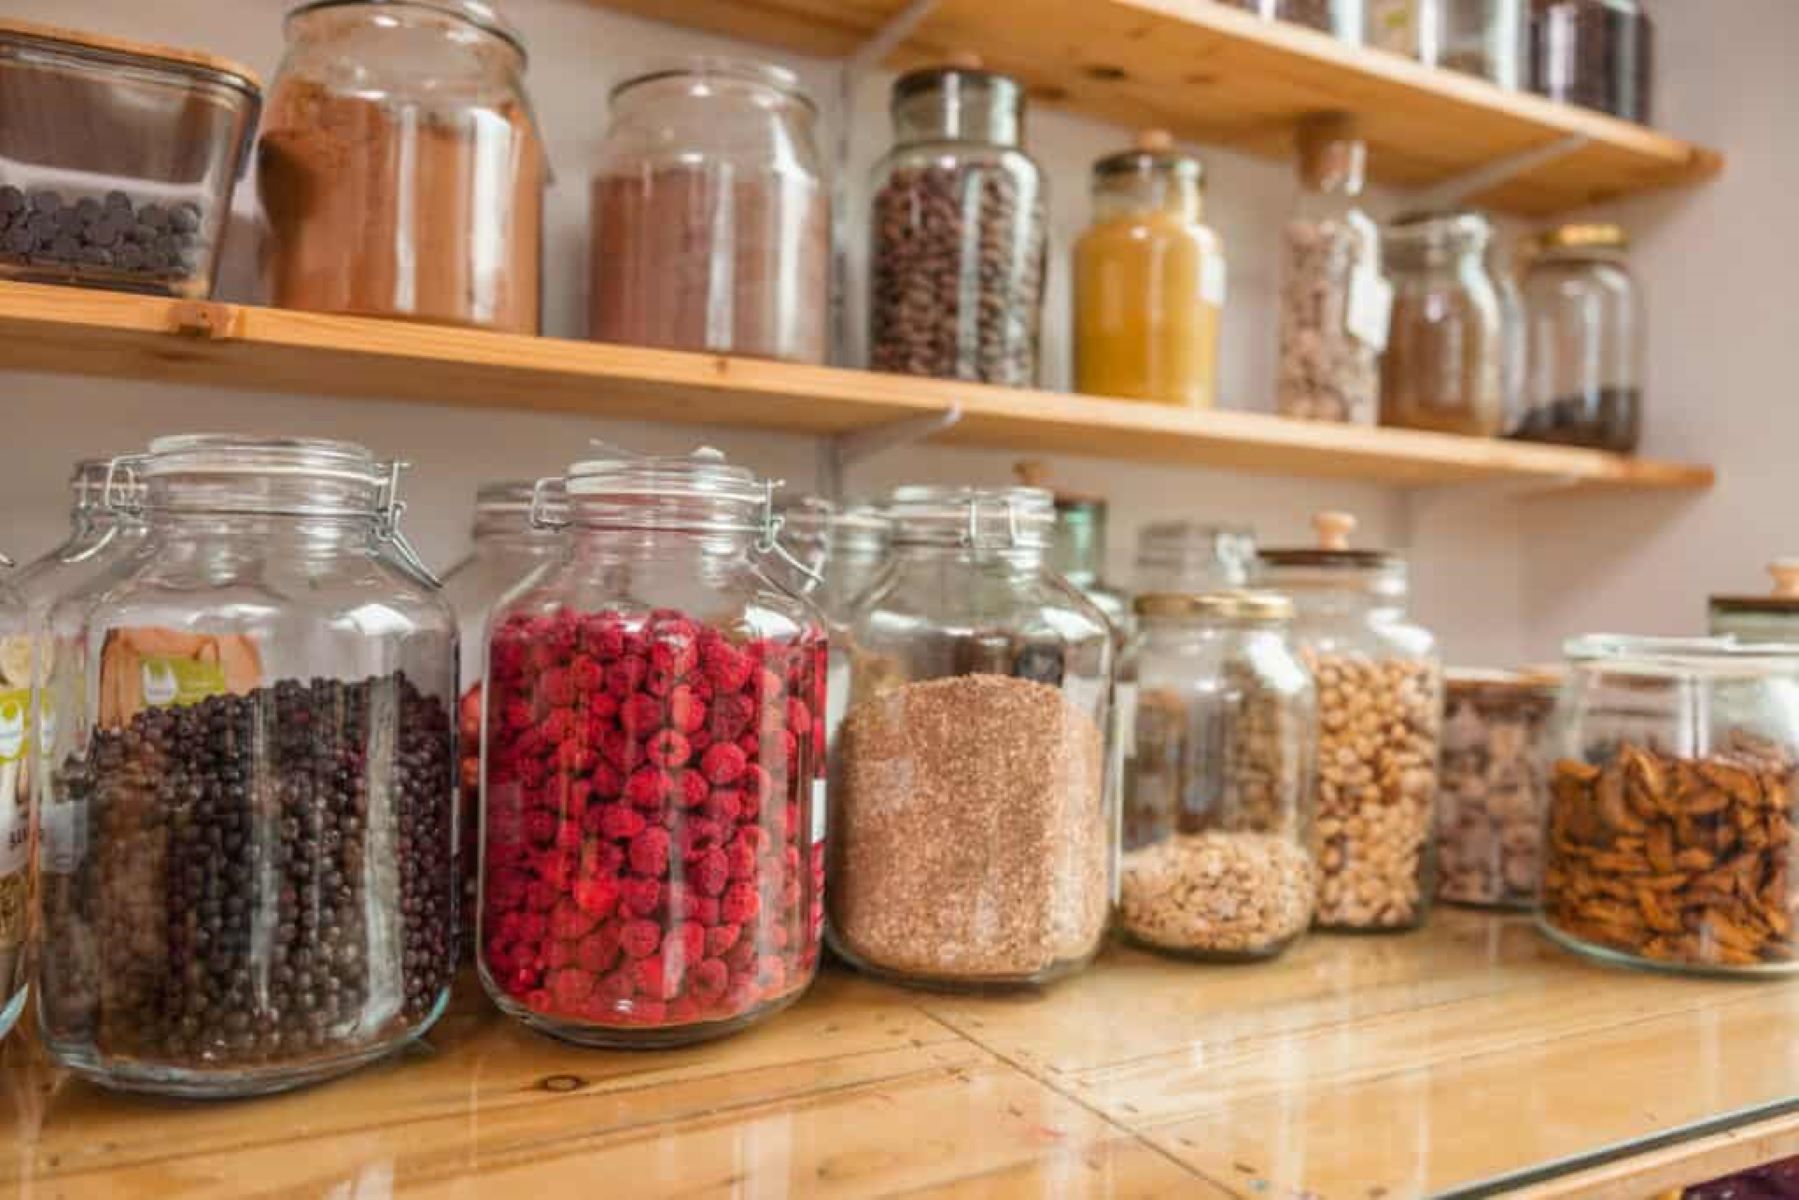
Learn how to seal a glass jar to keep your pantry organized and stylish with the latest interior design trends. Discover the best techniques for preserving your food while adding a touch of modern flair to your kitchen.
(Many of the links in this article redirect to a specific reviewed product. Your purchase of these products through affiliate links helps to generate commission for Storables.com, at no extra cost. Learn more)
Choosing the Right Seal
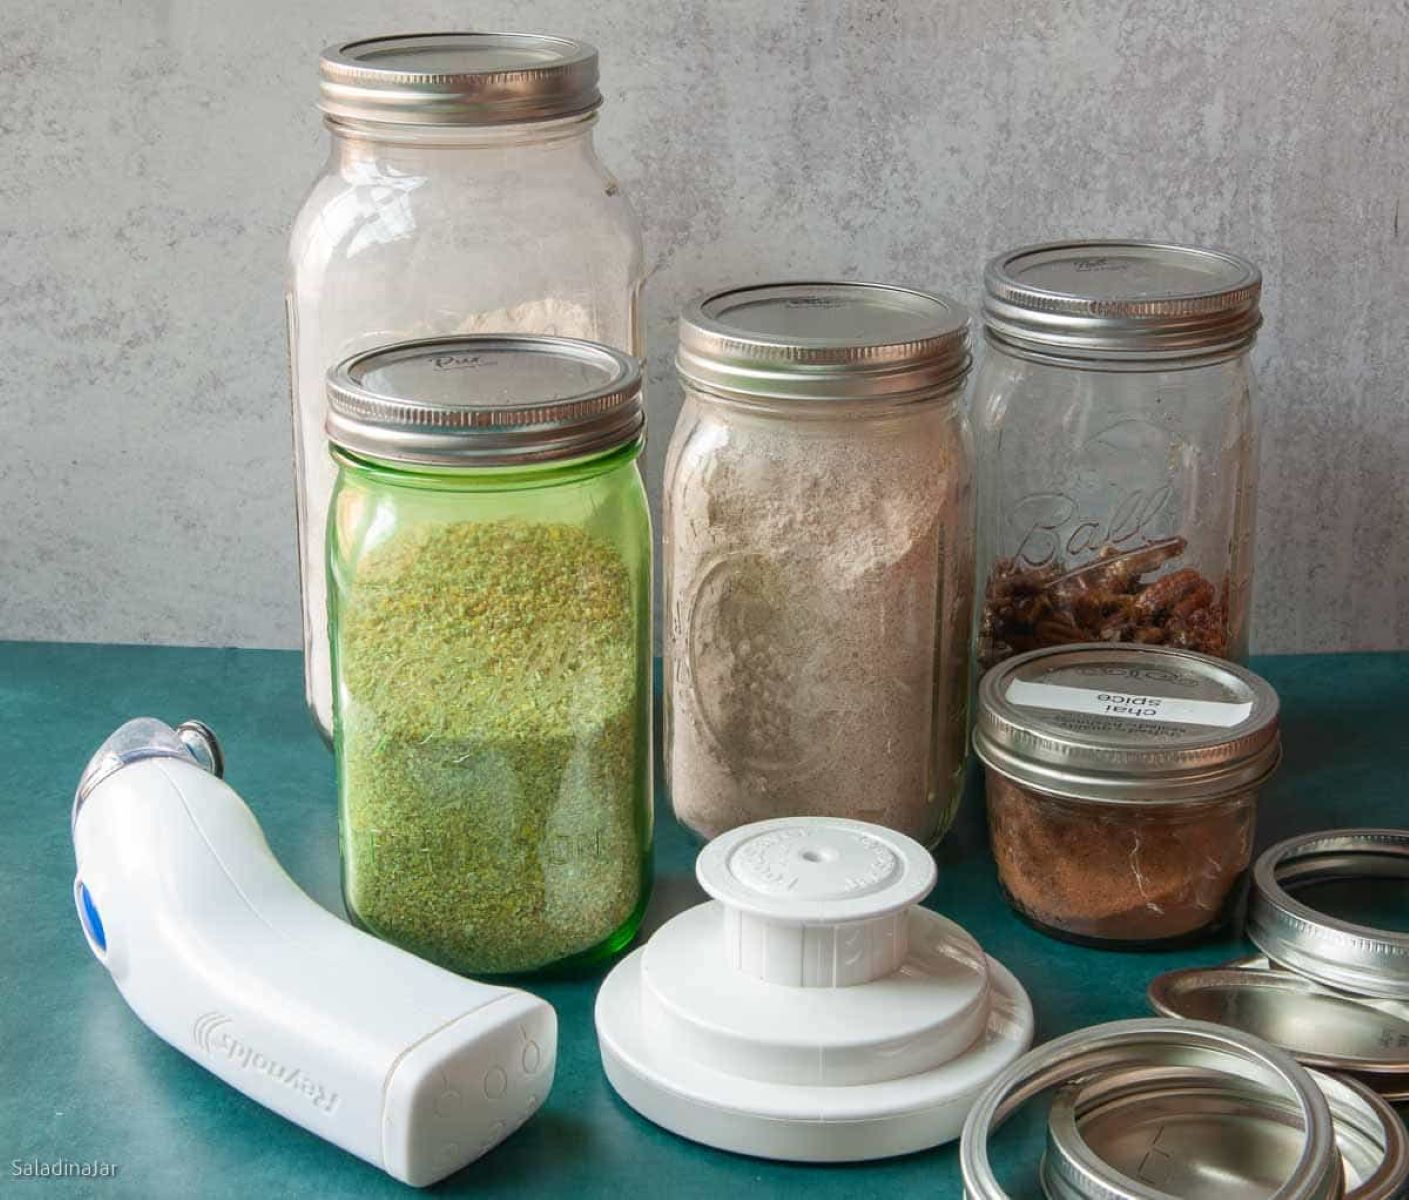
Selecting the appropriate seal for a glass jar is crucial to ensure the preservation and freshness of its contents. With a myriad of seal options available, it's essential to consider the specific needs of the jar's contents and the intended usage. Here are the key factors to keep in mind when choosing the right seal:
-
Material Compatibility: Assess the compatibility of the seal material with the contents of the jar. For instance, if the jar will be used for canning acidic foods such as tomatoes or citrus fruits, a rubber gasket or silicone seal is recommended due to their resistance to acidic substances. On the other hand, for dry goods or non-acidic contents, a cork or foam seal may suffice.
-
Airtightness: Consider the level of airtightness required for the jar. If the contents are highly perishable or sensitive to air exposure, opt for a seal that provides an exceptional airtight barrier. Rubber seals or those with a built-in airlock mechanism are ideal for preserving the freshness of jams, pickles, or sauces.
-
Heat Resistance: If the glass jar will be subjected to high temperatures, such as during the canning process, ensure that the chosen seal can withstand heat without compromising its integrity. Heat-resistant silicone seals are commonly used for canning jars, as they maintain their sealing properties even under extreme temperatures.
-
Durability and Reusability: Evaluate the longevity and reusability of the seal. For jars intended for long-term storage or frequent use, opt for seals made from durable materials such as silicone or high-quality rubber. These seals are less prone to deterioration and can be reused multiple times, making them a cost-effective choice.
-
Size and Fit: Ensure that the seal fits the specific jar size and mouth opening. A well-fitted seal prevents leakage and maintains the integrity of the jar's contents. It's advisable to measure the jar's mouth diameter accurately and select a seal that provides a snug fit without being too tight or loose.
By carefully considering these factors, you can confidently choose the right seal for your glass jar, ensuring optimal preservation and functionality. The selected seal should complement the jar's contents and usage, providing a reliable barrier against external elements while maintaining the desired freshness and quality of the stored items.
Key Takeaways:
- Choose the right seal for your glass jar based on what you’re storing. Rubber for acidic foods, airtight for perishables, and heat-resistant for canning. Fit and durability matter too!
- Before sealing, clean and inspect the jar and lid, ensure proper alignment, and apply the seal carefully. Label the jar for easy tracking. Testing the seal is crucial for airtightness and reliability.
Read more: How To Seal Glass Jars
Preparing the Jar and Lid
Properly preparing the glass jar and its lid is a crucial step in ensuring the effectiveness of the sealing process. By meticulously attending to this preparation phase, you can significantly enhance the seal's performance and the overall preservation of the jar's contents.
Cleaning and Inspection
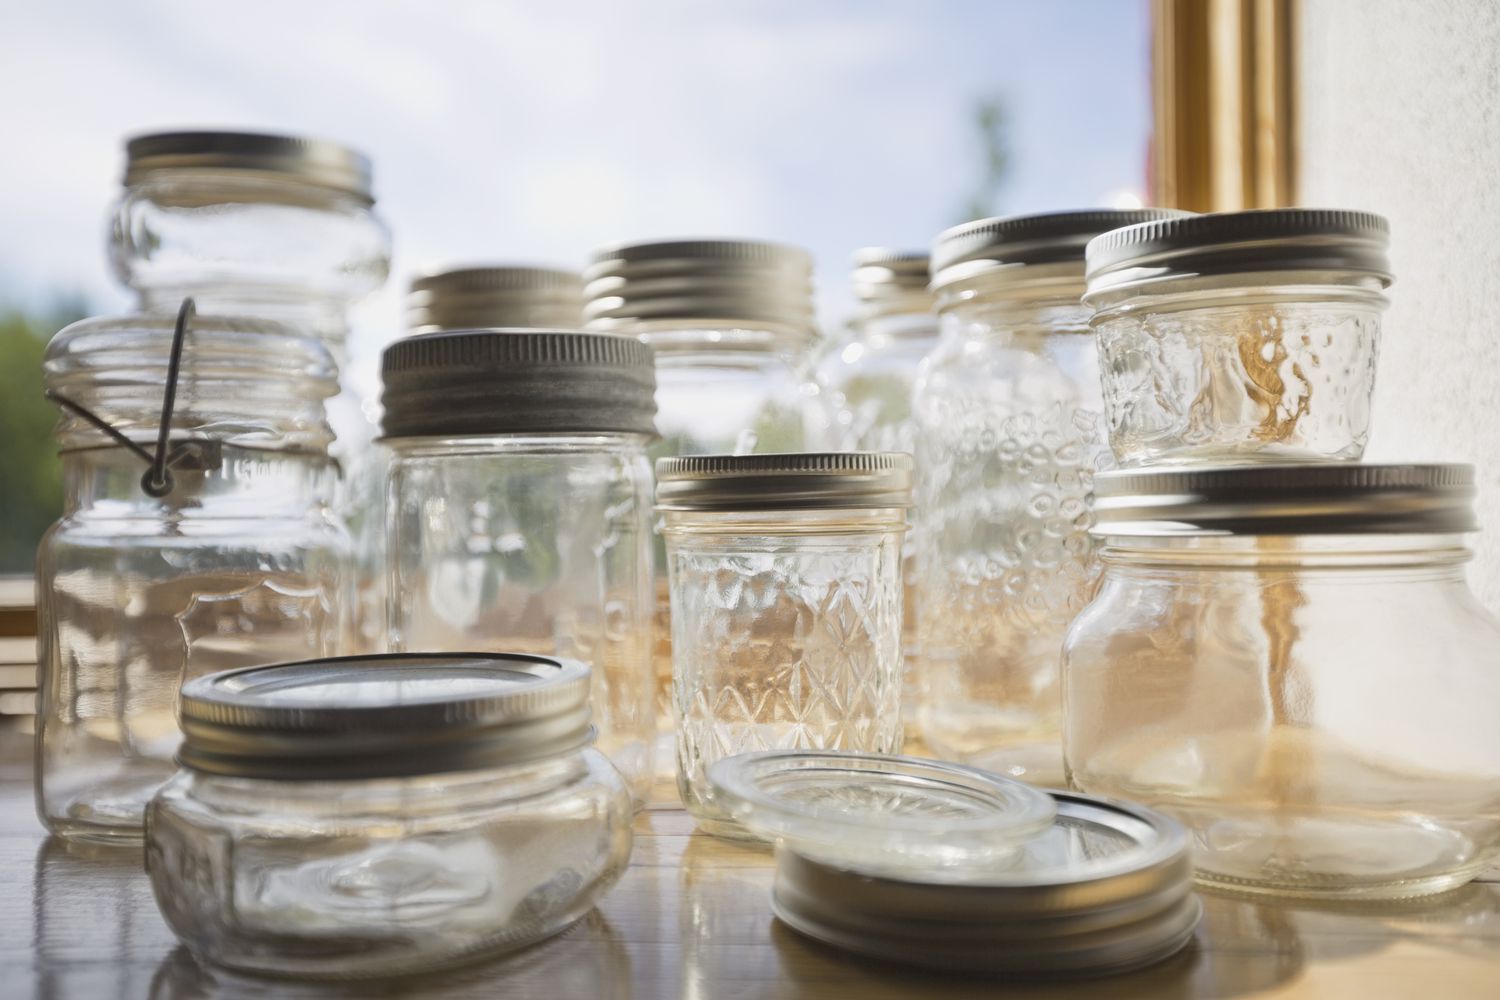
Before sealing a glass jar, it is imperative to thoroughly clean both the jar and the lid. Start by washing them in hot, soapy water to remove any dust, residues, or impurities that may compromise the seal. Pay close attention to the rim of the jar and the inner surface of the lid, ensuring that they are free from any debris or sticky substances.
Once cleaned, carefully inspect the jar and lid for any signs of damage, such as chips, cracks, or deformities. Even the slightest imperfection can hinder the effectiveness of the seal, potentially leading to leakage or spoilage of the contents. If any defects are detected, it is essential to replace the jar or lid with a new, flawless counterpart to guarantee a secure and reliable seal.
Drying and Sanitization
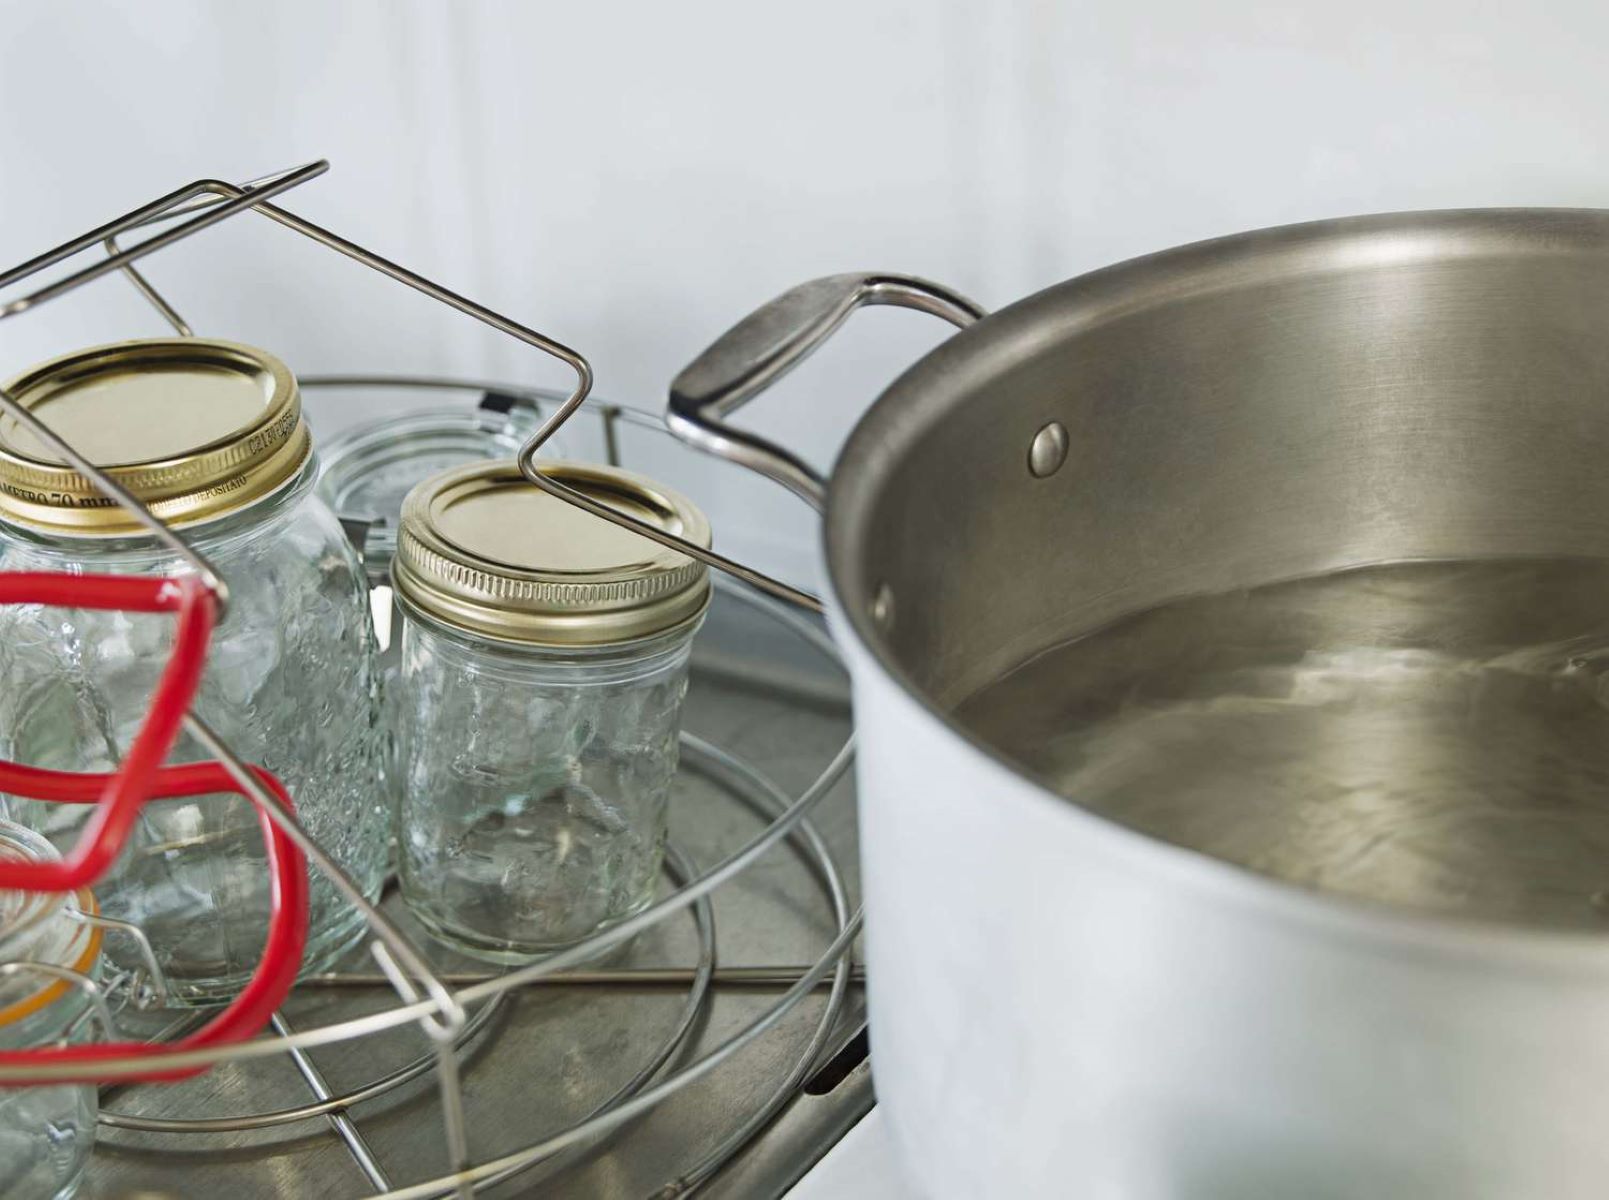
After cleaning, allow the jar and lid to air-dry thoroughly. Ensure that no moisture remains, as even minimal dampness can impede the sealing process. Additionally, consider sanitizing the jar and lid to eliminate any lingering bacteria or microorganisms. This can be achieved by immersing them in boiling water for a few minutes or using a food-safe sanitizing solution, thereby creating a hygienic environment for the sealing process.
Lid Alignment and Tightness
Before applying the seal, verify that the lid is aligned correctly with the jar's mouth. A misaligned lid can lead to uneven pressure distribution during sealing, potentially compromising the airtightness of the seal. Additionally, ensure that the lid is tightened securely but not excessively, as overtightening can distort the seal and hinder its effectiveness.
By meticulously preparing the glass jar and lid through thorough cleaning, inspection, drying, and proper alignment, you can lay the foundation for a successful sealing process. This meticulous approach not only enhances the effectiveness of the seal but also contributes to the overall safety and longevity of the preserved contents within the jar.
Read more: How To Store Glass Jars
Applying the Seal
Once the glass jar and lid are meticulously prepared, the next critical step is the precise application of the seal. This process requires attention to detail and a methodical approach to ensure the seal's effectiveness in preserving the jar's contents. Here's a comprehensive guide on applying the seal to a glass jar:
Positioning the Seal
Carefully position the selected seal onto the clean and dry rim of the glass jar. Ensure that the seal is centered and uniformly aligned to facilitate an even distribution of pressure during the sealing process. Gently press the seal onto the rim, allowing it to adhere securely without any folds or creases that may compromise its integrity.
Securing the Lid
Place the prepared lid onto the jar, ensuring that it aligns perfectly with the seal and the mouth of the jar. Apply gentle and consistent pressure to secure the lid in place, taking care not to displace the seal or create uneven pressure points. The lid should fit snugly without excessive force, maintaining a balanced and uniform contact with the seal.
Engaging the Seal
Engage the seal by closing the lid firmly, but not forcefully, to initiate the sealing process. The closure should be executed smoothly and steadily to avoid any abrupt movements that may dislodge the seal or disrupt its alignment. As the lid is secured, the seal should compress evenly, forming a tight and uniform barrier between the lid and the jar's rim.
Read more: How To Sterilize Glass Jars
Verifying the Seal
After applying the seal, it is essential to verify its integrity and airtightness. Conduct a visual inspection to ensure that the seal is uniformly positioned around the rim, with no areas of detachment or irregularities. Additionally, gently run your fingertip along the edge of the lid to confirm a consistent and secure seal. This tactile assessment provides valuable feedback on the seal's adherence and overall effectiveness.
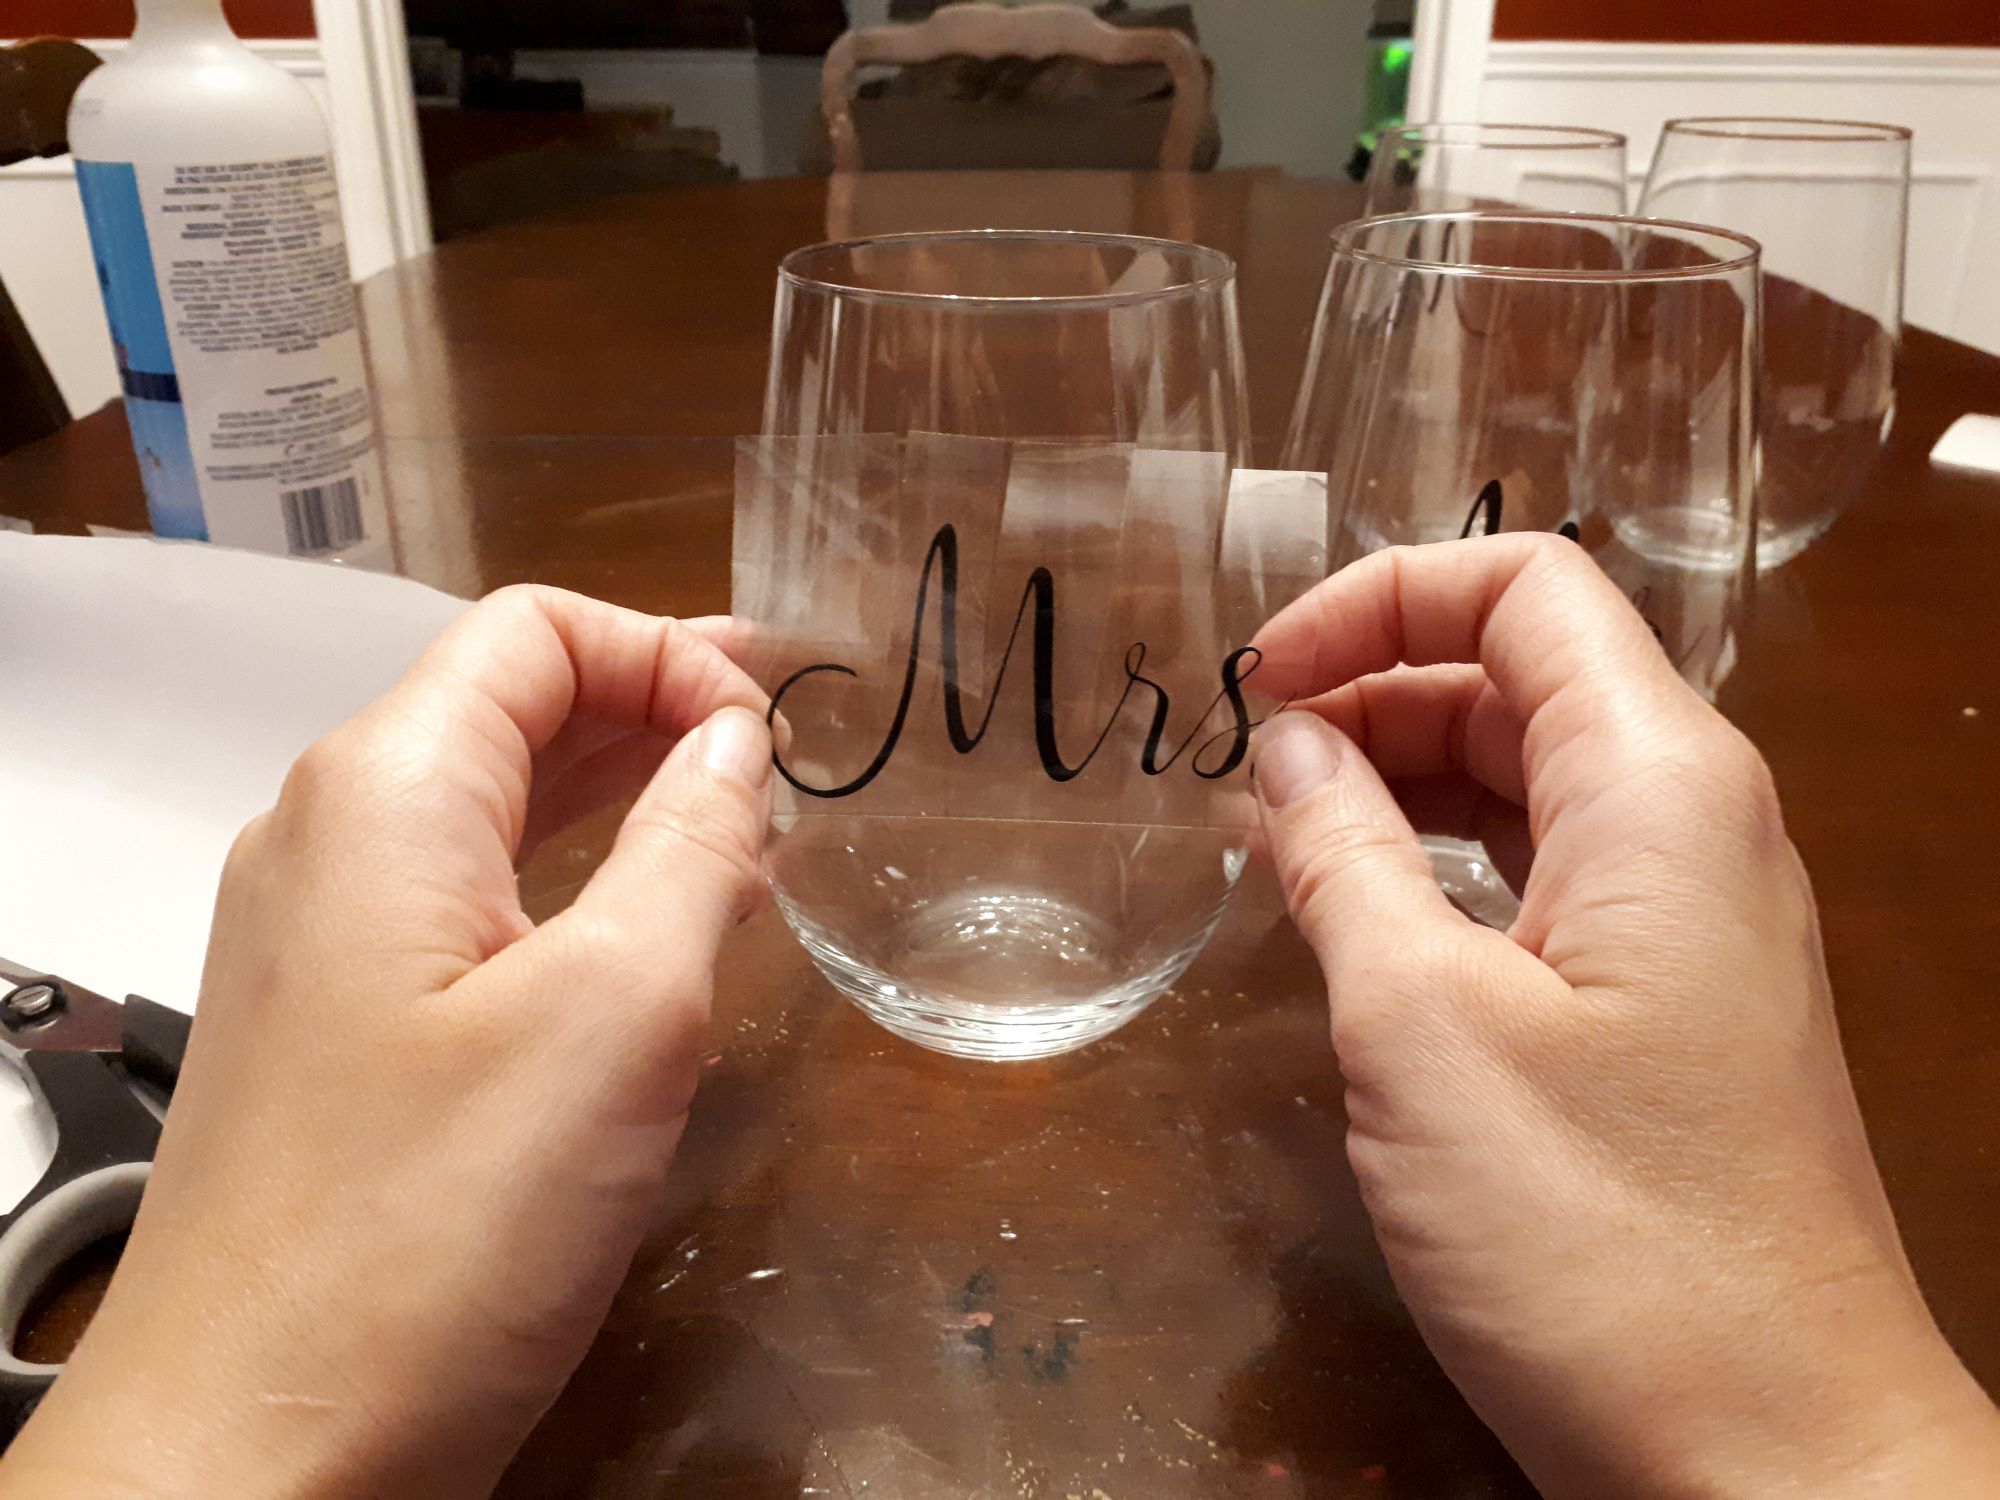
Labeling and Dating
Once the seal is successfully applied and verified, consider labeling the jar with its contents and the date of sealing. This practice not only facilitates organization and easy identification but also enables you to track the freshness and shelf life of the preserved items. Use a waterproof and fade-resistant marker to label the jar clearly, ensuring that the information remains legible throughout the storage period.
By following these meticulous steps in applying the seal to a glass jar, you can establish a reliable and airtight barrier that safeguards the contents from external elements. This methodical approach not only ensures the preservation of the jar's contents but also contributes to the overall safety and quality of the sealed items.
Testing the Seal
Testing the seal of a glass jar is a critical final step in the sealing process, providing assurance of the seal's effectiveness and the integrity of the preserved contents. By conducting thorough and methodical tests, you can verify the airtightness and reliability of the seal, ensuring optimal preservation and minimizing the risk of spoilage.
Visual Inspection
Initiate the testing process with a comprehensive visual inspection of the sealed jar. Examine the seal to ensure that it maintains a consistent and uniform position around the rim of the jar. Look for any signs of misalignment, gaps, or irregularities that may indicate a compromised seal. Additionally, inspect the lid for any visible indications of a secure closure, such as uniform pressure distribution and absence of gaps between the lid and the jar's mouth.
Read more: How To Reuse Glass Jars
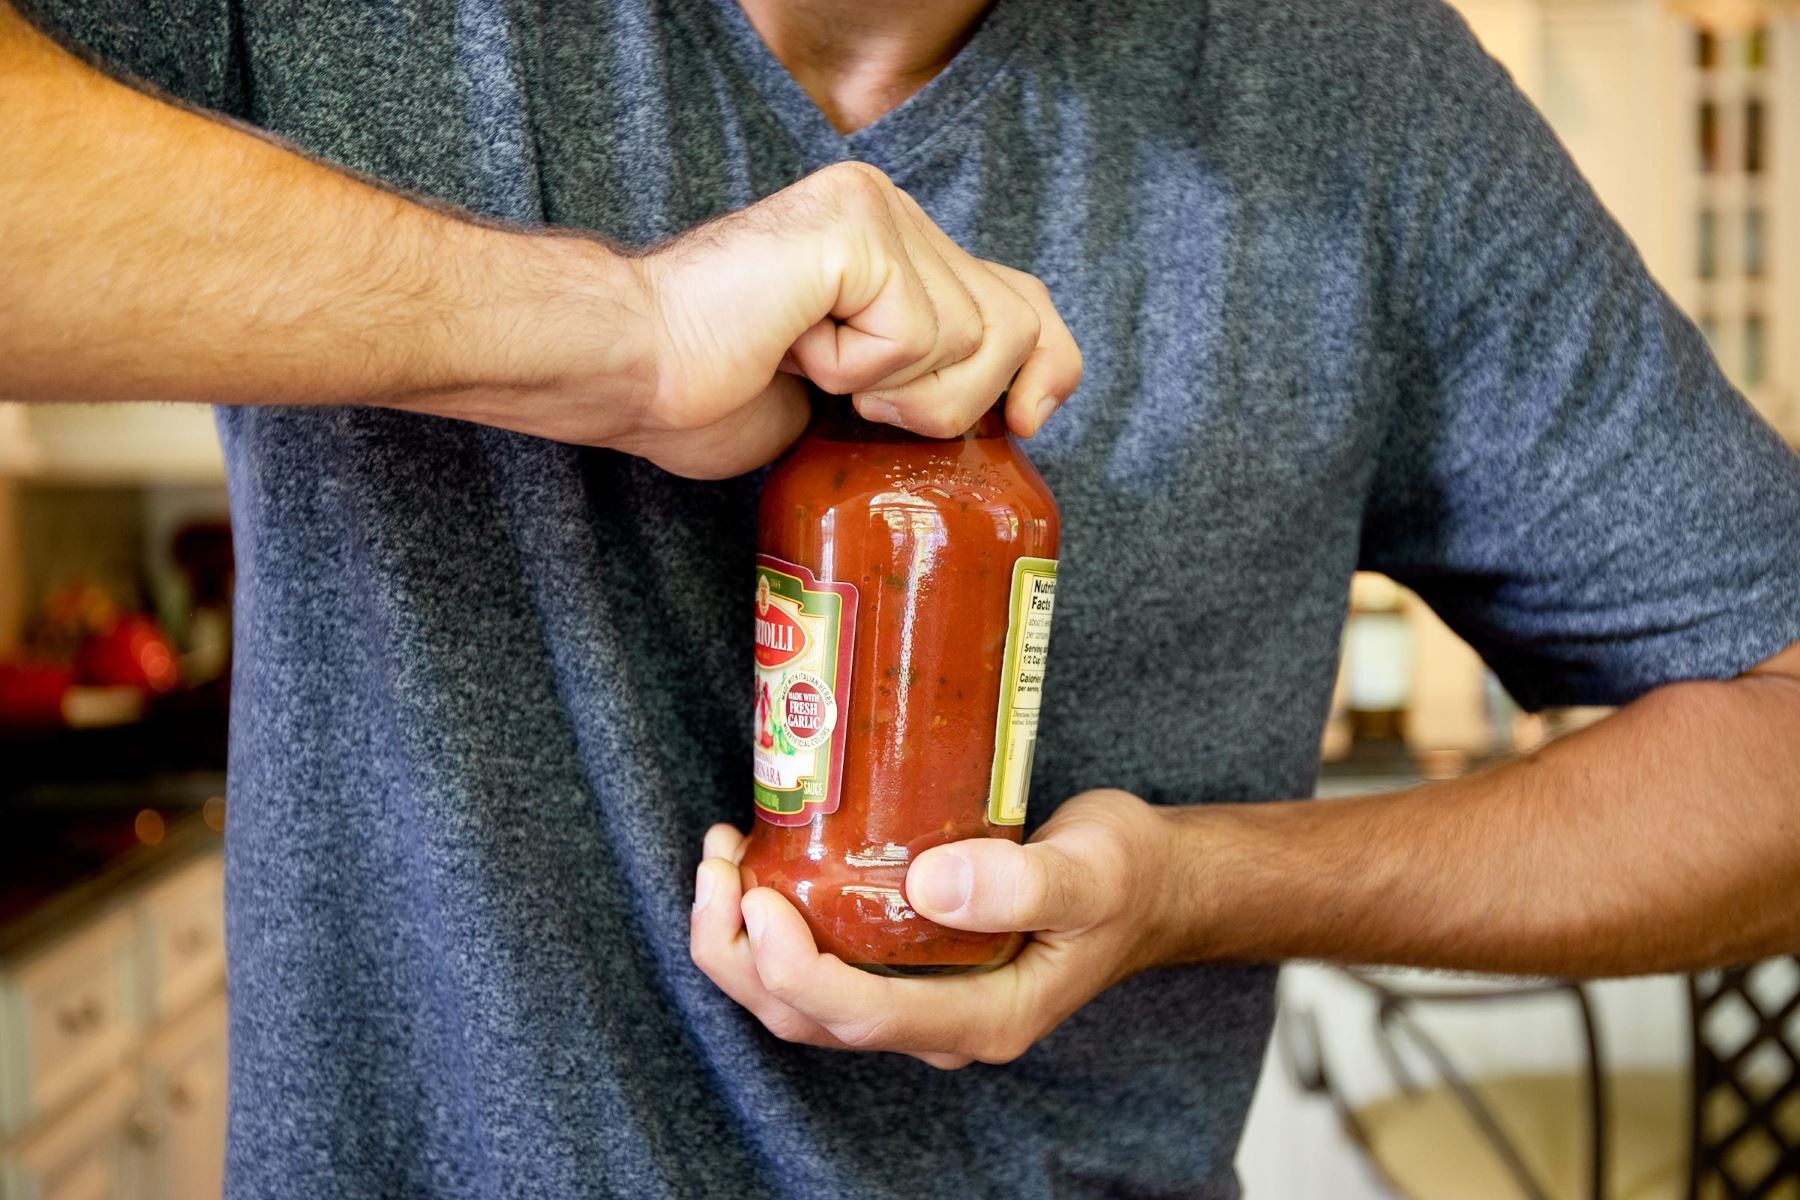
Lid Resistance
Test the resistance of the lid by gently attempting to lift it off the jar. A properly sealed jar will exhibit significant resistance, requiring a deliberate and firm effort to dislodge the lid. If the lid remains firmly in place without any movement or signs of detachment, it indicates a strong and secure seal. Conversely, if the lid can be easily lifted or exhibits noticeable give, it suggests a potential inadequacy in the sealing process that requires further attention.
Tactile Assessment
Engage in a tactile assessment by running your fingertip along the edge of the lid and the seal. A well-sealed jar will present a consistent and smooth surface, with no discernible gaps or irregularities. Pay attention to the uniformity of the seal's adherence and the absence of any raised or uneven areas. This tactile examination provides valuable feedback on the seal's integrity and airtightness, allowing you to identify any potential weaknesses in the sealing process.
Inverted Jar Test
Perform the inverted jar test to evaluate the seal's resilience against external pressure. Carefully invert the sealed jar and observe it for a few minutes, paying close attention to any signs of leakage or seepage around the lid and seal. A reliable seal will withstand the inverted position without any liquid escaping or compromising the integrity of the contents. This test serves as a practical demonstration of the seal's ability to maintain a secure barrier, especially for jars intended for long-term storage or transportation.
Auditory Confirmation
Listen for a distinct popping sound upon opening the sealed jar. This subtle yet significant auditory confirmation indicates that the seal was securely engaged during the sealing process. The popping sound results from the release of air pressure as the lid is opened, affirming the initial airtight seal. This auditory cue provides reassurance of the seal's effectiveness and can serve as a reliable indicator of successful preservation.
By meticulously conducting these comprehensive tests, you can confidently verify the integrity and airtightness of the seal, ensuring the optimal preservation of the jar's contents. These testing methods serve as essential quality assurance measures, providing valuable insights into the effectiveness of the sealing process and the reliability of the seal.
Frequently Asked Questions about How To Seal A Glass Jar
Was this page helpful?
At Storables.com, we guarantee accurate and reliable information. Our content, validated by Expert Board Contributors, is crafted following stringent Editorial Policies. We're committed to providing you with well-researched, expert-backed insights for all your informational needs.

0 thoughts on “How To Seal A Glass Jar”