Home>Furniture & Design>Interior Design Trends>How To Glue Broken Glass

Interior Design Trends
How To Glue Broken Glass
Modified: October 19, 2024
Learn how to effectively glue broken glass with our expert tips. Discover the latest interior design trends for incorporating glass decor.
(Many of the links in this article redirect to a specific reviewed product. Your purchase of these products through affiliate links helps to generate commission for Storables.com, at no extra cost. Learn more)
Introduction
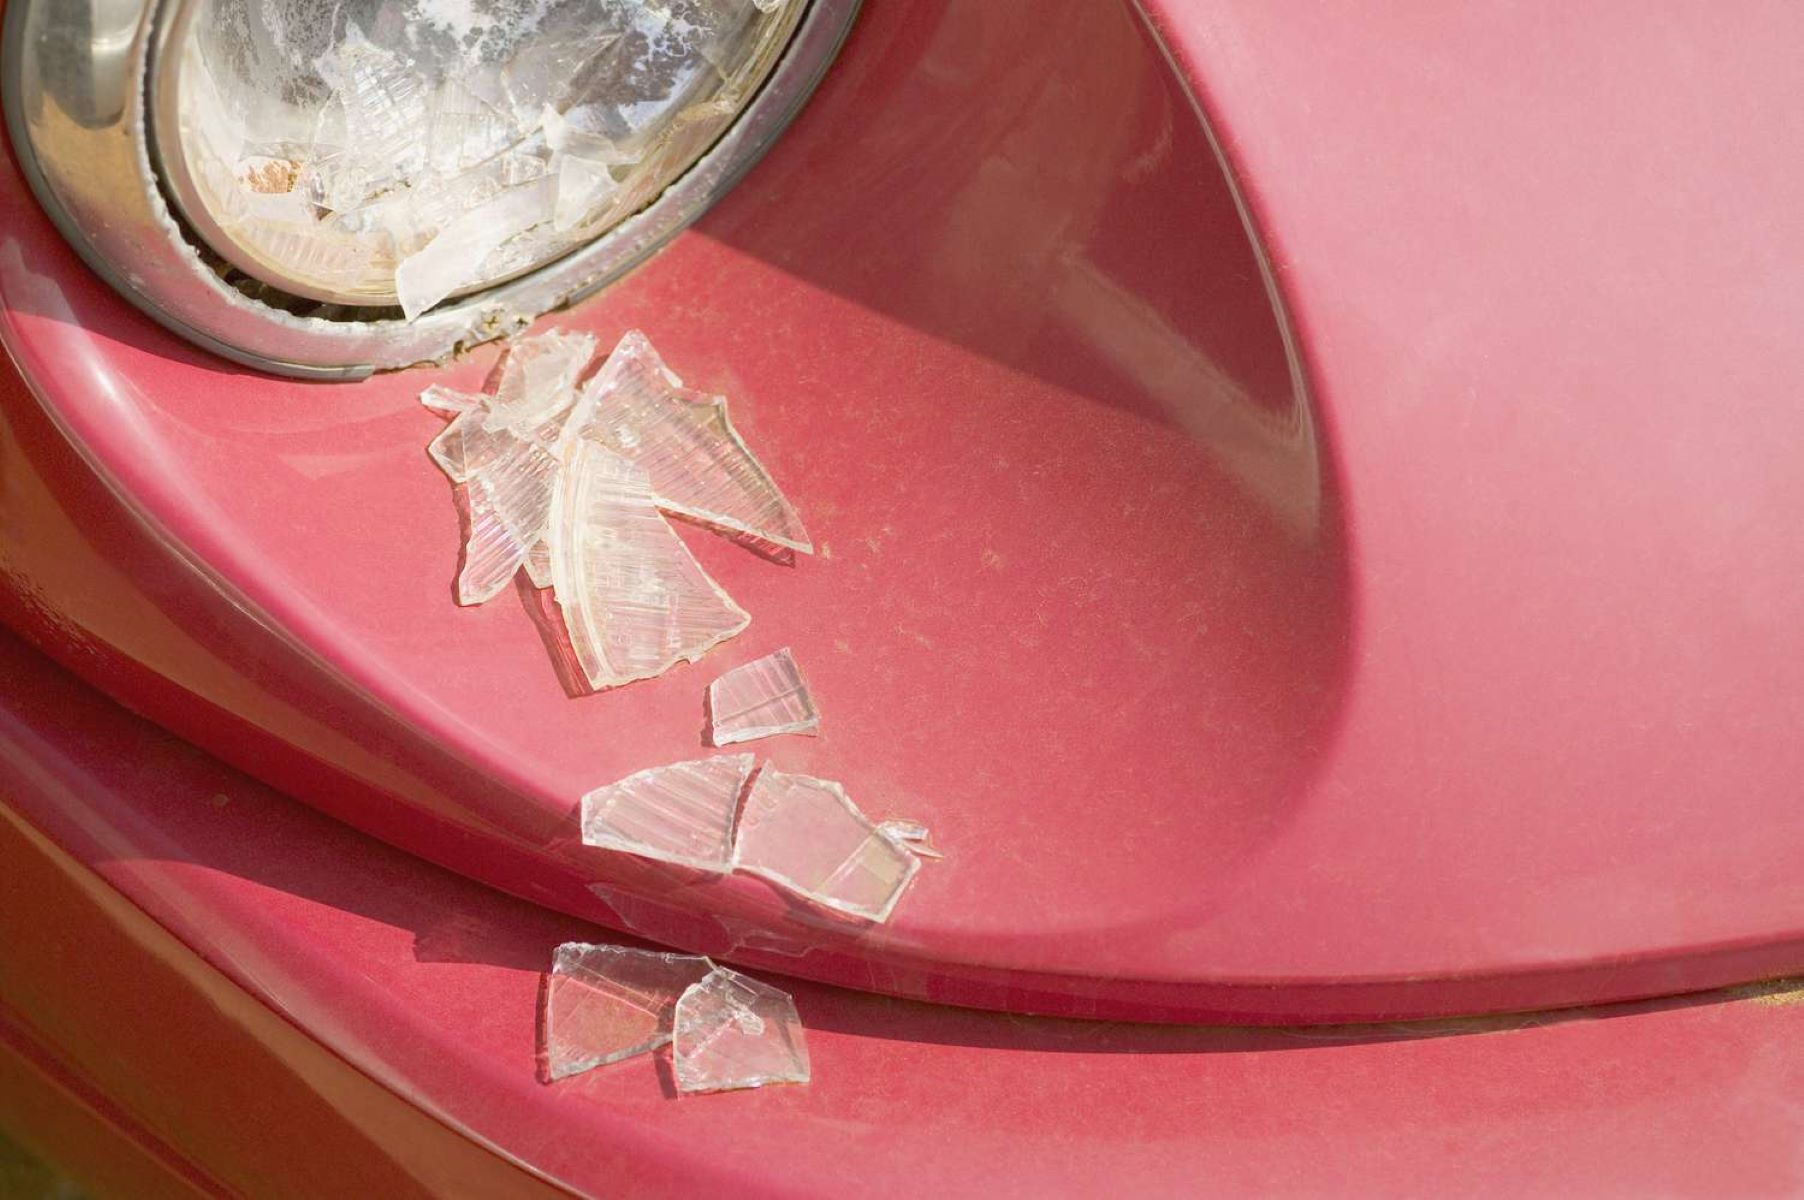
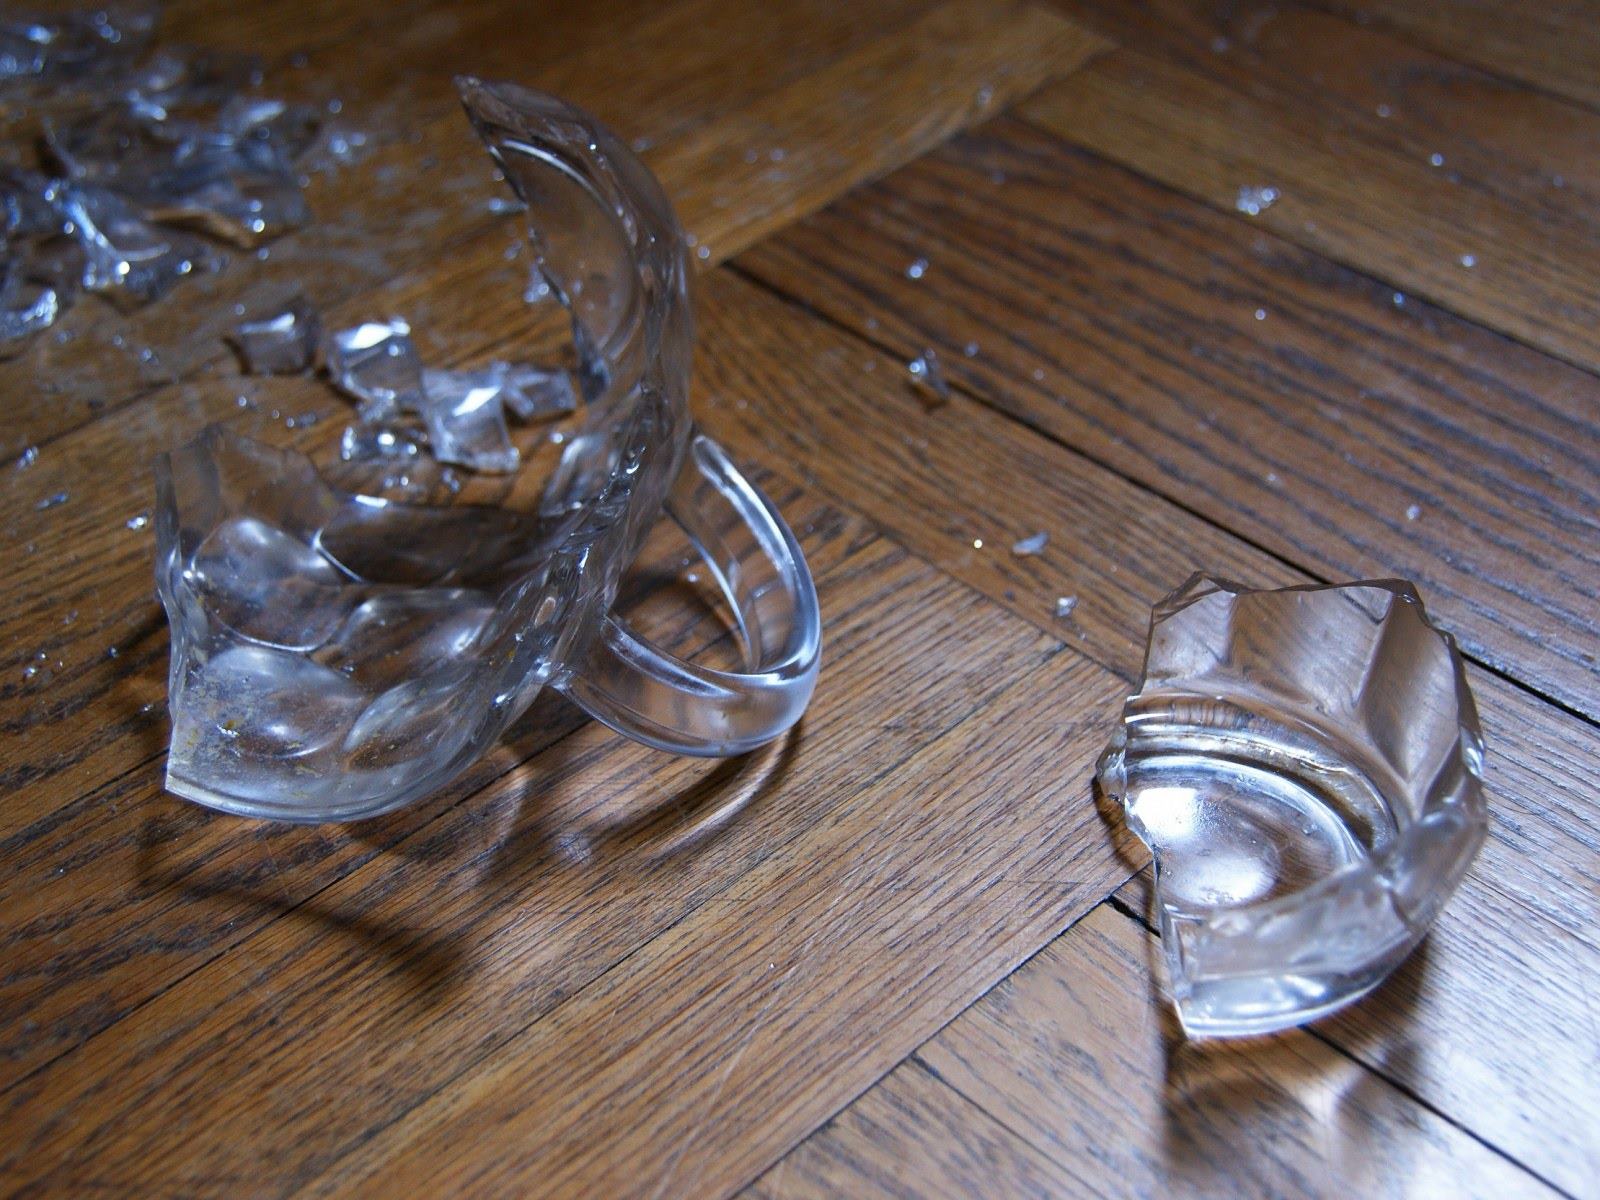
Accidents happen, and when they involve broken glass, it can be a stressful situation. Whether it's a cherished heirloom, a favorite vase, or a practical household item, a broken glass object can evoke feelings of dismay. However, the good news is that with the right tools and techniques, it's possible to repair broken glass and restore it to its former glory.
In this comprehensive guide, we will explore the step-by-step process of gluing broken glass, providing you with the knowledge and confidence to tackle this task effectively. From safety precautions to the materials needed and the intricate steps involved, we'll cover everything you need to know to successfully repair broken glass.
So, if you've ever found yourself staring at a shattered glass object, wondering if it's beyond repair, fear not. With the information in this guide, you'll be equipped to handle the situation with skill and precision, turning a potentially disheartening moment into a satisfying accomplishment. Let's dive into the world of glass repair and discover the art of seamlessly gluing broken glass back together.
Key Takeaways:
- Gluing broken glass requires safety precautions, precise alignment, and clear adhesive to restore cherished items and reduce environmental impact. It’s a rewarding skill that combines patience and resourcefulness.
- By following safety measures, using the right materials, and practicing patience, anyone can transform a disheartening situation into a satisfying accomplishment. Repairing broken glass embodies the preservation of memories and the art of restoration.
Read more: How To Glue Glass To Glass Permanently
Safety Precautions
Repairing broken glass requires careful attention to safety to avoid potential injuries. Before embarking on the glass repair process, it's crucial to prioritize safety precautions to protect yourself and others from harm. Here are essential safety measures to consider:
-
Protective Gear: Prior to handling broken glass, ensure that you are equipped with appropriate protective gear. This includes wearing heavy-duty gloves to shield your hands from sharp edges and fragments. Additionally, safety goggles are essential to safeguard your eyes from any flying glass particles during the repair process.
-
Work Area Preparation: Set up a designated work area that is well-lit and spacious enough to maneuver comfortably. Clear the space of any unnecessary items and ensure that the broken glass pieces are contained within a confined area to prevent accidental contact.
-
Handling Sharp Edges: When dealing with broken glass, be mindful of sharp edges that can cause cuts and abrasions. Handle the glass pieces with extreme caution and avoid placing unnecessary pressure on the edges to minimize the risk of injury.
-
Proper Ventilation: If you are working with adhesives or solvents during the glass repair process, ensure that the work area is well-ventilated to prevent inhalation of fumes. Open windows or use fans to promote air circulation and minimize exposure to potentially harmful vapors.
-
Secure Surroundings: If the broken glass object is located in a high-traffic area, take measures to secure the surroundings and alert others to the presence of broken glass. Use caution signs or barriers to prevent accidental contact and ensure that children and pets are kept away from the repair area.
-
Safe Disposal: Properly dispose of any unusable glass fragments and shards in a secure container to prevent injuries during handling and disposal. Seal the container tightly and label it as broken glass for safe and responsible disposal.
By adhering to these safety precautions, you can create a secure environment for repairing broken glass, minimizing the risk of accidents and ensuring a smooth and safe repair process. Prioritizing safety not only protects you and those around you but also contributes to a successful and stress-free glass repair experience.
Materials Needed
Repairing broken glass requires the use of specific materials to ensure a successful and durable repair. Before embarking on the glass repair process, it's essential to gather the following materials to facilitate the seamless restoration of the broken glass object:
-
Safety Gloves: Heavy-duty gloves are crucial for protecting your hands from sharp edges and potential injuries while handling broken glass.
-
Safety Goggles: Ensure the safety of your eyes by wearing protective goggles to shield them from glass particles and fragments during the repair process.
-
Rubbing Alcohol: This is used to clean the broken edges of the glass, removing any dirt, grease, or residue that may hinder the adhesive bonding.
-
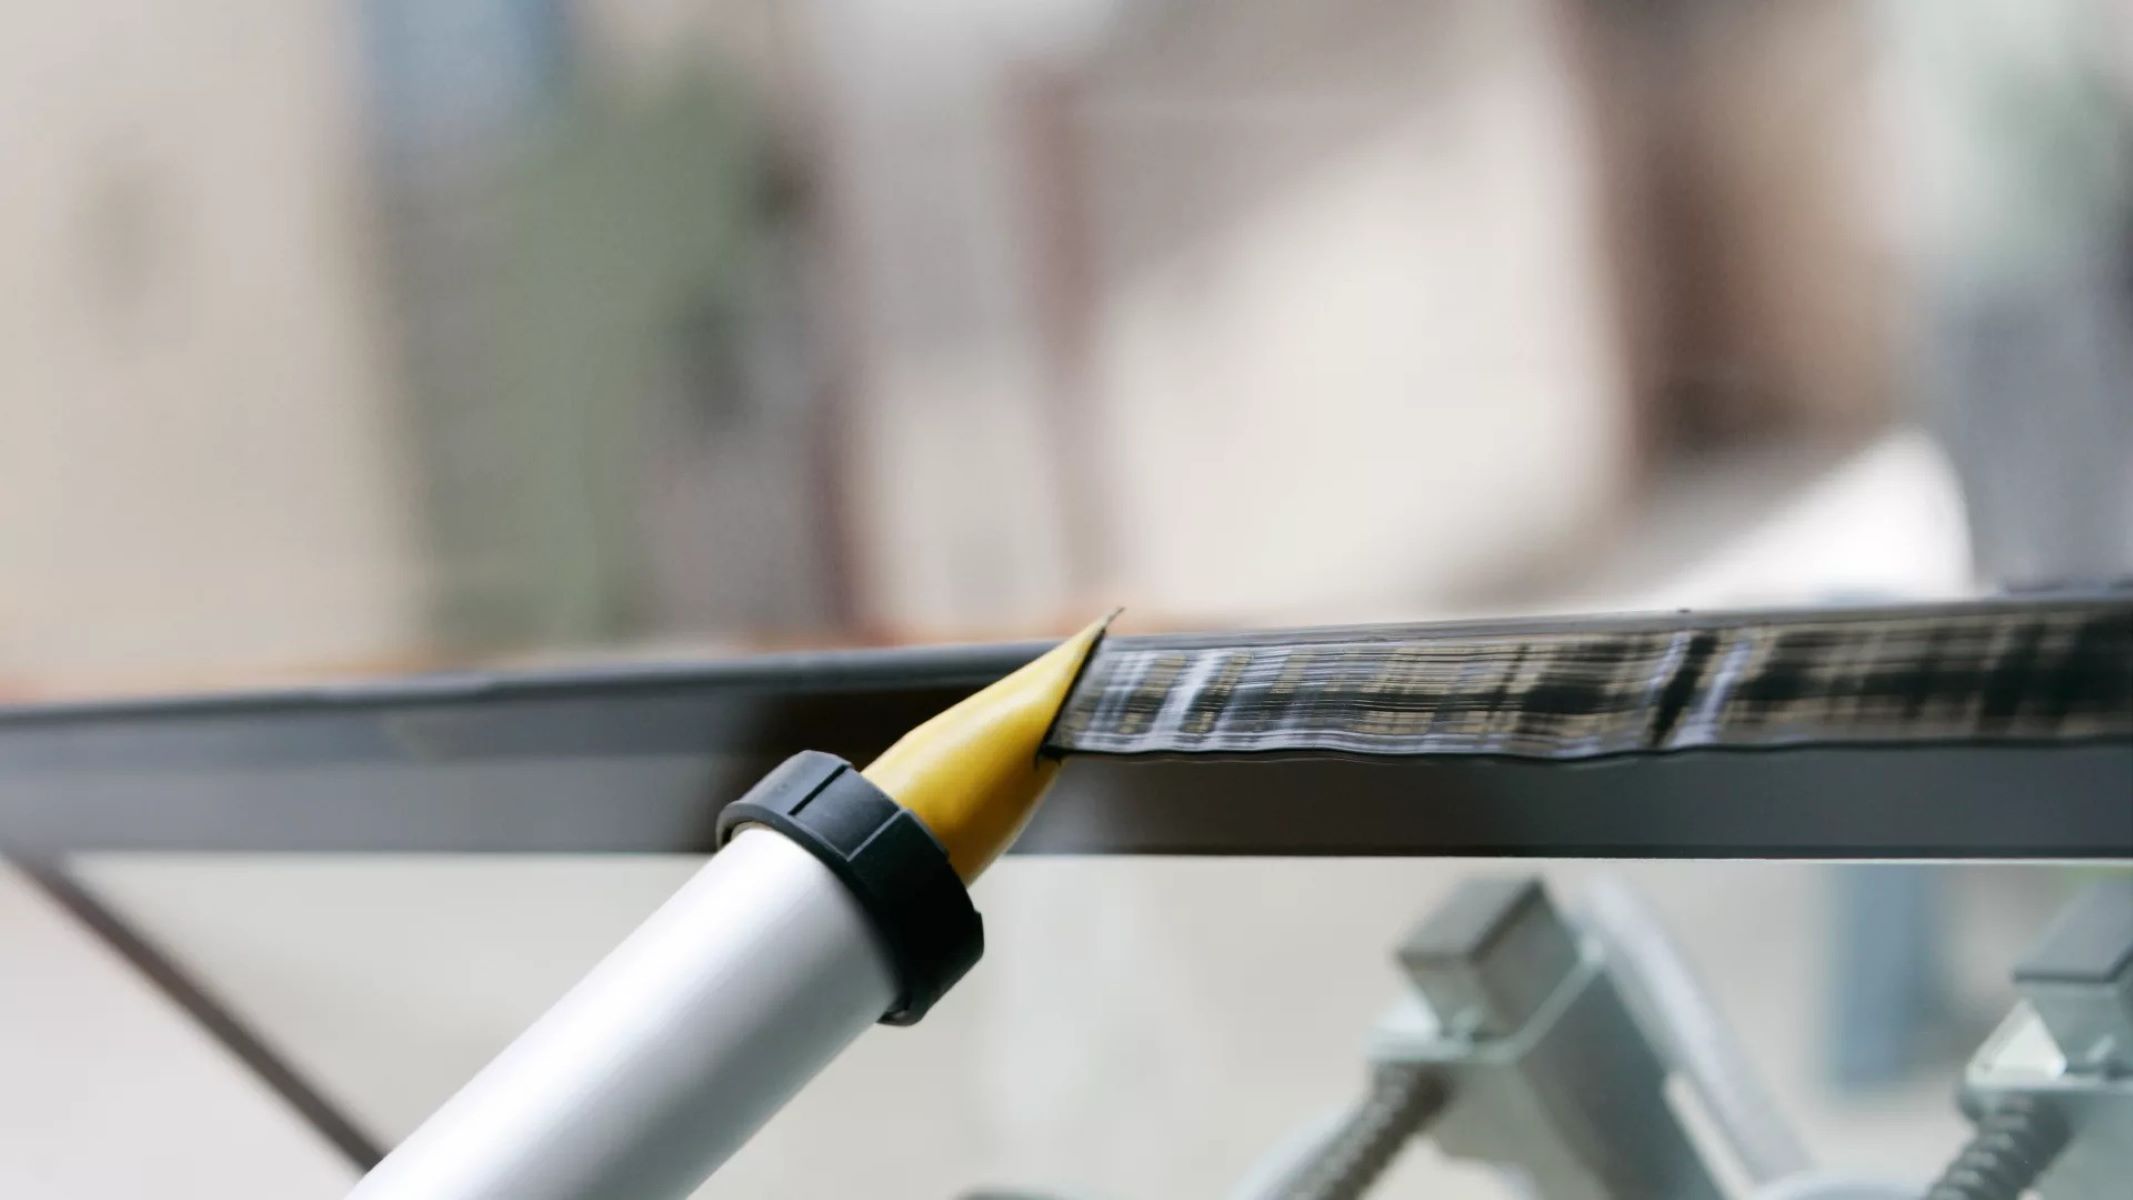
Glass Adhesive: Choose a high-quality, clear glass adhesive specifically designed for bonding glass surfaces. Opt for an adhesive with a quick-drying and transparent formula for seamless repairs.
-
Clamps or Tape: Depending on the size and shape of the broken glass object, clamps or tape may be needed to hold the pieces together securely while the adhesive sets.
-
Disposable Brushes or Applicators: These are used to apply the adhesive evenly and precisely along the broken edges of the glass, ensuring a strong and uniform bond.
-
Protective Surface Covering: Lay down a protective covering, such as a soft cloth or a non-abrasive mat, to provide a cushioned surface for working on the glass and to prevent scratches or damage.
-
Lint-Free Cloth: Use a lint-free cloth to wipe away excess adhesive and ensure a clean and polished finish after the repair is complete.
-
Disposable Gloves: Additional disposable gloves may be needed for handling adhesive and cleaning materials to maintain a clean and hygienic work environment.
-
Ventilation: If working with adhesives or solvents, ensure proper ventilation in the work area to minimize exposure to fumes and promote a safe and comfortable working environment.
By gathering these essential materials, you can prepare yourself for a successful glass repair endeavor, equipped with the necessary tools to handle the repair process with confidence and precision. Each item plays a crucial role in facilitating a seamless and effective repair, ensuring that the broken glass object is restored to its original form with durability and finesse.
Use clear epoxy or UV resin to glue broken glass. Apply a small amount to the edges, press together, and let it cure according to the product instructions.
Steps to Glue Broken Glass
Repairing broken glass requires a methodical approach and careful attention to detail to achieve a seamless and durable bond. Follow these essential steps to effectively glue broken glass back together:
-
Prepare the Glass Surfaces: Begin by ensuring that the broken edges of the glass are clean and free from any debris or residue. Use rubbing alcohol and a lint-free cloth to gently clean the edges, removing any dirt, grease, or contaminants that may hinder the adhesive bonding process.
-
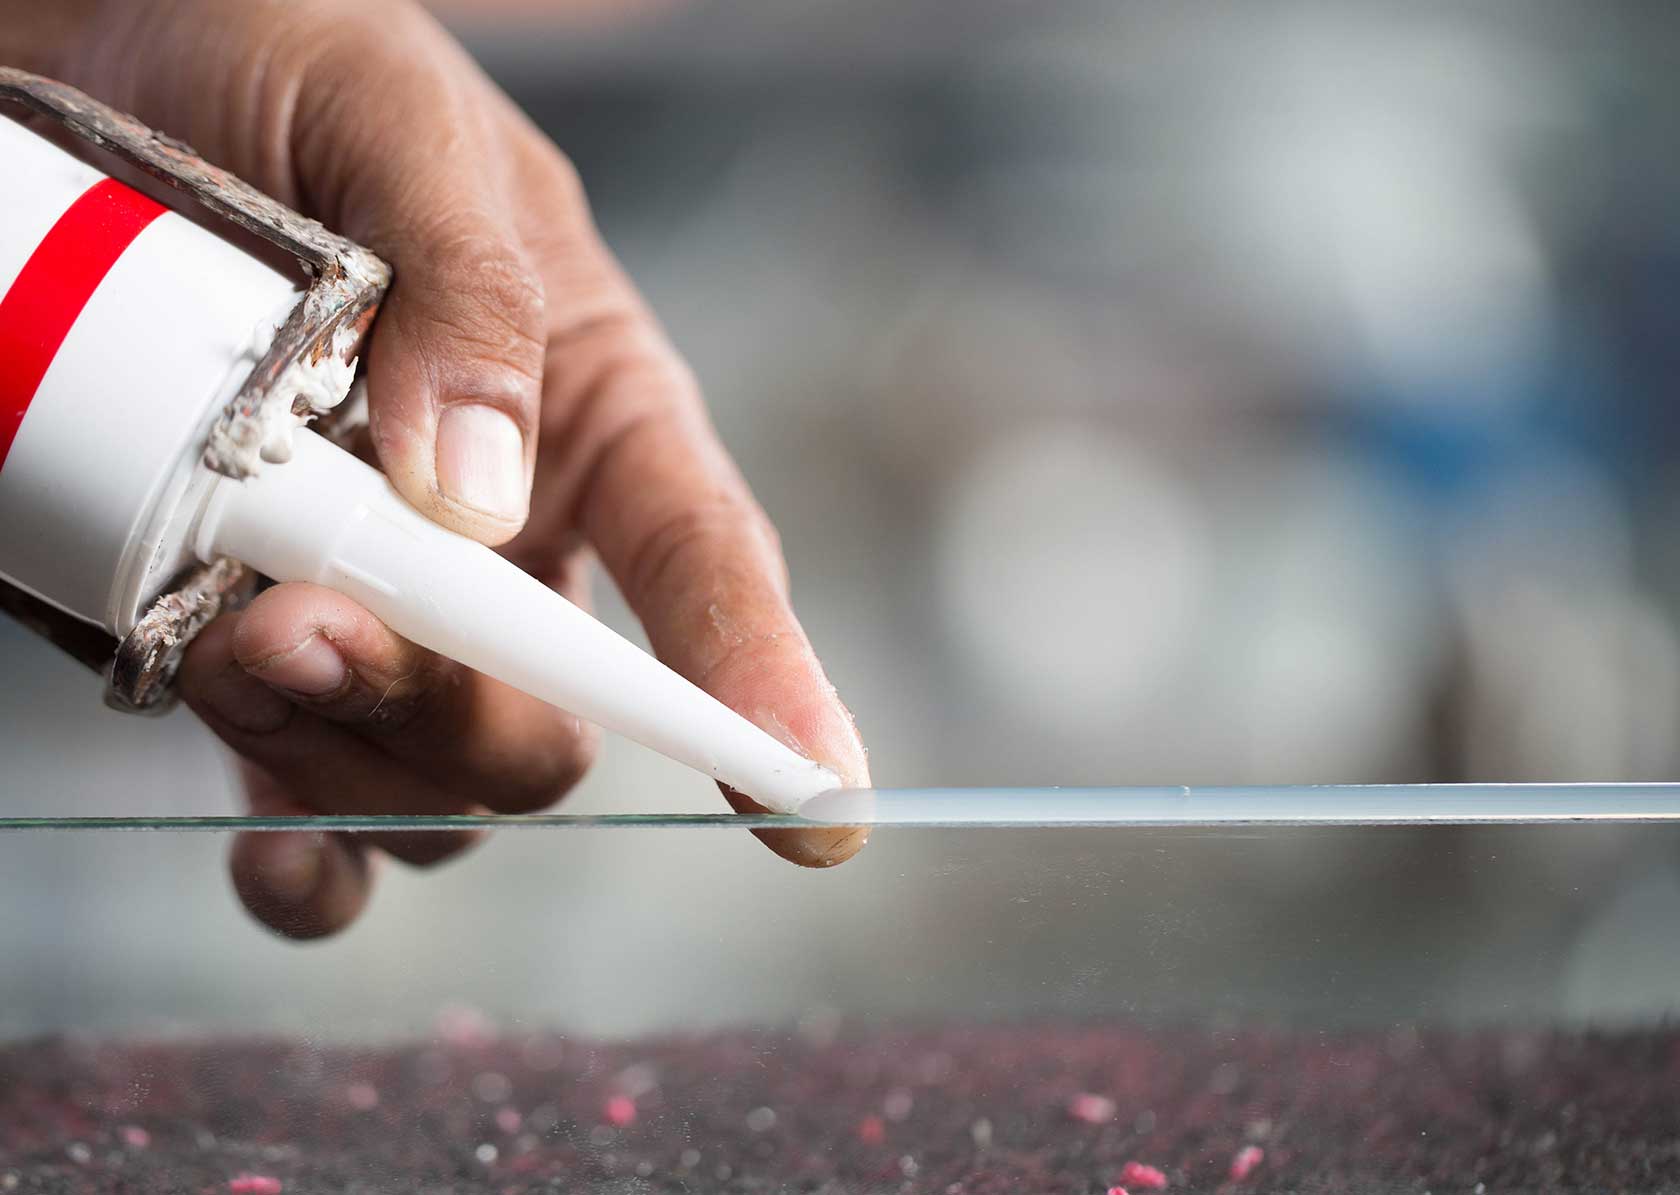
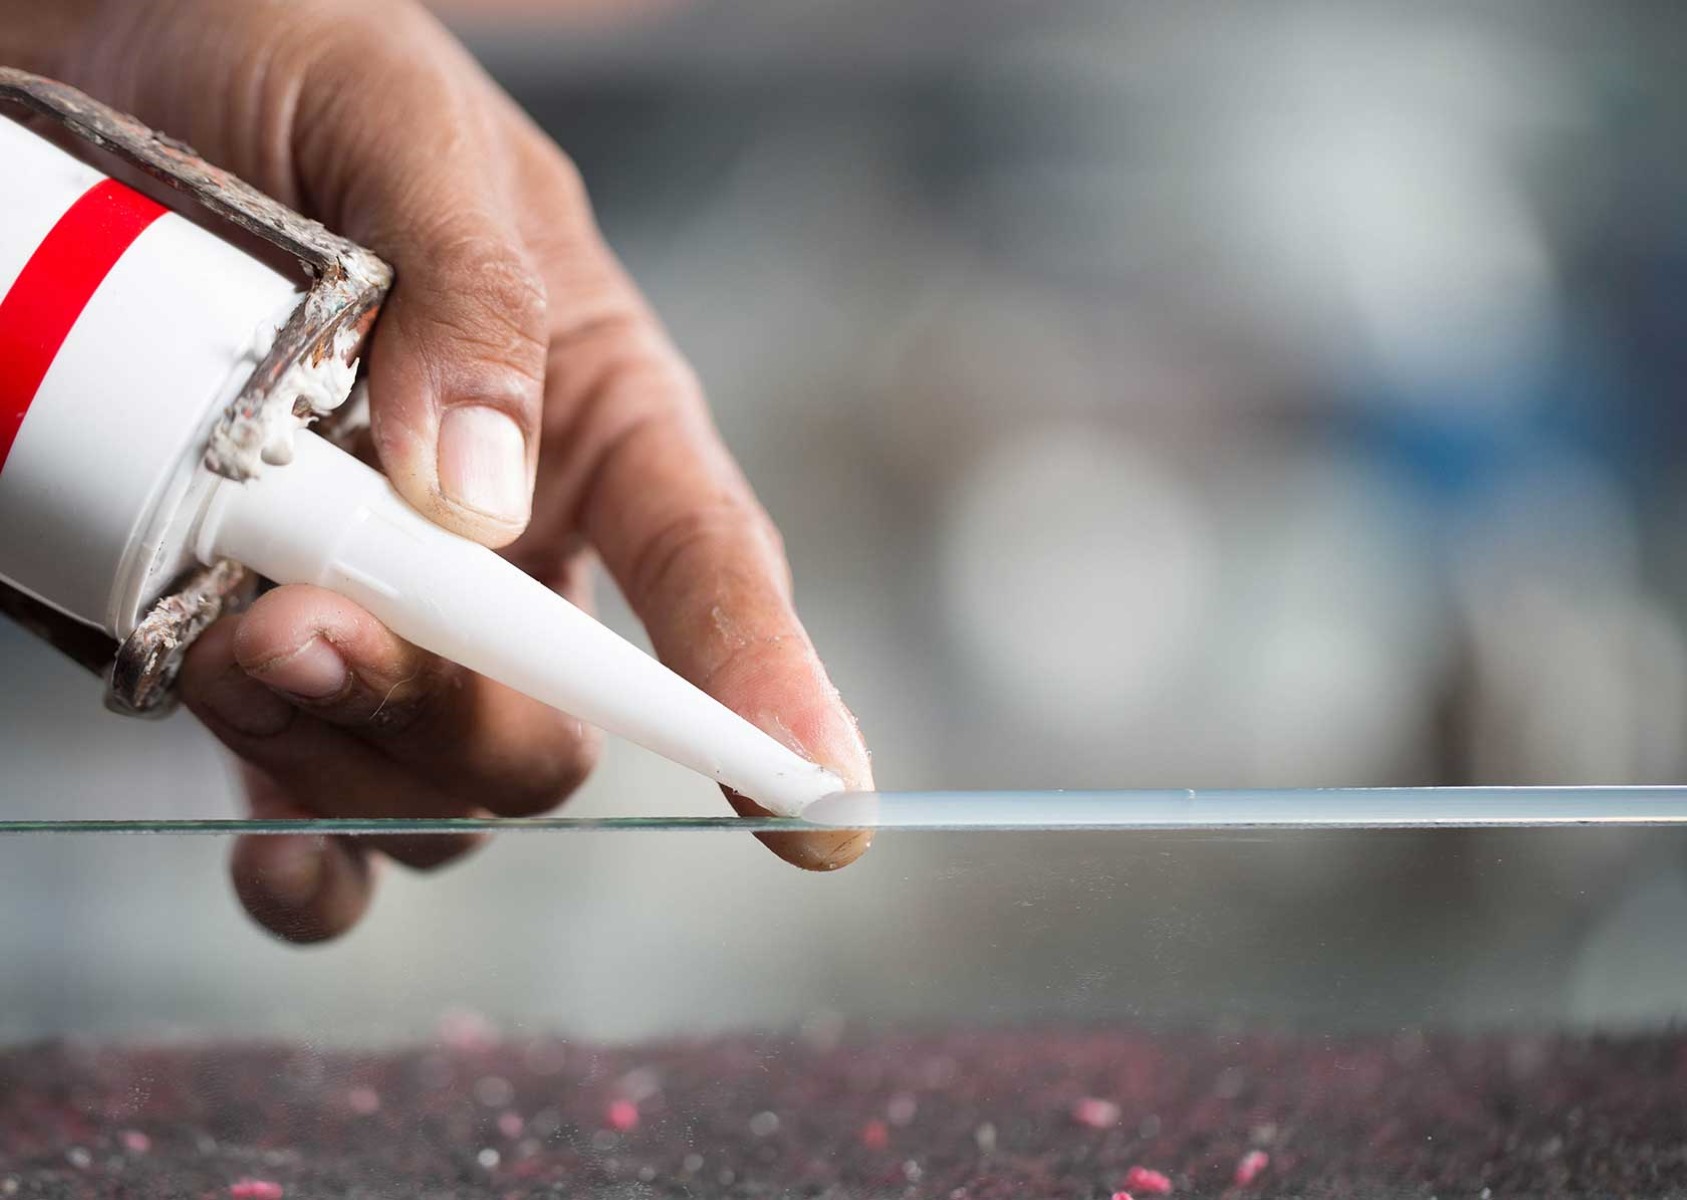
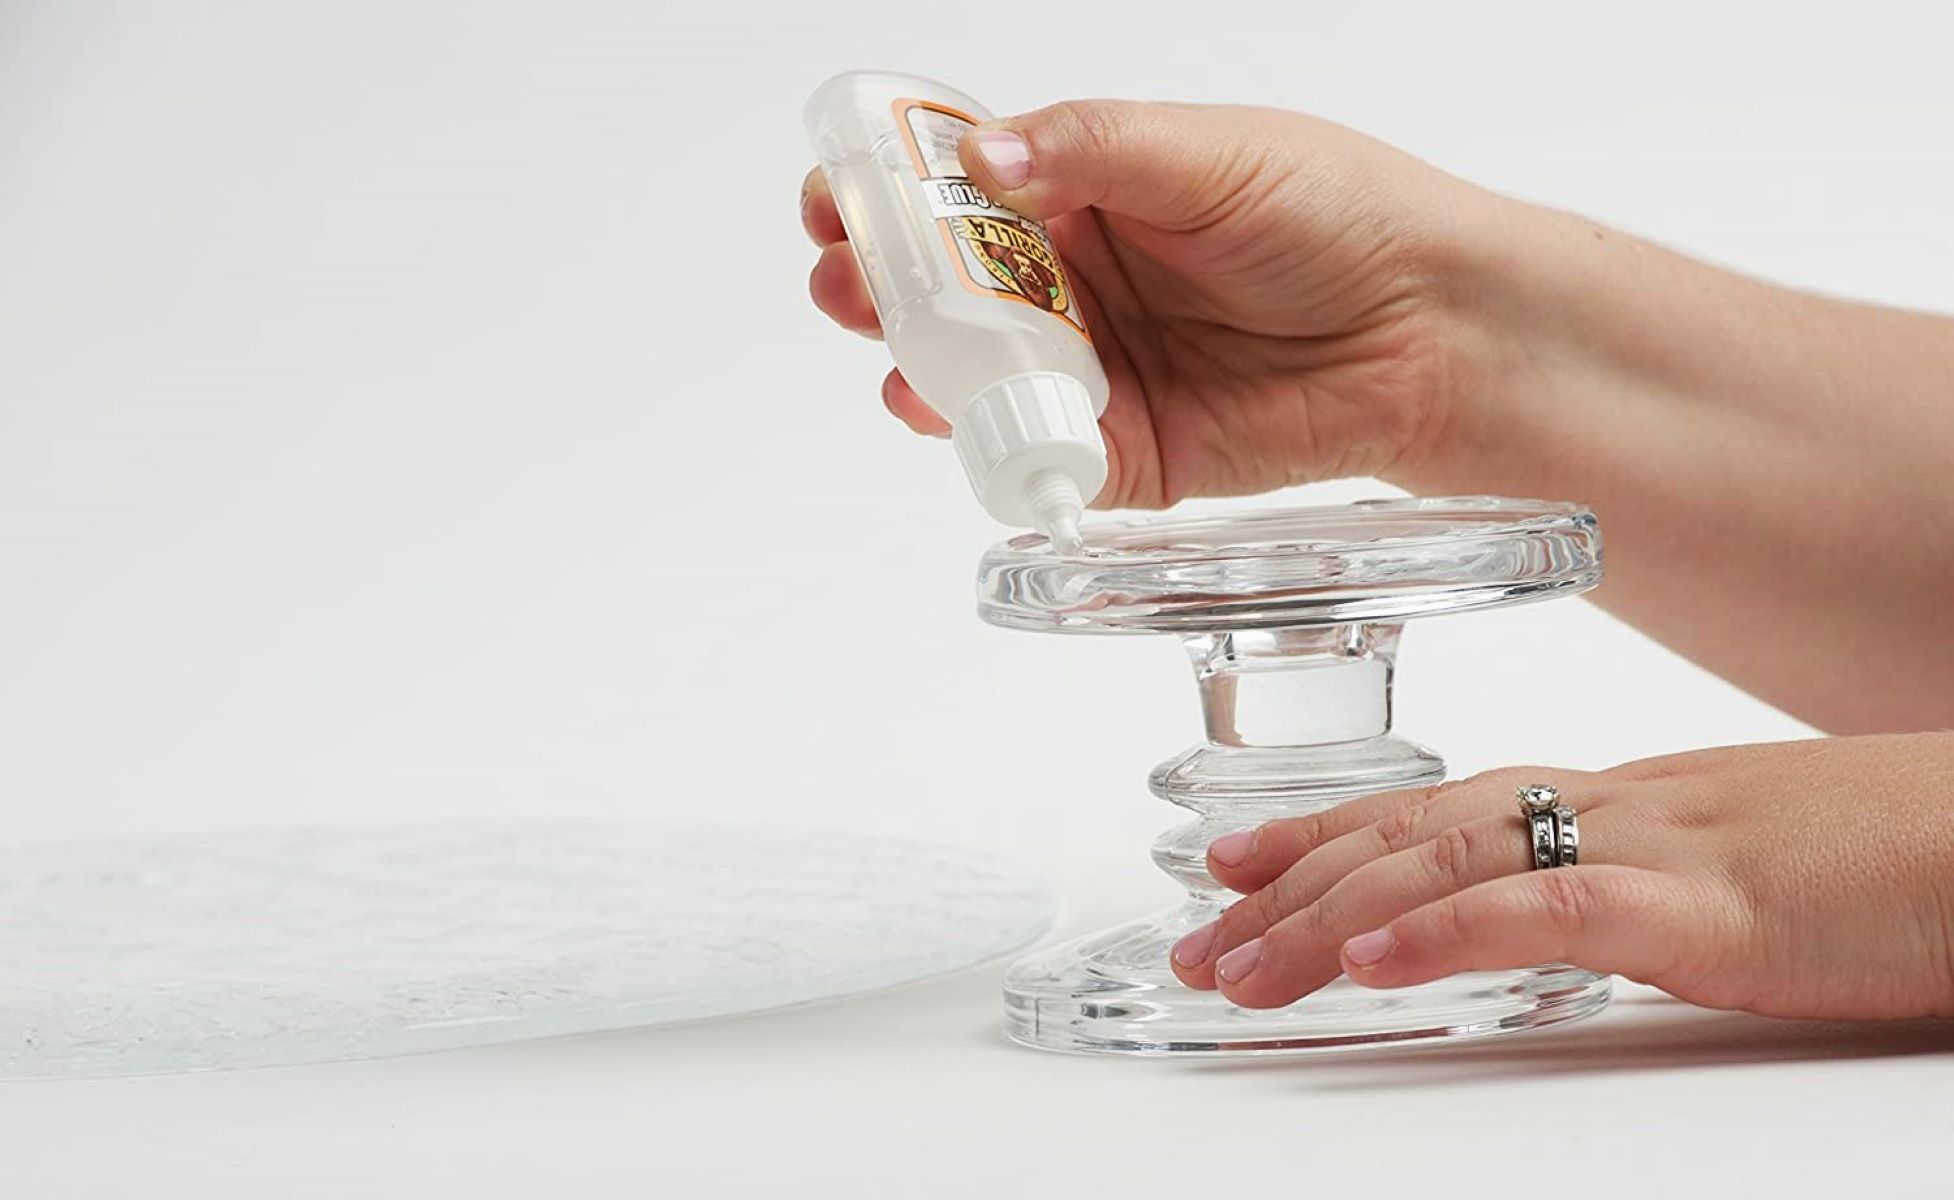
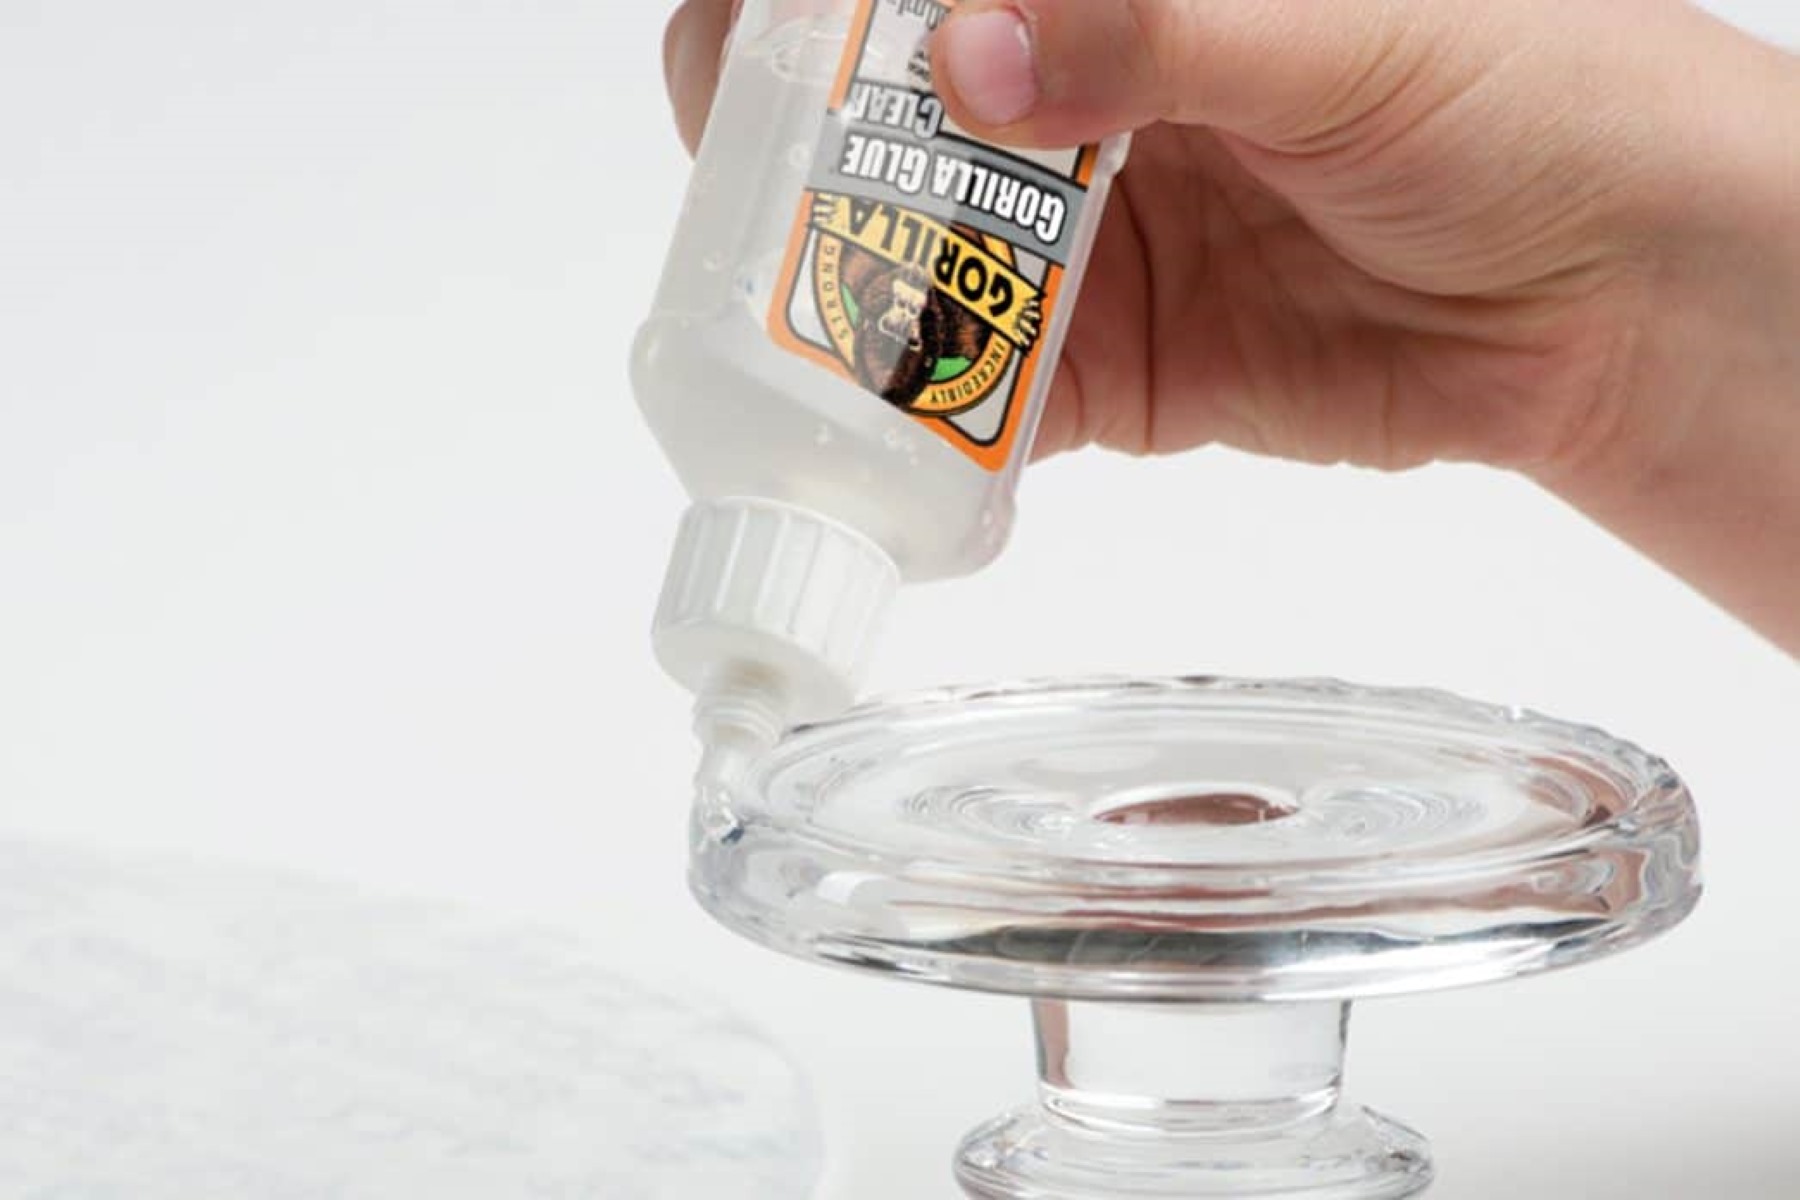
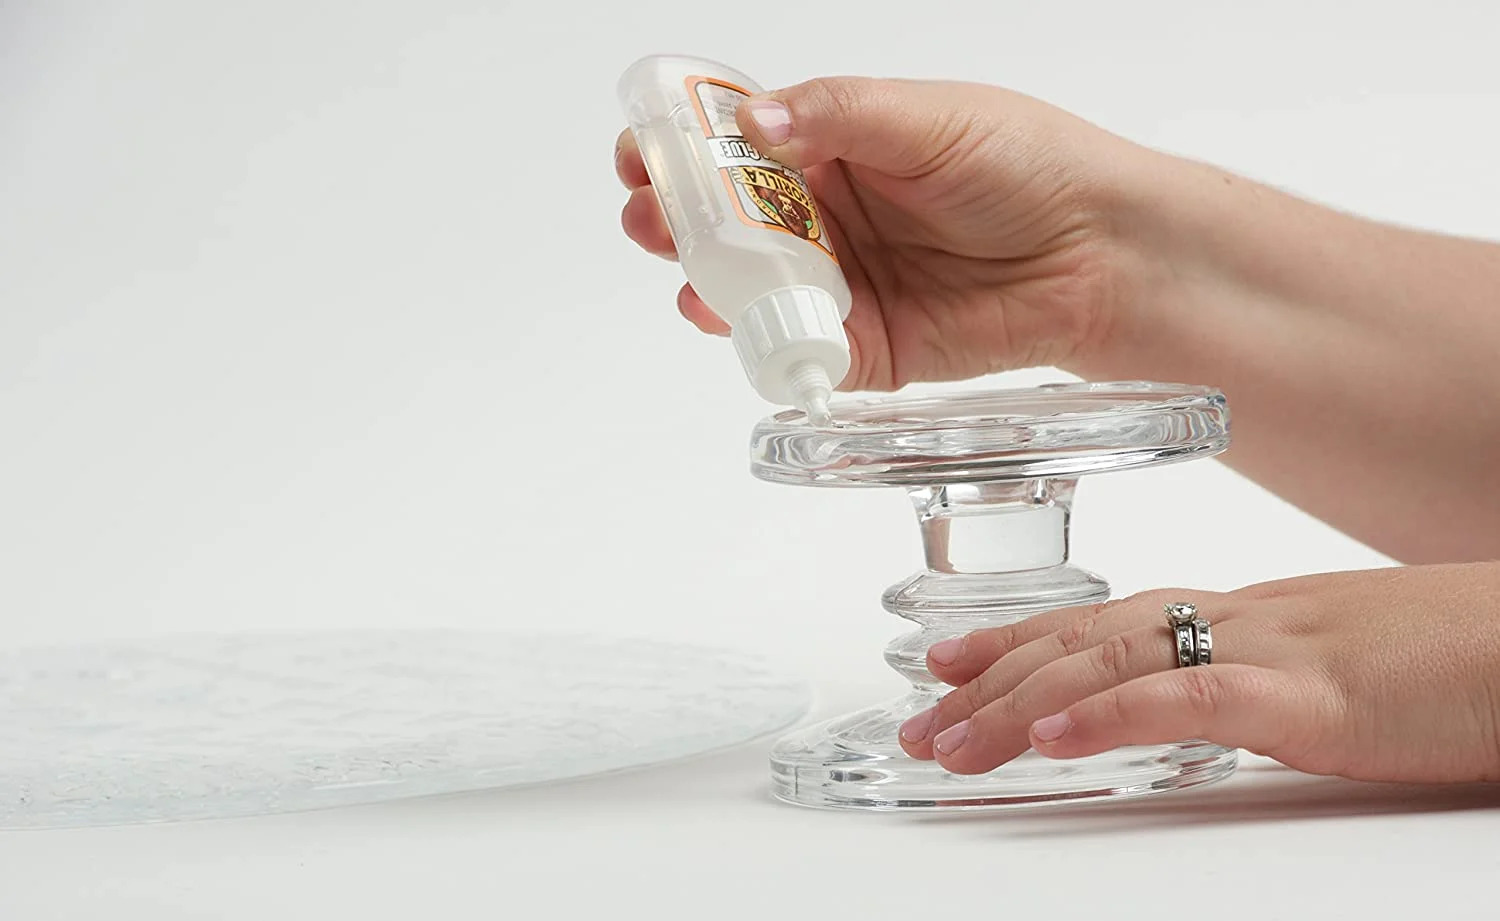
Apply the Glass Adhesive: Using disposable brushes or applicators, apply a thin and even layer of the glass adhesive along the broken edges of the glass. Ensure that the adhesive is spread uniformly to facilitate a strong and secure bond between the glass pieces.
-
Carefully Align the Glass Pieces: With precision and caution, align the broken pieces of glass together, ensuring a seamless fit and alignment. Take your time to position the pieces accurately, as this will determine the overall appearance and structural integrity of the repaired glass object.
-
Secure the Glass Pieces: Depending on the size and shape of the broken glass object, use clamps or tape to hold the pieces together firmly while the adhesive sets. This step is crucial in maintaining the alignment and stability of the glass pieces during the bonding process.
-
Allow for Proper Curing Time: After securing the glass pieces, allow the adhesive to cure and bond the pieces together effectively. Follow the manufacturer's instructions regarding the recommended curing time, ensuring that the repaired glass object is given adequate time to achieve a strong and durable bond.
-
Remove Excess Adhesive: Once the adhesive has fully cured, carefully remove any excess adhesive using a lint-free cloth and rubbing alcohol. This step is essential for achieving a clean and polished finish, ensuring that the repaired glass object retains its original clarity and aesthetic appeal.
By following these meticulous steps, you can effectively glue broken glass back together, restoring its functionality and visual appeal. Each step plays a crucial role in the glass repair process, contributing to a successful and seamless restoration of the broken glass object. With patience, precision, and the right materials, you can transform a shattered glass object into a beautifully repaired piece, ready to be cherished once again.
Tips and Tricks
Repairing broken glass requires precision and attention to detail. Here are some valuable tips and tricks to enhance the glass repair process and achieve optimal results:
-
Precision Alignment: When aligning the broken glass pieces, take your time to ensure a perfect fit. Even the slightest misalignment can affect the overall appearance and structural integrity of the repaired glass object. Use a magnifying glass if necessary to achieve precise alignment.
-
Test Fit Before Gluing: Before applying the adhesive, perform a test fit of the broken glass pieces to confirm the alignment and fit. This allows you to make any necessary adjustments before committing to the adhesive application, ensuring a seamless bond.
-
Use Clear Adhesive: Opt for a clear glass adhesive to maintain the transparency and aesthetic appeal of the repaired glass object. Clear adhesives blend seamlessly with the glass, minimizing the visibility of the repair and preserving the original appearance.
-
Avoid Excessive Pressure: When securing the glass pieces with clamps or tape, avoid applying excessive pressure that could cause the glass to crack or shift. Gentle and evenly distributed pressure is key to maintaining the alignment while the adhesive sets.
-
Temperature Considerations: Be mindful of temperature conditions during the glass repair process. Extreme temperatures can affect the adhesive's curing process, so ensure that the work area is within the recommended temperature range for optimal bonding.
-
Practice Patience: Allow the adhesive to cure for the recommended duration before handling the repaired glass object. Rushing the curing process can compromise the strength of the bond, so exercise patience to achieve a durable and long-lasting repair.
-
Clean Tools and Brushes: After completing the repair, thoroughly clean the brushes and applicators used for applying the adhesive. Proper maintenance of tools ensures their longevity and prevents any residual adhesive from affecting future repairs.
-
Inspect for Imperfections: Once the adhesive has fully cured, inspect the repaired glass object under different lighting conditions to identify any imperfections or air bubbles. Address any issues promptly to achieve a flawless finish.
-
Practice Safety: Throughout the glass repair process, prioritize safety by wearing protective gear and handling broken glass with caution. Safety should always be a top priority to prevent accidents and injuries.
By incorporating these tips and tricks into the glass repair process, you can elevate the quality of the repair and achieve a seamless restoration of the broken glass object. Each tip is designed to enhance the precision, durability, and visual appeal of the repair, ensuring that the repaired glass object retains its functionality and aesthetic charm.
Read more: When Broken Glass Floats
Conclusion
In conclusion, the art of gluing broken glass is a skill that combines precision, patience, and the right materials to restore shattered glass objects to their former glory. By following the safety precautions, gathering the necessary materials, and meticulously executing the steps to glue broken glass, individuals can transform a disheartening situation into a rewarding accomplishment.
The process of repairing broken glass goes beyond mere restoration; it embodies the preservation of cherished memories, the revival of functional household items, and the appreciation of craftsmanship. Each step, from preparing the glass surfaces to allowing for proper curing time, contributes to the seamless restoration of the broken glass object, ensuring a durable and visually appealing repair.
Furthermore, the incorporation of valuable tips and tricks enhances the glass repair process, elevating the quality of the repair and empowering individuals to achieve optimal results. Precision alignment, the use of clear adhesive, and the practice of patience are just a few of the essential considerations that can make a significant difference in the outcome of the repair.
Ultimately, the successful repair of broken glass not only reinstates the functionality and aesthetic appeal of the object but also fosters a sense of accomplishment and resourcefulness. It encourages individuals to embrace the concept of sustainability by preserving and extending the lifespan of valuable glass items, reducing waste, and minimizing the environmental impact.
As individuals embark on the journey of gluing broken glass, they are not only engaging in a practical repair process but also embracing the art of restoration and the satisfaction of breathing new life into a shattered object. The careful attention to detail, the adherence to safety measures, and the utilization of effective techniques culminate in a gratifying experience that transcends the mere act of repair.
In essence, the process of gluing broken glass is a testament to the transformative power of patience, precision, and perseverance. It exemplifies the potential to turn setbacks into triumphs and to uphold the value of craftsmanship and preservation. With the knowledge and insights gained from this guide, individuals are equipped to embark on their glass repair journey with confidence, skill, and a deep appreciation for the art of restoration.
Frequently Asked Questions about How To Glue Broken Glass
Was this page helpful?
At Storables.com, we guarantee accurate and reliable information. Our content, validated by Expert Board Contributors, is crafted following stringent Editorial Policies. We're committed to providing you with well-researched, expert-backed insights for all your informational needs.


0 thoughts on “How To Glue Broken Glass”