Home>Dining>Tableware>How To Glue Rhinestones To Wine Glasses
Tableware
How To Glue Rhinestones To Wine Glasses
Modified: May 23, 2024
Learn how to easily adhere rhinestones to your wine glasses and create stunning tableware with this step-by-step guide. Add sparkle to your next dinner party!
(Many of the links in this article redirect to a specific reviewed product. Your purchase of these products through affiliate links helps to generate commission for Storables.com, at no extra cost. Learn more)
Introduction
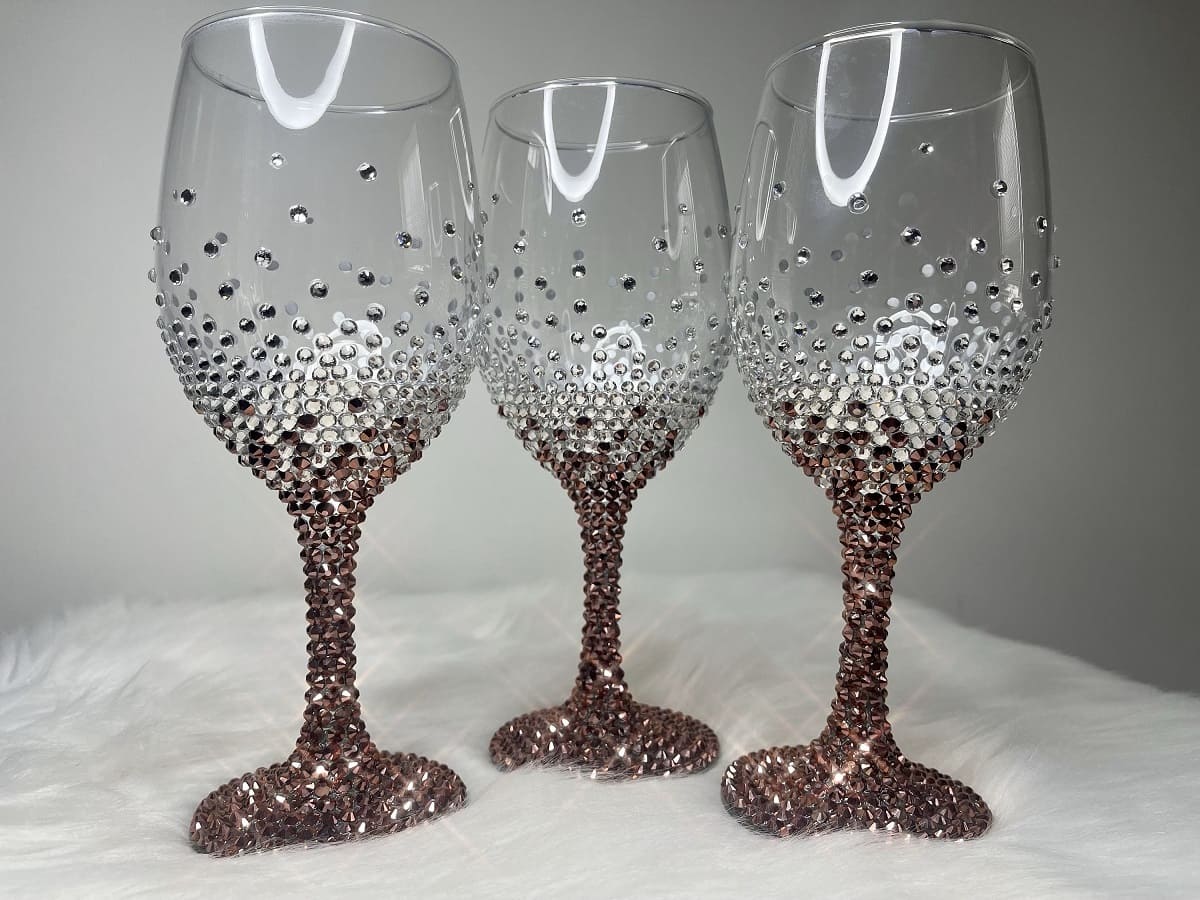
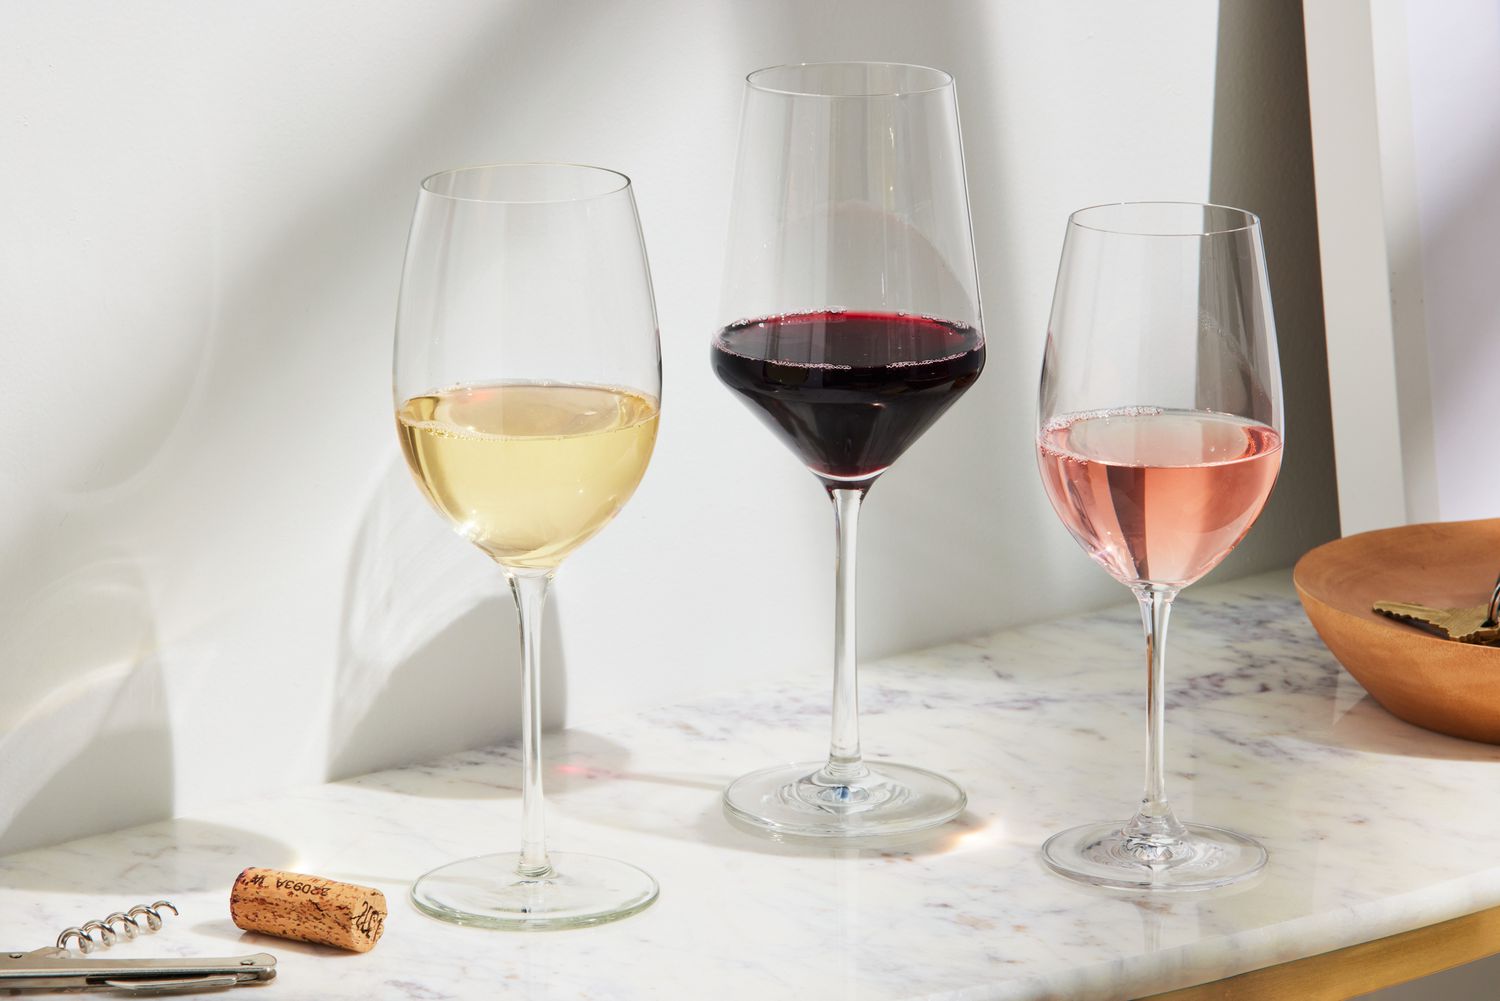
When it comes to tableware decoration, wine glasses adorned with sparkling rhinestones have become increasingly popular. These glamorous additions add a touch of elegance and sophistication to any table setting or special occasion. Whether you are preparing for a wedding, a birthday celebration, or simply want to add some flair to your everyday glassware collection, gluing rhinestones to wine glasses is a fantastic DIY project that will surely impress your guests.
Creating your own rhinestone wine glasses allows you to customize them to match your personal style and theme. You can choose from a variety of rhinestone colors, sizes, and patterns to suit your taste. This creative endeavor not only unleashes your artistic side but also saves you money compared to purchasing pre-decorated wine glasses.
In this article, we will guide you through the step-by-step process of gluing rhinestones to wine glasses. We will discuss the materials needed, the best adhesive options, and provide tips and tricks to ensure a successful project. So, let’s dive in and get ready to transform your plain wine glasses into dazzling works of art!
Key Takeaways:
- Transform plain wine glasses into dazzling works of art by gluing rhinestones. Customize to match your style, impress guests, and save money with this DIY project.
- Ensure a successful project by choosing the right adhesive, precise rhinestone placement, and adding a protective sealant for long-lasting, glamorous wine glasses.
Read more: How To Glue Glass To Glass Permanently
Materials Needed
Before you begin the process of gluing rhinestones to wine glasses, it’s essential to gather all the necessary materials. Here’s a list of items you’ll need for this project:
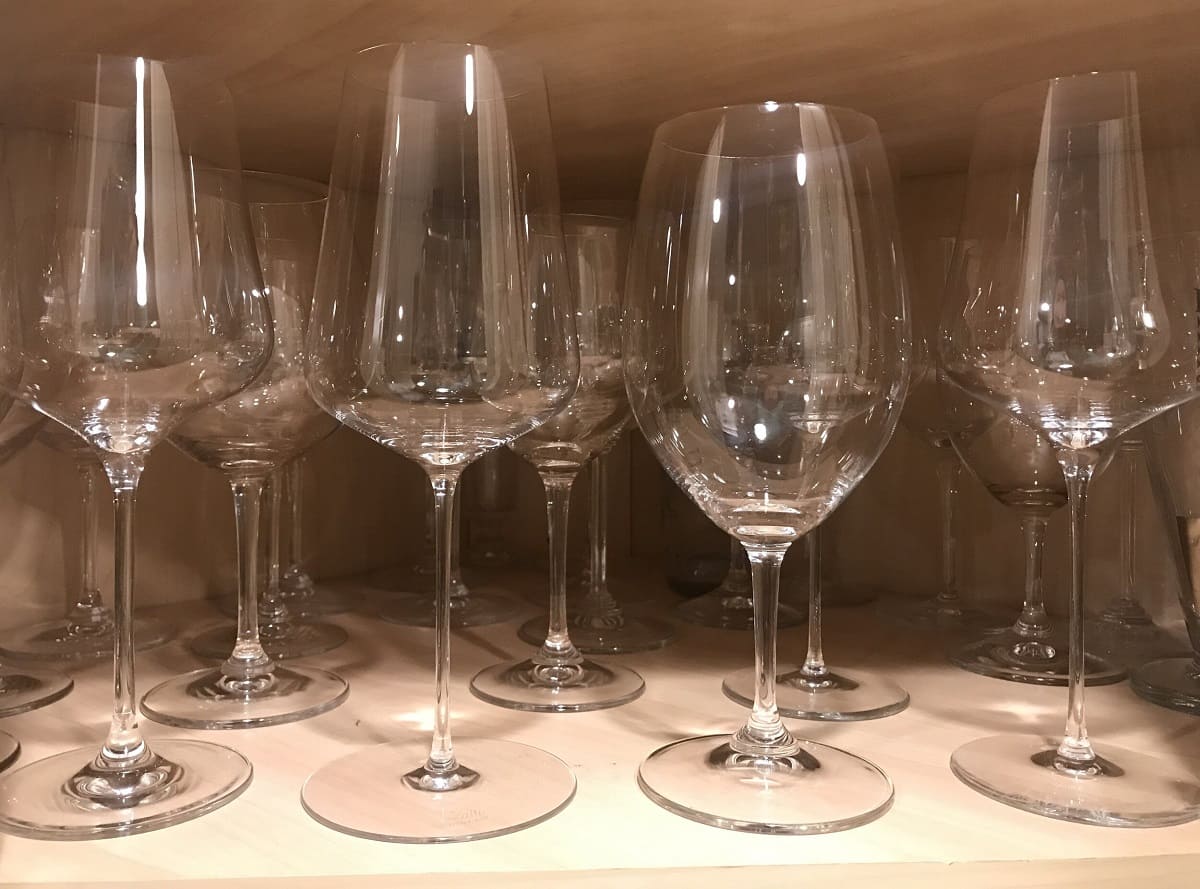
- A clean wine glass or glasses
- Rhinestones in your desired colors and sizes
- An adhesive suitable for glass and rhinestone bonding
- A small dish or palette for the adhesive
- Toothpicks or a small brush for applying the adhesive
- Tweezers or a rhinestone applicator tool for precise placement
- A clean cloth or cotton swabs for wiping off excess glue
When choosing rhinestones, opt for flat-back or hot-fix rhinestones that are specifically designed for crafting and jewelry making. These types of rhinestones have a flat side that adheres easily to the glass surface. Avoid using pointed-back rhinestones, as they may not stick securely.
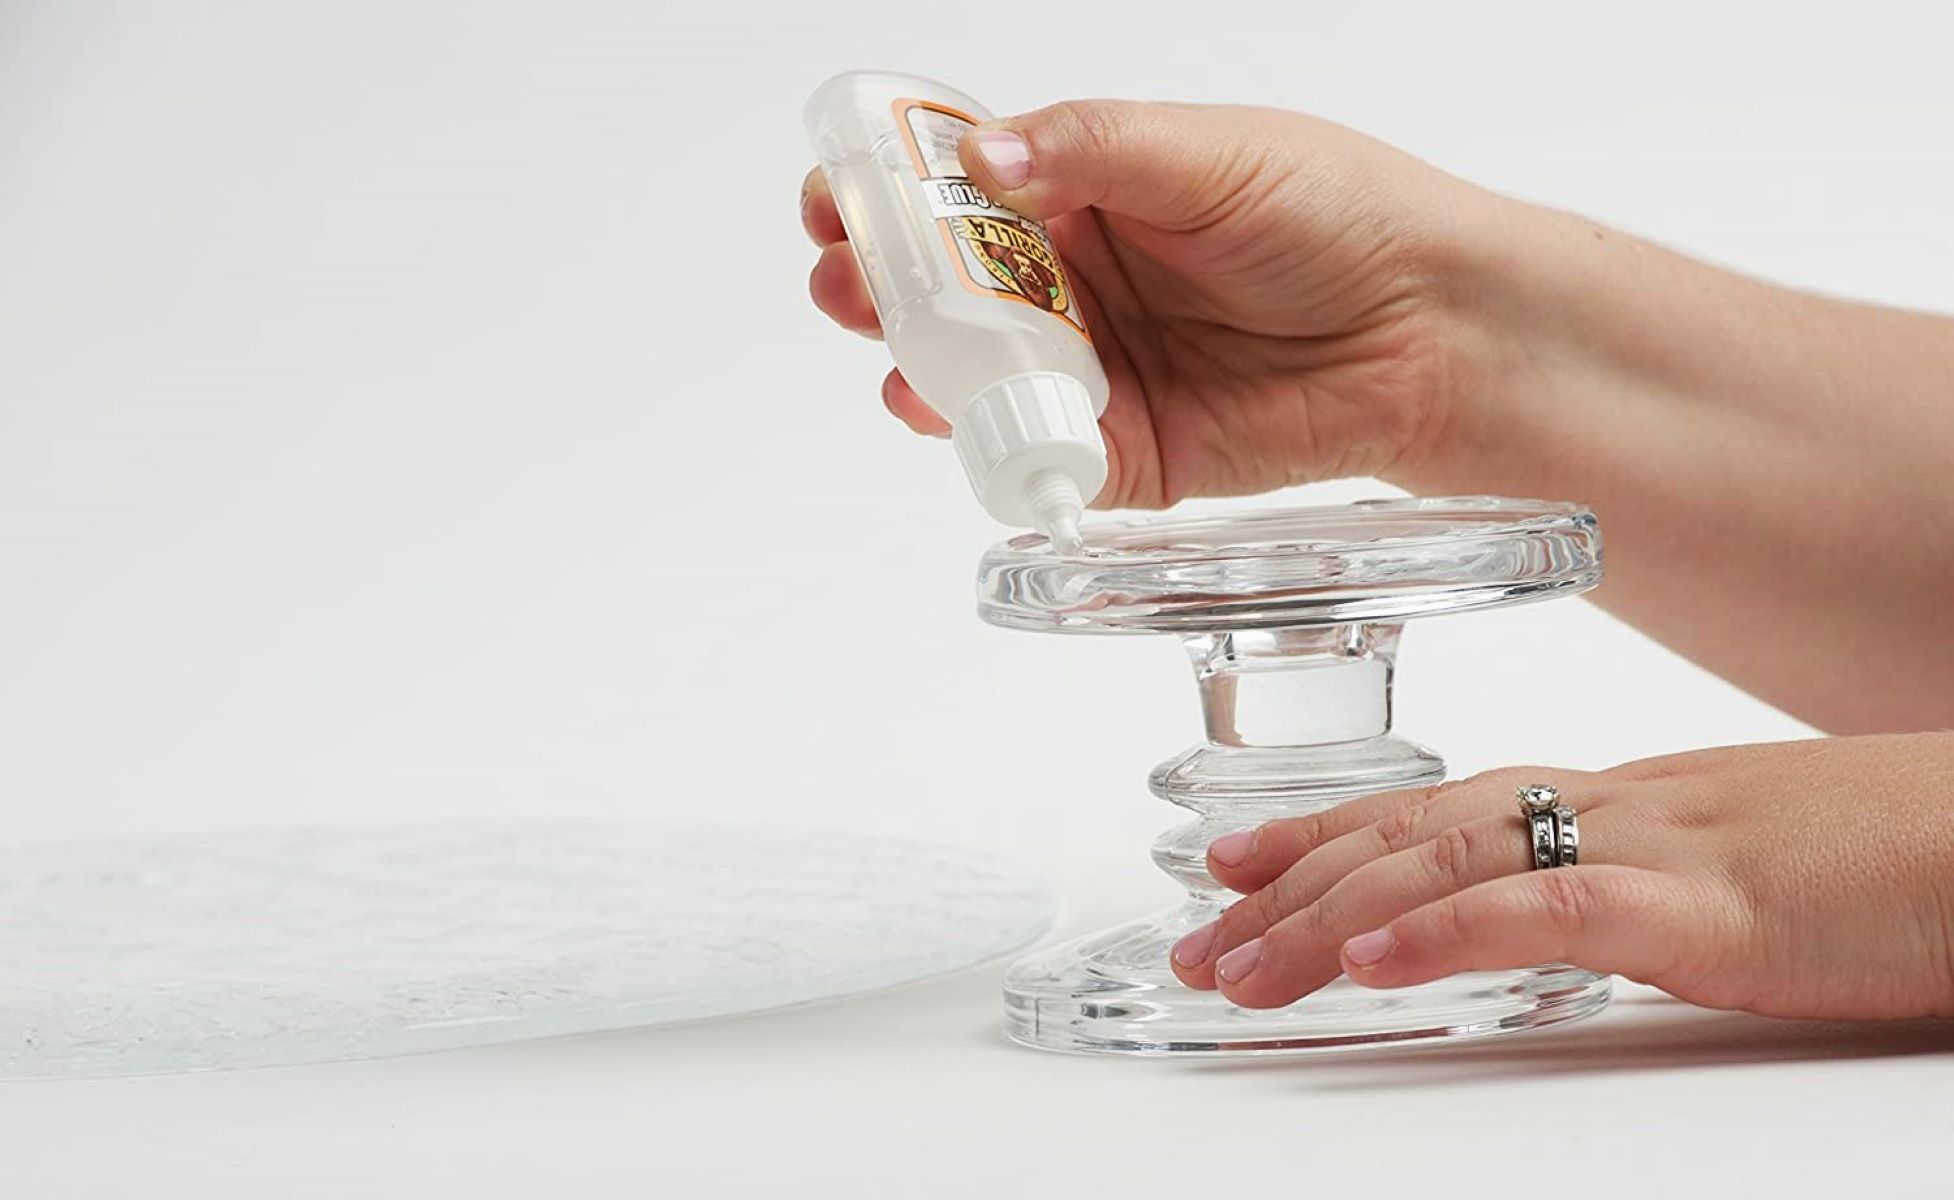
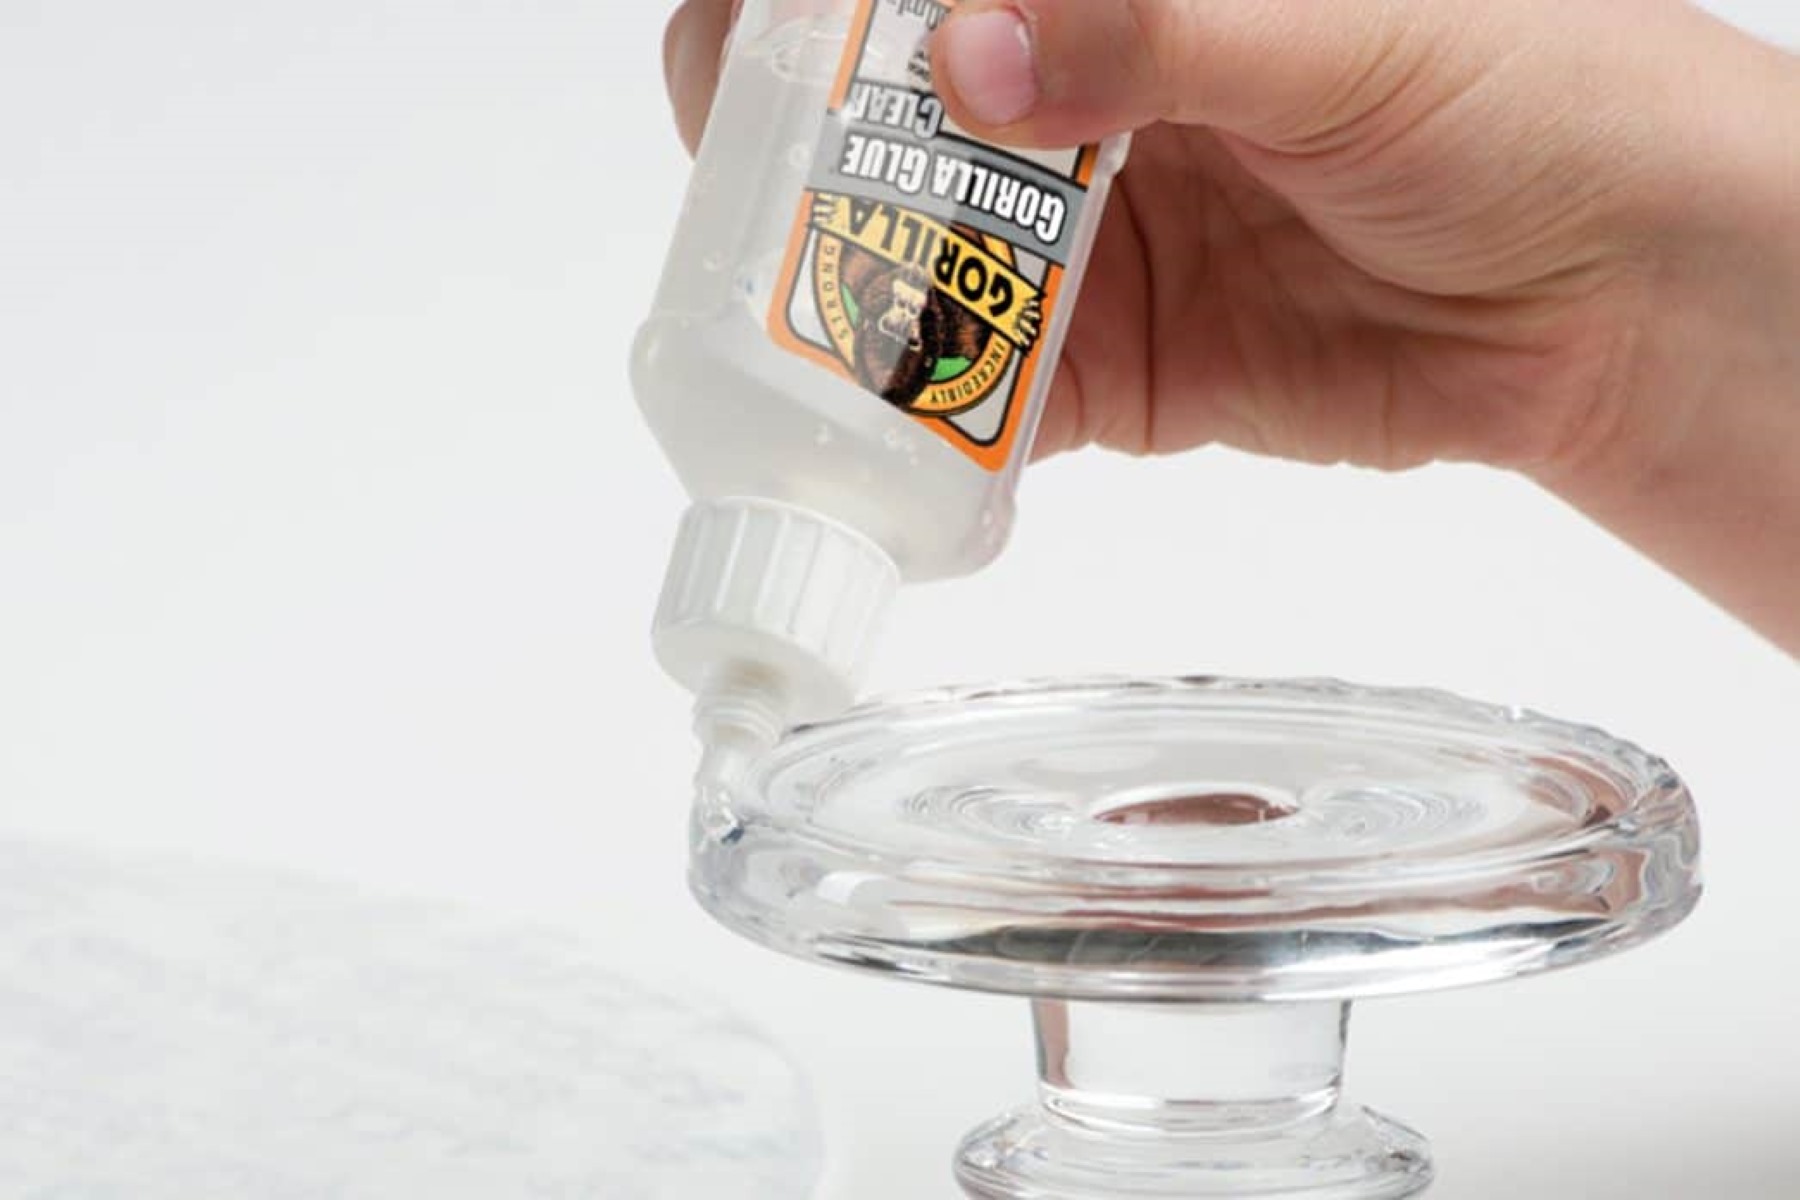
As for the adhesive, there are several options available. Epoxy or jewelry adhesives are commonly used for securing rhinestones to glass. Make sure the adhesive you choose is transparent, waterproof, and specifically formulated for bonding glass and rhinestones. This will ensure a long-lasting hold and prevent the rhinestones from coming loose over time.
It’s also helpful to have a clean work surface and adequate lighting to facilitate the application process. Now that you’ve gathered all the necessary materials, let’s move on to the step-by-step guide on how to glue rhinestones to wine glasses.
Step 1: Prepare the Wine Glass
Before you begin gluing rhinestones to your wine glass, it’s important to ensure that the glass is clean and free from any dirt, dust, or oils. This will help the adhesive bond securely to the glass surface. Follow these steps to prepare your wine glass:
- Start by washing the wine glass with warm soapy water. Use mild dish soap and a soft cloth or sponge to gently scrub away any dirt or residues.
- Rinse the glass thoroughly to remove any soap residue.
- Dry the glass with a lint-free towel or let it air dry completely.
- For a more thorough cleaning, you can wipe the glass with rubbing alcohol or glass cleaner to remove any remaining oils or fingerprints. This will ensure a clean and smooth surface for the adhesive to adhere to.
Once your wine glass is clean and dry, you are ready to move on to the next step.
Pro tip: It’s best to handle the glass by the stem or the base to avoid getting fingerprints or oils on the area where you will be applying the rhinestones.
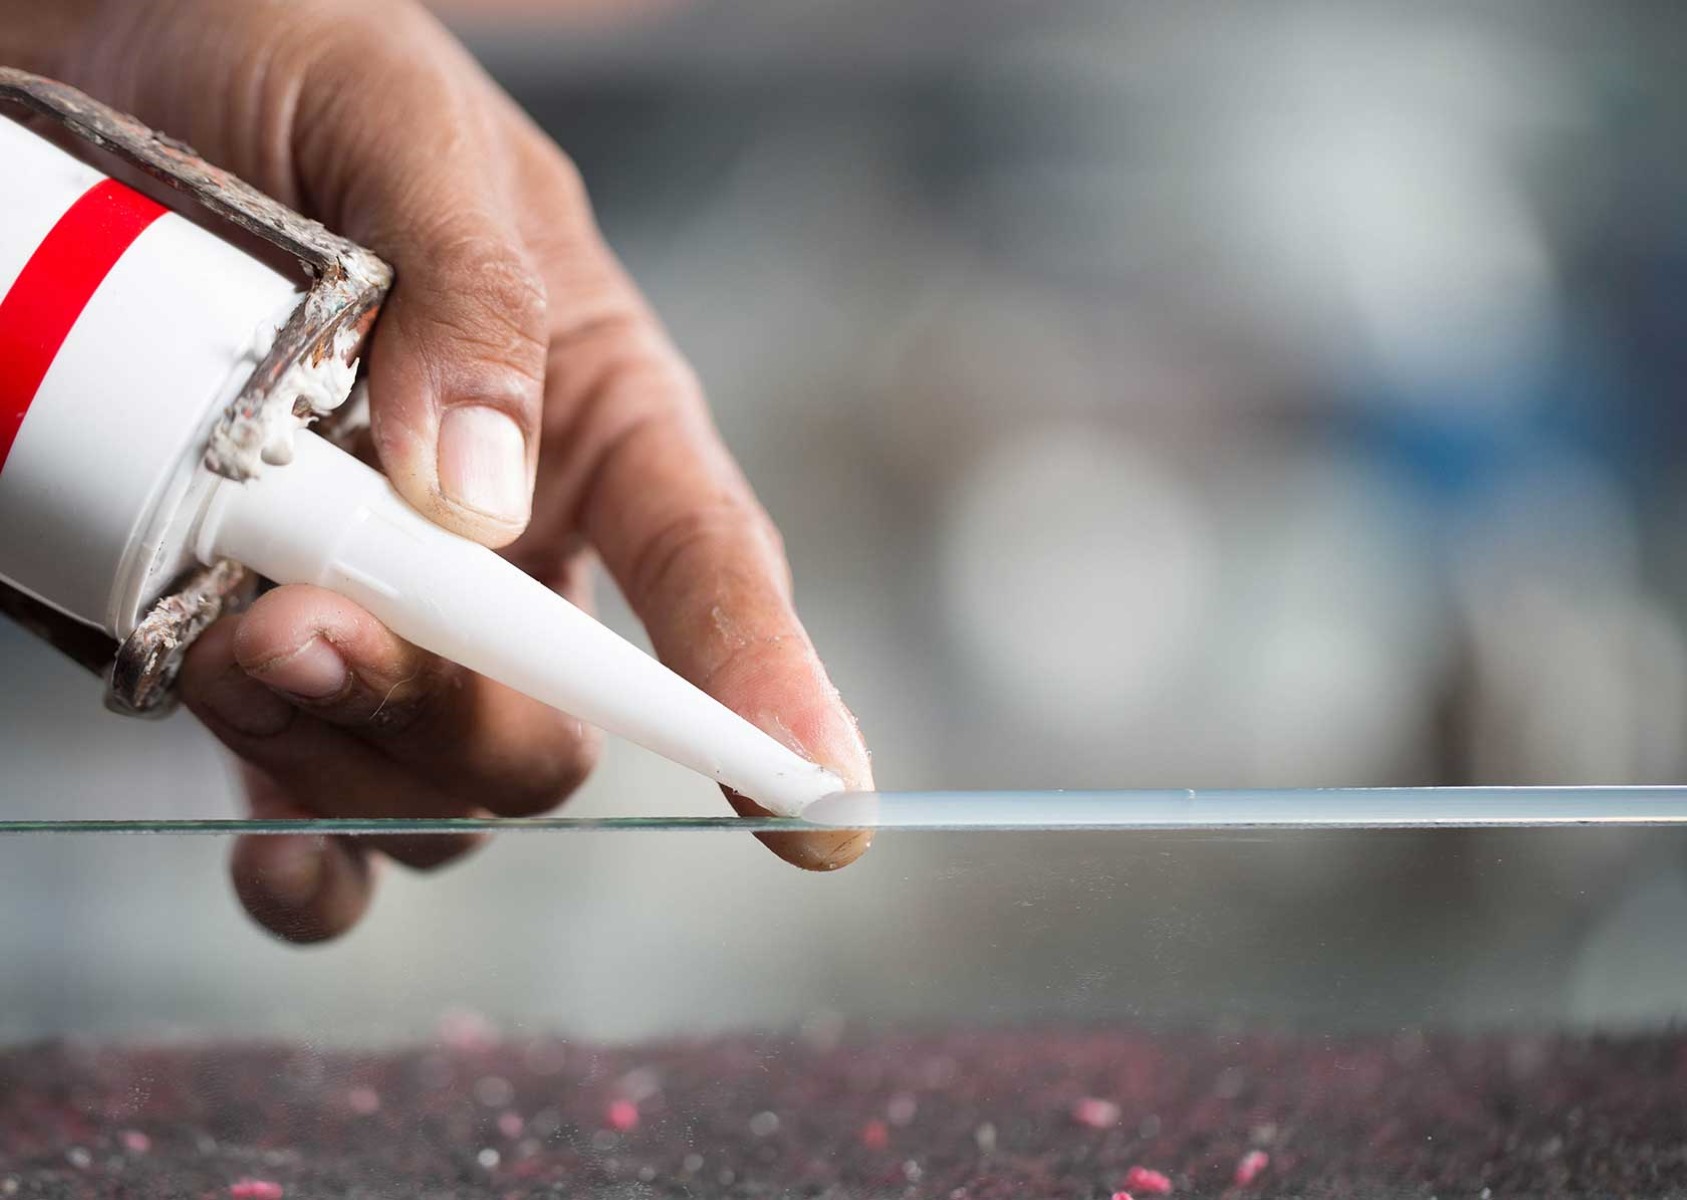
Step 2: Choose the Right Adhesive
Selecting the appropriate adhesive for gluing rhinestones to your wine glass is crucial for a successful and long-lasting bond. Here are some factors to consider when choosing the right adhesive:
- Type of adhesive: Look for a transparent adhesive that is specifically formulated for bonding glass and rhinestones. Epoxy or jewelry adhesives are popular choices as they provide a strong and durable bond.
- Drying time: Consider the drying time of the adhesive. Some adhesives may dry quickly, while others may take longer to cure. Ensure you have enough time to work with the adhesive and adhere the rhinestones before it sets.
- Waterproof: It’s important to choose an adhesive that is waterproof. This will ensure that your rhinestones stay securely attached, even when the wine glass is washed or comes into contact with moisture.
- Flexibility: Glass can be fragile and may expand or contract with temperature changes. Look for an adhesive that provides some flexibility to accommodate these variations and prevent the rhinestones from popping off.
- Easy application: Consider the application method of the adhesive. Some adhesives come with a precision applicator tip, while others require the use of a brush or toothpick. Choose an adhesive that offers ease of use and allows for precise application.
It is best to follow the manufacturer’s guidelines on the adhesive packaging for application instructions, curing time, and any additional precautions.
Once you have selected the appropriate adhesive, you’re ready to move on to the next step of the process – applying the adhesive to the rhinestones.
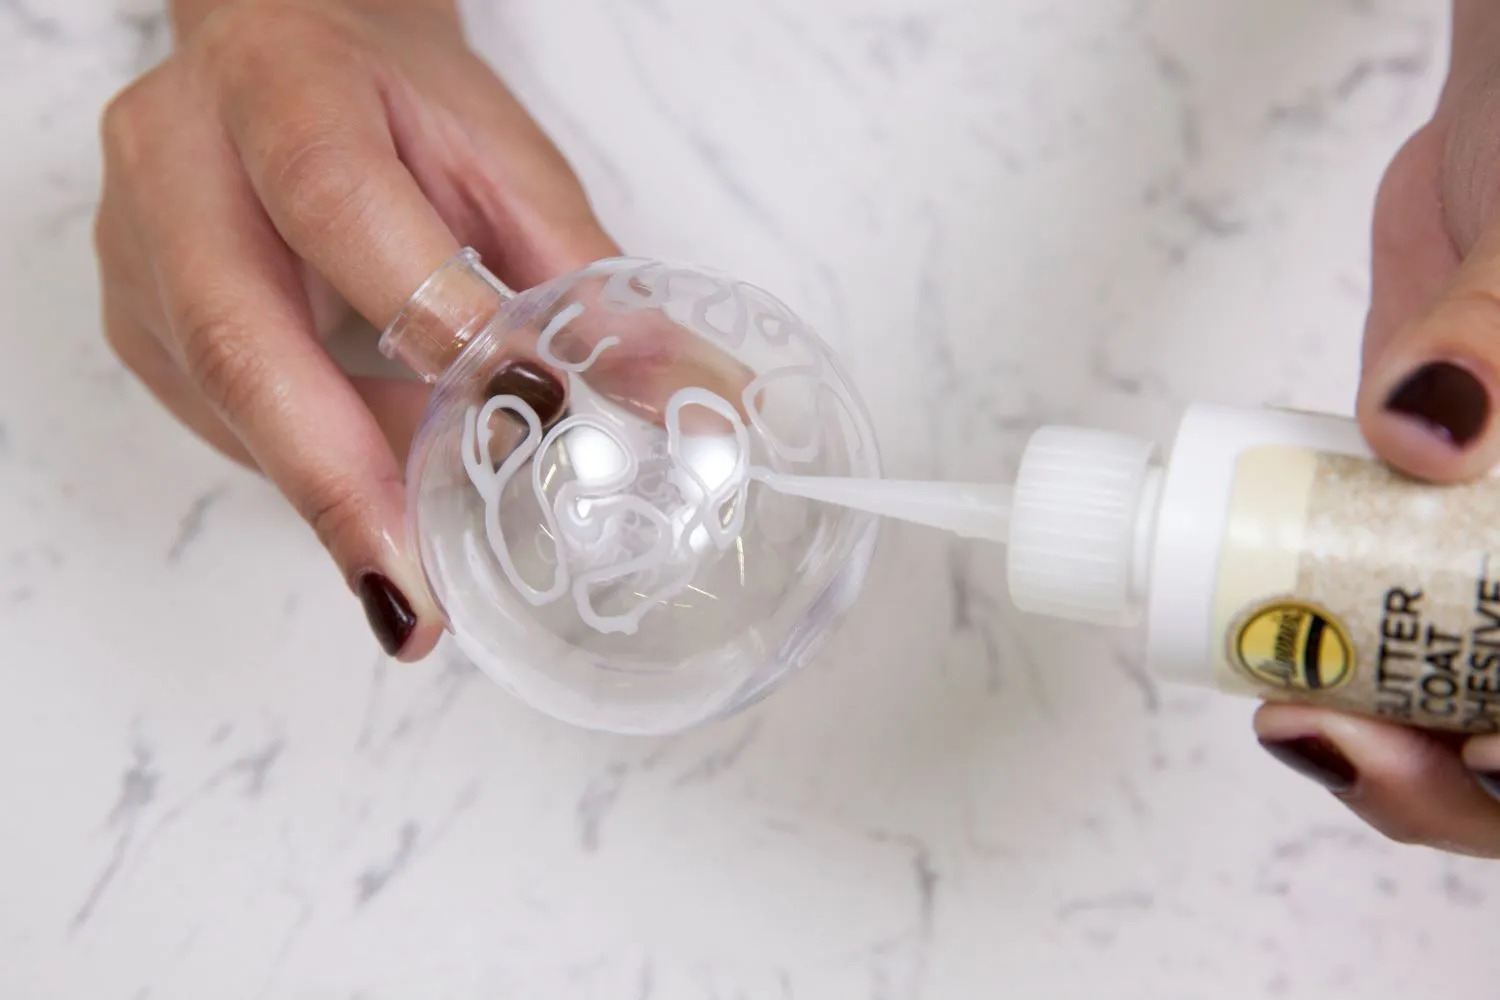
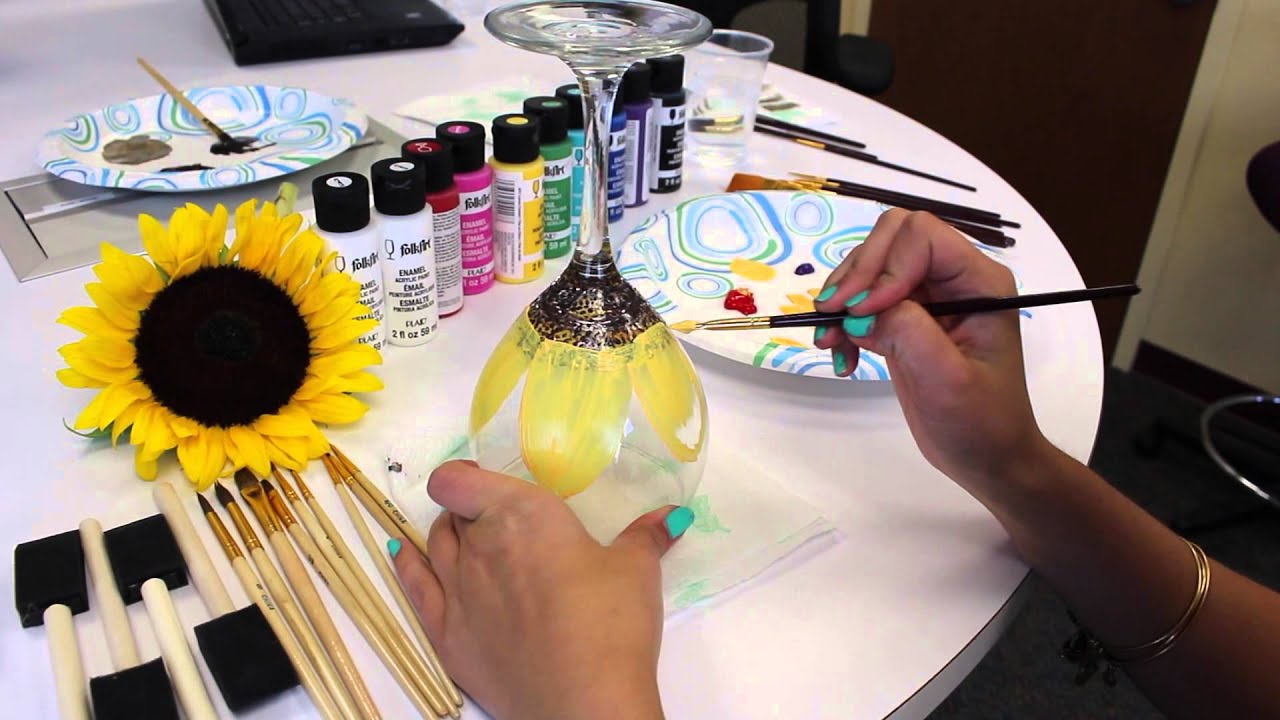
Step 3: Apply the Adhesive to the Rhinestones
With the right adhesive selected, it’s time to apply it to the rhinestones before attaching them to the wine glass. This step will ensure a secure bond between the rhinestones and the glass surface. Here’s how to apply the adhesive:
- Begin by squeezing a small amount of adhesive onto a clean dish or palette. Be mindful not to use too much adhesive at once, as it can dry out quickly.
- If using a precision applicator tip, gently squeeze the adhesive onto the flat side of the rhinestone, covering the surface evenly. If using a brush or toothpick, dip it into the adhesive and apply a thin layer to the back of the rhinestone.
- Ensure that the entire back surface of the rhinestone is covered with adhesive, but be careful not to apply too much to avoid excess glue from oozing out during the application process.
- Repeat this process for each rhinestone you plan to attach to the wine glass. Take your time and work in small batches to prevent the adhesive from drying out.
Remember, different adhesives may have different drying times, so keep an eye on the adhesive’s instructions regarding working time and curing time. It’s also essential to work in a well-ventilated area to avoid inhaling any fumes from the adhesive.
Once you have applied the adhesive to the rhinestones, it’s time to move on to the next step – placing the rhinestones onto the wine glass.
When gluing rhinestones to wine glasses, use a strong adhesive specifically designed for glass and non-porous surfaces. Apply a small amount of glue to the back of each rhinestone and press firmly onto the glass. Allow the glue to dry completely before handling the glasses.
Read more: How To Glue Glass To Wood
Step 4: Place the Rhinestones on the Wine Glass
Now that you’ve applied adhesive to the back of the rhinestones, it’s time to carefully place them onto the wine glass. Follow these steps for precise and secure rhinestone placement:
- Using a pair of tweezers or a rhinestone applicator tool, pick up a rhinestone by its flat side, taking care not to touch the adhesive.
- Position the rhinestone on the desired spot on the wine glass. Press it gently onto the surface, allowing the adhesive to bond with the glass.
- Continue this process for the remaining rhinestones, spacing them evenly or creating a pattern according to your design preferences. Take your time to ensure accurate placement.
- If you miss-align a rhinestone or decide to make changes, gently remove it from the glass while the adhesive is still wet. You can use a toothpick or tweezers to lift off the rhinestone carefully.
- Wipe off any excess adhesive using a clean cloth or cotton swab. Be cautious not to disturb the position of the rhinestones while doing so.
It’s essential to be patient and meticulous during this step to achieve a professional-looking result. Take breaks if needed, especially for longer or more elaborate designs, to maintain your focus and precision.
Once all the rhinestones are securely placed on the wine glass, it’s time to let the adhesive dry thoroughly before adding any finishing touches.
Step 5: Allow the Glue to Dry
After placing the rhinestones on the wine glass, it’s crucial to allow the adhesive to dry completely. This step ensures that the rhinestones adhere securely to the glass surface. Follow these guidelines to ensure proper drying:
- Refer to the adhesive manufacturer’s instructions regarding the drying or curing time. Different adhesives may have varying drying times, so it’s essential to adhere to the specific guidelines provided.
- Avoid touching or moving the wine glass during the drying process to prevent any accidental displacement of the rhinestones.
- It’s recommended to let the wine glass dry and cure in a well-ventilated area, away from direct sunlight or heat sources that may interfere with the adhesive’s curing process.
- The drying time can range from a few hours to overnight, depending on the adhesive used. Be patient and allow sufficient time for the adhesive to fully set.
It’s important to note that the drying time may affect the overall longevity of the bond. It’s advisable to wait at least 24 hours before using or handling the newly decorated wine glass, ensuring that the adhesive has ample time to cure properly.
Once the adhesive is completely dry, you can move on to the final step – adding any finishing touches to your rhinestone wine glasses.
Step 6: Finishing Touches
Now that the adhesive has dried and the rhinestones are securely attached to the wine glass, it’s time to add those final touches to enhance the overall appearance and durability of your creation. Follow these steps to complete the project and give your rhinestone wine glasses a polished look:
- Inspect the wine glass and make sure all the rhinestones are firmly in place. If you notice any loose or wobbly rhinestones, carefully remove them and reapply adhesive.
- If desired, apply a thin layer of clear sealant or top coat over the rhinestones. This step can help protect the rhinestones from wear and tear, adding extra durability to your design.
- Allow the sealant to dry completely according to the manufacturer’s instructions before handling or using the wine glass.
- Once the sealant is dry, give your wine glass a final gentle wipe with a clean cloth to remove any fingerprints or residue.
By adding a top coat or sealant, you provide an extra layer of protection for the rhinestones against moisture and potential damage during usage and cleaning.
Now, your rhinestone wine glasses are ready to impress! They are perfect for special occasions, celebrations, or even as personalized gifts. Remember to handle and clean the glasses with care to maintain the longevity of the rhinestones and adhesive.
With your newfound knowledge of gluing rhinestones to wine glasses, let your creativity run wild and experiment with different colors, patterns, and designs to create unique and eye-catching creations.
Enjoy your sparkling and glamorous wine glasses, and be proud of your DIY masterpiece!
Conclusion
Congratulations! You have successfully learned how to glue rhinestones to wine glasses and transform them into stunning, personalized works of art. With just a few materials and some creativity, you can create unique and glamorous tableware that will impress your guests and elevate any occasion.
Throughout this step-by-step guide, you learned the importance of properly preparing the wine glass surface, choosing the right adhesive, and securely placing the rhinestones for a long-lasting hold. It is crucial to follow the instructions provided by the adhesive manufacturer and allow sufficient drying and curing time to ensure optimal results.
Remember, while gluing rhinestones to wine glasses is a relatively simple and enjoyable DIY project, it does require patience and attention to detail to achieve professional-looking results. Take your time, work in small batches, and maintain focus during the placement process to create a symmetrical and visually appealing design.
Once your rhinestone wine glasses are complete, consider adding a clear sealant or top coat to provide an extra layer of protection and durability. This step will help preserve the beauty and shine of the rhinestones, ensuring that your creations withstand regular usage and cleaning.
Whether you’re beautifying your own glassware collection or creating personalized gifts for friends and loved ones, these dazzling rhinestone wine glasses are sure to be a conversation starter. So, let your creativity shine, experiment with different colors and designs, and enjoy the joy and satisfaction of creating your own unique tableware.
Now, gather your materials, unleash your creativity, and let the rhinestone-adorned wine glasses become the highlight of your next gathering or celebration!
Frequently Asked Questions about How To Glue Rhinestones To Wine Glasses
Was this page helpful?
At Storables.com, we guarantee accurate and reliable information. Our content, validated by Expert Board Contributors, is crafted following stringent Editorial Policies. We're committed to providing you with well-researched, expert-backed insights for all your informational needs.


0 thoughts on “How To Glue Rhinestones To Wine Glasses”