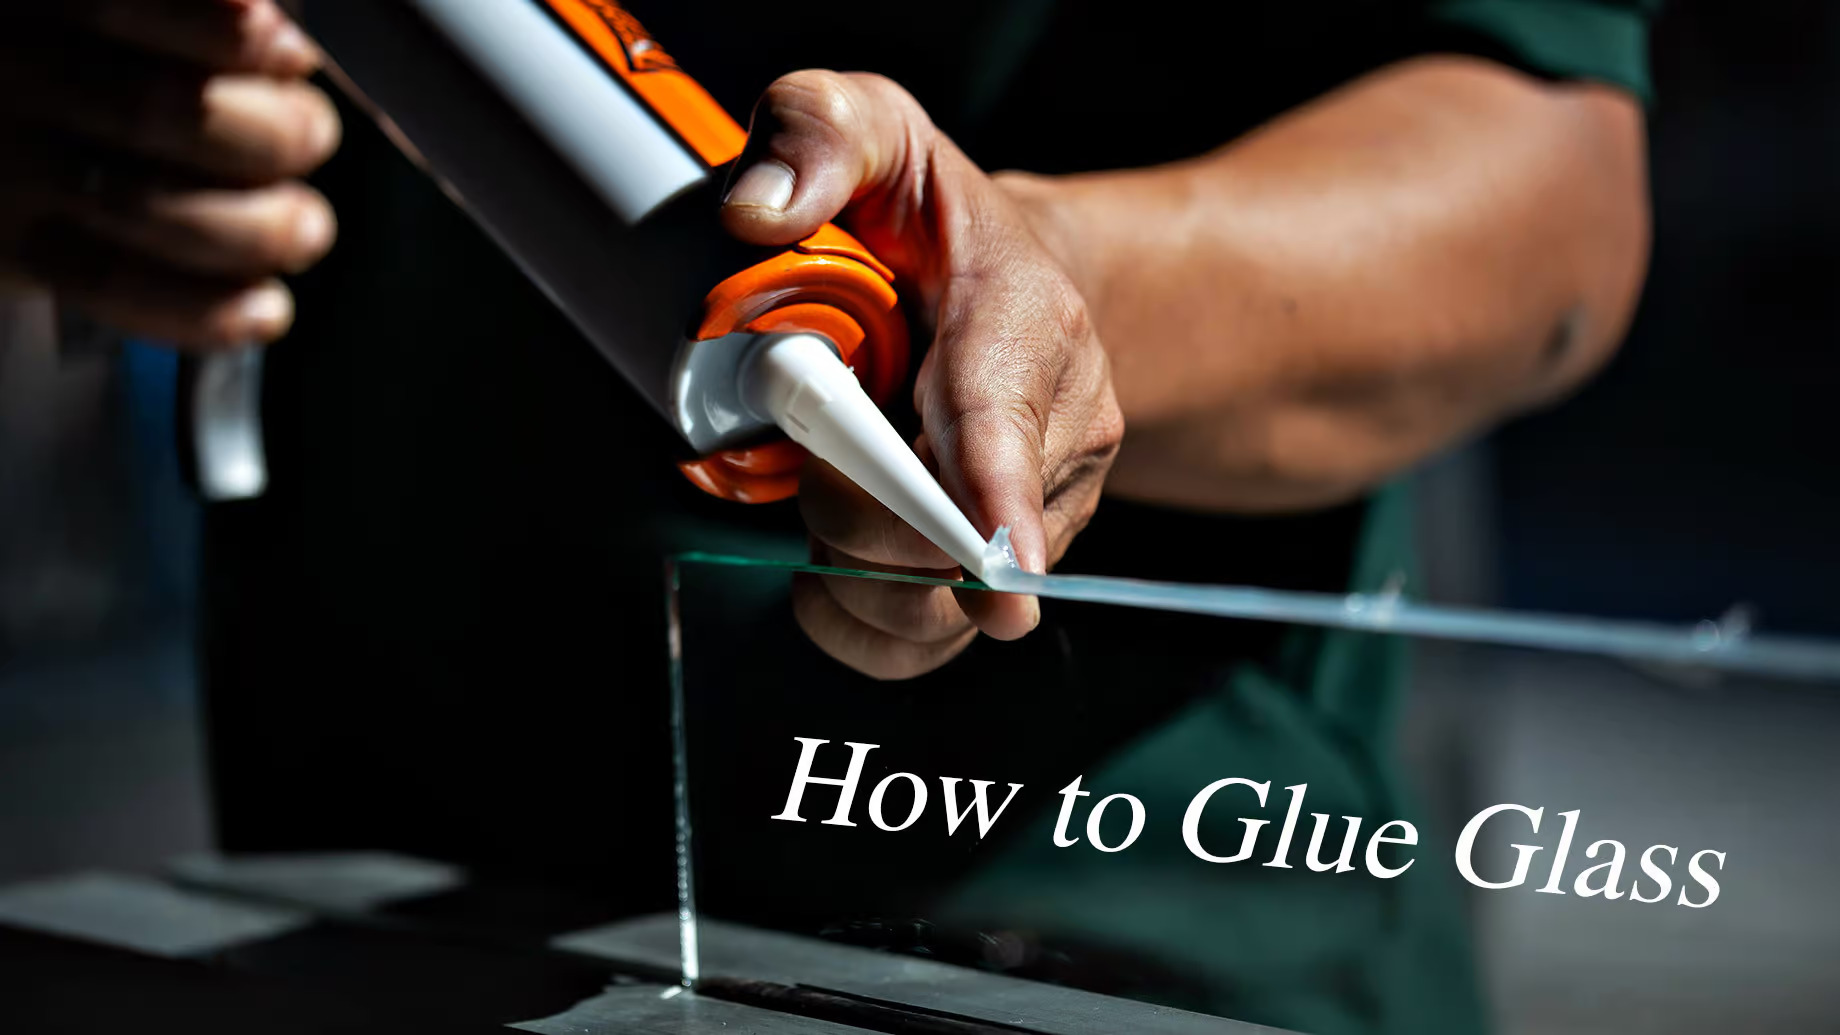
Home>Furniture & Design>Interior Design Trends>How To Glue Glass To Glass Permanently
Interior Design Trends
How To Glue Glass To Glass Permanently
Modified: October 18, 2024
Discover the latest interior design trends and learn how to permanently glue glass to glass with our expert tips and techniques. Achieve a stylish and durable finish for your glass projects.
(Many of the links in this article redirect to a specific reviewed product. Your purchase of these products through affiliate links helps to generate commission for Storables.com, at no extra cost. Learn more)
Introduction
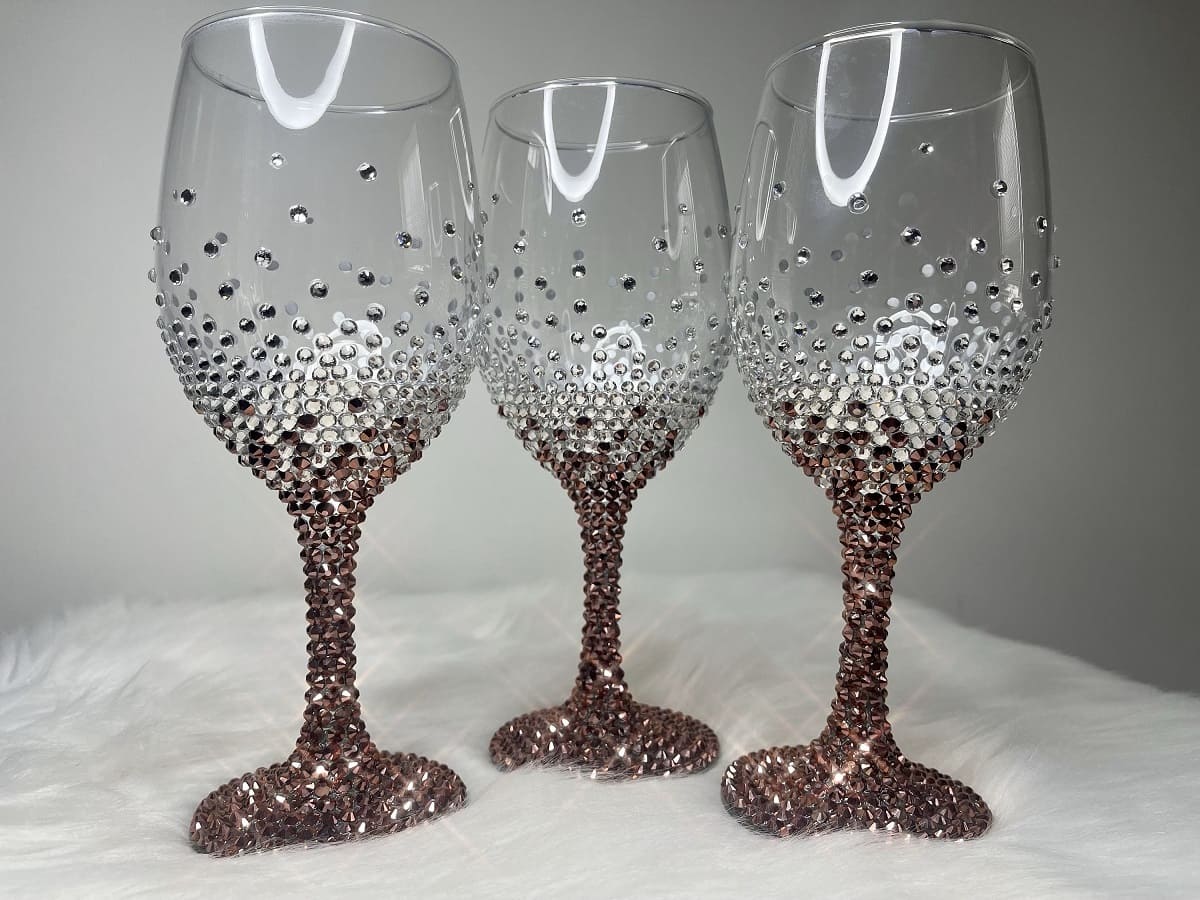
When it comes to interior design and home decor, glass elements can add a touch of elegance and modernity to any space. Whether it's creating a stunning glass art installation, repairing a cherished glass heirloom, or assembling a DIY project, knowing how to securely bond glass to glass is a valuable skill. The process of permanently gluing glass to glass requires careful consideration of the adhesive, meticulous surface preparation, precise application, and thorough curing. By mastering these steps, you can ensure a strong and enduring bond that enhances the beauty and functionality of your glass creations.
In this comprehensive guide, we will delve into the intricacies of gluing glass to glass permanently. From selecting the right adhesive to testing the bond, each step plays a crucial role in achieving a successful and long-lasting result. Whether you're a seasoned artisan or a passionate hobbyist, understanding the nuances of glass bonding will empower you to bring your creative visions to life with confidence and precision. So, let's embark on this enlightening journey and unlock the secrets to seamlessly bonding glass surfaces for a myriad of artistic and practical endeavors.
Key Takeaways:
- Mastering the art of gluing glass to glass involves choosing the right adhesive, meticulously preparing the surfaces, and applying the adhesive with precision. This ensures a strong and enduring bond for creative glass projects.
- The process of permanently gluing glass to glass requires careful selection of adhesive, thorough surface preparation, precise application, and meticulous curing. These steps ensure a reliable and enduring bond for a variety of artistic and practical glass creations.
Choosing the Right Adhesive
Selecting the appropriate adhesive is paramount when aiming to achieve a permanent bond between glass surfaces. The diverse array of adhesives available in the market can be overwhelming, but understanding their properties and applications is essential for making an informed choice.
-
Epoxy Resin: Renowned for its exceptional bonding strength and versatility, epoxy resin is a popular choice for bonding glass to glass. This two-part adhesive, comprising a resin and hardener, offers a durable and transparent bond. Its ability to withstand moisture and temperature variations makes it suitable for both indoor and outdoor applications.
-
UV-curing Adhesive: Ideal for projects requiring rapid bonding, UV-curing adhesives offer quick and reliable results. When exposed to ultraviolet light, these adhesives undergo a photochemical reaction, creating a strong and transparent bond. Their fast curing time and resistance to yellowing make them suitable for delicate glass assemblies.
-
Silicone Adhesive: Widely recognized for its flexibility and weather resistance, silicone adhesive is a versatile option for bonding glass surfaces. It provides a strong yet flexible bond, making it suitable for applications where vibration or movement is a concern. Additionally, its transparent nature ensures minimal visual interference in glass-to-glass bonds.
-
Polyurethane Adhesive: Known for its exceptional durability and resistance to impact, polyurethane adhesive is a reliable choice for bonding glass in high-stress environments. Its ability to withstand harsh environmental conditions and mechanical stress makes it suitable for structural glass bonding and outdoor installations.
-
Cyanoacrylate Adhesive: Commonly referred to as super glue, cyanoacrylate adhesive offers rapid bonding for small glass assemblies. While it may not be suitable for load-bearing applications, its quick curing time and ease of use make it a convenient option for minor glass repairs and crafting projects.
When selecting an adhesive, consider the specific requirements of your project, such as load-bearing capacity, exposure to environmental factors, and curing time. Additionally, ensure compatibility with the type of glass being bonded, whether it is clear, tinted, or frosted. By carefully evaluating these factors, you can confidently choose the right adhesive to facilitate a strong and enduring bond between glass surfaces.
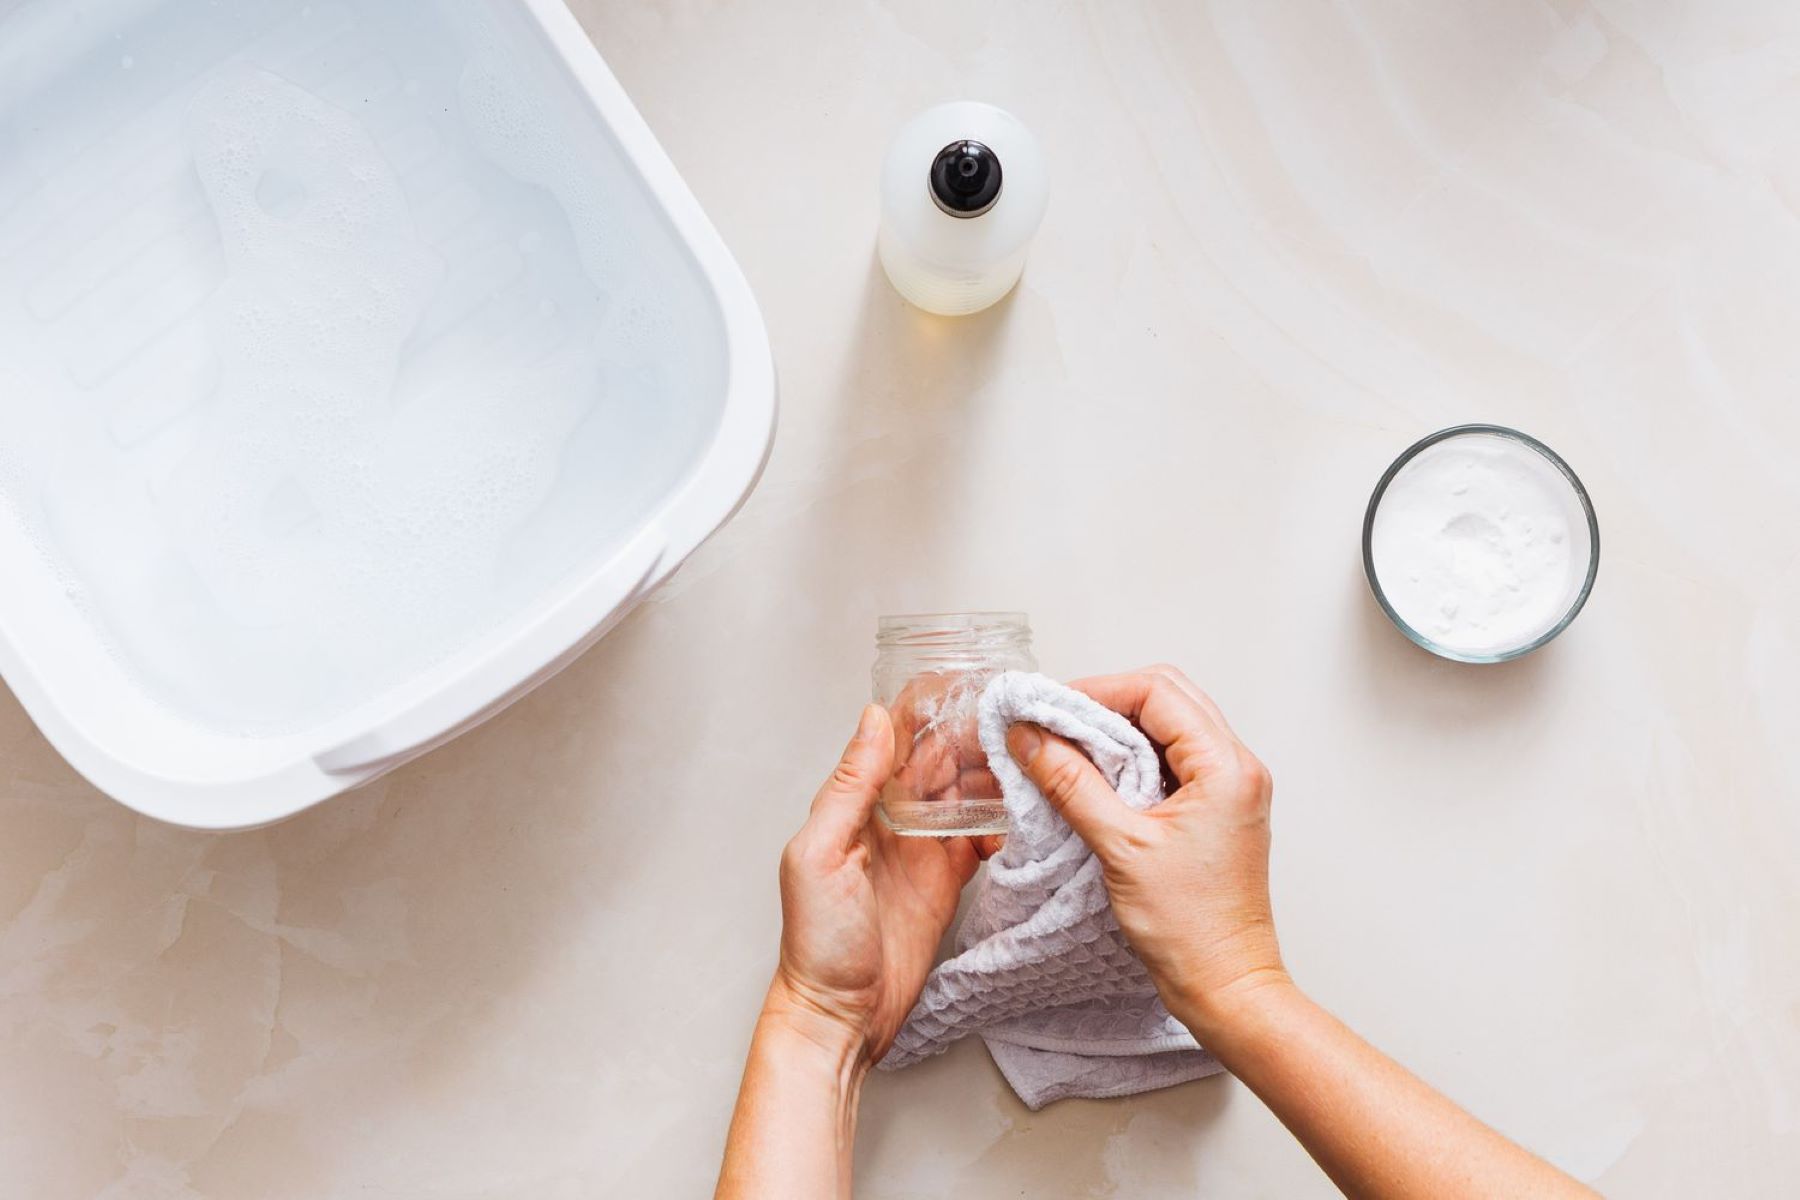
Preparing the Glass Surfaces
Before applying the chosen adhesive, meticulous preparation of the glass surfaces is essential to ensure a strong and enduring bond. The effectiveness of the bonding process heavily relies on the cleanliness and texture of the glass, as any contaminants or imperfections can compromise the adhesive's ability to form a secure bond.
Cleaning the Glass
Begin the preparation process by thoroughly cleaning the glass surfaces that will be bonded. Use a gentle glass cleaner or a solution of water and mild dish soap to remove any dust, dirt, or residues. Ensure that the glass is completely free of grease, fingerprints, and any other impurities that could hinder the adhesive's ability to adhere effectively.
Surface Activation
In some cases, especially when working with non-porous or low-energy surfaces, surface activation may be necessary to promote adhesion. This can be achieved by using a specialized glass cleaner or solvent to remove any remaining contaminants and to activate the surface for improved bonding. Additionally, for certain adhesives, such as UV-curing or epoxy resin, lightly abrading the glass surfaces with fine-grit sandpaper can enhance their adhesion properties.
Read more: How To Glue Glass To Wood
Drying and Degreasing
After cleaning and, if necessary, activating the glass surfaces, allow them to dry completely. Any residual moisture or cleaning agents can interfere with the adhesive's ability to cure and bond effectively. Once dry, use a lint-free cloth and a suitable degreasing solvent to remove any remaining traces of oils or contaminants, ensuring that the surfaces are pristine and ready for the adhesive application.
Handling Precautions
Throughout the preparation process, handle the glass surfaces with care to avoid reintroducing contaminants. Use lint-free gloves or cloths to prevent fingerprints and minimize direct contact with the cleaned surfaces. Additionally, work in a clean and dust-free environment to maintain the integrity of the prepared glass surfaces until the adhesive application.
By meticulously preparing the glass surfaces with thorough cleaning, surface activation if necessary, and careful handling, you can create an optimal foundation for the adhesive application. This meticulous preparation sets the stage for a successful bonding process, ensuring that the adhesive can form a robust and enduring bond between the glass surfaces.
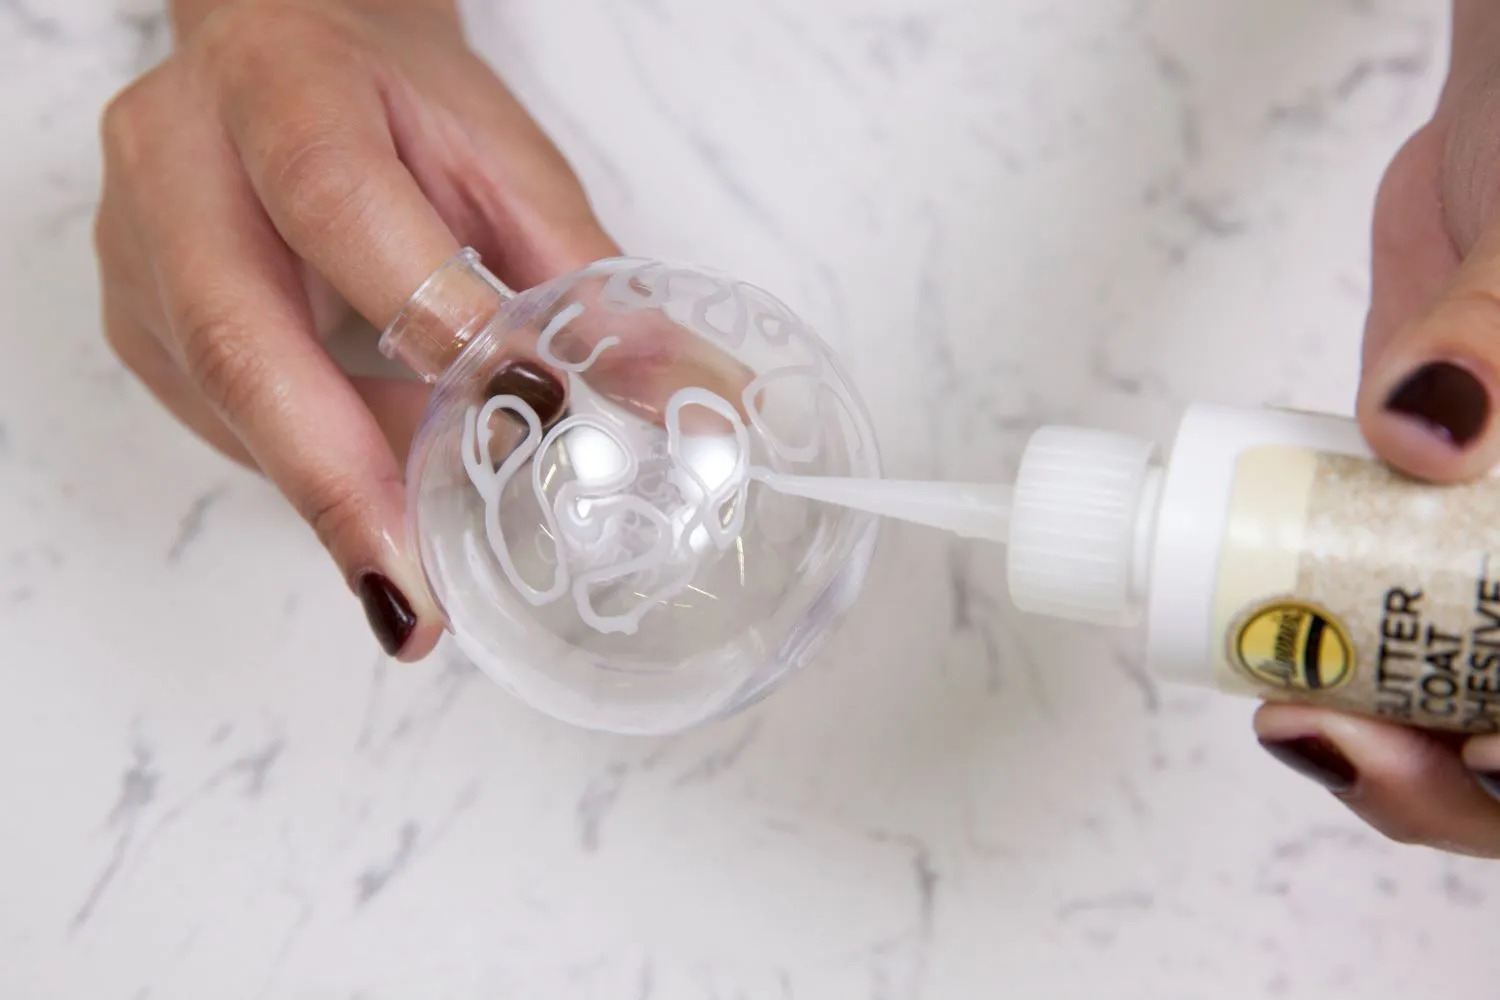
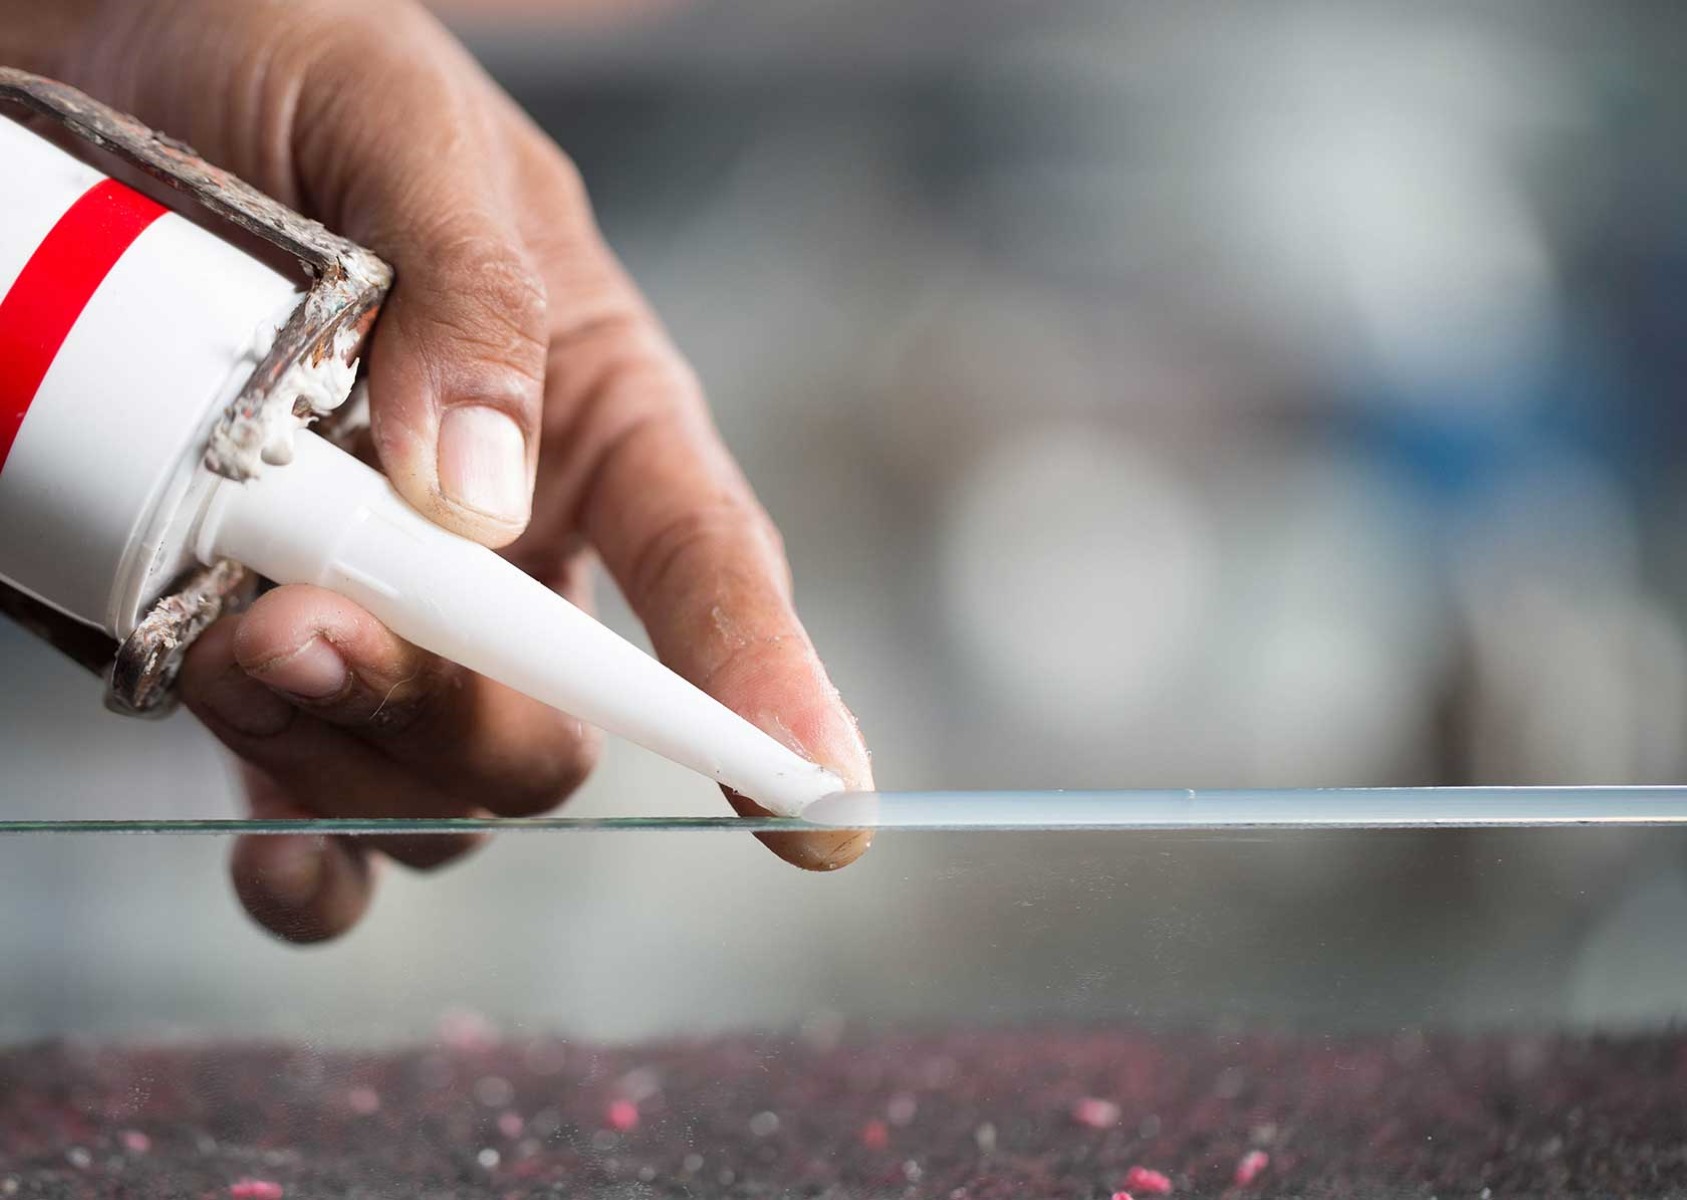
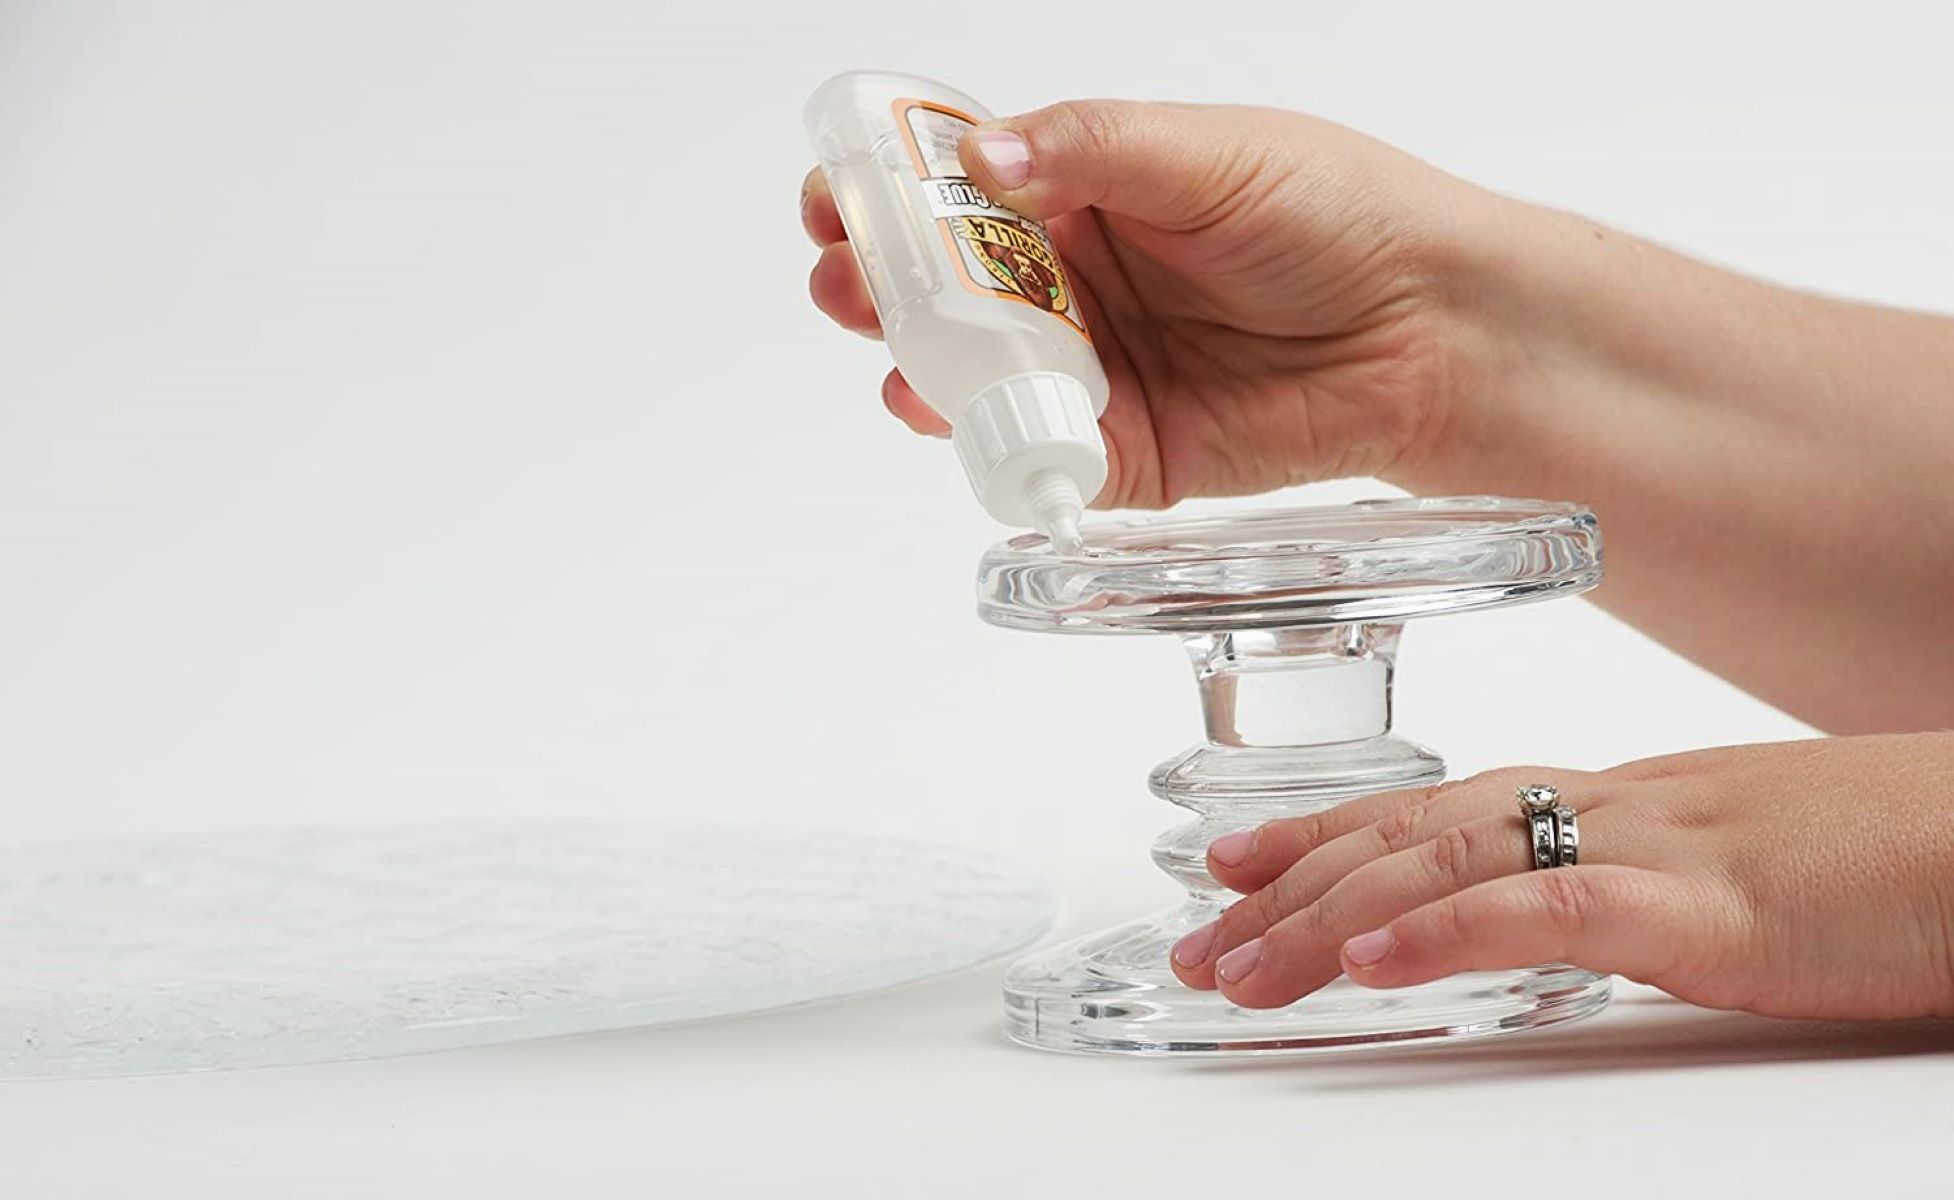
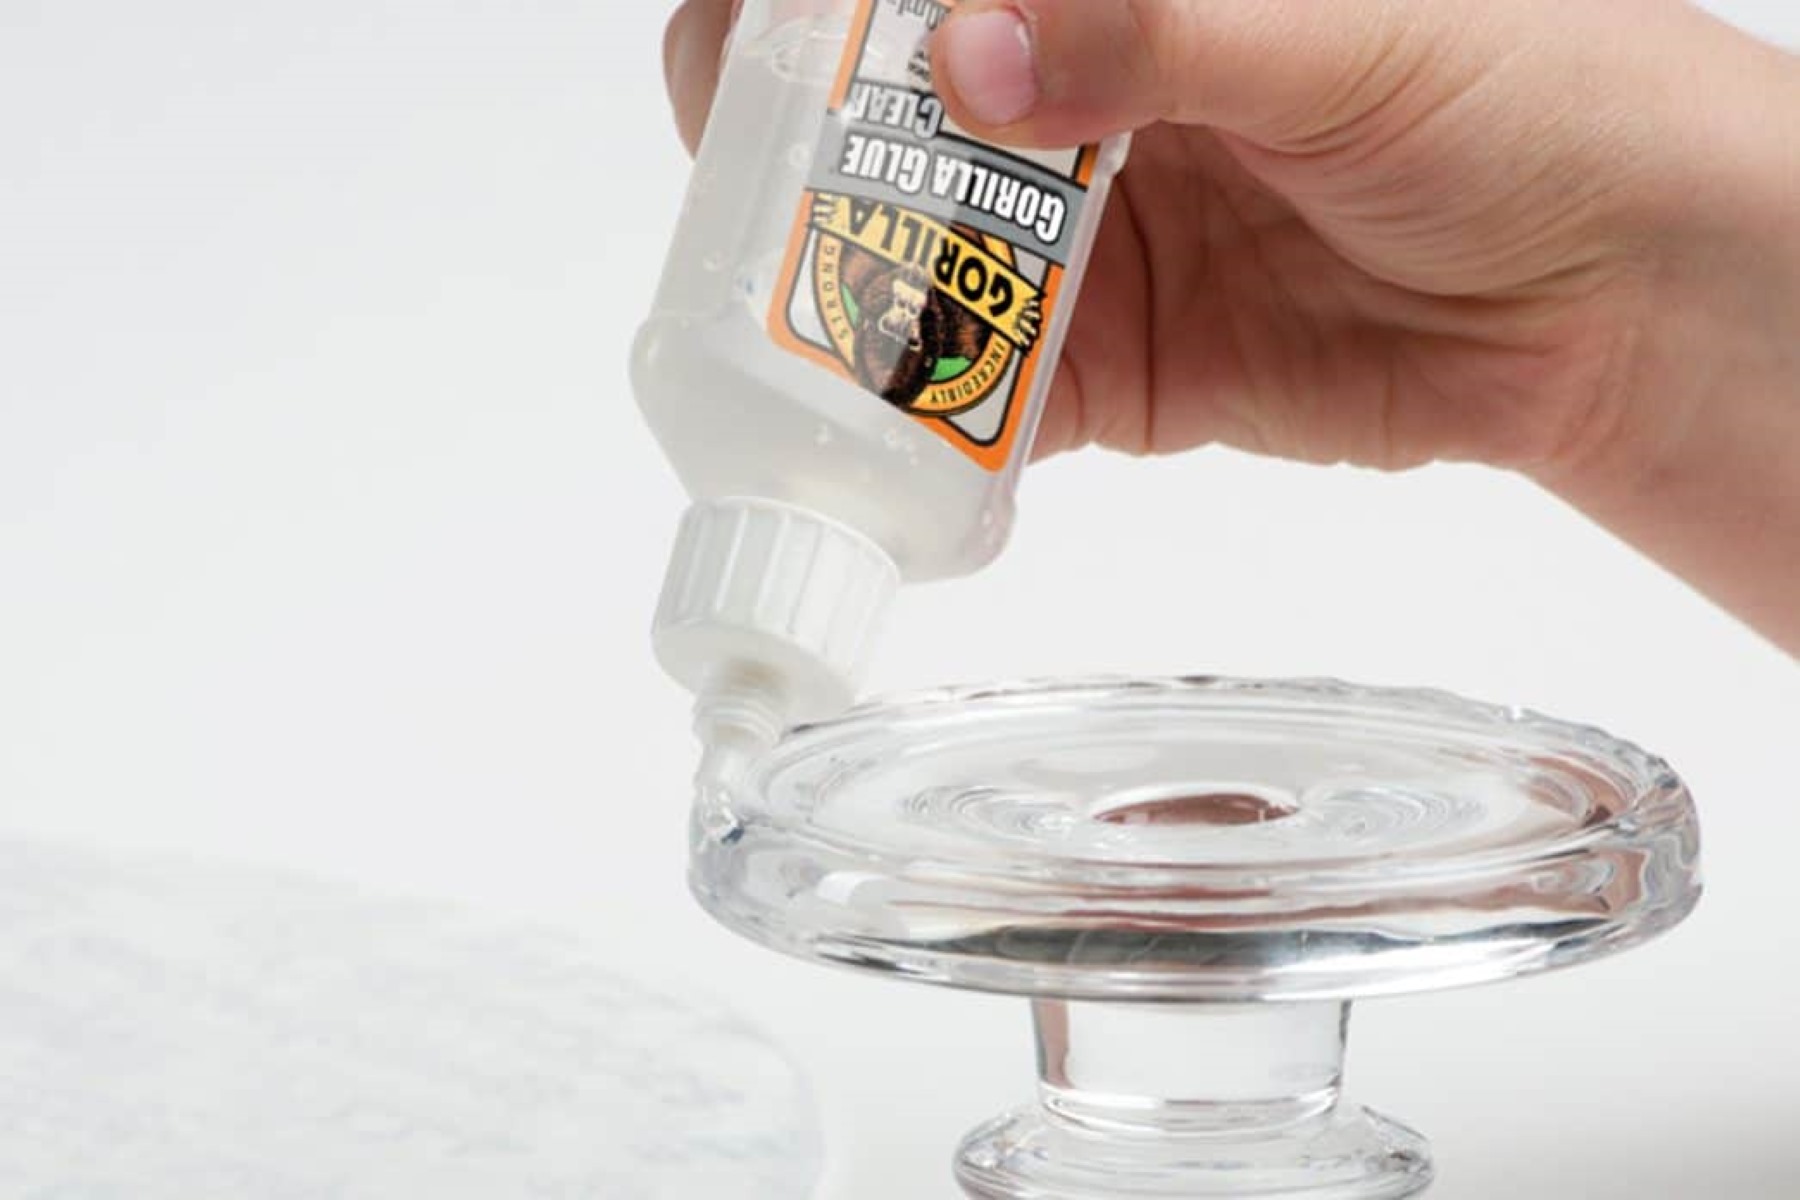
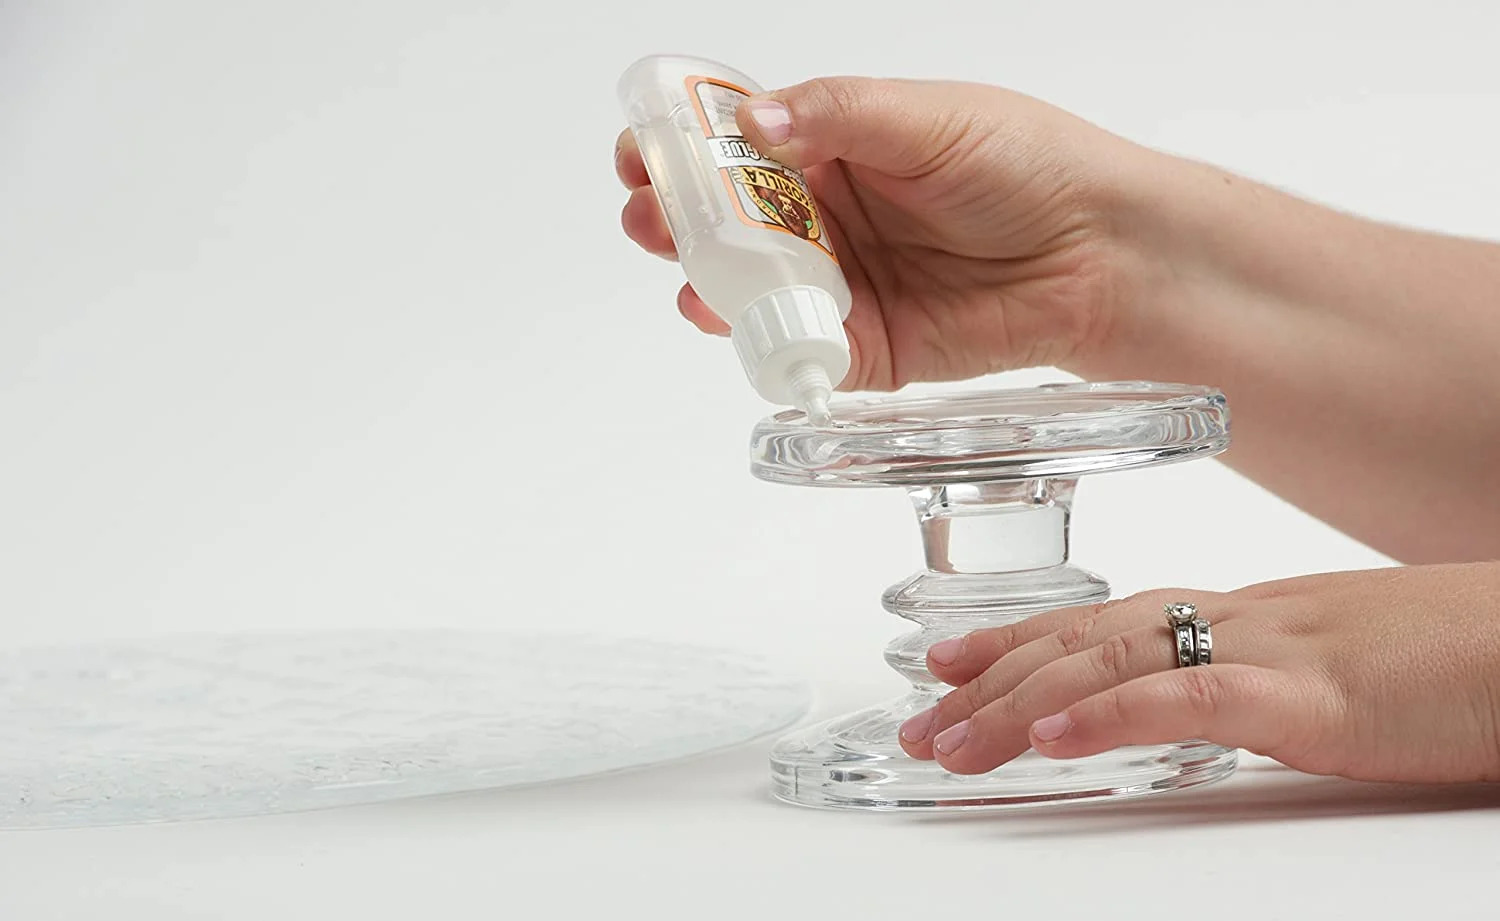
Applying the Adhesive
Once the glass surfaces are meticulously prepared, the application of the chosen adhesive is a critical step in achieving a strong and enduring bond. The method of applying the adhesive plays a significant role in ensuring uniform coverage, proper adhesion, and the overall effectiveness of the bonding process.
Dispensing and Mixing (For Two-Part Adhesives)
For two-part adhesives such as epoxy resin, proper dispensing and thorough mixing are essential. Follow the manufacturer's instructions to dispense the resin and hardener in the correct proportions. Use a clean disposable mixing container and stir the components methodically to achieve a homogeneous mixture. Ensure that no streaks or unmixed portions remain, as incomplete mixing can compromise the adhesive's strength and curing properties.
Read more: How To Glue Broken Glass
Application Technique
When applying the adhesive to the prepared glass surfaces, precision and consistency are key. Use a suitable applicator, such as a disposable brush, syringe, or precision nozzle, to apply the adhesive evenly across the bonding area. Ensure that the adhesive is spread in a uniform layer, avoiding excess buildup or thin spots that could affect the bond's strength and clarity.
Bonding Alignment
If the glass surfaces require precise alignment during bonding, use temporary markers or guides to ensure accurate positioning before bringing them into contact. This is particularly crucial for intricate assemblies or projects where alignment precision is paramount. Once the adhesive is applied, carefully bring the glass surfaces together, taking care to avoid trapping air bubbles or creating uneven pressure points.
Adhesive Compatibility
Consider the compatibility of the adhesive with the specific type of glass being bonded. Certain adhesives may interact differently with clear, tinted, or frosted glass, affecting their transparency and visual appeal. Additionally, ensure that the adhesive is suitable for the intended application, whether it involves load-bearing structural bonds, decorative assemblies, or outdoor installations.
Cleanup and Excess Removal
Promptly clean any excess adhesive that may have seeped out from the bonded area. Use a suitable solvent or adhesive remover recommended by the manufacturer to carefully remove any spills or smudges without disturbing the bonded surfaces. Thoroughly inspect the bonded assembly to ensure a clean and precise finish, as any residual adhesive can detract from the visual appeal and integrity of the bond.
By meticulously following these steps and paying attention to the nuances of adhesive application, you can optimize the bonding process and set the stage for a secure and visually appealing bond between the glass surfaces. The careful application of the adhesive is a pivotal stage in the journey toward achieving a permanent and reliable bond, unlocking the potential for a myriad of artistic and functional glass creations.
Read more: How To Glue Metal To Glass
Curing the Adhesive
Curing the adhesive is a crucial phase in the glass bonding process, as it allows the adhesive to develop its full strength and durability. The curing duration and conditions are determined by the type of adhesive used, and adhering to the manufacturer's recommendations is essential to ensure optimal bond performance.
Curing Time and Conditions
For epoxy resin and polyurethane adhesives, the curing time can vary based on factors such as temperature, humidity, and the specific formulation of the adhesive. Following the prescribed curing time is imperative to allow the adhesive to reach its maximum strength. In some cases, applying gentle pressure or clamping the bonded assembly during curing can help ensure intimate contact and uniform adhesion.
UV-curing adhesives, on the other hand, require exposure to ultraviolet light for a specified duration to initiate the curing process. The intensity and duration of UV exposure are critical factors that influence the adhesive's curing speed and ultimate bond strength. Adhering to the recommended UV exposure parameters is essential for achieving a reliable and expedited cure.
Environmental Considerations
During the curing period, it is essential to maintain suitable environmental conditions to facilitate the adhesive's optimal curing. This may involve controlling temperature and humidity levels within the recommended range, especially for adhesives sensitive to environmental factors. Additionally, protecting the bonded assembly from dust, debris, and potential disturbances during curing is vital to ensure a pristine and undisturbed bonding process.
Post-Curing Considerations
After the initial curing period, allowing the bonded assembly to rest undisturbed for an additional period, if recommended by the adhesive manufacturer, can further enhance the bond's strength and durability. This post-curing phase allows the adhesive to achieve its full mechanical and chemical properties, ensuring a robust and enduring bond between the glass surfaces.
By meticulously adhering to the prescribed curing time, environmental conditions, and any post-curing recommendations, you can optimize the adhesive's performance and unlock the full potential of the glass-to-glass bond. The curing phase is a critical determinant of the bond's long-term stability and resilience, underscoring the importance of precision and adherence to the adhesive manufacturer's guidelines.
This comprehensive approach to curing the adhesive sets the stage for a reliable and enduring bond, empowering you to embark on a myriad of creative and functional endeavors that showcase the beauty and versatility of glass in interior design and beyond.
Read more: How To Get Permanent Marker Off Glass
Testing the Bond
After the adhesive has undergone the prescribed curing process, it is imperative to assess the integrity and strength of the bond between the glass surfaces. Testing the bond serves as a critical validation of the adhesive's performance and the overall success of the glass-to-glass bonding process.
Visual Inspection
Initiate the testing process with a thorough visual inspection of the bonded assembly. Examine the bond line for uniformity, clarity, and any signs of adhesive failure. A well-executed bond should exhibit a consistent and transparent bond line, devoid of air pockets, gaps, or visible imperfections. Additionally, scrutinize the edges and perimeter of the bond for any indications of incomplete adhesion or irregularities.
Mechanical Stress Testing
Subject the bonded assembly to controlled mechanical stress to evaluate the resilience of the bond. This can involve applying gradual pressure or tension to assess the bond's ability to withstand external forces. For load-bearing applications, such as structural glass bonding, consider conducting stress tests that simulate the anticipated mechanical loads to gauge the bond's strength and durability.
Shear and Peel Tests
Perform shear and peel tests, if applicable based on the adhesive type and bonding application. Shear testing involves applying lateral force to the bonded surfaces to evaluate the adhesive's resistance to sliding or shearing forces. Peel testing, on the other hand, assesses the bond's ability to withstand perpendicular separation forces. These tests provide quantitative insights into the adhesive's cohesive and adhesive strength, aiding in the comprehensive evaluation of the bond's performance.
Read more: How To Glue Paper To Glass
Environmental Exposure
Expose the bonded assembly to environmental conditions relevant to the intended application. This can include temperature variations, humidity, and exposure to UV radiation, depending on the anticipated operating environment. Assess the bond's stability and resistance to environmental factors, ensuring that the adhesive maintains its integrity and strength under realistic conditions.
Non-Destructive Evaluation
Utilize non-destructive evaluation techniques, such as ultrasonic testing or thermal imaging, to assess the bond's internal integrity without compromising the assembly. These advanced methods can provide valuable insights into the bond's quality and uniformity, offering a comprehensive assessment of the adhesive's performance beyond surface-level observations.
By meticulously conducting these tests, you can gain a comprehensive understanding of the bond's strength, durability, and suitability for its intended application. The testing phase serves as a critical validation of the adhesive's efficacy, ensuring that the glass-to-glass bond meets the stringent requirements of artistic, functional, or structural projects.
This comprehensive approach to testing the bond underscores the commitment to achieving a reliable and enduring glass-to-glass bond, empowering you to embark on a myriad of creative and functional endeavors that showcase the beauty and versatility of glass in interior design and beyond.
Conclusion
In conclusion, mastering the art of permanently gluing glass to glass opens up a world of creative possibilities in interior design, artistry, and functional applications. The journey from selecting the right adhesive to meticulously preparing the glass surfaces, applying the adhesive with precision, and ensuring thorough curing culminates in the critical phase of testing the bond. This comprehensive process is essential for achieving a reliable and enduring bond that enhances the beauty and functionality of glass assemblies.
The careful selection of the adhesive based on the specific requirements of the project, whether it involves structural bonding, delicate glass art, or outdoor installations, sets the foundation for a successful bond. Understanding the properties and applications of epoxy resin, UV-curing adhesives, silicone adhesives, polyurethane adhesives, and cyanoacrylate adhesives empowers artisans and enthusiasts to make informed choices tailored to their unique projects.
Meticulously preparing the glass surfaces through thorough cleaning, surface activation if necessary, and careful handling ensures an optimal foundation for the adhesive application. This preparatory phase is crucial for eliminating contaminants and imperfections that could compromise the bond, setting the stage for a seamless and enduring union between the glass surfaces.
The precise application of the chosen adhesive, whether through dispensing and mixing for two-part adhesives or utilizing suitable application techniques, is instrumental in achieving uniform coverage and proper adhesion. Attention to bonding alignment, adhesive compatibility with different glass types, and meticulous cleanup further enhances the quality of the bond, ensuring a visually appealing and robust result.
Curing the adhesive in accordance with the manufacturer's recommendations, considering environmental factors, and allowing for post-curing when necessary, is pivotal for unlocking the adhesive's full potential. This phase is essential for achieving the adhesive's maximum strength and durability, laying the groundwork for a reliable and enduring bond between the glass surfaces.
The testing phase serves as the ultimate validation of the adhesive's performance, encompassing visual inspections, mechanical stress testing, shear and peel tests, environmental exposure assessments, and non-destructive evaluation techniques. Through these rigorous tests, the integrity, strength, and suitability of the glass-to-glass bond are comprehensively evaluated, ensuring that it meets the stringent requirements of diverse artistic, functional, or structural projects.
In essence, the process of permanently gluing glass to glass is a harmonious blend of artistry, precision, and technical expertise. By mastering each step with diligence and attention to detail, artisans and enthusiasts can unleash their creativity and bring their glass-centric visions to life with confidence and reliability. Whether it's creating captivating glass art installations, assembling intricate glass structures, or restoring cherished glass heirlooms, the ability to achieve a strong and enduring bond between glass surfaces is a testament to the transformative power of craftsmanship and innovation in the realm of interior design and beyond.
Frequently Asked Questions about How To Glue Glass To Glass Permanently
Was this page helpful?
At Storables.com, we guarantee accurate and reliable information. Our content, validated by Expert Board Contributors, is crafted following stringent Editorial Policies. We're committed to providing you with well-researched, expert-backed insights for all your informational needs.


0 thoughts on “How To Glue Glass To Glass Permanently”