Home>Furniture & Design>Interior Design Trends>How To Glue Paper To Glass
Interior Design Trends
How To Glue Paper To Glass
Modified: August 16, 2024
Discover the latest interior design trends with our guide on how to glue paper to glass. Create stunning decor with this simple technique.
(Many of the links in this article redirect to a specific reviewed product. Your purchase of these products through affiliate links helps to generate commission for Storables.com, at no extra cost. Learn more)
Introduction
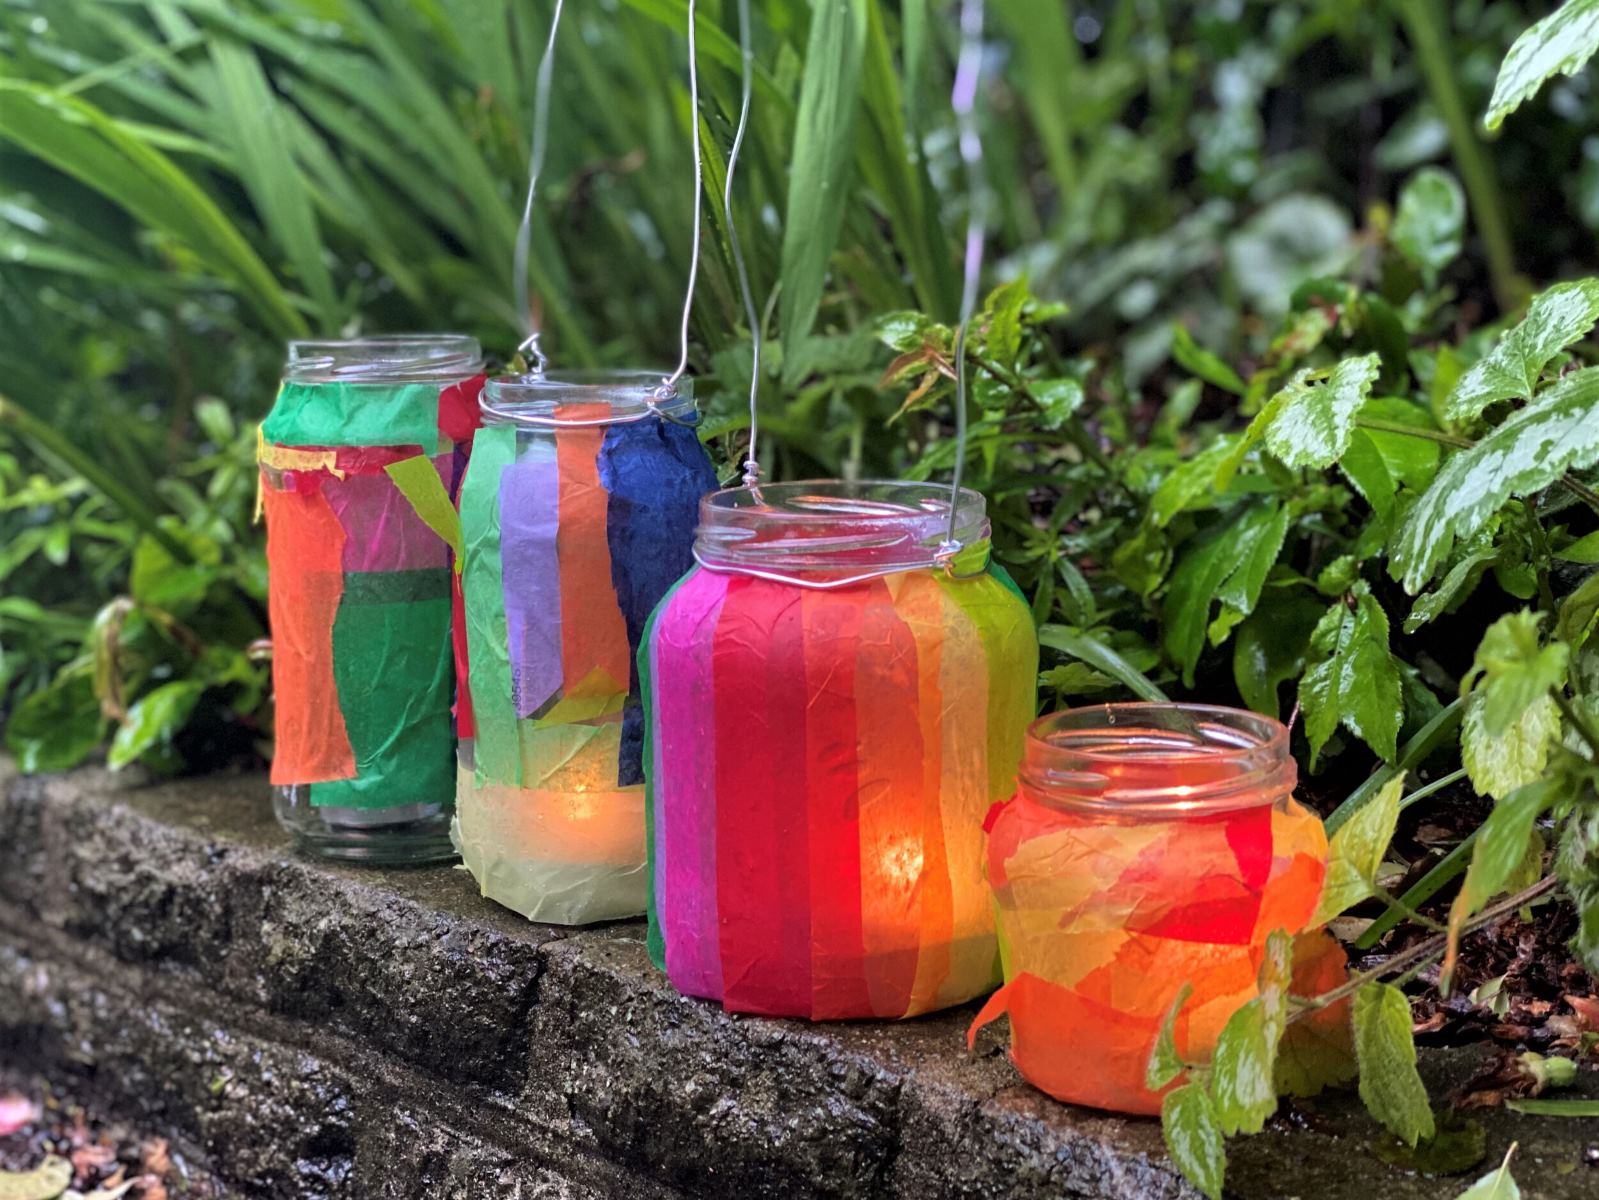
Gluing paper to glass can be a creative and practical way to personalize glass surfaces, such as windows, picture frames, or decorative items. Whether you are crafting a unique piece of art or looking to add a personal touch to your living space, this simple yet effective technique can transform ordinary glass into a stunning and customized work of art.
By combining the transparency of glass with the versatility of paper, you can create visually captivating designs that showcase your individual style and creativity. Whether you prefer delicate, intricate patterns or bold, vibrant colors, the possibilities are endless when it comes to adorning glass surfaces with paper.
In this comprehensive guide, we will walk you through the step-by-step process of gluing paper to glass, providing you with the knowledge and confidence to embark on your own creative projects. From preparing the glass surface to selecting the right type of glue and paper, we will cover all the essential aspects to ensure a successful and visually appealing outcome.
Whether you are a seasoned crafter or a novice DIY enthusiast, this guide is designed to equip you with the necessary skills and insights to achieve professional-looking results. With a few simple materials and a touch of creativity, you can elevate the aesthetic appeal of any glass surface and infuse it with your unique artistic flair.
So, gather your materials and let's embark on this creative journey to discover the art of gluing paper to glass. Get ready to unleash your imagination and bring your vision to life as we delve into the fascinating world of paper and glass fusion.
Key Takeaways:
- Transform ordinary glass into stunning art by gluing paper. Follow simple steps to prepare, apply glue, press paper, and let it dry for a personalized touch to living spaces.
- The fusion of paper and glass creates visually captivating compositions. Unleash creativity, patience, and precision to transform everyday objects into extraordinary works of art.
Read more: How To Glue Glass To Glass Permanently
Materials Needed
To embark on the exciting endeavor of gluing paper to glass, you will need a few essential materials to ensure a smooth and successful process. Here's a comprehensive list of the items you'll need to gather before diving into this creative project:
-
Glass Surface: Select the glass surface on which you intend to glue the paper. This could be a picture frame, a glass jar, a window pane, or any other glass item that you wish to embellish with paper.
-
Paper: Choose the type of paper that best suits your project. Whether you opt for decorative scrapbooking paper, handmade paper, or even recycled paper, ensure that it complements the design and theme you have in mind. The paper's texture, color, and weight will all contribute to the overall aesthetic of the finished piece.
-
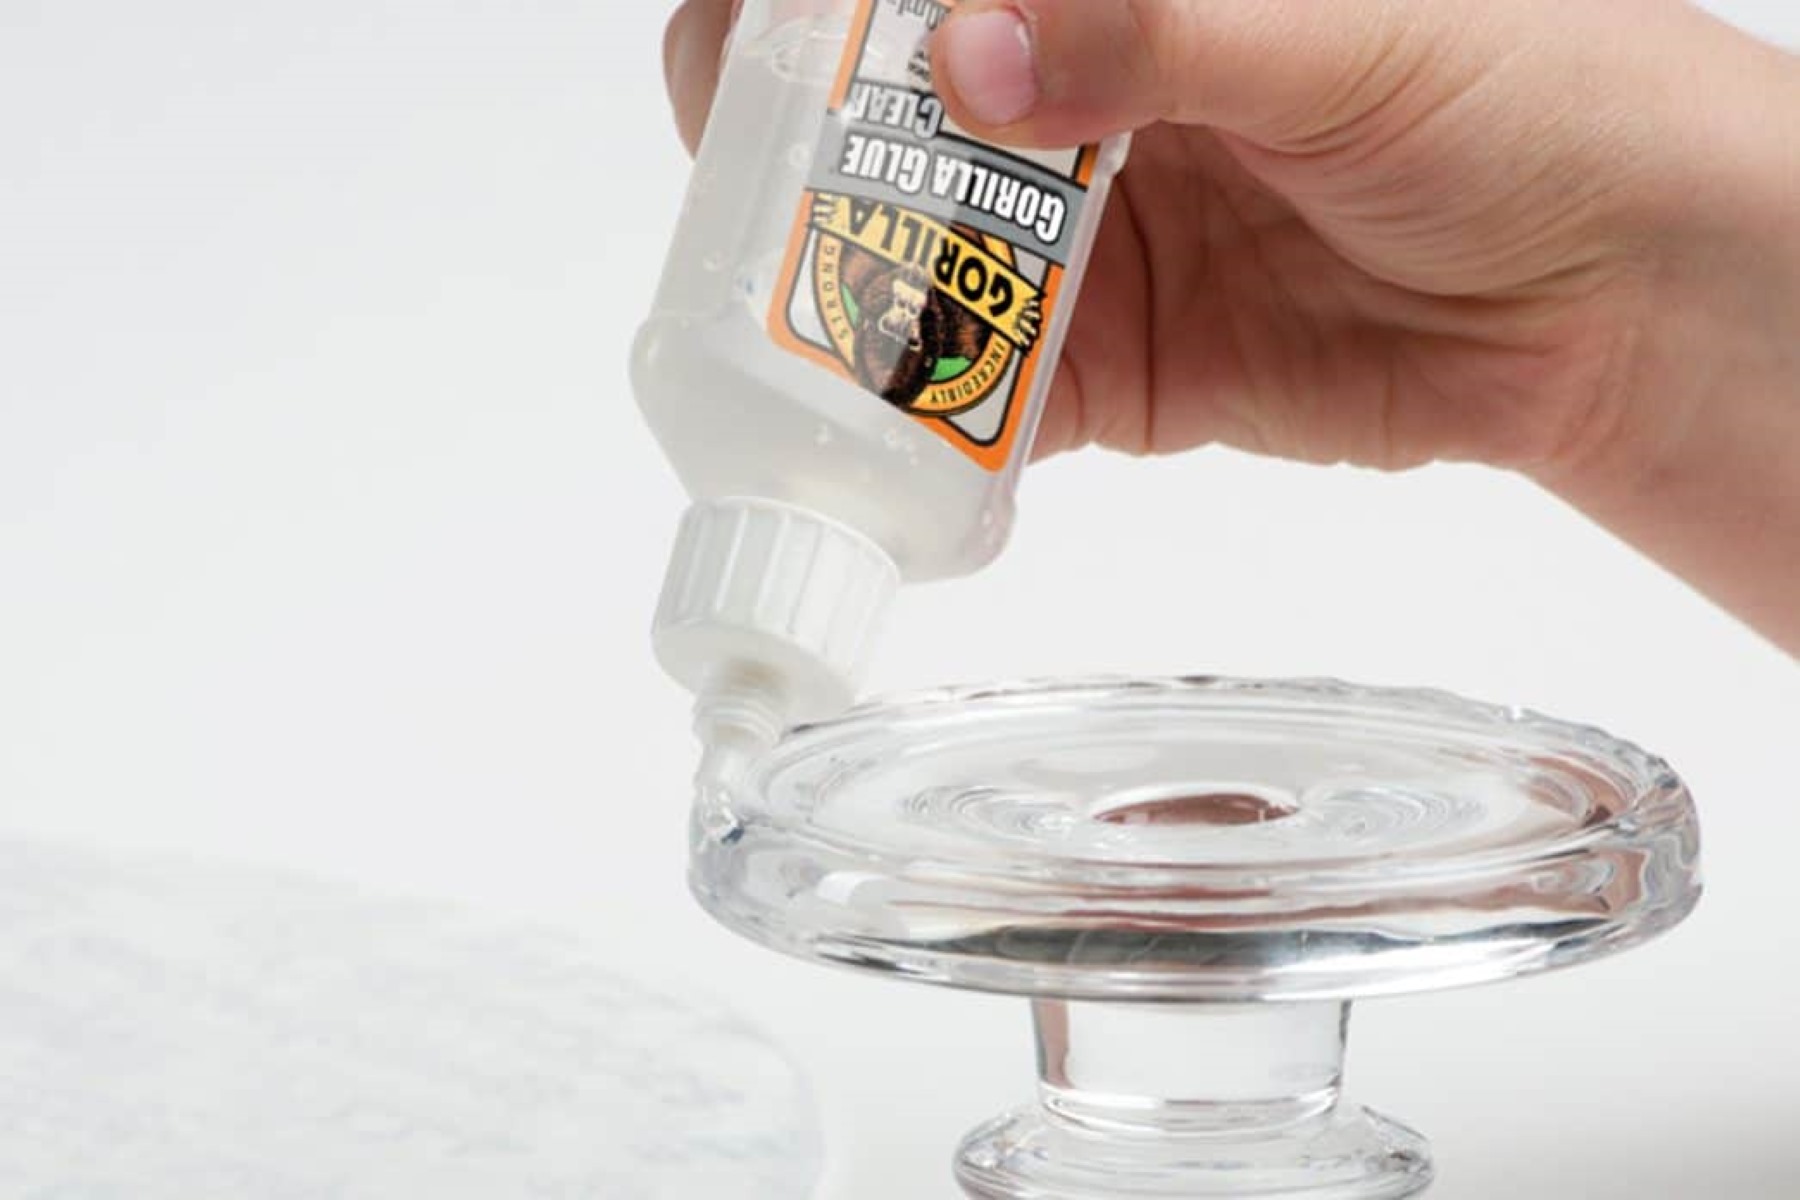
Glue: Select a high-quality adhesive that is suitable for bonding paper to glass. A clear-drying, acid-free glue is recommended to prevent discoloration or damage to the paper over time. Consider using a specialized craft glue or a clear-drying adhesive specifically formulated for paper and glass bonding.
-
Paintbrush or Foam Brush: A small paintbrush or foam brush will be essential for applying the glue to the paper and glass surfaces. Opt for a brush with soft bristles to ensure smooth and even application of the adhesive.
-
Scissors or Craft Knife: You will need scissors or a craft knife to cut the paper to the desired size and shape. Precision cutting is crucial to achieve clean edges and a professional-looking finish.
-
Clean Cloth: Have a clean, lint-free cloth on hand to wipe the glass surface before applying the glue. This will help remove any dust, fingerprints, or debris that could interfere with the adhesion of the paper.
-
Protective Covering: Depending on the size of your project, you may need a protective covering to lay down and protect your work surface. This could be a plastic tablecloth, a large sheet of paper, or any other suitable covering to prevent glue and paper scraps from sticking to the surface below.
By ensuring that you have these essential materials at your disposal, you can proceed with confidence and creativity as you embark on the process of gluing paper to glass. With these items in hand, you are well-equipped to bring your artistic vision to life and transform ordinary glass surfaces into captivating works of art.
Step 1: Prepare the Glass Surface
Before embarking on the process of gluing paper to glass, it is crucial to prepare the glass surface to ensure optimal adhesion and a professional-looking finish. Proper preparation will help create a clean and smooth foundation for the paper, allowing the adhesive to bond effectively and securely. Follow these essential steps to prepare the glass surface for the gluing process:
-
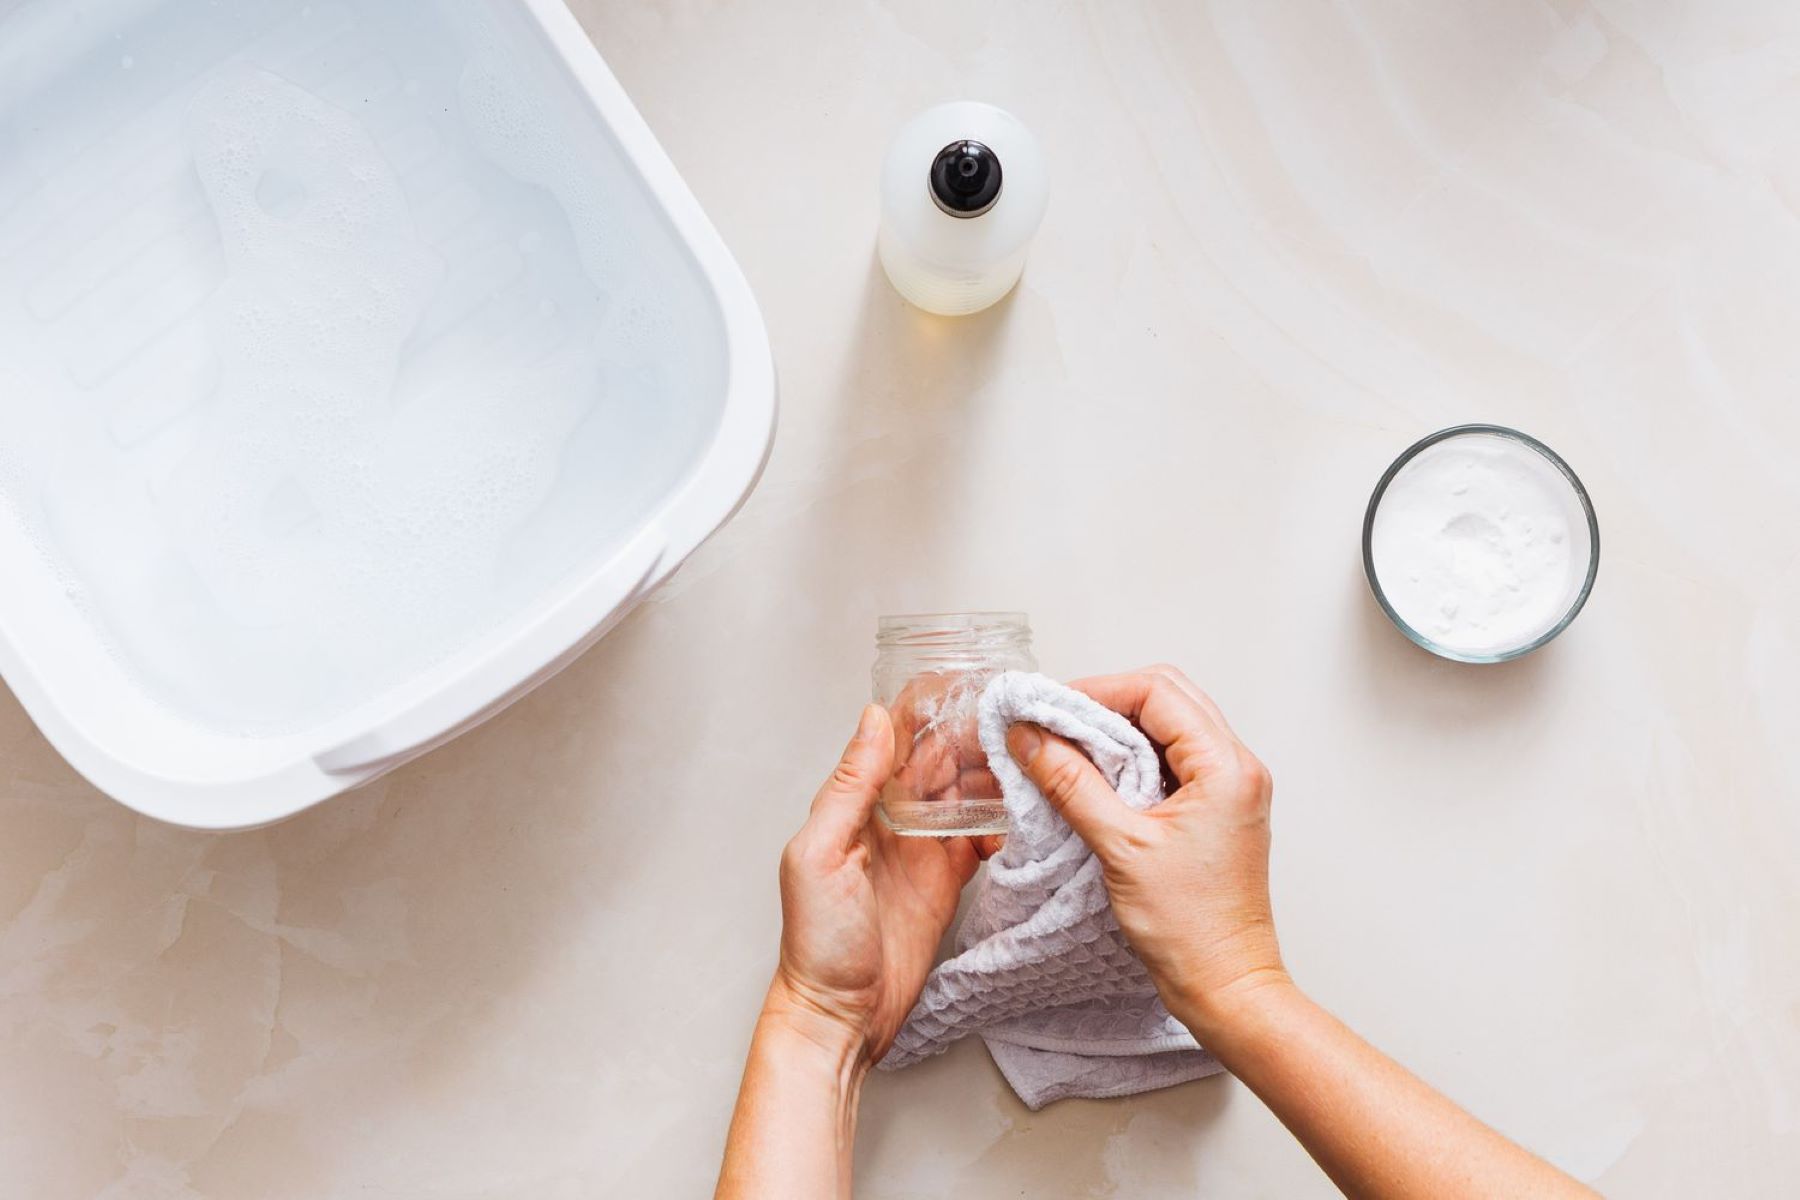
Clean the Glass: Begin by thoroughly cleaning the glass surface using a gentle glass cleaner or a solution of water and mild dish soap. This will help remove any dirt, dust, or oils that may be present on the surface. Use a lint-free cloth to wipe the glass, ensuring that it is completely free of any residues that could interfere with the adhesion of the paper.
-
Dry the Surface: Once the glass has been cleaned, allow it to dry completely. Ensure that there are no streaks or moisture remaining on the surface, as this could affect the application of the glue and the adherence of the paper.
-
Protect Surrounding Areas: If you are working on a larger glass surface, such as a window or a glass tabletop, consider using painter's tape to protect the surrounding areas from accidental glue spills or smudges. This will help maintain a clean and tidy workspace while preventing any unintended adhesive marks on adjacent surfaces.
-
Evaluate the Surface: Take a moment to inspect the glass surface for any imperfections, such as scratches or blemishes. If necessary, consider addressing minor imperfections by gently buffing the surface with a glass polishing compound to ensure a smooth and flawless base for the paper.
By meticulously preparing the glass surface, you can set the stage for a successful and visually appealing paper-to-glass bonding process. Taking the time to clean, dry, and evaluate the glass will contribute to the overall quality and longevity of the finished piece, ensuring that your creative endeavor yields stunning and professional results.
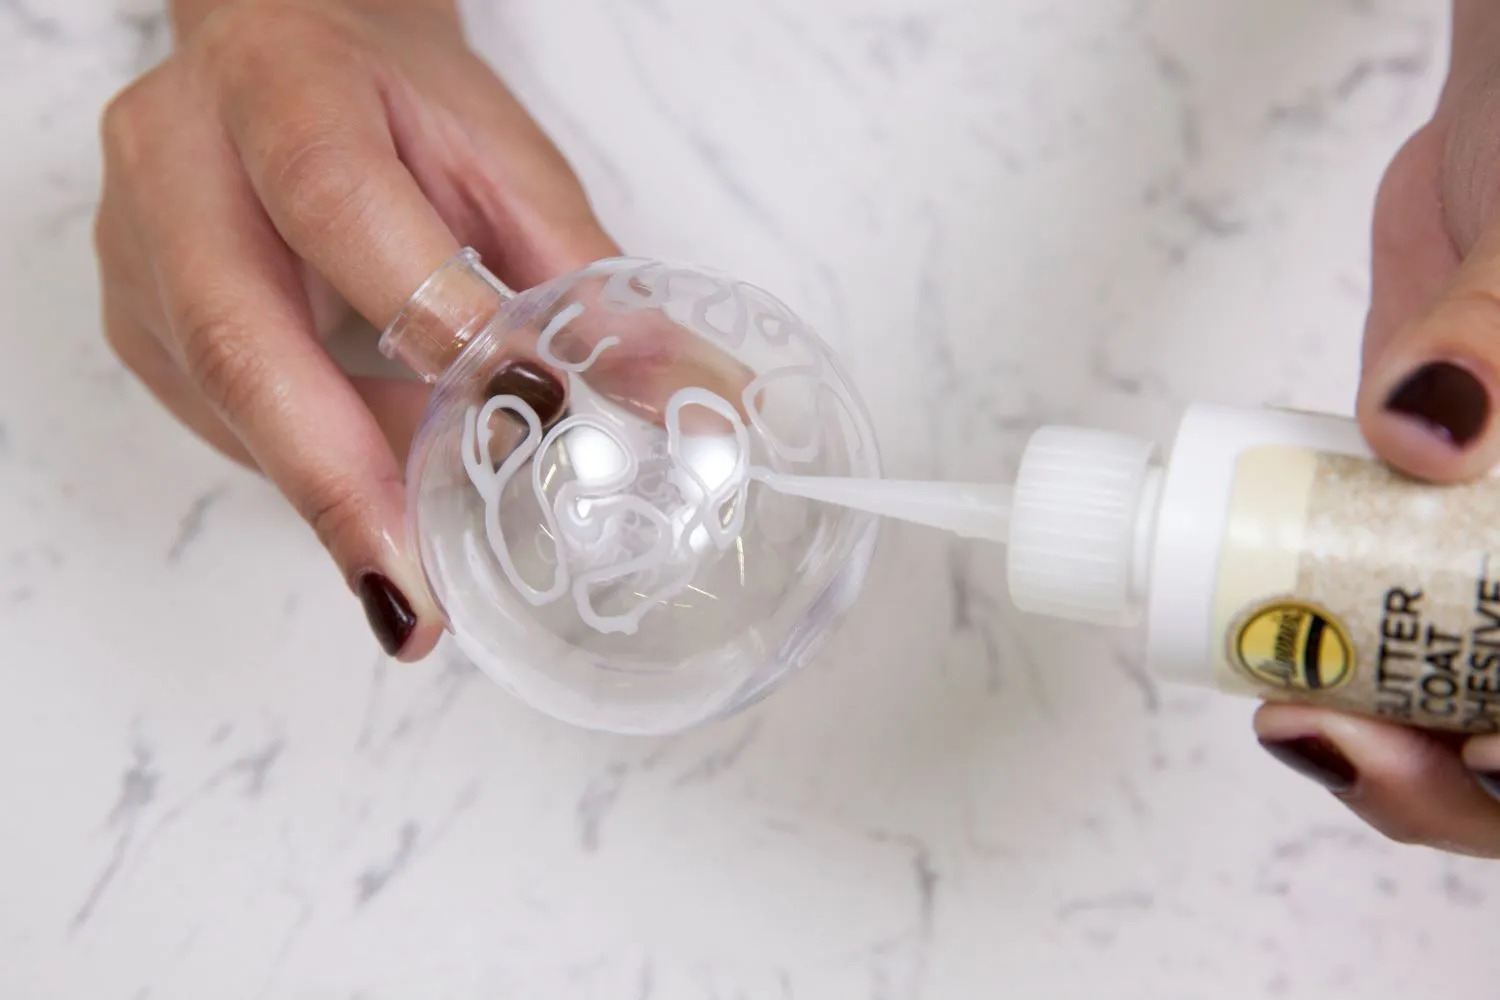
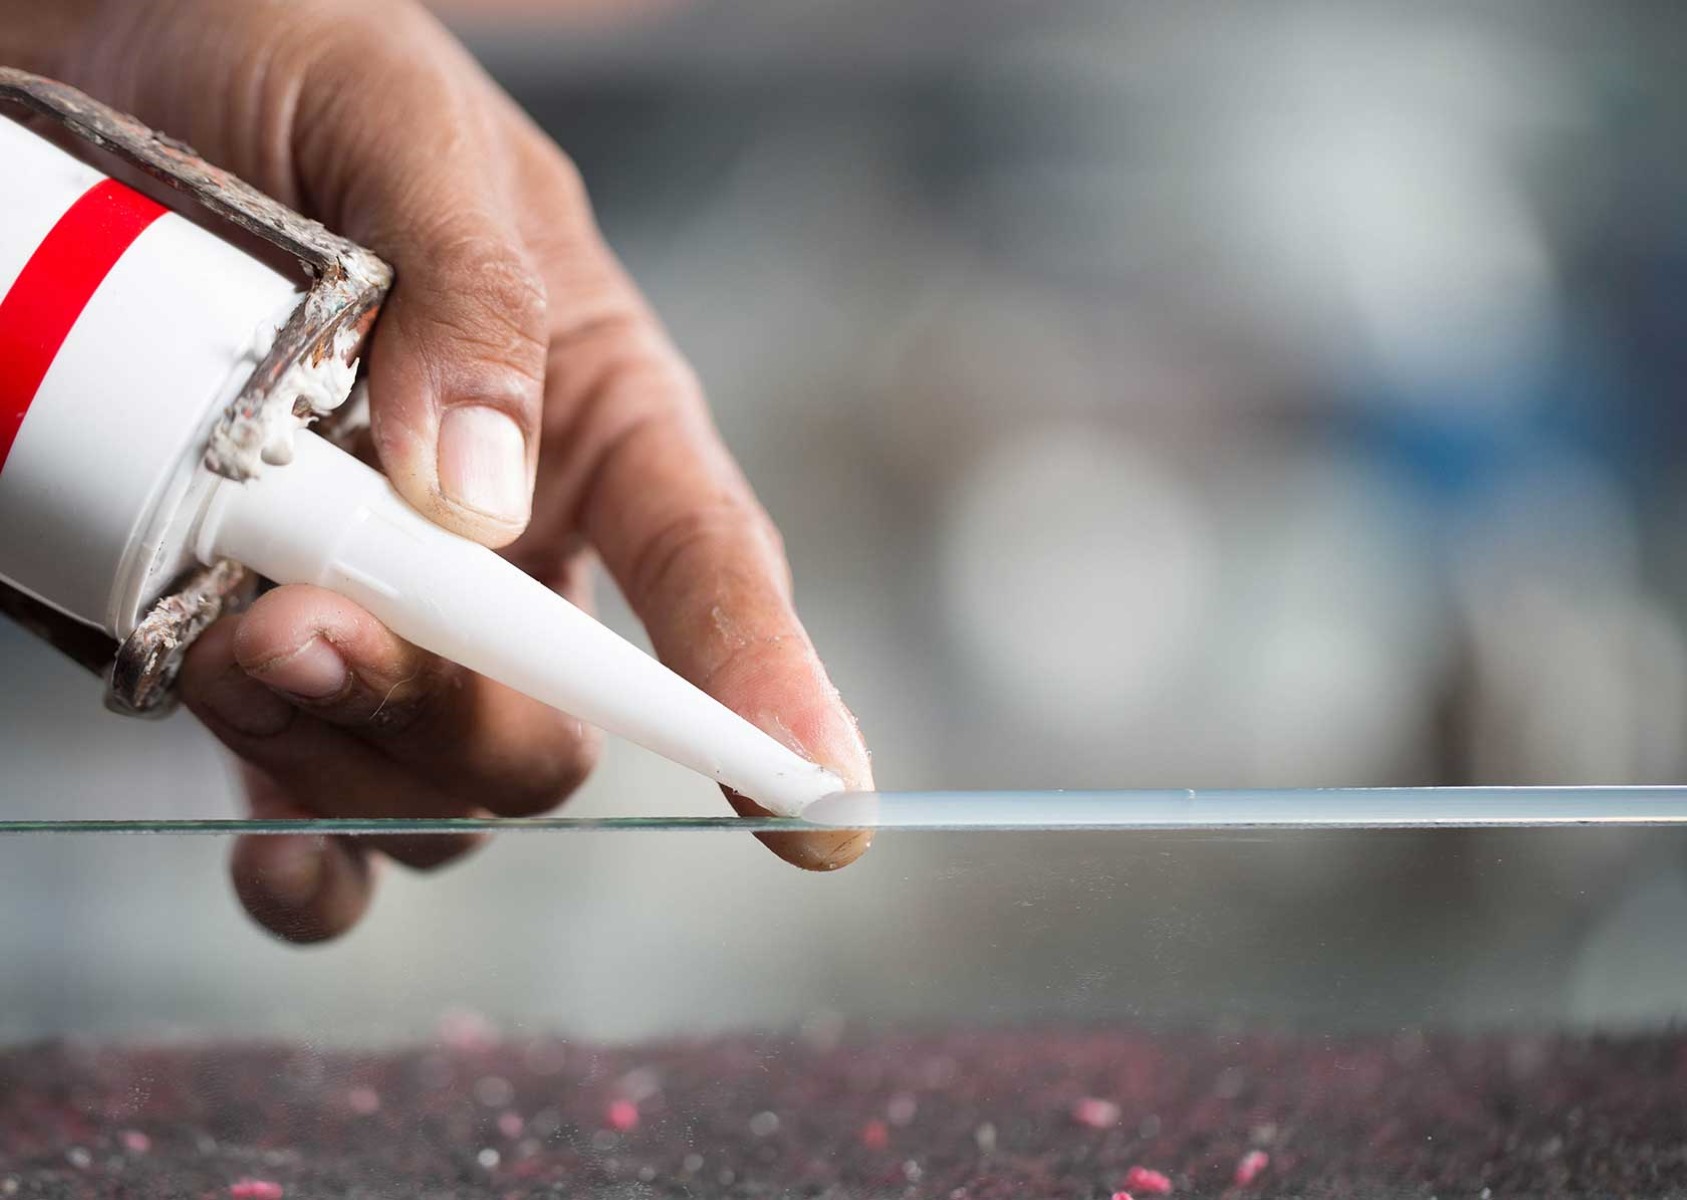
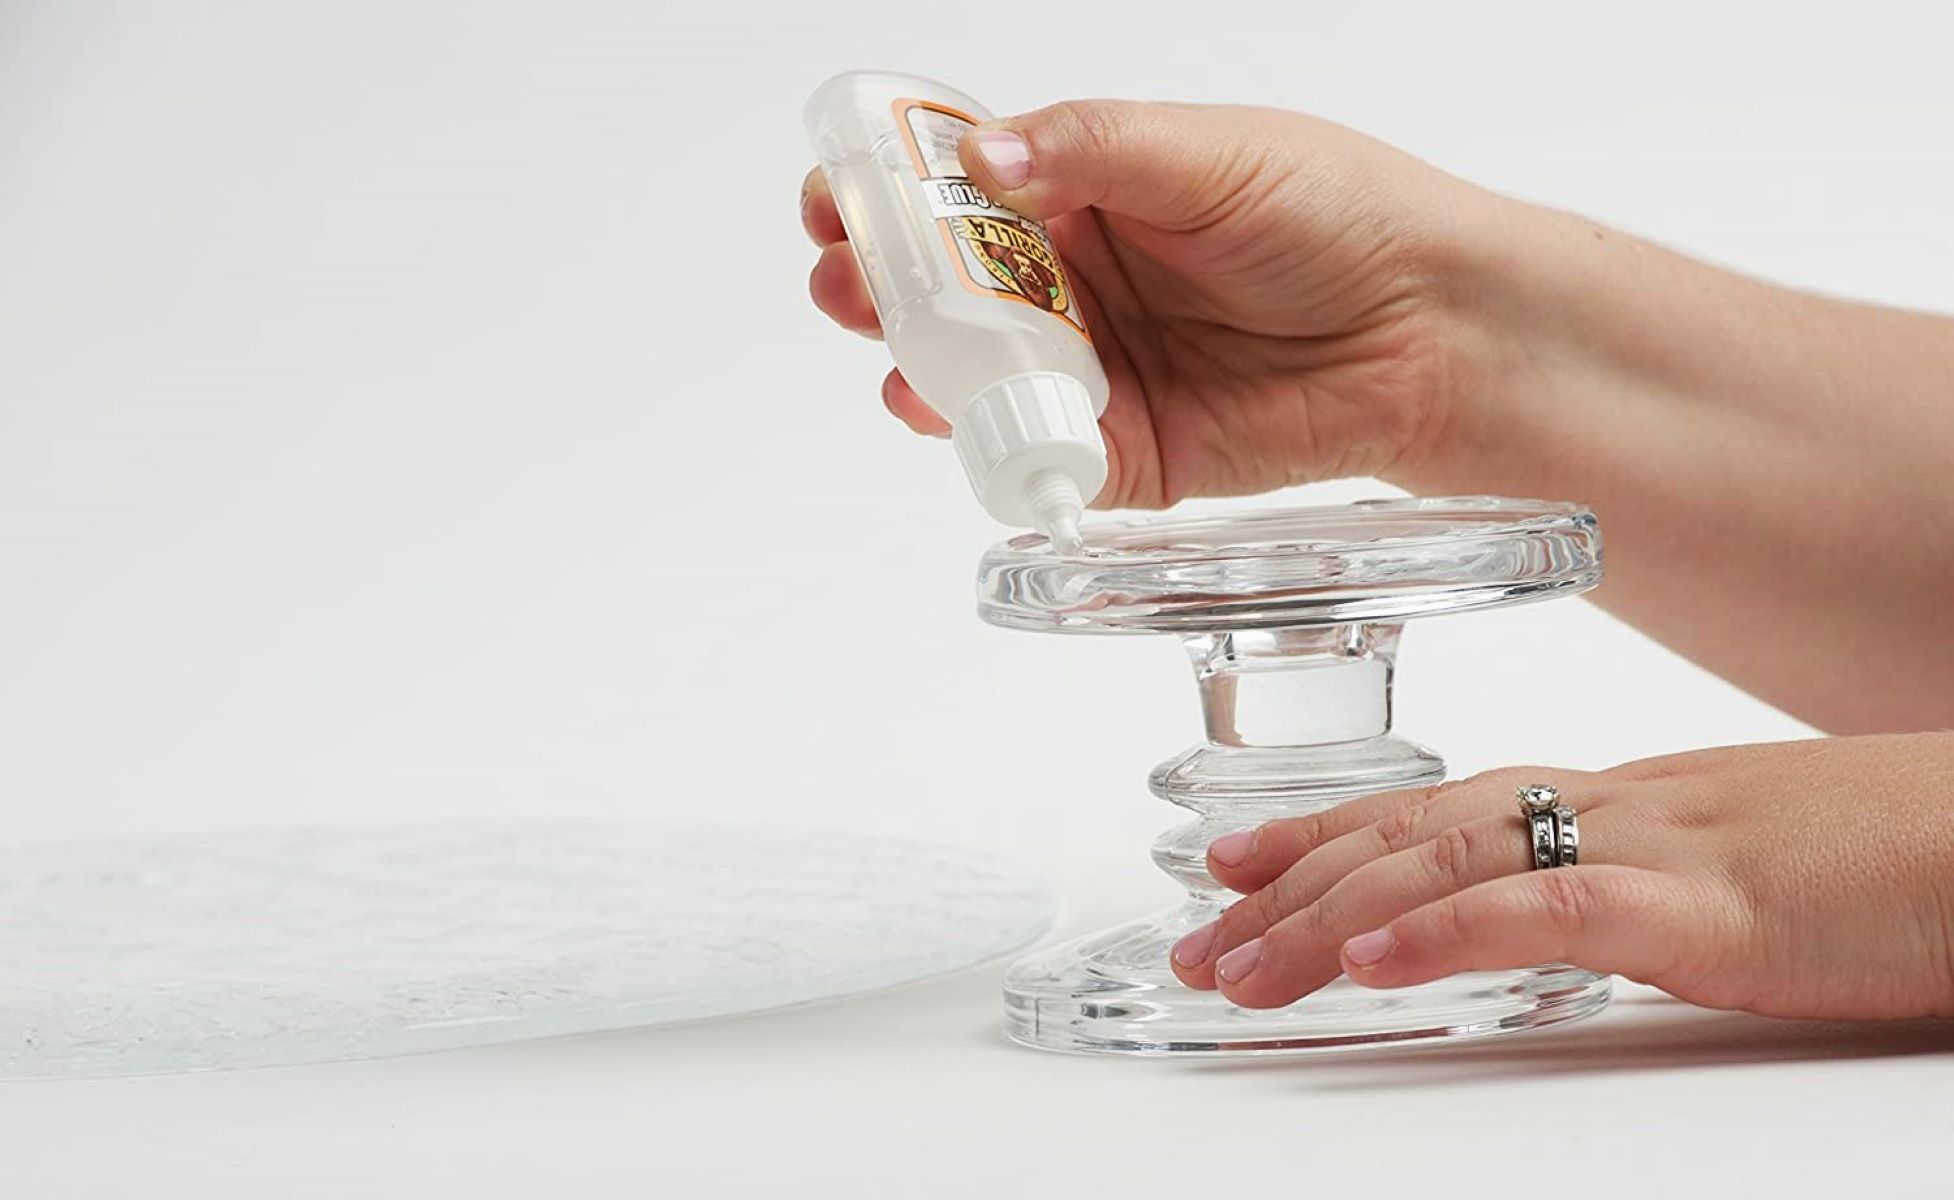
Step 2: Apply the Glue to the Paper
With the glass surface meticulously prepared, the next crucial step in the process of gluing paper to glass is to apply the adhesive to the paper. This step requires precision and care to ensure that the glue is distributed evenly and that the paper adheres seamlessly to the glass surface. Follow these detailed guidelines to expertly apply the glue to the paper:
-
Select a Clean Workspace: Find a well-lit and spacious area to work on, ensuring that your workspace is free from dust, debris, and potential sources of contamination. A clean and organized environment will facilitate a smooth and focused application of the glue to the paper.
-
Lay Out the Paper: Place the chosen paper on a flat and stable surface, ensuring that it lies completely flat without any wrinkles or creases. This will provide a stable foundation for applying the adhesive and help prevent any distortions or imperfections in the final result.
-
Apply a Thin, Even Layer of Glue: Using a small paintbrush or foam brush, carefully apply a thin and even layer of glue to the entire back surface of the paper. Start from the center and work your way outwards, ensuring that the adhesive is spread uniformly without any clumps or excess buildup. Take care to reach the edges of the paper, as these areas are crucial for secure adhesion to the glass.
-
Avoid Excessive Moisture: While it is important to apply enough glue to create a strong bond, be mindful of excessive moisture, which could cause the paper to warp or become saturated. Aim for a moderate application of adhesive, ensuring that the paper remains flat and free from any visible wet spots.
-
Allow the Glue to Set: After applying the glue to the paper, allow it to set for a brief period as per the manufacturer's instructions. This will ensure that the adhesive achieves the optimal tackiness for bonding to the glass surface, enhancing the overall effectiveness of the bonding process.
By following these meticulous steps to apply the glue to the paper, you can lay the groundwork for a successful and seamless fusion of paper and glass. With precision, attention to detail, and a steady hand, you can ensure that the adhesive is applied in a manner that promotes secure adhesion and a flawless finish. This careful approach will set the stage for the final step of pressing the paper onto the glass, bringing your creative vision to life with precision and artistry.
Use a clear-drying, acid-free adhesive designed for paper and glass. Apply a thin, even layer to the paper and press firmly onto the glass. Allow to dry completely before handling.
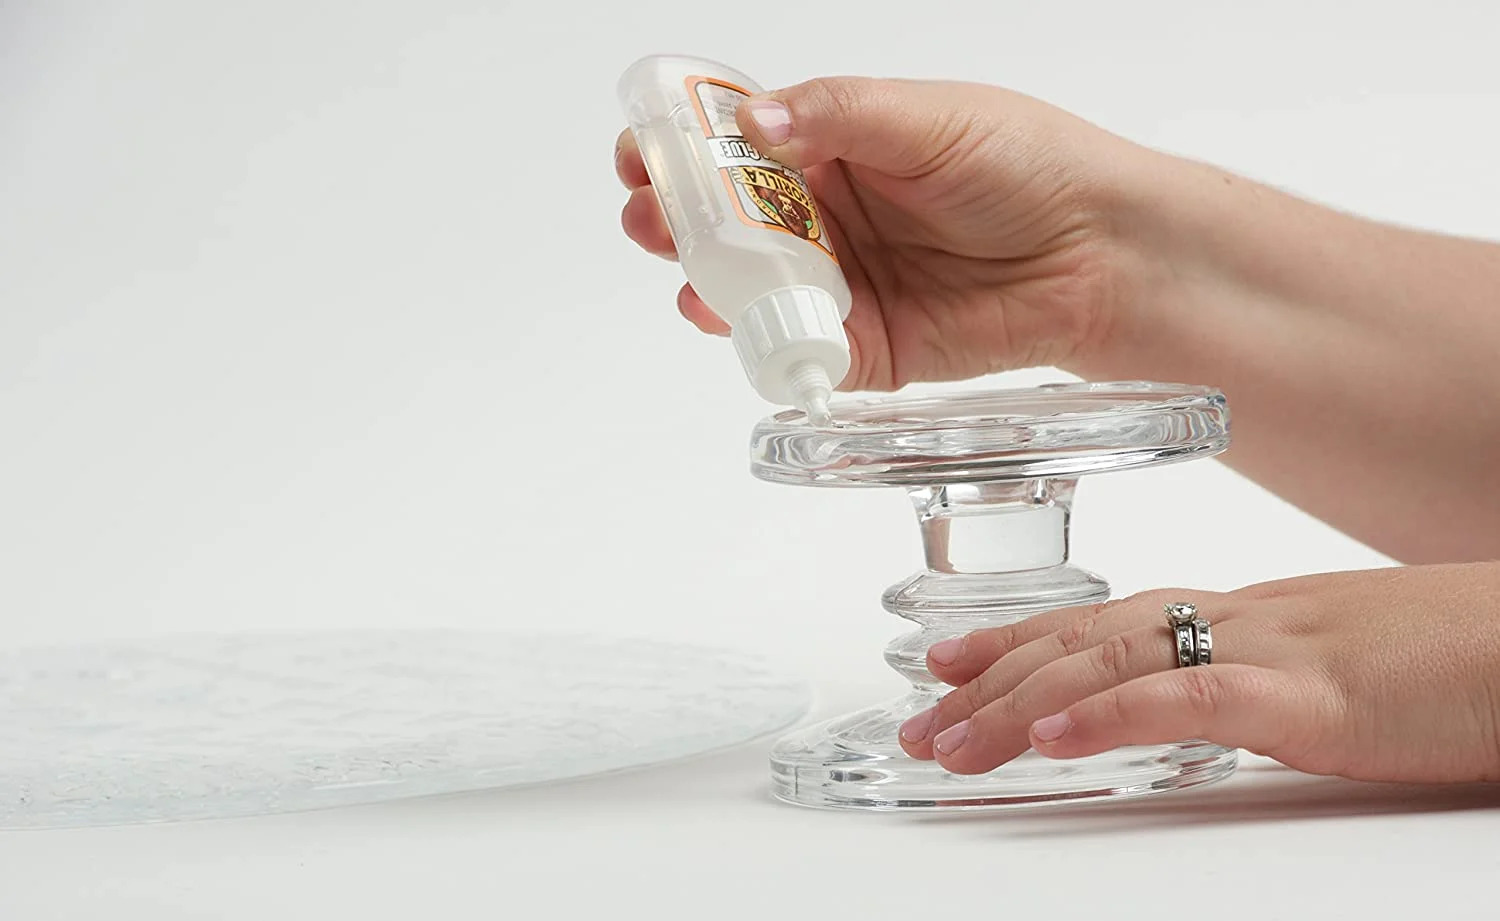
Step 3: Press the Paper onto the Glass
With the glass surface meticulously prepared and the paper adorned with a thin, even layer of adhesive, the next pivotal step in the process of gluing paper to glass is the delicate yet decisive act of pressing the paper onto the glass. This step requires precision, patience, and a steady hand to ensure that the paper adheres seamlessly to the glass surface, creating a bond that is both secure and visually captivating. Follow these detailed guidelines to expertly press the paper onto the glass, bringing your creative vision to life with finesse and artistry.
-
Align the Paper: Carefully position the paper over the prepared glass surface, ensuring that it is aligned precisely according to your desired placement. Take the time to adjust the paper to achieve the perfect positioning, ensuring that it aligns seamlessly with the edges and contours of the glass.
-
Smooth Out Air Bubbles: Using a clean, dry cloth or a soft brayer, gently smooth out the paper from the center towards the edges, pressing out any air bubbles or wrinkles that may have formed during the positioning process. This meticulous step is crucial for achieving a flawless and professional-looking result, as it ensures that the paper adheres smoothly and securely to the glass.
-
Apply Even Pressure: With the paper in place, apply even pressure across the entire surface using a clean, dry cloth or a specialized tool designed for applying pressure evenly. This step helps to ensure that the paper makes full contact with the glass, allowing the adhesive to bond effectively and securely.
-
Check for Alignment and Smoothness: Take a moment to inspect the paper to ensure that it is aligned correctly and that there are no visible imperfections or irregularities. If necessary, make minor adjustments to the positioning and smoothness of the paper to achieve a flawless and visually appealing result.
-
Allow the Bond to Set: Once the paper is securely pressed onto the glass, allow the bond to set and cure according to the adhesive manufacturer's instructions. This crucial step ensures that the paper adheres firmly to the glass, creating a durable and long-lasting bond that will withstand the test of time.
By following these meticulous steps to press the paper onto the glass, you can bring your creative vision to life with precision and artistry. With patience, attention to detail, and a meticulous approach, you can ensure that the paper adheres seamlessly to the glass surface, creating a visually captivating and professionally finished piece that showcases your unique artistic flair.
Read more: How To Glue A Toilet Paper Holder
Step 4: Allow the Glue to Dry
After pressing the paper onto the glass with precision and care, the final crucial step in the process of gluing paper to glass is to allow the adhesive to dry thoroughly. This step is essential for ensuring a secure and durable bond between the paper and the glass surface, culminating in a visually captivating and long-lasting result. Patience and attention to detail are key as you allow the glue to dry, as this final stage will ultimately determine the success and longevity of your creative endeavor.
Once the paper has been firmly pressed onto the glass, it is imperative to refrain from disturbing the bond and to allow the adhesive to set and cure undisturbed. The drying time will vary depending on the type of glue used, the thickness of the adhesive layer, and the environmental conditions. It is crucial to follow the manufacturer's instructions regarding the recommended drying time to ensure optimal results.
During the drying process, it is important to maintain a stable and dust-free environment to prevent any particles from settling on the adhesive or the paper. Avoid exposing the project to excessive humidity or direct sunlight, as these factors can impede the drying process and compromise the integrity of the bond. Instead, choose a well-ventilated area with moderate temperature and minimal air movement to facilitate the drying of the adhesive.
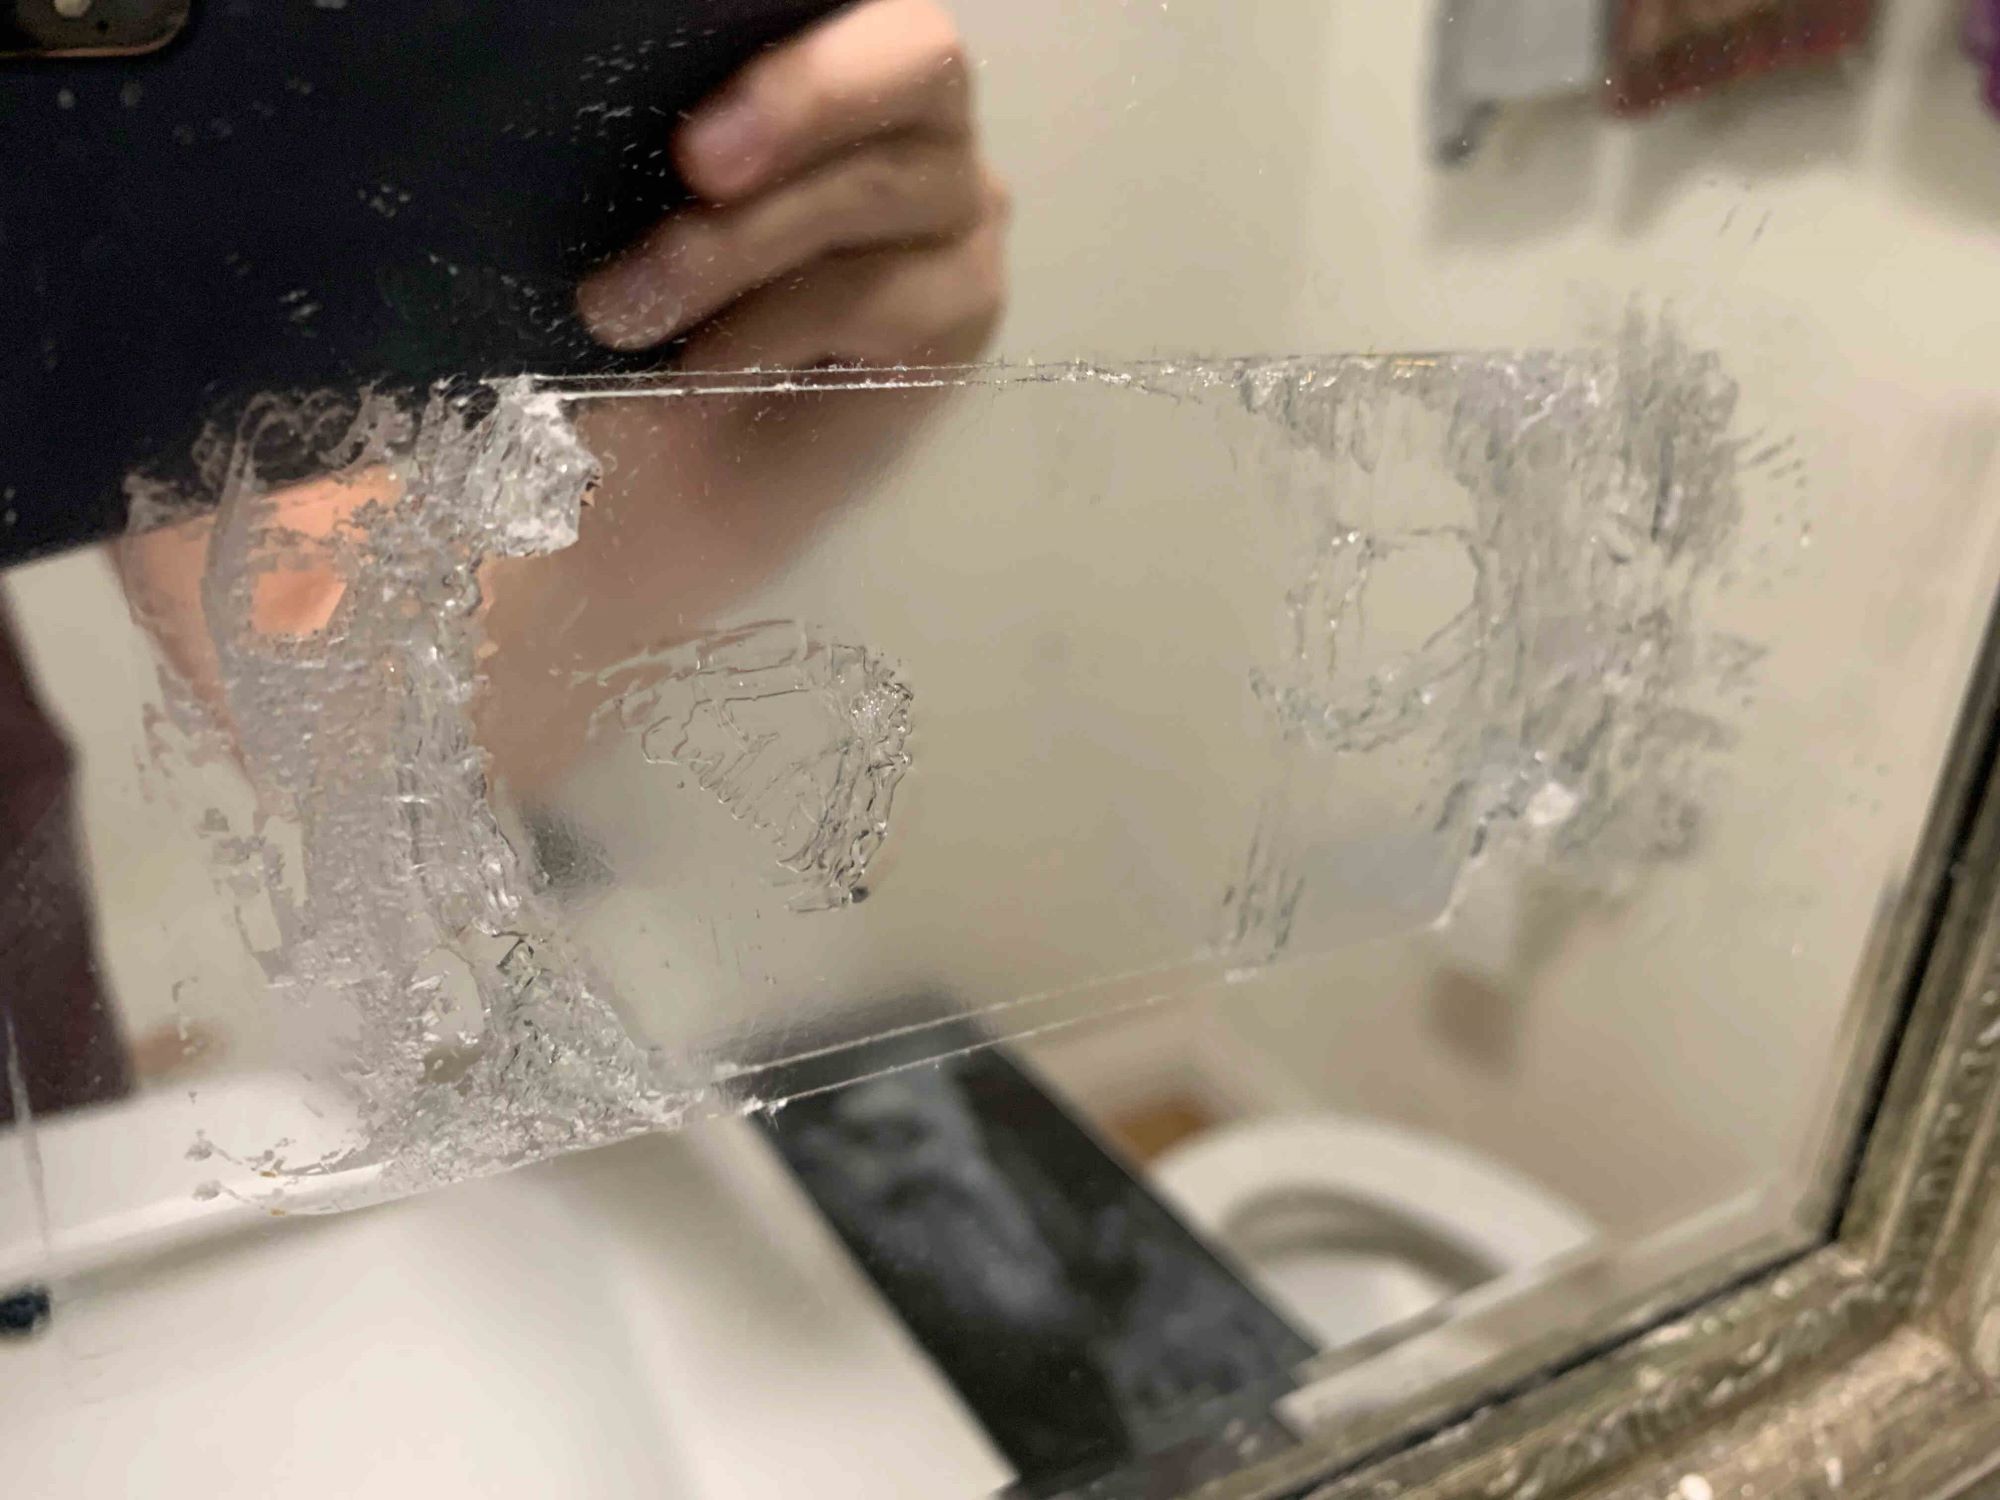
As the glue begins to dry, you may notice a slight change in its appearance, with the adhesive transitioning from a wet, glossy texture to a clear and matte finish. This visual indicator signals that the adhesive is undergoing the curing process and gradually forming a strong and resilient bond between the paper and the glass. Exercise patience and refrain from handling or disturbing the project until the adhesive has fully dried and cured according to the manufacturer's recommendations.
By allowing the glue to dry thoroughly, you are ensuring that the paper adheres securely to the glass, creating a durable and long-lasting bond that will withstand the test of time. This final stage of the process is crucial for achieving professional-looking results and showcasing your creative vision with precision and artistry. As the adhesive cures and the bond strengthens, you can look forward to unveiling a visually captivating and seamlessly fused masterpiece that reflects your unique artistic flair.
Conclusion
In conclusion, the art of gluing paper to glass offers a captivating avenue for unleashing creativity and personal expression. Through meticulous preparation, precise application of adhesive, and patient adherence to the drying process, one can transform ordinary glass surfaces into stunning works of art that reflect individual style and artistic vision.
As the final step of allowing the glue to dry unfolds, it symbolizes the culmination of a meticulous and artistic journey. The patience and attention to detail invested in this process are rewarded with a visually captivating and seamlessly fused masterpiece that showcases the unique artistic flair of the creator.
The fusion of paper and glass transcends mere adhesion; it represents the harmonious blending of two distinct elements to create a unified and visually striking composition. Whether adorning picture frames, windows, or decorative items, the fusion of paper and glass adds a personalized touch to living spaces, infusing them with individuality and creative energy.
Furthermore, the process of gluing paper to glass serves as a testament to the transformative power of creativity. It empowers individuals to reimagine and revitalize glass surfaces, breathing new life into everyday objects and spaces. The resulting pieces not only serve as visual delights but also stand as testaments to the ingenuity and artistic prowess of their creators.
As enthusiasts and artisans continue to explore the possibilities of this art form, the fusion of paper and glass will undoubtedly continue to evolve, inspiring new techniques, styles, and applications. The journey of gluing paper to glass is a testament to the enduring allure of artistic expression and the boundless potential for innovation within the realm of creative endeavors.
In essence, the process of gluing paper to glass transcends the realm of mere crafting; it embodies the spirit of artistic exploration and personal expression. It invites individuals to embark on a creative journey, where patience, precision, and passion converge to transform ordinary glass surfaces into extraordinary works of art. With each carefully executed step, the fusion of paper and glass breathes life into spaces, infusing them with the unique essence of the creators' imagination and artistry.
Frequently Asked Questions about How To Glue Paper To Glass
Was this page helpful?
At Storables.com, we guarantee accurate and reliable information. Our content, validated by Expert Board Contributors, is crafted following stringent Editorial Policies. We're committed to providing you with well-researched, expert-backed insights for all your informational needs.


0 thoughts on “How To Glue Paper To Glass”