Home>Furniture & Design>Interior Design Trends>How To Glue Glass To Wood
Interior Design Trends
How To Glue Glass To Wood
Published: February 4, 2024
Discover the latest interior design trends with our guide on how to glue glass to wood. Explore innovative techniques and create stunning decor for your home.
(Many of the links in this article redirect to a specific reviewed product. Your purchase of these products through affiliate links helps to generate commission for Storables.com, at no extra cost. Learn more)
Introduction
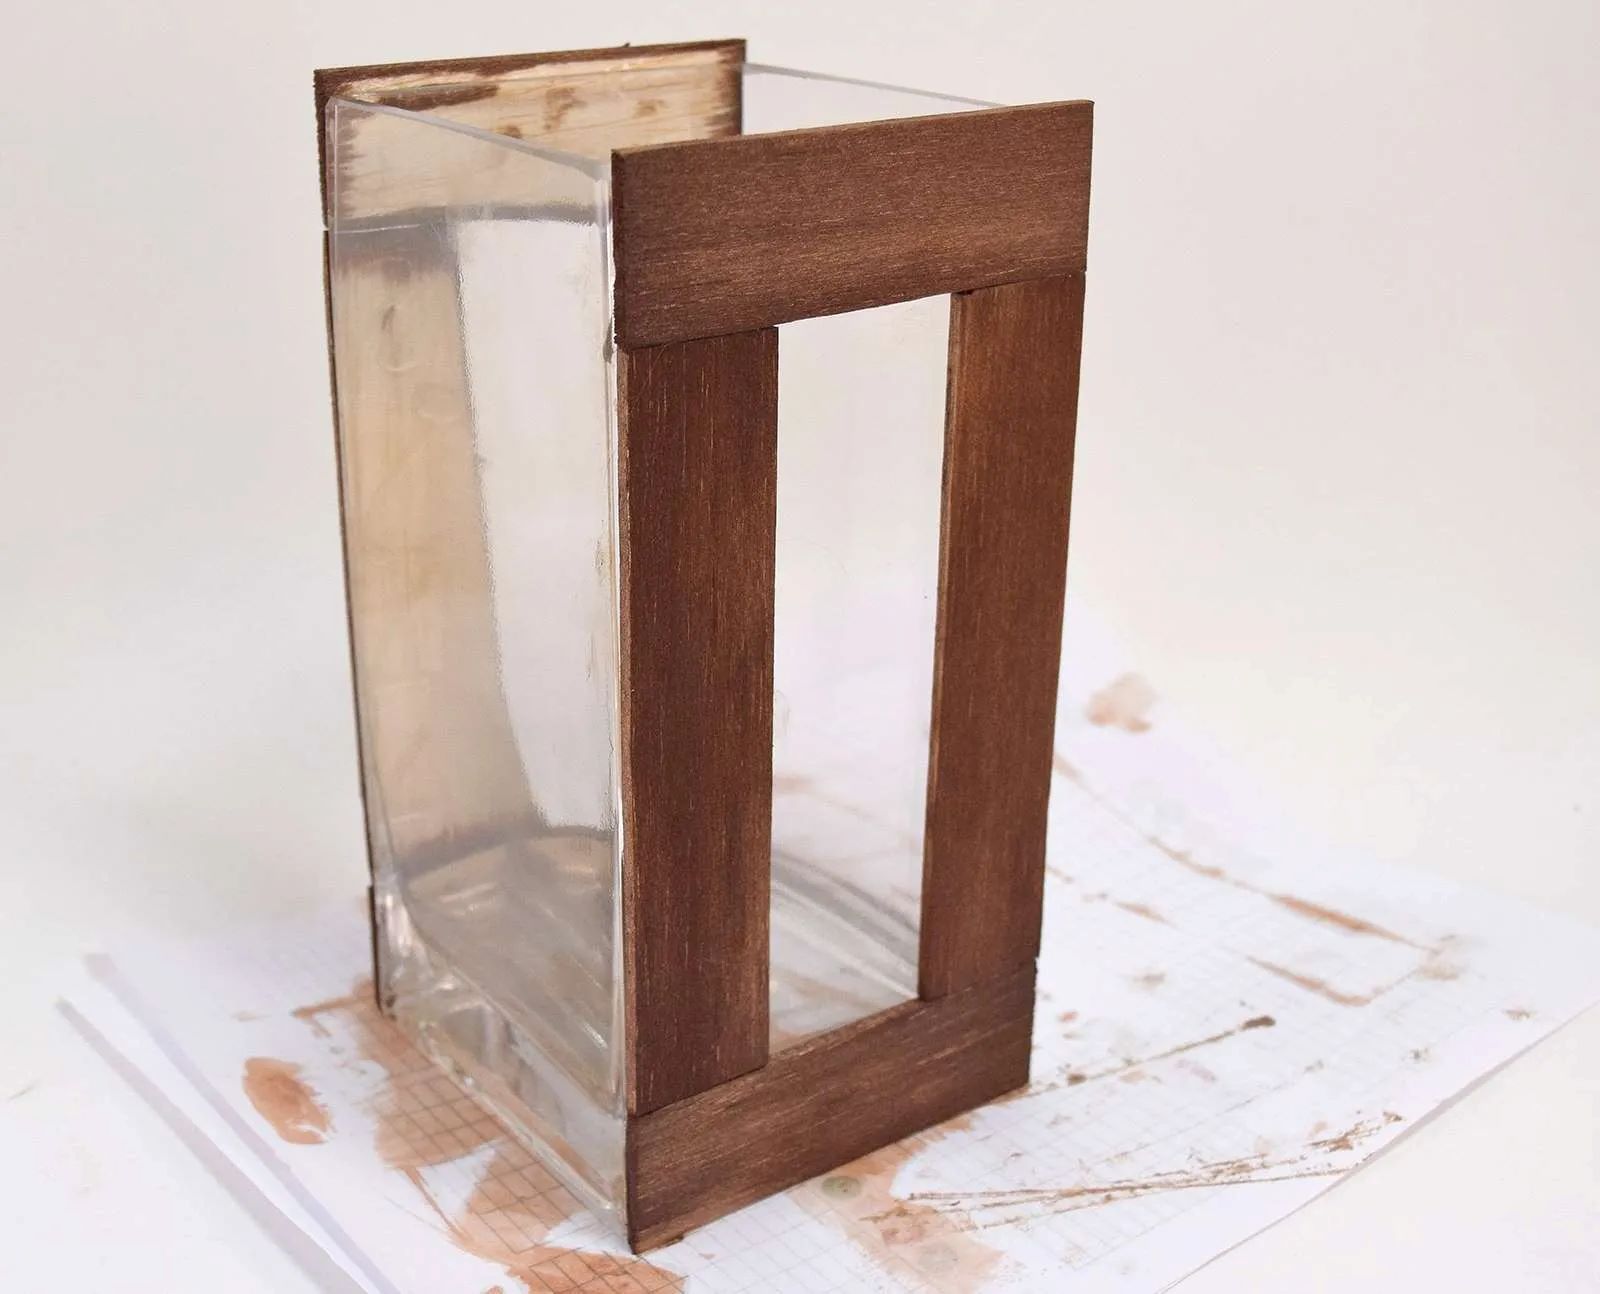
When it comes to crafting or DIY projects, the combination of glass and wood can result in stunning and unique creations. Whether you're designing a custom coffee table with a glass top or creating decorative art pieces, the process of securely bonding glass to wood is essential for both functionality and aesthetics. However, achieving a strong and durable bond between these two materials requires careful consideration of the adhesive and proper preparation of the surfaces.
In this comprehensive guide, we will delve into the intricacies of gluing glass to wood, providing you with valuable insights and practical tips to ensure successful outcomes for your projects. From understanding the properties of the materials involved to selecting the right adhesive and executing the bonding process with precision, we will cover each step in detail. By the end of this guide, you will be equipped with the knowledge and confidence to embark on your glass and wood bonding endeavors with ease.
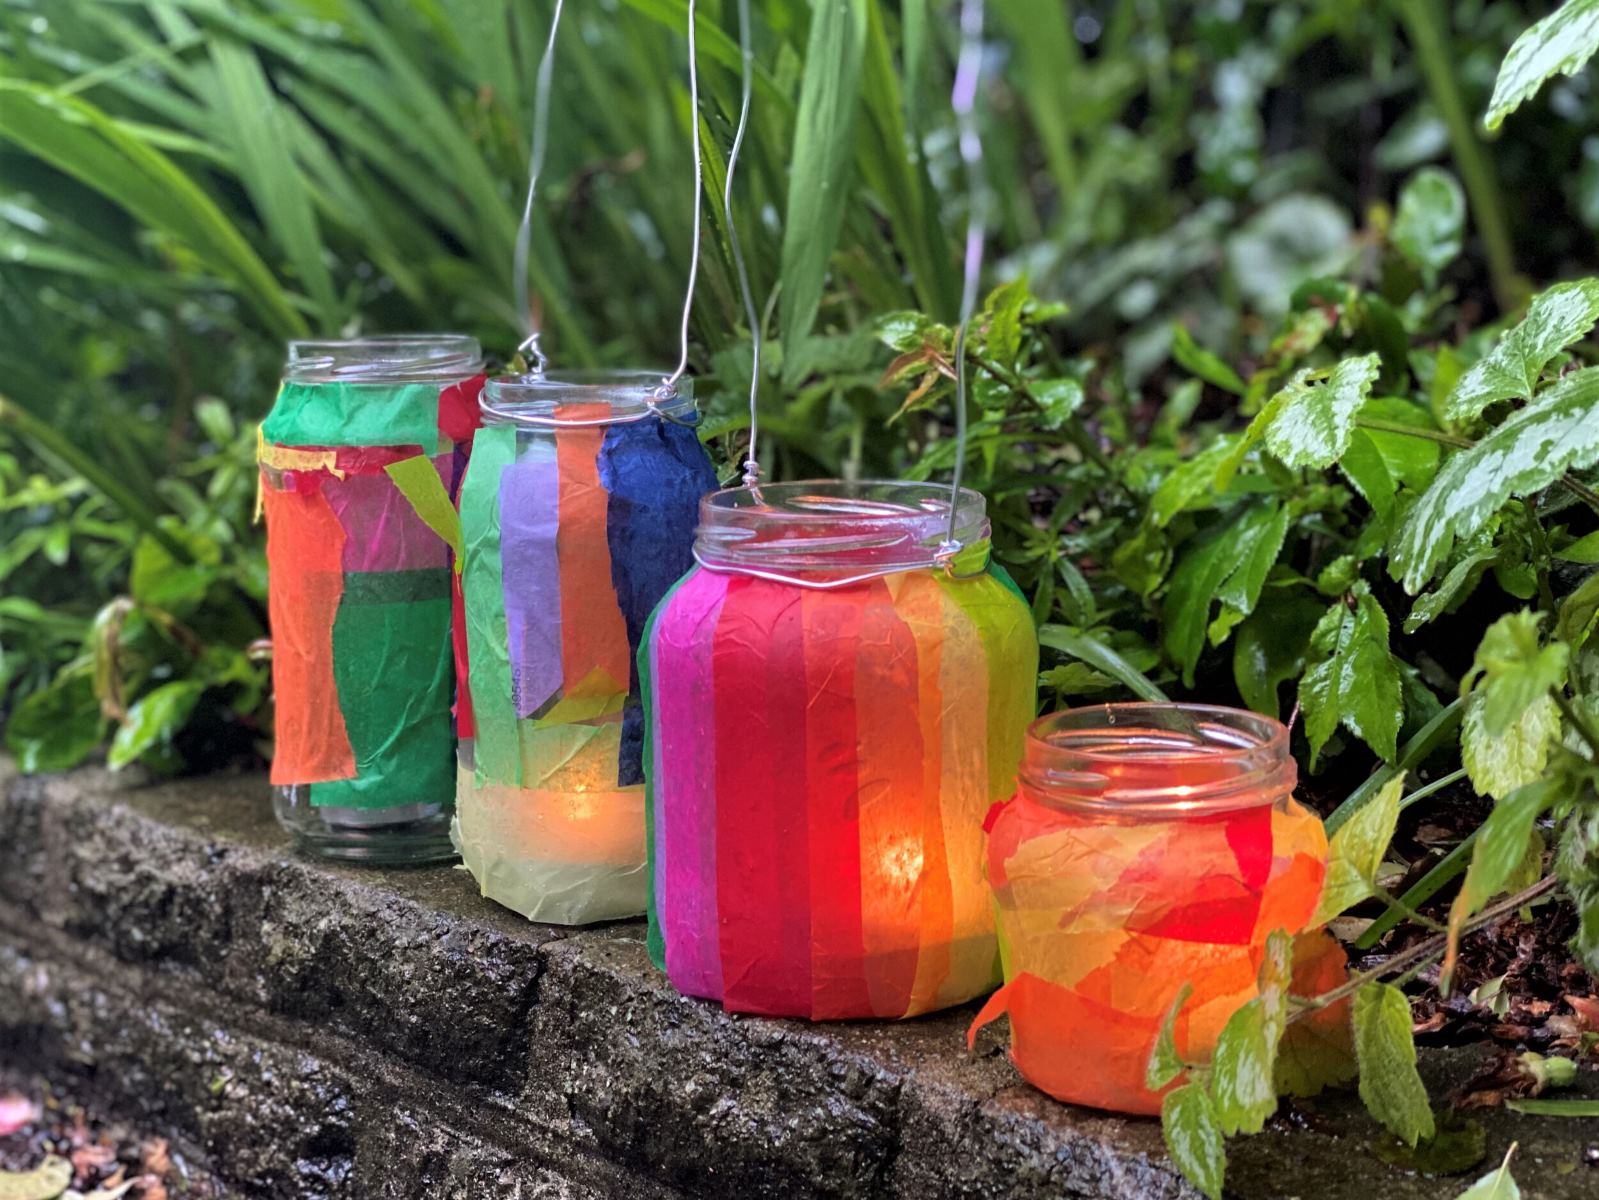
The fusion of glass and wood in creative projects offers a harmonious blend of modern elegance and natural warmth. Whether you're a seasoned artisan or a passionate hobbyist, mastering the art of gluing glass to wood opens up a world of possibilities for expressing your creativity. From sleek furniture designs to intricate art installations, the versatility of this combination allows for the creation of captivating pieces that seamlessly integrate into various interior design themes.
As we embark on this journey of understanding the nuances of bonding glass to wood, it's important to approach the process with a blend of precision and creativity. By embracing the unique characteristics of each material and harnessing the right techniques, you can elevate your craftsmanship and bring your artistic visions to life. So, let's delve into the intricacies of this fascinating craft and unlock the secrets to achieving seamless and enduring bonds between glass and wood.
Key Takeaways:
- Bonding glass to wood requires understanding the materials, choosing the right adhesive, preparing surfaces meticulously, applying adhesive with precision, and allowing for proper clamping and drying.
- To create enduring bonds, meticulous surface preparation, precise adhesive application, and patient clamping and drying are essential. Attention to final touches and long-term maintenance ensures lasting quality.
Read more: How To Glue Glass To Glass Permanently
Understanding the Materials
Before embarking on the process of gluing glass to wood, it is crucial to gain a comprehensive understanding of the properties of these materials. Glass, known for its transparency and fragility, presents a unique set of characteristics that require careful consideration during the bonding process. Its smooth and non-porous surface poses a challenge for adhesion, necessitating the use of specialized adhesives to ensure a strong and lasting bond.
Wood, on the other hand, offers a porous and textured surface, which presents both opportunities and challenges when it comes to bonding with glass. The natural variations in wood grain and density can impact the adhesive's ability to create a secure attachment to the glass surface. Understanding the intricacies of wood's composition and its potential interactions with adhesives is essential for achieving a reliable and durable bond.
When selecting adhesives for bonding glass to wood, it is imperative to consider the expansion and contraction rates of these materials. Glass and wood respond differently to temperature and humidity variations, which can exert stress on the bond over time. Therefore, choosing an adhesive with the flexibility to accommodate these material movements is crucial for ensuring the longevity of the bond.
Furthermore, the aesthetic aspects of the materials should not be overlooked. The transparency of glass and the natural beauty of wood play a significant role in the overall visual appeal of the bonded assembly. Understanding how the adhesive interacts with the materials in terms of clarity, color, and texture is essential for preserving the intended design aesthetics.
In essence, comprehending the distinct properties of glass and wood, as well as their interactions with adhesives, forms the foundation for a successful bonding process. By gaining insight into the unique characteristics of these materials, you can make informed decisions when selecting adhesives and executing the bonding process with precision and confidence.
Choosing the Right Adhesive
Selecting the appropriate adhesive is a critical step in the process of bonding glass to wood. Given the distinct properties of these materials, the adhesive must possess specific characteristics to ensure a strong and enduring bond. When navigating the myriad of adhesive options available, several key factors should be considered to make an informed choice.
One of the primary considerations when choosing an adhesive for bonding glass to wood is its compatibility with both materials. The adhesive should be formulated to create a reliable bond with non-porous surfaces, such as glass, as well as porous surfaces, like wood. This dual compatibility is essential for achieving a cohesive and durable bond that withstands the unique challenges posed by the combination of these materials.
Additionally, the flexibility of the adhesive is paramount, considering the differential expansion and contraction rates of glass and wood in response to environmental changes. An adhesive with flexibility can accommodate these material movements, reducing the risk of bond failure due to stress induced by temperature and humidity variations. This flexibility is crucial for maintaining the integrity of the bond over time, ensuring its longevity and reliability.
Furthermore, transparency and clarity are crucial aesthetic considerations when bonding glass to wood. The adhesive should possess optical clarity to maintain the transparent and pristine appearance of the glass, without creating any visible distortions or discolorations. This is particularly important for projects where the visual appeal of the glass surface is a defining feature, such as glass tabletops or display cases.
In addition to transparency, the adhesive's ability to resist yellowing or discoloration over time is essential for preserving the natural beauty of the wood and the overall visual harmony of the bonded assembly. Opting for an adhesive with excellent UV resistance and aging properties ensures that the bond remains visually appealing and structurally sound, even after prolonged exposure to light and environmental factors.
Moreover, considering the application method and curing time of the adhesive is crucial for the efficiency of the bonding process. Whether it's a fast-curing adhesive for time-sensitive projects or a slow-curing one for intricate assemblies, selecting an adhesive that aligns with the specific requirements of the project is essential for achieving optimal results.
By carefully evaluating these factors and selecting an adhesive that addresses the unique challenges posed by bonding glass to wood, you can lay a solid foundation for a successful and enduring bond. The right adhesive not only ensures the structural integrity of the assembly but also contributes to the overall visual appeal and longevity of the finished creation.
Preparing the Surfaces
Preparing the surfaces of both the glass and wood is a crucial precursor to the bonding process, significantly influencing the strength and durability of the final bond. The meticulous preparation of these surfaces is essential for maximizing the adhesive's effectiveness and ensuring a seamless fusion between the two materials.
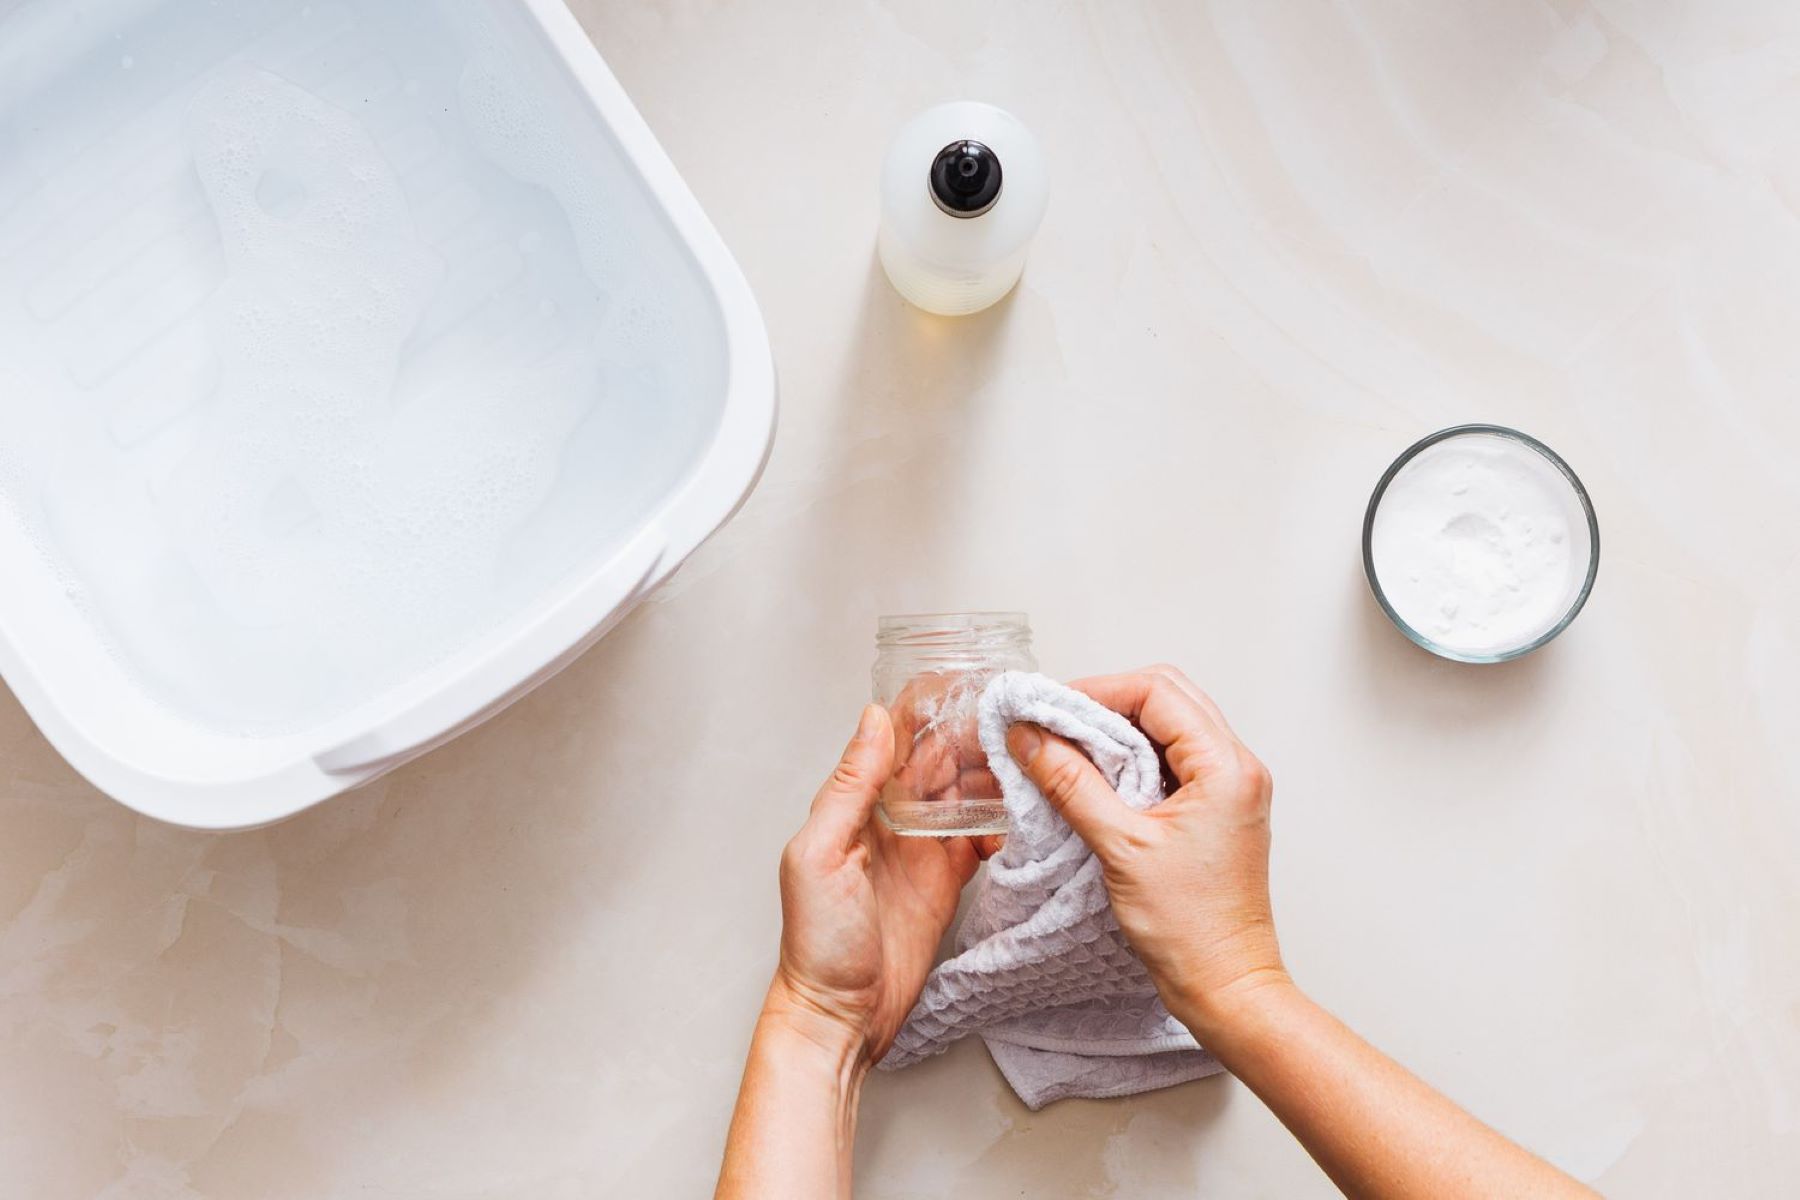
Glass Surface Preparation
The smooth and non-porous nature of glass necessitates thorough cleaning to remove any contaminants that could compromise the bond. Begin by meticulously cleaning the glass surface with a high-quality glass cleaner to eliminate dirt, dust, and any residual substances. It is imperative to ensure that the glass is entirely free of any residues, as even the slightest presence of oils, fingerprints, or cleaning agents can hinder the adhesive's ability to form a strong bond.
Following the initial cleaning, utilize a lint-free cloth or paper towels to dry the glass surface thoroughly. Any moisture or residue left behind can interfere with the adhesive's ability to create a secure attachment. Additionally, inspect the glass surface under adequate lighting to identify and remove any remaining particles or streaks, as these can affect the clarity and integrity of the bond.
Read more: How To Glue Broken Glass
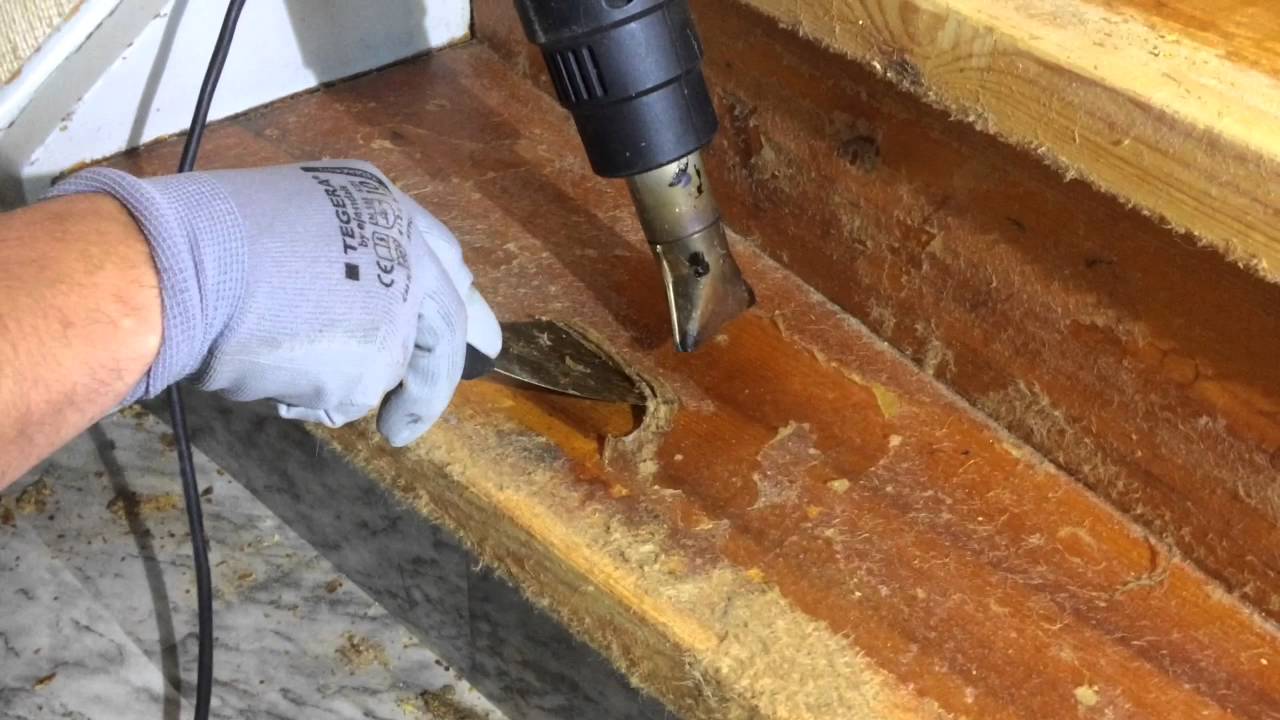
Wood Surface Preparation
Wood surfaces require careful preparation to optimize their adhesion properties and promote a robust bond with the glass. Begin by sanding the wood surface to achieve a smooth and uniform texture, removing any rough patches, irregularities, or previous finishes that could hinder the bonding process. The goal is to create a clean and porous surface that facilitates strong adhesive penetration and bonding.
After sanding, thoroughly clean the wood surface to eliminate any dust, debris, or sanding residues. A tack cloth or a damp cloth followed by a dry cloth can be used to ensure the surface is entirely free of any contaminants. It is essential to allow the wood surface to dry completely before proceeding with the adhesive application to prevent any moisture from interfering with the bonding process.
By meticulously preparing the surfaces of both the glass and wood, you establish an optimal foundation for the adhesive to create a robust and enduring bond. This meticulous approach sets the stage for a seamless fusion between the two materials, ensuring that the resulting assembly exhibits both structural integrity and visual appeal.
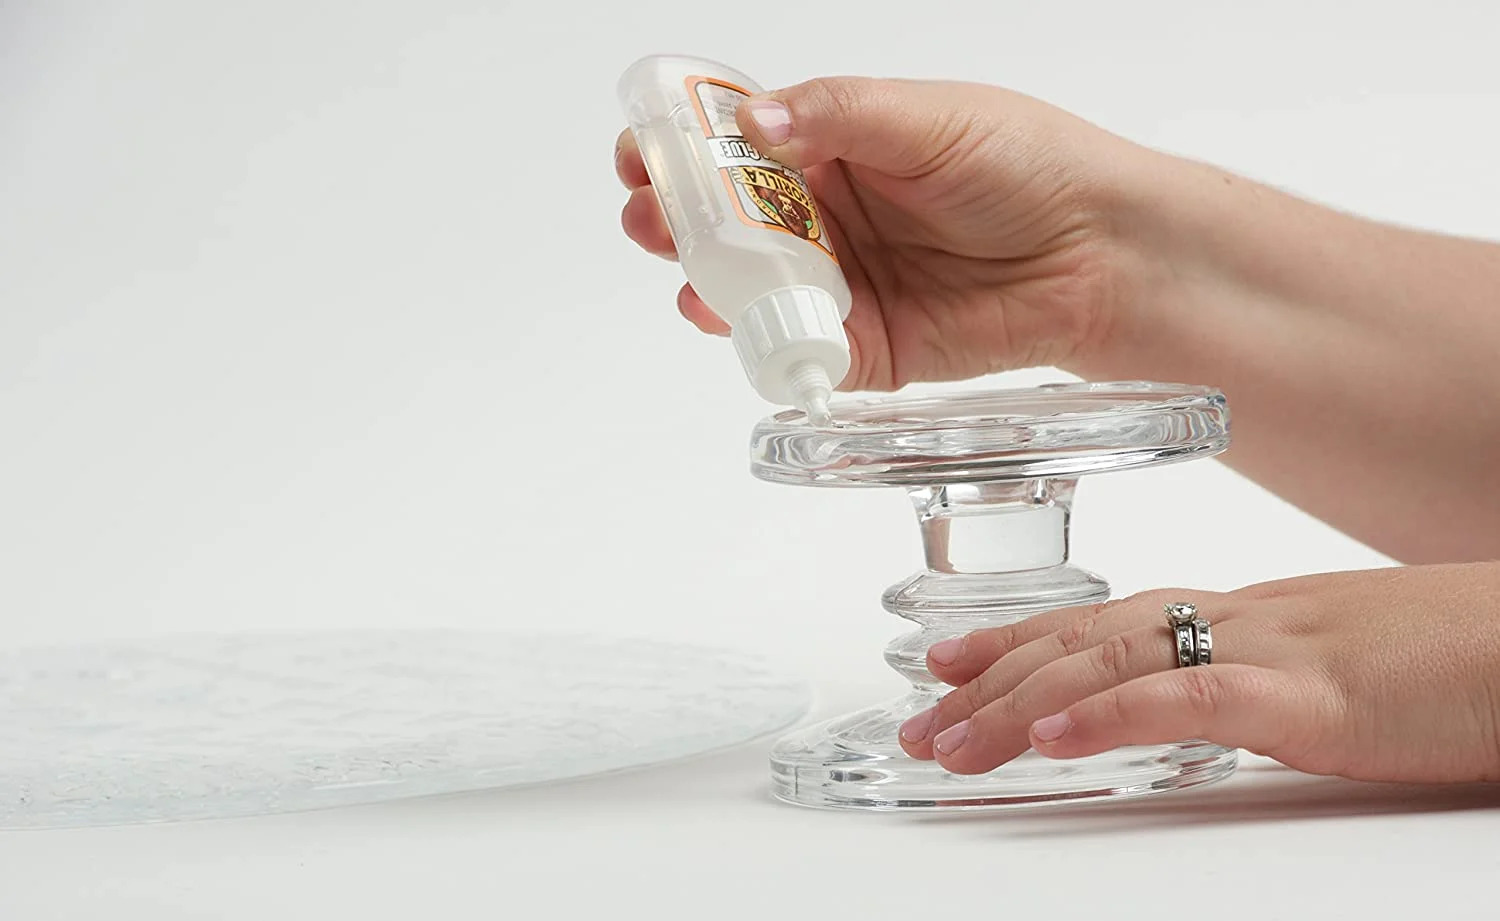
Applying the Adhesive
The application of the adhesive is a pivotal stage in the process of bonding glass to wood, demanding precision and attention to detail to ensure a strong and enduring bond. The method of applying the adhesive plays a significant role in determining the effectiveness of the bond and the overall quality of the finished assembly.
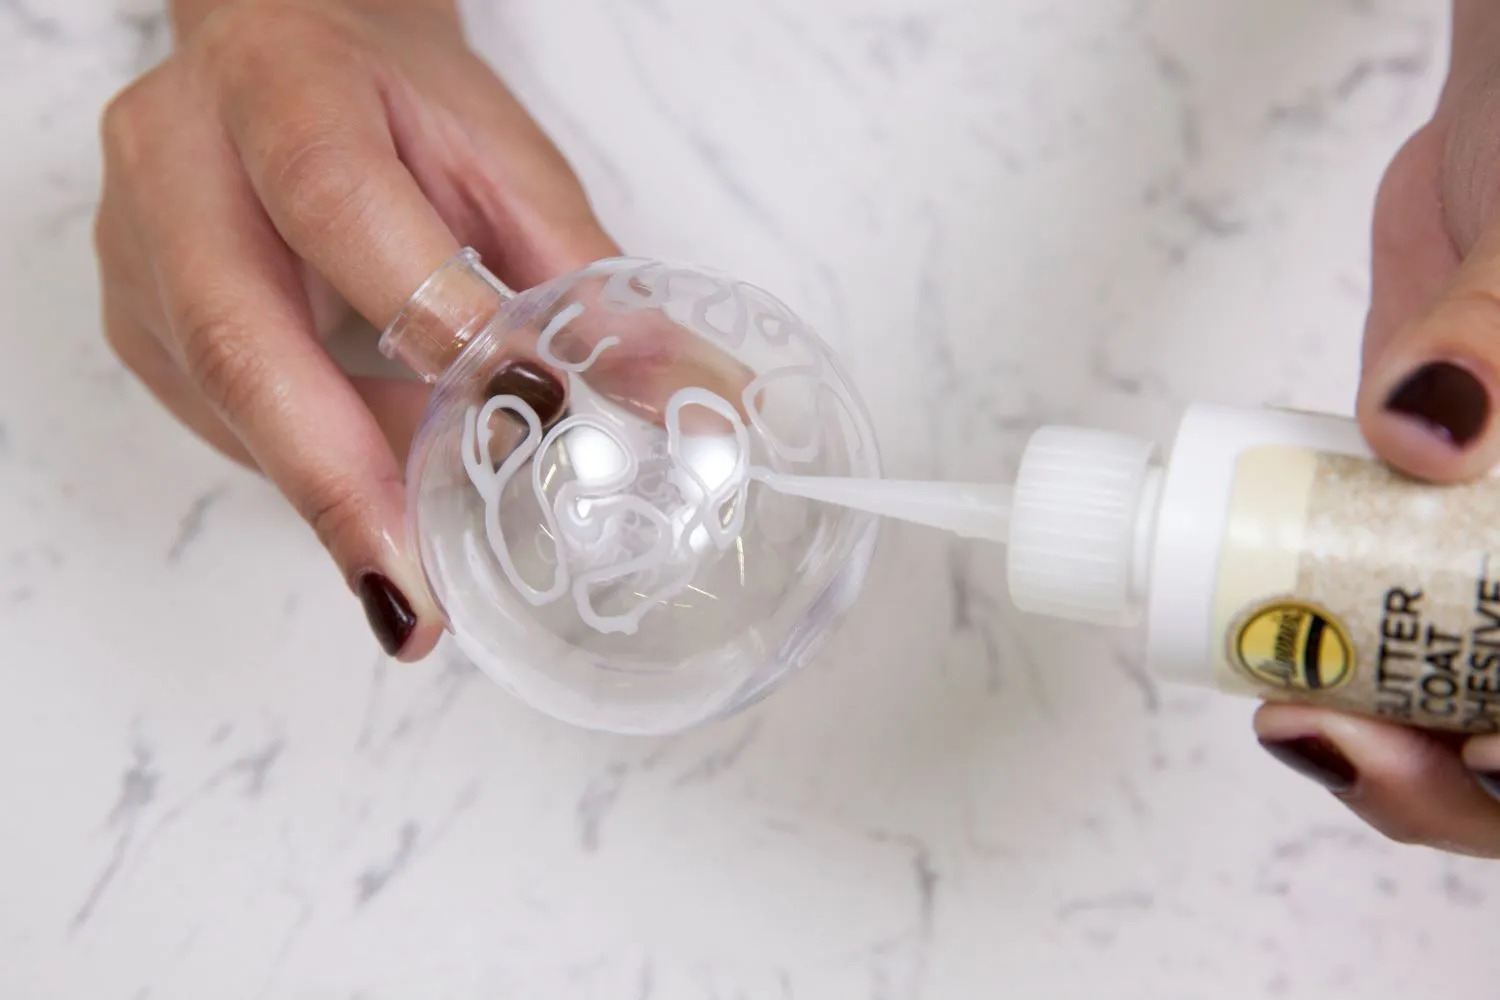
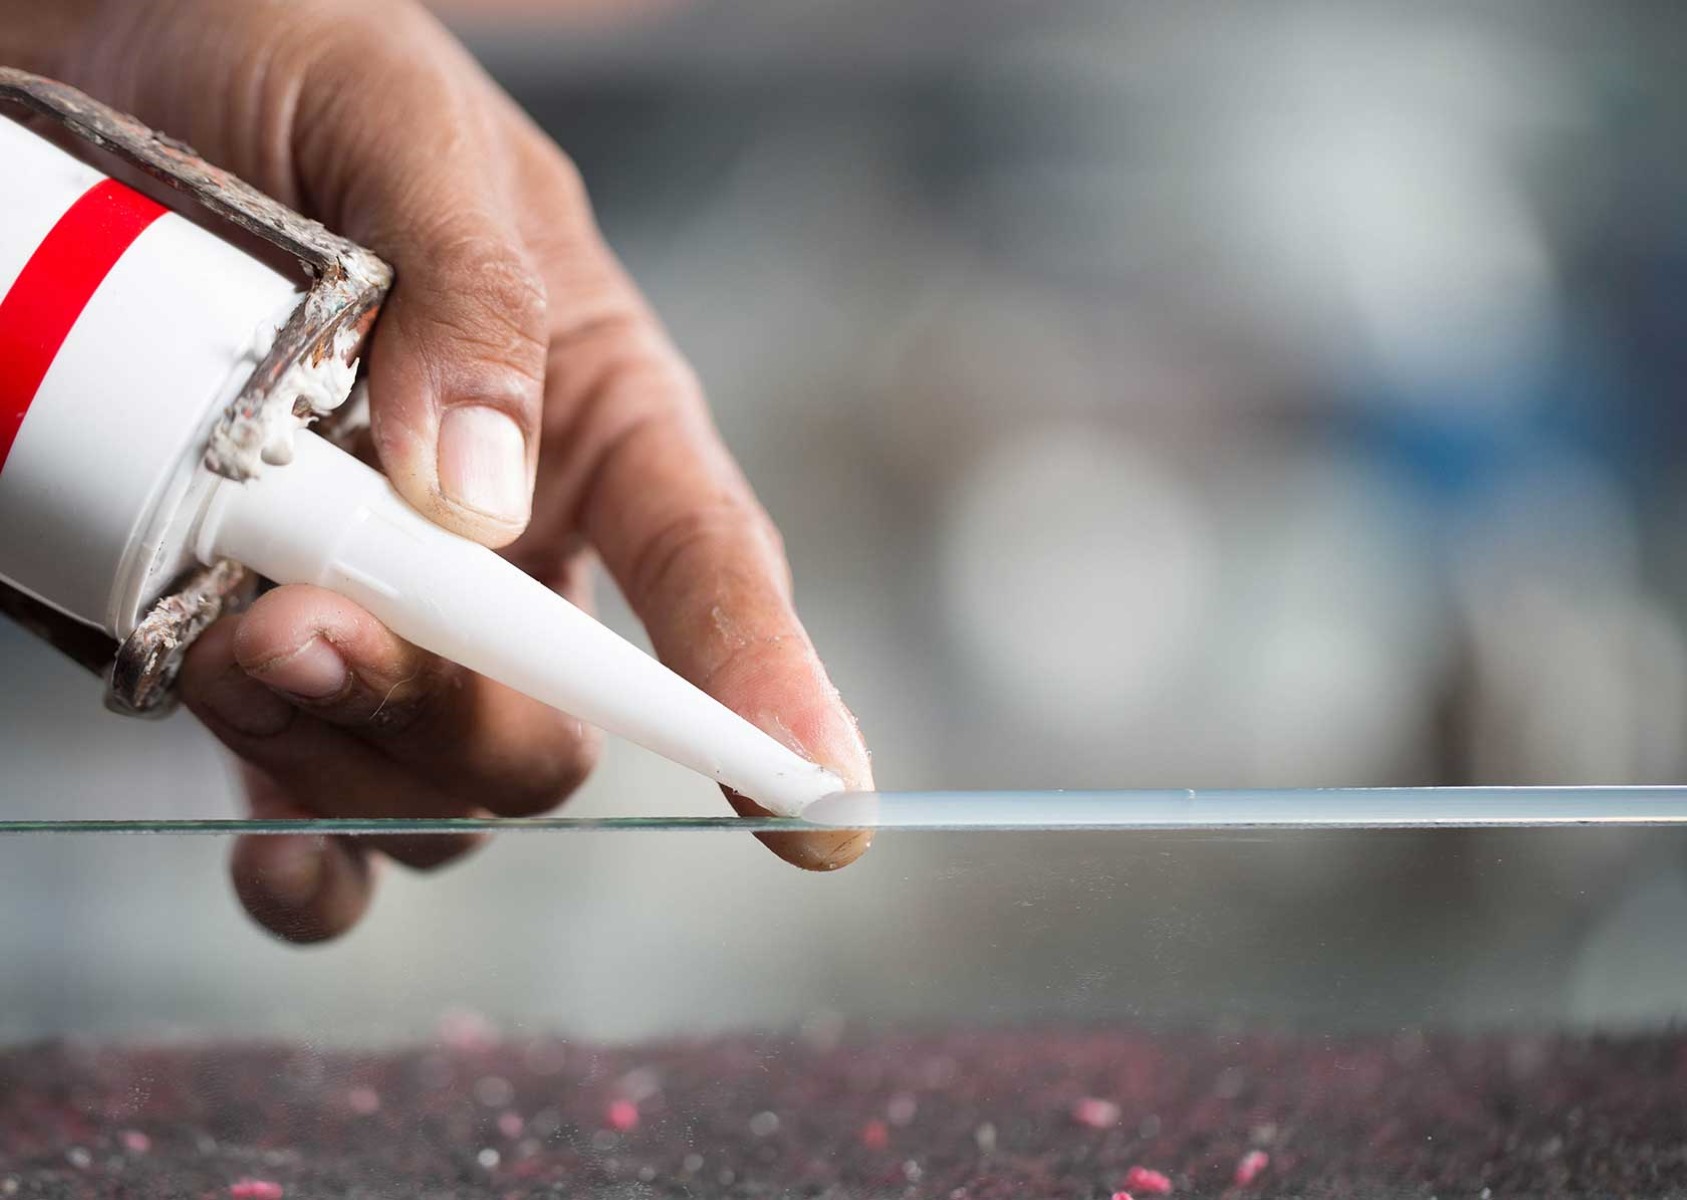
When applying the adhesive to the prepared surfaces, it is essential to follow the manufacturer's guidelines meticulously. Depending on the specific adhesive chosen, the application method and coverage requirements may vary. Some adhesives may necessitate the use of a specialized applicator, such as a fine-tip nozzle or a brush, to achieve precise and uniform coverage on both the glass and wood surfaces. Ensuring consistent and thorough coverage is crucial for establishing a robust bond that withstands the test of time.
Prior to applying the adhesive, it is advisable to conduct a dry run or mock assembly to familiarize yourself with the process and confirm the alignment of the glass and wood components. This preparatory step allows you to anticipate any challenges and make any necessary adjustments before proceeding with the adhesive application, minimizing the risk of errors during the critical bonding phase.
When applying the adhesive to the glass surface, it is important to maintain a steady and controlled hand to achieve an even layer without excessive buildup or gaps. Similarly, when applying the adhesive to the wood surface, ensure that the coverage is uniform and extends to the edges of the bonding area. This meticulous approach to adhesive application sets the stage for a seamless and reliable bond between the glass and wood, maximizing the adhesive's potential to create a strong and enduring attachment.
Additionally, adhering to the recommended curing and drying times specified by the adhesive manufacturer is crucial for allowing the bond to develop to its full strength. It is imperative to exercise patience and refrain from disturbing the bonded assembly during the curing process, as premature handling can compromise the integrity of the bond. By adhering to the prescribed curing times, you can ensure that the adhesive achieves its optimal strength, resulting in a durable and long-lasting bond between the glass and wood components.
In essence, the application of the adhesive represents a critical phase in the bonding process, where precision, adherence to guidelines, and meticulous attention to detail are paramount. By executing the adhesive application with care and precision, you pave the way for a seamless and enduring bond between glass and wood, culminating in the creation of captivating and structurally sound assemblies.
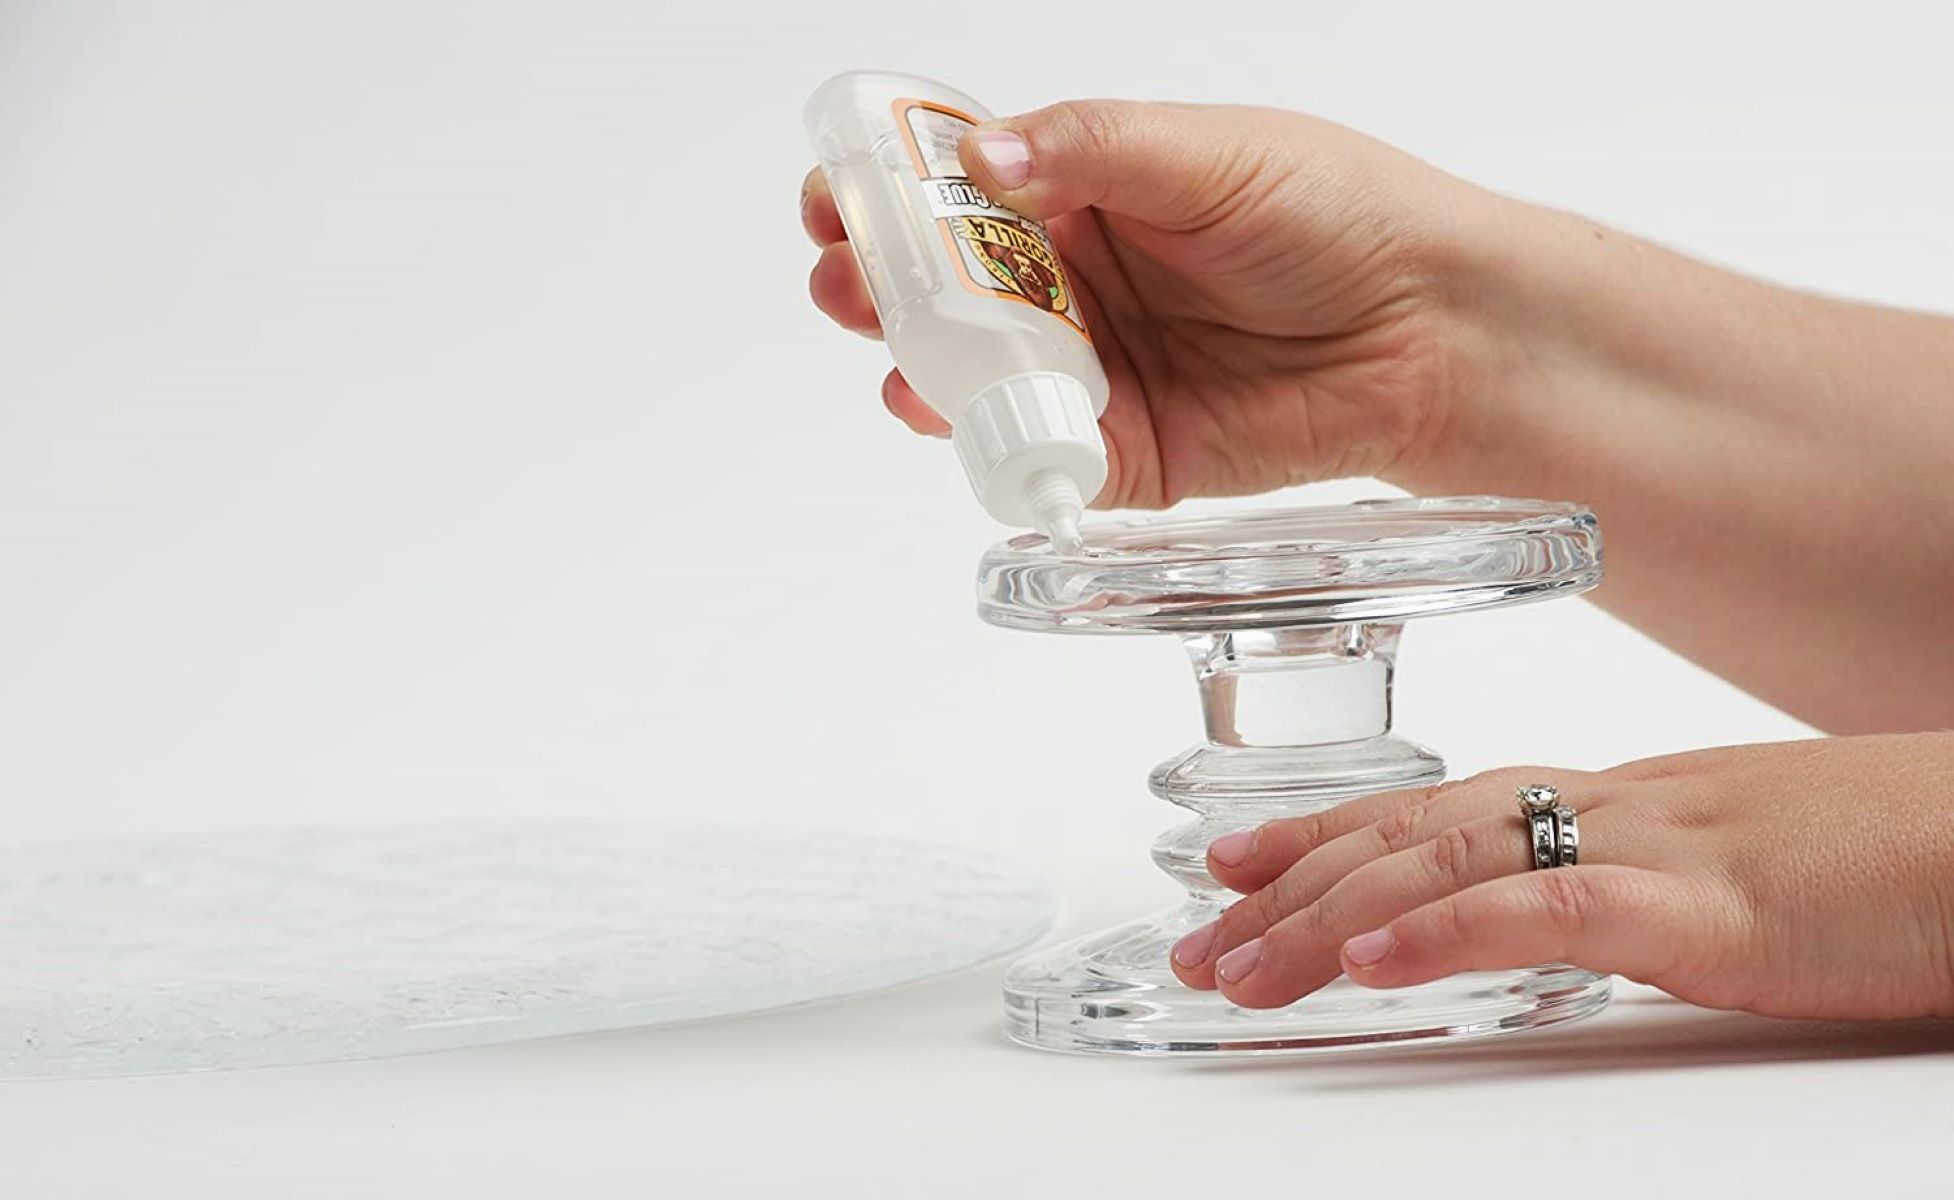
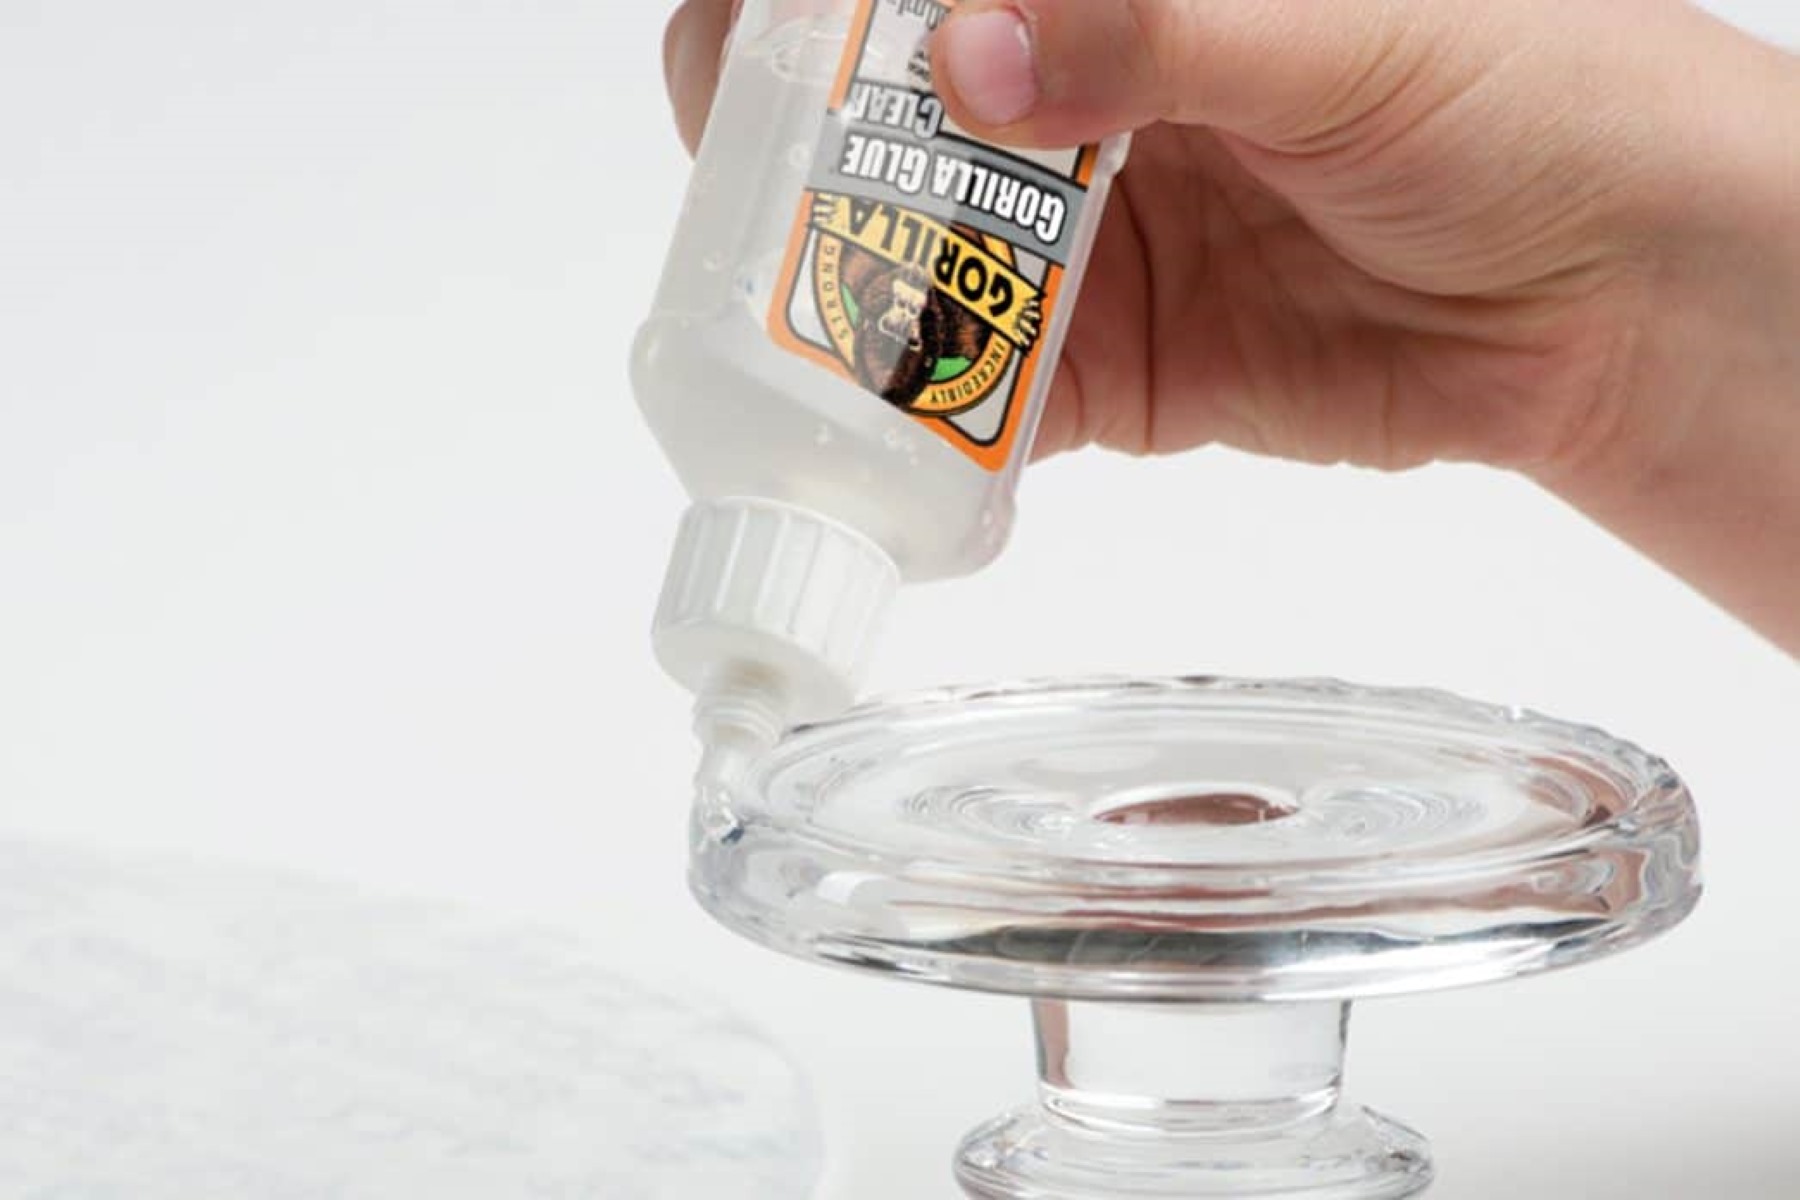
Use a clear epoxy or silicone adhesive specifically designed for bonding glass to wood. Make sure both surfaces are clean and dry before applying the adhesive, and follow the manufacturer’s instructions for best results.
Clamping and Drying
Once the adhesive has been meticulously applied to the prepared surfaces of the glass and wood, the next crucial step in the bonding process involves clamping the components together and allowing sufficient time for the adhesive to cure and form a robust bond. This phase is instrumental in ensuring the structural integrity and longevity of the bond, as it allows the adhesive to develop its full strength and create a seamless fusion between the glass and wood.
When clamping the glass and wood components together, it is essential to exert uniform pressure across the entire bonding area. This uniform pressure promotes consistent adhesive contact and minimizes the formation of air pockets or weak spots within the bond. Utilizing clamps specifically designed for woodworking or glass bonding applications can facilitate the precise application of pressure, ensuring that the glass and wood surfaces are held together securely throughout the curing process.
The duration of clamping is dictated by the adhesive manufacturer's recommendations, which specify the optimal timeframe for maintaining pressure on the bonded components. Adhering to these guidelines is crucial for allowing the adhesive to set and develop its full bonding strength. It is imperative to exercise patience during this phase, refraining from prematurely removing the clamps to ensure that the bond achieves its maximum structural integrity.
Following the clamping phase, the assembly must be allowed to dry and cure in a controlled environment conducive to the adhesive's optimal development. Factors such as temperature, humidity, and airflow play a significant role in the curing process, influencing the adhesive's ability to form a strong and enduring bond. It is essential to place the bonded assembly in a well-ventilated area with stable environmental conditions, as specified by the adhesive manufacturer, to facilitate the curing process.
During the drying and curing phase, it is crucial to minimize any disturbances to the bonded assembly, as movement or handling can compromise the integrity of the developing bond. Adhering to the prescribed drying times is essential for allowing the adhesive to reach its full strength and durability, ensuring that the resulting bond exhibits the resilience and longevity required for enduring applications.
In essence, the clamping and drying phase represents a critical stage in the bonding process, where precision, adherence to guidelines, and meticulous environmental control are paramount. By executing this phase with care and attention to detail, you set the stage for the formation of a robust and enduring bond between the glass and wood components, culminating in the creation of captivating and structurally sound assemblies.
Final Touches and Considerations
After the adhesive has fully cured and the glass and wood components are securely bonded, attention to final touches and additional considerations can elevate the overall quality and longevity of the assembly. One crucial aspect involves inspecting the bonded area to ensure that the adhesive has formed a uniform and seamless bond between the glass and wood surfaces. Any irregularities or gaps in the bond should be addressed promptly to fortify the structural integrity and visual appeal of the assembly.
Furthermore, considering the long-term maintenance and care of the bonded assembly is essential for preserving its quality and appearance. Depending on the specific adhesive used, the manufacturer's recommendations for cleaning and maintenance should be followed to ensure that the bond remains resilient and visually pristine over time. Additionally, understanding the environmental factors that can impact the bonded assembly, such as exposure to sunlight, moisture, or temperature variations, allows for proactive measures to be taken to safeguard the integrity of the bond.
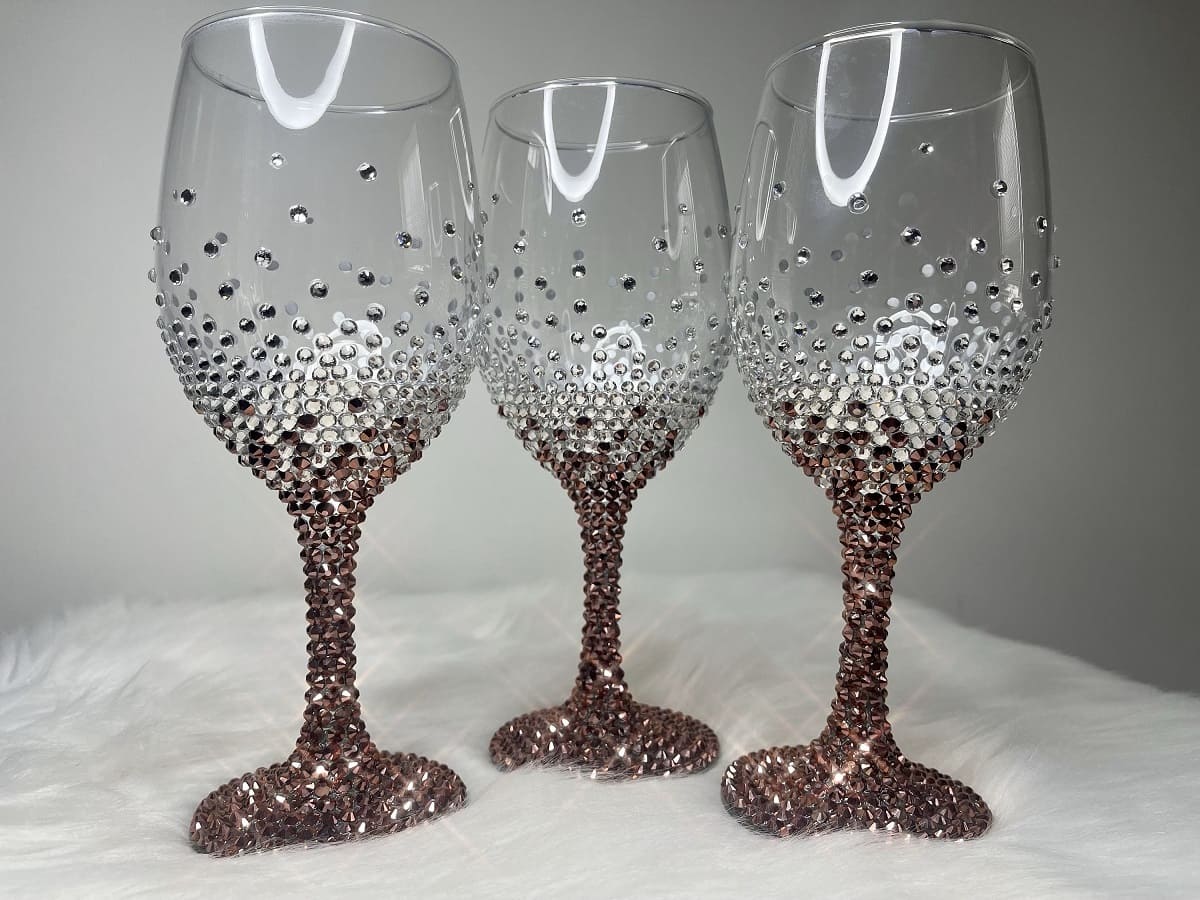
In projects where the visual aesthetics of the bonded assembly are paramount, such as glass tabletops or decorative art pieces, incorporating protective measures, such as felt pads or coasters, can mitigate the risk of scratches or abrasions that could compromise the appearance of the glass surface. These thoughtful additions not only enhance the longevity of the assembly but also contribute to its visual appeal and functionality.
Moreover, documenting the specifics of the adhesive used, the bonding process, and any additional protective measures implemented can serve as valuable reference points for future maintenance or restoration efforts. This documentation can include details such as the type of adhesive, application methods, curing times, and any specific environmental conditions required for optimal bonding. Such records can be instrumental in ensuring consistent care and maintenance of the bonded assembly over time.
In essence, the final touches and considerations encompass a holistic approach to preserving the quality, resilience, and visual appeal of the bonded assembly. By attending to the finer details and proactively addressing long-term maintenance considerations, you can ensure that the glass-to-wood bond not only meets immediate functional and aesthetic requirements but also stands the test of time, enriching the space in which it resides with enduring elegance and craftsmanship.
Frequently Asked Questions about How To Glue Glass To Wood
Was this page helpful?
At Storables.com, we guarantee accurate and reliable information. Our content, validated by Expert Board Contributors, is crafted following stringent Editorial Policies. We're committed to providing you with well-researched, expert-backed insights for all your informational needs.


0 thoughts on “How To Glue Glass To Wood”