Home>Furniture & Design>Interior Design Trends>How To Make Liquid Glass Without Borax
Interior Design Trends
How To Make Liquid Glass Without Borax
Modified: October 20, 2024
Learn how to create stunning liquid glass without borax for your interior design projects. Discover the latest interior design trends and elevate your space today.
(Many of the links in this article redirect to a specific reviewed product. Your purchase of these products through affiliate links helps to generate commission for Storables.com, at no extra cost. Learn more)
Introduction
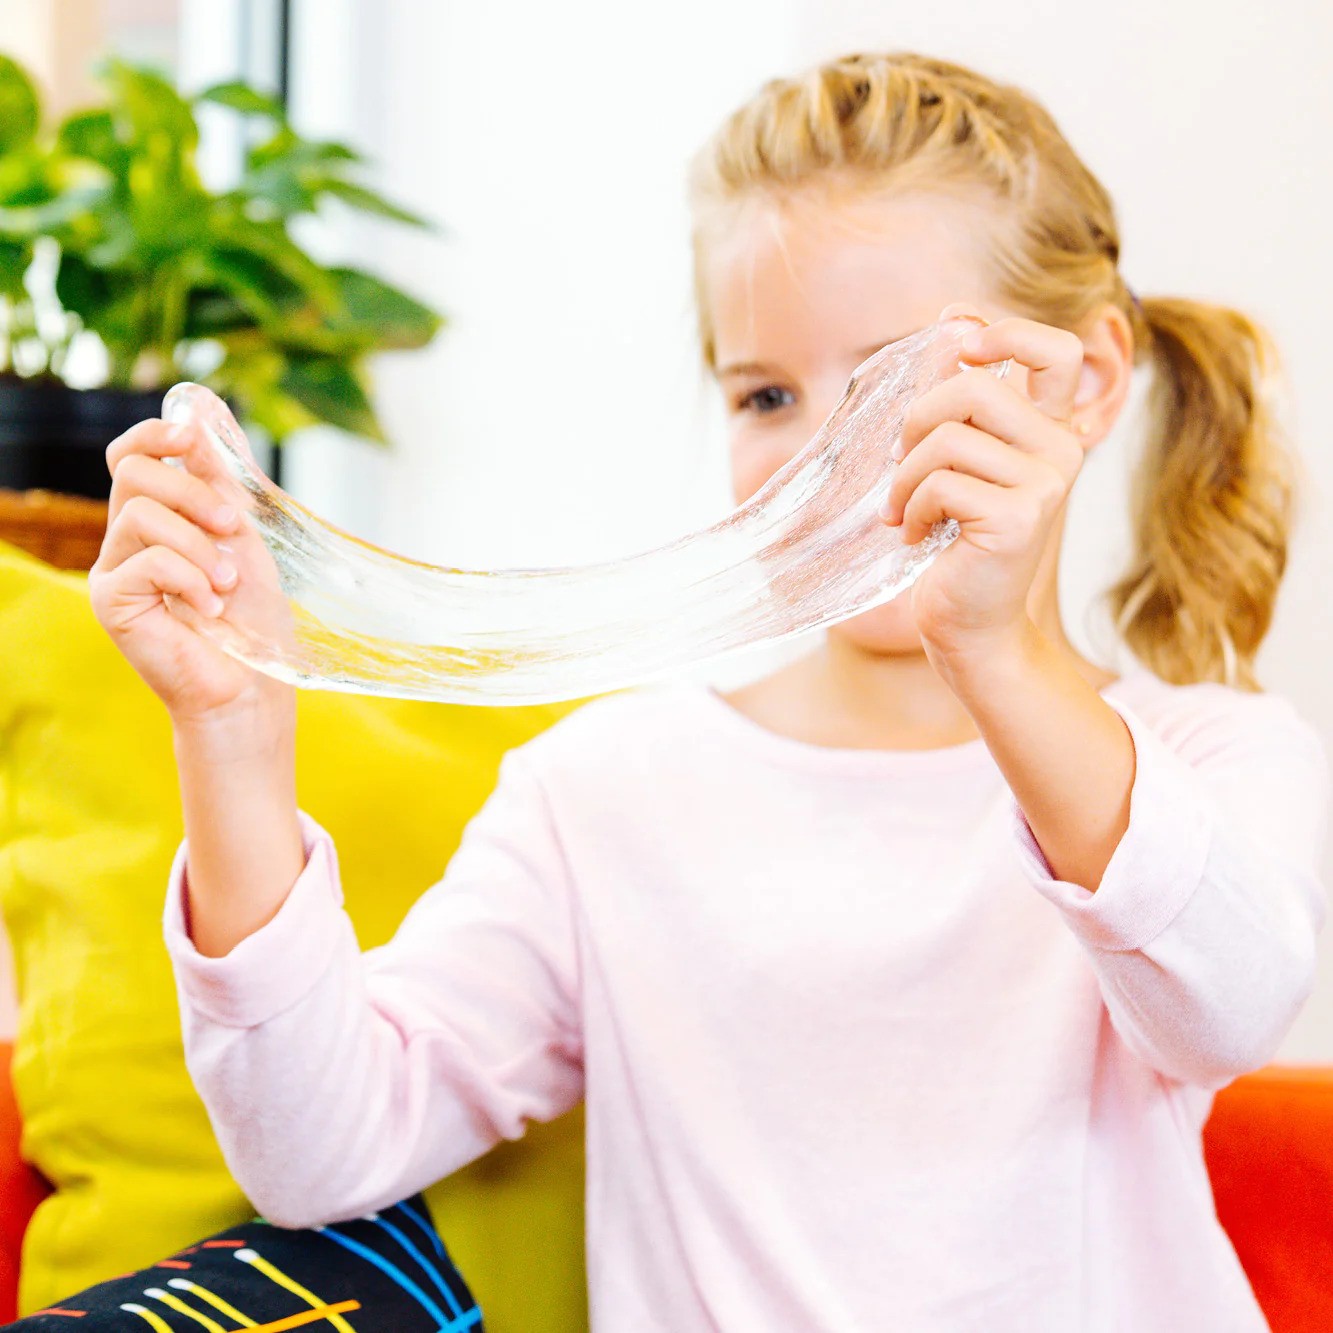
Liquid glass, also known as sodium silicate, is a versatile and fascinating substance that has gained popularity for its myriad of uses in various industries and DIY projects. This remarkable solution is prized for its adhesive, binding, and protective properties, making it a valuable asset in the realms of art, science, and everyday applications. Whether you're a craft enthusiast, a DIY aficionado, or simply curious about the wonders of liquid glass, this article will guide you through the process of creating this remarkable material without the use of borax.
The allure of liquid glass lies in its ability to transform from a free-flowing liquid into a solid, glass-like substance when exposed to heat. This unique characteristic has made it a sought-after ingredient in a wide range of creative endeavors, from crafting and art projects to industrial applications. By understanding the simple yet fascinating chemistry behind liquid glass, you can unlock a world of possibilities and unleash your creativity in exciting new ways.
In the following sections, we will explore the materials needed to create liquid glass without borax, the step-by-step process of making this remarkable substance, its diverse uses, and the endless potential it holds for innovation and experimentation. Whether you're eager to embark on a new DIY adventure or simply intrigued by the science of materials, this guide will equip you with the knowledge and inspiration to delve into the captivating world of liquid glass.
Key Takeaways:
- Unleash Your Creativity: Make liquid glass without borax using simple ingredients like sodium hydroxide and silica gel. Explore its uses in art, DIY projects, and scientific applications for endless possibilities.
- Versatile and Protective: Liquid glass serves as a transparent adhesive and protective coating for art, industrial, and agricultural needs. From preserving delicate objects to fireproofing, its uses are diverse and innovative.
Read more: What Is Liquid Glass
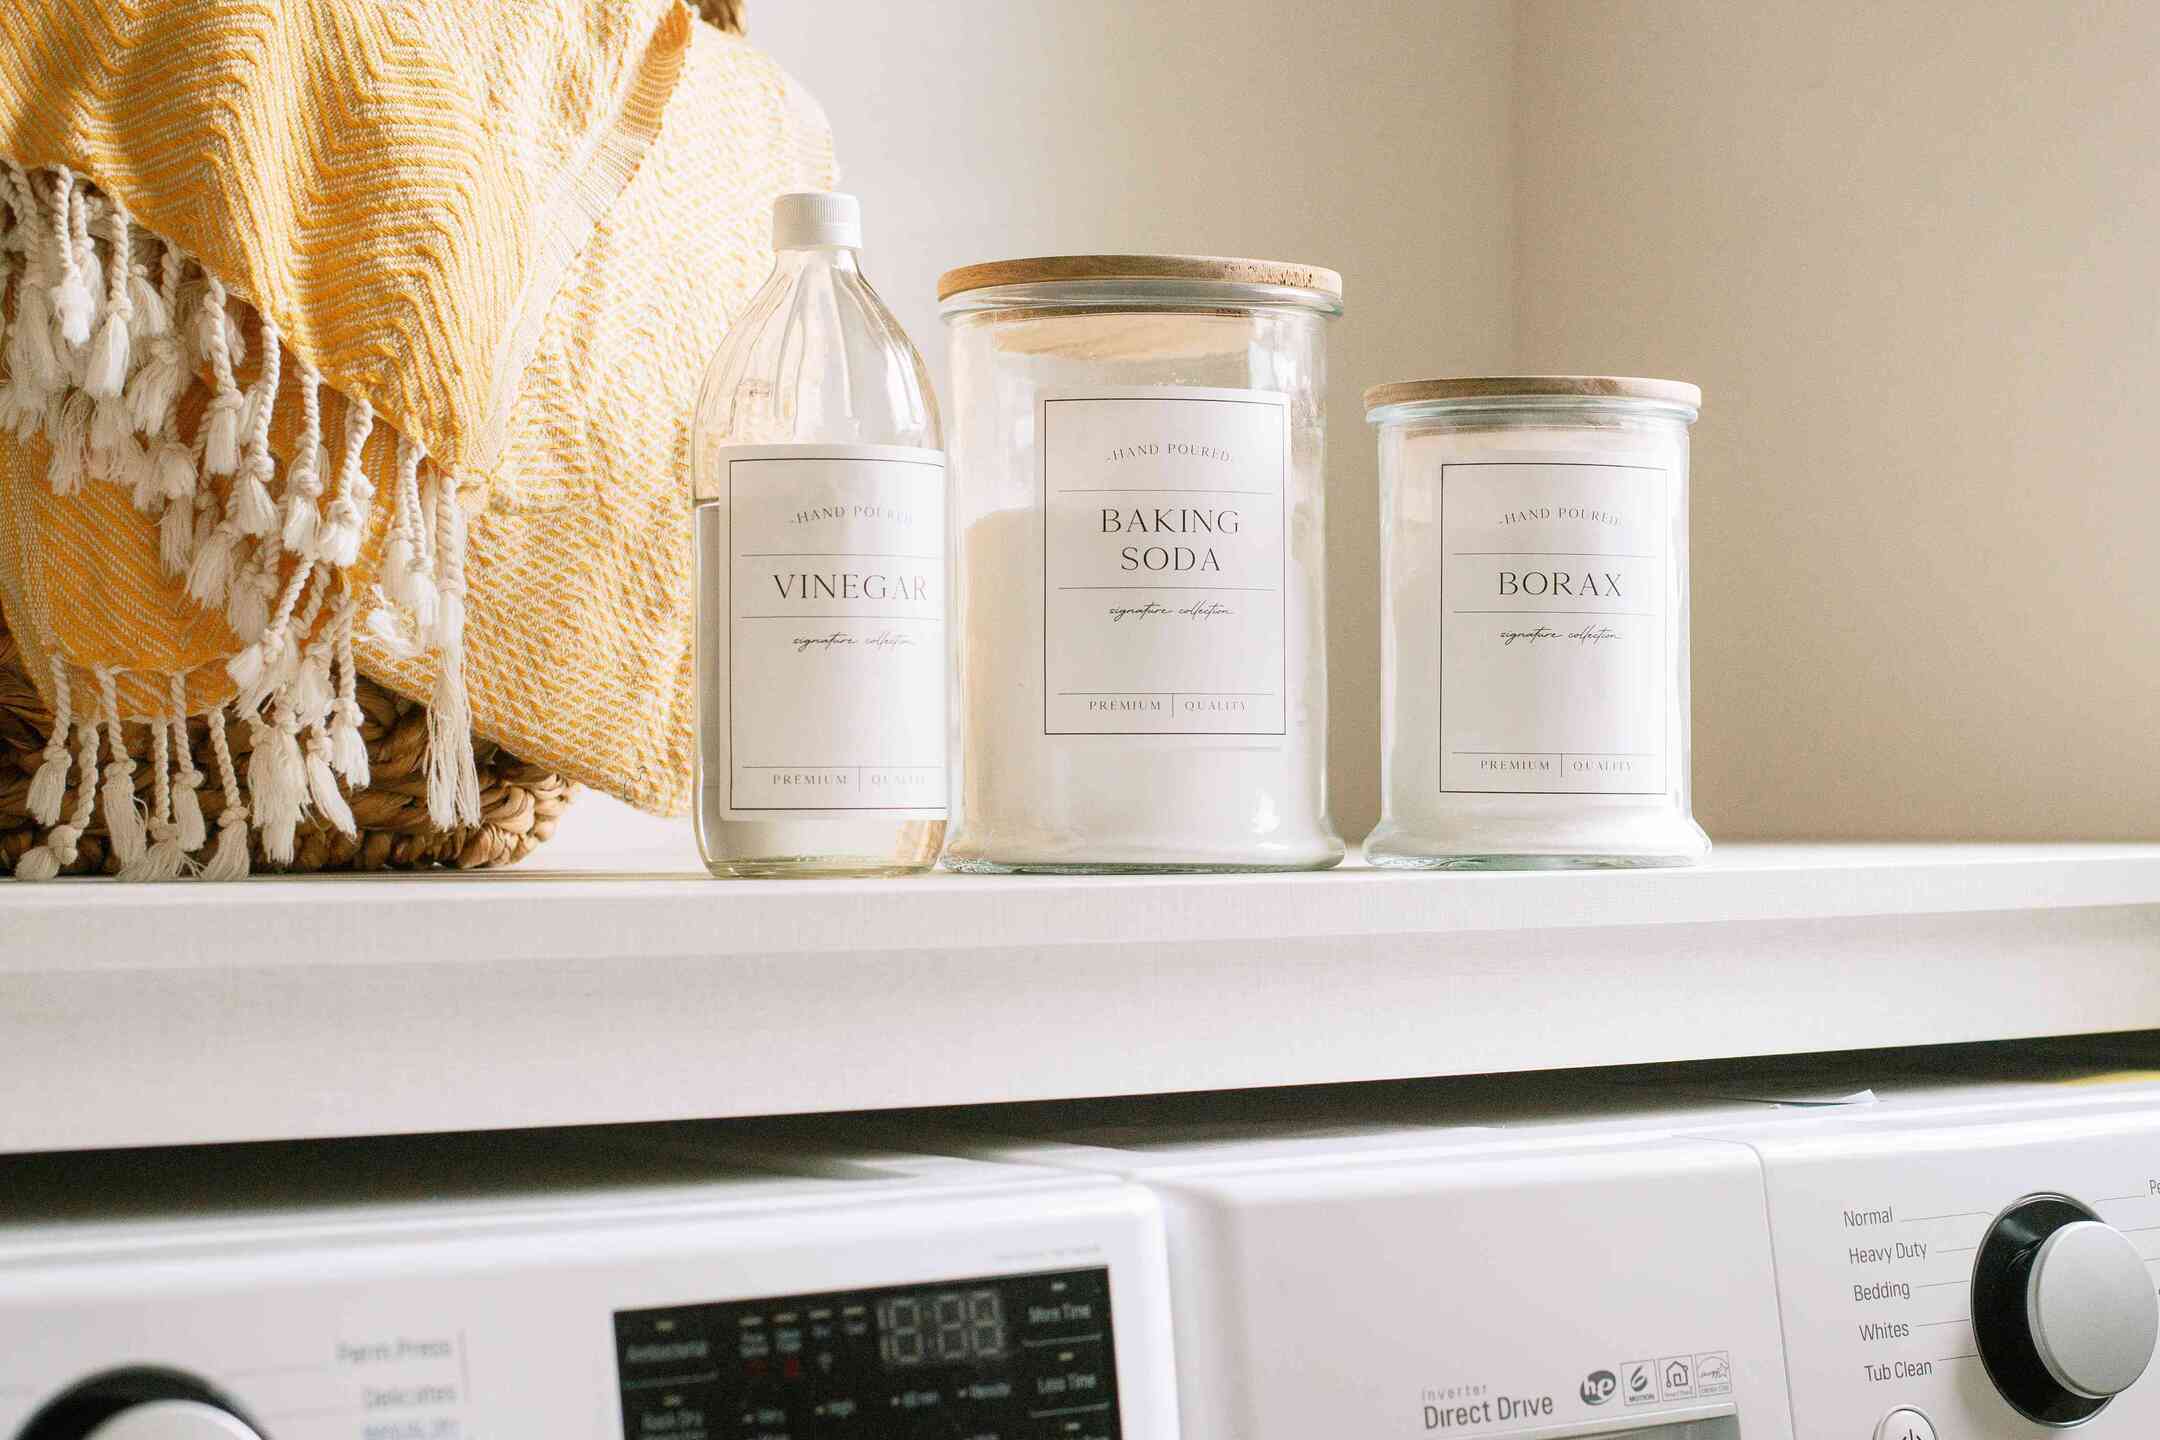
Materials Needed
To embark on the exciting journey of creating liquid glass without borax, you will need a handful of essential materials that are readily available and easy to procure. These ingredients, when combined in the right proportions, will pave the way for the transformation of ordinary substances into a remarkable and versatile solution with a myriad of applications. Here's a comprehensive list of the materials required to craft your own liquid glass:
-
Sodium Hydroxide (Caustic Soda): This crucial compound serves as a fundamental building block in the creation of liquid glass. Sodium hydroxide, commonly known as caustic soda, plays a pivotal role in the chemical reaction that gives rise to the unique properties of liquid glass.
-
Silica Gel or Sodium Silicate: These substances act as the primary source of silica, a key component in the formation of liquid glass. Silica gel, often found in desiccant packets, or sodium silicate, a common industrial chemical, can be used to provide the essential silica content for the creation of liquid glass.
-
Distilled Water: Pure and uncontaminated water is essential for achieving the desired consistency and properties of liquid glass. Distilled water, free from impurities and minerals, ensures the integrity of the chemical reaction and the resulting solution.
-
Glass Jar or Container: A suitable glass vessel is required to facilitate the mixing and storage of the ingredients. Select a durable and heat-resistant container that can withstand the chemical process and subsequent applications of the liquid glass.
-
Protective Gear: Given the caustic nature of some of the materials involved, it is imperative to prioritize safety. Rubber gloves, safety goggles, and a protective apron are essential to shield against potential contact with the corrosive substances.
-
Measuring Utensils: Accurate measurements are crucial for achieving the desired chemical composition and properties of the liquid glass. Utilize precise measuring cups, spoons, or a digital scale to ensure the correct proportions of each ingredient.
By gathering these materials, you will be well-equipped to embark on the captivating process of creating liquid glass without the use of borax. With these foundational components at your disposal, you are poised to unlock the potential of this remarkable substance and explore its diverse applications in the realms of art, science, and innovation.
Steps to Make Liquid Glass Without Borax
-
Prepare the Sodium Hydroxide Solution: Begin by carefully measuring a specific quantity of distilled water in the glass jar or container. It is crucial to handle sodium hydroxide with caution due to its caustic nature. While wearing protective gear, slowly add the required amount of sodium hydroxide to the distilled water, stirring gently to facilitate the dissolution process. Exercise extreme care and ensure adequate ventilation during this step.
-
Integrate the Silica Source: Once the sodium hydroxide solution is prepared, introduce the silica source, which can be either silica gel or sodium silicate, into the mixture. Gradually add the silica substance while stirring continuously to achieve a homogeneous blend. This pivotal stage initiates the chemical reaction that will ultimately yield the liquid glass solution.
-
Stir and Mix Thoroughly: With the essential components combined, continue stirring the mixture diligently to ensure the complete integration of the sodium hydroxide and silica source. Consistent agitation is vital to promote the chemical interaction and the formation of the desired liquid glass composition.
-
Allow for Reaction and Maturity: After thorough mixing, allow the solution to rest and mature for a designated period. This crucial phase enables the chemical reaction to progress and the liquid glass properties to develop. The duration of this resting period may vary based on the specific formulation and intended application of the liquid glass.
-
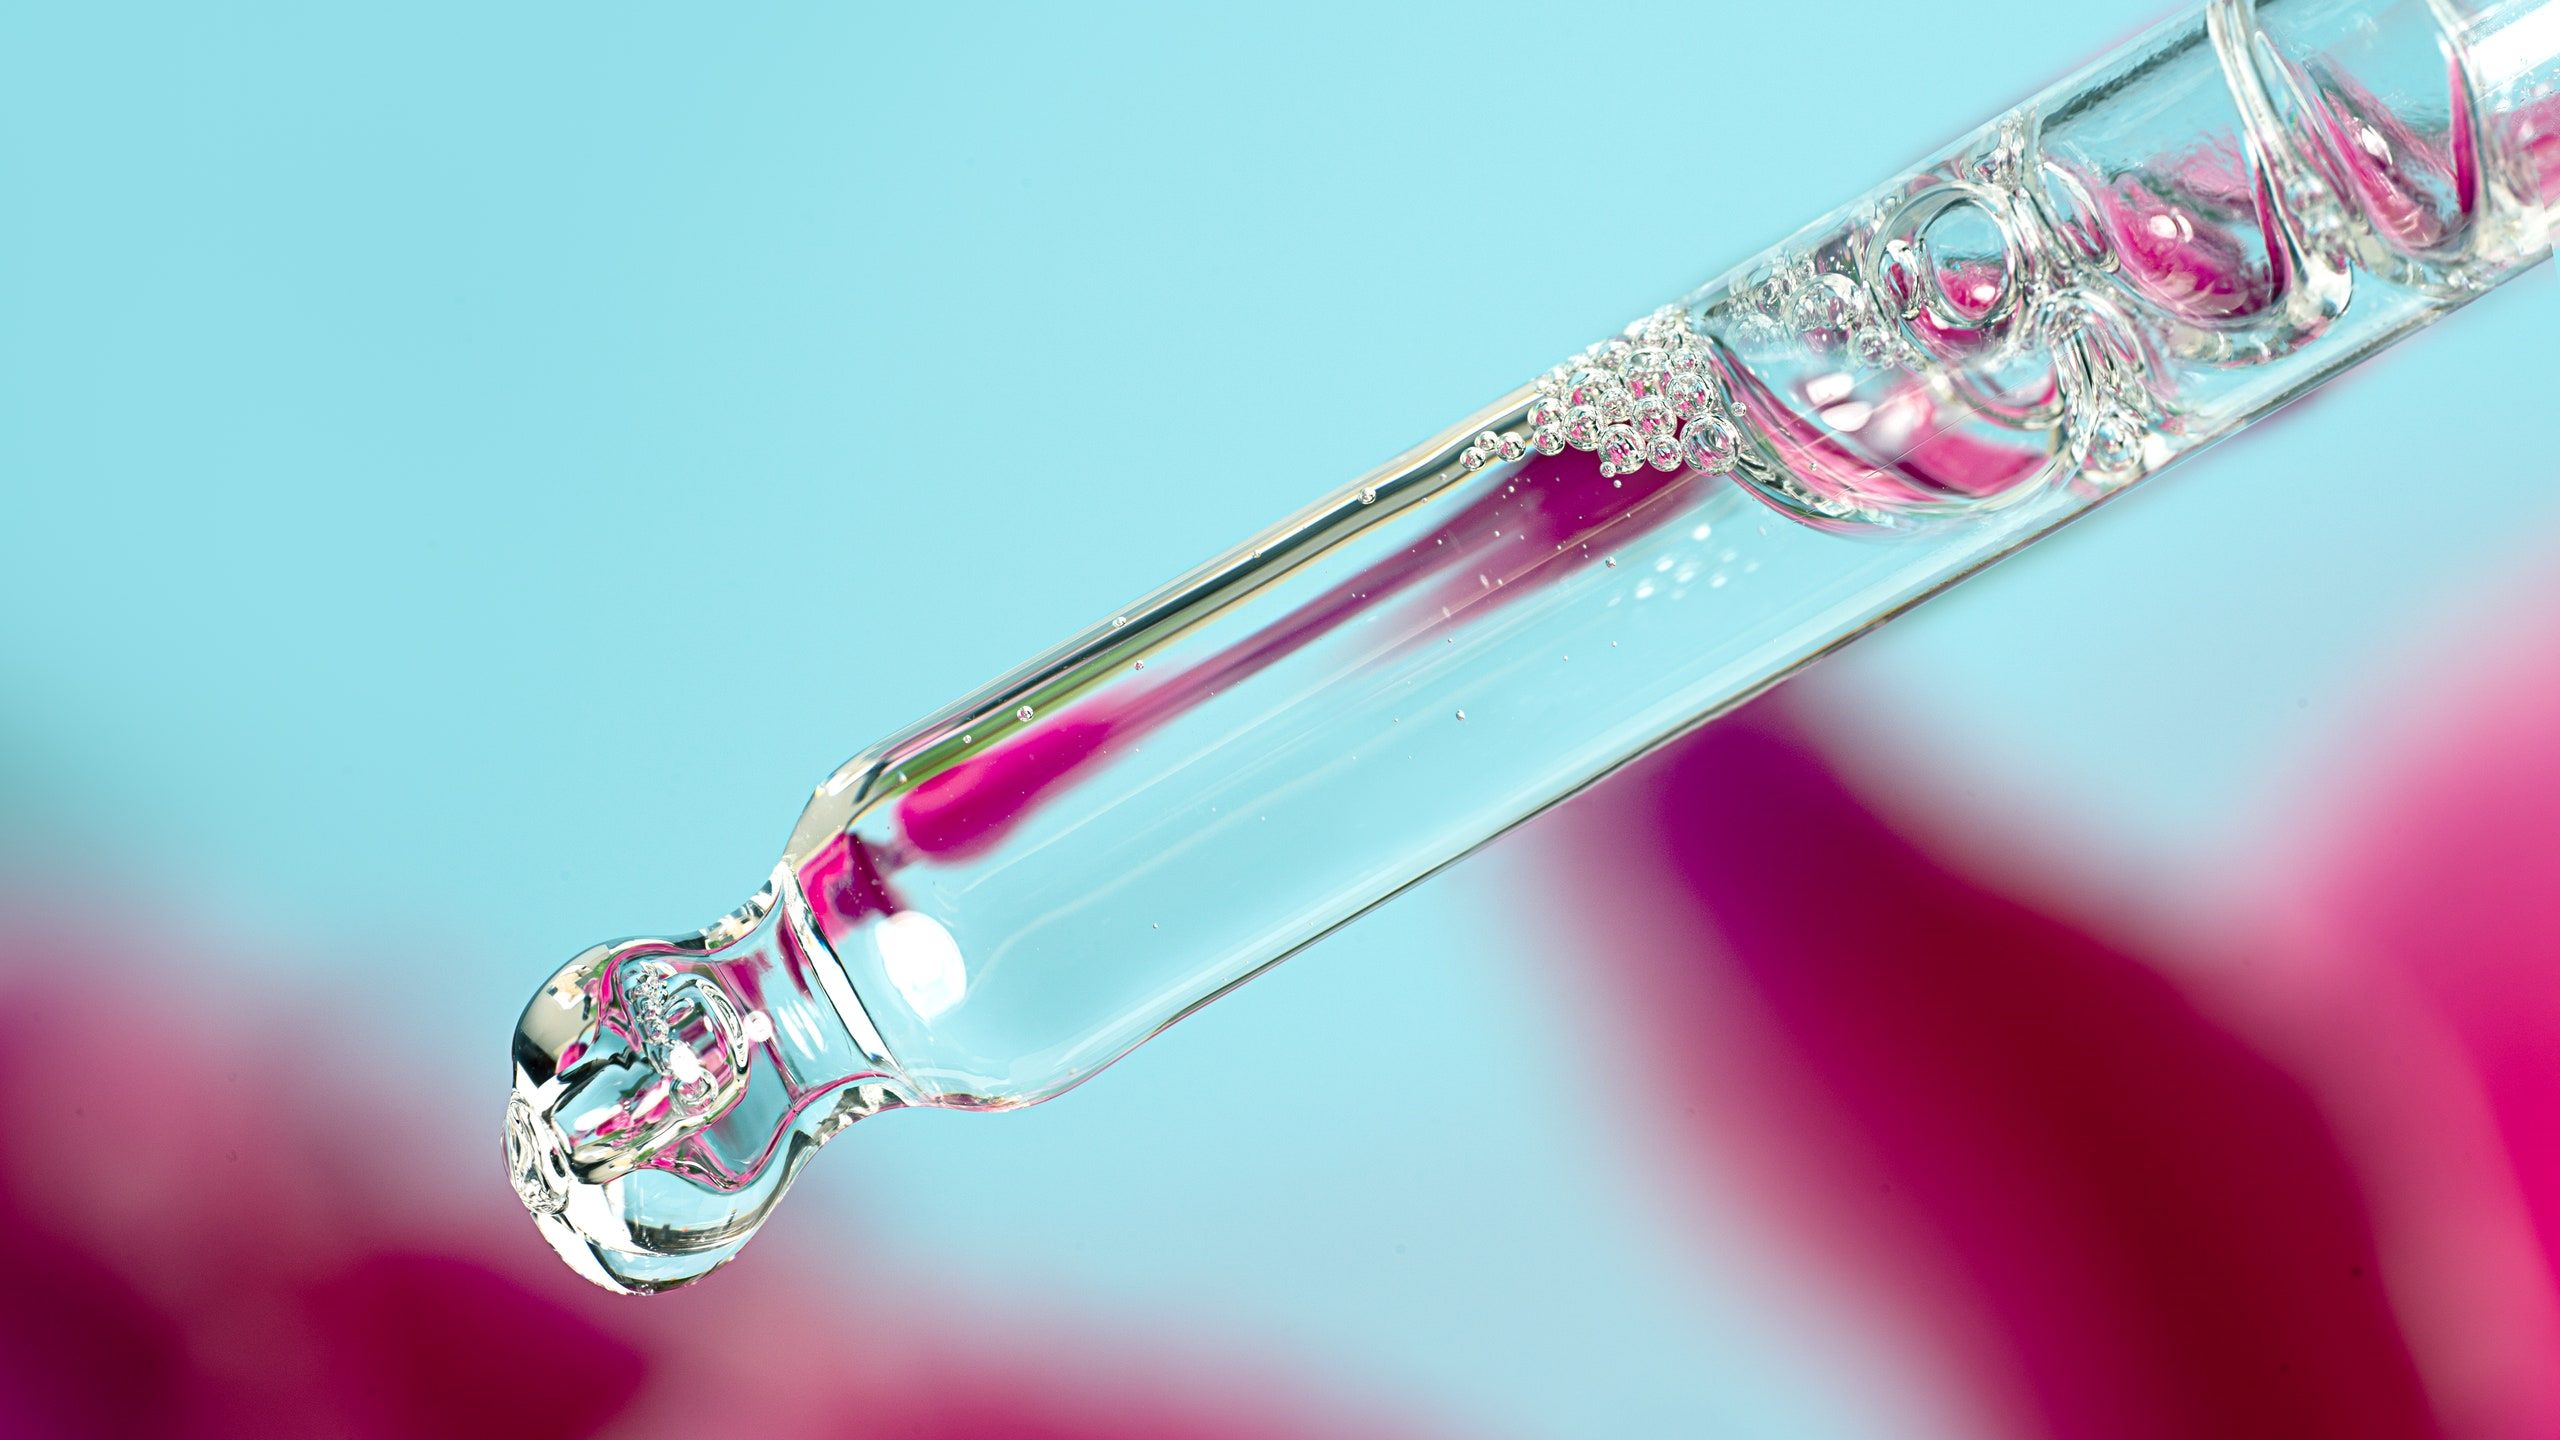
Evaluate and Refine: Once the solution has matured, assess its consistency, clarity, and adhesive properties. Depending on the intended use, adjustments can be made to fine-tune the characteristics of the liquid glass. This may involve additional dilution with distilled water or minor modifications to the chemical composition to achieve the desired attributes.
-
Store and Utilize: Upon achieving the optimal formulation, store the liquid glass solution in a secure, labeled container. Ensure proper sealing and safe storage to maintain its integrity. The liquid glass is now ready for a diverse array of applications, ranging from artistic endeavors and DIY projects to industrial and scientific uses.
By following these meticulous steps, you can successfully create liquid glass without the use of borax, unlocking its potential for innovation and exploration. This versatile substance holds the promise of boundless creativity and practical utility, empowering you to embark on a captivating journey of discovery and application.
Try using a mixture of clear glue and contact lens solution to make liquid glass without borax. Mix equal parts of glue and solution, then stir until it becomes a thick, clear liquid.
Uses of Liquid Glass
Liquid glass, with its remarkable adhesive, binding, and protective properties, finds a myriad of applications across diverse domains, ranging from artistic pursuits to industrial and scientific endeavors. The versatility and unique characteristics of this remarkable substance make it a valuable asset in various fields. Here are some compelling uses of liquid glass:
-
Artistic Creations: Liquid glass serves as a captivating medium for artists and craftsmen, enabling the creation of stunning artworks and intricate designs. Its transparent and glass-like appearance adds a touch of elegance to sculptures, mixed media art, and resin-based creations. The adhesive nature of liquid glass allows for the encapsulation of objects, such as flowers, shells, and decorative elements, preserving them in a timeless and visually captivating manner.
-
Sealant and Protective Coating: In industrial and commercial settings, liquid glass is utilized as a sealant and protective coating for a wide range of surfaces. Its ability to form a durable and impermeable layer makes it ideal for safeguarding concrete, metal, and porous materials against corrosion, moisture, and environmental degradation. This protective application extends to infrastructure, automotive components, and architectural surfaces, enhancing their longevity and resilience.
-
DIY Projects: Enthusiasts and hobbyists harness the versatility of liquid glass in an array of do-it-yourself projects. From creating custom jewelry and decorative ornaments to crafting personalized coasters and tabletops, the adhesive and hardening properties of liquid glass enable the realization of imaginative and functional pieces. Its transparent and glossy finish adds a professional touch to DIY endeavors, elevating their aesthetic appeal.
-
Casting and Molding: Liquid glass is employed in casting and molding processes, facilitating the production of intricate and detailed replicas. Its ability to capture fine details and cure into a solid, glass-like form makes it an invaluable material for crafting prototypes, architectural models, and ornamental fixtures. The versatility of liquid glass extends to the realm of mold-making, enabling the creation of custom molds for resin casting and sculpting applications.
-
Chemical and Scientific Applications: In scientific research and laboratory settings, liquid glass finds utility in various chemical and analytical procedures. Its adhesive and binding properties are leveraged in chromatography, column packing, and sample preservation. Additionally, liquid glass serves as a crucial component in the formulation of specialized adhesives, cements, and coatings used in scientific instrumentation and experimental setups.
-
Fireproofing and Insulation: Liquid glass is utilized in fireproofing and insulation applications, where its heat-resistant properties provide a protective barrier against high temperatures and thermal stress. This application extends to fireproof coatings for materials and structures, as well as insulation solutions for industrial equipment and passive fire protection systems.
-
Soil Stabilization and Agriculture: Liquid glass is employed in soil stabilization and agricultural practices to enhance soil structure, mitigate erosion, and improve water retention. Its binding and strengthening properties contribute to the stabilization of soil aggregates, offering sustainable solutions for landscaping, erosion control, and agricultural soil management.
The diverse uses of liquid glass underscore its significance as a versatile and valuable material with wide-ranging applications. From artistic expressions to industrial innovations, the unique properties of liquid glass continue to inspire creativity, foster resilience, and drive advancements across multiple disciplines.
Conclusion
In conclusion, the creation of liquid glass without borax unveils a world of possibilities and applications, showcasing the remarkable versatility and utility of this unique substance. By harnessing the chemical synergy of sodium hydroxide and silica, individuals can craft a material that transcends conventional boundaries, offering a transparent, adhesive, and protective solution for a myriad of endeavors.
The journey of creating liquid glass without borax begins with the careful selection and preparation of essential materials, including sodium hydroxide, silica gel or sodium silicate, and distilled water. The meticulous blending of these components, coupled with diligent stirring and maturation, culminates in the formation of a remarkable substance with boundless potential.
The uses of liquid glass span a diverse spectrum, encompassing artistic expressions, industrial innovations, scientific applications, and practical solutions. From preserving delicate objects in resin to safeguarding infrastructure against environmental elements, liquid glass serves as a catalyst for creativity, resilience, and progress. Its role in DIY projects, casting and molding endeavors, fireproofing applications, and agricultural practices underscores its adaptability and significance in various domains.
As individuals embark on the journey of creating and utilizing liquid glass, it is essential to prioritize safety, precision, and innovation. Protective gear and meticulous measurements ensure a secure and controlled environment for the chemical process, while creative ingenuity and experimentation pave the way for novel applications and discoveries.
The allure of liquid glass lies not only in its tangible properties but also in its intangible potential to inspire, protect, and transform. Whether it's enhancing the aesthetic appeal of artworks, fortifying industrial structures, or advancing scientific research, liquid glass stands as a testament to the ingenuity and adaptability of human creativity.
In essence, the creation and utilization of liquid glass without borax exemplify the convergence of science, art, and practicality, offering a tangible manifestation of innovation and resilience. As individuals continue to explore the boundless capabilities of this remarkable substance, they embark on a captivating journey of discovery, application, and transformation, shaping the world around them with the transparent, adhesive, and protective qualities of liquid glass.
Frequently Asked Questions about How To Make Liquid Glass Without Borax
Was this page helpful?
At Storables.com, we guarantee accurate and reliable information. Our content, validated by Expert Board Contributors, is crafted following stringent Editorial Policies. We're committed to providing you with well-researched, expert-backed insights for all your informational needs.

0 thoughts on “How To Make Liquid Glass Without Borax”