Home>Furniture & Design>Interior Design Trends>How To Apply Liquid Glass Screen Protector
Interior Design Trends
How To Apply Liquid Glass Screen Protector
Modified: February 18, 2024
Learn how to apply a liquid glass screen protector and keep up with the latest interior design trends. Protect your devices and stay stylish!
(Many of the links in this article redirect to a specific reviewed product. Your purchase of these products through affiliate links helps to generate commission for Storables.com, at no extra cost. Learn more)
Introduction
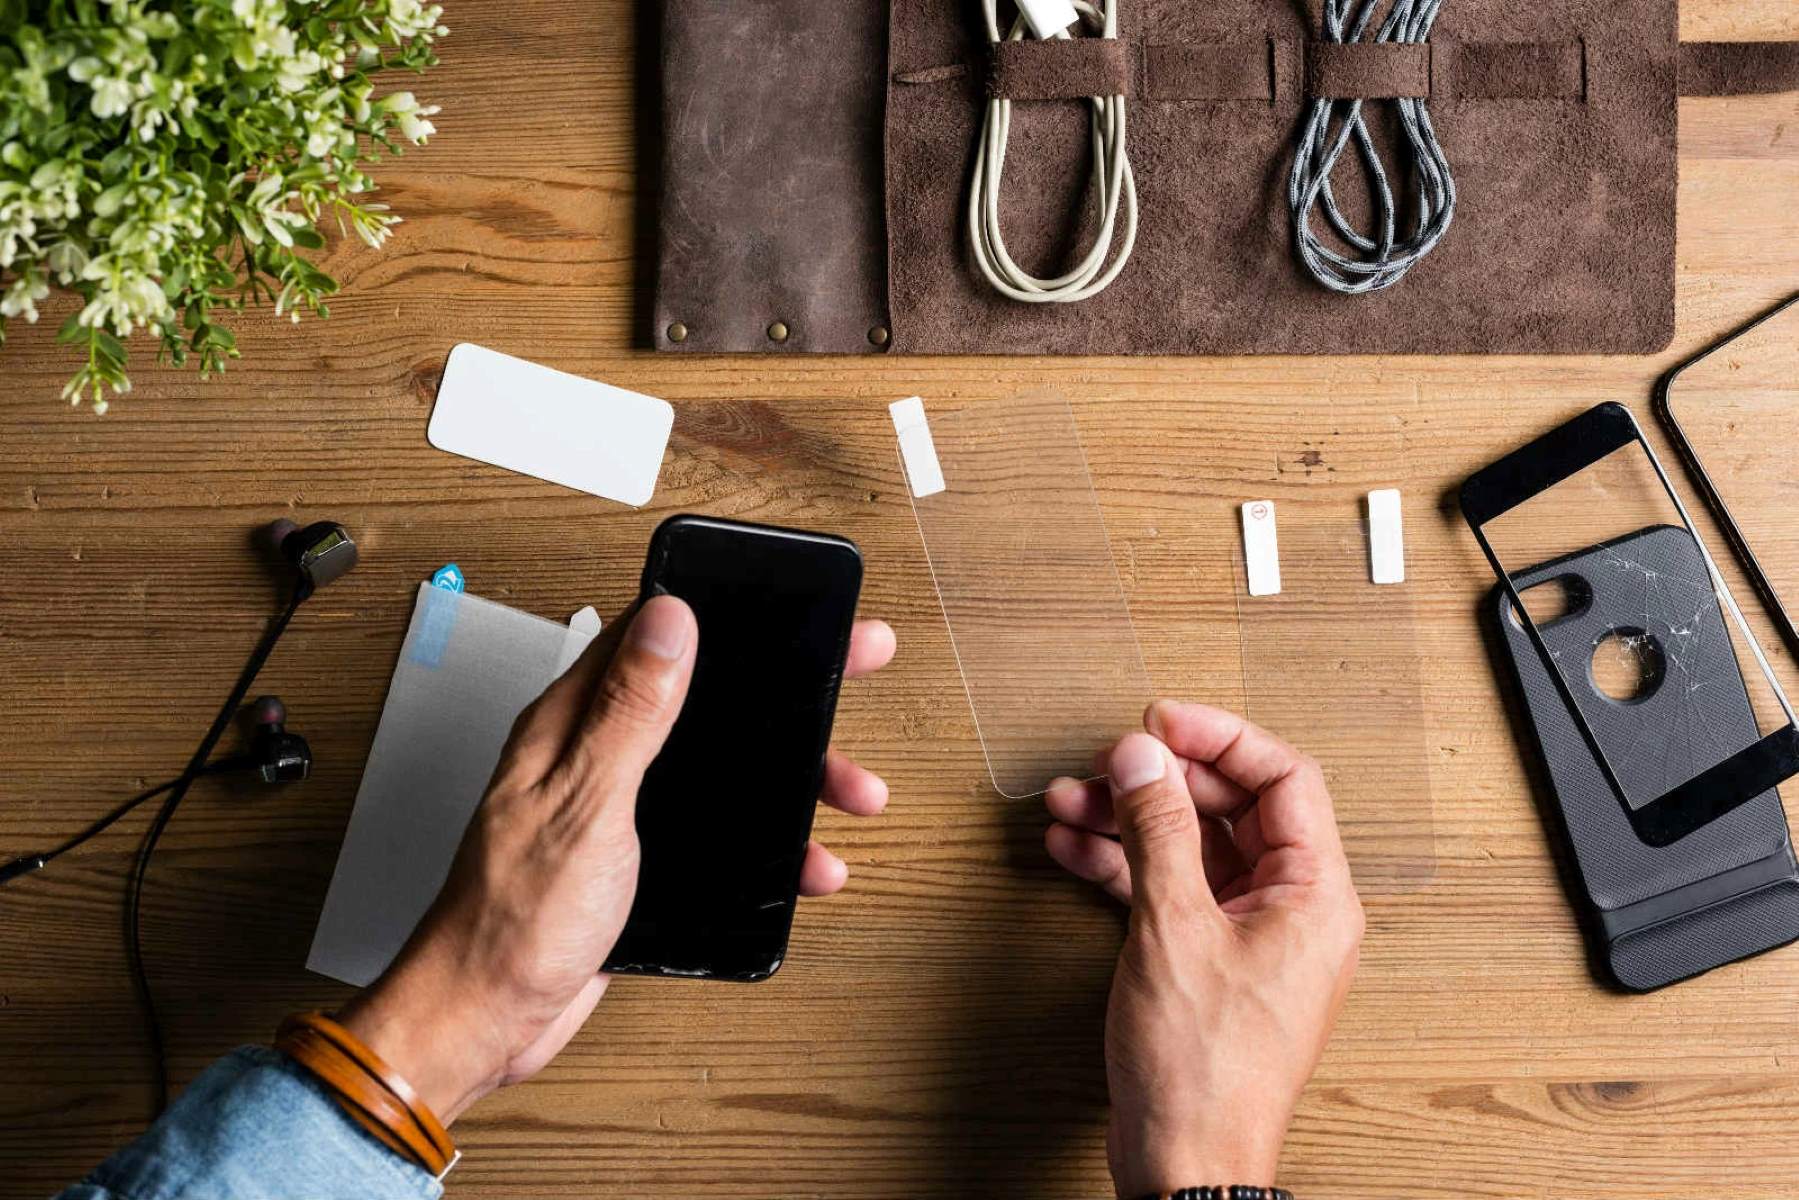
Applying a liquid glass screen protector is a simple yet effective way to safeguard your electronic devices from scratches, smudges, and bacteria. This innovative solution provides an invisible layer of protection, ensuring that your screens remain crystal clear and resistant to daily wear and tear. Whether you're looking to shield your smartphone, tablet, or smartwatch, the process of applying a liquid glass screen protector is straightforward and can be accomplished with ease. In the following steps, you'll learn how to properly clean the screen, apply the liquid glass, buff and polish for a flawless finish, and allow it to cure for optimal protection. By following these guidelines, you can ensure that your devices maintain their pristine appearance and functionality for an extended period.
Key Takeaways:
- Keep your device’s screen clean and apply liquid glass for invisible protection against scratches and bacteria. Follow the steps for a flawless finish and let it cure for long-lasting defense.
- Applying liquid glass is an easy way to safeguard your device without compromising its appearance. Clean, apply, buff, and let it cure for durable, invisible protection.
Read more: How To Use Liquid Glass
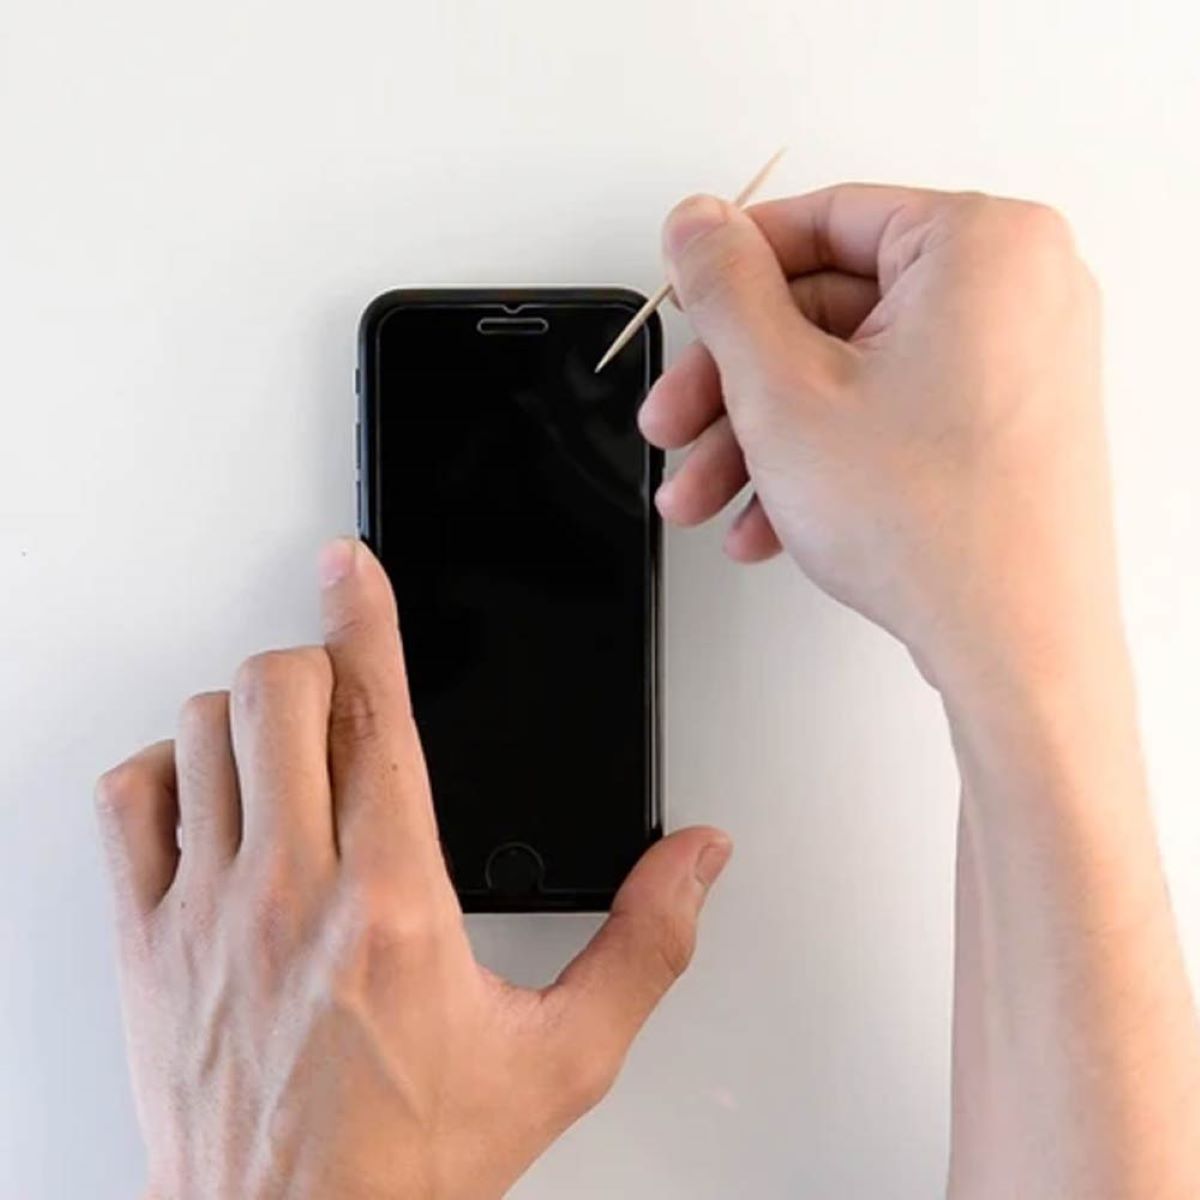
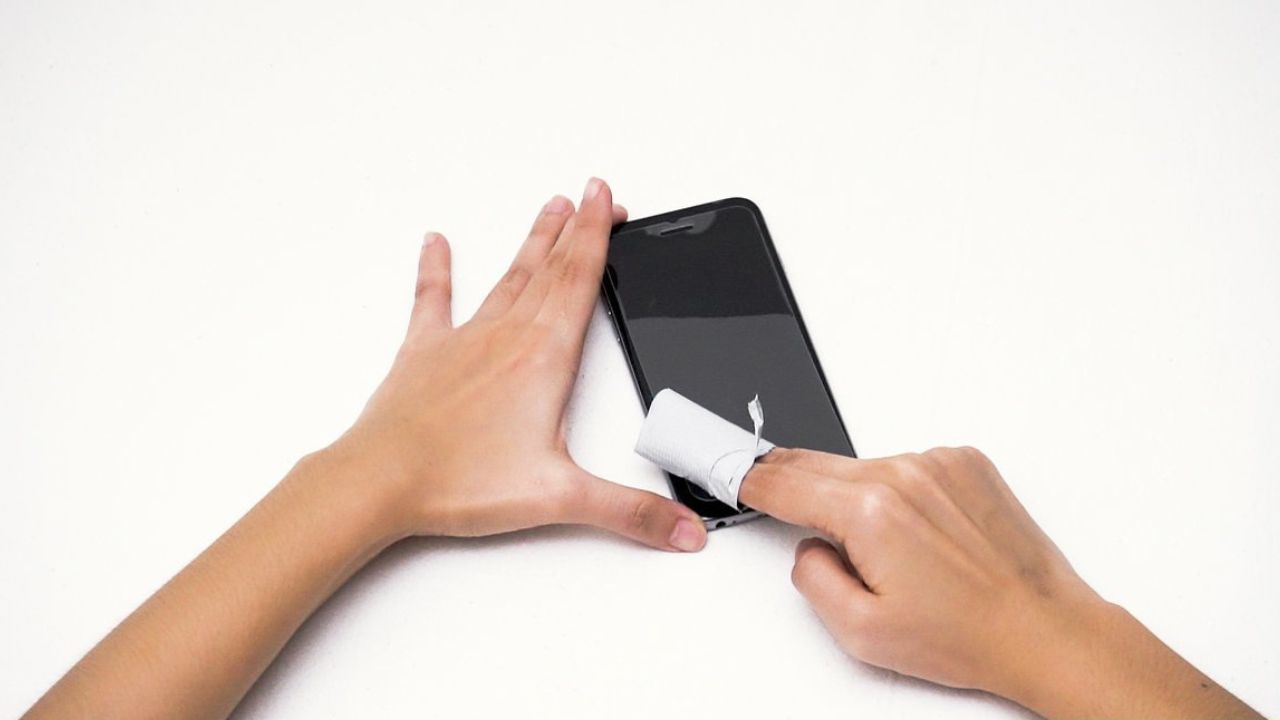
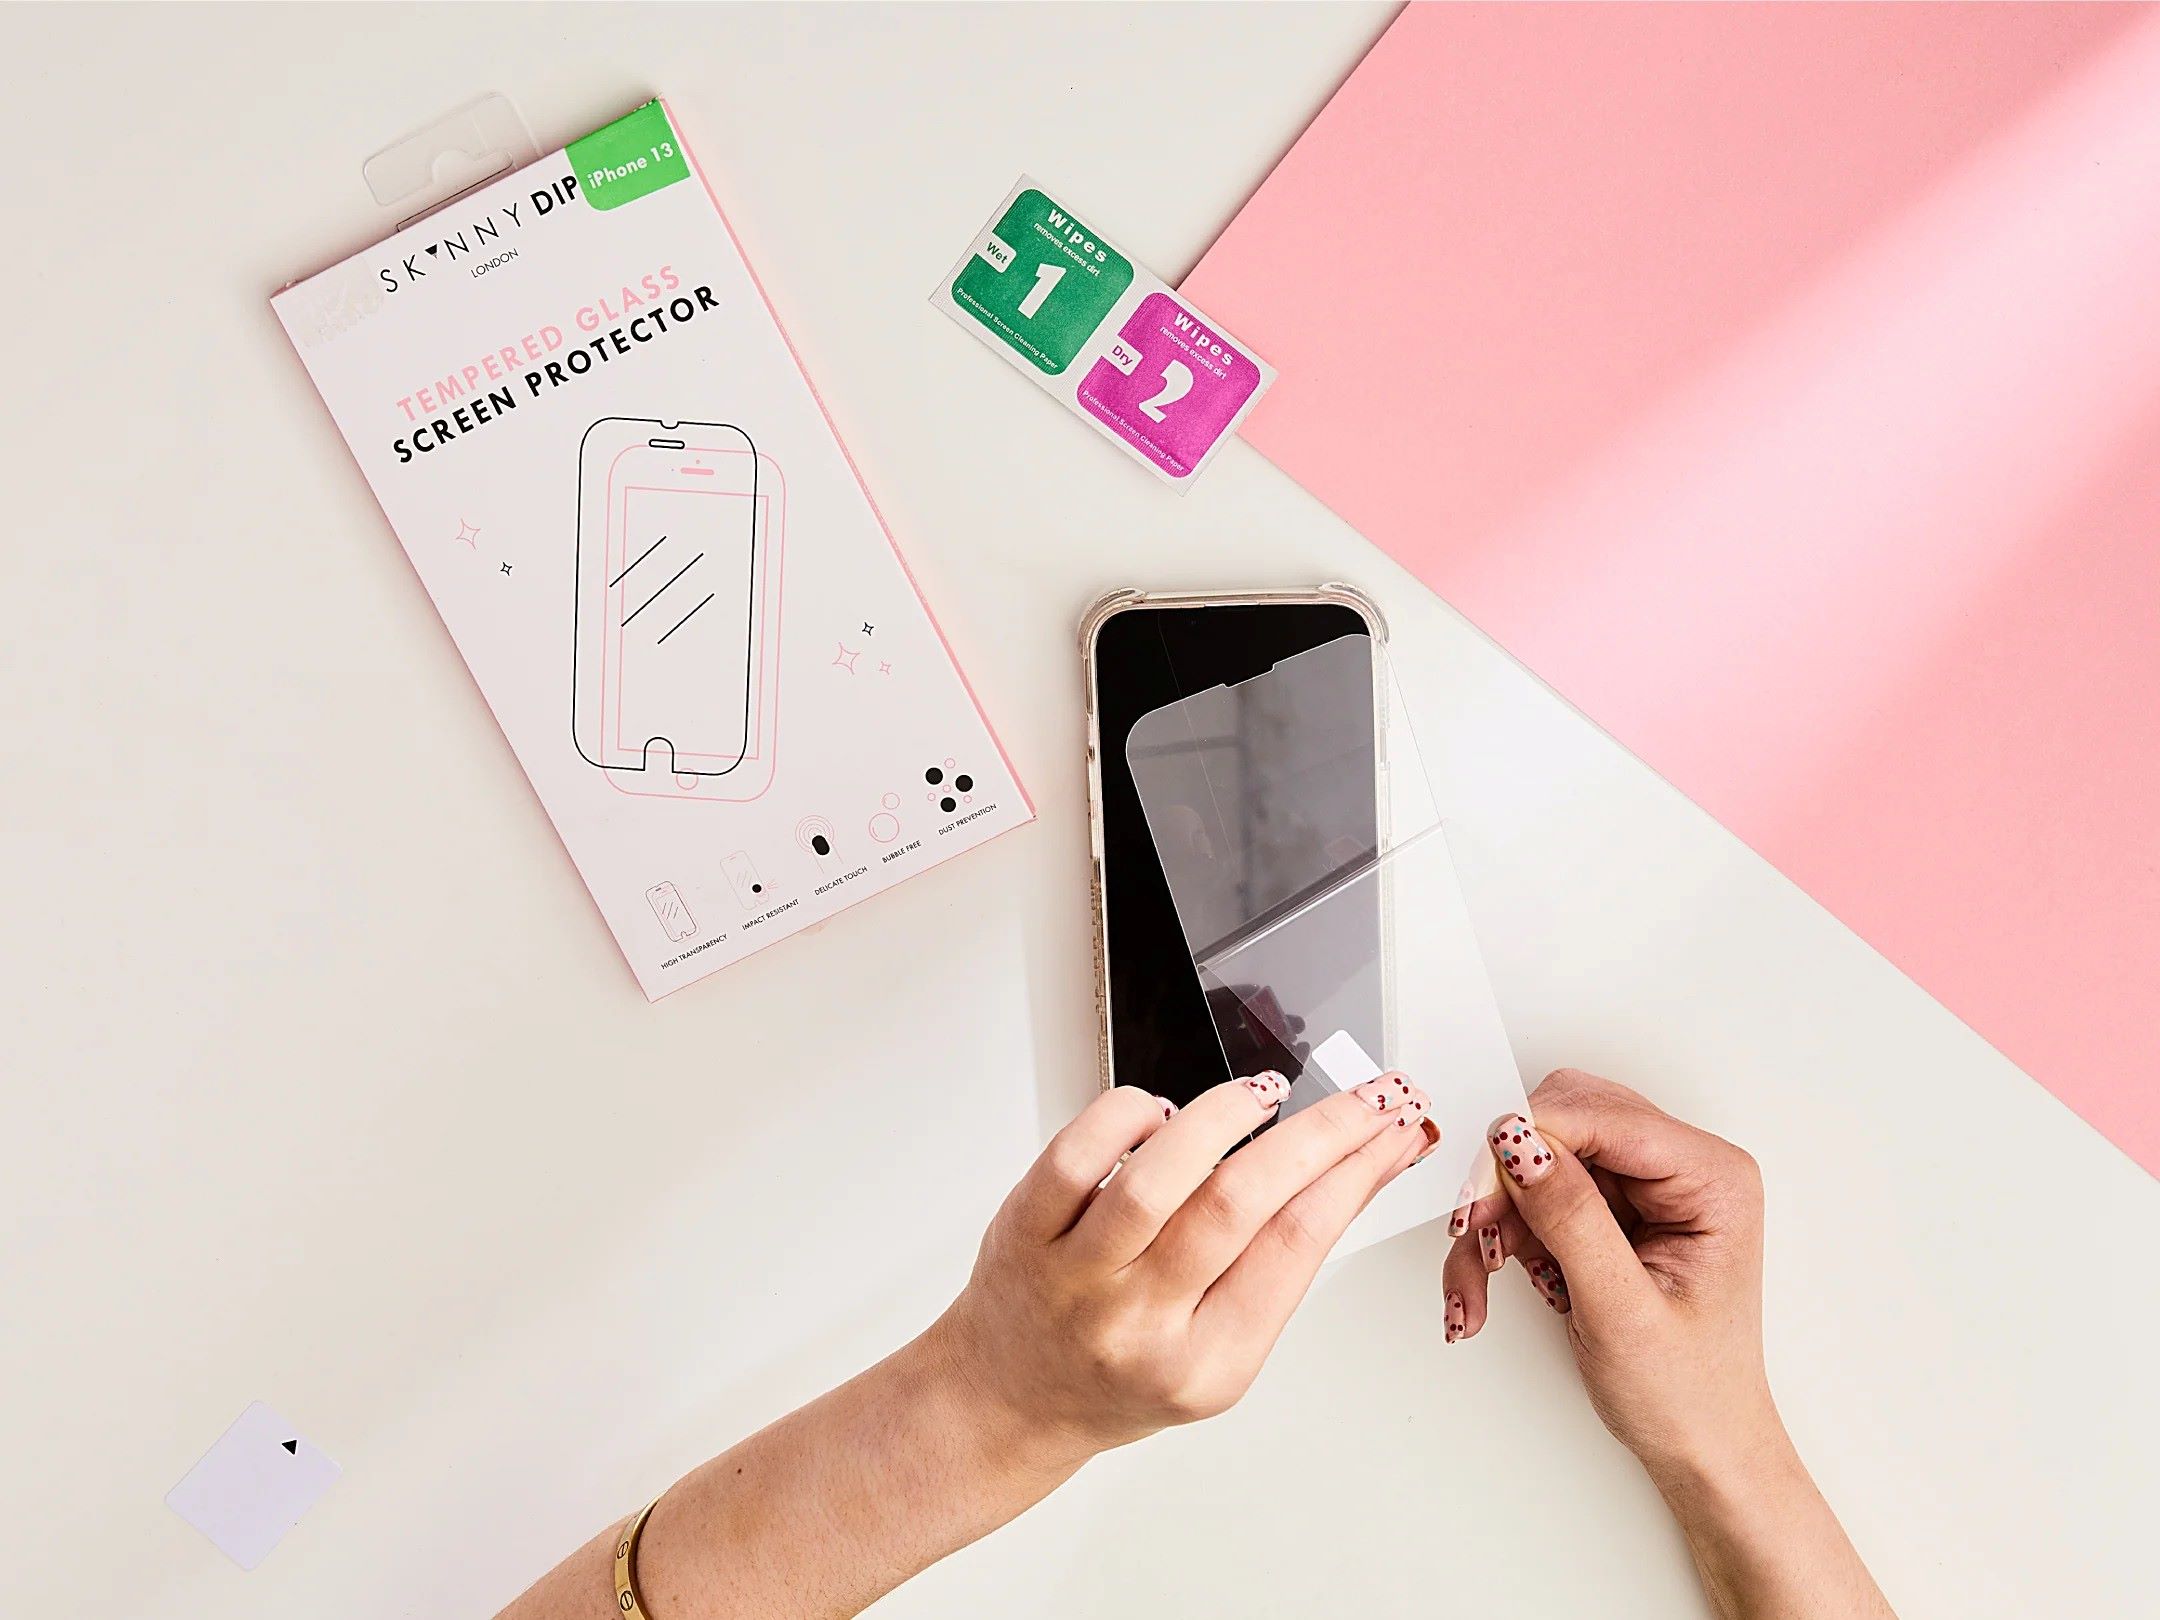
Step 1: Clean the Screen
Before applying a liquid glass screen protector, it's crucial to start with a clean and pristine surface. Any dust, fingerprints, or debris left on the screen can compromise the effectiveness of the protector and result in an uneven application. Follow these steps to ensure that your screen is thoroughly cleaned and ready for the liquid glass application:
-
Power Off and Unplug: Begin by powering off the device and unplugging it from any power source. This precautionary step prevents accidental damage and ensures a safe cleaning process.
-
Gather Cleaning Supplies: Prepare a microfiber cloth and a screen cleaning solution specifically designed for electronic devices. Avoid using harsh chemicals or abrasive materials, as they can damage the screen.
-
Remove Existing Screen Protectors: If there are any existing screen protectors or adhesive residues, carefully peel them off and clean any remaining adhesive with a gentle adhesive remover.
-
Wipe the Screen: Gently wipe the screen with the microfiber cloth to remove any loose particles and smudges. Use light, circular motions to avoid scratching the surface.
-
Apply Cleaning Solution: Spray a small amount of the screen cleaning solution onto the microfiber cloth. Avoid spraying the solution directly onto the screen to prevent moisture from seeping into the device.
-
Thoroughly Clean the Screen: With the dampened microfiber cloth, gently clean the entire surface of the screen. Pay close attention to the edges and corners, where dirt and grime tend to accumulate.
-
Dry the Screen: Once the screen is cleaned, use a dry section of the microfiber cloth to thoroughly dry the surface. Ensure that no moisture or streaks are left behind.
By meticulously cleaning the screen, you create an optimal foundation for the liquid glass application. This initial step sets the stage for a seamless and effective protection process, ensuring that your device's screen remains pristine and free from imperfections.
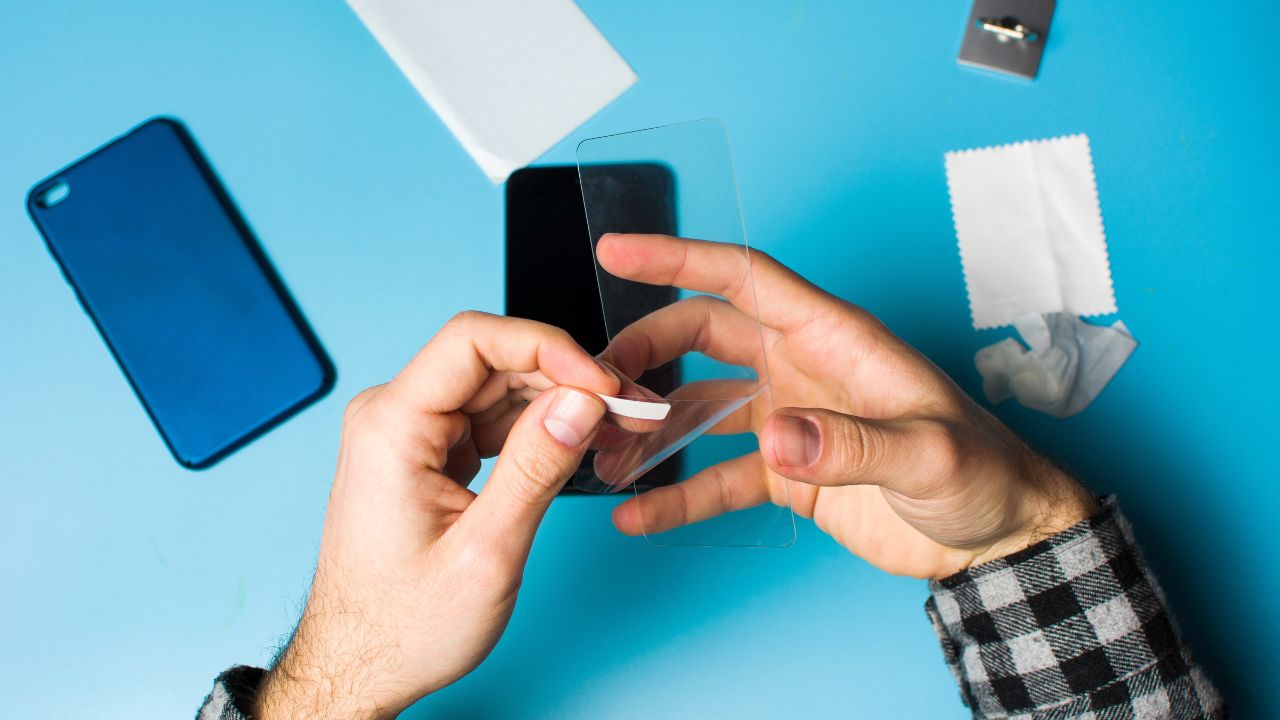
Step 2: Apply the Liquid Glass
With a meticulously cleaned screen, you are now ready to apply the liquid glass screen protector. This innovative solution offers a hassle-free application process, providing a protective shield that is virtually invisible. Follow these steps to ensure a seamless and effective application of the liquid glass:
-
Prepare the Application Area: Find a well-lit and dust-free area to apply the liquid glass. Adequate lighting ensures that you can observe the application process clearly, while a dust-free environment minimizes the risk of particles interfering with the protector.
-
Shake the Liquid Glass Bottle: Before application, gently shake the liquid glass bottle to ensure that the solution is thoroughly mixed. This step helps maintain the integrity of the protector and ensures an even distribution during application.
-
Apply a Few Drops: Dispense a few drops of the liquid glass onto the screen. Be mindful of the quantity, as a little goes a long way. Start with a small amount and gradually increase if necessary, ensuring that the entire screen is adequately covered.
-
Spread the Liquid: Using the provided microfiber cloth or applicator, carefully spread the liquid glass across the screen. Employ gentle, circular motions to ensure even coverage. Pay close attention to the edges and corners, as these areas are prone to wear and tear.
-
Allow for Absorption: After spreading the liquid glass, allow it to absorb and settle on the screen for a few minutes. This absorption period ensures that the protector adheres effectively to the surface, creating a durable and protective layer.
-
Check for Uniform Coverage: Inspect the screen to ensure that the liquid glass is uniformly distributed. Look for any areas that may require additional coverage and gently spread the solution as needed.
-
Remove Excess Liquid: If there is any excess liquid on the screen, use a clean microfiber cloth to gently remove it. This step helps prevent streaks and ensures a smooth, flawless finish.
By following these steps, you can confidently apply the liquid glass screen protector, safeguarding your device's screen from scratches, smudges, and bacteria. The seamless application process ensures that your screen remains crystal clear and resistant to daily wear and tear, providing long-lasting protection without compromising the visual appeal of your device.
Clean the screen thoroughly before applying the liquid glass screen protector to ensure a smooth and bubble-free application. Use a microfiber cloth and screen cleaner for best results.
Step 3: Buff and Polish
After applying the liquid glass screen protector, the next crucial step is to buff and polish the screen to achieve a flawless finish. This process not only enhances the visual clarity of the screen but also ensures that the protector is seamlessly integrated, providing optimal protection. Follow these detailed steps to effectively buff and polish the screen:
-
Inspect for Imperfections: Begin by carefully inspecting the screen for any imperfections or uneven areas resulting from the liquid glass application. Look for streaks, bubbles, or excess solution that may have accumulated during the spreading process.
-
Use a Clean Microfiber Cloth: Select a clean, high-quality microfiber cloth specifically designed for electronic screens. Avoid using rough or abrasive materials that can scratch or damage the screen. The microfiber cloth should be free from lint and debris to prevent any particles from affecting the polishing process.
-
Buff in Circular Motions: With the microfiber cloth, gently buff the screen in circular motions, applying light pressure to ensure even coverage. This technique helps to distribute the liquid glass uniformly and remove any remaining streaks or bubbles. Pay particular attention to the edges and corners, as these areas may require additional buffing to achieve a seamless finish.
-
Polish for Clarity: Once the initial buffing is complete, proceed to polish the screen using the same microfiber cloth. Employ gentle, circular motions to enhance the clarity and shine of the screen. This polishing action further integrates the liquid glass protector, ensuring that it adheres securely to the surface.
-
Check for Uniformity: Throughout the buffing and polishing process, periodically inspect the screen to ensure that the liquid glass is uniformly distributed. Address any remaining imperfections or streaks by continuing to buff and polish until the screen achieves a pristine, crystal-clear appearance.
-
Remove Excess Residue: If there is any residual liquid or polish on the screen, use a separate clean section of the microfiber cloth to gently remove it. This final step ensures that the screen is free from any excess residue, resulting in a smooth and flawless finish.
By meticulously buffing and polishing the screen, you enhance the protective qualities of the liquid glass while maintaining the visual integrity of the device. This step is essential for achieving a seamless and professional-looking finish, ensuring that your screen remains pristine and resistant to daily wear and tear.
Step 4: Let it Cure
After completing the application and polishing process, it is crucial to allow the liquid glass screen protector to cure effectively. This curing period is essential for the protector to bond securely to the screen, providing durable and long-lasting protection. By allowing the liquid glass to cure undisturbed, you ensure that it forms a resilient and invisible shield that safeguards your device from scratches, impacts, and contaminants.
The curing duration may vary depending on the specific product and manufacturer's recommendations. Typically, it is advisable to allow the liquid glass to cure for a minimum of 24 hours before using the device. During this time, it is essential to handle the device with care and avoid exposing it to excessive moisture or physical stress that may disrupt the curing process.
To facilitate an optimal curing environment, consider the following guidelines:
-
Avoid Handling the Device: Refrain from using the device or applying pressure to the screen during the curing period. This precaution prevents any potential displacement or disruption of the liquid glass protector as it sets in place.
-
Maintain Moderate Temperature: Ensure that the device is kept in a moderate temperature environment during the curing process. Extreme heat or cold can affect the curing of the liquid glass, so it is advisable to store the device in a controlled climate.
-
Minimize Exposure to Moisture: Keep the device away from excessive moisture or humidity, as this can interfere with the curing of the liquid glass. Avoid placing the device in areas prone to condensation or direct contact with water.
-
Allow Sufficient Ventilation: Provide adequate ventilation in the curing area to facilitate the evaporation of any residual solvents in the liquid glass. This ventilation helps ensure that the protector cures uniformly and effectively.
-
Follow Manufacturer's Recommendations: Adhere to the specific curing guidelines provided by the manufacturer of the liquid glass screen protector. These recommendations may include additional precautions or considerations tailored to the product's formulation.
By allowing the liquid glass screen protector to cure thoroughly, you maximize its protective capabilities and longevity. This curing period is a critical final step in the application process, ensuring that the protector forms a resilient barrier that maintains the visual clarity and functionality of your device. Once the curing period is complete, your device's screen will be fortified with an invisible layer of protection, ready to withstand the demands of daily use while preserving its pristine appearance.
Read more: What Is Liquid Glass
Conclusion
In conclusion, applying a liquid glass screen protector is a simple yet impactful way to safeguard your electronic devices from the perils of everyday use. By following the step-by-step process outlined above, you can ensure that your device's screen remains pristine, resistant to scratches, and shielded from harmful bacteria. The meticulous cleaning of the screen sets the stage for a seamless application, allowing the liquid glass to adhere effectively and provide durable protection.
The application of the liquid glass itself is a straightforward process, offering an invisible layer of defense that does not compromise the visual appeal of your device. The careful spreading and absorption of the liquid glass ensure that the screen is uniformly protected, creating a resilient barrier against daily wear and tear.
Furthermore, the buffing and polishing steps elevate the application process, enhancing the visual clarity of the screen while seamlessly integrating the liquid glass protector. This meticulous approach results in a flawless finish, ensuring that your device's screen maintains its pristine appearance and functionality.
Finally, allowing the liquid glass screen protector to cure effectively is paramount. This curing period solidifies the protector's bond with the screen, providing long-lasting resilience against scratches, impacts, and contaminants. By adhering to the recommended curing duration and environmental considerations, you maximize the protective capabilities of the liquid glass, ensuring that your device is equipped with a durable and invisible shield.
In essence, the application of a liquid glass screen protector not only safeguards your device but also preserves its aesthetic appeal. With this innovative solution, you can enjoy peace of mind knowing that your device's screen is shielded from the rigors of daily use, allowing you to fully experience its clarity and functionality without compromise. Embracing the process of applying a liquid glass screen protector is a proactive step towards preserving the longevity and visual integrity of your electronic devices.
Frequently Asked Questions about How To Apply Liquid Glass Screen Protector
Was this page helpful?
At Storables.com, we guarantee accurate and reliable information. Our content, validated by Expert Board Contributors, is crafted following stringent Editorial Policies. We're committed to providing you with well-researched, expert-backed insights for all your informational needs.


0 thoughts on “How To Apply Liquid Glass Screen Protector”