Home>Renovation & DIY>Tools & Equipment>Liquid Sandpaper: How To Use
Tools & Equipment
Liquid Sandpaper: How To Use
Modified: October 20, 2024
Discover how to properly use liquid sandpaper for your DIY projects with the right tools and equipment. Achieve a smooth and even finish effortlessly.
(Many of the links in this article redirect to a specific reviewed product. Your purchase of these products through affiliate links helps to generate commission for Storables.com, at no extra cost. Learn more)
Introduction
Welcome to the world of DIY home improvement! Are you looking to give your furniture, cabinets, or other wooden surfaces a fresh new look? If so, you may have come across the term “liquid sandpaper.” This innovative solution is a game-changer when it comes to prepping surfaces for painting or refinishing. In this article, we will guide you through the ins and outs of liquid sandpaper, including what it is, its benefits, when to use it, and how to use it effectively.
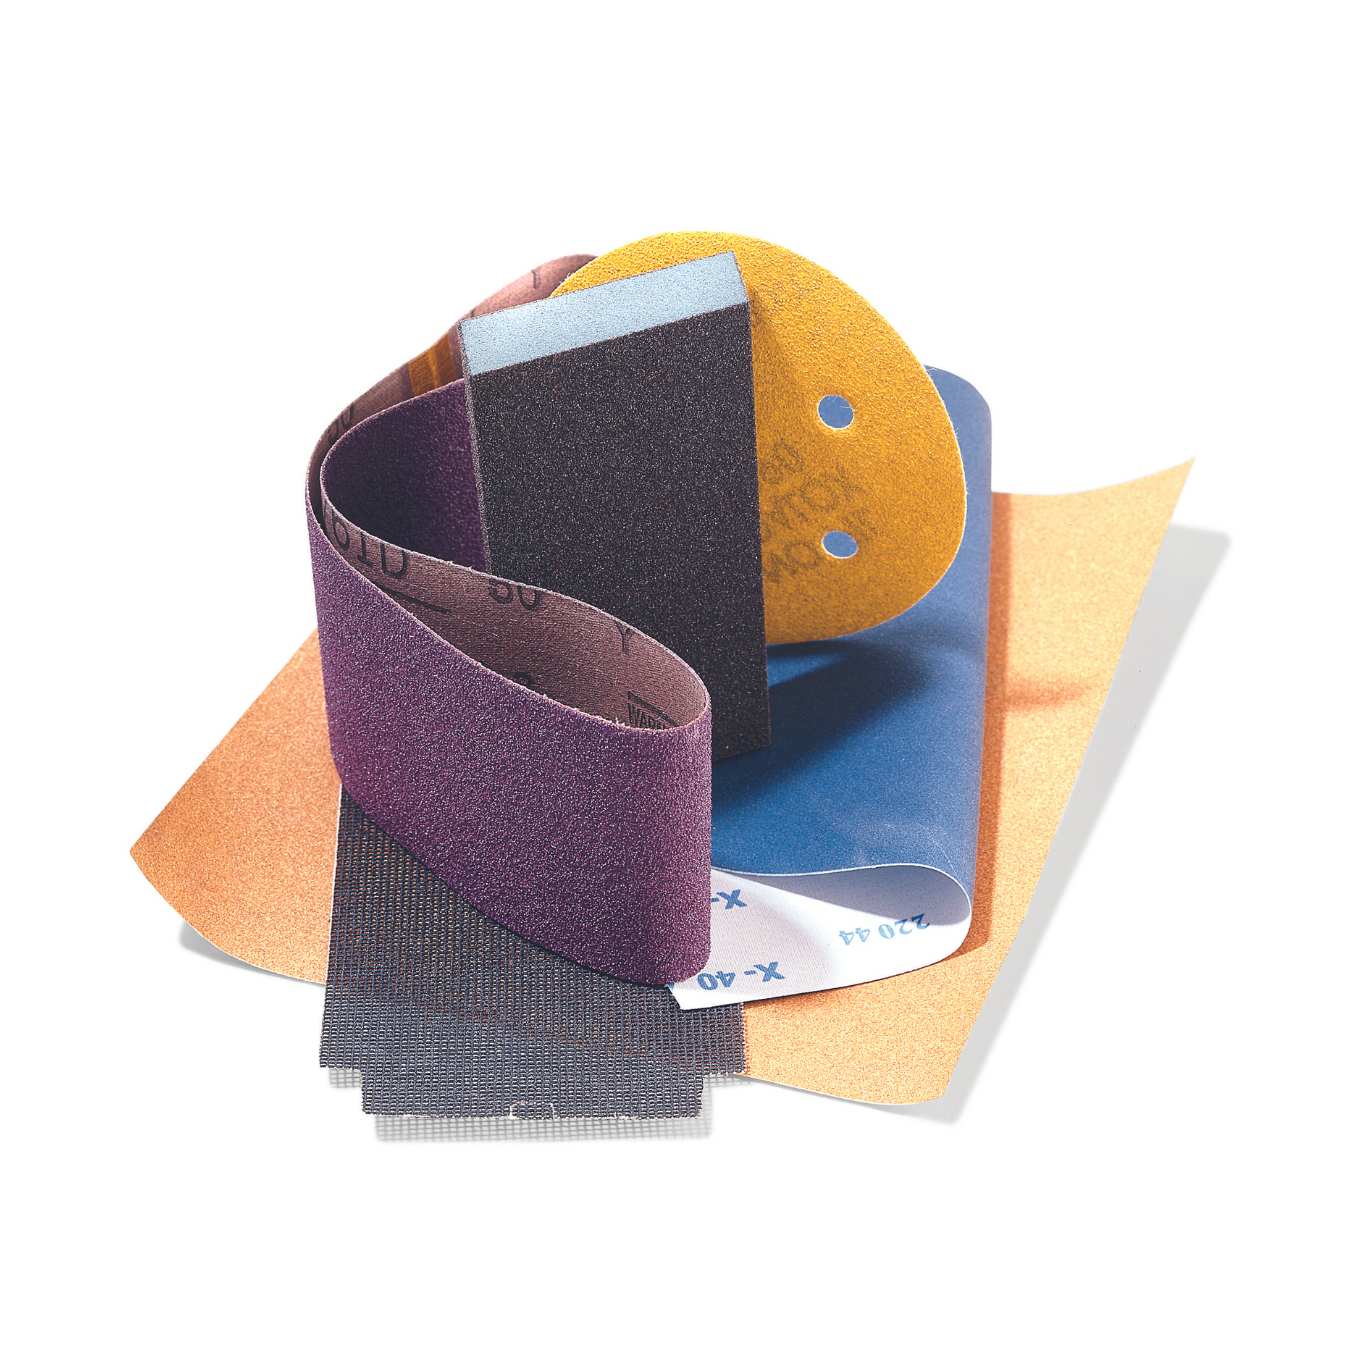
Before we delve into the details of liquid sandpaper, let’s first clarify what traditional sandpaper is. When working with wood, sandpaper is commonly used to smooth rough surfaces, remove old finishes, and create a better bonding surface for paint or stain. However, sanding by hand can be time-consuming and labor-intensive. This is where liquid sandpaper comes in as a time-saving alternative.
Liquid sandpaper, also known as liquid deglosser or surface preparation solution, is a chemical solution that provides the same effect as traditional sandpaper without the need for manual sanding. It contains powerful solvents that dissolve the glossy surface of the wood and remove any dirt, grime, or old finishes.
Now that we understand what liquid sandpaper is, let’s explore the advantages it offers.
Key Takeaways:
- Liquid sandpaper is a time-saving and efficient alternative to traditional sanding, effectively cleaning and deglossing surfaces without the labor-intensive manual process. It’s versatile, environmentally friendly, and great for hard-to-reach areas.
- When using liquid sandpaper, prioritize safety by wearing protective equipment, working in a well-ventilated area, and following manufacturer’s instructions. Dispose of waste properly and avoid mixing with other chemicals for a safe and successful DIY experience.
Read more: What Is Sandpaper Used For
What is Liquid Sandpaper?
Liquid sandpaper is a remarkable product that revolutionizes the process of preparing surfaces for painting or refinishing. Unlike traditional sandpaper, which requires manual sanding, liquid sandpaper is a chemical solution that removes the glossy surface of the material without the need for physical abrasion.
The main ingredient in liquid sandpaper is typically a solvent, such as denatured alcohol or mineral spirits. These solvents are highly effective at breaking down the surface of the material, removing any varnish, paint, or other finishes that may be present.
One of the key benefits of liquid sandpaper is its ability to quickly and efficiently clean and degloss a surface. It removes dirt, grime, and old finishes, creating a pristine canvas for your painting or refinishing project. This is especially useful when working with intricate or hard-to-reach areas where sanding by hand would be impractical.
Furthermore, liquid sandpaper is particularly effective at preparing surfaces made of materials such as wood, laminate, metal, and even certain types of plastic. It can be used on a variety of objects, including furniture, cabinets, doors, trim, and more.
It’s important to note that liquid sandpaper does not actually sand the surface in the same way that traditional sandpaper does. Instead, it chemically breaks down the glossy finish, creating a slightly rougher texture that allows better adhesion for painting or refinishing.
Overall, liquid sandpaper is a versatile and convenient solution for those who want to achieve professional-looking results without the tediousness of manual sanding. It simplifies the surface preparation process, allowing you to save time and effort while still achieving a smooth and durable finish.
Benefits of Using Liquid Sandpaper
Using liquid sandpaper as part of your surface preparation process offers numerous benefits that can make your DIY projects easier and more efficient. Here are some of the key advantages of using liquid sandpaper:
- Time and Effort Saving: One of the most significant benefits of liquid sandpaper is its ability to save you time and effort. Unlike traditional sandpaper, which requires manual sanding and can be time-consuming, liquid sandpaper allows you to quickly and effortlessly degloss surfaces. Instead of spending hours sanding by hand, you can achieve the same results in a fraction of the time.
- Effective Surface Preparation: Liquid sandpaper is incredibly effective at preparing surfaces for painting or refinishing. The powerful solvents in the solution dissolve the glossy surface of the material, removing any dirt, grime, or old finishes. This creates a clean and deglossed surface that promotes better adhesion for paints, varnishes, or stains. By using liquid sandpaper, you can ensure a smooth and professional-looking finish.
- Great for Hard-to-Reach Areas: Traditional sanding can be challenging when it comes to intricately detailed or hard-to-reach areas. With liquid sandpaper, you can easily tackle these areas without the need for manual sanding. The liquid solution can penetrate difficult spots, ensuring that the entire surface is properly prepared. This makes it an excellent choice for projects involving furniture, cabinets, trim, and other objects with intricate designs.
- No Dust or Mess: Sanding by hand produces a significant amount of dust, which can be messy and time-consuming to clean up. Liquid sandpaper eliminates this issue, as there is no physical sanding involved. You won’t have to worry about dust flying around your workspace or settling on nearby surfaces. This not only saves you cleaning time but also reduces the health risks associated with inhaling sanding dust.
- Environmentally Friendly: Liquid sandpaper is often considered more environmentally friendly compared to traditional sandpaper. Since there is no physical sanding, there is no generation of sanding dust that may contain harmful particles or contribute to air pollution. Additionally, some liquid sandpaper formulas are water-based, further reducing their impact on the environment.
Overall, the benefits of using liquid sandpaper are clear. It saves you time and effort, provides effective surface preparation, works well in hard-to-reach areas, eliminates the mess of traditional sanding, and can be more environmentally friendly. With all these advantages, it’s no wonder that liquid sandpaper has gained popularity among DIY enthusiasts and professionals alike.
When to Use Liquid Sandpaper
Liquid sandpaper can be used in a variety of situations to prepare surfaces for painting or refinishing. Understanding when to use liquid sandpaper will help you achieve the best results in your DIY projects. Here are some scenarios where liquid sandpaper is beneficial:
- Removing Old Finishes: If you have a wooden surface that is coated with an old finish, such as varnish or paint, liquid sandpaper can be an excellent choice for removing it. The solvents in the solution break down the old finish, making it easier to scrape or wipe away. This is particularly useful when refinishing furniture or cabinets, as it allows you to start with a clean slate.
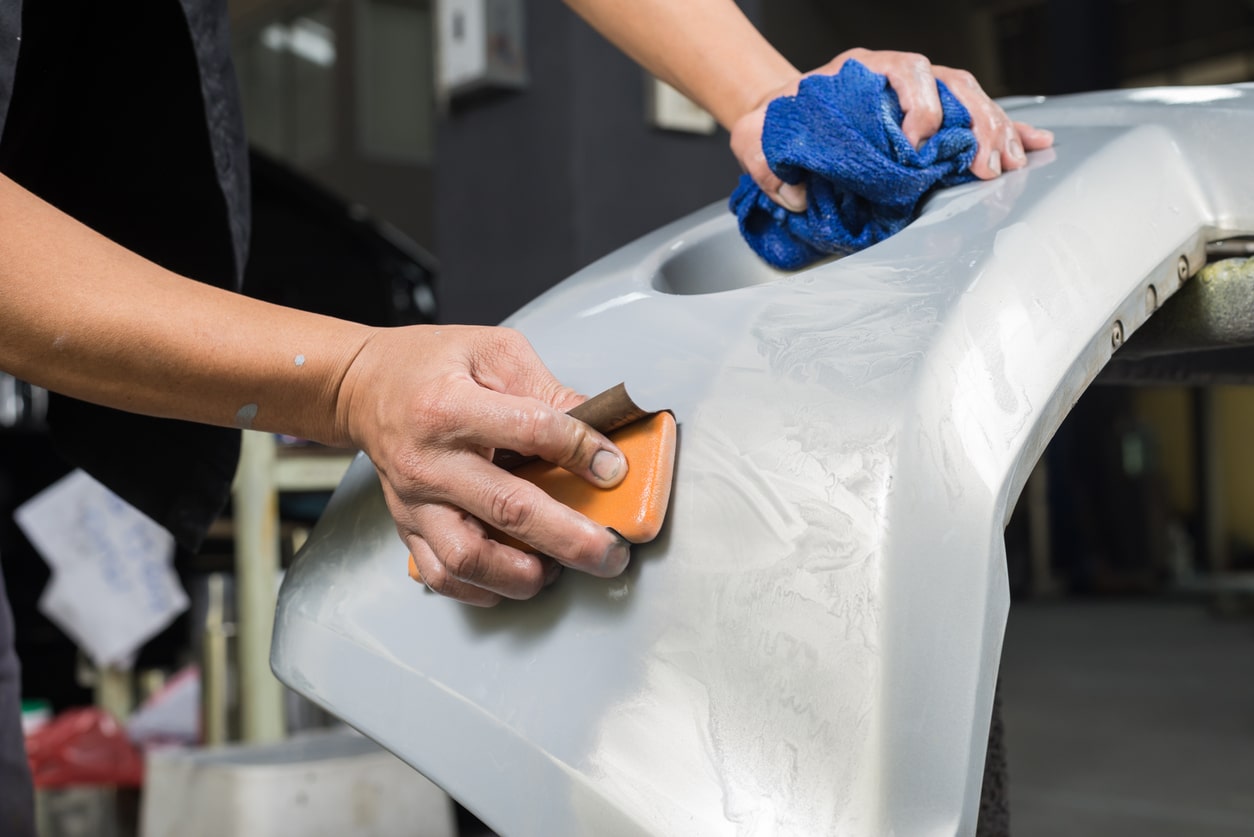
- Prepping Glossy Surfaces: Liquid sandpaper is designed to degloss glossy surfaces, making them easier to paint or refinish. If you’re working with a laminate countertop, for example, that has a shiny finish, applying liquid sandpaper will create a slightly rougher texture that promotes better adhesion for paint or new finishes. This ensures that your paint or stain will adhere properly and provide a long-lasting finish.
- Repairing Damaged Surfaces: When dealing with damaged surfaces, it’s essential to prepare them properly before applying any repairs or touch-ups. Liquid sandpaper can help clean and smooth the damaged area, creating a better surface for repairs. Whether you’re dealing with scratches, gouges, or other imperfections, using liquid sandpaper before applying putty or filler will help achieve a seamless result.
- Cleaning and Degreasing: Liquid sandpaper is also effective at cleaning and degreasing surfaces, particularly those in the kitchen or bathroom. If you’re planning to paint or refinish cabinets, backsplashes, or other surfaces that may have accumulated grease or grime over time, liquid sandpaper can easily remove these contaminants. This ensures a clean and properly prepared surface for your painting or refinishing project.
- Preparing New Surfaces: Even if you’re working with new, unfinished surfaces, using liquid sandpaper can still be beneficial. It helps remove any dirt, dust, or uneven areas, ensuring a smooth and primed surface for painting or staining. By using liquid sandpaper, you can enhance the durability and longevity of the finish on new surfaces.
Whether you’re looking to remove old finishes, degloss glossy surfaces, repair damaged areas, clean and degrease, or prepare new surfaces, liquid sandpaper proves to be a valuable tool. It simplifies the surface preparation process and ensures a quality finish. However, it’s important to read and follow the manufacturer’s instructions carefully to achieve the best results.
Materials Needed
Before you begin using liquid sandpaper, it’s important to gather all the necessary materials to ensure a smooth and successful application. Here are the materials you’ll need:
- Liquid Sandpaper: This is, of course, the main material you’ll need for the job. Choose a high-quality liquid sandpaper that is specifically designed for your intended surface and project. You can find it at your local home improvement stores or online. Make sure you purchase enough to cover the entire surface you plan to prep.
- Protective Equipment: Safety should always be a priority when working with any chemical solution. Wear protective equipment, such as goggles, gloves, and a mask, to protect your eyes, hands, and respiratory system from any splashes or fumes that may be emitted during the application process.
- Clean Cloth or Sponge: You’ll need a clean cloth or sponge to apply the liquid sandpaper. Make sure it’s lint-free to avoid leaving any fibers or particles on the surface. Additionally, having a damp cloth nearby will come in handy for quickly wiping away any excess liquid sandpaper or residue.
- Container: If the liquid sandpaper comes in a large bottle, you may want to transfer a smaller amount into a separate container for easier application. A small bowl or container with a wide opening will work well for this purpose.
- Scraper or Putty Knife: If you’re planning to remove old finishes or scrape away any excess liquid sandpaper, having a scraper or putty knife on hand will be helpful. Choose an appropriate size and shape for your specific project, ensuring that it’s sturdy and effective for the task at hand.
- Drop Cloths or Plastic Sheets: To protect your work area from any spills or drips, lay down drop cloths or plastic sheets. This will save you time and effort in cleaning up afterward, as well as prevent any accidental damage to surfaces.
- Paint or Refinishing Supplies (optional): Depending on your project, you may also need other supplies such as paint, primer, brushes, rollers, or stains. Make sure to have these on hand if you plan to proceed with painting or refinishing after applying the liquid sandpaper.
Having all these materials ready and within easy reach will streamline your work process and ensure that you can complete the job efficiently. Remember to follow the manufacturer’s instructions on the liquid sandpaper label for specific usage guidelines and any additional materials that may be recommended.
When using liquid sandpaper, make sure to wear protective gloves and work in a well-ventilated area. Follow the manufacturer’s instructions for application and drying times for best results.
Read more: What Sandpaper To Use On Concrete
Step-by-Step Guide on How to Use Liquid Sandpaper
Using liquid sandpaper is a straightforward process that can help you achieve a smooth and properly prepped surface for your painting or refinishing project. Follow these step-by-step instructions to effectively use liquid sandpaper:
- Start by preparing your work area. Lay down drop cloths or plastic sheets to protect surfaces from any spills or drips. Ensure good ventilation in the room by opening windows or using fans.
- Put on your protective equipment, including goggles, gloves, and a mask, to protect yourself from any splashes or fumes.
- If the liquid sandpaper is in a large bottle, pour a small amount into a separate container for easier application. This will prevent contamination or waste of the main bottle.
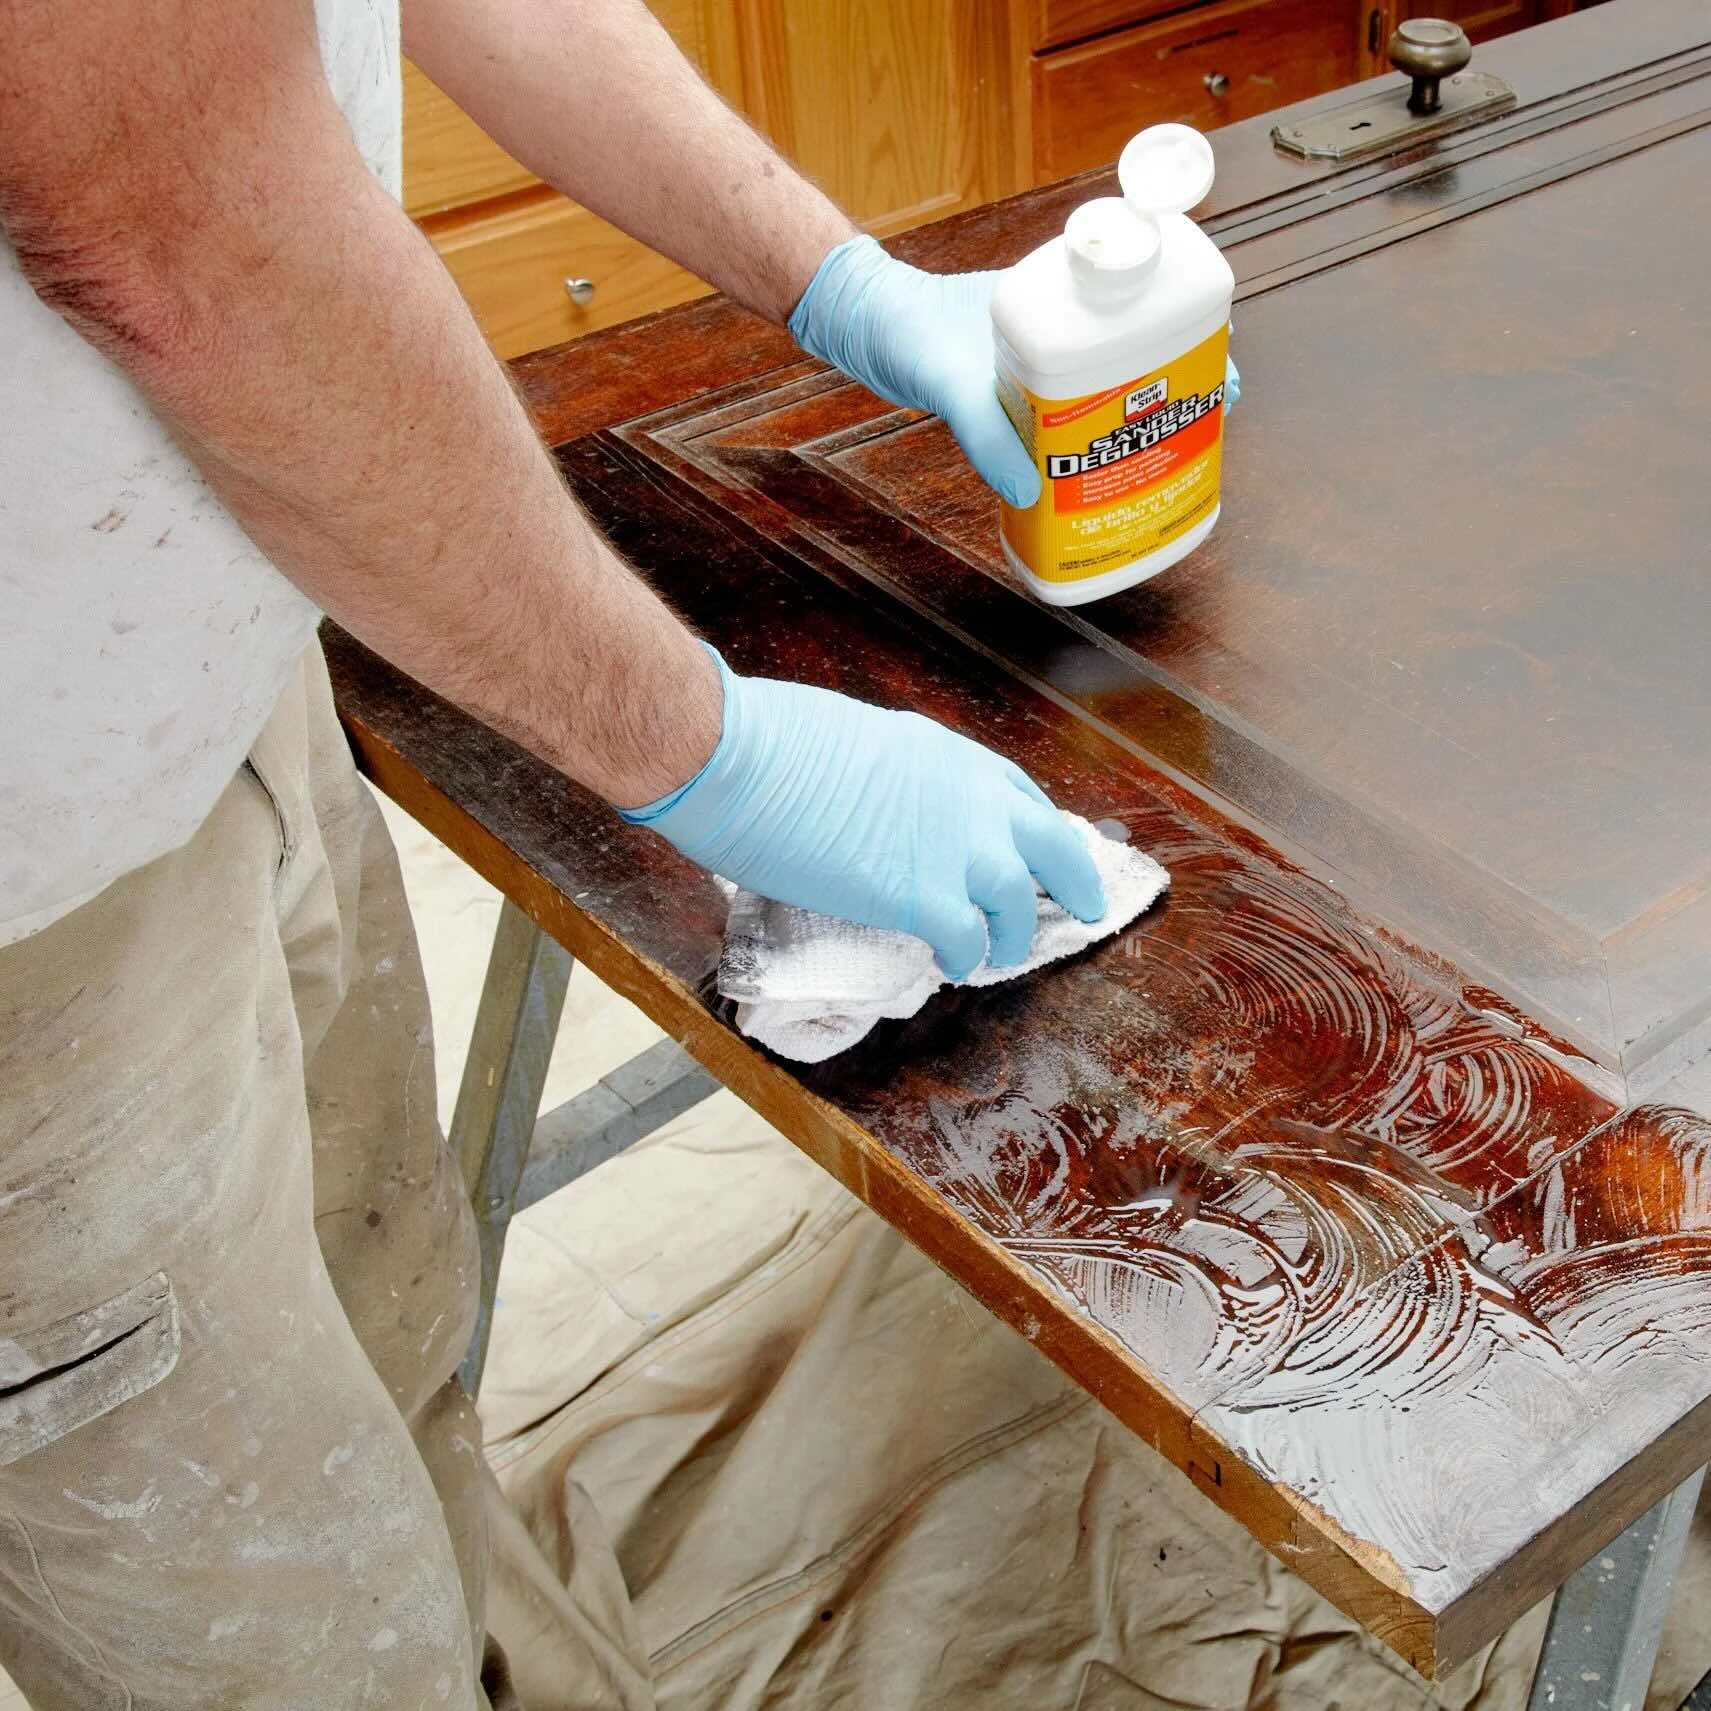
- Dip a clean cloth or sponge into the liquid sandpaper, ensuring it is saturated but not dripping.
- Apply the liquid sandpaper to the surface you want to prep in smooth, even strokes. Follow the grain of the wood for best results. Make sure to apply enough pressure to ensure proper coverage.
- Allow the liquid sandpaper to sit on the surface for the recommended amount of time, as stated on the product label. This usually ranges from a few minutes to up to 15 minutes, depending on the specific product and surface.
- Using a scraper or putty knife, gently scrape away the loosened old finish or excess liquid sandpaper. Be careful not to apply too much pressure to avoid damaging the surface underneath.
- Once the surface is free from residue and the old finish, wipe it down with a damp cloth to remove any remaining liquid sandpaper or debris. This step is crucial to ensure a clean and properly prepped surface.
- Allow the surface to dry completely before proceeding with any further steps, such as painting, staining, or applying a new finish. The drying time may vary depending on the product used, so refer to the manufacturer’s instructions for guidance.
- Dispose of any used cloths, sponges, or containers according to local regulations or as recommended by the product label. Some liquid sandpaper products may be flammable or have specific disposal guidelines, so be sure to follow these instructions to ensure safety.
By following these step-by-step instructions, you can effectively use liquid sandpaper to prep surfaces for painting or refinishing. Remember to read and follow the specific instructions provided by the manufacturer for the best results with your chosen product.
Tips and Tricks for Using Liquid Sandpaper
When using liquid sandpaper, there are a few tips and tricks that can help you achieve the best results. Here are some valuable tips to keep in mind:
- Test in a Small Area: Before applying liquid sandpaper to the entire surface, it’s a good idea to test it in a small, inconspicuous area. This will ensure compatibility with the material and allow you to see how the surface reacts to the product.
- Follow the Manufacturer’s Instructions: Different brands or types of liquid sandpaper may have specific instructions or recommended application techniques. Always read and follow the manufacturer’s instructions on the product label for the best results.
- Use Light Pressure: When applying the liquid sandpaper and scraping off the old finish, use light pressure to avoid damaging the underlying surface. Let the liquid sandpaper do the work, and gently remove the debris without applying excess force.
- Avoid Excessive Soaking: While it’s important to ensure that the surface is adequately coated with the liquid sandpaper, avoid excessive soaking or over-applying the product. This can lead to the solution pooling or running, which may result in an uneven finish or damage to the surface.
- Work in Small Sections: To ensure consistent coverage and effective removal of old finishes, work on the surface in small sections. This will allow you to focus on one area at a time, ensuring that the liquid sandpaper doesn’t dry out before you can scrape it off.
- Inspect the Surface: After using liquid sandpaper and wiping down the surface, take a close look to ensure that all residue, dirt, and old finishes have been properly removed. Make any necessary touch-ups or reapply the liquid sandpaper in areas that may need additional prepping.
- Allow for Sufficient Drying Time: After using liquid sandpaper, it’s crucial to allow the surface to dry completely before proceeding with any painting or refinishing. Rushing this step can lead to poor adhesion and compromised results. Refer to the product instructions for recommended drying times.
- Practice Proper Safety Measures: Wear protective equipment, work in a well-ventilated area, and follow safety precautions while using liquid sandpaper. Avoid inhaling fumes or getting the product in your eyes or on your skin. If accidental contact occurs, wash the affected area thoroughly with water and seek medical attention if needed.
- Dispose of Waste Properly: Dispose of any used cloths, sponges, containers, or other waste from the liquid sandpaper according to local regulations or as recommended by the product label. Some liquid sandpaper products may require specific disposal methods, so be sure to follow these guidelines to protect the environment and ensure safety.
By keeping these tips and tricks in mind, you can make the most out of your liquid sandpaper application. Always prioritize safety, follow the manufacturer’s instructions, and take the necessary precautions to achieve excellent results in your painting or refinishing projects.
Safety Precautions
When using liquid sandpaper, it’s important to prioritize safety to protect yourself and the surrounding environment. Here are some essential safety precautions to follow:
- Wear Protective Equipment: Before starting any work with liquid sandpaper, make sure to wear appropriate protective equipment. This includes safety goggles to protect your eyes from splashes or accidental contact, gloves to shield your hands from the chemical solution, and a mask to prevent inhalation of fumes or fine particles.
- Work in a Well-Ventilated Area: Ensure that you’re working in a well-ventilated area to minimize exposure to fumes. Open windows or use fans to improve air circulation. This will help dissipate any chemical odors and prevent the buildup of potentially harmful vapors.
- Avoid Direct Skin Contact: Take care to avoid direct skin contact with the liquid sandpaper. If accidental contact occurs, immediately wash the affected area thoroughly with soap and water. If irritation or discomfort persists, seek medical attention. Additionally, do not wear clothing that exposes large areas of skin to minimize the risk of accidental spills or splashes.
- Read and Follow Instructions: Carefully read and follow the manufacturer’s instructions provided on the product label. Different liquid sandpaper products may have specific usage guidelines and safety precautions, so it’s important to familiarize yourself with them before using the product.
- Keep Away from Open Flames: Some liquid sandpaper products may be flammable or contain combustible ingredients. Keep the product away from open flames or sources of ignition during storage, use, and disposal. Follow proper handling and storage procedures to prevent accidents or fires.
- Dispose of Waste Properly: Dispose of used cloths, sponges, containers, or any waste generated from using liquid sandpaper in accordance with local regulations or as recommended by the product label. Some liquid sandpaper products may require specific disposal methods, so follow these guidelines to protect the environment and ensure safety.
- Store in a Safe Location: Store liquid sandpaper in a cool, dry place out of reach of children and pets. Ensure that the container is tightly sealed to prevent accidental spills or leaks. Store the product away from heat sources and incompatible materials to avoid potential reactions or hazards.
- Do Not Mix with Other Chemicals: Avoid mixing liquid sandpaper with other chemicals or substances, as this may lead to hazardous reactions. Use the product as intended and avoid any unauthorized modifications or combinations that could compromise safety.
- Keep Emergency Contacts Handy: In case of accidental ingestion, inhalation, or eye contact with liquid sandpaper, keep emergency contact information readily accessible. Contact your local poison control center or seek immediate medical attention if needed.
By adhering to these safety precautions, you can minimize risks and work with liquid sandpaper in a safe and responsible manner. Remember, safety should always be a top priority when handling any chemical product.
Conclusion
Liquid sandpaper is a valuable tool in the realm of DIY home improvement, offering a convenient and efficient way to prepare surfaces for painting or refinishing. By understanding what liquid sandpaper is, its benefits, when to use it, and how to use it effectively, you can enhance the quality and longevity of your projects.
Using liquid sandpaper eliminates the need for time-consuming and labor-intensive manual sanding, saving you valuable time and effort. It effectively cleans and deglosses surfaces, removing old finishes, dirt, and grime. Liquid sandpaper is particularly useful for hard-to-reach areas and intricate designs, allowing you to achieve a smooth and pristine surface preparation.
The benefits of using liquid sandpaper include its time-saving nature, effective surface preparation, versatility across different materials, and the elimination of dust and mess commonly associated with traditional sanding methods. It is also considered more environmentally friendly in comparison, as it reduces the generation of harmful dust particles and offers water-based formulas.
To use liquid sandpaper effectively, it’s crucial to follow the step-by-step guide presented in this article. Remember to gather the necessary materials, including the liquid sandpaper itself, and take proper safety precautions by wearing protective equipment and working in a well-ventilated area. Always read and adhere to the instructions provided by the product manufacturer.
By employing the tips and tricks outlined in this article, you can maximize the effectiveness of liquid sandpaper. Conduct small tests, use light pressure, work in small sections, and inspect the surface thoroughly to achieve optimal results. Dispose of waste properly and follow safety guidelines to protect yourself, others, and the environment.
In conclusion, liquid sandpaper is a game-changer in the world of surface preparation. It simplifies the process, saves time and effort, and produces better results. Whether you’re refinishing furniture, cabinets, or other wooden surfaces, liquid sandpaper is a reliable and efficient choice to achieve smooth, professional-looking finishes.
Frequently Asked Questions about Liquid Sandpaper: How To Use
Was this page helpful?
At Storables.com, we guarantee accurate and reliable information. Our content, validated by Expert Board Contributors, is crafted following stringent Editorial Policies. We're committed to providing you with well-researched, expert-backed insights for all your informational needs.


0 thoughts on “Liquid Sandpaper: How To Use”