Home>Furniture & Design>Interior Design Trends>How To Remove Suction Cup From Glass
Interior Design Trends
How To Remove Suction Cup From Glass
Modified: March 25, 2024
Learn how to safely remove suction cups from glass surfaces with our expert interior design tips. Keep up with the latest interior design trends!
(Many of the links in this article redirect to a specific reviewed product. Your purchase of these products through affiliate links helps to generate commission for Storables.com, at no extra cost. Learn more)
Introduction
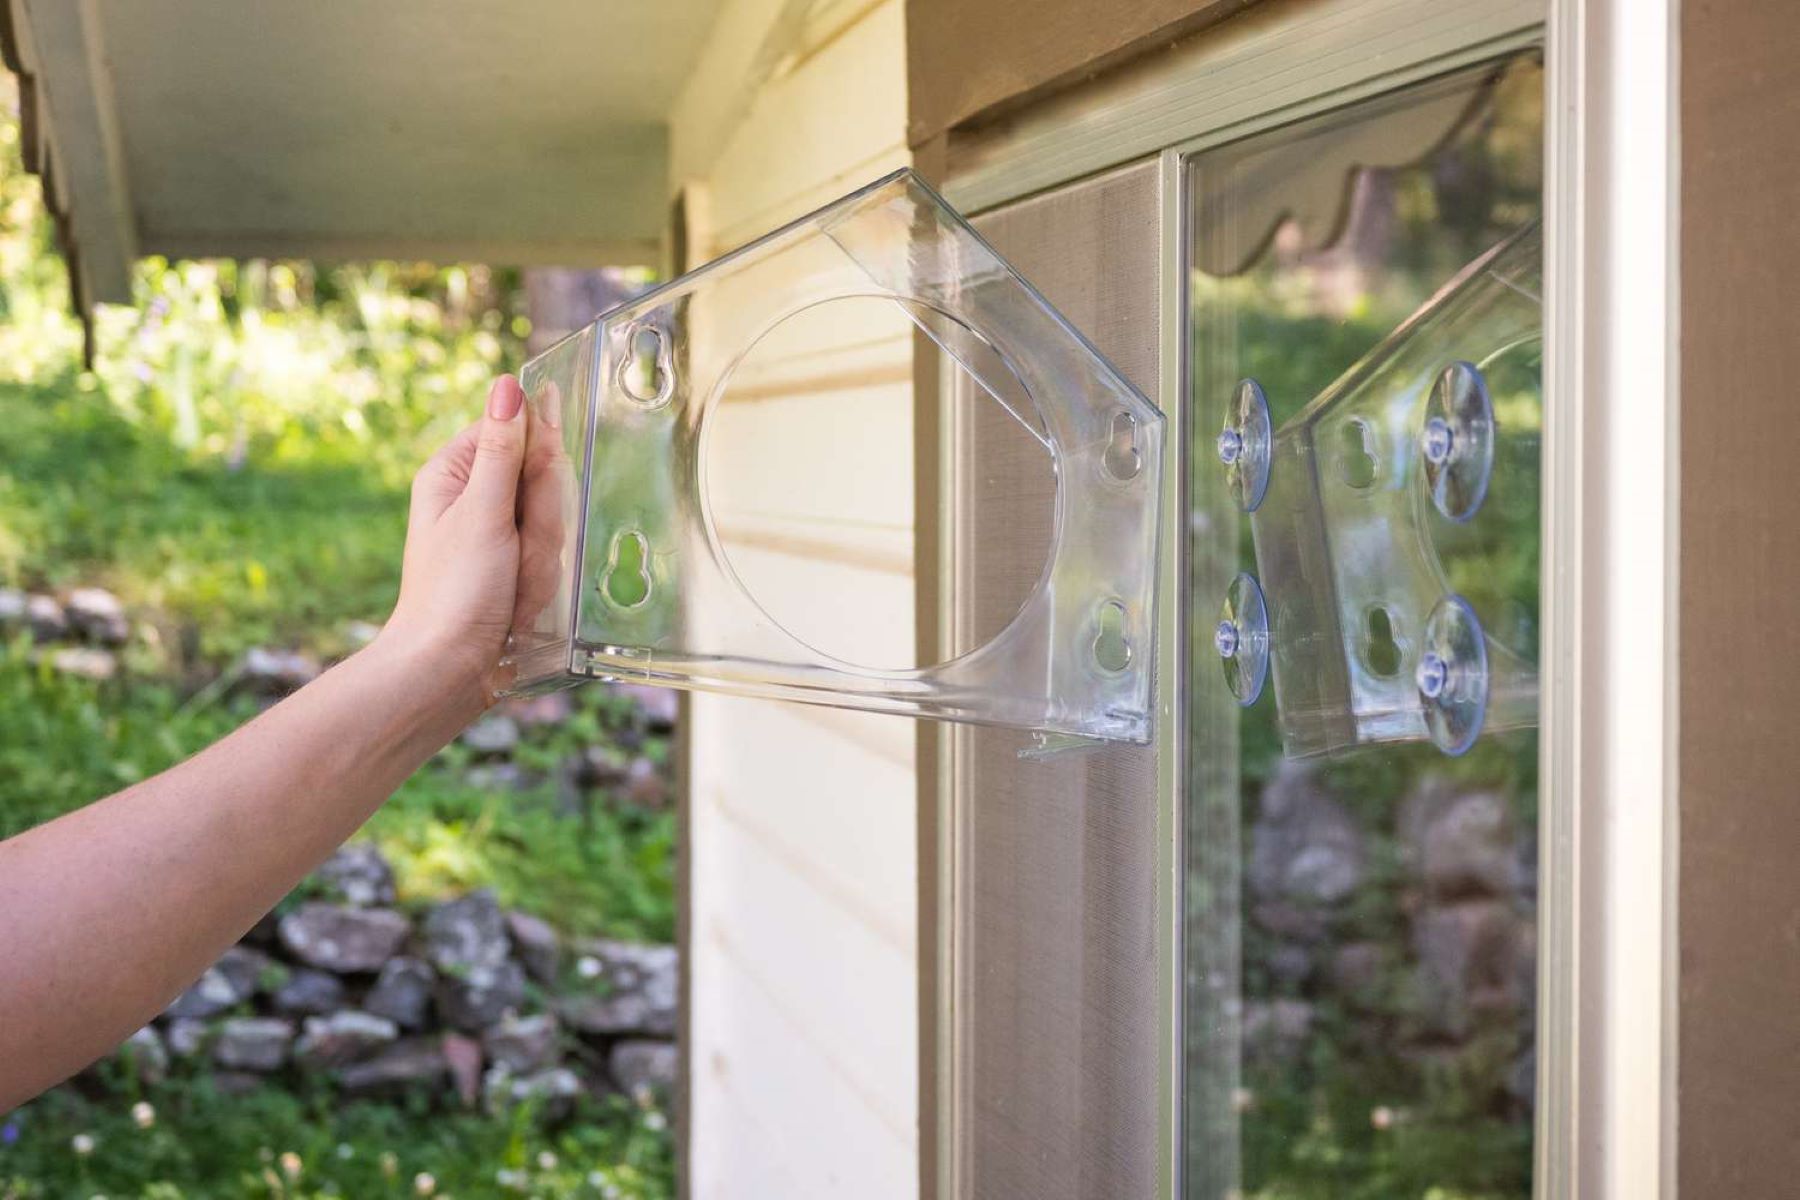
Removing a suction cup from glass may seem like a simple task, but it can often prove to be quite challenging. Whether it's a stubborn suction cup from a bathroom mirror, a glass tabletop, or a window, the process requires careful consideration to avoid damaging the glass surface. Suction cups are designed to create a vacuum seal, making them incredibly effective for holding items in place. However, this same effectiveness can make them difficult to remove without the right approach.
In this comprehensive guide, we will explore various methods to safely and effectively remove suction cups from glass surfaces. From softening the suction cup to using heat and chemical solvents, we will cover the step-by-step process to ensure a successful removal without causing any damage. Additionally, we will discuss the importance of cleaning the glass surface after removing the suction cup to restore its pristine appearance.
By following the techniques outlined in this guide, you can confidently tackle the task of removing suction cups from glass, whether for redecorating, cleaning, or replacing the suction cup with a new one. With the right tools and methods at your disposal, you can maintain the integrity of the glass surface while achieving a smooth and hassle-free removal of suction cups. Let's delve into the detailed steps and tips to effectively address this common household challenge.
Key Takeaways:
- Safely remove stubborn suction cups from glass using heat, gentle prying, and chemical solvents. Thoroughly clean the glass surface post-removal for a pristine finish, maintaining the integrity of the glass.
- Equip yourself with the right tools and methods to confidently tackle the task of removing suction cups from glass surfaces. Preserve the visual appeal and functionality of glass while achieving a smooth and hassle-free removal process.
Read more: How To Get A Suction Cup To Stick To Glass
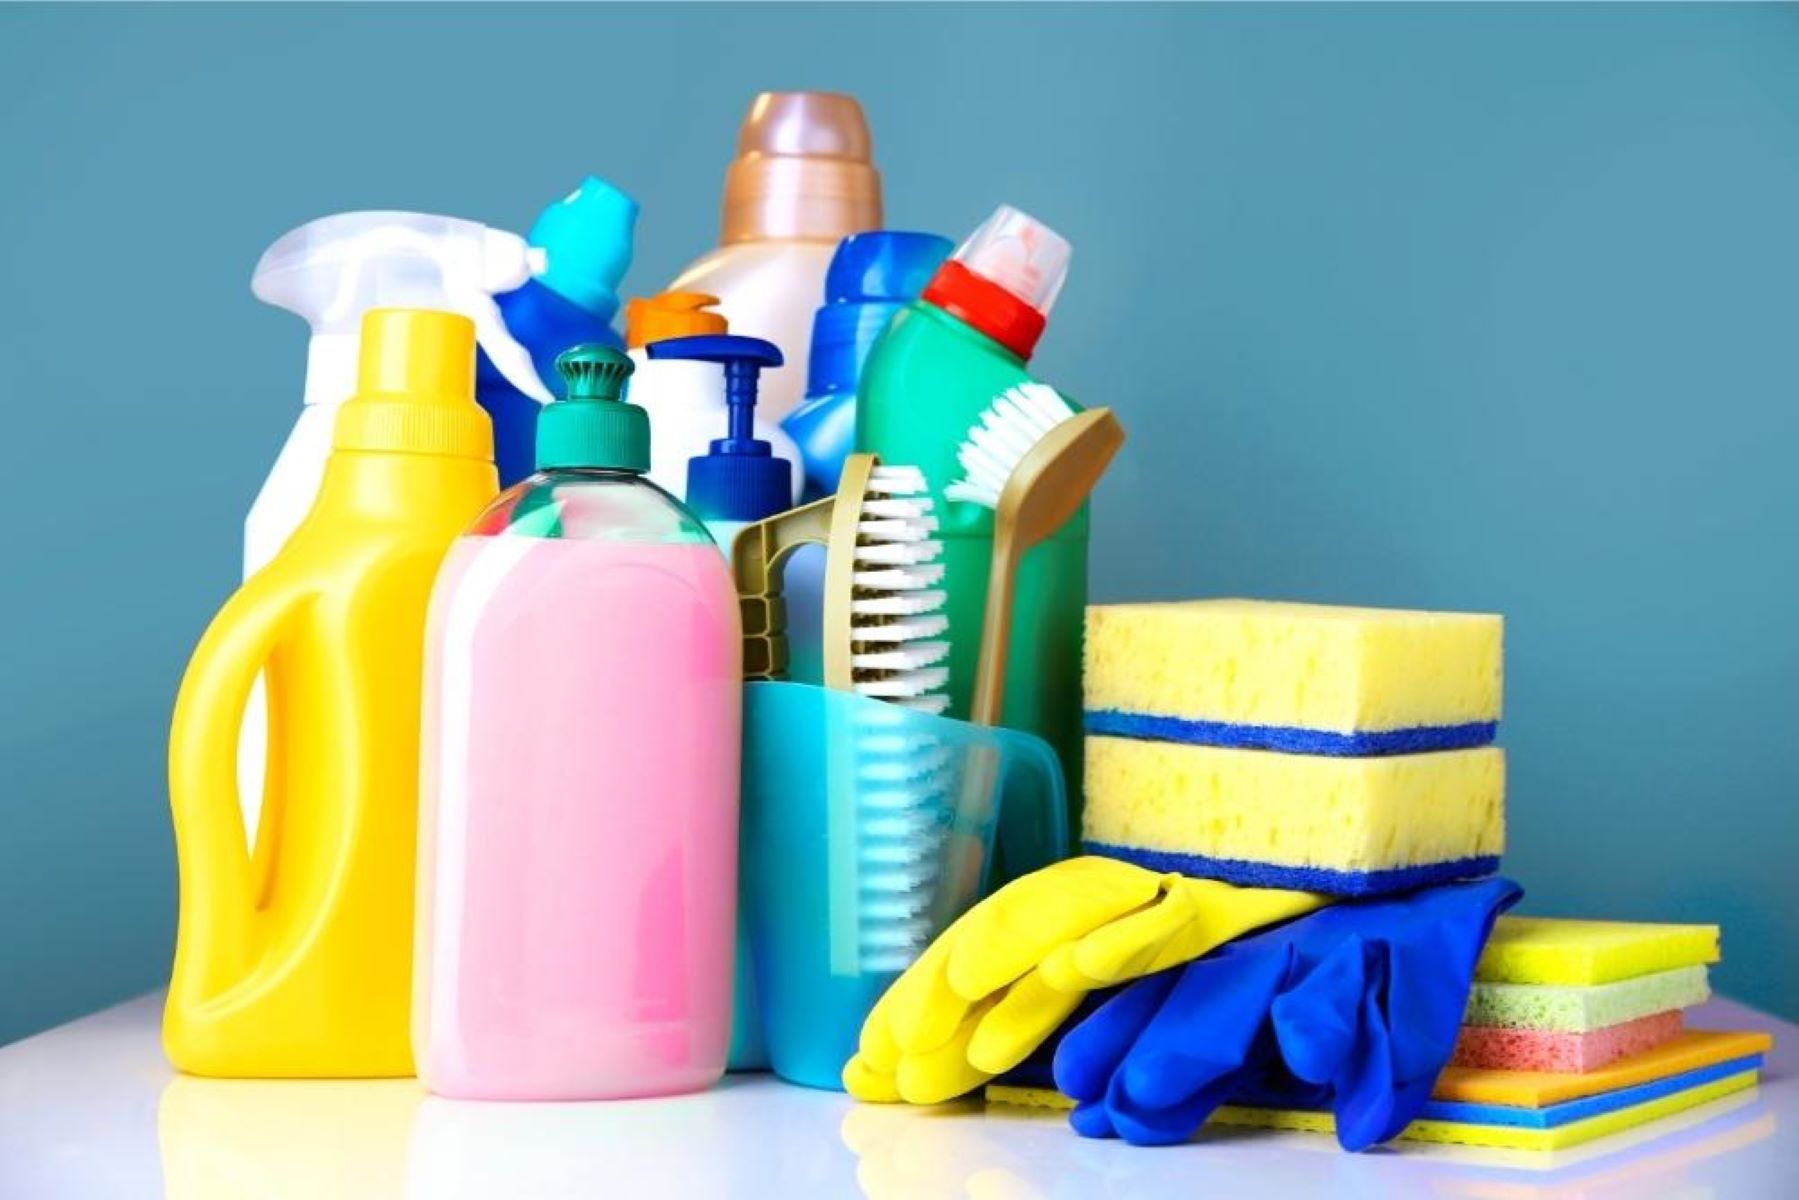
Tools and Materials Needed
When it comes to removing a suction cup from glass, having the right tools and materials at your disposal is essential for a successful and safe removal process. Here's a comprehensive list of items you'll need to effectively tackle this task:
-
Credit Card or Plastic Spatula: A credit card or a plastic spatula can be incredibly useful for gently prying the suction cup away from the glass surface without causing any scratches or damage.
-
Heat Source: A heat source, such as a hairdryer or a heat gun, can help soften the suction cup and the adhesive, making it easier to remove without leaving behind any residue.
-
Chemical Solvent: A mild chemical solvent, such as rubbing alcohol or adhesive remover, can aid in dissolving the adhesive bond between the suction cup and the glass, facilitating its removal.
-
Microfiber Cloth: A soft microfiber cloth is essential for cleaning the glass surface after removing the suction cup, ensuring that it is free from any remaining adhesive or marks.
-
Rubbing Alcohol: Rubbing alcohol is an effective solvent for breaking down adhesive residue and thoroughly cleaning the glass surface post-removal.
-
Gloves: It's advisable to wear protective gloves to shield your hands from any chemical solvents and to provide a better grip while handling the suction cup and tools.
-
Safety Glasses: Safety glasses can protect your eyes from any accidental splashes or drips of chemical solvents during the removal process.
-
Plastic Razor Blade: A plastic razor blade can be used to gently scrape off any stubborn adhesive residue without scratching the glass surface.
-
Adhesive Remover: An adhesive remover specifically designed for glass surfaces can effectively dissolve and remove any remaining adhesive after the suction cup is detached.
-
Step Stool or Ladder: Depending on the location of the suction cup, a step stool or ladder may be necessary to safely reach and work on the glass surface.
Having these tools and materials readily available will ensure that you are well-equipped to tackle the task of removing suction cups from glass surfaces with ease and precision. Each item serves a specific purpose in the removal process, contributing to a successful outcome without compromising the integrity of the glass.
Step 1: Softening the Suction Cup
Softening the suction cup is a crucial initial step in the removal process, as it helps loosen the grip of the suction cup and the adhesive on the glass surface. This method is particularly effective when dealing with stubborn suction cups that have been in place for an extended period. Here's a detailed breakdown of the softening process:
Using a Heat Source
One of the most effective ways to soften a suction cup is by using a heat source, such as a hairdryer or a heat gun. Begin by holding the heat source a few inches away from the suction cup and moving it in a back-and-forth motion to evenly distribute the heat. The goal is to gently warm the suction cup and the adhesive, which helps soften the bond between the suction cup and the glass. It's important to avoid holding the heat source too close to the glass to prevent any potential damage.
Applying Even Heat
As you apply heat to the suction cup, pay close attention to ensure that the heat is evenly distributed across the entire surface of the suction cup. This gradual heating process allows the adhesive to loosen its grip without causing any sudden changes in temperature that could potentially damage the glass. The heat works to soften the adhesive, making it more pliable and easier to work with during the removal process.
Read more: How To Clean A Bath Mat With Suction Cups
Testing the Suction Cup
After applying heat for a few minutes, gently attempt to lift the suction cup from one of its edges. If the suction cup begins to lift or feels more flexible, it indicates that the adhesive has started to soften. However, exercise caution and avoid using excessive force to prevent any damage to the glass surface. If the suction cup remains firmly attached, continue applying heat in short intervals while periodically testing its flexibility.
Precautions
When using a heat source to soften the suction cup, it's important to take necessary precautions to avoid burns or damage to the surrounding area. Always keep the heat source at a safe distance from any flammable materials and be mindful of the temperature to prevent overheating. Additionally, ensure that the glass surface is at room temperature before applying heat to minimize the risk of thermal shock.
By effectively softening the suction cup through the application of heat, you can significantly ease the removal process while minimizing the likelihood of leaving behind adhesive residue or causing damage to the glass surface. This method sets the stage for the subsequent steps in safely and successfully removing the suction cup from the glass.
Step 2: Using a Credit Card or Plastic Spatula
When it comes to removing a stubborn suction cup from a glass surface, employing a credit card or a plastic spatula can be an effective and gentle approach. These flexible and non-abrasive tools allow for precise maneuvering and gradual detachment of the suction cup without causing any scratches or damage to the glass.
Technique for Using a Credit Card or Plastic Spatula
-
Insertion and Gentle Prying: Begin by carefully inserting the edge of a credit card or a plastic spatula between the suction cup and the glass surface. It's important to start at a corner or edge of the suction cup to create a separation point. Once inserted, gently pry the tool against the suction cup, applying gradual and even pressure to create a slight gap between the suction cup and the glass.
-
Incremental Progress: With the tool wedged between the suction cup and the glass, work methodically around the perimeter of the suction cup, gently increasing the separation as you progress. Avoid rushing this process to prevent any sudden detachment that could potentially damage the glass or leave behind adhesive residue.
-
Patience and Precision: Exercise patience and precision as you continue to pry and release the suction cup from the glass surface. The goal is to gradually weaken the adhesive bond while maintaining control over the detachment process. By employing a gentle and steady approach, you can effectively minimize the risk of any unintended damage.
-
Alternate Entry Points: If the suction cup proves to be particularly stubborn in certain areas, consider repositioning the credit card or plastic spatula to create alternate entry points for further detachment. This strategic maneuvering allows for a more controlled and balanced release of the suction cup from the glass.
Benefits of Using a Credit Card or Plastic Spatula
-
Non-Abrasive Nature: Both a credit card and a plastic spatula are non-abrasive, ensuring that the glass surface remains unscathed during the removal process. This gentle approach minimizes the risk of scratches or marks, preserving the integrity of the glass.
-
Flexibility and Precision: The flexibility of these tools enables precise maneuvering, making it easier to navigate around the edges of the suction cup and gradually release it from the glass. This level of control is essential for a smooth and damage-free removal.
-
Versatility: A credit card or plastic spatula can be easily maneuvered into tight spaces, making them versatile tools for removing suction cups from various glass surfaces, including mirrors, windows, and glass tabletops.
By employing a credit card or plastic spatula in the removal process, you can effectively navigate the delicate task of detaching a suction cup from a glass surface with finesse and precision. This method sets the stage for a seamless transition to the subsequent steps in achieving a successful and damage-free removal.
Step 3: Using Heat
Utilizing heat is a highly effective method for removing stubborn suction cups from glass surfaces. The application of heat serves to soften the suction cup and the adhesive, making it more pliable and easier to detach without causing damage to the glass. This approach is particularly beneficial when dealing with suction cups that have been firmly affixed for an extended period, as the adhesive bond becomes more resilient over time.
Hairdryer or Heat Gun
When employing heat to remove a suction cup, a hairdryer or a heat gun can serve as valuable tools. Begin by selecting a low to medium heat setting on the hairdryer or heat gun to avoid subjecting the glass surface to excessive temperature. Hold the heat source a few inches away from the suction cup and move it in a back-and-forth motion to evenly distribute the heat. This gradual warming process allows the heat to penetrate the suction cup and the adhesive, effectively softening their bond with the glass.
Even Distribution of Heat
It is crucial to ensure that the heat is evenly distributed across the entire surface of the suction cup. By maintaining a consistent distance and motion with the heat source, the adhesive bond gradually loosens, allowing for easier detachment without leaving behind residue or causing damage to the glass. This methodical approach minimizes the risk of thermal shock to the glass, ensuring a safe and controlled removal process.
Read also: 11 Best Suction Cup Towel Ring for 2025
Testing Flexibility
After applying heat for a few minutes, gently attempt to lift the suction cup from one of its edges using a credit card or plastic spatula. If the suction cup begins to lift or feels more pliable, it indicates that the adhesive has started to soften. However, exercise caution and avoid using excessive force to prevent any damage to the glass surface. If the suction cup remains firmly attached, continue applying heat in short intervals while periodically testing its flexibility.
Precautions
When using a heat source to soften the suction cup, it is essential to take necessary precautions to avoid burns or damage to the surrounding area. Always keep the heat source at a safe distance from any flammable materials and be mindful of the temperature to prevent overheating. Additionally, ensure that the glass surface is at room temperature before applying heat to minimize the risk of thermal shock.
By effectively utilizing heat to soften the suction cup and the adhesive, you can significantly ease the removal process while minimizing the likelihood of leaving behind adhesive residue or causing damage to the glass surface. This method sets the stage for the subsequent steps in safely and successfully removing the suction cup from the glass.
Step 4: Using a Chemical Solvent
When traditional methods such as heat and gentle prying with a credit card or plastic spatula prove ineffective in removing a stubborn suction cup from a glass surface, employing a chemical solvent can provide an alternative solution. A chemical solvent, such as rubbing alcohol or an adhesive remover, can effectively dissolve the adhesive bond between the suction cup and the glass, facilitating its safe and complete removal.
Selecting the Right Chemical Solvent
Before proceeding with the use of a chemical solvent, it is essential to select the appropriate product that is safe for use on glass surfaces. Rubbing alcohol, also known as isopropyl alcohol, is a commonly available and effective solvent for breaking down adhesive residue. It is gentle on glass and evaporates quickly, making it a suitable choice for this application. Alternatively, an adhesive remover specifically formulated for glass surfaces can provide targeted and potent adhesive-dissolving properties.
Read more: How To Remove Dabs From Glass
Application Process
To begin the removal process using a chemical solvent, start by applying a small amount of the chosen solvent directly onto the edges of the suction cup where it adheres to the glass. It is important to exercise caution and avoid excessive application, as using an excessive amount of solvent can lead to unnecessary drips and potential damage to surrounding surfaces.
Once the solvent is applied, allow it to penetrate the adhesive bond for a few minutes to effectively weaken its grip. During this time, the solvent works to dissolve the adhesive, making it more pliable and easier to detach from the glass surface. It is advisable to periodically check the progress of the solvent's action by gently testing the flexibility of the suction cup with a credit card or plastic spatula.
Gentle Detachment
After allowing the solvent to work its magic, gently insert a credit card or plastic spatula at the edges of the suction cup and begin the process of gradual detachment. The softened adhesive should allow for smoother and more controlled removal, minimizing the risk of leaving behind residue or causing damage to the glass surface. Exercise patience and precision during this process to ensure a successful and damage-free removal.
Post-Removal Cleaning
Once the suction cup is successfully removed, use a soft microfiber cloth and additional rubbing alcohol to thoroughly clean the glass surface. This step is crucial for removing any remaining adhesive residue and ensuring that the glass surface is restored to its pristine condition. By meticulously cleaning the glass, you can eliminate any traces of the adhesive solvent and achieve a smooth, blemish-free surface.
By incorporating the use of a chemical solvent into the removal process, you can effectively address persistent adhesive bonds and achieve a safe and complete removal of the suction cup from the glass surface. This method provides an additional layer of versatility and precision, ensuring that even the most stubborn suction cups can be successfully detached without compromising the integrity of the glass.
Step 5: Cleaning the Glass Surface
After successfully removing the suction cup from the glass surface, thorough cleaning is essential to restore the glass to its original pristine condition. This step not only eliminates any remaining adhesive residue but also ensures a smooth and blemish-free surface. Here's a detailed breakdown of the cleaning process:
Read more: How To Remove Glass From Finger
Removing Adhesive Residue
Begin by inspecting the glass surface for any residual adhesive left behind from the suction cup. If adhesive remnants are present, use a plastic razor blade or a soft, non-abrasive scrubbing pad to gently scrape or rub off the residue. Exercise caution and avoid using excessive force to prevent scratching or damaging the glass. Alternatively, apply a small amount of adhesive remover specifically formulated for glass surfaces to dissolve any stubborn adhesive residue. This targeted approach effectively eliminates any lingering traces of adhesive, preparing the glass for thorough cleaning.
Cleaning with Rubbing Alcohol
Once the adhesive residue is removed, dampen a soft microfiber cloth with rubbing alcohol and gently wipe the entire glass surface. The rubbing alcohol serves as an effective solvent for dissolving any remaining adhesive and thoroughly cleaning the glass. Ensure that the cloth is not overly saturated with rubbing alcohol to prevent excessive drips and streaking. Methodically wipe the glass surface, paying attention to any areas where the suction cup was previously attached. This meticulous cleaning process ensures that the glass is free from any adhesive residue or marks.
Final Polishing
After wiping the glass with rubbing alcohol, use a clean, dry microfiber cloth to polish the surface and remove any remaining traces of adhesive or streaks. Employ gentle, circular motions to achieve a streak-free and polished finish. This final polishing step enhances the clarity and luster of the glass, leaving it looking immaculate and free from any remnants of the suction cup.
Inspection and Touch-Up
Once the cleaning process is complete, inspect the glass surface under adequate lighting to ensure that it is entirely free from any adhesive residue or marks. If any stubborn residue persists, repeat the targeted cleaning process using rubbing alcohol and a plastic razor blade to achieve a flawless finish. Additionally, check for any streaks or smudges and address them with a clean microfiber cloth to achieve a pristine, crystal-clear appearance.
By meticulously cleaning the glass surface post-suction cup removal, you can effectively eliminate any traces of adhesive residue and restore the glass to its original state. This thorough cleaning process ensures that the glass surface remains unblemished and visually appealing, ready to be utilized for its intended purpose or adorned with a new suction cup or decorative element.
Read more: How To Remove Frosting From Glass
Conclusion
In conclusion, the process of removing a suction cup from a glass surface requires careful consideration and the application of effective techniques to ensure a successful and damage-free removal. By following the step-by-step methods outlined in this comprehensive guide, individuals can confidently address the challenge of detaching stubborn suction cups from glass mirrors, windows, tabletops, and other surfaces.
The initial steps of softening the suction cup through the application of heat and employing a credit card or plastic spatula for gentle prying set the foundation for a controlled and precise removal process. These methods prioritize the preservation of the glass surface, minimizing the risk of scratches or damage while gradually releasing the suction cup from its grip.
In cases where traditional methods may prove insufficient, the utilization of a chemical solvent provides an alternative solution for dissolving persistent adhesive bonds. The careful application of rubbing alcohol or an adhesive remover allows for targeted and effective adhesive dissolution, facilitating a safe and complete removal of the suction cup.
Furthermore, the post-removal cleaning process plays a pivotal role in restoring the glass surface to its original pristine condition. Thoroughly removing any adhesive residue and polishing the glass ensures a smooth, blemish-free surface, ready to be utilized for its intended purpose or adorned with a new suction cup or decorative element.
By equipping individuals with the knowledge and techniques to safely remove suction cups from glass surfaces, this guide empowers them to address common household challenges with confidence and precision. Whether for redecorating, cleaning, or replacing suction cups, the methods outlined in this guide prioritize the integrity of the glass surface, ensuring a seamless and hassle-free removal process.
Incorporating these techniques into household maintenance and decor endeavors allows individuals to maintain the visual appeal and functionality of glass surfaces while navigating the task of removing suction cups with finesse and expertise. With the right tools, methods, and attention to detail, the process of removing suction cups from glass becomes a manageable and rewarding endeavor, contributing to the overall maintenance and aesthetics of living spaces.
Frequently Asked Questions about How To Remove Suction Cup From Glass
Was this page helpful?
At Storables.com, we guarantee accurate and reliable information. Our content, validated by Expert Board Contributors, is crafted following stringent Editorial Policies. We're committed to providing you with well-researched, expert-backed insights for all your informational needs.


0 thoughts on “How To Remove Suction Cup From Glass”