Home>Furniture & Design>Bathroom Accessories>How To Properly Use A Suction Cup Shower Caddy
Bathroom Accessories
How To Properly Use A Suction Cup Shower Caddy
Published: February 10, 2024
Learn how to effectively utilize a suction cup shower caddy for your bathroom accessories. Find tips and tricks for maximizing storage and organization.
(Many of the links in this article redirect to a specific reviewed product. Your purchase of these products through affiliate links helps to generate commission for Storables.com, at no extra cost. Learn more)
Introduction
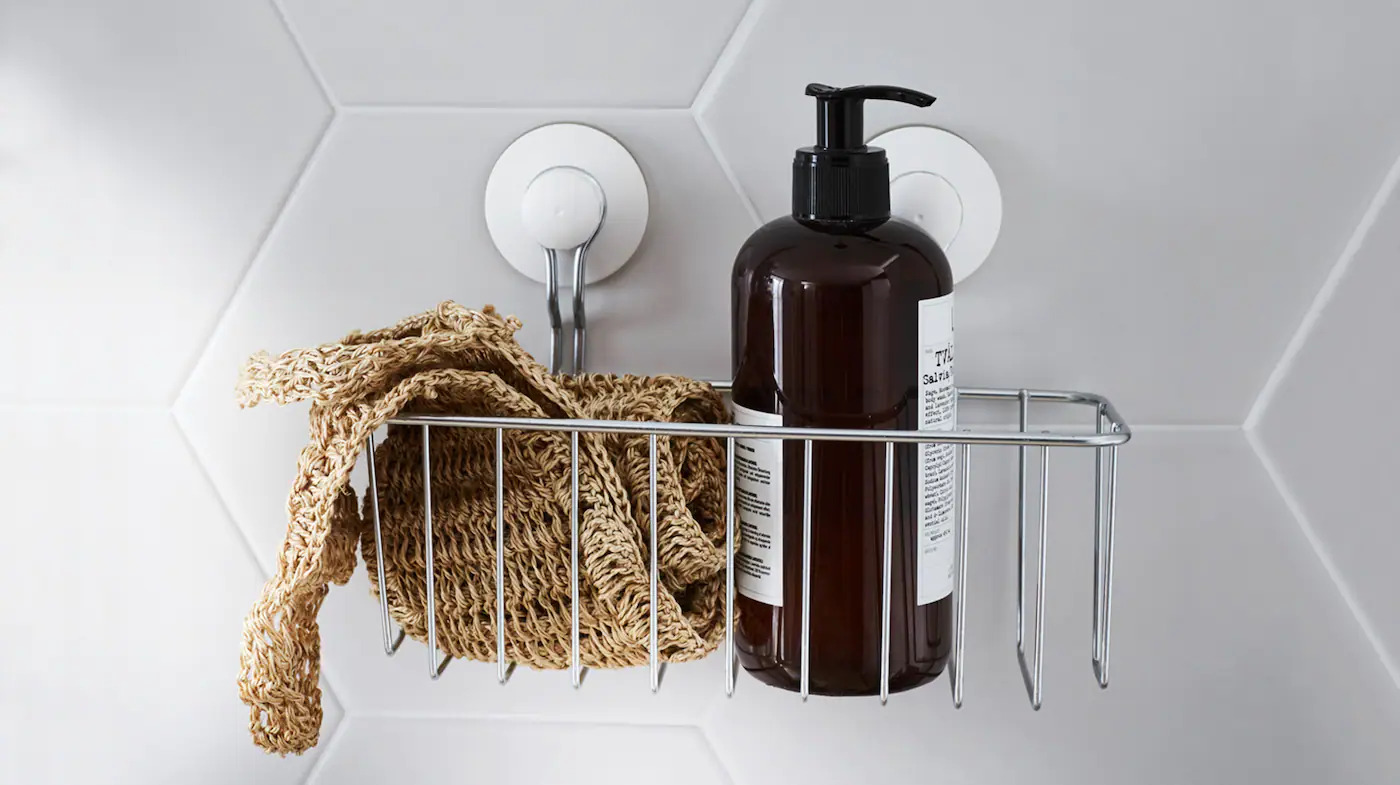
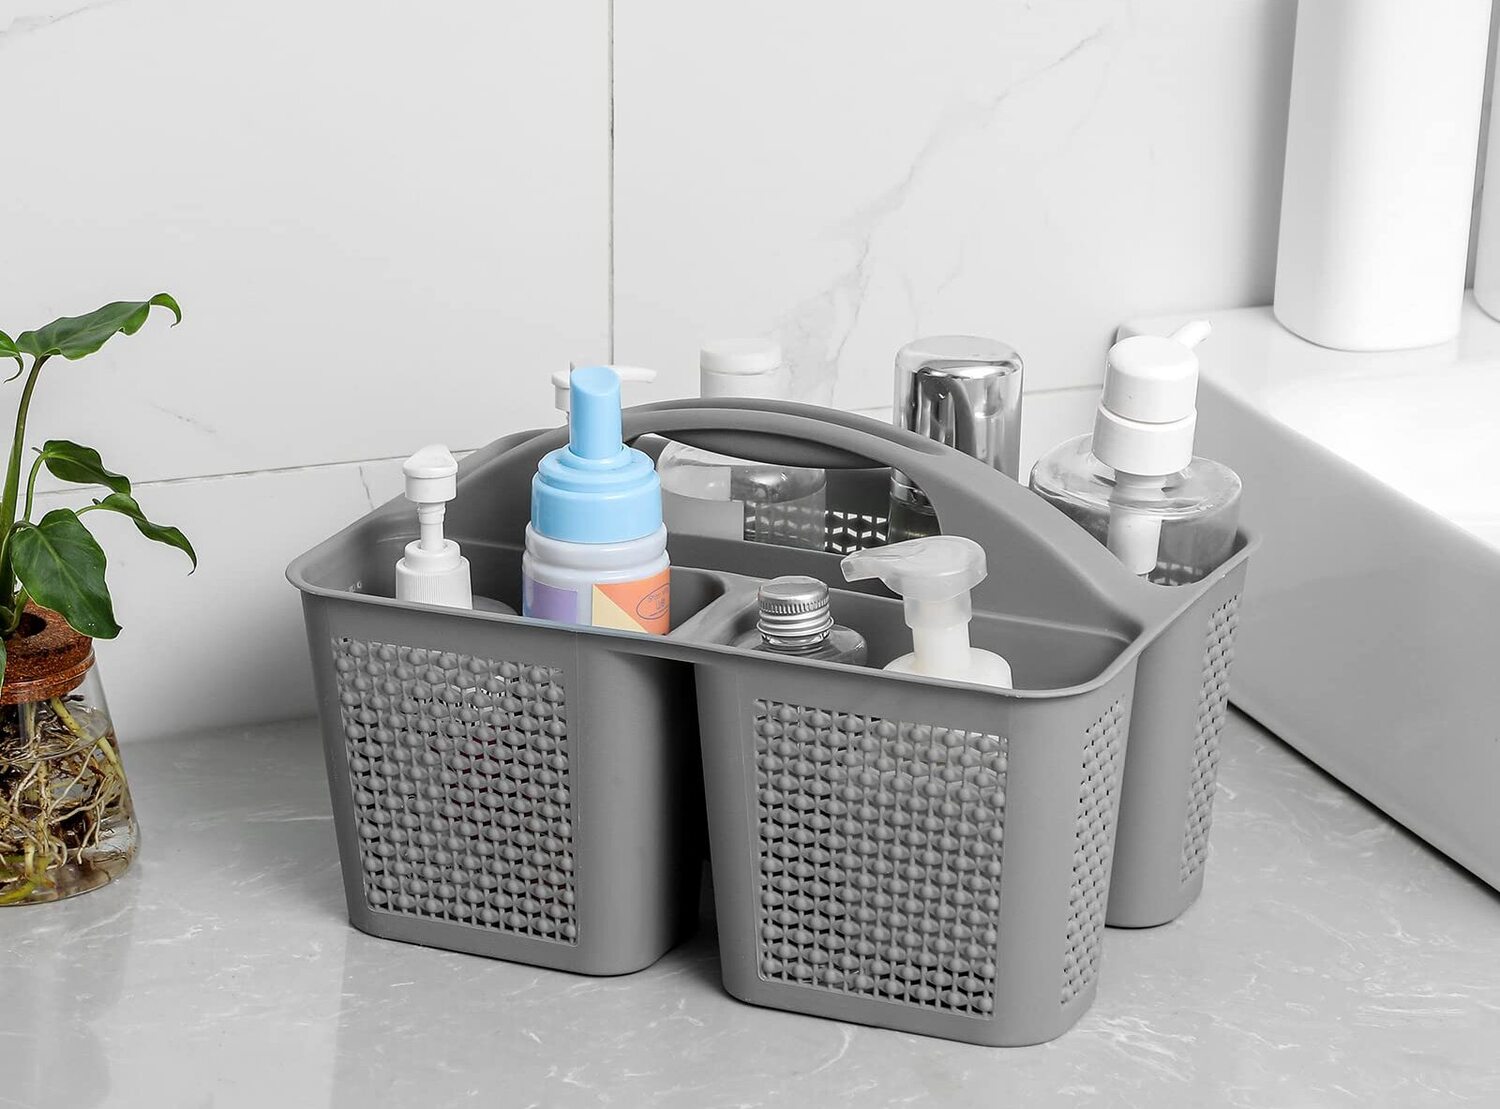
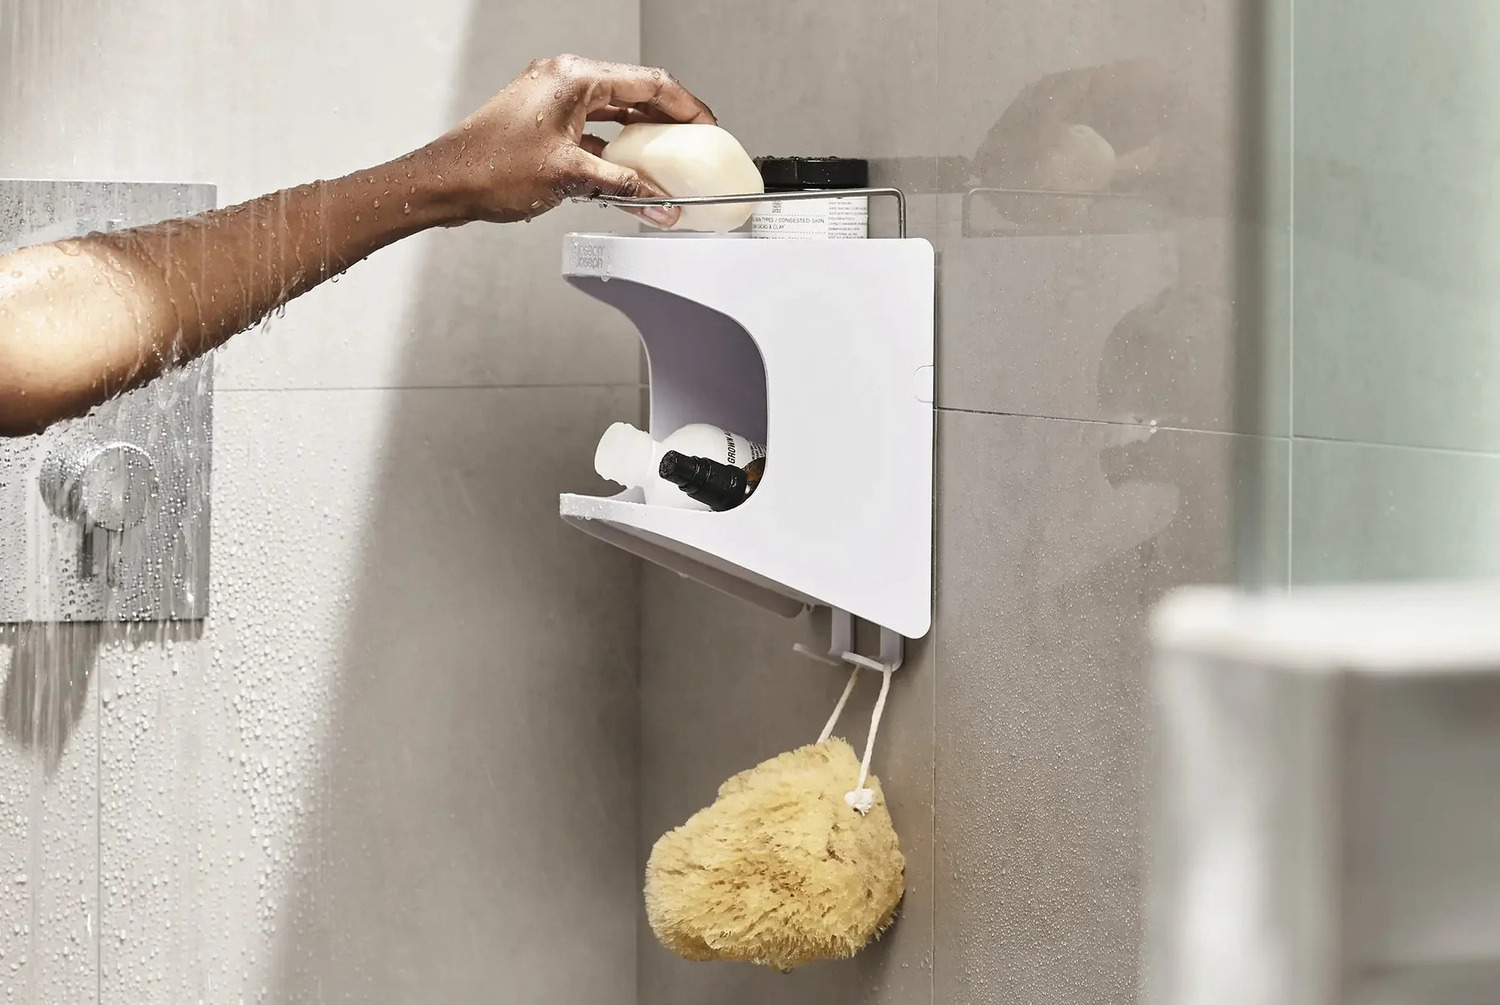
Suction cup shower caddies are a convenient and practical solution for organizing your shower essentials without the need for drilling or hardware installation. These versatile bathroom accessories come in various designs and sizes, offering ample storage for shampoo bottles, soap, razors, and other bathing necessities. Whether you're a college student living in a dorm, a renter in a temporary living space, or simply someone who prefers a hassle-free storage solution, a suction cup shower caddy can be a game-changer in keeping your shower area tidy and clutter-free.
In this comprehensive guide, we will walk you through the essential steps to properly use a suction cup shower caddy. From selecting the right surface to maintaining the caddy for long-term use, you'll gain valuable insights into maximizing the functionality and longevity of this practical bathroom accessory. By following these guidelines, you can ensure that your shower caddy stays securely in place and provides a reliable storage solution for your daily shower routine.
So, let's dive into the details and learn how to make the most of your suction cup shower caddy, ensuring a well-organized and enjoyable shower experience every time.
Key Takeaways:
- Properly using a suction cup shower caddy involves choosing a smooth surface, cleaning it thoroughly, and testing the caddy’s stability to ensure a secure and reliable attachment for your shower essentials.
- Regular maintenance, including cleaning the suction cups and addressing any rust, is crucial for preserving the functionality and longevity of your suction cup shower caddy, ensuring a well-organized and convenient shower experience.
Read more: What To Put In A Shower Caddy
Step 1: Choose the Right Surface
The first and most crucial step in properly using a suction cup shower caddy is selecting the right surface for attachment. The effectiveness of suction cups depends largely on the type of surface they adhere to. Ideally, you should choose a smooth, non-porous surface for optimal suction and stability. Glass, glazed tiles, and smooth acrylic are excellent choices for securing suction cup shower caddies. These surfaces provide a firm grip for the suction cups, minimizing the risk of slippage or detachment.
When assessing the suitability of a surface, it's important to ensure that it is clean and free from any residue or debris. Any dirt, soap scum, or moisture can compromise the suction power of the cups, leading to instability and potential detachment of the caddy. Additionally, avoid surfaces with uneven textures, such as rough tiles or porous materials, as they may hinder the suction cups' ability to form a tight seal.
Before proceeding with the attachment, take a moment to inspect the surface for any imperfections or damage that could affect the suction cup's grip. Cracks, chips, or uneven surfaces may impede the proper functioning of the suction cups, increasing the likelihood of the caddy coming loose over time. By choosing a smooth, intact surface, you can significantly enhance the stability and reliability of your suction cup shower caddy.
In situations where the available surfaces in your shower area are not conducive to suction cup attachment, consider alternative solutions such as adhesive-mounted caddies designed for textured or uneven surfaces. These specialized caddies utilize strong adhesive strips or hooks to securely adhere to a variety of surfaces, providing a versatile storage option for challenging shower environments.
By carefully selecting the right surface for your suction cup shower caddy, you can lay a solid foundation for a secure and dependable storage solution in your shower. With the appropriate surface in place, you'll be ready to move on to the next step of cleaning and preparing the surface for optimal suction cup performance.
Step 2: Clean and Dry the Surface
Once you have identified the suitable surface for attaching your suction cup shower caddy, the next crucial step is to thoroughly clean and dry the chosen area. Properly preparing the surface is essential for ensuring maximum suction and long-term stability of the caddy.
Begin by cleaning the surface with a mild, non-abrasive cleanser to remove any dirt, soap residue, or mineral deposits. For glass surfaces, a glass cleaner can effectively eliminate smudges and stains, while glazed tiles can be cleaned with a gentle tile cleaner. It's important to avoid harsh chemicals or abrasive cleaners, as they can leave behind residues that interfere with the suction cup's ability to form a tight seal.
After cleaning, rinse the surface with water to remove any remaining cleaning solution, and then thoroughly dry it with a clean, lint-free cloth. Any moisture or residual cleaning agents left on the surface can impede the suction cups' ability to adhere securely, potentially leading to instability and detachment of the caddy.
In addition to cleaning the surface, it's important to ensure that it is completely dry before attaching the suction cup shower caddy. Even small amounts of moisture can compromise the suction cups' grip, so take the time to thoroughly dry the surface with a dry cloth or towel. Pay close attention to any seams, edges, or grout lines where water may accumulate, as these areas are often overlooked but can impact the caddy's stability.
By meticulously cleaning and drying the surface, you create an optimal environment for the suction cups to form a strong and reliable seal. This proactive approach not only enhances the immediate attachment of the caddy but also contributes to its long-term performance by minimizing the risk of slippage or detachment over time.
With the surface impeccably clean and dry, you are now ready to proceed to the next step of applying the suction cups and securing your shower caddy in place. This meticulous preparation sets the stage for a secure and dependable storage solution, ensuring that your shower essentials are neatly organized and readily accessible whenever you need them.
Step 3: Apply the Suction Cups
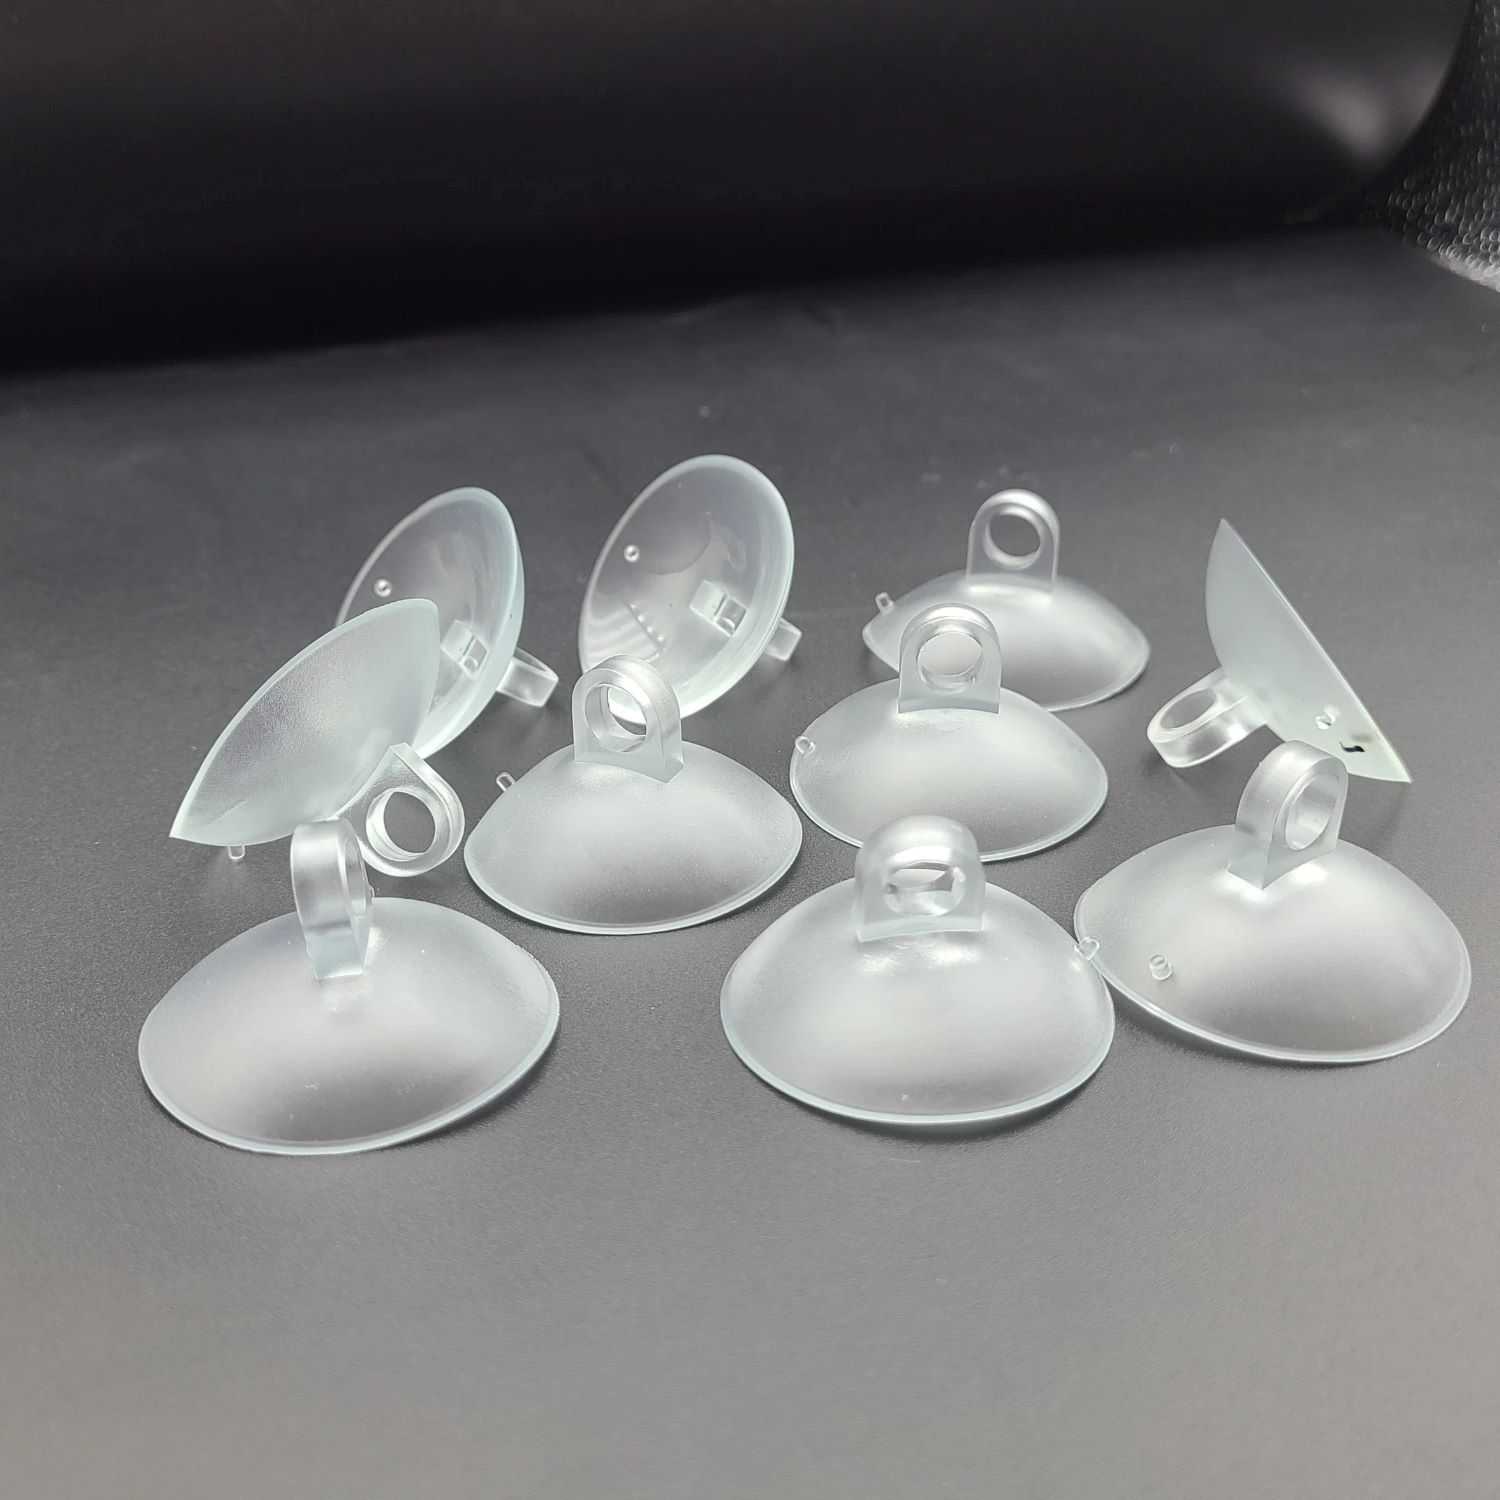
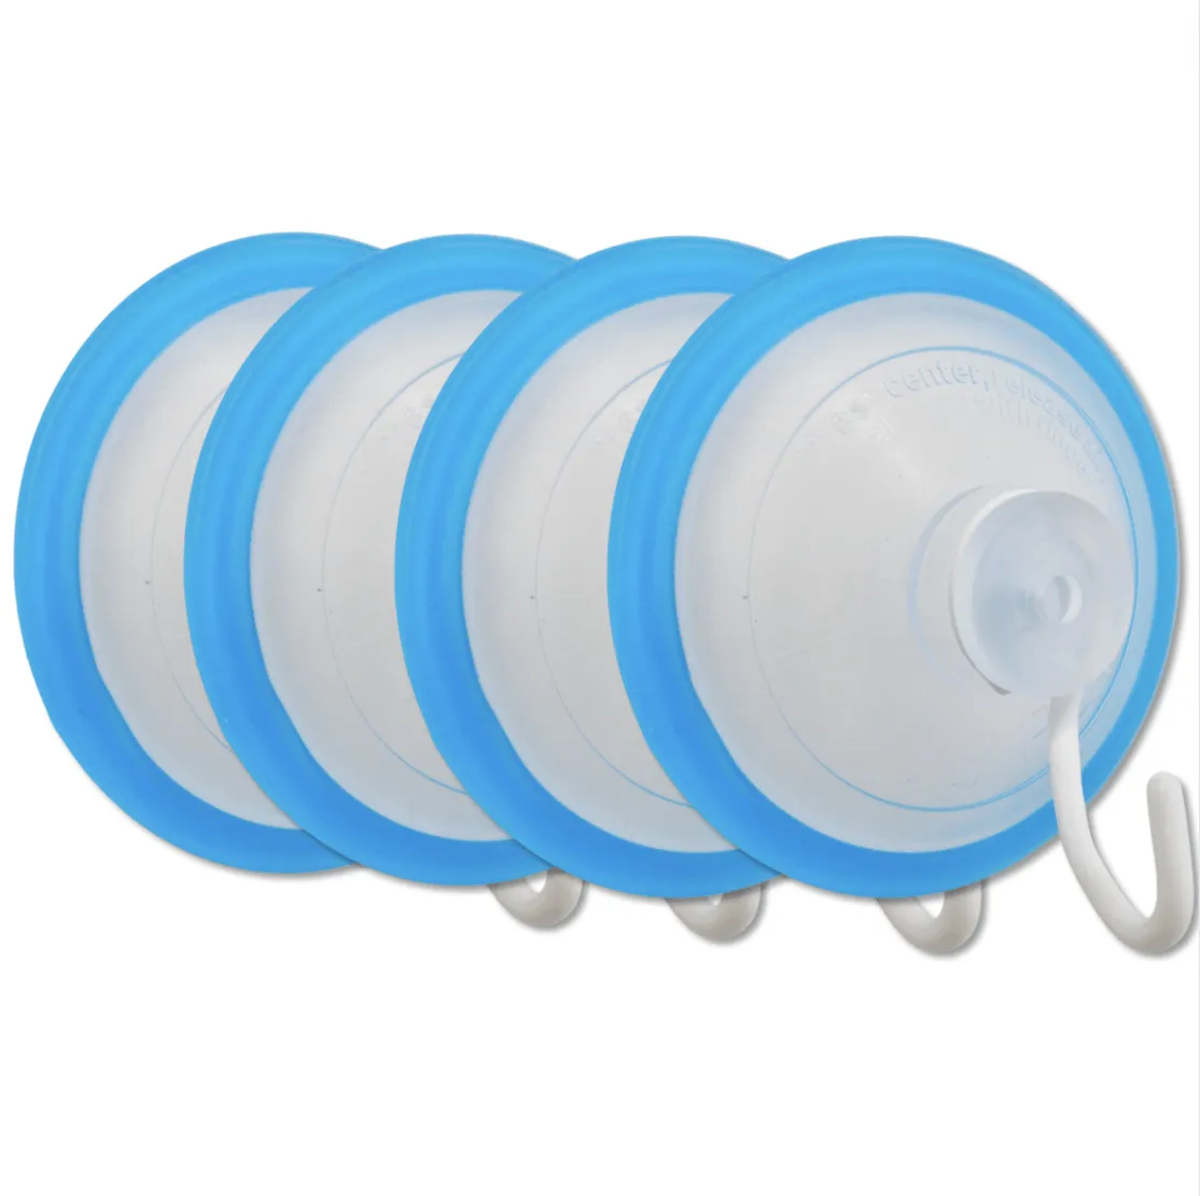
With the surface meticulously cleaned and dried, it's time to apply the suction cups to secure your shower caddy in place. Before proceeding, it's essential to ensure that the suction cups are clean and free from any debris or residue that could hinder their performance. Inspect the suction cups for any signs of wear or damage, such as cracks or tears, as these can compromise their ability to form a tight seal.
To enhance the suction cups' grip, consider moistening them slightly before attaching them to the surface. A small amount of water or a dab of petroleum jelly on the inner rim of the suction cup can promote a stronger seal, especially on smooth, non-porous surfaces. This simple yet effective technique can significantly improve the cups' adherence and stability, providing added assurance that your shower caddy will remain securely in place.
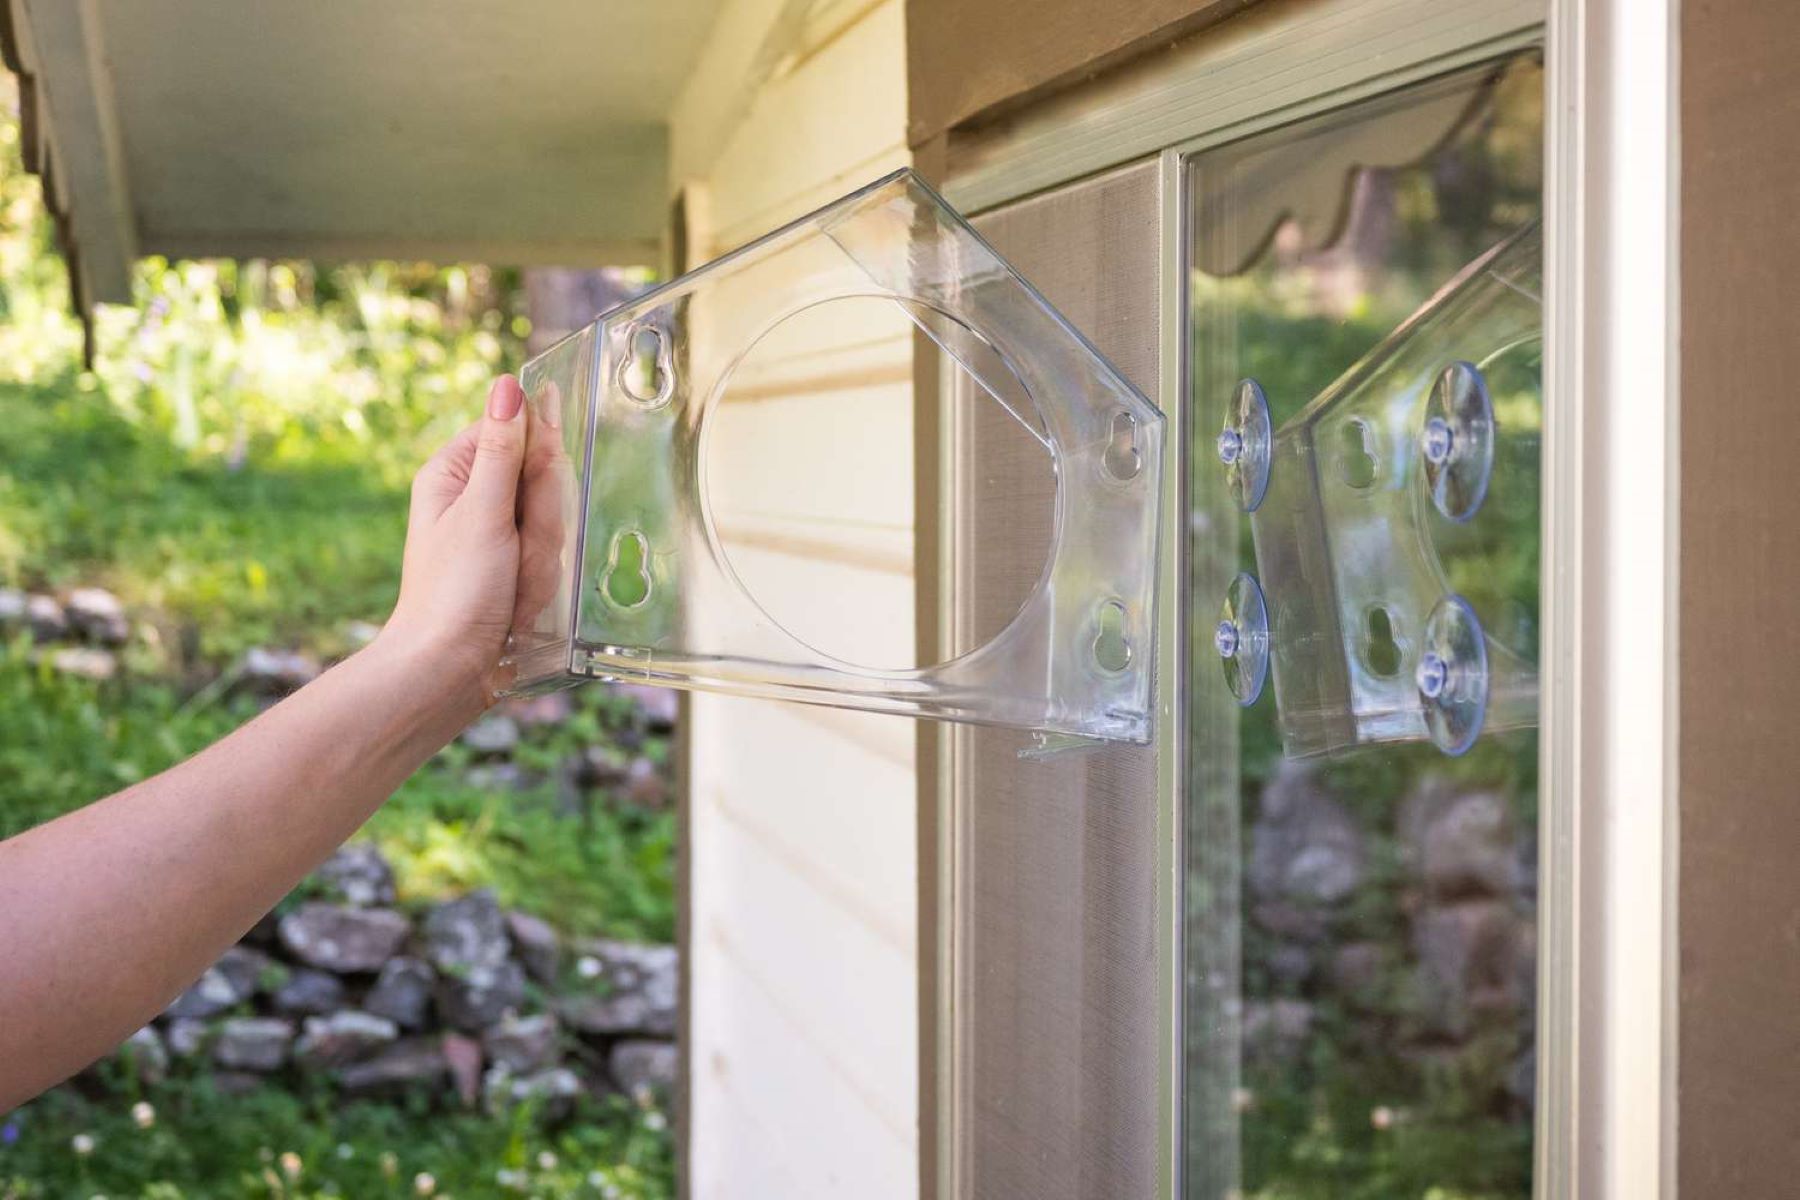
When positioning the suction cups, ensure that they are pressed firmly against the surface to expel any air trapped beneath them. This airtight seal is essential for creating the necessary suction force that holds the caddy in place. Gently press down on the center of each suction cup while simultaneously pressing against the surface to release any air pockets and establish a secure attachment.
For caddies with multiple suction cups, it's important to maintain uniform pressure during the attachment process to ensure balanced support and stability. Pay attention to the alignment of the suction cups, positioning them evenly to distribute the weight of the caddy and its contents. This strategic placement minimizes the risk of uneven stress on the suction cups, reducing the likelihood of detachment or slippage over time.
Once the suction cups are firmly in place, give them a final check to confirm that they are securely attached and form a tight seal with the surface. Gently tug on the caddy to test its stability, ensuring that it remains firmly anchored without any signs of movement or detachment. This simple yet effective test provides valuable reassurance that the suction cups are properly applied and capable of supporting the weight of the caddy and its contents.
By following these meticulous steps to apply the suction cups, you can establish a robust and reliable attachment for your shower caddy, creating a well-organized and functional storage solution in your shower. With the caddy securely in place, you're ready to move on to the next step of properly loading it with your shower essentials, ensuring convenient access and efficient organization for your daily bathing routine.
Make sure the surface is clean and dry before applying the suction cups. Press firmly and evenly to create a tight seal. Avoid placing heavy items in the caddy to prevent it from falling.
Step 4: Test the Caddy
After securely attaching the suction cup shower caddy, it's essential to perform a thorough test to ensure its stability and reliability. This step is crucial for verifying that the caddy is firmly anchored and capable of supporting the weight of your shower essentials without any risk of detachment or slippage.
To begin the testing process, gently load the caddy with your typical shower items, including shampoo bottles, soap, razors, and other accessories. Distribute the weight evenly to simulate the actual conditions during regular use. By replicating the typical load, you can assess the caddy's ability to withstand the weight of your shower essentials without compromising its stability.
Once the caddy is loaded, carefully inspect it for any signs of movement or instability. Gently nudge the caddy from different angles to evaluate its resistance to shifting or detachment. Pay close attention to the suction cups' grip and the caddy's overall stability, ensuring that it remains securely attached to the surface without any wobbling or slippage.
Next, simulate the motions and disturbances that commonly occur during showering. Lightly tap the caddy to mimic the impact of water splashing or accidental contact. This test helps assess the caddy's ability to withstand minor disturbances and vibrations without compromising its attachment. Additionally, consider gently pulling on the items within the caddy to evaluate its resilience to external forces and movements.
As you perform these tests, observe the suction cups closely to ensure that they maintain a tight seal with the surface. Any signs of air leakage or loss of suction indicate potential issues that need to be addressed before regular use. By meticulously evaluating the caddy's performance under simulated conditions, you can identify any potential concerns and take proactive measures to enhance its stability and reliability.
If the caddy exhibits any signs of instability or detachment during the testing process, reevaluate the attachment and consider reapplying the suction cups. It's essential to address any issues promptly to prevent the risk of the caddy coming loose during actual use. By conducting thorough testing and addressing any concerns, you can instill confidence in the caddy's performance and ensure a secure and dependable storage solution in your shower.
By diligently testing the caddy under simulated conditions, you can verify its stability and reliability, providing peace of mind that your shower essentials will remain organized and accessible without the risk of the caddy detaching or causing inconvenience during your bathing routine.
Read more: What Is A Shower Caddy
Step 5: Properly Load the Caddy
Properly loading your suction cup shower caddy is essential for maintaining its stability and functionality while ensuring convenient access to your shower essentials. By strategically arranging your bathing items and adhering to weight distribution principles, you can optimize the caddy's performance and minimize the risk of detachment or slippage.
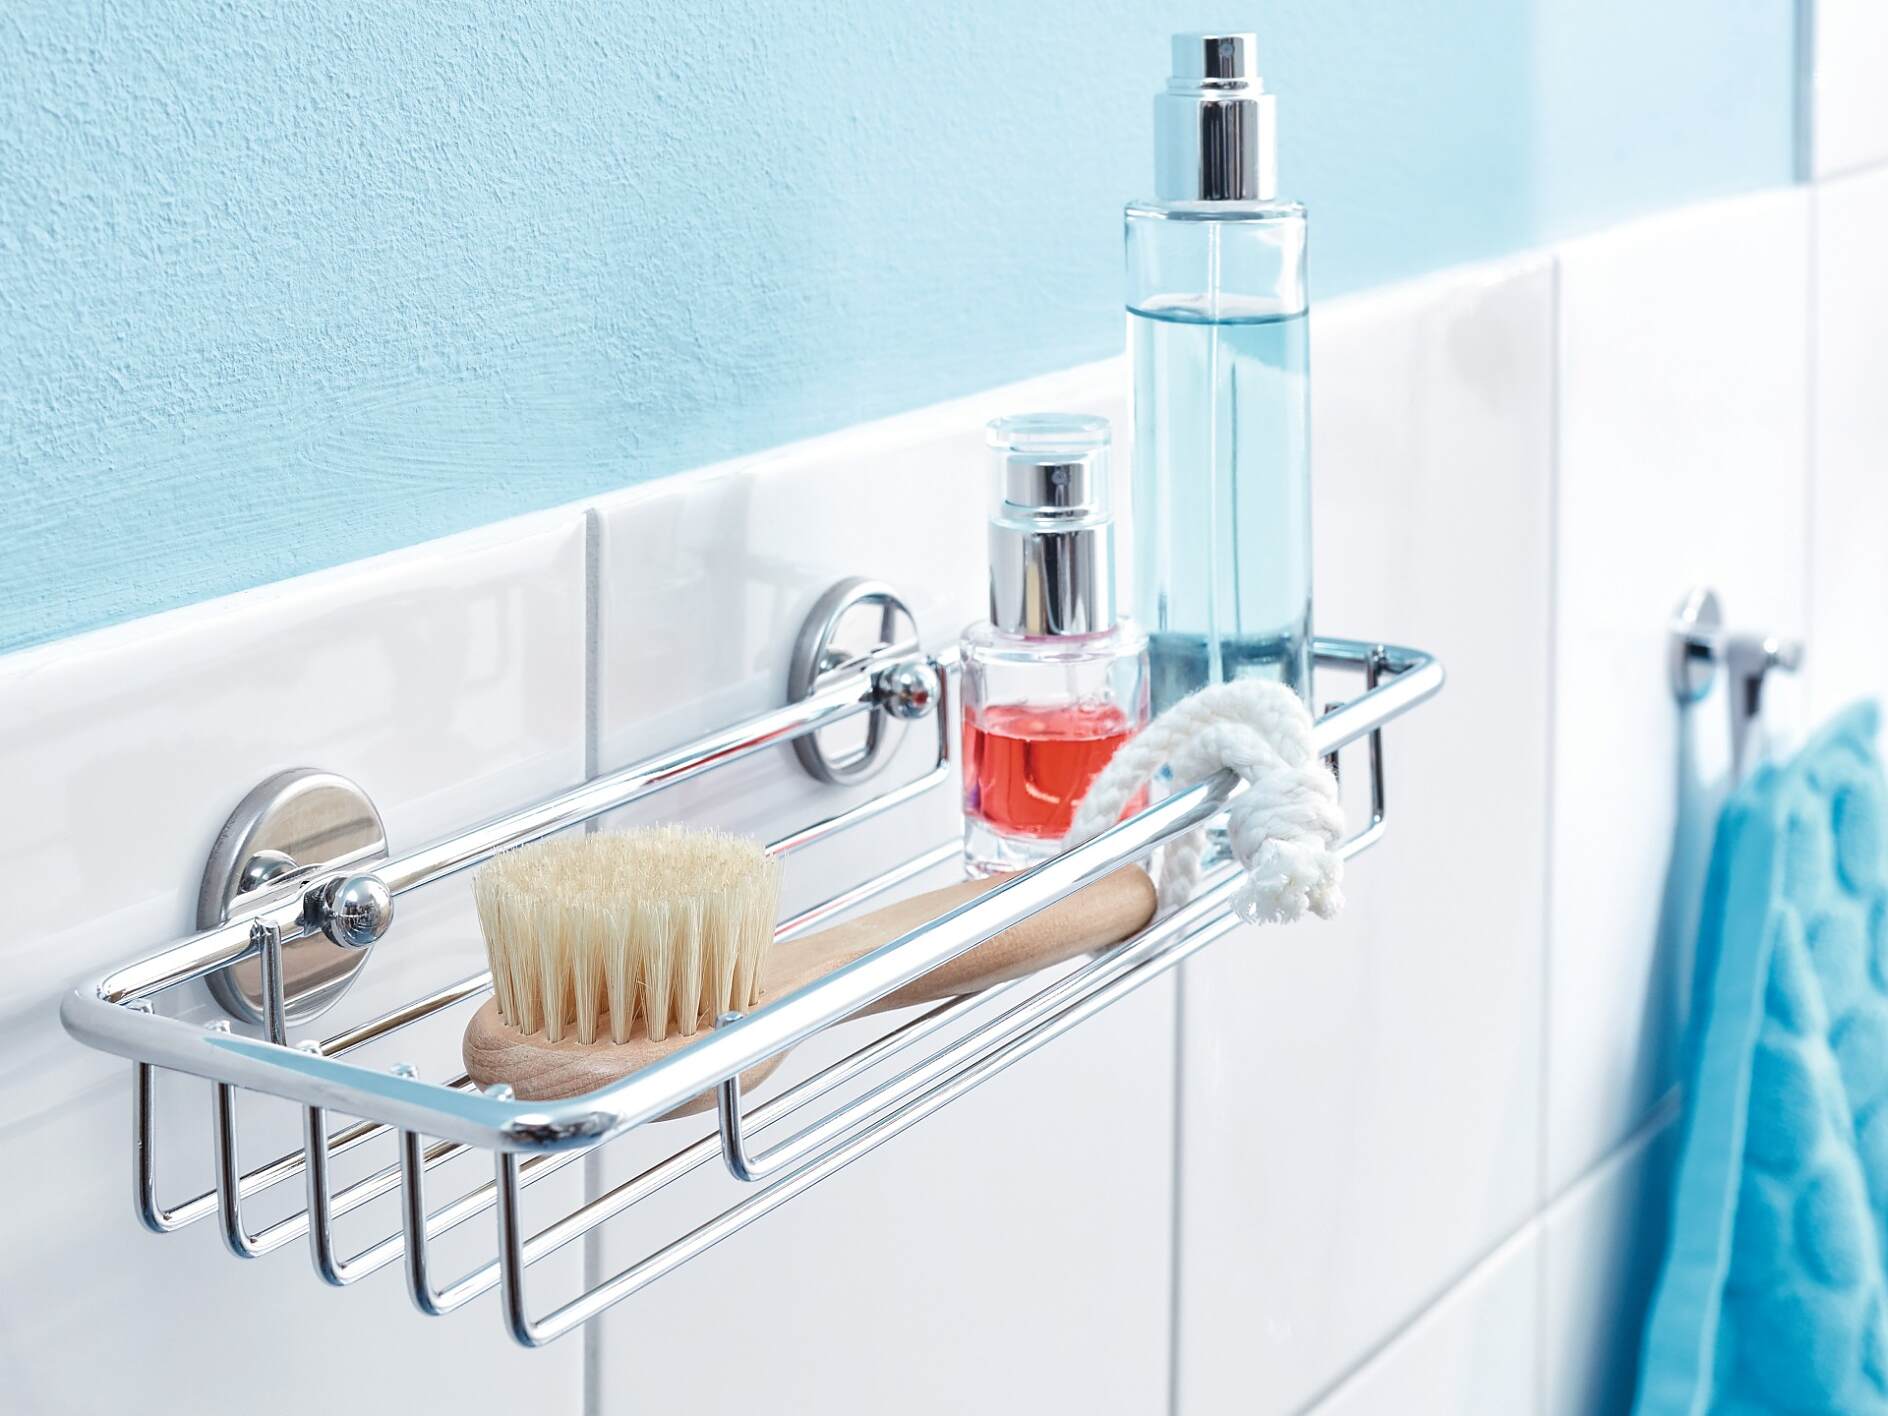
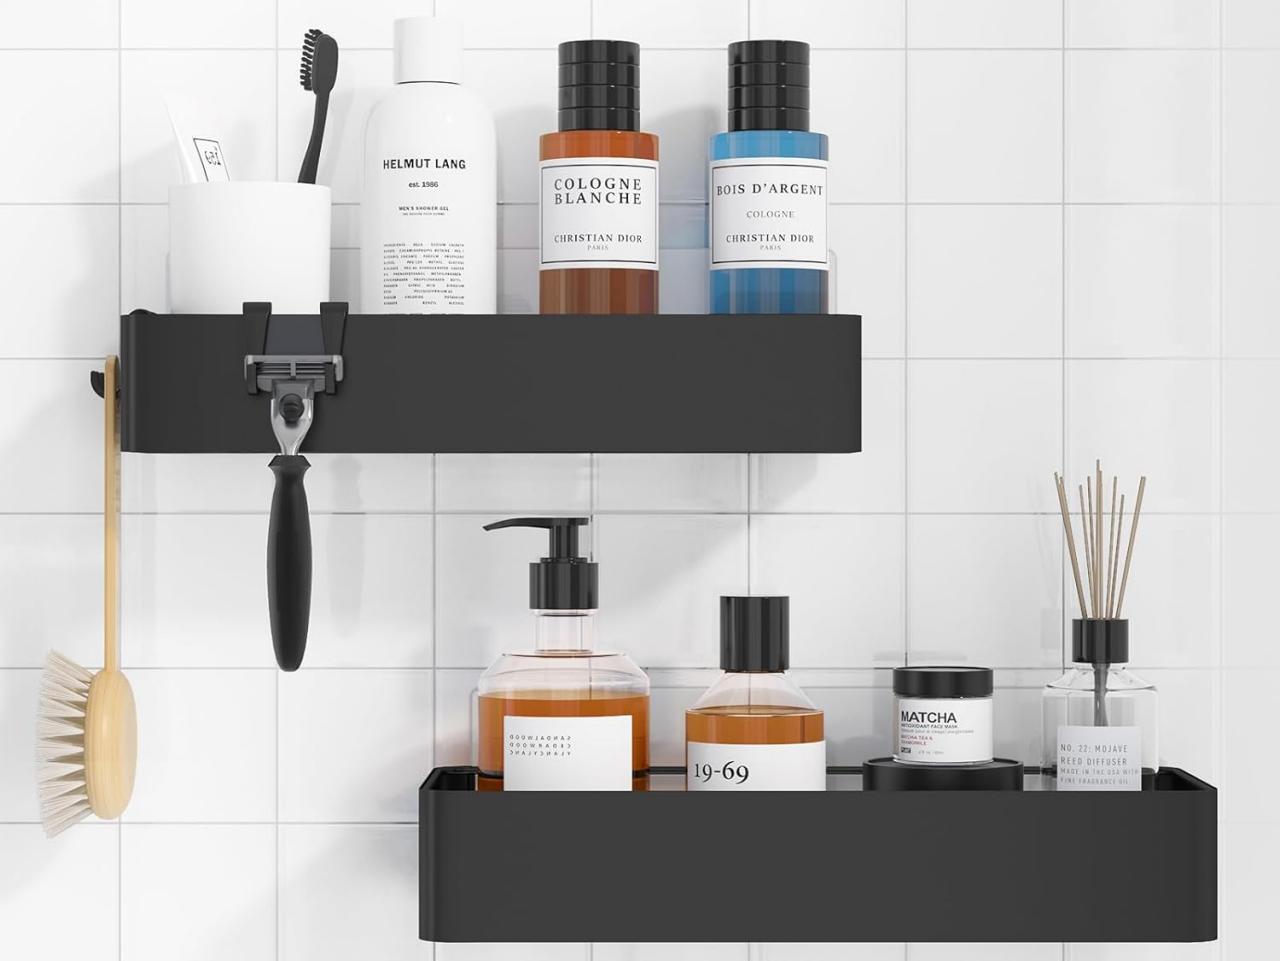
When loading the caddy, begin by organizing your shower essentials in a balanced and deliberate manner. Place heavier items, such as large shampoo bottles or body wash containers, closer to the walls of the caddy to distribute their weight evenly and minimize strain on the suction cups. By positioning heavier items against the wall, you can leverage the support of the surface to complement the suction cups' grip, enhancing the overall stability of the caddy.
Next, arrange lighter items, such as soap bars, razors, or loofahs, in the remaining compartments of the caddy. By strategically distributing the weight of the items, you can prevent the caddy from becoming top-heavy, which could potentially compromise its attachment to the surface. Maintaining a balanced load not only contributes to the caddy's stability but also facilitates easy access to your shower essentials during your bathing routine.
In addition to weight distribution, consider the orientation of items within the caddy to further optimize its stability. Position taller items, such as shampoo bottles, with their bases resting against the caddy's bottom or the wall to prevent them from tipping over and creating imbalanced pressure on the suction cups. Similarly, arrange smaller items securely within the compartments to minimize movement and maintain a consistent load distribution.
As you load the caddy, periodically assess its stability and the suction cups' adherence to the surface. Gently press against the caddy to ensure that it remains securely attached and free from any signs of slippage or detachment. This proactive approach allows you to make any necessary adjustments to the load or the suction cups' positioning, ensuring that the caddy maintains its stability under the weight of your shower essentials.
By properly loading your suction cup shower caddy with careful attention to weight distribution and item orientation, you can optimize its stability and functionality, creating a reliable and convenient storage solution for your shower. This meticulous approach not only enhances the caddy's performance but also contributes to a well-organized and efficient shower experience, allowing you to access your bathing essentials with ease and confidence.
Step 6: Regular Maintenance
Maintaining your suction cup shower caddy is essential for preserving its functionality and prolonging its lifespan. Regular maintenance not only ensures the caddy's stability and reliability but also prevents potential issues that may arise from prolonged exposure to moisture and daily use.
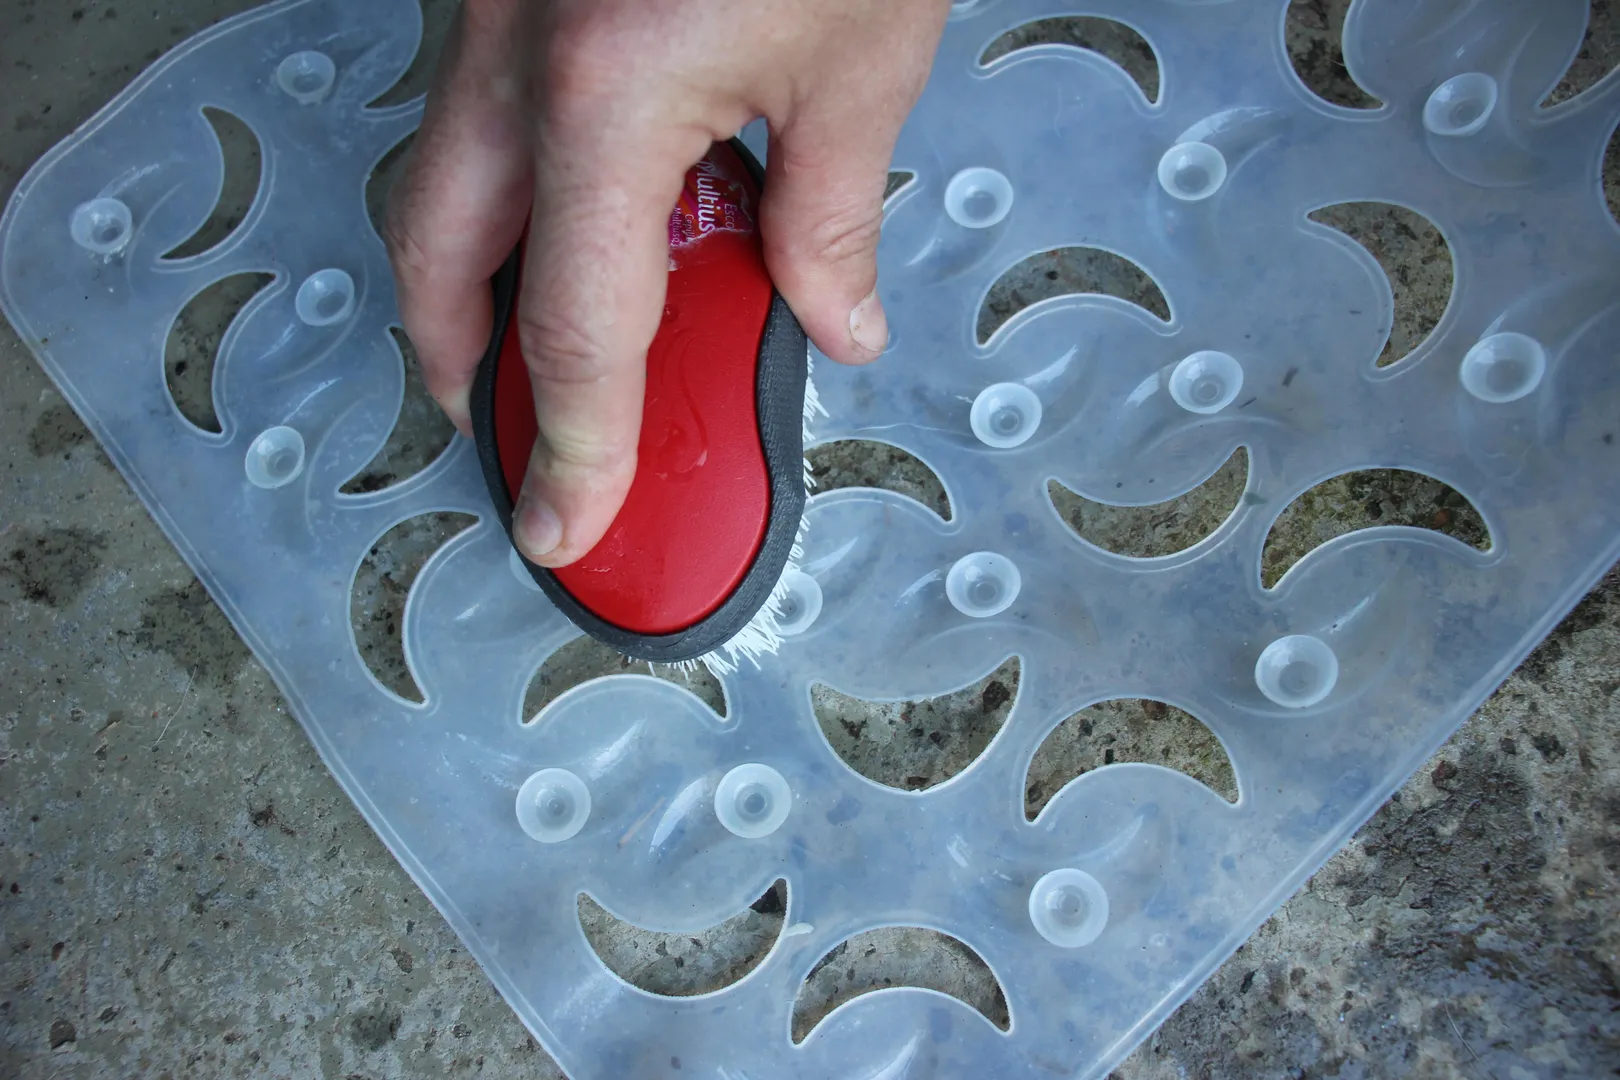
To begin, periodically inspect the suction cups for any signs of wear, damage, or loss of suction. Over time, the suction cups may accumulate dirt, soap residue, or mineral deposits, diminishing their ability to form a secure seal. If you notice any deterioration or reduced suction power, remove the caddy and thoroughly clean the suction cups with a mild detergent and warm water. Gently scrub the cups to remove any buildup and rinse them thoroughly before reattaching the caddy. This simple maintenance task can revitalize the suction cups' performance and restore their ability to securely grip the surface.
Additionally, check the attachment surface for any signs of residue, mold, or mildew that may compromise the suction cups' adherence. If necessary, clean the surface with a suitable cleanser and ensure it is completely dry before reattaching the caddy. By maintaining a clean and dry attachment surface, you can optimize the suction cups' grip and minimize the risk of detachment.
Furthermore, periodically assess the stability of the caddy by gently testing its attachment and inspecting the suction cups for any signs of slippage. If the caddy exhibits any instability or movement, reapply the suction cups following the cleaning and attachment guidelines to ensure a secure and reliable grip.
In addition to cleaning and inspecting the suction cups, it's important to address any rust or corrosion on the caddy's metal components, such as hooks or wire baskets. Use a rust remover or a mild abrasive to eliminate any rust buildup, and consider applying a protective coating to prevent future corrosion. This proactive maintenance approach preserves the caddy's structural integrity and enhances its visual appeal.
By incorporating regular maintenance into your shower routine, you can proactively address potential issues and ensure that your suction cup shower caddy remains a dependable and long-lasting storage solution. With proper care and attention, you can enjoy a well-organized shower space and convenient access to your bathing essentials for an extended period, enhancing your overall bathing experience.
Conclusion
In conclusion, mastering the proper use of a suction cup shower caddy is essential for transforming your shower space into a well-organized and functional oasis. By following the comprehensive steps outlined in this guide, you can ensure that your shower caddy remains securely in place, providing a reliable storage solution for your bathing essentials.
From the initial selection of the right surface to the meticulous application of the suction cups, each step plays a crucial role in establishing a stable and dependable attachment for your shower caddy. By choosing a smooth, non-porous surface and diligently cleaning and drying it, you create an optimal environment for the suction cups to form a strong seal, minimizing the risk of slippage or detachment.
Furthermore, the strategic loading of the caddy with attention to weight distribution and item orientation enhances its stability and functionality, ensuring convenient access to your shower essentials without compromising its attachment. Regular maintenance, including cleaning and inspecting the suction cups, as well as addressing any rust or corrosion, is vital for preserving the caddy's performance and longevity.
By incorporating these best practices into your shower routine, you can elevate the organization and efficiency of your bathing experience, enjoying the convenience and accessibility of your shower essentials without the inconvenience of a dislodged or unstable caddy.
Ultimately, the proper use of a suction cup shower caddy goes beyond mere functionality; it contributes to a well-orchestrated and enjoyable shower routine, allowing you to start and end your day with a clutter-free and serene bathing environment. With the knowledge and insights gained from this guide, you are well-equipped to maximize the potential of your suction cup shower caddy, ensuring a seamless and satisfying shower experience every time.
Embrace the art of proper caddy utilization, and revel in the harmonious blend of organization and convenience that it brings to your daily bathing ritual. Let your shower caddy stand as a testament to your commitment to a well-ordered and delightful shower space, reflecting your dedication to a stress-free and rejuvenating bathing experience.
Frequently Asked Questions about How To Properly Use A Suction Cup Shower Caddy
Was this page helpful?
At Storables.com, we guarantee accurate and reliable information. Our content, validated by Expert Board Contributors, is crafted following stringent Editorial Policies. We're committed to providing you with well-researched, expert-backed insights for all your informational needs.


0 thoughts on “How To Properly Use A Suction Cup Shower Caddy”