Home>Furniture & Design>Interior Design Trends>How To Write On Glass

Interior Design Trends
How To Write On Glass
Modified: February 18, 2024
Discover the latest interior design trends for writing on glass. Learn how to create stunning glass decor with our expert tips and ideas. Elevate your space with innovative glass writing techniques.
(Many of the links in this article redirect to a specific reviewed product. Your purchase of these products through affiliate links helps to generate commission for Storables.com, at no extra cost. Learn more)
Introduction
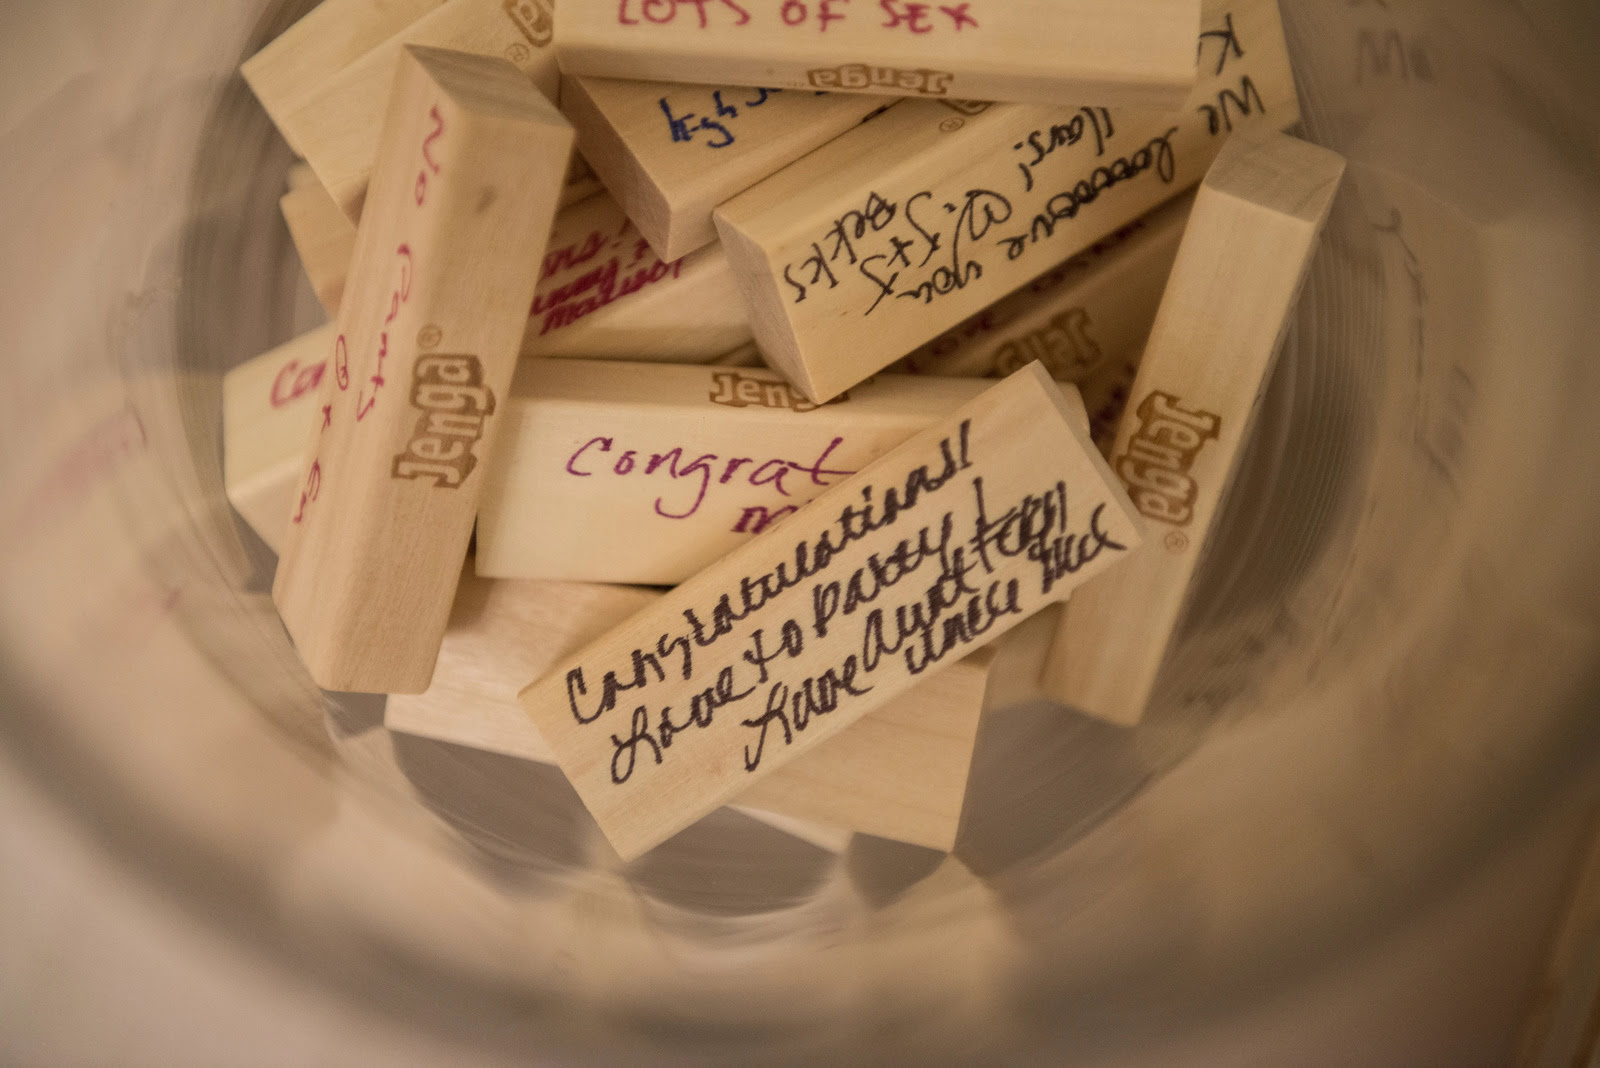
Writing on glass can be a captivating way to add a personal touch to your space. Whether you're looking to create eye-catching signage, personalized decorations, or simply want to leave a message for your loved ones, mastering the art of writing on glass can open up a world of creative possibilities.
When it comes to writing on glass, the possibilities are endless. From elegant calligraphy to bold, modern lettering, the choice of style is entirely up to you. Whether you're a seasoned artist or a novice looking to explore a new medium, writing on glass offers a unique and versatile canvas for self-expression.
In this comprehensive guide, we will explore the essential tools and techniques needed to create stunning and long-lasting designs on glass surfaces. From choosing the right markers to preparing the glass for writing and mastering various techniques, this guide will equip you with the knowledge and skills to bring your creative visions to life.
So, whether you're looking to add a personal touch to your home decor, create custom gifts for friends and family, or elevate your business signage, learning how to write on glass is a valuable skill that can unlock a world of creative possibilities. Let's dive into the world of glass writing and unleash your creativity onto this unique and versatile canvas.
Key Takeaways:
- Unleash your creativity by mastering glass writing techniques, from elegant calligraphy to bold lettering, and elevate your space with visually captivating designs.
- Care for your glass writing by gentle cleaning, avoiding abrasive materials, and mindful display to preserve the beauty and longevity of your designs.
Read more: How To Write Names On Wine Glasses
Choosing the Right Tools
When it comes to writing on glass, selecting the right tools is crucial for achieving professional-looking results. The choice of tools can significantly impact the durability, vibrancy, and overall quality of your glass writing. Here's a detailed look at the essential tools you'll need to embark on your glass writing journey:
1. Glass Markers:
Investing in high-quality glass markers is essential for achieving vibrant and long-lasting designs. Look for markers specifically designed for use on glass surfaces, as they are formulated to adhere effectively and resist smudging and fading. These markers are available in a variety of colors and tip sizes, allowing you to create intricate designs and bold lettering with ease.
2. Chalk Markers:
Chalk markers are a versatile option for temporary glass writing, perfect for creating seasonal decorations, event signage, or temporary messages. These markers offer easy erasability, making them ideal for dynamic displays that require frequent updates. Look for water-based chalk markers that can be easily wiped off with a damp cloth, leaving your glass surface clean and ready for new designs.
3. Glass Paints:
For more permanent and intricate designs, consider using glass paints that are specifically formulated for glass surfaces. These paints offer excellent adhesion and durability, allowing you to create detailed artwork and intricate designs that will withstand the test of time. With a wide range of colors and finishes available, glass paints provide endless creative possibilities for your glass writing projects.
Read more: How To Get Writing Off Glass
4. Cleaning Supplies:
Before starting your glass writing project, ensure that you have the necessary cleaning supplies on hand. A high-quality glass cleaner and lint-free cloths are essential for preparing the glass surface, removing any dust, fingerprints, or residues that could affect the adhesion of your writing tools. A clean and smooth glass surface is crucial for achieving professional-looking results.
5. Stencils and Templates:
If you're looking to create precise and consistent designs, stencils and templates can be invaluable tools for your glass writing projects. Whether you're working on intricate patterns, lettering, or decorative motifs, using stencils can help you achieve uniformity and precision in your designs, even if you're new to glass writing.
By carefully selecting the right tools for your glass writing projects, you can ensure that your designs are vibrant, durable, and visually striking. Whether you're creating temporary displays or permanent artwork, having the appropriate tools at your disposal will set the stage for successful and visually captivating glass writing endeavors.
Preparing the Glass Surface
Before embarking on your glass writing journey, it is crucial to prepare the glass surface to ensure optimal adhesion and longevity of your designs. Properly preparing the glass surface sets the foundation for a professional and polished end result. Here's a detailed look at the essential steps to prepare the glass surface for your writing endeavors:
-
Cleaning the Glass: Begin by thoroughly cleaning the glass surface using a high-quality glass cleaner and lint-free cloths. Remove any dust, fingerprints, or residues that may hinder the adhesion of your writing tools. A clean surface is essential for ensuring that your designs adhere smoothly and remain visually striking.
-
Drying the Surface: After cleaning the glass, allow the surface to dry completely before proceeding with your writing. Ensuring that the glass is free from moisture or cleaning solution residues is crucial for the effective adhesion of your writing tools. A dry surface provides the ideal canvas for your designs to come to life.
-
Avoiding Touching the Surface: Once the glass is clean and dry, avoid touching the surface with your hands to prevent the transfer of oils and residues. Handling the glass with care and using lint-free gloves, if necessary, can help maintain the cleanliness of the surface and prevent any potential adhesion issues.
-
Removing Stickers or Residues: If the glass surface has any stickers, adhesive residues, or stubborn marks, use a gentle adhesive remover or rubbing alcohol to effectively eliminate them. Ensuring that the glass surface is smooth and free from any obstructions will contribute to the overall quality of your glass writing.
-
Surface Texture Consideration: Depending on the type of glass surface you are working with, consider the texture and smoothness of the glass. Some glass surfaces may have a textured or frosted finish, which can impact the adhesion and visibility of your designs. Understanding the characteristics of the glass surface will help you adapt your writing techniques accordingly.
By meticulously preparing the glass surface, you can create an optimal environment for your writing endeavors, ensuring that your designs adhere effectively and maintain their visual impact over time. Taking the time to prepare the glass surface sets the stage for successful and visually captivating glass writing projects.
Writing Techniques
Mastering various writing techniques is essential for creating visually captivating and professional-looking designs on glass surfaces. Whether you're aiming to achieve elegant calligraphy, bold lettering, or intricate designs, understanding and implementing the right techniques will elevate the visual impact of your glass writing. Here's a comprehensive exploration of the key writing techniques to enhance your glass writing endeavors:
-
Calligraphy and Hand Lettering:
Embracing the art of calligraphy and hand lettering can add a touch of elegance and sophistication to your glass writing. Utilize specialized glass markers with fine tips to create graceful and flowing letterforms. Practice consistent stroke widths and varying pressure to achieve beautifully embellished scripts and decorative flourishes. Experiment with different calligraphy styles, such as modern, traditional, or whimsical, to infuse your glass designs with personalized charm. -
Block Lettering and Typography:
For bold and impactful designs, mastering block lettering and typography is key. Utilize markers with broad tips to create clear and commanding letterforms. Pay attention to uniform spacing and precise alignment to ensure a polished and professional appearance. Experiment with different font styles and weights to convey the desired tone and visual impact. Whether you're creating signage, quotes, or decorative elements, mastering block lettering techniques will allow your designs to command attention. -
Intricate Designs and Patterns:
Elevate your glass writing by incorporating intricate designs and patterns. Utilize fine-tipped markers or glass paints to create detailed motifs, geometric patterns, or ornate illustrations. Embrace symmetry and precision to achieve visually captivating designs that showcase your attention to detail. Whether you're adorning glassware, windows, or mirrors, mastering the art of intricate designs will infuse your spaces with artistic flair and visual interest. -
Layering and Dimension:
Explore the creative potential of layering and dimension in your glass writing. Experiment with translucent and opaque markers to create depth and visual interest in your designs. Utilize layering techniques to add shading, highlights, and dimensional effects, bringing your glass writing to life with a sense of depth and vibrancy. Whether you're creating decorative accents or artistic compositions, mastering layering techniques will add a dynamic and captivating element to your glass designs. -
Embellishments and Accents:
Enhance the visual appeal of your glass writing by incorporating embellishments and accents. Utilize metallic markers or paints to add shimmering touches and decorative flourishes to your designs. Experiment with embellishments such as swirls, vines, or ornamental elements to infuse your glass writing with a touch of glamour and sophistication. Whether you're creating personalized gifts or decorative displays, mastering the art of embellishments will add a touch of luxury to your glass designs.
By honing these writing techniques, you can unleash the full creative potential of glass writing, transforming ordinary glass surfaces into captivating canvases for self-expression and artistic exploration. Whether you're a seasoned artist or a novice enthusiast, mastering these techniques will empower you to create visually stunning and enduring designs that leave a lasting impression.
Read more: How To Write A Bid For Landscaping
Caring for Your Glass Writing
Ensuring the longevity and vibrancy of your glass writing requires thoughtful care and maintenance to preserve the beauty of your designs. By implementing proper care practices, you can safeguard your glass writing from potential damage and maintain its visual appeal over time. Here's a detailed guide on how to care for your glass writing and keep your designs looking pristine:
-
Gentle Cleaning: When it comes to cleaning glass surfaces adorned with writing, opt for gentle cleaning methods to avoid compromising the integrity of your designs. Use a soft, lint-free cloth or a gentle glass cleaner to wipe the surface, taking care to avoid harsh abrasives or rough materials that could scratch or smudge the writing.
-
Avoid Abrasive Materials: Refrain from using abrasive cleaning tools or harsh chemicals that can damage the glass surface and compromise the adhesion of your writing. Opt for mild cleaning solutions and soft cloths to maintain the clarity and vibrancy of your designs without causing any unintended damage.
-
Regular Maintenance: Incorporate regular maintenance routines to keep your glass writing looking its best. Periodically inspect the glass surface for any signs of wear, smudging, or fading, and address any issues promptly. By staying proactive in maintaining your glass writing, you can preserve its visual impact and extend its longevity.
-
Protect from Scratching: Take precautions to prevent the glass surface from coming into contact with sharp or abrasive objects that could scratch or damage the writing. When handling glassware or decorative pieces, handle them with care to avoid unintentional abrasions that could detract from the beauty of your designs.
-
Mindful Display: Consider the placement of your glass writing to minimize exposure to direct sunlight, extreme temperatures, or high humidity, which can accelerate wear and fading. By displaying your glass writing thoughtfully, you can help preserve its visual appeal and ensure that your designs maintain their vibrancy over time.
-
Reapplication as Needed: For glass writing that experiences frequent handling or exposure to environmental elements, be prepared to reapply or touch up the designs as needed. Over time, certain areas of the writing may require refreshing to maintain their original luster and clarity, ensuring that your designs continue to make a lasting impression.
By implementing these care practices, you can uphold the visual integrity and longevity of your glass writing, allowing your designs to continue captivating and inspiring for years to come. With thoughtful maintenance and attention to detail, your glass writing will remain a stunning and enduring expression of creativity and artistry.
Frequently Asked Questions about How To Write On Glass
Was this page helpful?
At Storables.com, we guarantee accurate and reliable information. Our content, validated by Expert Board Contributors, is crafted following stringent Editorial Policies. We're committed to providing you with well-researched, expert-backed insights for all your informational needs.


0 thoughts on “How To Write On Glass”