Home>Furniture & Design>Interior Design Trends>How To Fix Chipped Glass
Interior Design Trends
How To Fix Chipped Glass
Modified: October 19, 2024
Learn how to fix chipped glass with our expert interior design tips. Discover the latest interior design trends and techniques for repairing chipped glass.
(Many of the links in this article redirect to a specific reviewed product. Your purchase of these products through affiliate links helps to generate commission for Storables.com, at no extra cost. Learn more)
Introduction
Glass is a versatile and elegant material that adds a touch of sophistication to any space. Whether it's a cherished heirloom, a stylish decor piece, or a functional household item, chipped glass can be a source of frustration. However, the good news is that minor chips and cracks in glass can often be repaired with the right techniques and materials. By taking the time to address these imperfections, you can restore the beauty and functionality of your glass items, saving them from the fate of being discarded or replaced.
In this comprehensive guide, we will explore the step-by-step process of fixing chipped glass, from assessing the damage to polishing the glass to a flawless finish. Whether you're dealing with a small chip in a delicate glass ornament or a larger crack in a beloved vase, this guide will equip you with the knowledge and skills needed to tackle the repair with confidence.
By understanding the nuances of glass repair and learning the essential techniques, you can breathe new life into your chipped glass items, preserving their sentimental value and aesthetic appeal. With the right approach and a bit of patience, you can transform a damaged piece of glass into a restored treasure that continues to bring joy and beauty to your home.
So, roll up your sleeves, gather your materials, and let's embark on a journey to revive your chipped glass items. Whether you're a seasoned DIY enthusiast or a novice in the world of glass repair, this guide will empower you to take on the challenge and achieve impressive results. Let's dive into the art of glass repair and discover the gratifying process of restoring chipped glass to its former glory.
Key Takeaways:
- Don’t toss that chipped glass! With the right materials and techniques, you can repair it yourself and preserve its beauty and functionality for years to come.
- Assess, gather, repair, and polish! By following these steps, you can transform chipped glass into a restored treasure, bringing joy and beauty back into your home.
Read more: How To Fix A Chip In Glass
Assessing the Damage
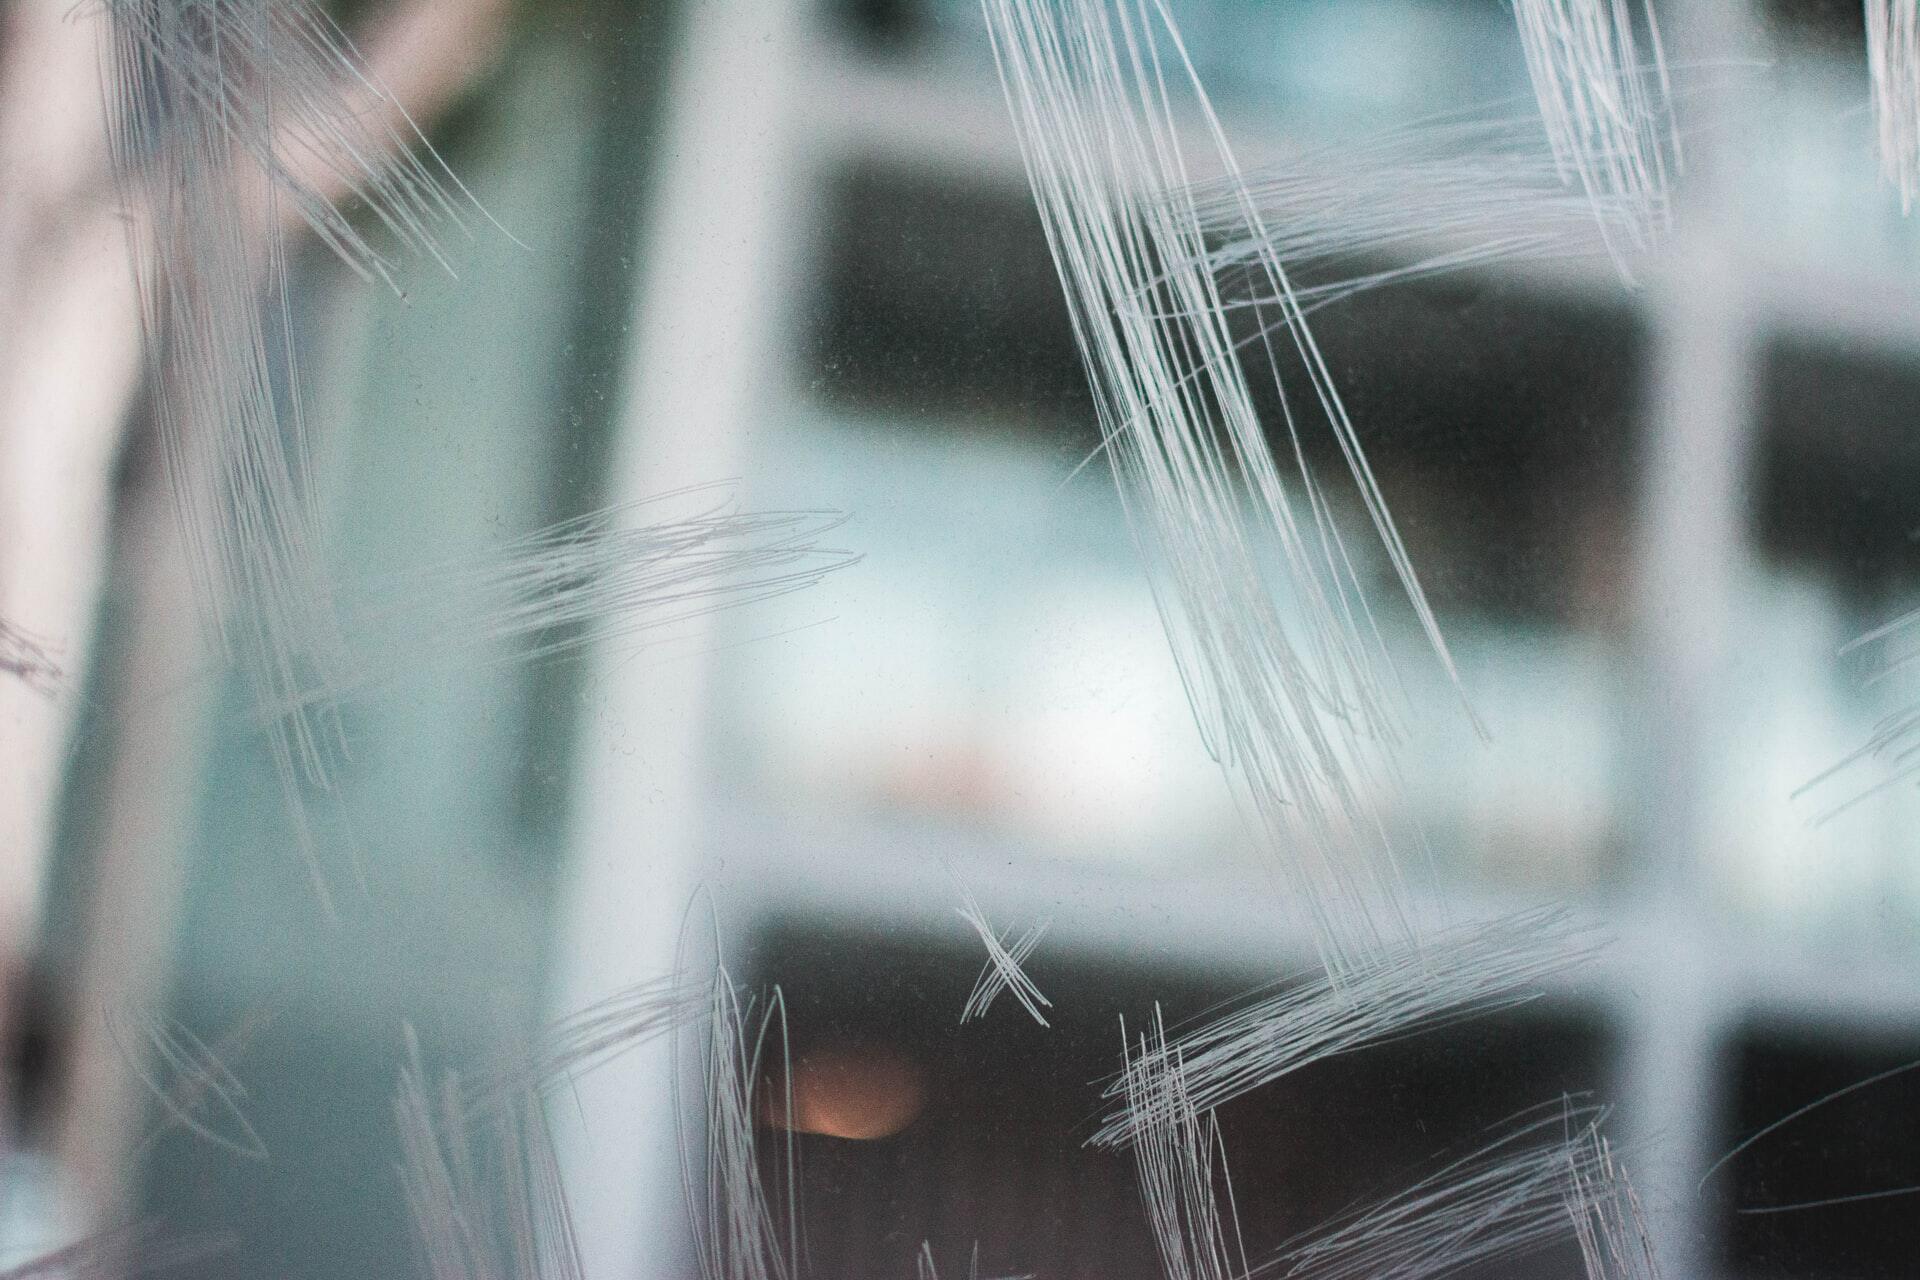
Before embarking on the journey of repairing chipped glass, it is crucial to thoroughly assess the extent of the damage. This initial step sets the stage for the entire repair process, guiding you in determining the appropriate techniques and materials needed to achieve a successful restoration.
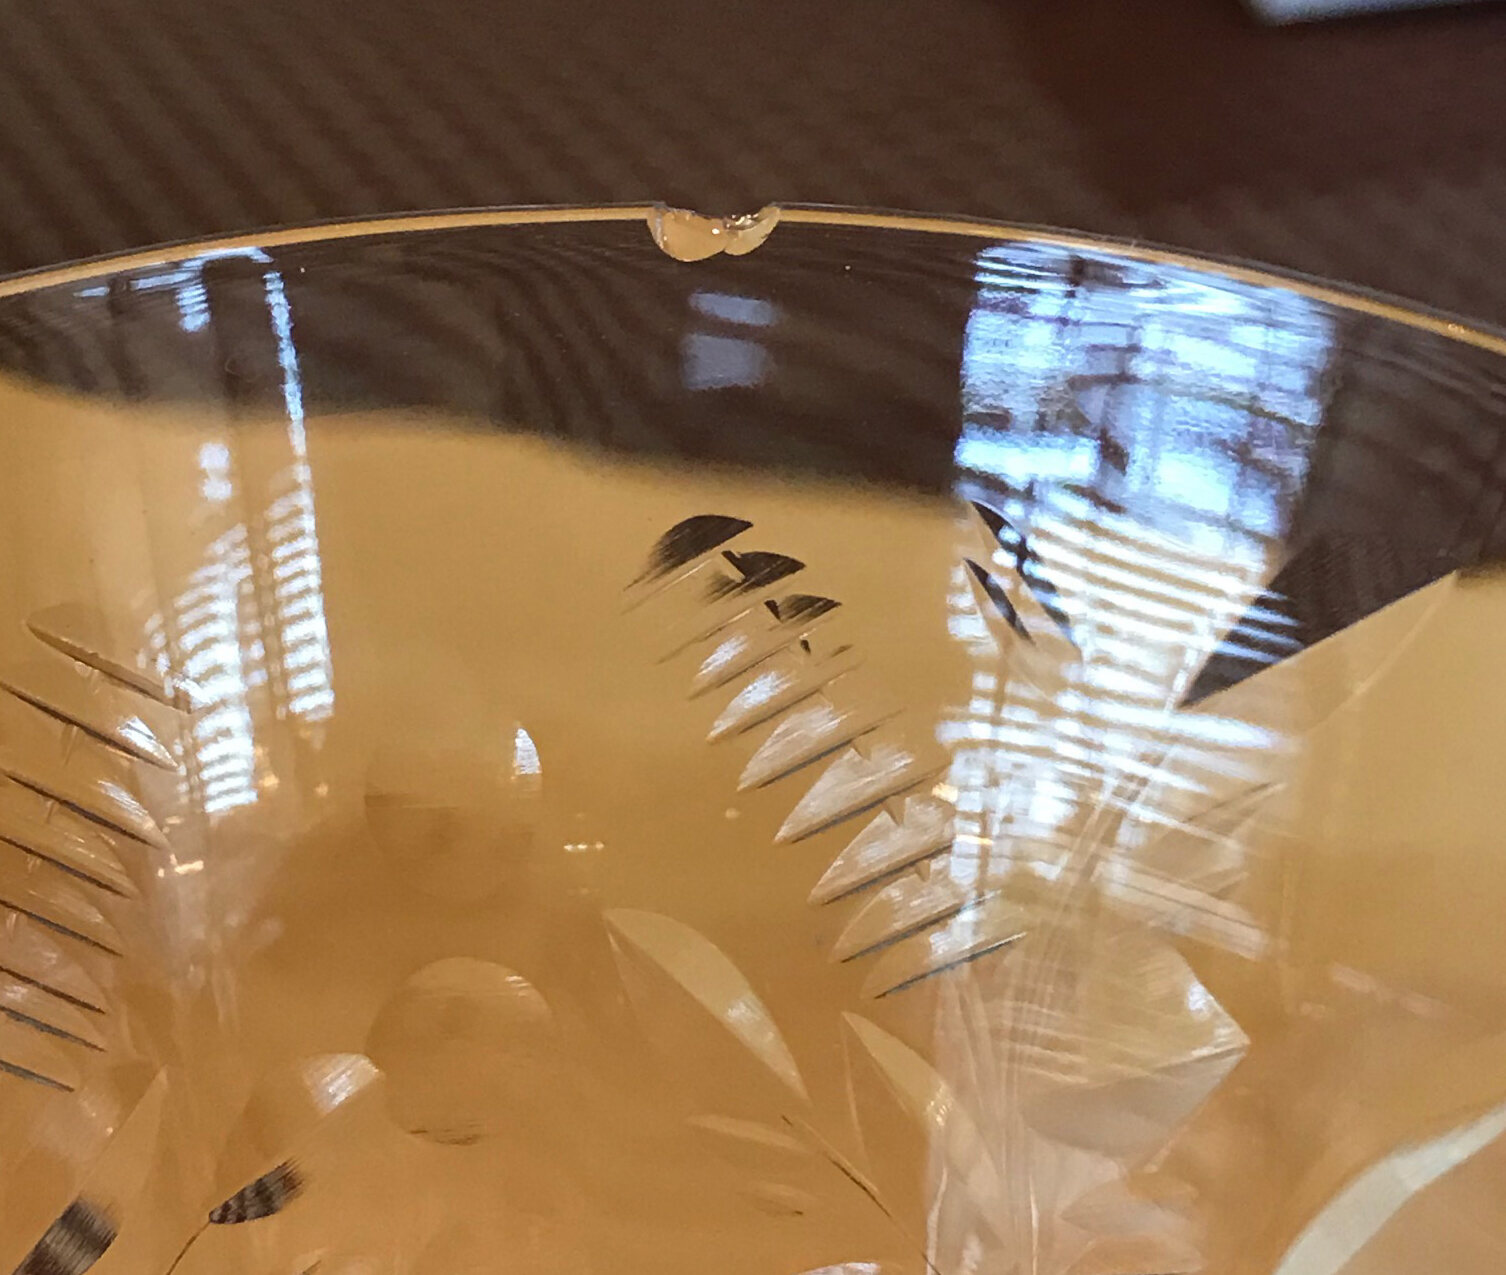
Begin by carefully examining the chipped glass item under good lighting. Take note of the size and location of the chip or crack, as well as any surrounding damage that may have occurred. Assessing the depth of the chip is also essential, as it will influence the approach you take to repair it.
Small chips, often characterized by surface-level damage, may appear as tiny, shallow indentations in the glass. These can typically be addressed with relatively simple repair methods. On the other hand, larger chips or cracks that extend deeper into the glass require more comprehensive repair techniques to ensure a durable and aesthetically pleasing outcome.
In addition to evaluating the physical characteristics of the damage, consider the type of glass involved. Different types of glass, such as tempered glass, stained glass, or delicate antique glass, may require specific repair approaches tailored to their unique properties. Understanding the composition and fragility of the glass will inform your decision-making throughout the repair process.
Furthermore, take into account the significance of the chipped glass item. Is it a valuable antique, a sentimental keepsake, or a functional household item? Understanding the emotional and practical value of the glass piece will influence the level of care and attention you dedicate to its repair.
By thoroughly assessing the damage, you gain a comprehensive understanding of the scope of the repair, enabling you to proceed with confidence and precision. This initial evaluation sets the foundation for the subsequent steps, guiding you in gathering the necessary materials and selecting the most suitable repair techniques to effectively restore the chipped glass to its former splendor.
Gathering the Necessary Materials
Gathering the necessary materials is a critical preparatory step in the process of repairing chipped glass. By ensuring that you have the right tools and supplies on hand, you can streamline the repair process and achieve optimal results. Here's a comprehensive list of essential materials and tools needed to effectively address chipped glass:
-
Safety Gear: Prioritize safety by equipping yourself with protective gear, including safety goggles and gloves. These items are crucial for safeguarding your eyes and hands during the repair process, especially when handling broken glass.
-
Cleaning Supplies: Prepare a mild glass cleaner or a solution of water and vinegar, along with a soft, lint-free cloth for cleaning the chipped area and its surroundings. Ensuring that the glass is clean and free of debris is essential for a successful repair.
-
Repair Kit or Resin: Depending on the size and depth of the chip or crack, acquire a glass repair kit or a high-quality glass resin designed for filling and bonding glass surfaces. These products are specifically formulated to provide durable and transparent repairs, seamlessly blending with the glass.
-
Razor Blade or Glass Scraper: A razor blade or glass scraper is useful for carefully removing any loose glass fragments or residue from the chipped area. This step is crucial for creating a clean and smooth surface for the repair.
-
Masking Tape: Secure the edges around the chipped area with masking tape to create a boundary for the repair resin. This helps contain the resin within the targeted area and prevents it from spreading onto unaffected portions of the glass.
-
Curing Light (if applicable): If you are using a resin-based repair kit, check if it requires a curing light for the resin to harden. Some repair kits include a UV light for curing the resin, ensuring a strong and durable bond with the glass.
-
Polishing Compound (for larger chips): In the case of larger chips or cracks, a high-quality glass polishing compound may be necessary to refine the repaired area and restore its smooth, crystal-clear finish.
By gathering these essential materials and tools, you are well-equipped to embark on the next phases of the glass repair process. With a focus on safety, precision, and quality materials, you can confidently proceed to address the chipped glass, ultimately revitalizing it to its former luster.
Repairing Small Chips
Repairing small chips in glass requires meticulous attention to detail and the use of specialized materials to achieve a seamless and durable restoration. Small chips are typically surface-level imperfections that, when addressed promptly and effectively, can prevent further damage and maintain the integrity of the glass item.
Step 1: Clean the Chipped Area
Begin by thoroughly cleaning the chipped area and its immediate surroundings using a mild glass cleaner or a solution of water and vinegar. Gently wipe the area with a soft, lint-free cloth to ensure that it is free of dust, debris, and any residual particles. This preparatory step is essential for creating a clean and receptive surface for the repair.
Read more: How To Fix A Chip In Wood Floor
Step 2: Apply Repair Resin
Utilize a high-quality glass repair kit or resin specifically designed for small chip repairs. Carefully apply a small amount of the resin to the chipped area, ensuring that it fills the indentation completely. The resin should seamlessly blend with the glass, providing a transparent and durable bond.
Step 3: Cure the Resin (if applicable)
If the repair resin requires curing, follow the manufacturer's instructions for the appropriate curing method. Some repair kits include a UV light for curing the resin, ensuring a strong and resilient bond with the glass. Allow the resin to cure fully, ensuring that it hardens to create a smooth and level surface.
Step 4: Remove Excess Resin
Once the resin has cured, use a razor blade or glass scraper to carefully remove any excess resin from the repaired area. Gently scrape the surface to achieve a flush and even finish, ensuring that the repaired chip seamlessly integrates with the surrounding glass.
Step 5: Polish the Repaired Area
After removing the excess resin, gently polish the repaired area using a soft cloth and a high-quality glass polishing compound. This final step refines the surface, restoring its clarity and smoothness. The polished area should seamlessly blend with the rest of the glass, creating a virtually invisible repair.
By following these meticulous steps, you can effectively repair small chips in glass, preserving the beauty and functionality of your cherished glass items. This approach not only addresses the immediate damage but also prevents further deterioration, allowing you to enjoy your glass possessions for years to come.
Read more: How To Repair Chipped Glass Edge
Filling Larger Chips
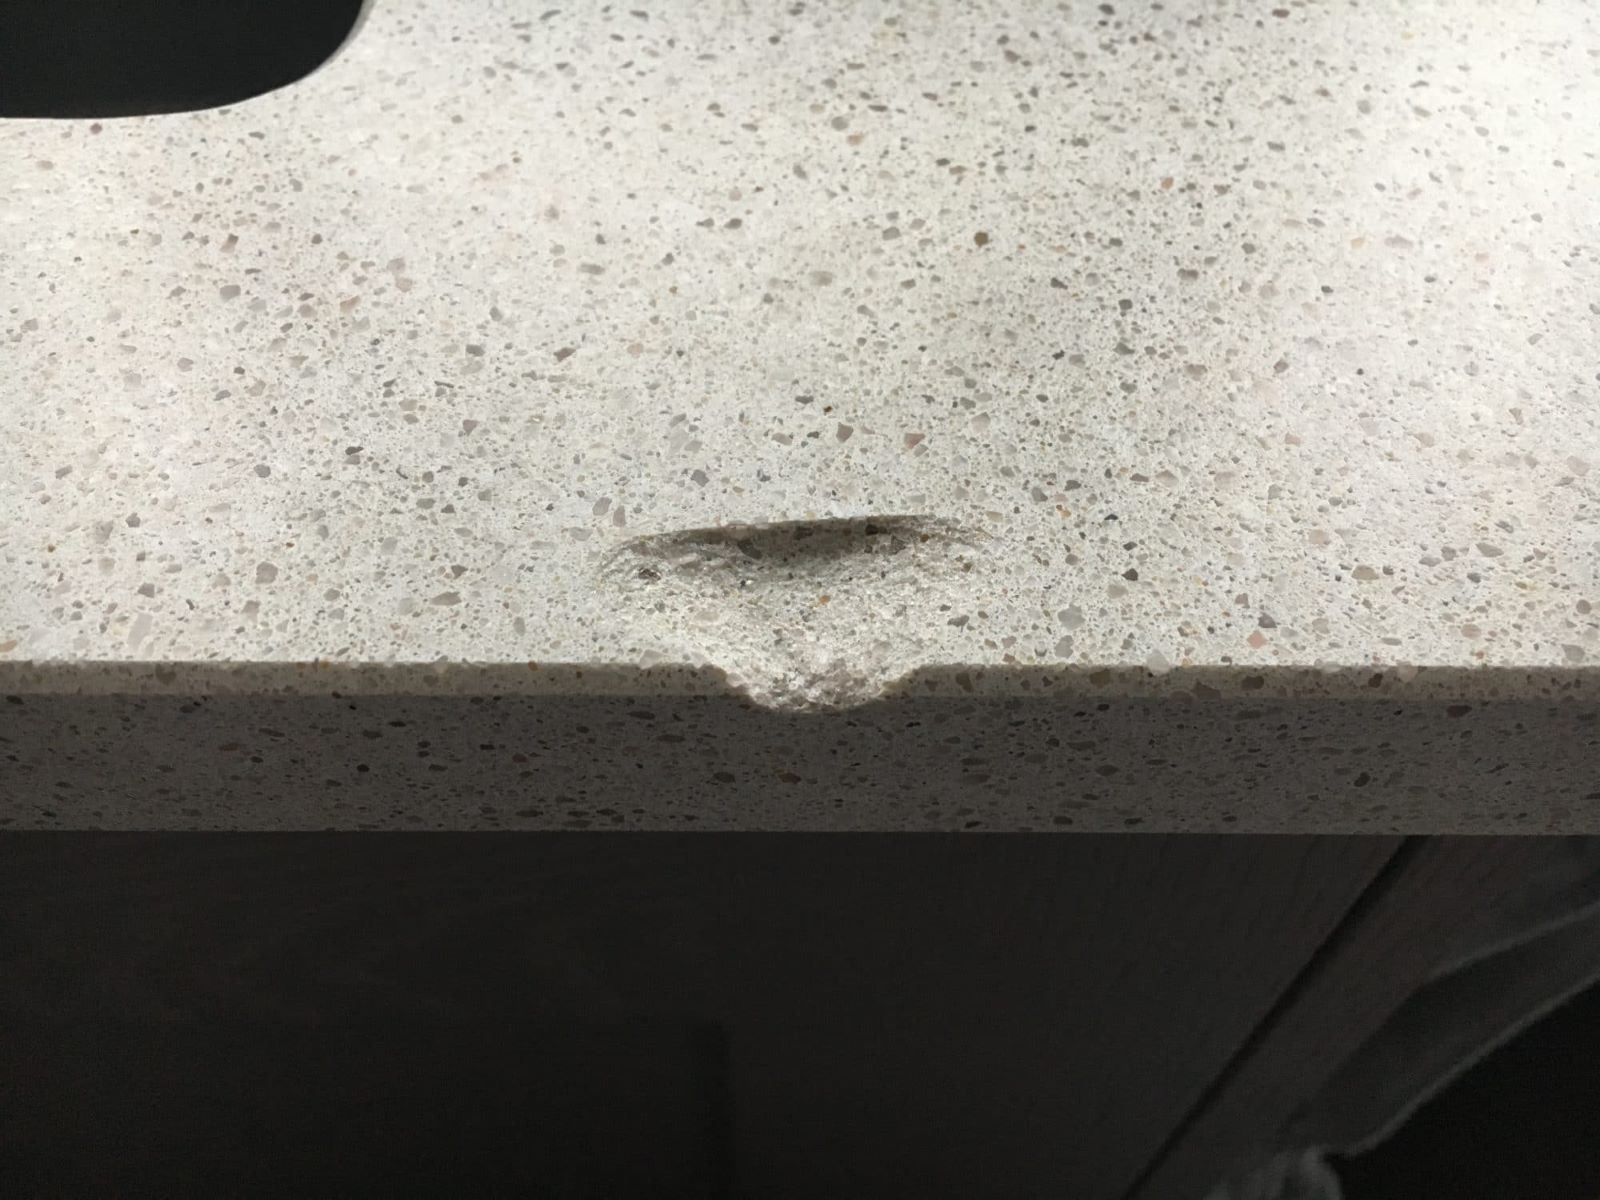
Repairing larger chips in glass requires a comprehensive approach to address the deeper and more substantial damage effectively. These larger chips, often characterized by more pronounced indentations and potential structural compromise, demand meticulous attention and specialized materials to achieve a seamless and durable restoration.
Step 1: Clean and Prepare the Chipped Area
Begin by thoroughly cleaning the chipped area and its immediate surroundings using a mild glass cleaner or a solution of water and vinegar. Ensure that the area is free of any debris, dust, or residual particles that could interfere with the repair process. This preparatory step is crucial for creating an optimal surface for the subsequent repair.
Step 2: Apply the Repair Resin
For larger chips, select a high-quality glass repair kit or resin designed specifically for filling and bonding glass surfaces. Carefully apply the repair resin to the chipped area, ensuring that it penetrates the depth of the chip and fills the indentation completely. The resin should create a strong and transparent bond with the glass, effectively restoring its structural integrity.
Step 3: Fill the Chip to Surface Level
When filling larger chips, it is essential to ensure that the repair resin adequately fills the chip to the surface level of the glass. This may involve applying multiple layers of resin to gradually build up the surface and achieve a level finish. Each layer should be allowed to cure fully before applying the next, ensuring a robust and seamless repair.
Step 4: Contain and Shape the Resin
To contain the repair resin within the targeted area and shape it to match the contours of the glass, carefully apply masking tape around the edges of the chipped area. This boundary guides the application of the resin, preventing it from spreading onto unaffected portions of the glass and facilitating a more precise and controlled repair.
Step 5: Cure and Refine the Repair
If the repair resin requires curing, follow the manufacturer's instructions for the appropriate curing method. Some repair kits include a UV light for curing the resin, ensuring a strong and durable bond with the glass. Once the resin has cured, remove the masking tape and proceed to refine the repaired area using a high-quality glass polishing compound. This final step smoothens and polishes the surface, seamlessly blending the repair with the surrounding glass.
By meticulously following these steps, you can effectively fill larger chips in glass, restoring the structural integrity and visual appeal of your cherished glass items. This meticulous approach not only addresses the immediate damage but also ensures the long-term preservation of your glass possessions, allowing you to continue enjoying their beauty and functionality for years to come.
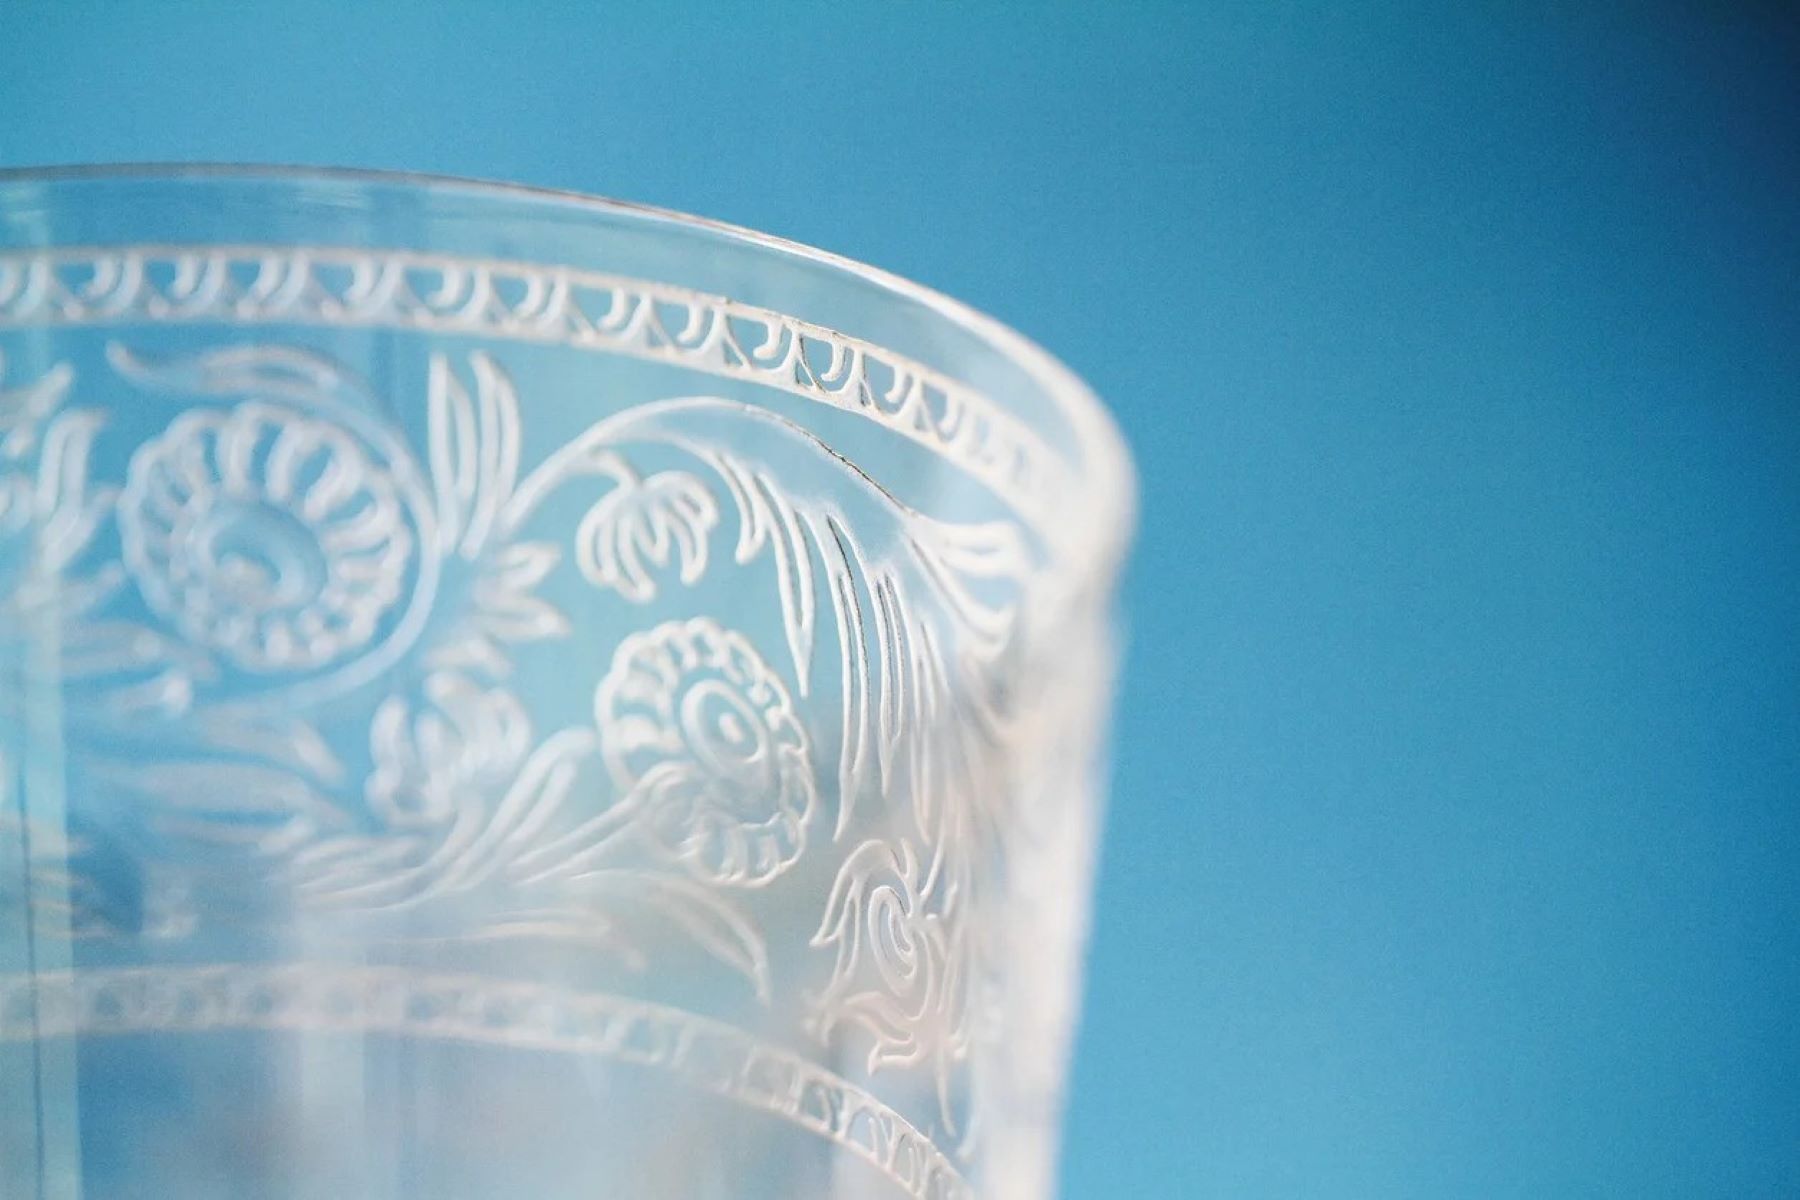
Polishing the Glass
Polishing the glass is the final and crucial step in the process of repairing chipped glass, elevating the restoration to a flawless and visually appealing finish. This meticulous phase focuses on refining the repaired area, ensuring its seamless integration with the surrounding glass, and restoring its clarity and luster.
Step 1: Assess the Repaired Area
Before commencing the polishing process, carefully assess the repaired area to ensure that the resin or filler has cured completely. Verify that the surface is level and free of any irregularities, ensuring that it is ready for the polishing stage.
Step 2: Select a High-Quality Polishing Compound
Choose a high-quality glass polishing compound specifically formulated for refining glass surfaces. The polishing compound should be suitable for the type of glass being repaired and capable of achieving a smooth and crystal-clear finish.
Read more: How To Fix Chipped Wood On Furniture
Step 3: Apply the Polishing Compound
Using a soft, lint-free cloth, apply a small amount of the polishing compound to the repaired area. Gently rub the compound onto the surface in circular motions, ensuring even coverage and consistent pressure. This process gradually refines the repaired area, smoothing out any imperfections and enhancing its transparency.
Step 4: Buff to a Brilliant Finish
After applying the polishing compound, continue to buff the repaired area with the cloth, exerting gentle pressure to achieve a brilliant and reflective finish. The buffing process further refines the surface, removing any remaining blemishes and ensuring that the repaired area seamlessly blends with the rest of the glass.
Step 5: Inspect and Finalize
Once the polishing process is complete, carefully inspect the repaired area from various angles and under different lighting conditions. Ensure that the surface exhibits a uniform clarity and seamlessly integrates with the surrounding glass. If necessary, repeat the polishing process to achieve the desired level of refinement and transparency.
By meticulously following these steps, you can effectively polish the repaired glass, elevating its visual appeal and ensuring a seamless integration with the rest of the glass surface. This final touch not only enhances the aesthetic quality of the repair but also contributes to the overall longevity and durability of the restored glass item.
The polishing process culminates in a revitalized and flawless glass surface, allowing you to admire and appreciate the restored beauty of your cherished glass possessions. With the completion of this essential step, the journey of repairing chipped glass concludes, leaving you with a sense of satisfaction and pride in your ability to preserve and rejuvenate these valuable items.
Conclusion
In the realm of interior design and home decor, glass holds a special place as a versatile and timeless material. From delicate ornaments to functional household items, the allure of glass transcends its practical utility, encompassing emotional value and aesthetic significance. When chipped or damaged, these glass items often evoke a sense of dismay, prompting the quest for restoration and renewal.
The journey of fixing chipped glass is not merely a technical endeavor; it is a testament to the dedication and care invested in preserving the beauty and functionality of cherished possessions. Through the meticulous process of assessing the damage, gathering the necessary materials, and employing specialized techniques, individuals embark on a transformative journey that transcends the physical act of repair.
As the assessment of the damage sets the stage for the repair process, individuals gain a profound understanding of the significance of the glass item and the intricacies of its imperfections. This initial step fosters a sense of connection with the object, igniting a commitment to its restoration that extends beyond the surface-level damage.
Gathering the necessary materials becomes a deliberate act of preparation, symbolizing the dedication to the impending restoration. The careful selection of safety gear, cleaning supplies, repair materials, and polishing compounds reflects a commitment to precision and excellence. Each item becomes a tool for revitalization, embodying the intention to breathe new life into the chipped glass item.
The repair process itself unfolds as a journey of patience and skill, guided by the desire to honor the integrity of the glass. Whether addressing small chips with meticulous attention to detail or filling larger chips with comprehensive techniques, each step becomes an expression of reverence for the beauty and resilience of glass.
The culmination of this journey lies in the art of polishing the glass, where the meticulous refinement of the repaired area elevates the restoration to a state of seamless beauty. The polishing process symbolizes the unwavering commitment to excellence, ensuring that the repaired glass seamlessly integrates with its surroundings, exuding a brilliance that transcends its previous state.
In conclusion, the endeavor of fixing chipped glass transcends the realm of repair, evolving into a profound narrative of preservation and renewal. It embodies the human desire to safeguard and celebrate the beauty of cherished possessions, infusing them with a renewed sense of vitality and purpose. As the final polish bestows a radiant finish upon the restored glass, it also bestows a sense of fulfillment and pride upon the individuals who embarked on this transformative journey.
Frequently Asked Questions about How To Fix Chipped Glass
Was this page helpful?
At Storables.com, we guarantee accurate and reliable information. Our content, validated by Expert Board Contributors, is crafted following stringent Editorial Policies. We're committed to providing you with well-researched, expert-backed insights for all your informational needs.

0 thoughts on “How To Fix Chipped Glass”