Home>Furniture & Design>Interior Design Trends>How To Cut Glass Tile
Interior Design Trends
How To Cut Glass Tile
Modified: October 18, 2024
Learn how to cut glass tile and stay on top of the latest interior design trends with our expert tips and techniques. Perfect your home renovation projects with our comprehensive guide.
(Many of the links in this article redirect to a specific reviewed product. Your purchase of these products through affiliate links helps to generate commission for Storables.com, at no extra cost. Learn more)
Introduction
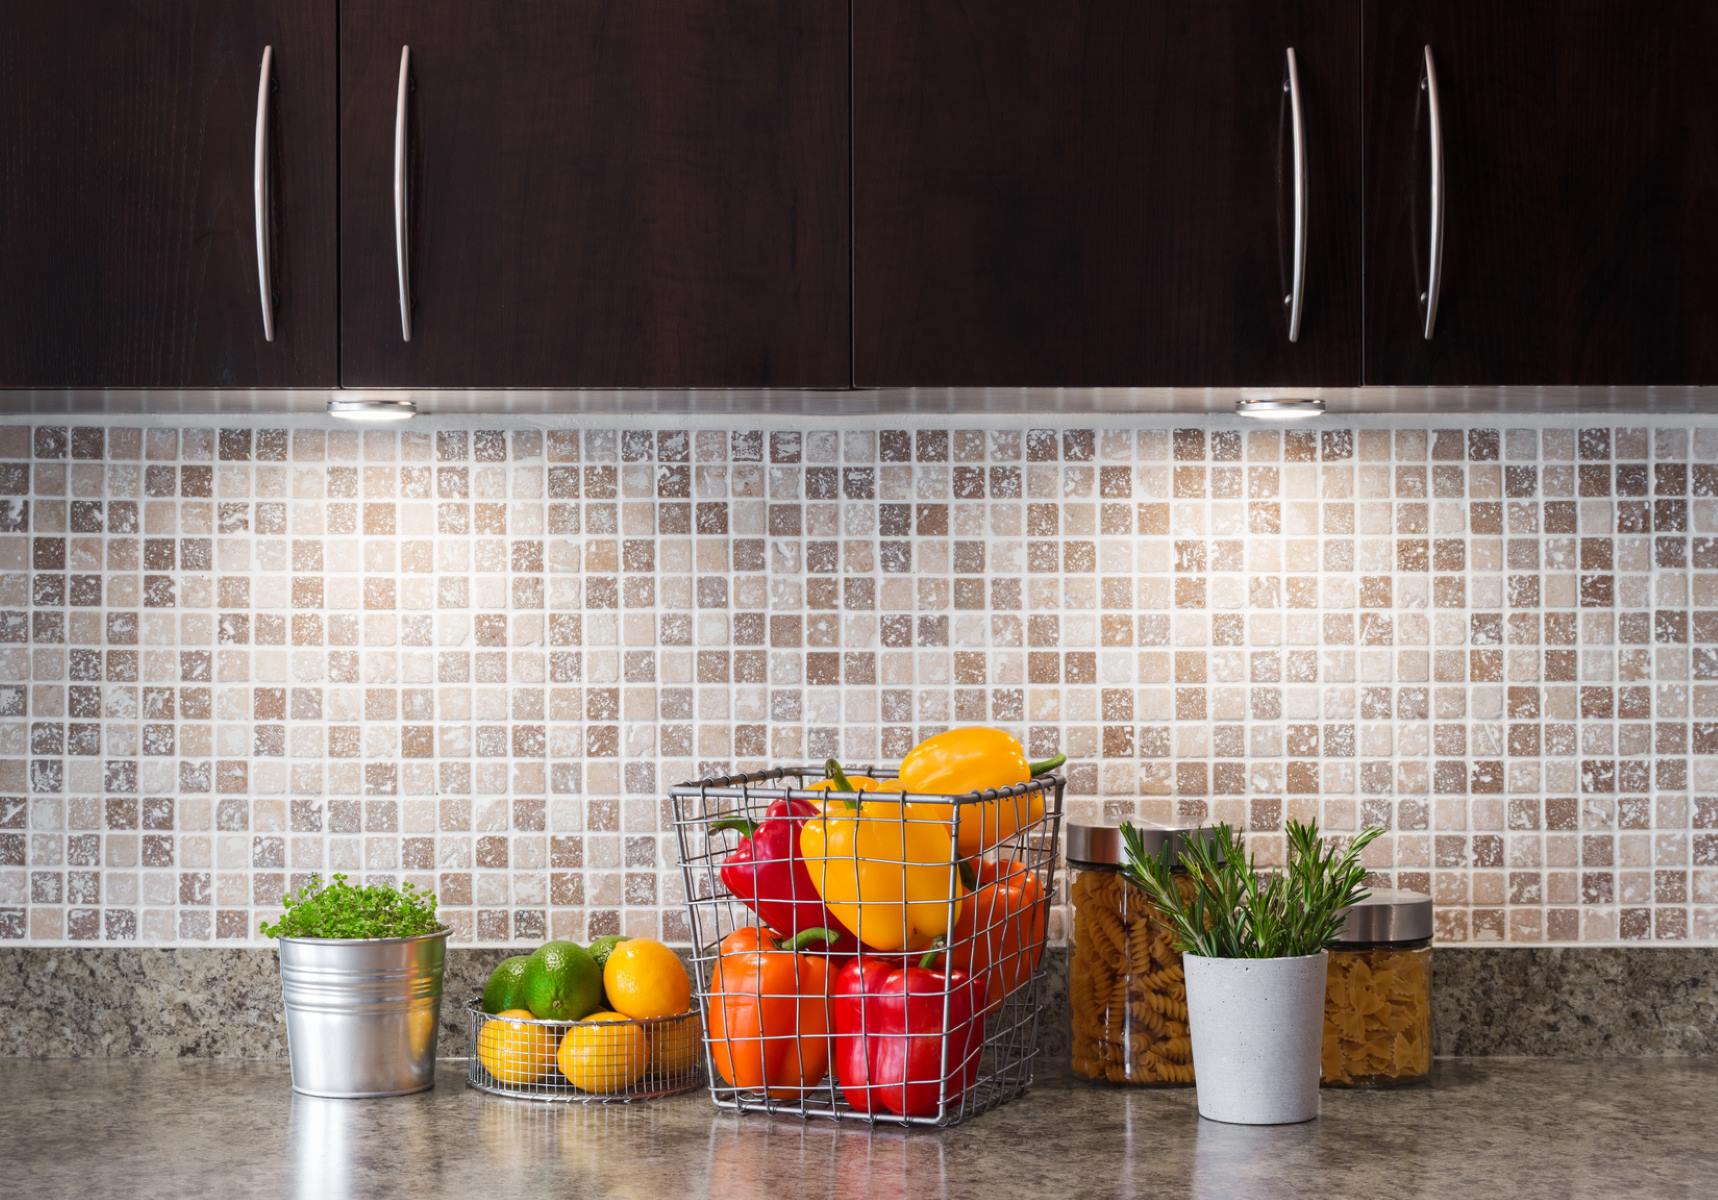
Cutting glass tile can seem like a daunting task, but with the right tools and techniques, it can be a rewarding and achievable DIY project. Whether you're looking to add a touch of elegance to your kitchen backsplash or create a stunning mosaic in your bathroom, mastering the art of cutting glass tile is essential. This comprehensive guide will walk you through the step-by-step process, ensuring that you achieve precise and clean cuts every time.
Glass tile is a popular choice for interior design due to its luminous and reflective properties, making it a versatile and visually striking material. However, its delicate nature requires careful handling and specialized tools to achieve accurate cuts without causing damage. By following the methods outlined in this guide, you'll gain the confidence and skills needed to tackle glass tile cutting projects with ease.
Whether you're a seasoned DIY enthusiast or a novice looking to expand your skill set, learning how to cut glass tile opens up a world of creative possibilities. From intricate patterns to custom shapes, the ability to cut glass tile empowers you to personalize your living spaces with unique and eye-catching designs. With the right approach and attention to detail, you can transform ordinary glass tiles into bespoke elements that elevate the aesthetic appeal of any room.
As we delve into the tools, safety precautions, and step-by-step techniques for cutting glass tile, you'll discover that with patience and precision, this once-intimidating task can become a gratifying and enjoyable part of your home improvement repertoire. So, roll up your sleeves, gather your materials, and let's embark on a journey to master the art of cutting glass tile.
Key Takeaways:
- Cutting glass tile is a meticulous process that requires precision, patience, and attention to detail. By following the step-by-step techniques and safety precautions, you can transform ordinary glass tiles into custom pieces that elevate the aesthetic appeal of your living spaces.
- Mastering the art of cutting glass tile empowers DIY enthusiasts to unleash their creativity and personalize their living spaces with unique designs. With the right tools, materials, and techniques, you can achieve exceptional results while ensuring a safe and focused cutting process.
Read more: How To Cut Backsplash Tiles
Tools and Materials Needed
When embarking on a glass tile cutting project, having the right tools and materials at your disposal is crucial for achieving precise and clean cuts. Here's a comprehensive list of essential items that you'll need to gather before diving into the cutting process:
Tools:
-
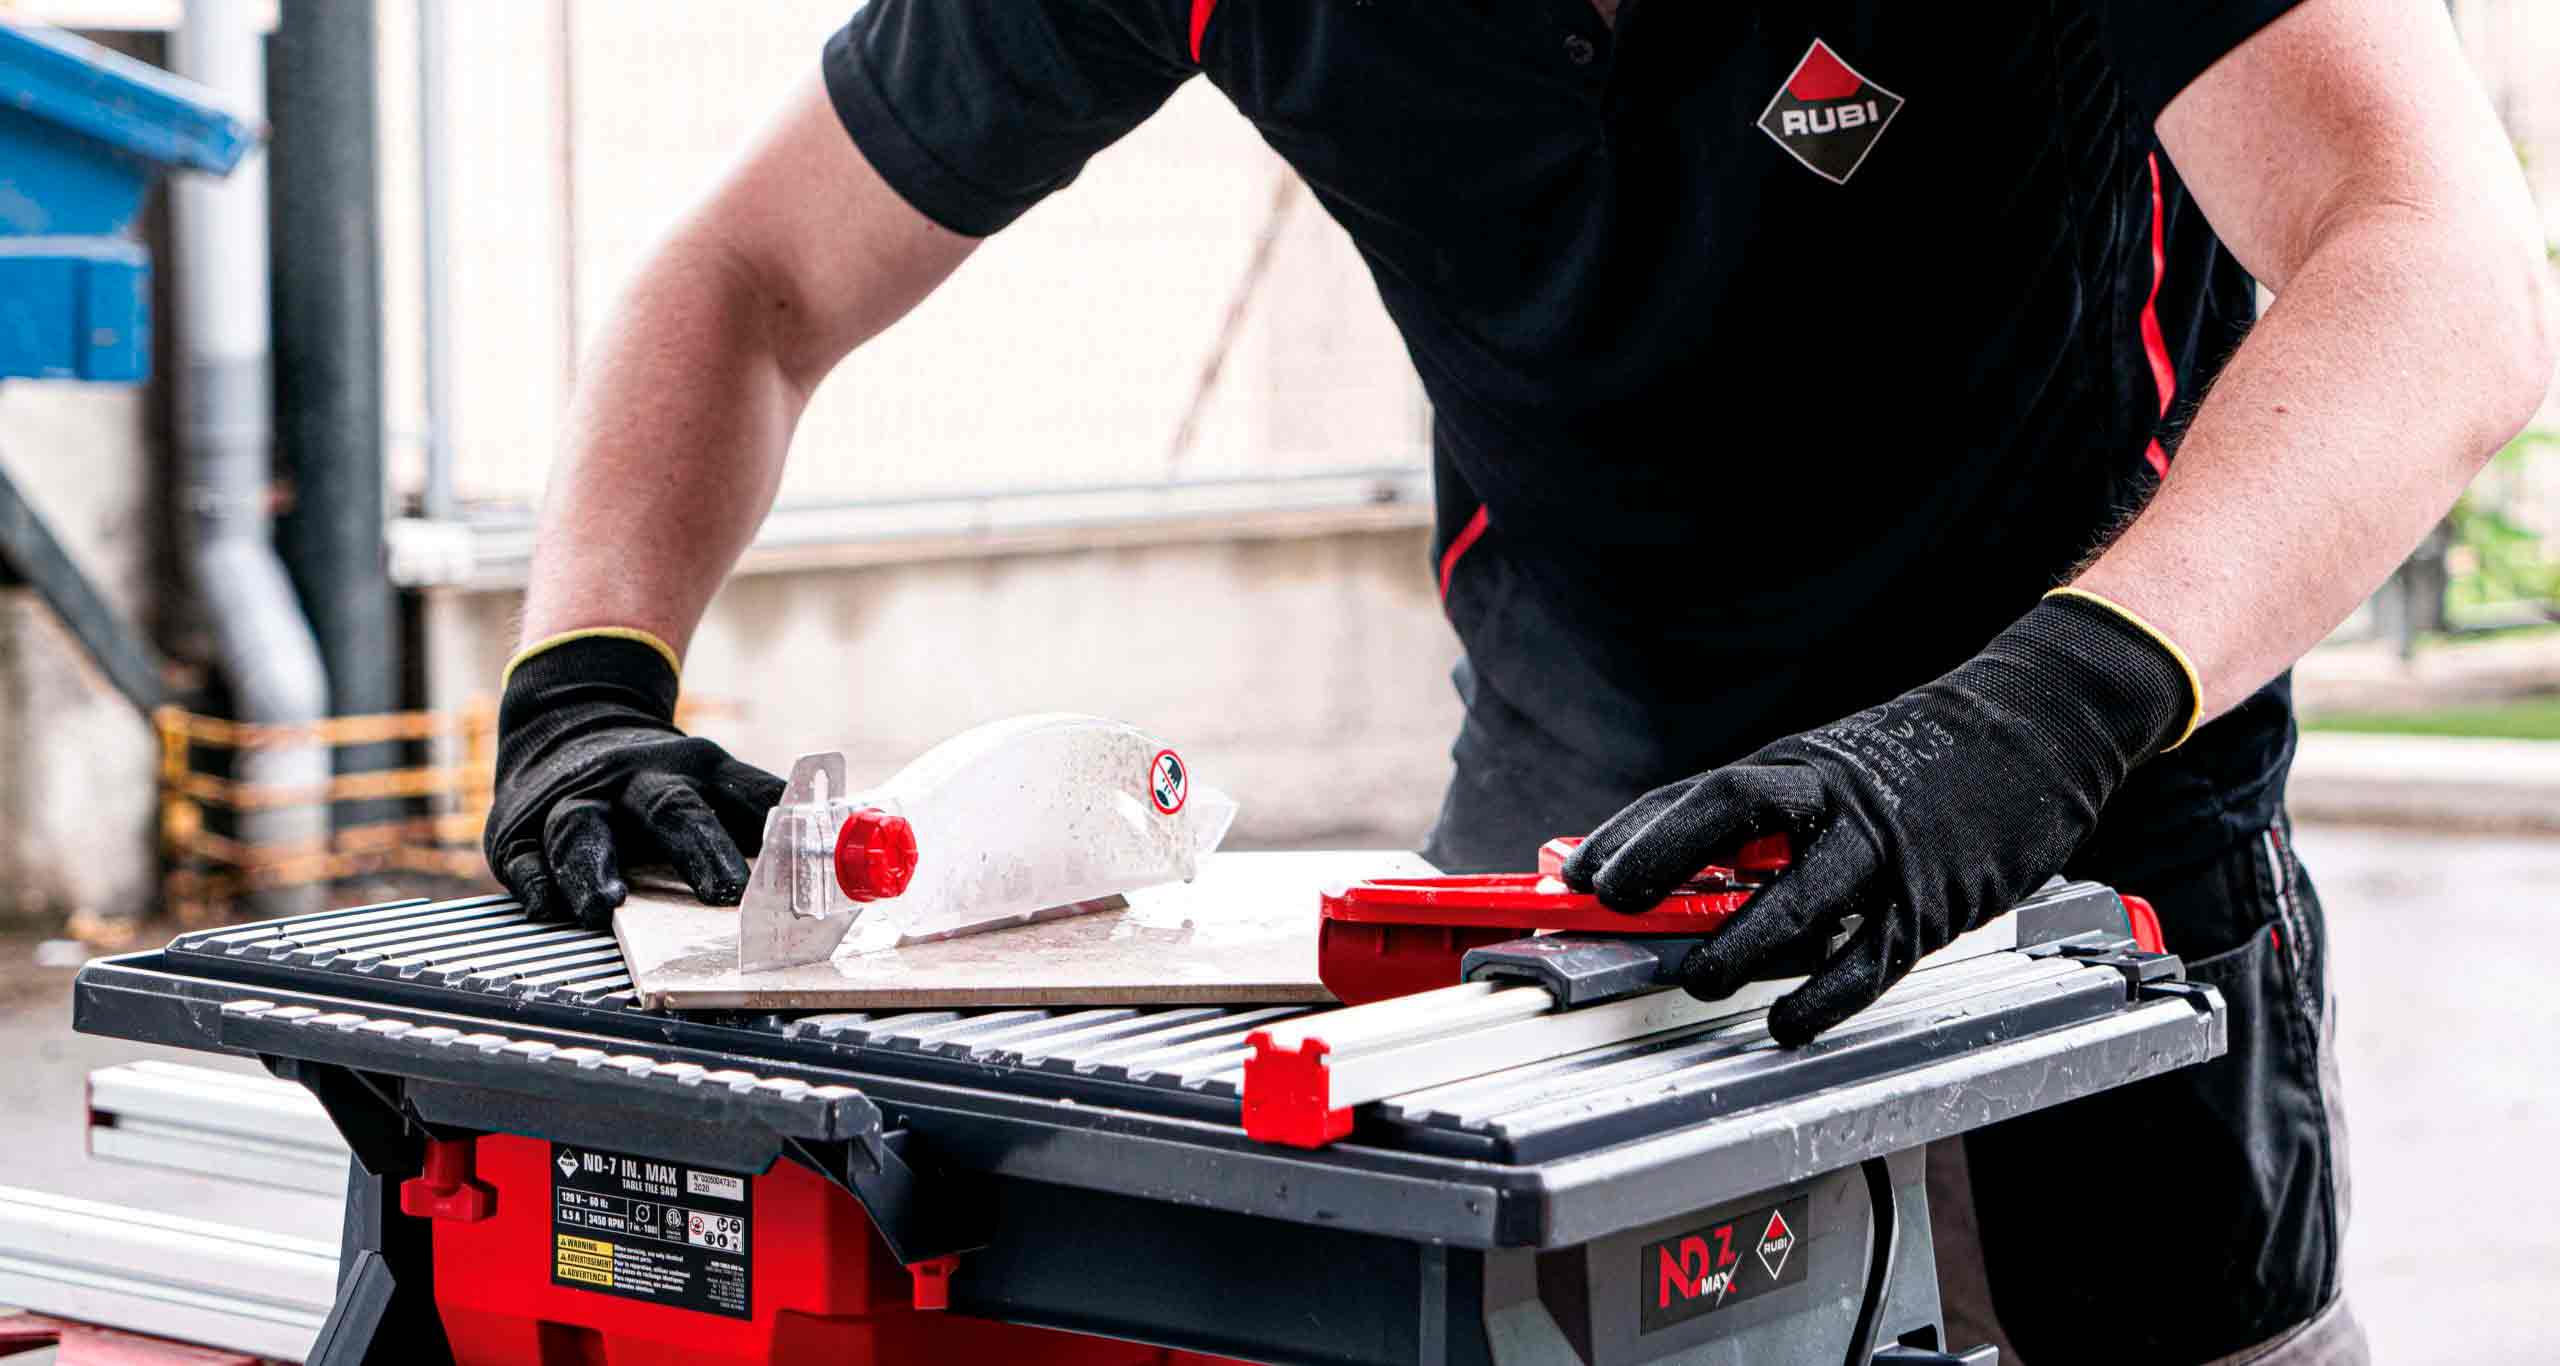
Glass Cutter: A quality glass cutter is the cornerstone of any glass tile cutting endeavor. Look for a carbide wheel cutter, which is specifically designed to score and break glass with accuracy. The cutting wheel should be sharp and free from nicks to ensure smooth and consistent scoring.
-
Straight Edge: A sturdy straight edge, such as a metal ruler or a specialized glass-cutting straight edge, is indispensable for guiding the glass cutter along the desired cutting line. Opt for a straight edge that is longer than the glass tile to facilitate precise and uninterrupted scoring.
-
Cutting Oil: Cutting oil or lubricant is essential for reducing friction and heat during the cutting process. Apply a small amount of cutting oil along the cutting line to enhance the performance of the glass cutter and prevent the glass tile from shattering.
-
Glass Breaking Pliers: Glass breaking pliers, also known as running pliers, are designed to apply even pressure along the scored line, facilitating a clean break. These pliers feature adjustable jaws that allow you to exert controlled pressure, resulting in a precise separation of the glass tile along the scored line.
-
Safety Glasses: Protecting your eyes is paramount when working with glass tile. Invest in a pair of safety glasses that provide adequate coverage and impact resistance to shield your eyes from potential shards or debris.
-
Gloves: While not mandatory, wearing gloves can provide an added layer of protection against sharp edges and potential splinters. Opt for snug-fitting, cut-resistant gloves that allow dexterity while safeguarding your hands.
Materials:
-
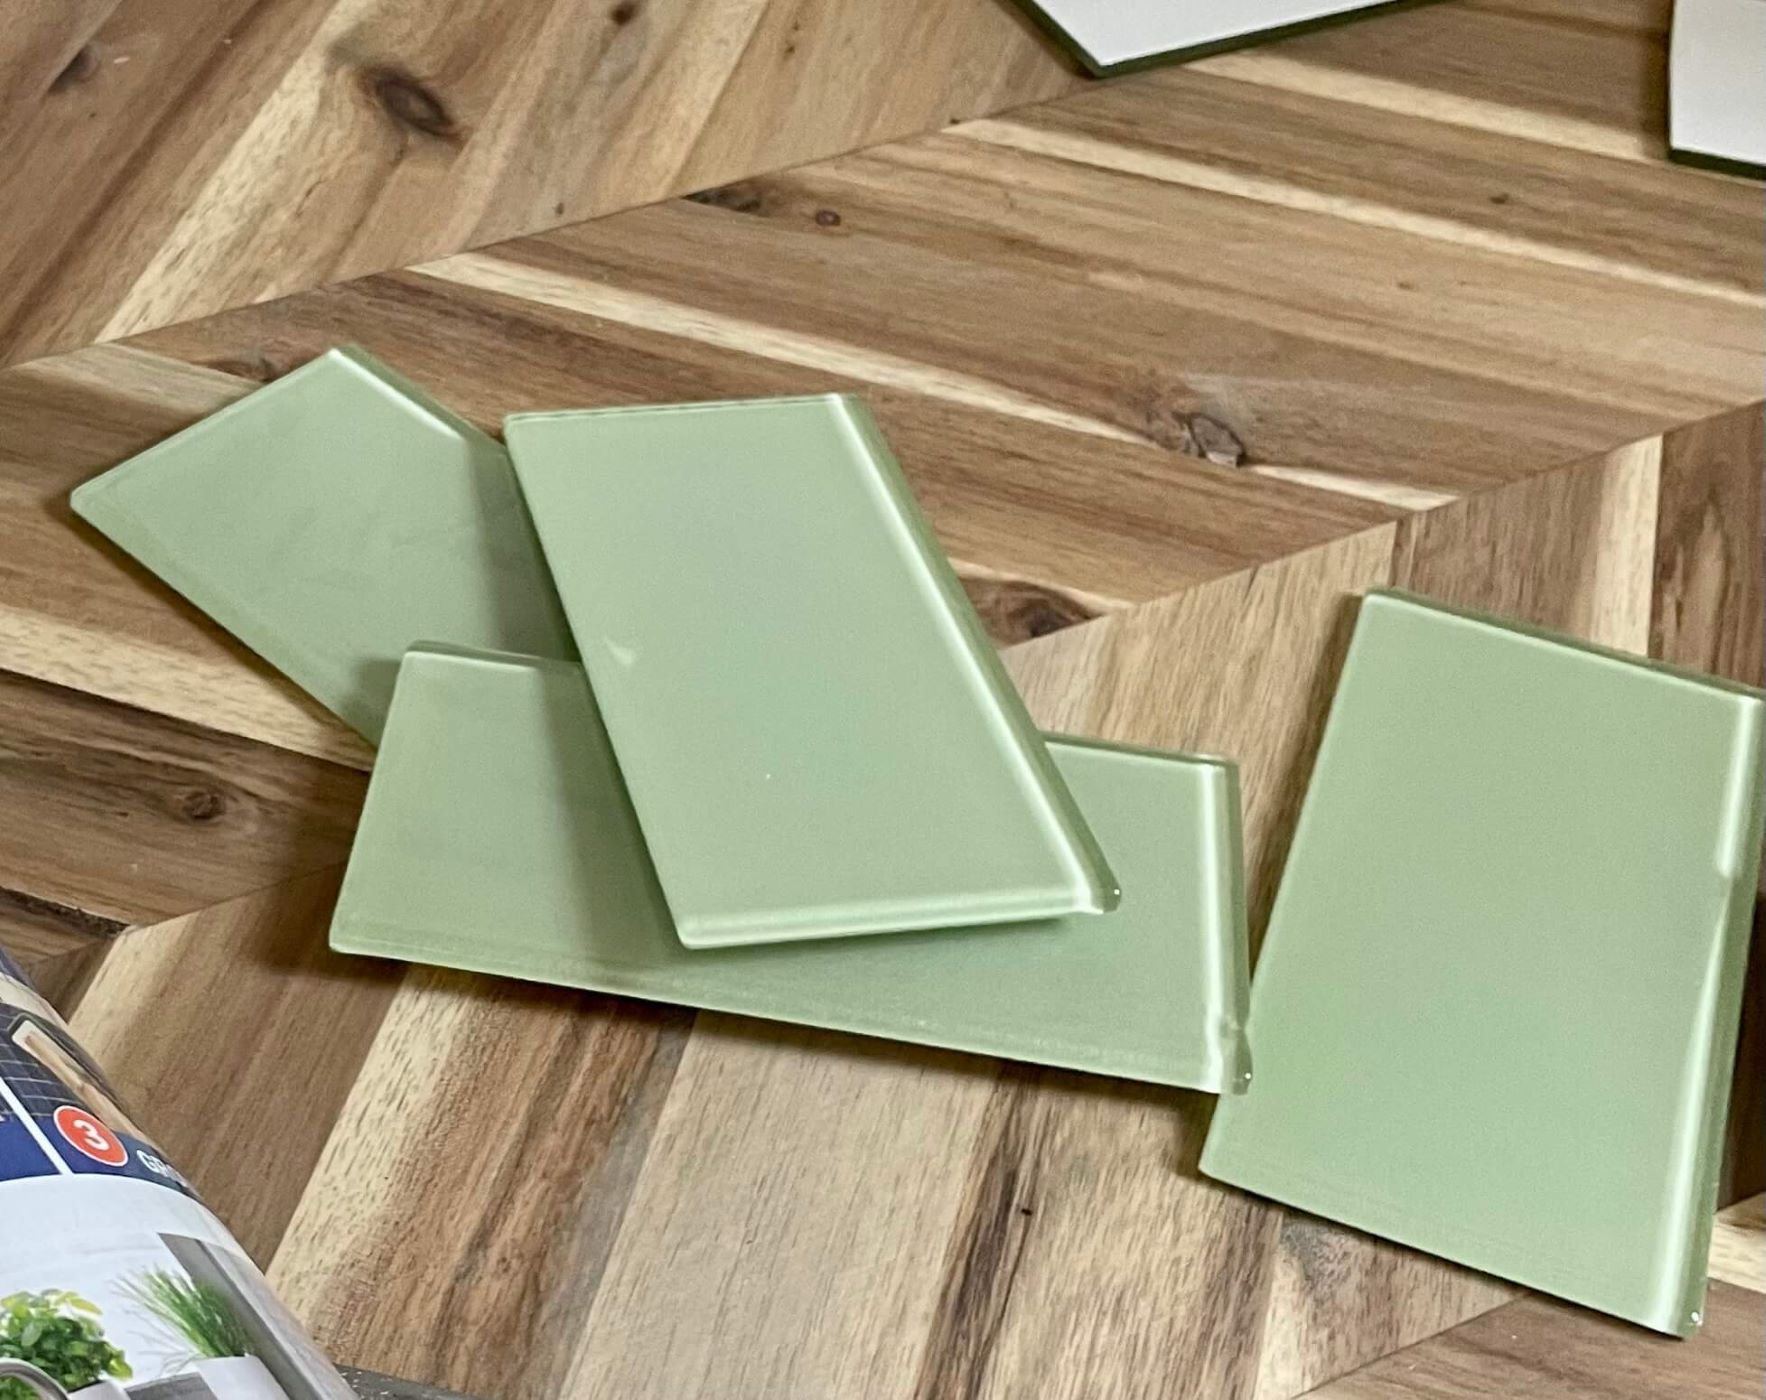
Glass Tiles: Select the glass tiles that align with your design vision. Whether you opt for translucent, frosted, or iridescent glass tiles, ensure that they are of uniform thickness to facilitate consistent cutting.
-
Marker or Grease Pencil: A marker or grease pencil is essential for accurately marking the cutting lines on the glass tile. Choose a marker that contrasts with the color of the glass tile for enhanced visibility.
-
Sandpaper or Diamond Pad: After cutting the glass tile, you'll need sandpaper or a diamond pad to smooth the edges and remove any sharp burrs. Select a fine-grit sandpaper or a diamond pad designed for glass to achieve a polished and safe edge.
By assembling these essential tools and materials, you'll be well-equipped to embark on your glass tile cutting journey with confidence and precision. Each item plays a crucial role in ensuring a successful cutting process, allowing you to transform ordinary glass tiles into custom pieces that elevate the aesthetic appeal of your living spaces.
Safety Precautions
When working with glass tile, prioritizing safety is paramount to prevent accidents and ensure a smooth and secure cutting process. The delicate nature of glass, coupled with the potential for sharp edges and flying debris, necessitates adherence to essential safety precautions. By incorporating these measures into your glass tile cutting routine, you can safeguard yourself and others while achieving precise and clean cuts.
Read more: How To Cut Ceiling Tile
Safety Glasses and Gloves
Before commencing any glass cutting activity, don a pair of safety glasses to shield your eyes from potential shards, splinters, and airborne particles. Safety glasses with impact-resistant lenses provide crucial protection, especially during the scoring and breaking stages, where glass fragments may scatter. Additionally, wearing snug-fitting gloves, preferably cut-resistant ones, can safeguard your hands from sharp edges and minimize the risk of cuts or abrasions.
Workspace Preparation
Establishing a well-organized and clutter-free workspace is essential for mitigating potential hazards during glass tile cutting. Clear the work area of any unnecessary items and ensure that the cutting surface is stable and level. By maintaining a tidy and unobstructed workspace, you can minimize the risk of accidental slips, trips, or falls while handling glass tiles and cutting tools.
Proper Ventilation
When cutting glass tiles, it's advisable to work in a well-ventilated area to disperse any airborne glass particles and fumes resulting from the cutting process. Proper ventilation helps reduce the concentration of airborne debris, promoting a healthier and safer working environment. If working indoors, consider opening windows or using fans to facilitate air circulation and minimize the inhalation of glass dust.
Handling and Disposal of Glass Scraps
After cutting the glass tiles, handle the resulting scraps with care to avoid accidental cuts or injuries. Collect the glass remnants using a dustpan or brush, and dispose of them in a designated waste container. It's crucial to dispose of glass scraps responsibly, ensuring that they are safely contained to prevent potential injuries to yourself and others.
Read more: How To Cut Glass
Caution During Cutting and Breaking
Exercise caution and focus during the cutting and breaking stages to maintain control over the glass tile and cutting tools. Avoid rushing the process and ensure that each step is executed deliberately and precisely. When scoring the glass tile, apply consistent pressure to create a clean and uniform score line. Similarly, when using glass breaking pliers, exert controlled pressure to facilitate a smooth separation along the scored line, minimizing the risk of jagged edges or unpredictable breaks.
By adhering to these safety precautions, you can create a secure and controlled environment for cutting glass tiles, reducing the likelihood of accidents and injuries. Prioritizing safety not only protects you and those around you but also contributes to a more efficient and focused cutting process, ultimately yielding exceptional results in your glass tile projects.
Step 1: Measure and Mark the Tile
Before embarking on the process of cutting glass tile, it is crucial to begin with precise measurements and accurate markings to ensure the desired outcome. This initial step sets the foundation for the entire cutting process, influencing the final appearance and fit of the glass tiles within your design scheme.
To commence, gather the necessary tools for measuring and marking, including a measuring tape or ruler and a marker or grease pencil. Lay the glass tile on a flat and stable surface, ensuring that it is positioned securely to prevent any unnecessary movement during the measurement and marking process.
Using the measuring tape or ruler, carefully determine the specific dimensions required for the glass tile cut. Whether you are creating straight cuts or intricate shapes, precision is key at this stage. Measure and mark the cutting lines on the surface of the glass tile, ensuring that the lines are clearly visible and accurately aligned with your design specifications.
When marking the glass tile, it is advisable to use a marker or grease pencil that provides high visibility against the glass surface. Select a color that contrasts with the color of the glass tile to facilitate easy tracking of the cutting lines. By employing a contrasting marker, you can effectively monitor the scoring process and ensure that the cutting lines remain clearly defined throughout the subsequent steps.
Additionally, take into account any specific design elements or patterns that may influence the placement of the cutting lines. Whether you are creating uniform square or rectangular cuts or incorporating custom shapes, meticulous attention to detail during the measuring and marking phase is essential for achieving the desired aesthetic and functional results.
By meticulously measuring and marking the glass tile according to your design specifications, you establish a solid framework for the subsequent cutting stages. This meticulous approach sets the stage for precise scoring and breaking, ultimately leading to clean and accurate cuts that seamlessly integrate into your interior design vision. With the glass tile accurately measured and marked, you are now ready to proceed to the next step of the cutting process, equipped with a clear roadmap for achieving exceptional results.
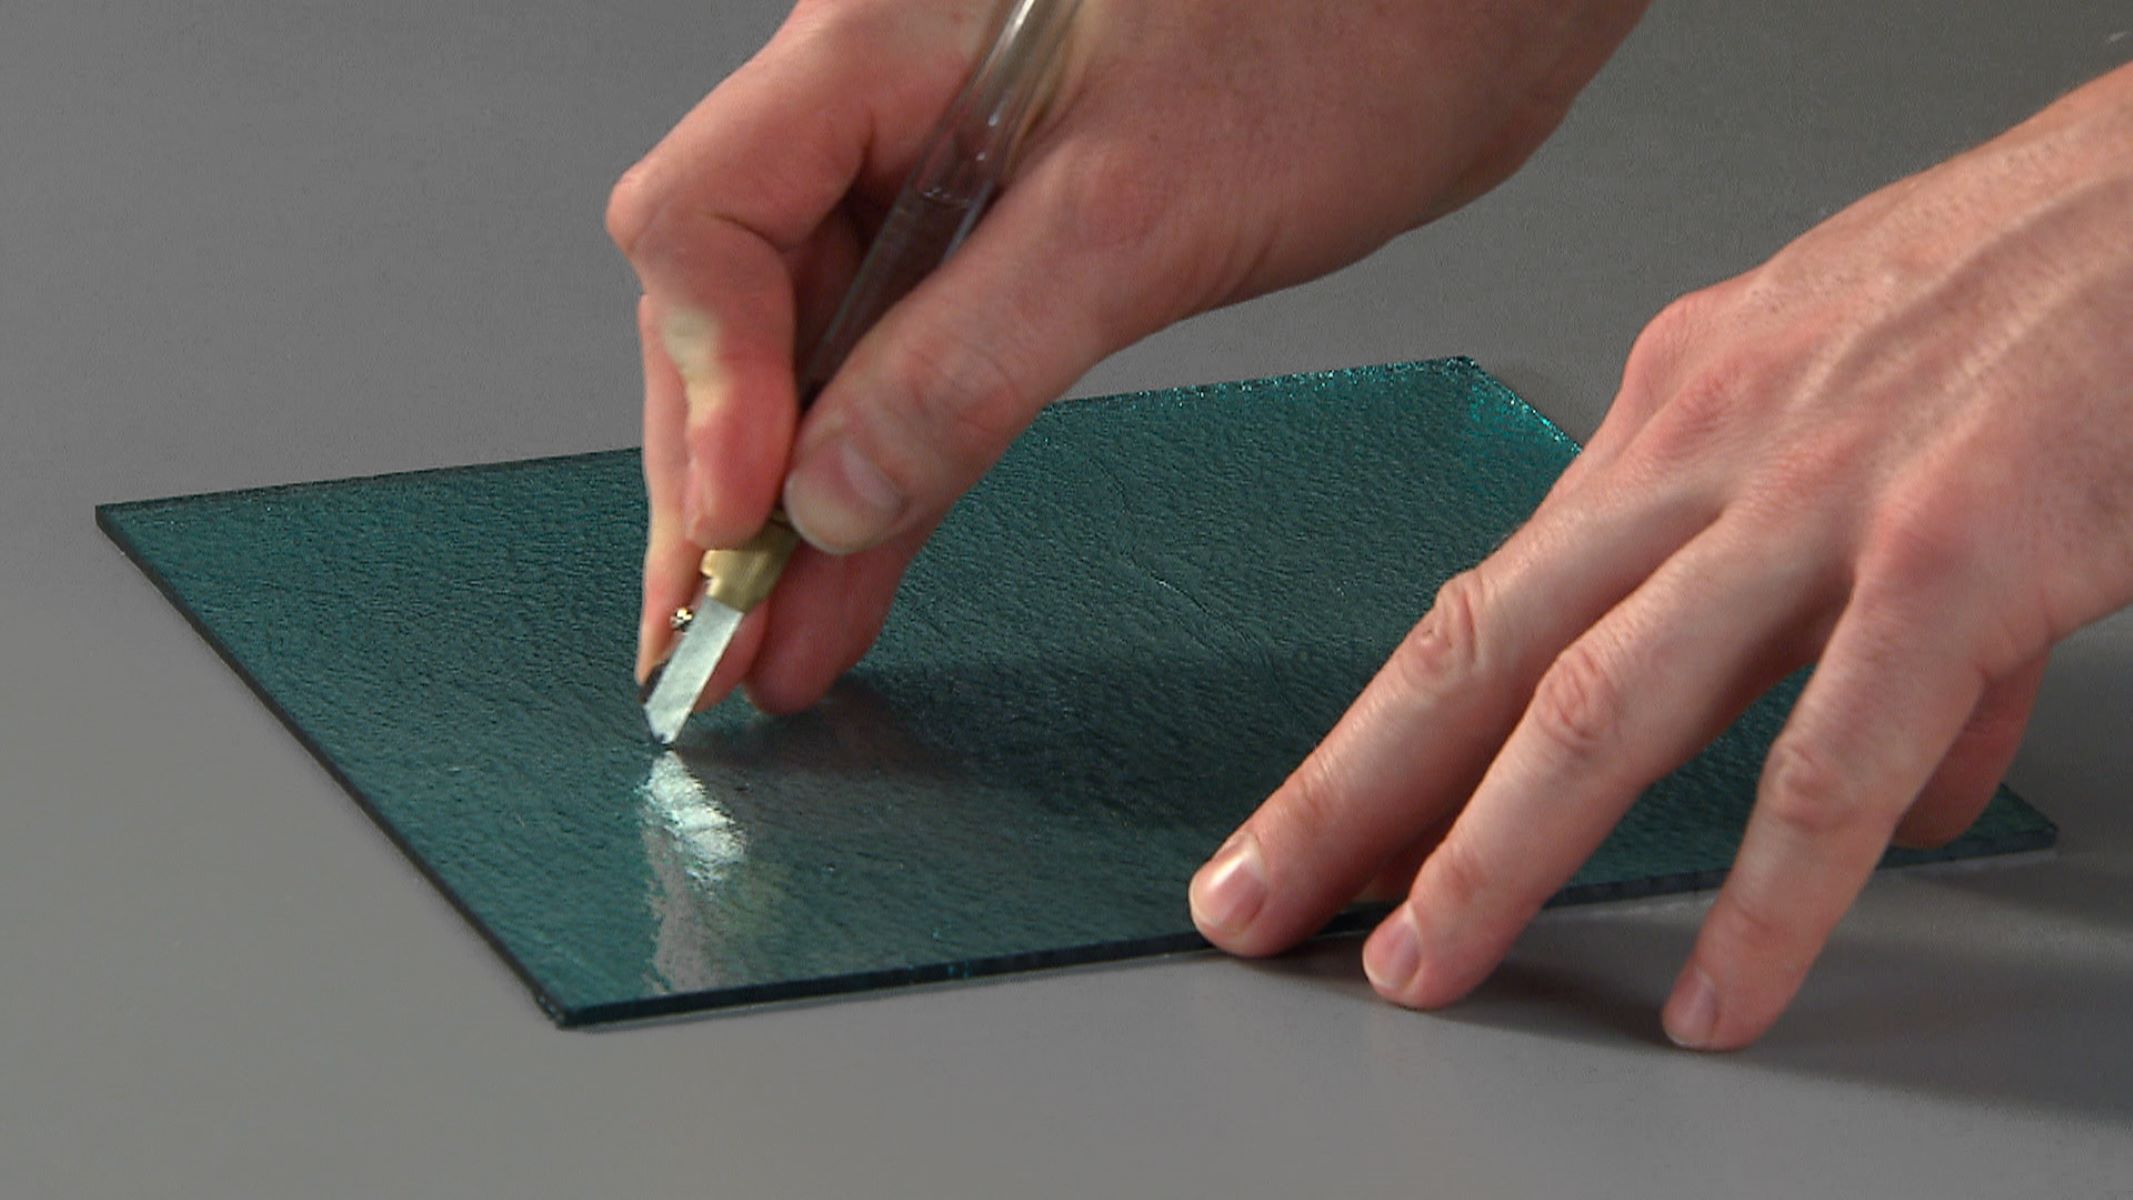
Step 2: Score the Tile
Scoring the glass tile is a critical stage that demands precision and finesse to create a clean and controlled break along the designated cutting lines. This step sets the foundation for the subsequent separation of the glass tile, influencing the overall quality of the cut edges and the fit within your design layout.
To begin the scoring process, ensure that the glass tile is securely positioned on a stable and level surface, minimizing any potential movement that could compromise the accuracy of the score line. With the marked cutting lines clearly visible, retrieve the glass cutter and hold it firmly, aligning the cutting wheel with the starting point of the cutting line.
Apply consistent and firm pressure as you guide the glass cutter along the marked cutting line, ensuring that the cutting wheel maintains continuous contact with the glass surface. The goal is to create a smooth and uniform score line that penetrates the surface of the glass tile without excessive force that could lead to chipping or uneven scoring.
As you progress along the cutting line, maintain a steady pace and avoid pausing or hesitating, as this could result in an irregular score line. The fluid and deliberate movement of the glass cutter contributes to the creation of a precise and well-defined score, setting the stage for a controlled break during the subsequent step.
Throughout the scoring process, it is essential to monitor the alignment and depth of the score line, ensuring that it remains consistent and even along the entire length of the cutting line. This meticulous attention to detail is instrumental in achieving a clean break and minimizing the risk of jagged or uneven edges after the glass tile is separated.
Incorporating cutting oil or lubricant along the cutting line can enhance the performance of the glass cutter, reducing friction and heat generation during the scoring process. Apply a small amount of cutting oil to the score line, allowing the cutter to glide smoothly and maintain optimal contact with the glass surface, resulting in a well-defined and controlled score.
By mastering the art of scoring the glass tile with precision and care, you lay the groundwork for a successful and seamless cutting process. The creation of a clean and uniform score line is a testament to your attention to detail and commitment to achieving exceptional results in your glass tile cutting endeavors. With the glass tile accurately scored, you are now prepared to proceed to the subsequent step, poised to execute a controlled break that will yield precise and clean cuts, bringing your design vision to life.
Step 3: Snap the Tile
After successfully scoring the glass tile, the next pivotal step involves executing a controlled break to separate the tile along the scored line. This process, commonly referred to as "snapping," demands finesse and precision to achieve clean and accurate cuts, ultimately shaping the glass tile according to your design specifications.
To commence the snapping process, position the scored glass tile on a flat and stable surface, ensuring that it is supported along the entire length of the score line. With the scored line facing upwards, carefully align the glass breaking pliers with the starting point of the score, ensuring that the jaws of the pliers straddle the line evenly.
Gently but firmly grip the glass breaking pliers, applying even pressure along the scored line to initiate the break. The goal is to exert controlled force that encourages the glass tile to separate cleanly along the scored line, resulting in smooth and precise edges. As the pressure is applied, listen for a subtle, uniform cracking sound, indicating that the glass is responding to the controlled break.
Maintain a steady and deliberate approach as you continue to apply pressure along the scored line, ensuring that the break progresses smoothly and evenly. Avoid sudden or jerky movements that could compromise the integrity of the break, striving for a seamless separation that aligns with the scored line.
As the glass tile begins to separate, exercise caution to prevent any unexpected shattering or splintering. The controlled application of pressure with the glass breaking pliers facilitates a clean and predictable break, minimizing the risk of jagged or uneven edges that could detract from the overall quality of the cut.
Upon successfully snapping the glass tile along the scored line, carefully inspect the edges to ensure that the break has resulted in clean and uniform cuts. Any minor imperfections or rough edges can be addressed during the subsequent step, allowing you to refine the cut and achieve a polished finish that seamlessly integrates into your design layout.
By mastering the art of snapping the glass tile with precision and control, you bring your design vision to fruition, transforming ordinary glass tiles into custom pieces that elevate the aesthetic appeal of your living spaces. With the glass tile successfully snapped along the scored line, you are now prepared to proceed to the final step, where you will refine the edges and ensure a flawless finish that reflects your meticulous attention to detail.
Read more: How To Cut Chimney Flue Tile
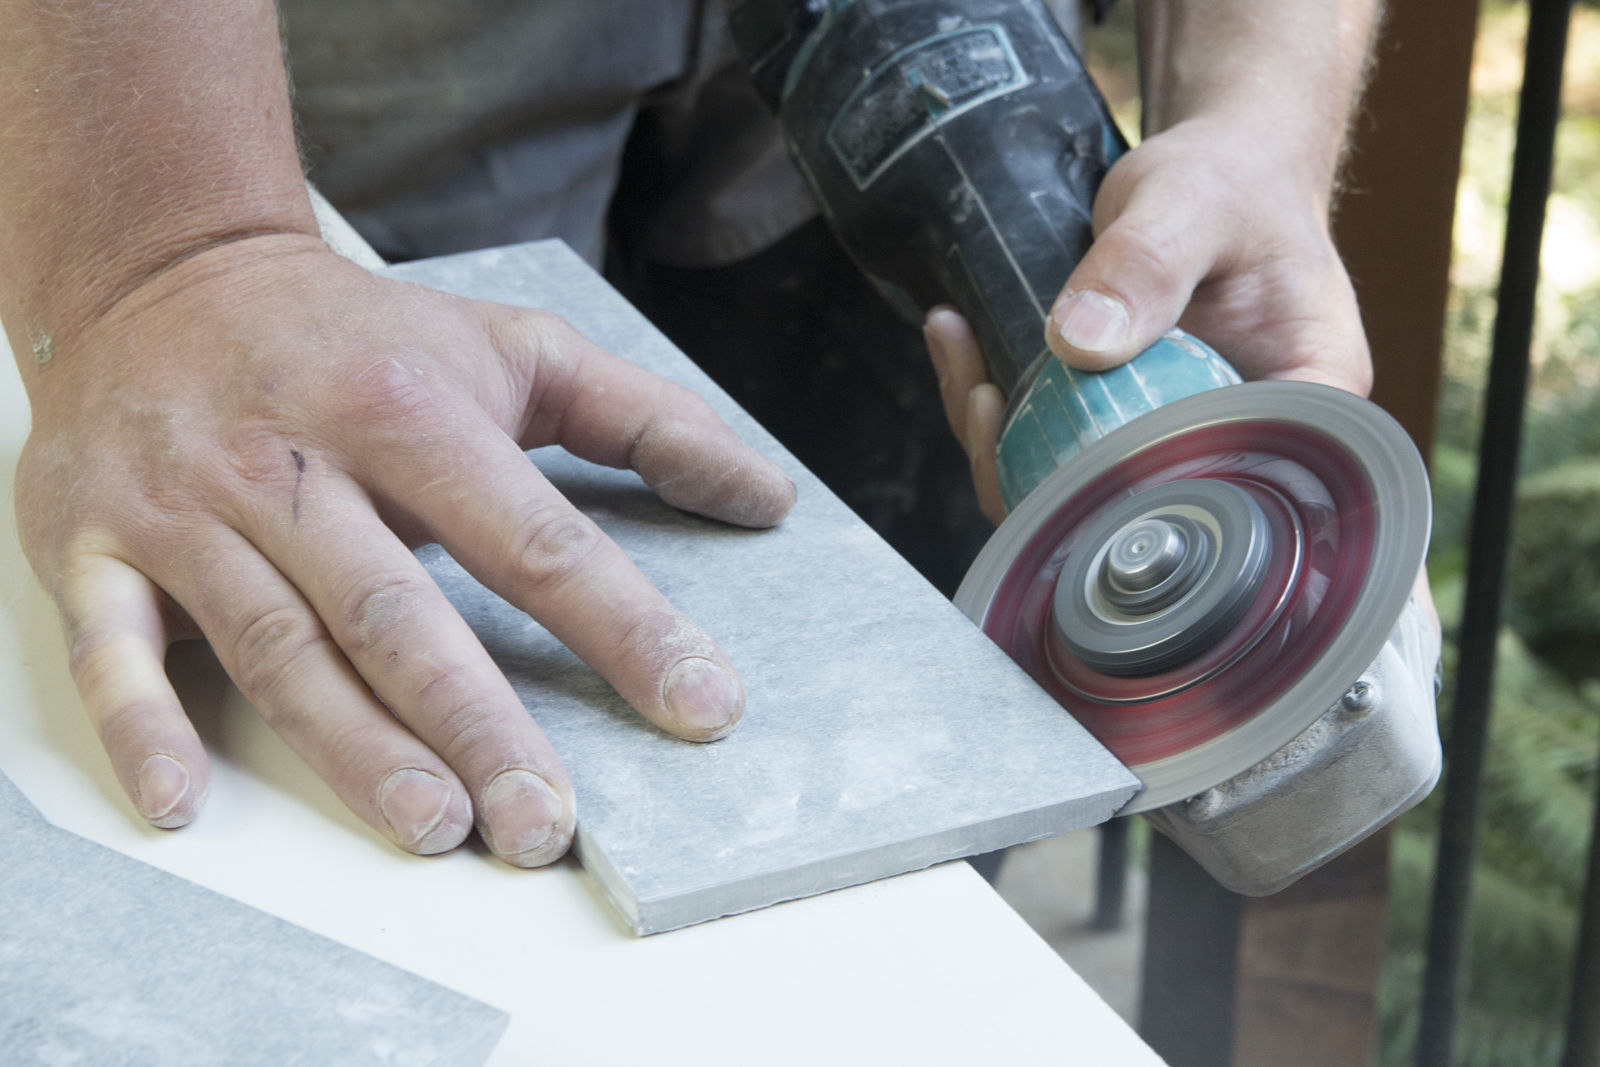
Step 4: Smooth the Edges
After successfully snapping the glass tile along the scored line, the final step involves refining the edges to achieve a polished and safe finish. This crucial stage ensures that the cut glass tile seamlessly integrates into your design layout, exhibiting clean and smooth edges that enhance both the visual appeal and safety of the installation.
To begin the edge-smoothing process, retrieve a piece of fine-grit sandpaper or a specialized diamond pad designed for glass. The goal is to gently sand the cut edges of the glass tile, removing any sharp burrs or irregularities that may have resulted from the snapping process. The sandpaper or diamond pad provides a smooth and controlled abrasive surface, allowing you to gradually refine the edges without compromising the integrity of the glass tile.
Carefully hold the sandpaper or diamond pad and apply gentle pressure along the cut edges, moving in a back-and-forth motion to gradually smooth out any rough areas. The objective is to achieve a consistent and uniform edge that is free from sharp protrusions or uneven surfaces, ensuring a safe and visually appealing finish that aligns with your design standards.
As you progress with the edge-smoothing process, periodically inspect the edges to assess the level of refinement and address any remaining imperfections. Pay close attention to the corners and intricate curves, ensuring that each section of the cut glass tile receives equal attention to detail. By maintaining a meticulous approach to edge smoothing, you can elevate the overall quality of the cut and create a professional-looking finish that complements your design vision.
Throughout the edge-smoothing stage, it is essential to prioritize safety by wearing protective gloves to shield your hands from potential abrasions. The use of gloves not only safeguards your hands but also provides added control and dexterity as you refine the edges, contributing to a more precise and effective edge-smoothing process.
Upon completing the edge-smoothing process, carefully inspect the glass tile to ensure that the edges exhibit a consistent and smooth finish. Run your fingers along the edges to verify that they are free from sharp protrusions and rough patches, confirming that the glass tile is safe to handle and install within your designated space.
By meticulously smoothing the edges of the glass tile, you elevate the overall quality of the cut, ensuring that it seamlessly integrates into your design layout with a refined and professional finish. With the edges expertly smoothed, the glass tile is now ready to be incorporated into your interior design project, adding a touch of elegance and sophistication to your living spaces.
Conclusion
Mastering the art of cutting glass tile is a transformative skill that empowers DIY enthusiasts and design aficionados to elevate their living spaces with custom and visually captivating installations. Throughout this comprehensive guide, we have delved into the essential tools, safety precautions, and step-by-step techniques for achieving precise and clean cuts when working with glass tile. By embracing the meticulous approach outlined in this guide, you have embarked on a journey to unlock the creative potential of glass tile, transforming it from a delicate material into a versatile medium for personalized design expressions.
As you have discovered, the process of cutting glass tile demands a delicate balance of precision, patience, and attention to detail. From meticulously measuring and marking the glass tile to executing controlled breaks and refining the edges, each step contributes to the creation of bespoke pieces that seamlessly integrate into your interior design vision. The tools and materials recommended in this guide serve as indispensable allies, equipping you with the means to achieve exceptional results while ensuring a safe and focused cutting process.
By prioritizing safety measures and adhering to best practices, you have cultivated a secure and controlled environment for cutting glass tile, mitigating potential hazards and creating a conducive space for creativity to flourish. The incorporation of safety glasses, gloves, and proper ventilation underscores your commitment to safeguarding yourself and others while pursuing your glass tile cutting endeavors.
As you progress through the step-by-step techniques, including scoring, snapping, and edge smoothing, you have honed your skills and expanded your repertoire, gaining the confidence to tackle a diverse range of glass tile cutting projects. Whether you aspire to create intricate mosaic designs, custom shapes, or precise straight cuts, the knowledge and expertise acquired from this guide position you as a capable and discerning practitioner of glass tile cutting.
With the glass tile now transformed into custom pieces boasting clean edges and polished finishes, you are poised to integrate them into your interior design projects, adding a touch of sophistication and allure to your living spaces. The skills and insights garnered from this guide serve as a springboard for unleashing your creativity, allowing you to embark on future glass tile cutting endeavors with assurance and finesse.
As you apply the techniques and principles outlined in this guide to your own glass tile cutting projects, remember that each cut is a testament to your dedication to craftsmanship and design excellence. Embrace the art of cutting glass tile as a means of personal expression, and let your creations stand as testaments to your ingenuity and passion for interior design. With each precise cut, you breathe life into your design visions, transforming spaces into showcases of elegance and individuality.
Frequently Asked Questions about How To Cut Glass Tile
Was this page helpful?
At Storables.com, we guarantee accurate and reliable information. Our content, validated by Expert Board Contributors, is crafted following stringent Editorial Policies. We're committed to providing you with well-researched, expert-backed insights for all your informational needs.


0 thoughts on “How To Cut Glass Tile”