Tableware
How To Write Names On Wine Glasses
Modified: October 20, 2024
Learn the art of personalizing wine glasses with names using our step-by-step guide. Discover innovative tableware ideas and techniques to elevate your next dinner party.
(Many of the links in this article redirect to a specific reviewed product. Your purchase of these products through affiliate links helps to generate commission for Storables.com, at no extra cost. Learn more)
Introduction
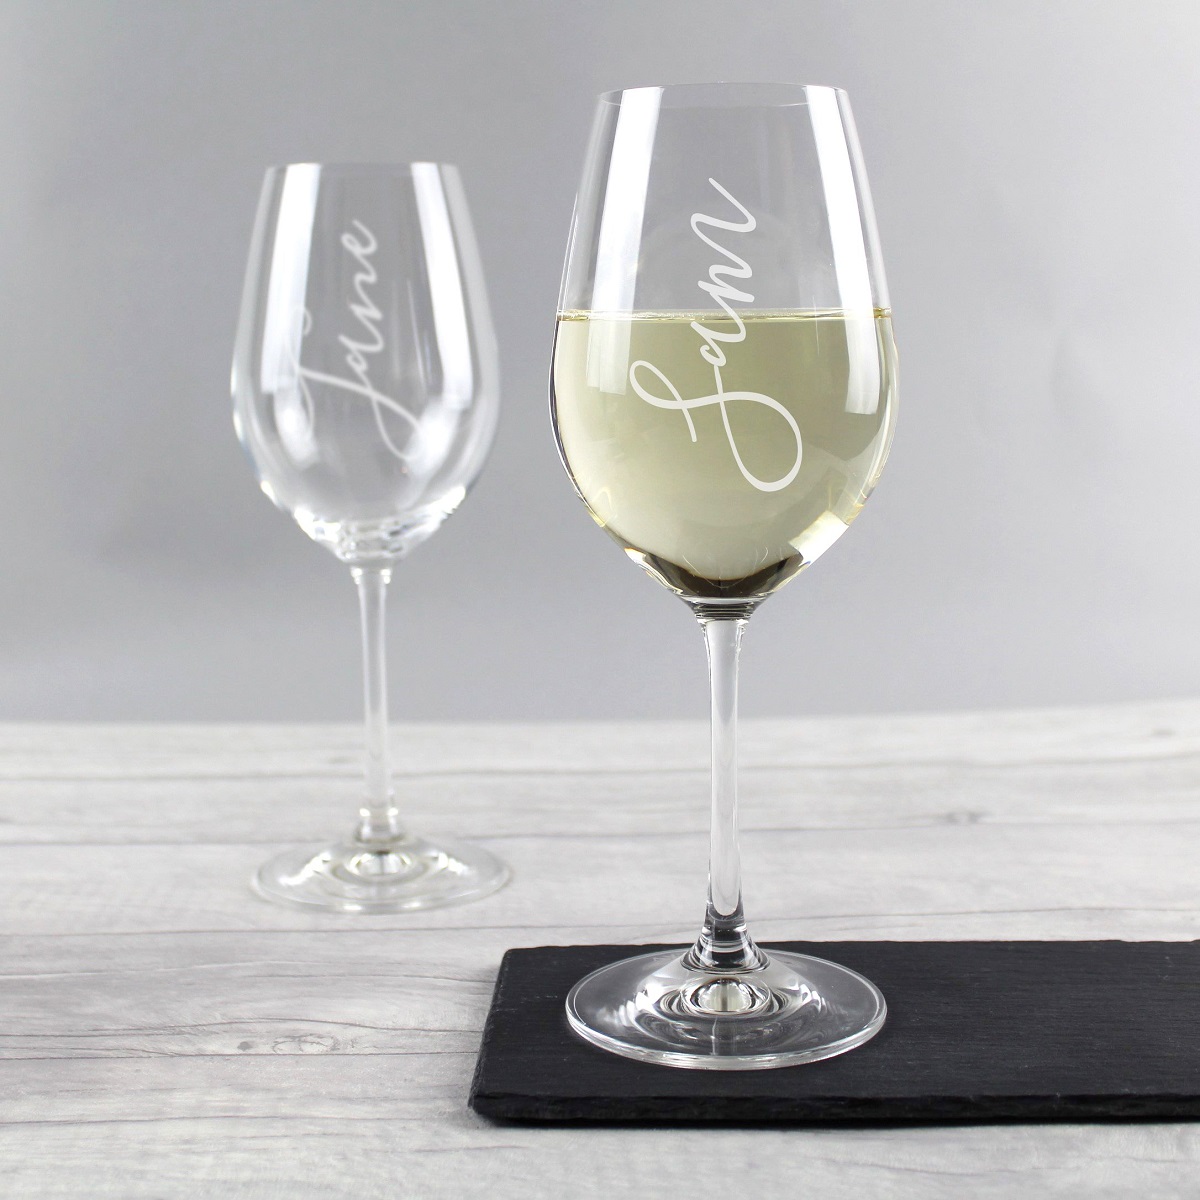
When it comes to hosting a special event or gathering, personalized details can make all the difference. One way to add a delightful touch to your table setting is by writing names on wine glasses. Whether it’s a wedding, anniversary, or a simple dinner party, customizing wine glasses with names adds a personal and elegant touch to any occasion.
In this guide, we will walk you through the step-by-step process of writing names on wine glasses. From preparing the glasses to selecting the right writing tools, we will provide you with all the information you need to create beautifully customized wine glasses that will impress your guests.
So, whether you are a seasoned party planner or a newbie in the world of tableware customization, let’s dive in and learn how to write names on wine glasses like a pro!
Key Takeaways:
- Elevate any special occasion by personalizing wine glasses with elegant, customized names. Follow our comprehensive guide for a thoughtful and stylish touch that will impress your guests and make your event truly memorable.
- Create stunning, long-lasting personalized wine glasses with our step-by-step process. From preparation to decorative touches, our tips and tricks ensure a thoughtful and stylish addition to any special occasion.
Read more: How To Write On Glass
Materials Needed
Before getting started, it’s important to gather all the necessary materials. Here is a list of items you will need to write names on wine glasses:
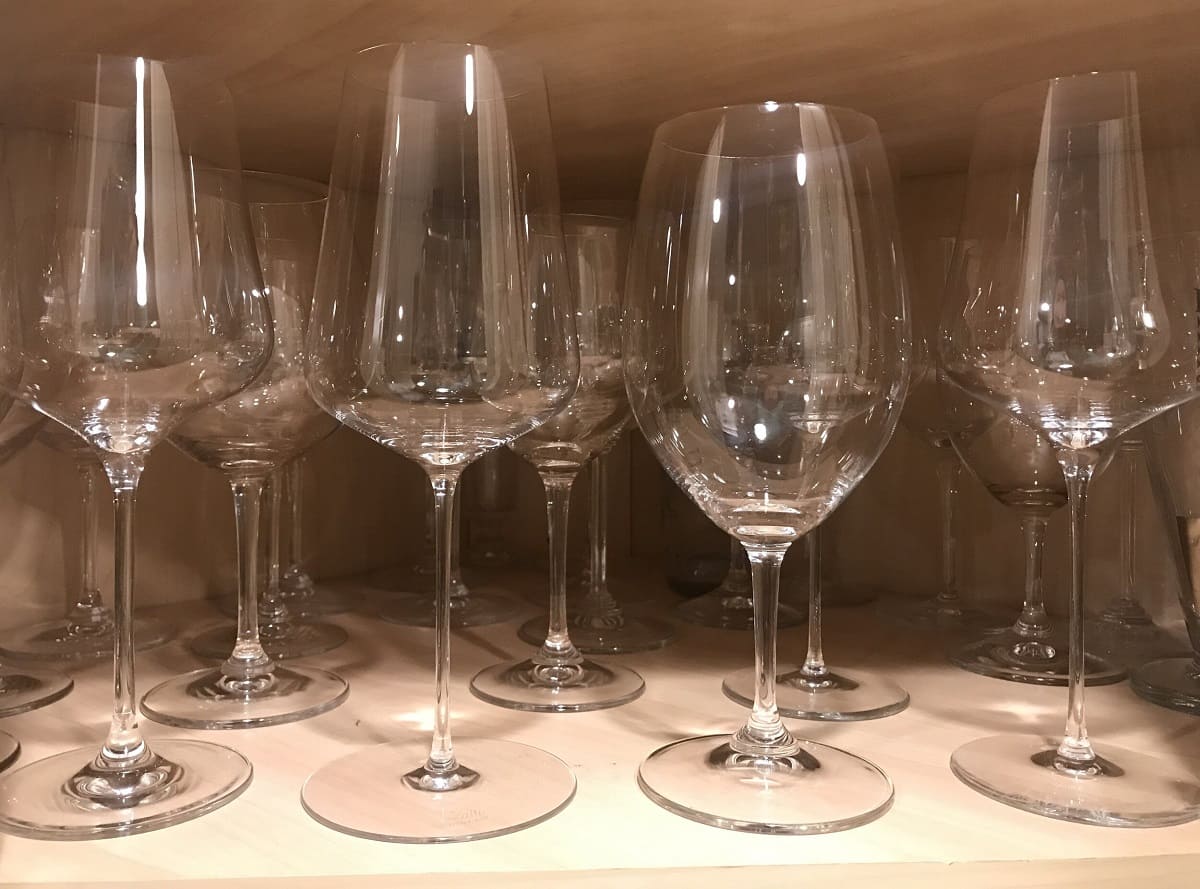
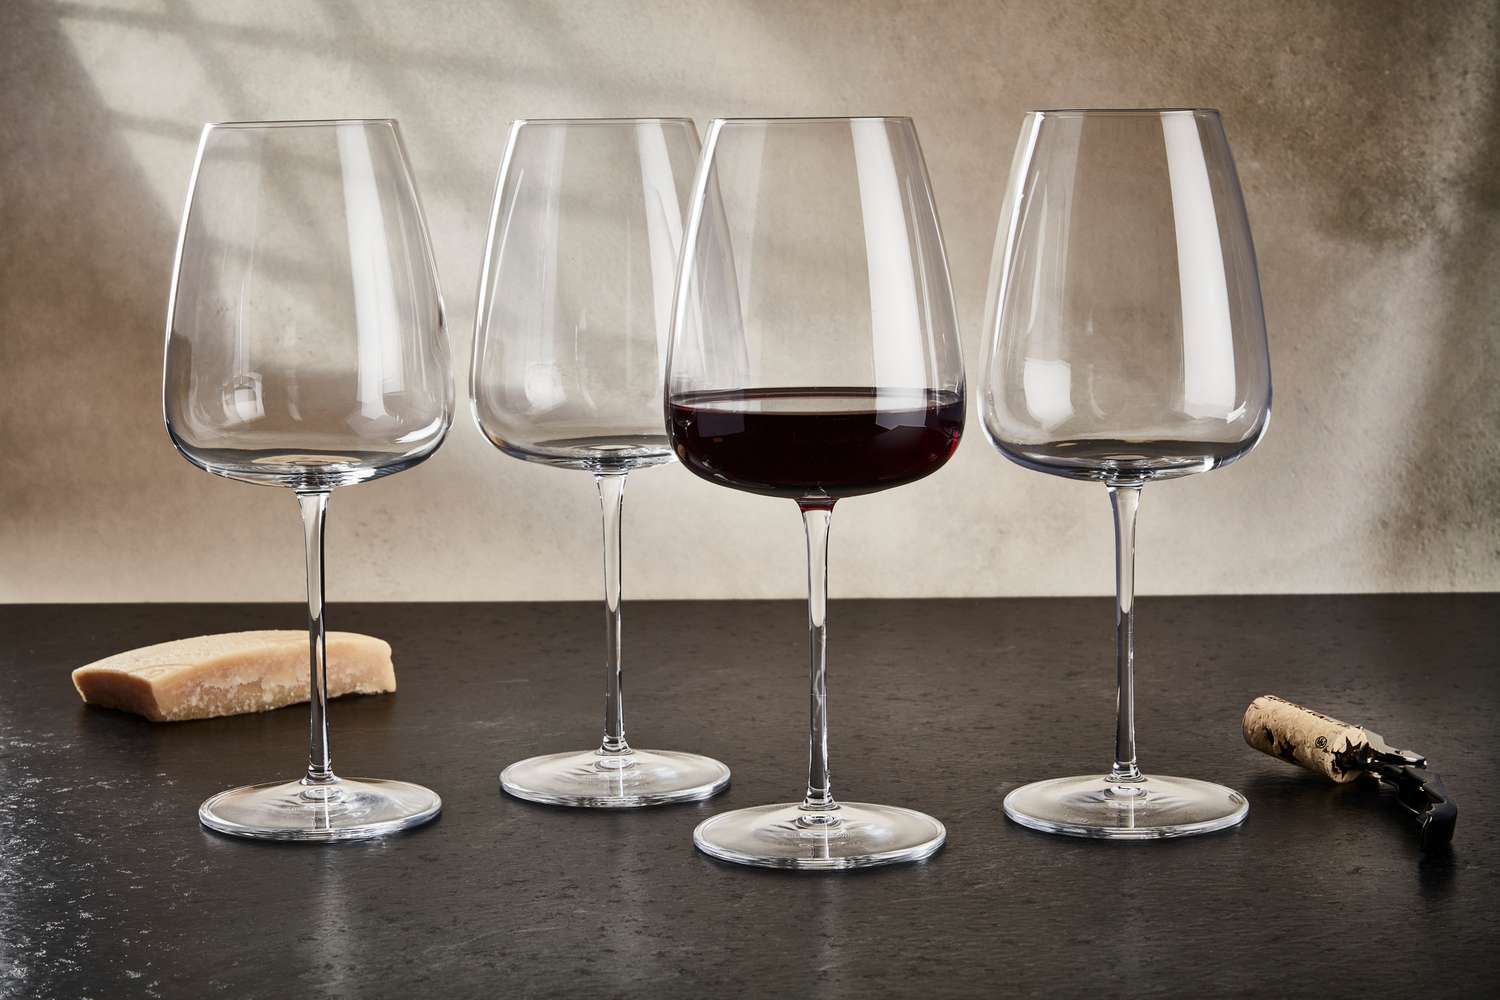
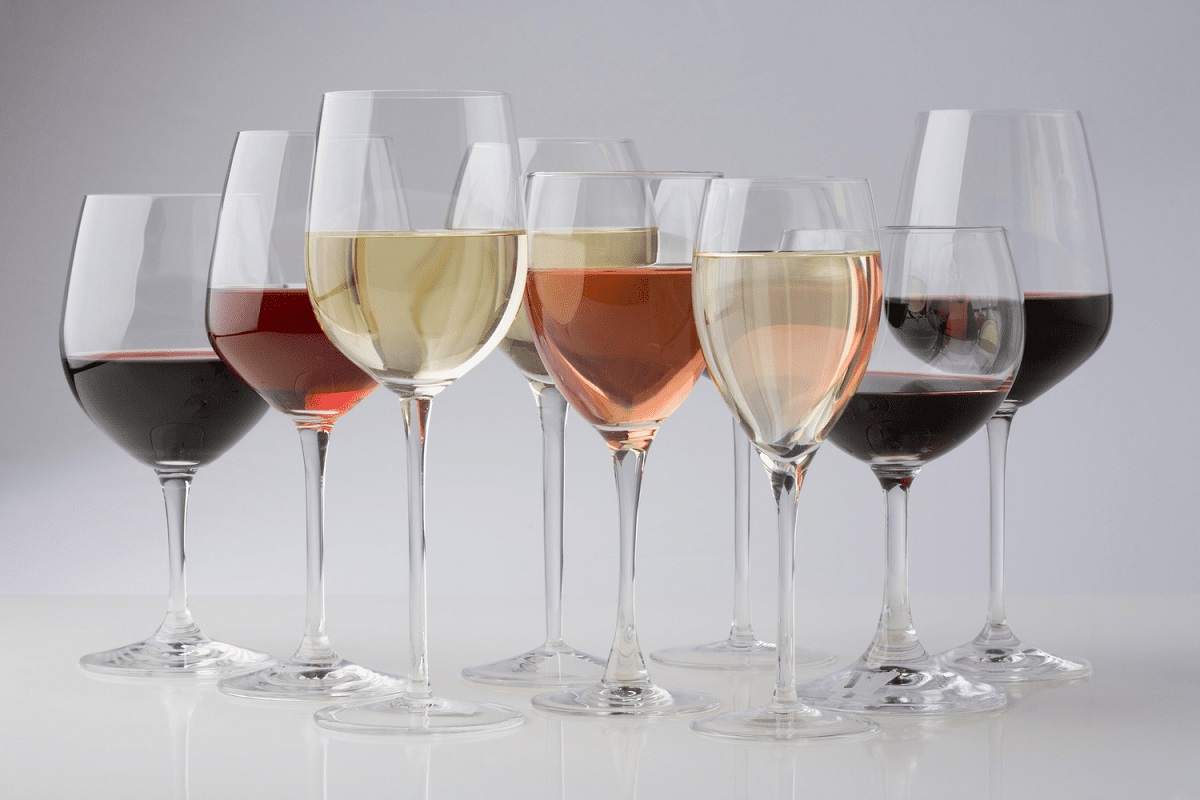
- Wine glasses: Choose glasses that have a smooth surface to make writing easier. Crystal or glass wine glasses work best.
- Alcohol-based ink markers: Look for markers specifically designed for glass or ceramic surfaces. These markers are permanent and will not smudge or wash off easily.
- Cotton balls and rubbing alcohol: These will come in handy for cleaning the glass surfaces before writing.
- Masking tape or stencils (optional): If you prefer a more precise and uniform look, you can use masking tape to create a guideline or stencils to trace the names onto the glasses.
- Protective gloves (optional): If you want to protect your hands or if your skin is sensitive to chemicals, consider using latex or vinyl gloves while working with the markers.
- Decorative elements (optional): To add an extra touch of elegance, you can gather ribbons, beads, charms, or other decorative elements to embellish the wine glasses.
Once you have gathered all of these materials, you are ready to begin the process of writing names on your wine glasses!
Step 1: Prepare the Wine Glasses
The first step in writing names on wine glasses is to properly prepare the glasses. Follow these simple steps:
- Start by thoroughly washing the wine glasses with mild dish soap and warm water. This will remove any fingerprints, dust, or oils that may be on the surface.
- Rinse the glasses well to ensure there is no soap residue left behind.
- Use a lint-free cloth to dry the glasses completely. This will help the markers adhere properly and prevent smudging.
- For an extra level of cleanliness, you can wipe the surface of the glasses with a cotton ball soaked in rubbing alcohol. This will remove any remaining dirt or oils.
- Allow the glasses to air dry or use a clean, lint-free cloth to dry them thoroughly before moving on to the next step.
By starting with clean and dry wine glasses, you create the perfect canvas for writing names. This step is essential for ensuring a smooth and even application of the ink markers.
Once your wine glasses are prepared, you are ready to move on to the next step: choosing the type of writing.
Step 2: Choose the Type of Writing
Choosing the type of writing for your wine glasses is an important step that will add a personal touch to your customized tableware. Consider the occasion, the style of the event, and your personal preference when deciding on the type of writing you want to use.
Here are a few ideas for the type of writing you can consider:
- Cursive: Cursive writing adds an elegant and sophisticated look to the wine glasses. It creates a flowing and artistic style that is perfect for formal events.
- Print: If you prefer a more simple and modern look, printing the names in block letters is a great choice. It offers a clean and legible style that works well for any occasion.
- Calligraphy: Calligraphy is a beautiful and intricate style of writing that adds a touch of artistry to your wine glasses. If you have the skills or want to take the time to practice, calligraphy can create stunning and unique designs.
- Customized Fonts: If you have a specific font style in mind, you can use vinyl decals or stencils to transfer the font onto the wine glasses. This allows you to create personalized and customized designs.
Remember to consider the size of the writing as well. Make sure it fits well on the glass and is readable from a distance.
Once you have decided on the type of writing, you are ready to move on to the next step: selecting the writing tools.
Step 3: Select the Writing Tools
Now that you have chosen the type of writing for your wine glasses, it’s time to select the right writing tools. The key to successfully writing names on wine glasses lies in using the appropriate markers that are specifically designed for glass or ceramic surfaces.
Here are some factors to consider when selecting the writing tools:
- Alcohol-based ink markers: Look for markers that are specifically labeled as “glass markers” or “ceramic markers.” These markers contain alcohol-based ink that is fade-resistant, waterproof, and designed to adhere well to glass surfaces.
- Tip size: Consider the size of the tip on the markers. Fine point tips are ideal for writing thin and delicate lines, while broader tips can be used to create bolder and more visible designs.
- Color options: Choose markers that come in a variety of colors to match your theme or personal preference. Classic colors like black, gold, and silver are always popular choices, but you can also explore other vibrant or metallic shades.
- Smudge-proof and fast-drying: Ensure that the markers you choose are smudge-proof and fast-drying to prevent any accidental smearing or smudging of the writing.
It’s essential to test the markers on a small, inconspicuous area of the glass before proceeding to write the names. This will ensure that the colors are vibrant and the markers perform well on the glass surface.
By selecting high-quality markers specifically designed for glass, you will achieve the best results and create long-lasting, beautifully written names on your wine glasses.
Now that you have your writing tools, let’s move on to the next step: practicing your writing.
Read more: How To Get Writing Off Glass
Step 4: Practice Your Writing
Before writing the names on your wine glasses, it’s important to spend some time practicing your writing. This step will help you get familiar with the markers, refine your technique, and ensure that you achieve the desired look.
Here are a few tips for practicing your writing:
- Use a scrap piece of glass or a spare wine glass to practice your writing. This will allow you to experiment with different styles, sizes, and pressures without worrying about making mistakes on the actual glasses.
- Start by writing the names in pencil lightly on the glass. This can serve as a guideline for your practice session.
- Hold the marker at a 45-degree angle and apply even pressure while writing to create consistent lines. Experiment with different angles and pressures to find the one that feels most comfortable for you.
- Practice different lettering styles, spacing, and embellishments to see what works best for your event or personal preference.
- Don’t be afraid to make mistakes during your practice session. It’s all part of the learning process, and you can always wipe off the ink with a cotton ball soaked in rubbing alcohol and start over.
By practicing your writing beforehand, you will gain confidence and precision, ensuring that the names on your wine glasses look polished and professional.
Once you feel comfortable with your writing, it’s time to move on to the exciting part: writing the names on the wine glasses!
Use a paint pen or a permanent marker to write names on wine glasses. Make sure the glass is clean and dry before writing, and let the ink dry completely before handling.
Step 5: Write the Names on the Wine Glasses
Now that you have practiced your writing and are confident in your skills, it’s time to write the names on the wine glasses. Follow these steps for a successful writing process:
- Decide on the placement of the names on the glasses. Typically, names are written near the rim of the glass, but you can also choose to write them closer to the base or on the body of the glass.
- Hold the wine glass with one hand, ensuring it is stable and secure. This will help you maintain control while writing.
- Using the selected marker, start writing the names on the glass. Remember to use smooth and steady strokes, applying even pressure for consistent lines.
- Take your time and pay attention to spacing between letters and words. Aim for a neat and readable result.
- If you prefer a more precise and uniform look, use masking tape or stencils as guidelines for your writing. This will help you maintain straight lines and consistent letter sizes.
- Continue writing the names on each wine glass until you have completed the set. Take breaks as needed to avoid fatigue and maintain focus.
Don’t worry if you make a mistake while writing. You can easily correct it by wiping off the ink with a cotton ball soaked in rubbing alcohol and starting over on that particular area.
Remember to enjoy the process and embrace the creativity of making each name unique and special. The personalized touch of handwritten names will make your guests feel extra special.
Proceed to the next step to ensure the longevity of your beautifully written names on the wine glasses – allowing them to dry properly.
Step 6: Allow the Writing to Dry
After you have written the names on the wine glasses, it’s crucial to allow the ink to dry thoroughly. This step ensures that the writing will remain vibrant and intact, even when the glasses are handled or washed.
Here are a few tips for allowing the writing to dry properly:
- Set the wine glasses in a well-ventilated area where they won’t be disturbed. Avoid placing them in direct sunlight as this can cause the ink to fade.
- Give the ink ample time to dry. Refer to the instructions on the marker for the recommended drying time.
- Be patient and resist the temptation to touch or handle the glasses before the ink has completely dried. Premature handling can cause smudging or smearing.
- Consider letting the wine glasses dry overnight to ensure that the ink is fully cured and ready for use. This is especially important if you plan to wash the glasses before the event.
By allowing the writing to dry properly, you ensure that your custom wine glasses are ready to be used and admired. Once the ink is dry, you can add any finishing touches or decorations to enhance their appearance.
Continue to the next step for optional ideas on adding decorative touches to your personalized wine glasses.
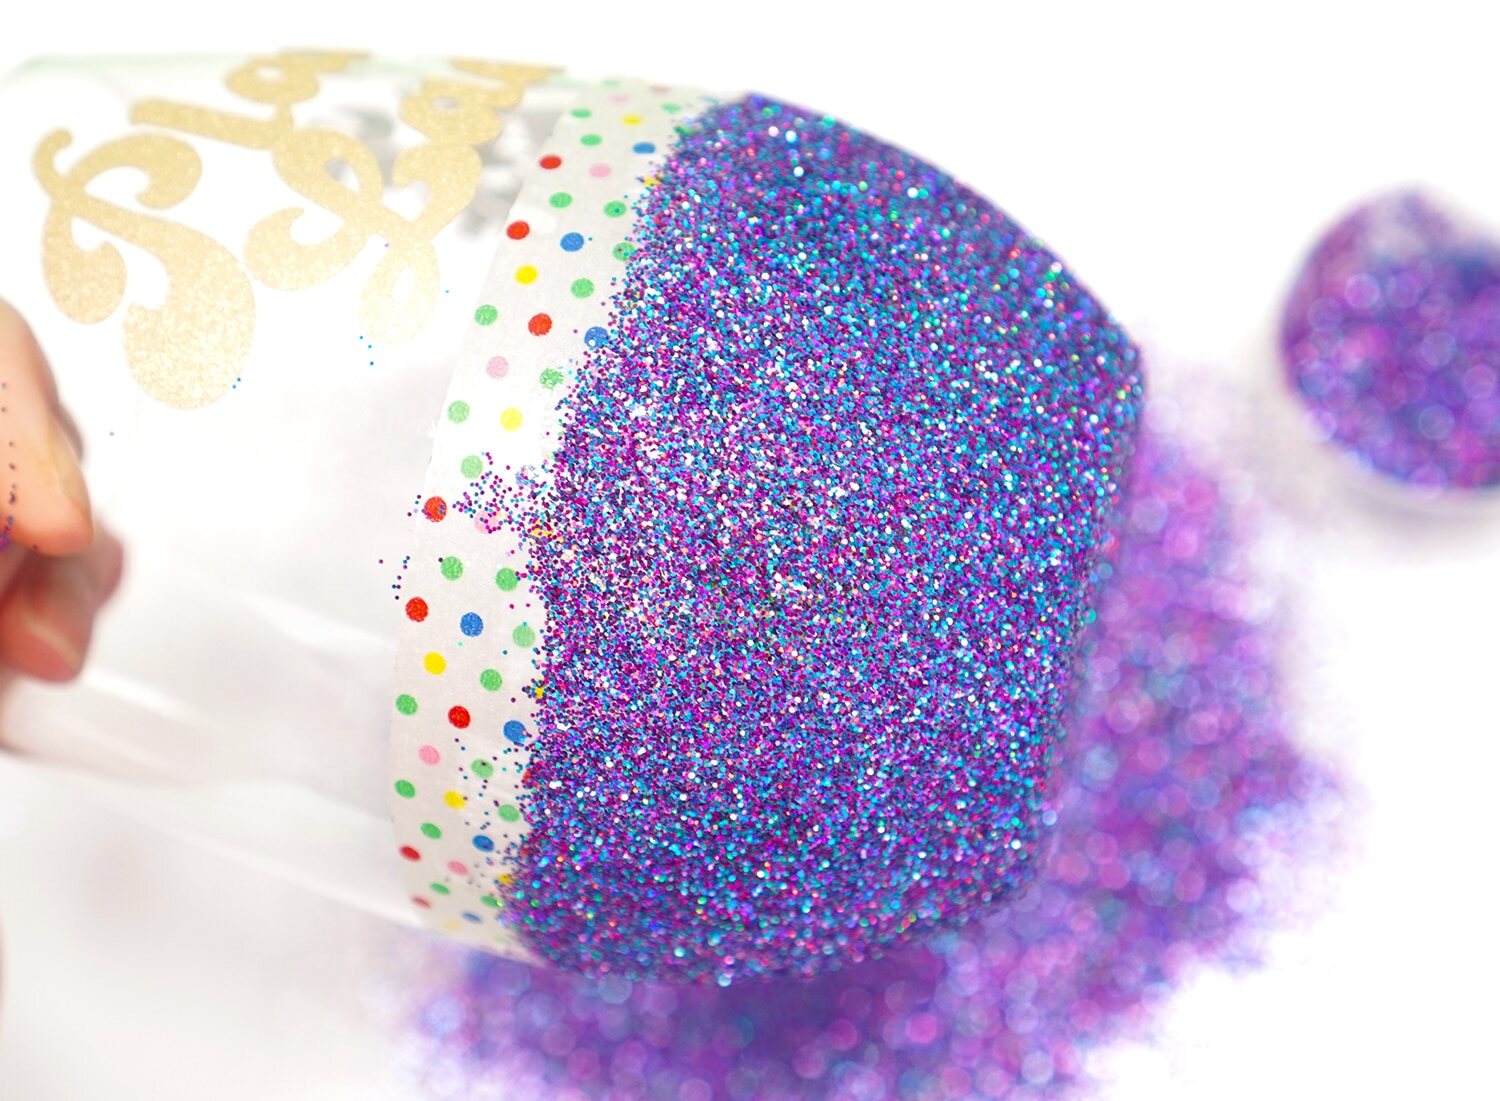
Step 7: Optional: Add Decorative Touches
If you want to take your personalized wine glasses to the next level, adding decorative touches can elevate their visual appeal. Here are some optional ideas to consider:
- Ribbons: Tie a small ribbon around the stem of each wine glass. Choose a ribbon color that complements the event or matches the table decor.
- Beads or Charms: String beads or attach small charms to the stem of the wine glasses. This adds a touch of elegance and can also serve as an identifier for each guest’s glass.
- Customized Wine Glass Tags: Create personalized tags with each guest’s name to hang on the stem of the wine glasses. This is a practical and decorative way to ensure everyone knows which glass belongs to them.
- Embellishments: Adorn the base or rim of the glasses with decorative elements such as crystals, flowers, or faux pearls. Use hot glue or adhesive appropriate for glass to ensure they are securely attached.
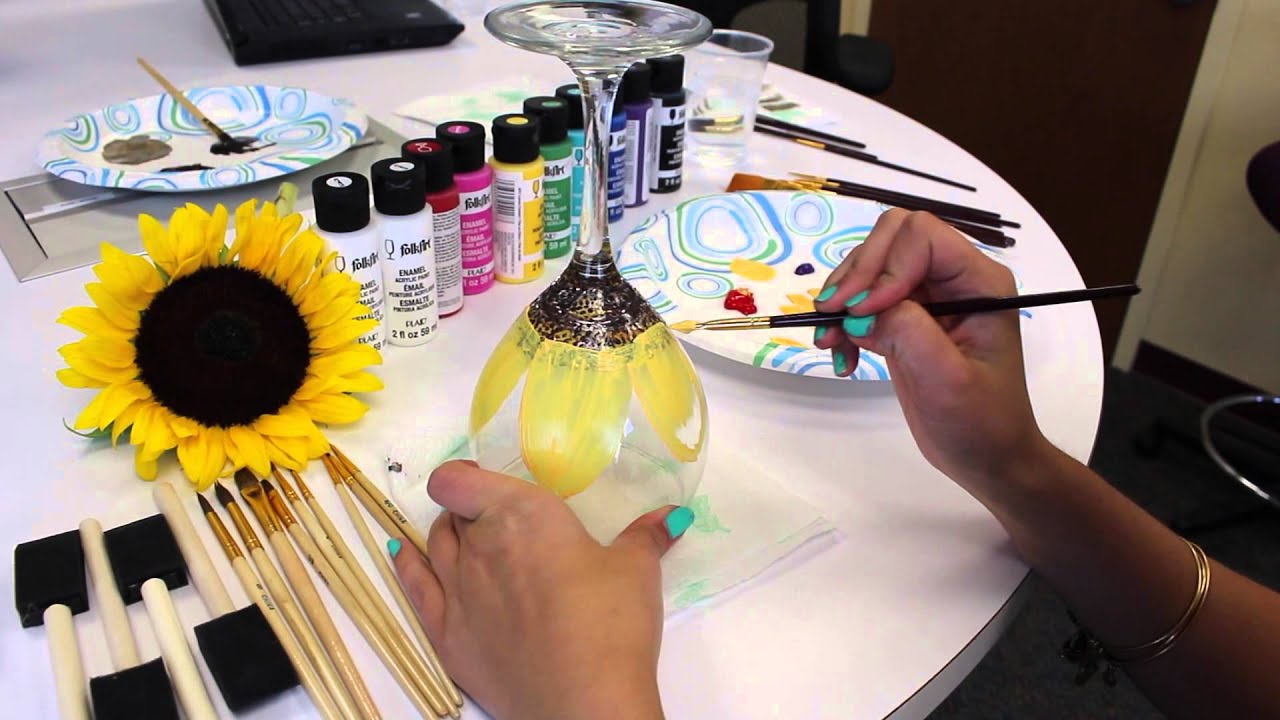
- Painted Designs: If you’re feeling artistic, consider using paint for wine glasses to add hand-painted designs. Flowers, vines, or even simple patterns can transform them into unique and personal art pieces.
Remember to maintain a balance between the decorative elements and the legibility of the names. You want the names to remain the focal point while still enhancing the overall aesthetic of the wine glasses.
Once you have added the desired decorative touches, take a step back and admire your beautiful customized wine glasses. They are now ready to be showcased at your special event!
Continue to the final step for some useful tips and tricks to ensure the best results when writing names on wine glasses.
Read more: Which Wine Glass For Which Wine
Step 8: Tips and Tricks for Writing Names on Wine Glasses
Writing names on wine glasses requires precision and attention to detail. To ensure the best results, here are some valuable tips and tricks:
- Practice makes perfect: Before writing on the actual wine glasses, practice your technique on a spare piece of glass or paper to get comfortable with the markers and your chosen writing style.
- Clean the glass: Ensure that the wine glasses are thoroughly cleaned and dry before starting the writing process. Any residue or oils can affect the adhesion of the ink.
- Apply even pressure: Maintain a steady hand and apply consistent pressure while writing to create clean and smooth lines. Avoid pressing too hard, as it can cause the ink to bleed.
- Use guidelines: If you prefer a uniform look, use masking tape or stencils to create guidelines for your writing. This helps maintain consistent letter sizes and spacing.
- Prevent smudging: Allow the ink to dry completely before handling the wine glasses. Consider wearing gloves or using tissue paper to avoid smudging the freshly written names.
- Careful handling: Once the names are written and the ink is dry, handle the glasses with care to prevent any accidental rubbing or scratching of the writing.
- Hand-wash with care: If you need to wash the wine glasses, do so with mild dish soap and warm water. Gently hand-wash and avoid scrubbing the names to preserve their longevity.
- Store properly: When not in use, store the wine glasses in a safe place where they won’t get chipped or scratched. Consider using protective sleeves or individual cases to prevent damage.
- Enjoy the process: Writing names on wine glasses is a creative and enjoyable activity. Embrace the opportunity to add a personal touch and make your guests feel special.
By following these tips and tricks, you are sure to create beautifully written and long-lasting names on your wine glasses.
With the completion of this last step, you have reached the end of our guide on how to write names on wine glasses. Now, it’s time to showcase your creative skills and impress your guests with personalized, elegant, and customized tableware. Cheers to a successful and memorable event!
Conclusion
If you’re still deciding what to do with wine glasses to make your events more memorable, personalizing your tableware by writing names on wine glasses is a thoughtful and stylish solution. This approach can elevate any special occasion, be it a wedding, anniversary, or a simple dinner party. Customized wine glasses add a touch of elegance and ensure your guests feel extra special.
In this comprehensive guide, we’ve walked you through the step-by-step process of writing names on wine glasses. From preparing the glasses to selecting the right writing tools, practicing your writing technique, and adding optional decorative touches, we’ve covered all the essential aspects to help you create beautifully customized wine glasses.
Remember to choose the type of writing that suits the occasion, selecting markers specifically designed for glass surfaces, and allowing the names to dry properly. Consider adding decorative elements to enhance the visual appeal of the wine glasses, but always prioritize the legibility of the names.
By following our tips and tricks, you are well-equipped to create stunning and personalized wine glasses that will impress your guests and make your event truly memorable. Enjoy the process of creating these unique pieces of tableware, and revel in the joy of sharing them with your loved ones.
Now that you have the knowledge and confidence, it’s time to put your skills to the test. Gather the materials, let your creativity flourish, and enjoy the admiration of your guests as they raise their beautifully personalized wine glasses in celebration.
Cheers to creating unforgettable moments with your customized wine glasses!
Frequently Asked Questions about How To Write Names On Wine Glasses
Was this page helpful?
At Storables.com, we guarantee accurate and reliable information. Our content, validated by Expert Board Contributors, is crafted following stringent Editorial Policies. We're committed to providing you with well-researched, expert-backed insights for all your informational needs.


0 thoughts on “How To Write Names On Wine Glasses”